What I Decided to Build This Time
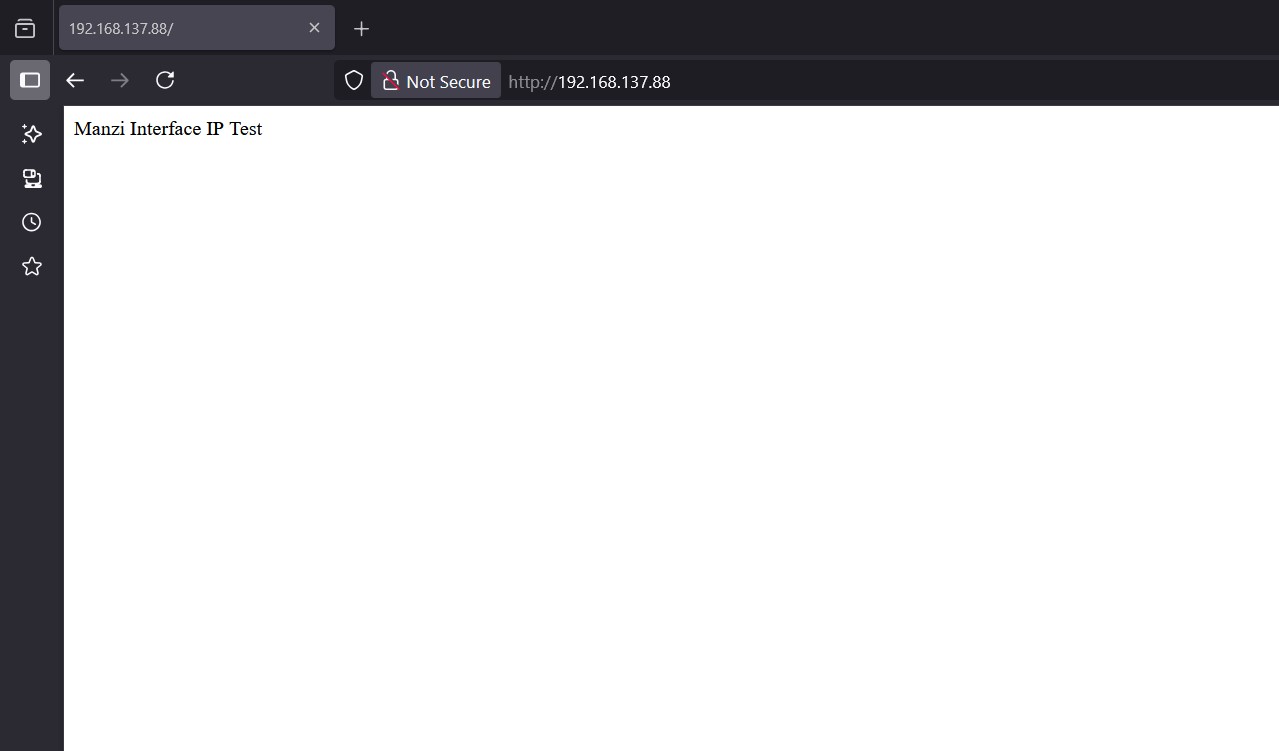
After getting my basic web server working, I thought "okay, now let's make it actually DO something useful!" So I decided to add LED control to my ESP32 web interface. The idea was simple - create buttons on a webpage that can turn an LED on and off remotely.
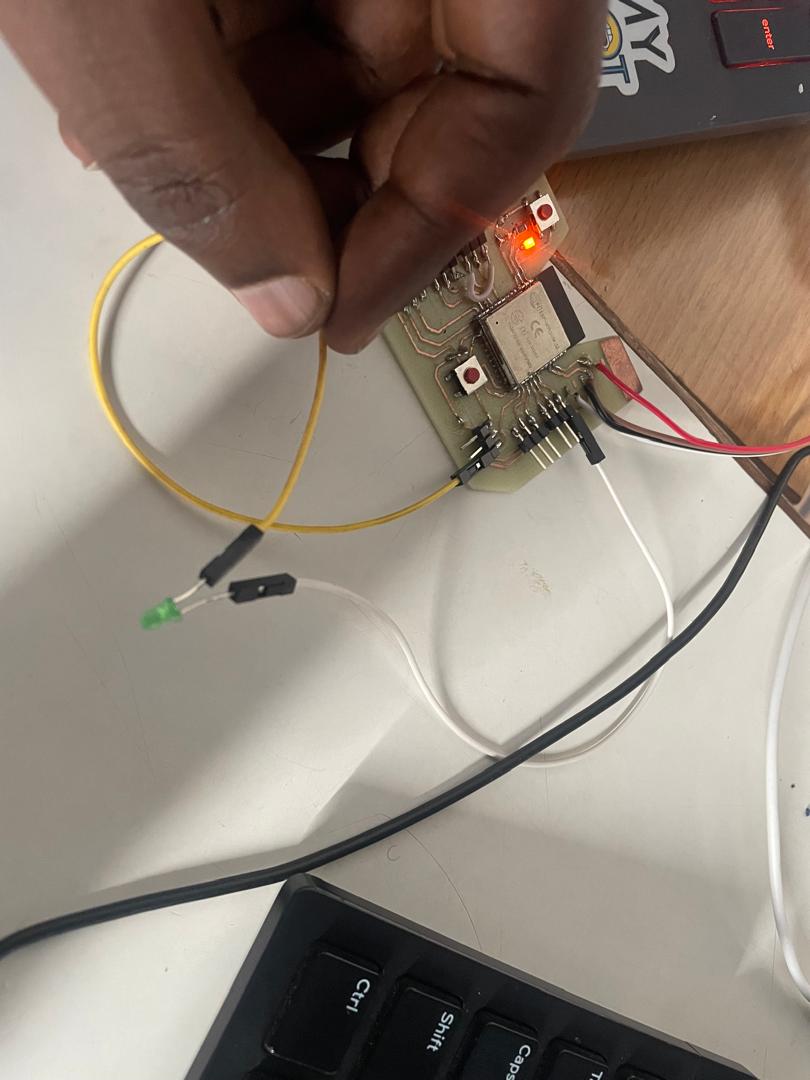
I wanted to keep building on what I learned from the basic server project, but add some actual hardware interaction. Plus, being able to control things from my phone or laptop seemed like a fun next step.
The Code - Now With HTML Embedded!
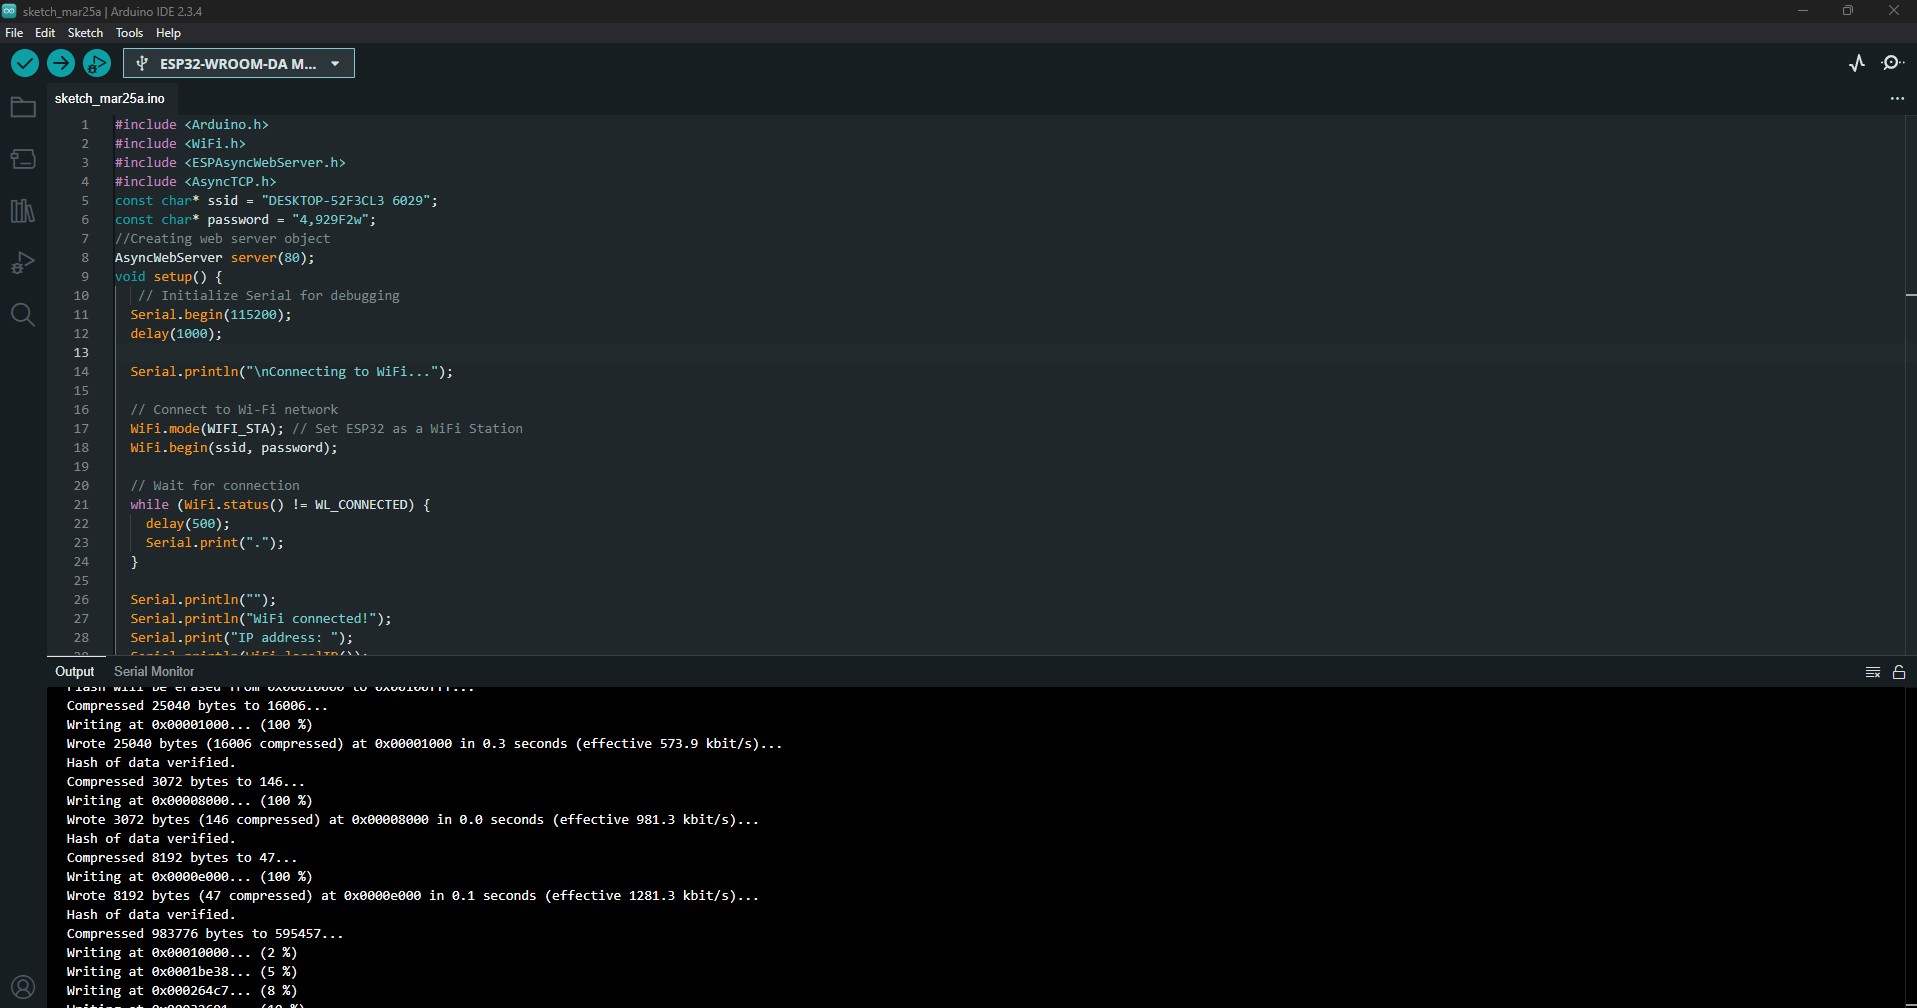
This time my code got a lot more interesting. I embedded a full HTML page right inside the Arduino code, which was pretty neat:
#include <Arduino.h>
#include <WiFi.h>
#include <ESPAsyncWebServer.h>
#include <AsyncTCP.h>
// Network Configuration
const char* ssid = "DESKTOP-52F3CL3 6029";
const char* password = "4,929F2w";
// Define LED pin
const int ledPin = 19;
// Web server on port 80
AsyncWebServer server(80);
// HTML for the web page
const char index_html[] PROGMEM = R"rawliteral(
<!DOCTYPE HTML>
<html>
<head>
<title>MAnzi Fablab ESP32 LED Control</title>
<meta name="viewport" content="width=device-width, initial-scale=1">
<style>
html {font-family: Arial; display: inline-block; text-align: center;}
h2 {font-size: 2.4rem;}
body {max-width: 600px; margin:0px auto; padding-bottom: 25px;}
.button {display: inline-block; background-color: #4CAF50; border: none;
border-radius: 4px; color: white; padding: 16px 40px; text-decoration: none;
font-size: 30px; margin: 2px; cursor: pointer;}
.button2 {background-color: #D11D53;}
</style>
</head>
<body>
<h2>Manzi LED Control</h2>
<p>LED State: <span id="state">%STATE%</span></p>
<p><a href="/on"><button class="button">ON</button></a></p>
<p><a href="/off"><button class="button button2">OFF</button></a></p>
</body>
</html>
)rawliteral";
// Variable to store LED state
String ledState = "OFF";
// Function to process HTML placeholders
String processor(const String& var) {
if(var == "STATE") {
return ledState;
}
return String();
}
void setup() {
// Initialize Serial for debugging
Serial.begin(115200);
delay(1000);
// Initialize LED pin as output
pinMode(ledPin, OUTPUT);
digitalWrite(ledPin, LOW);
Serial.println("\nConnecting to WiFi...");
// Connect to Wi-Fi network
WiFi.mode(WIFI_STA);
WiFi.begin(ssid, password);
// Wait for connection
while (WiFi.status() != WL_CONNECTED) {
delay(500);
Serial.print(".");
}
Serial.println("");
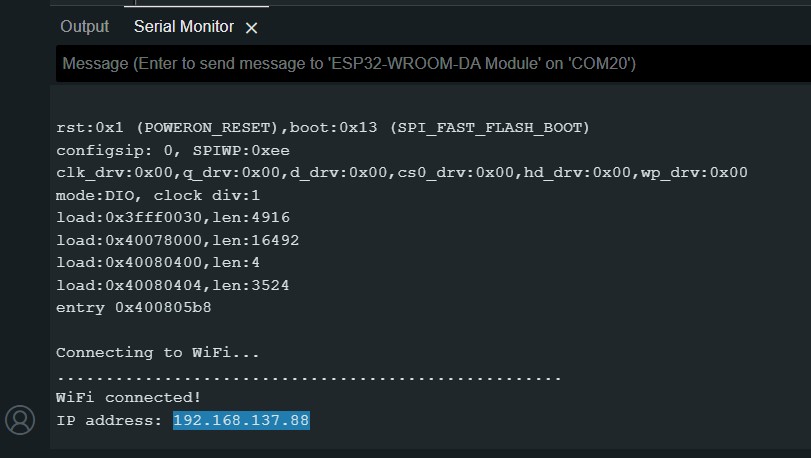
Serial.println("WiFi connected!");
Serial.print("IP address: ");
Serial.println(WiFi.localIP());
// Route for root / web page
server.on("/", HTTP_GET, [](AsyncWebServerRequest *request){
request->send_P(200, "text/html", index_html, processor);
});
// Route for LED ON
server.on("/on", HTTP_GET, [](AsyncWebServerRequest *request){
digitalWrite(ledPin, HIGH);
ledState = "ON";
request->send_P(200, "text/html", index_html, processor);
});
// Route for LED OFF
server.on("/off", HTTP_GET, [](AsyncWebServerRequest *request){
digitalWrite(ledPin, LOW);
ledState = "OFF";
request->send_P(200, "text/html", index_html, processor);
});
// Start server
server.begin();
Serial.println("HTTP server started");
}
void loop() {
// Still empty - AsyncWebServer handles everything
}
The Cool New Stuff I Added
Embedded HTML: Instead of just sending plain text, I created a full HTML page with styling! The `R"rawliteral( ... )rawliteral"` syntax lets me write multi-line HTML right in the C++ code.
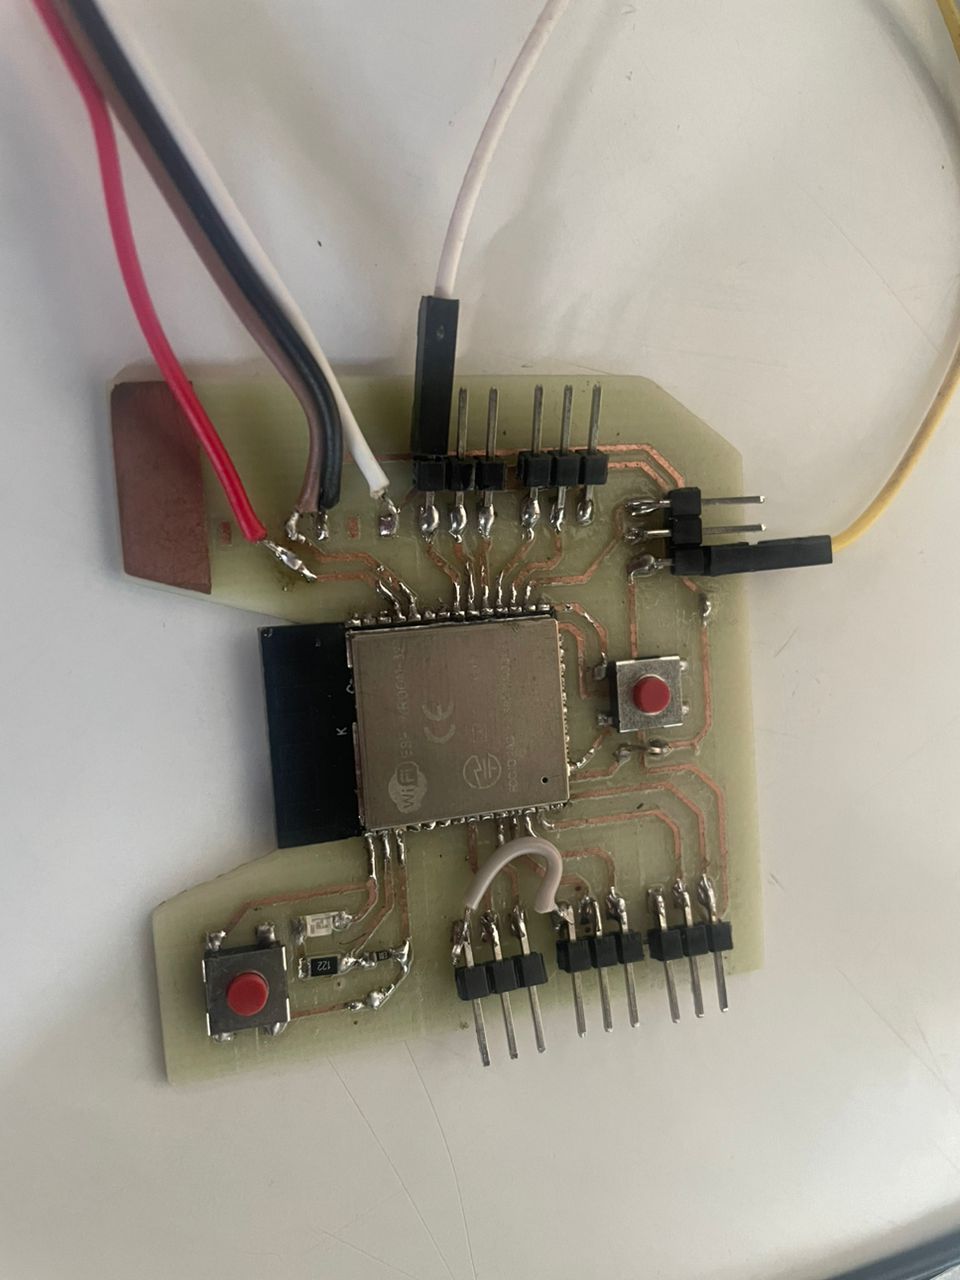
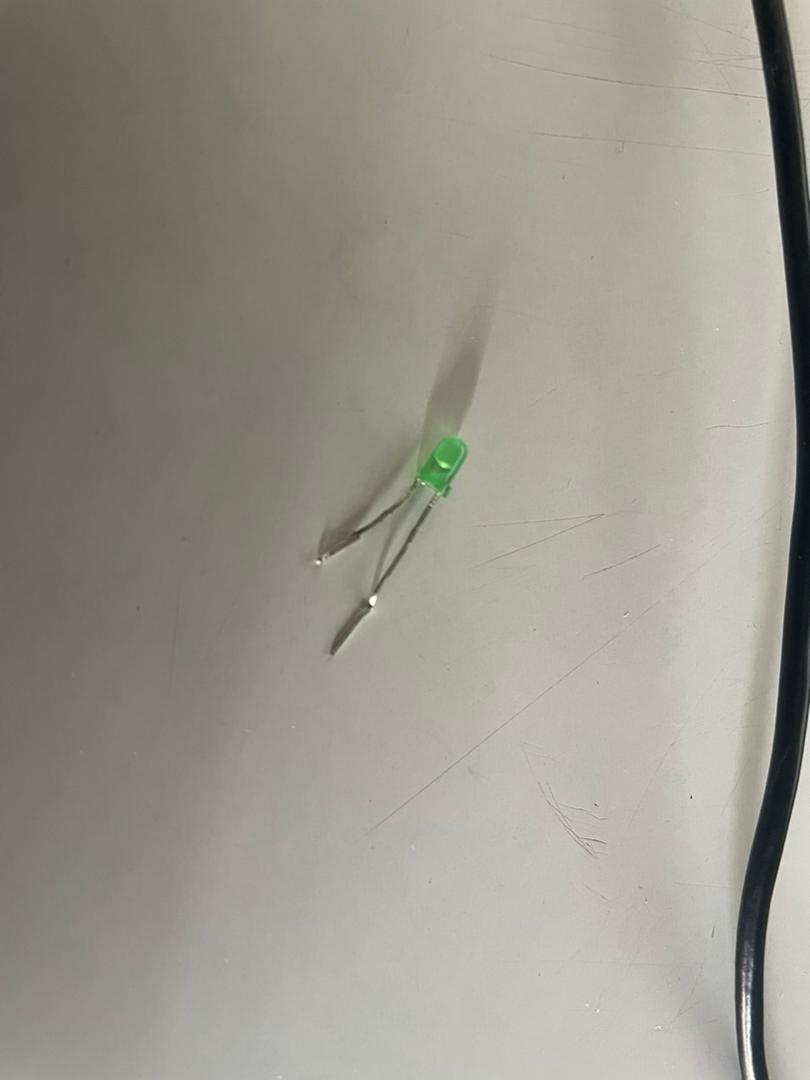
LED Pin Control: Added `pinMode()` and `digitalWrite()` to actually control hardware. GPIO 19 gets set up as an output pin.
Multiple Routes: Now I have three different URLs the server responds to: "/" for the main page, "/on" to turn the LED on, and "/off" to turn it off.
Dynamic Content: The `%STATE%` placeholder gets replaced with the actual LED state using my `processor()` function.
CSS Styling: Added some basic CSS to make the buttons look decent and the page responsive on mobile.