Personal Reflection: What I Learned
Testing the PIR sensor and capacitive moisture sensor taught me the critical difference between oscilloscope and multimeter analysis. I learned that oscilloscopes are essential for understanding dynamic sensor behavior, especially for digital signals with fast transitions.
The group work showed me how passive and active sensors require different interfacing approaches, and proper signal conditioning is crucial for reliable microcontroller integration.
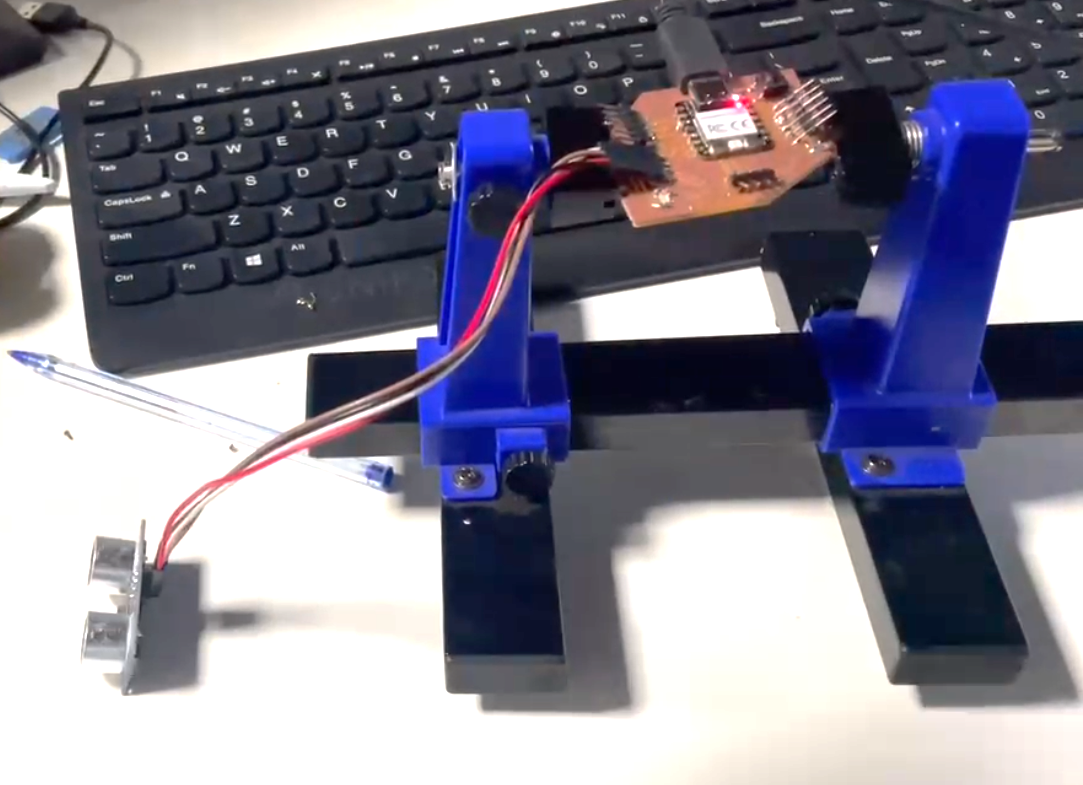
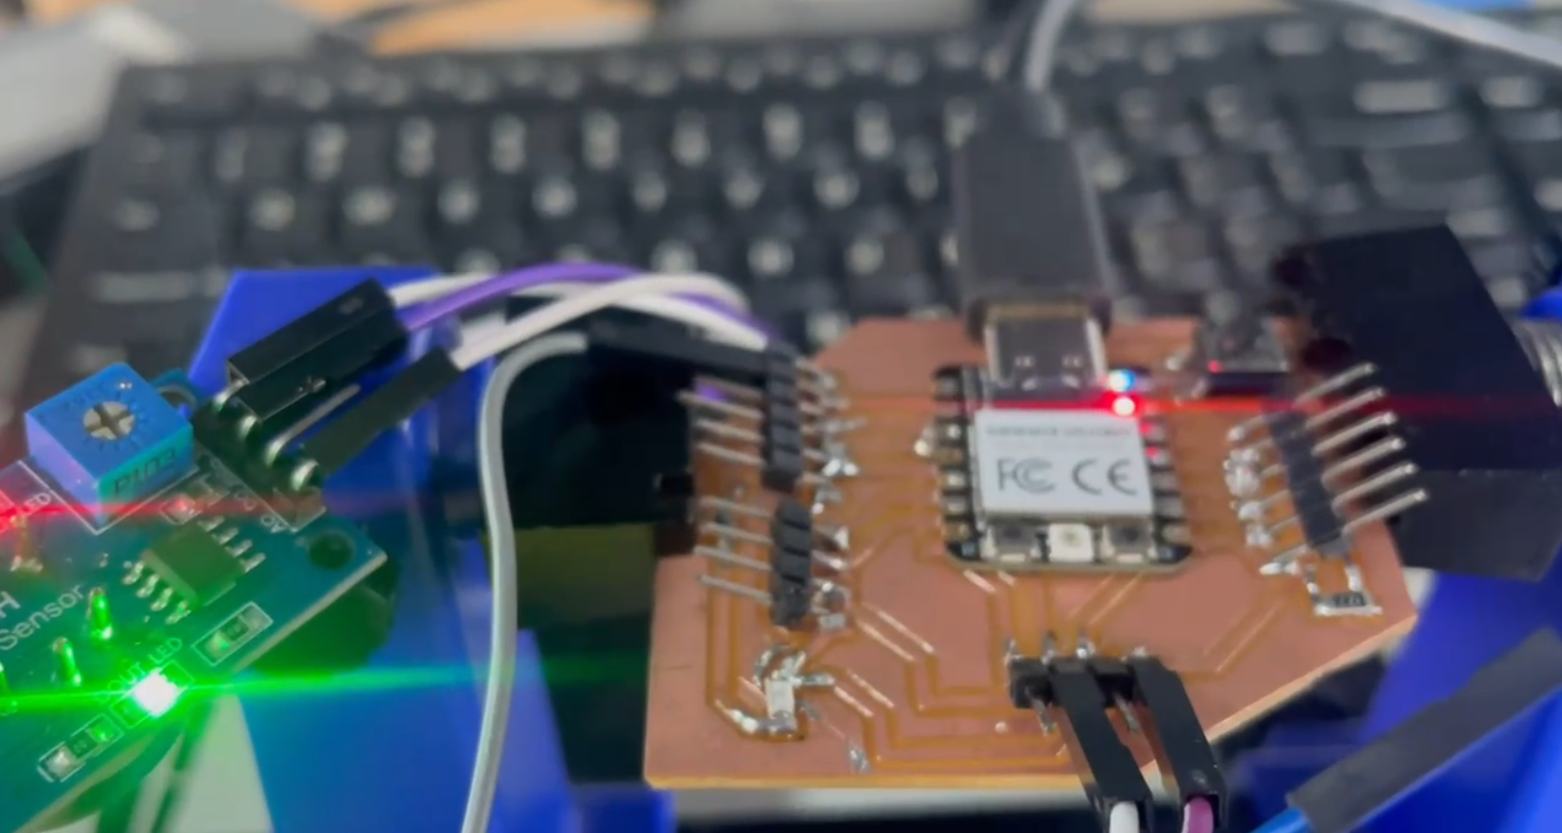
My Proximity Detection with HC-SR04 using my PCB Xiao RP2040
What I Built
I made a simple proximity detector using an HC-SR04 ultrasonic sensor and my Xiao RP2040 board. When something comes within 15cm of the sensor, the onboard D1 LED lights up. I can also see the exact distance readings in the Serial Monitor.
Parts I Used
- My Seeed Studio Xiao RP2040 microcontroller
- HC-SR04 ultrasonic distance sensor
- Some jumper wires
- USB cable to program and power the setup
How I Connected Everything
I wired up the HC-SR04 to my Xiao RP2040 like this:
| HC-SR04 Pin | Where I Connected It |
|---|---|
| VCC | 3.3V on the Xiao |
| GND | GND on the Xiao |
| TRIG | D3 on the Xiao |
| ECHO | D4 on the Xiao |
For the LED, I just used the onboard D1 LED that's already on the Xiao RP2040.
How My Project Works
The HC-SR04 is really cool - it sends out ultrasonic sound waves (too high for humans to hear) and then listens for them to bounce back. Based on how long that round trip takes, I can calculate the distance.
Here's the basic process:
- I send a quick 10μs pulse to the TRIGGER pin
- The sensor sends out ultrasonic waves
- When those waves hit something and bounce back, the ECHO pin goes HIGH
- I measure how long the ECHO pin stays HIGH
- I use that time to calculate distance (speed of sound is 343 m/s)
- If that distance is less than 15cm, I turn on the LED
My Code
I wrote this Arduino code to make it all work:
// Simple HC-SR04 distance monitor with LED indicator
// Shows distance in Serial Monitor
#define TRIGGER D3
#define ECHO D4
#define LED D1
// How close before the LED turns on (in cm)
#define DETECT_DISTANCE 15

void setup() {
  // Start serial communication
  Serial.begin(9600);
  Serial.println("Distance Sensor Ready");

  // Setup pins
  pinMode(TRIGGER, OUTPUT);
  pinMode(ECHO, INPUT);
  pinMode(LED, OUTPUT);

  // Flash LED to show we're working
  digitalWrite(LED, HIGH);
  delay(500);
  digitalWrite(LED, LOW);
}

void loop() {
  // Get current distance
  float cm = readSensor();

  // Show in serial monitor
  Serial.print("Distance: ");
  Serial.print(cm);
  Serial.println(" cm");

  // Turn LED on/off based on distance
  if (cm < DETECT_DISTANCE && cm > 0) {
    digitalWrite(LED, HIGH);  // Object detected
    Serial.println("Object detected!");
  } else {
    digitalWrite(LED, LOW);   // No object
  }

  // Wait a bit before next reading
  delay(250);
}

// Read the ultrasonic sensor
float readSensor() {
  // Clear trigger
  digitalWrite(TRIGGER, LOW);
  delayMicroseconds(5);

  // Send pulse
  digitalWrite(TRIGGER, HIGH);
  delayMicroseconds(10);
  digitalWrite(TRIGGER, LOW);

  // Measure response time
  long time = pulseIn(ECHO, HIGH, 25000); // 25ms timeout

  // Convert to distance (cm)
  // Sound speed = 343m/s = 0.0343cm/μs
  // Divide by 2 (round trip)
  float distance = time * 0.0343 / 2;

  return distance;
}
What Each Part of My Code Does
In the setup() function:
- I start serial communication at 9600 baud so I can see the readings
- I configure the pins: TRIGGER as OUTPUT and ECHO as INPUT
- I make the LED flash once so I know the code is running
In the main loop():
- I get the current distance by calling my readSensor() function
- I print that distance to the Serial Monitor so I can see it
- If something is closer than 15cm (and greater than 0), I turn on the LED
- I wait a quarter second before taking another reading
My readSensor() function:
- Sends a short 10μs pulse on the TRIGGER pin
- Measures the duration the ECHO pin stays HIGH using pulseIn()
- Converts that time to distance in centimeters using the speed of sound
- Returns the calculated distance
Video
My MQ-2 Paper Smoke Detector with Xiao RP2040
What I Built
I created a simple paper smoke detector using an MQ-2 gas sensor and my Xiao RP2040 board. The device monitors the air for smoke from burning paper or wood and rapidly blinks the onboard LED when smoke is detected. I can also monitor the smoke levels in real-time through the Serial Monitor.
Parts I Used
- Seeed Studio Xiao RP2040 microcontroller
- MQ-2 gas/smoke sensor module
- Jumper wires
- USB cable for programming and power
How I Connected Everything
I kept the wiring really simple:
| MQ-2 Pin | Where I Connected It |
|---|---|
| VCC | 3.3V on the Xiao |
| GND | GND on the Xiao |
| AO | A0 on the Xiao |
For the alert indicator, I just used the onboard D1 LED that comes with my Xiao RP2040.
How My Project Works
The MQ-2 sensor is designed to detect combustible gases and smoke particles. It's particularly sensitive to smoke from burning paper and wood, which is exactly what I wanted to detect. Here's how it works:
- The sensor has a heating element that needs to warm up (that's why I added a 10-second delay at startup)
- When the sensor detects smoke particles, its electrical resistance changes
- This change is converted to an analog voltage that I can read with the Xiao's A0 pin
- I set a threshold value (700) based on testing with actual paper smoke
- When readings go above this threshold, the LED blinks rapidly to alert me
- All readings are also displayed in the Serial Monitor so I can see exactly what's happening
My Code
Here's the Arduino code I wrote to make it all work:
// MQ-2 Paper Smoke Detector for Xiao RP2040
        // Will blink LED when smoke from paper/wood is detected
        #define SMOKE_PIN A0     // MQ-2 sensor analog output to A0
        #define LED_PIN D1       // Onboard LED
        // Adjust this threshold based on testing with actual paper smoke
        #define SMOKE_THRESHOLD 700

        void setup() {
          pinMode(LED_PIN, OUTPUT);

          // Set up serial communication
          Serial.begin(9600);
          Serial.println("Paper Smoke Detector Starting");

          // Initial LED flash to show system is starting
          digitalWrite(LED_PIN, HIGH);
          delay(500);
          digitalWrite(LED_PIN, LOW);

          // Warm up the sensor (MQ-2 needs this)
          Serial.println("Warming up sensor (10 seconds)...");
          for(int i=10; i>0; i--) {
            Serial.print(i);
            Serial.print("... ");
            delay(1000);
          }
          Serial.println("\nSensor ready!");
        }

        void loop() {
          // Read smoke level from MQ-2
          int smokeLevel = analogRead(SMOKE_PIN);

          // Show current reading
          Serial.print("Smoke level: ");
          Serial.print(smokeLevel);

          // Check for smoke detection
          if(smokeLevel > SMOKE_THRESHOLD) {
            Serial.println(" - SMOKE DETECTED!");

            // Blink LED rapidly when smoke detected
            for(int i=0; i<5; i++) {
              digitalWrite(LED_PIN, HIGH);
              delay(100);
              digitalWrite(LED_PIN, LOW);
              delay(100);
            }
          } else {
            Serial.println(" - Normal");
            digitalWrite(LED_PIN, LOW);
          }

          delay(500);
        }
What Each Part of My Code Does
In the setup() function:
- I configure the LED pin as an output
- I start serial communication at 9600 baud rate so I can view the readings
- I make the LED blink once so I know the system is starting up
- I added a 10-second warm-up period with a countdown - this is crucial for the MQ-2 sensor as it needs time to heat up its sensing element before it gives accurate readings
In the main loop():
- I read the current smoke level using analogRead() on the A0 pin
- I print this value to the Serial Monitor so I can see the actual numbers
- I check if the smoke level exceeds my predetermined threshold (700)
- If smoke is detected, I print a warning message and make the LED blink rapidly 5 times
- If no smoke is detected, I keep the LED off and print "Normal" status
- I wait half a second before taking the next reading
How I Calibrated It
Figuring out the right threshold value was the trickiest part:
- I first ran the code without any smoke present and watched the "normal" readings in the Serial Monitor
- Then I carefully created a tiny bit of paper smoke (in a safe environment!) and observed how the readings jumped
- I set my SMOKE_THRESHOLD value at 700 based on these tests, which gave me good detection without false alarms
- You might need to adjust this value based on your specific sensor and environment