What I Had to Do This Week
This week was all about molding and casting - basically making a mold and then using it to create copies of something. The assignment was to design and 3D print a mold, then cast something with it. I decided to try making a decorative flower design since it seemed like a good way to test detailed molding.
My Design Process in Onshape
I started by designing my flower shape in Onshape. The plan was to create a detailed flower that would look good as a cast object - maybe something I could use as decoration or even a small gift.
Step 1: Creating the Basic Flower Shape
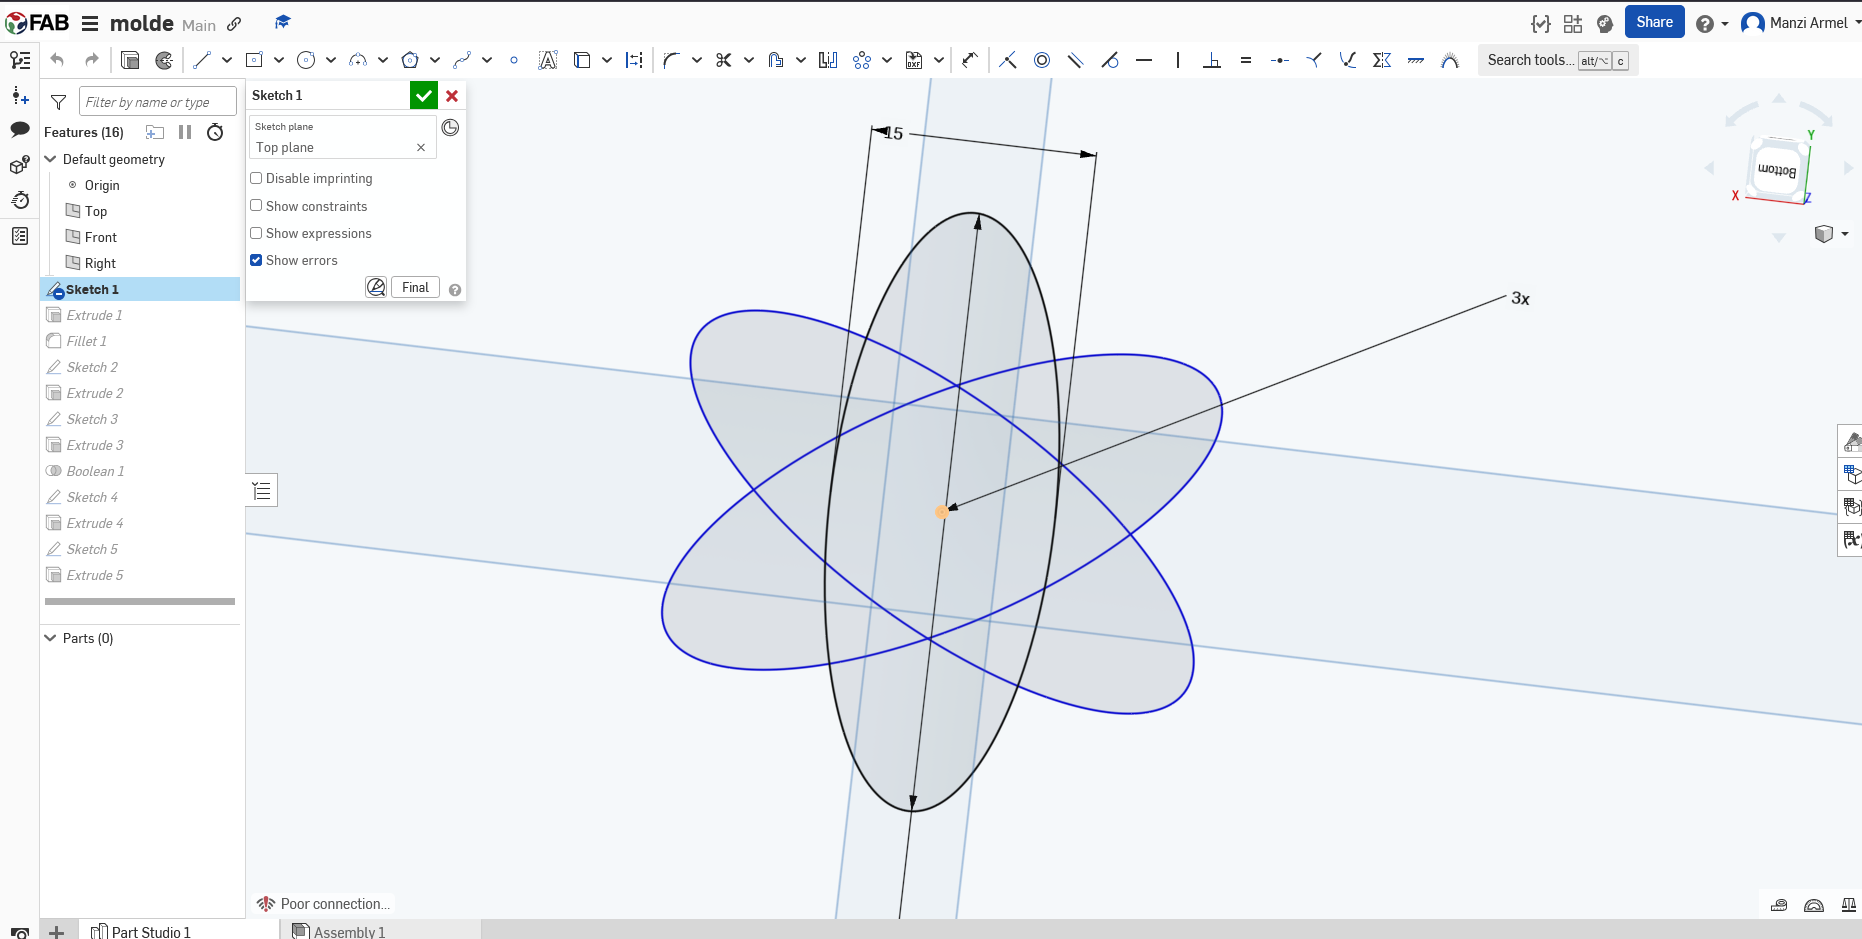
Started with a basic flower outline on a elipsed shape then used circular pattern.
I began by sketching a flower pattern and then extruding it into a block that would serve as my mold. The tricky part was making sure the flower had enough detail to be interesting but not so much that it would be impossible to cast properly.
Step 2: extruded the shape

extruded the pattern to make is a flower
Step 3: Working on the fillet
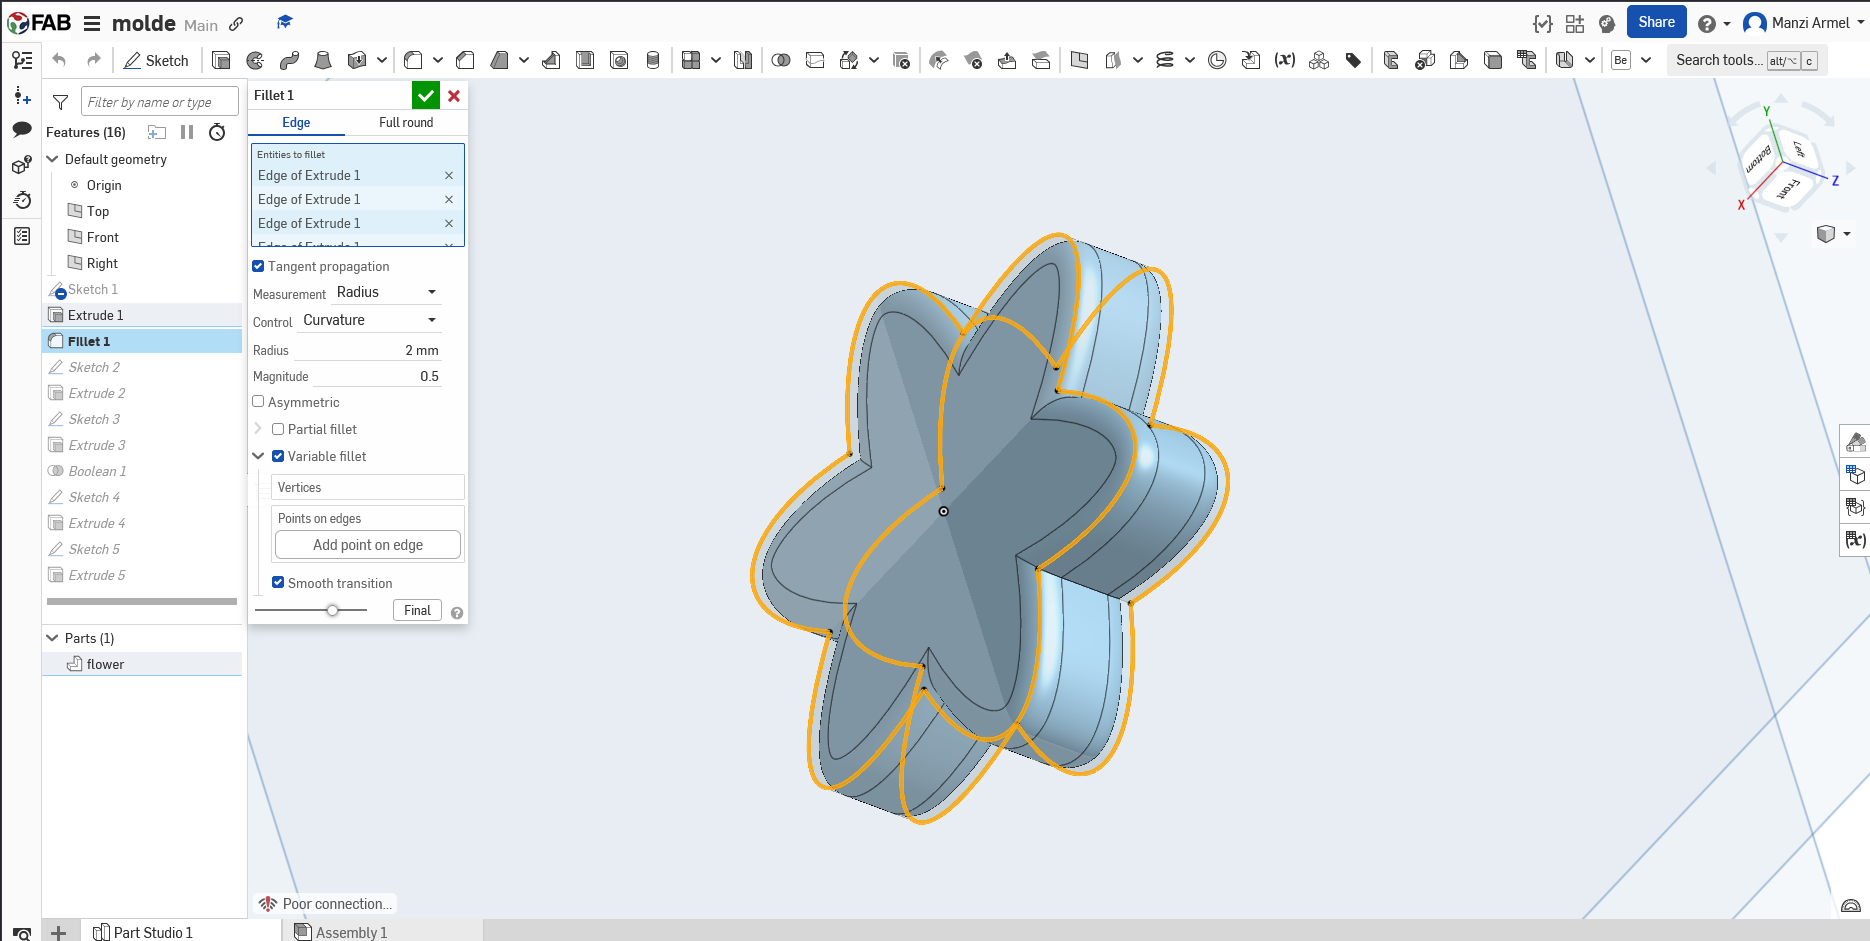
i added some fillet to the flower so that the molde will have same curved shape
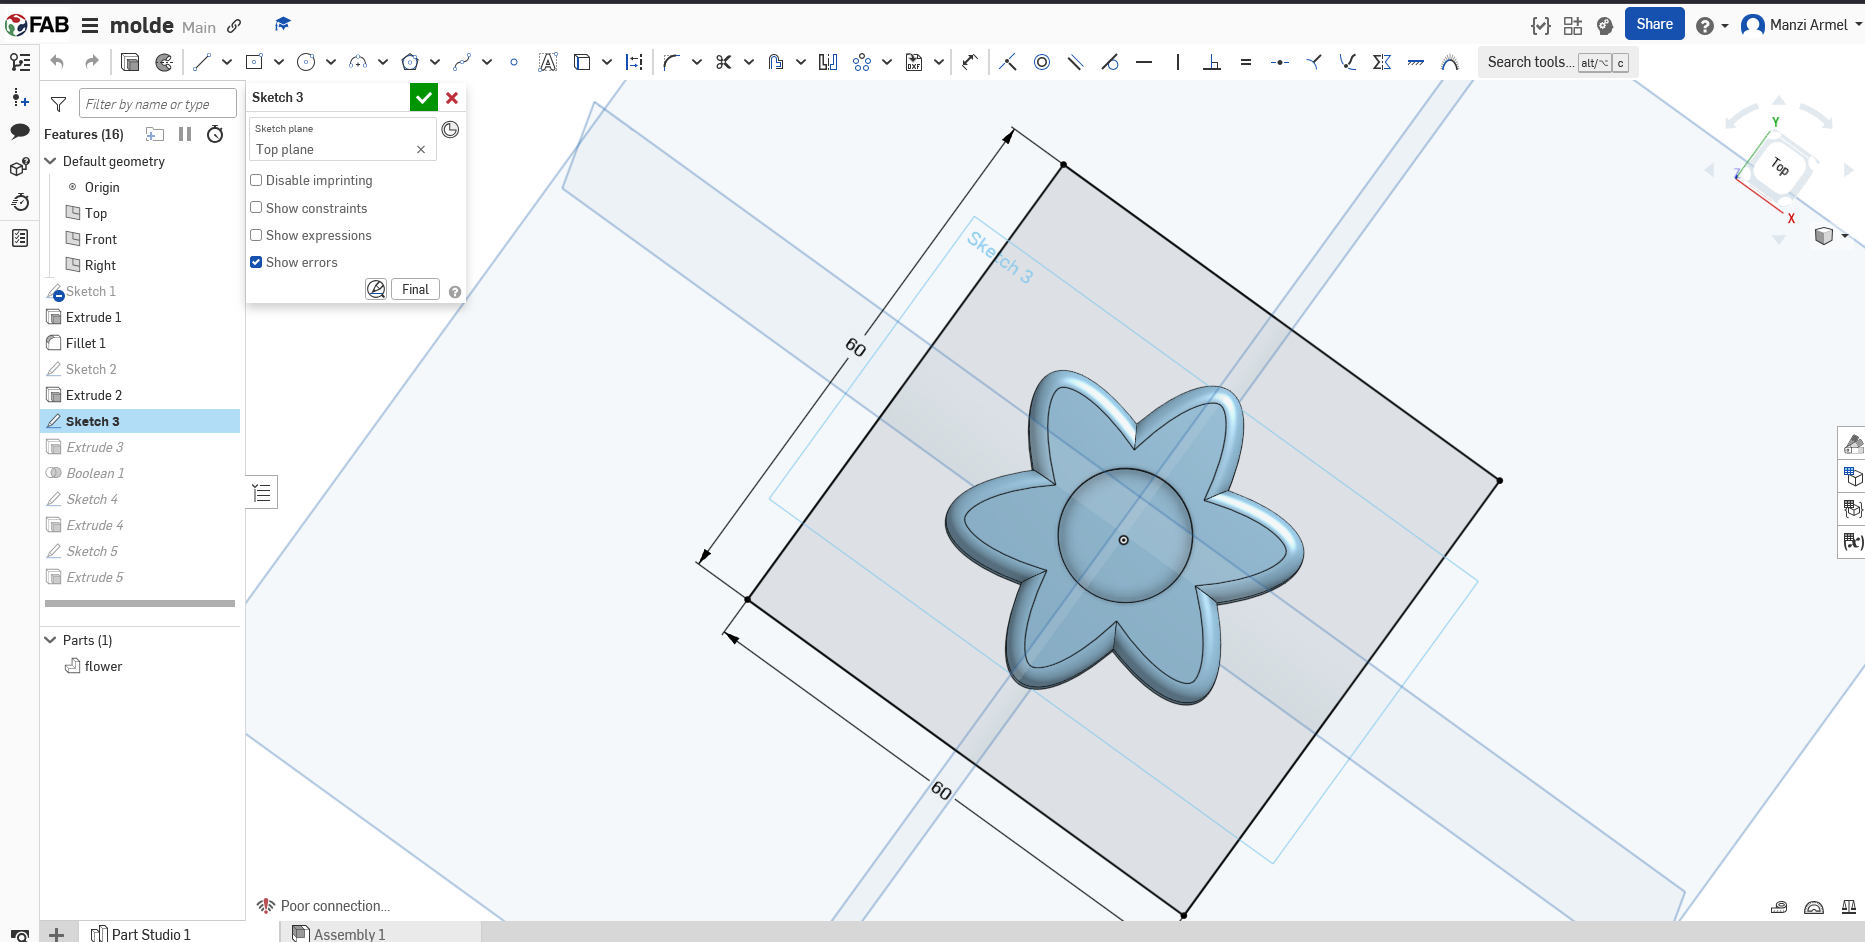
Step 4: final flower
here is the flower the we will use to create the mold
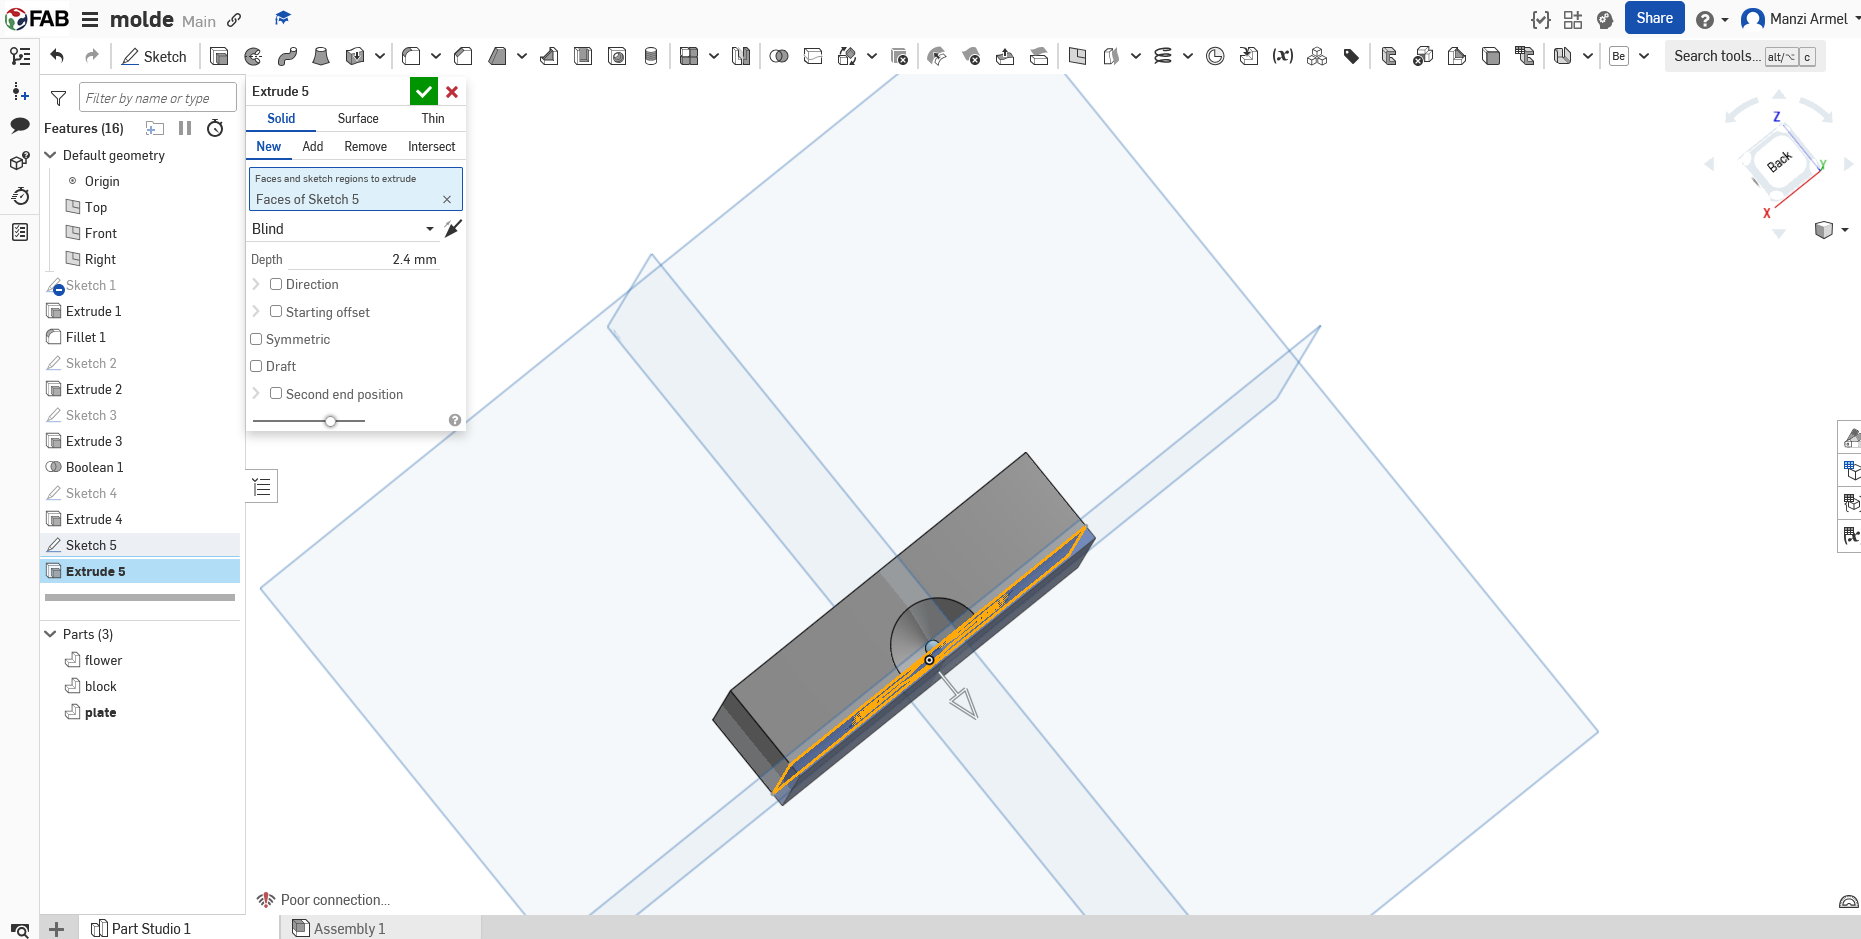
Step 5: top Profile View
started by creating a rectangle sketch on top view to create a mold
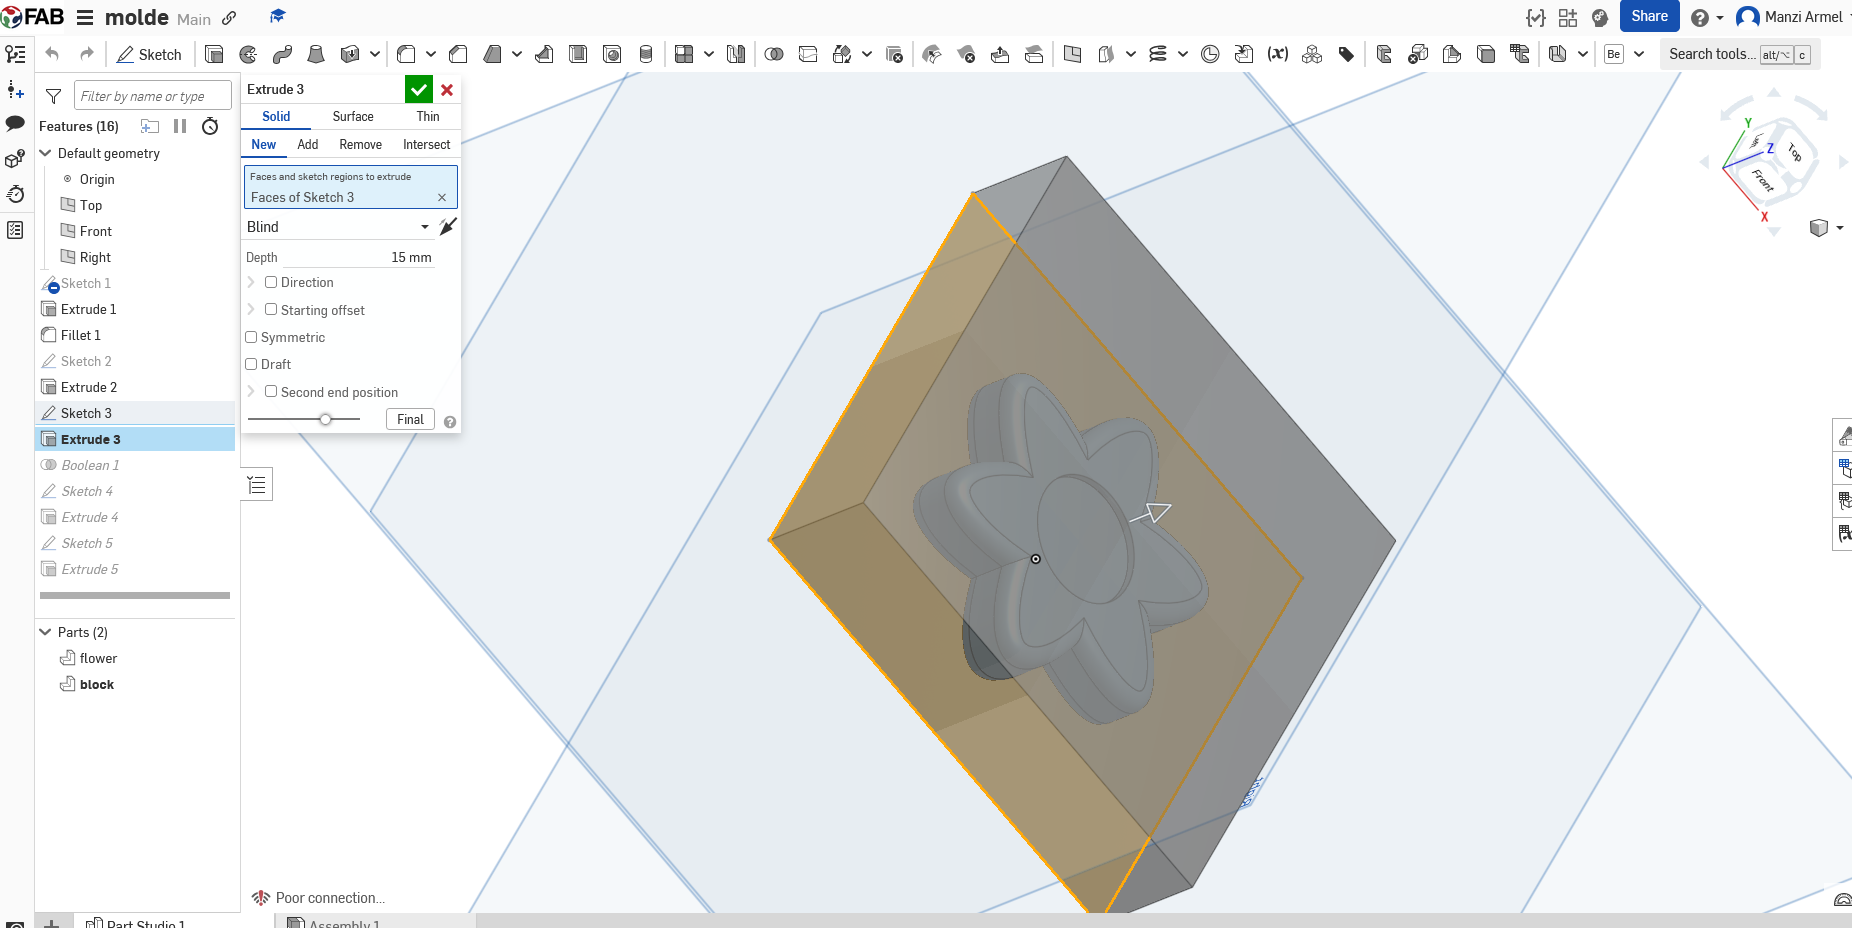
exclude the rectangle
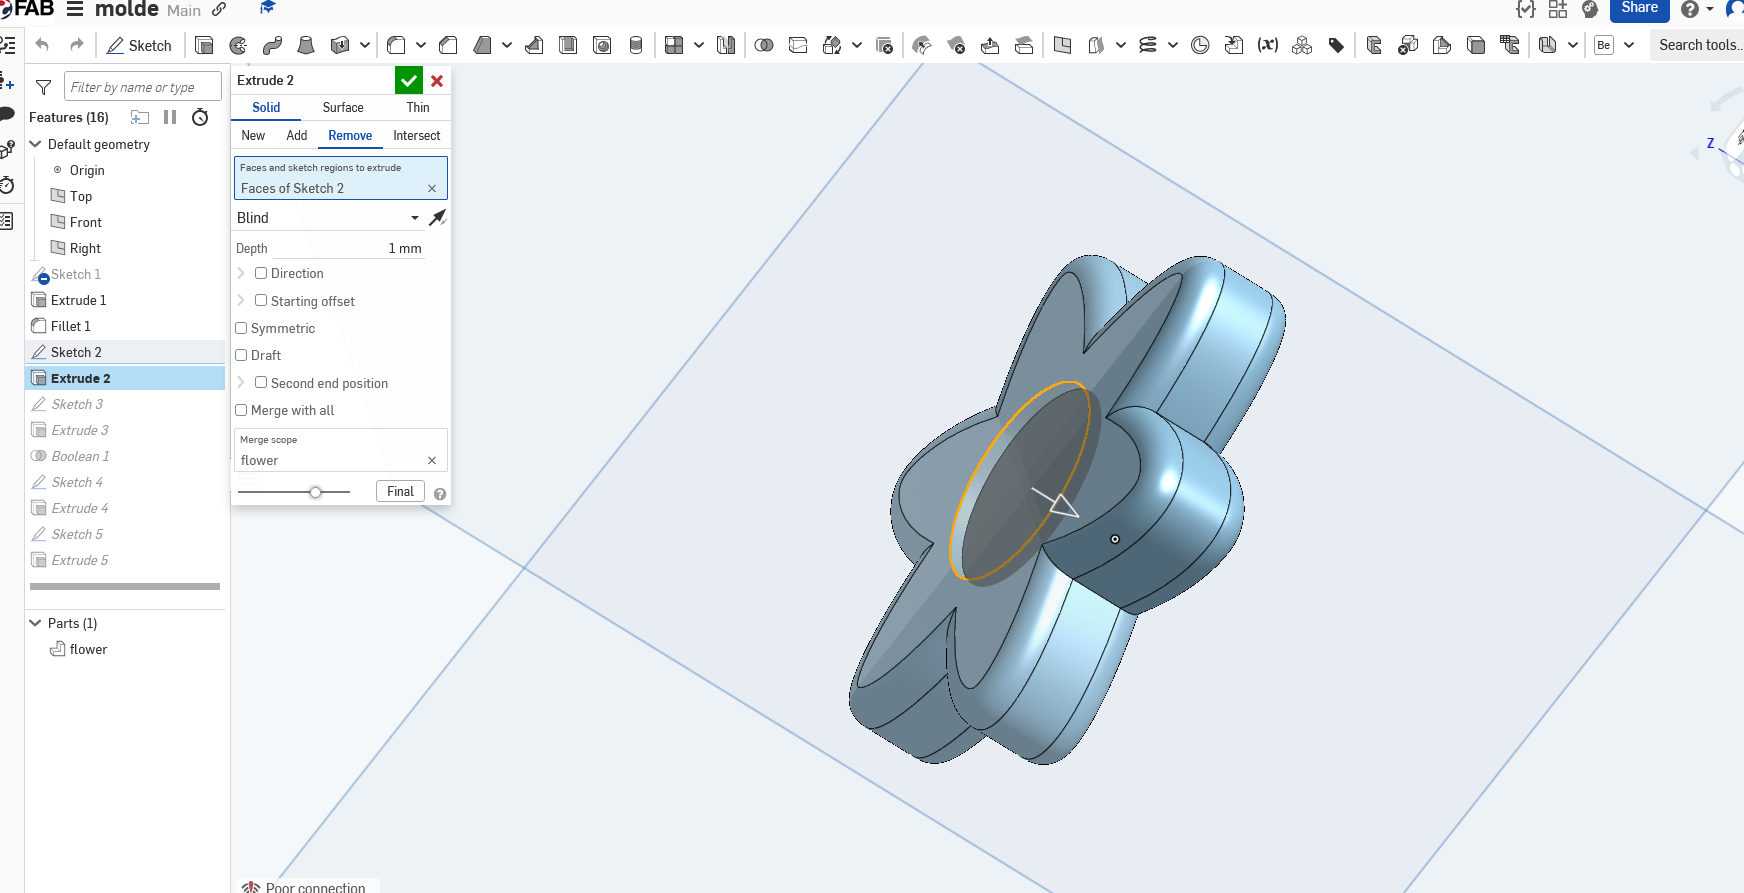
Step 7: Adding Fillets for Better Flow
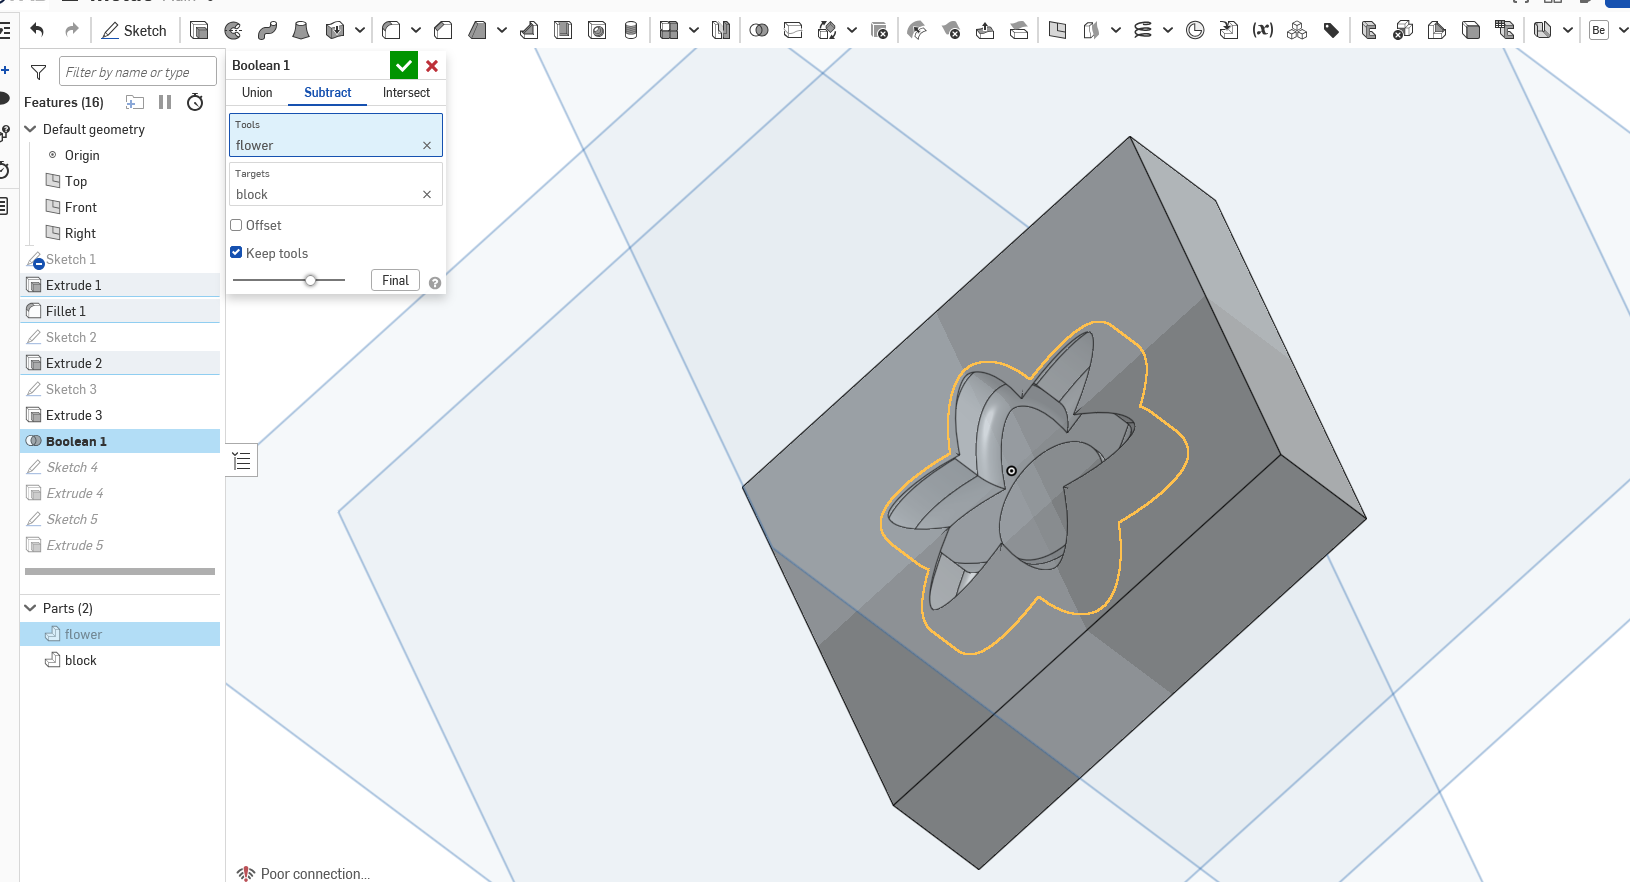
I used boolean operations to subtract the flower shape from my mold block. This is where the actual cavity gets created - basically cutting out the flower shape so casting material can fill that space.
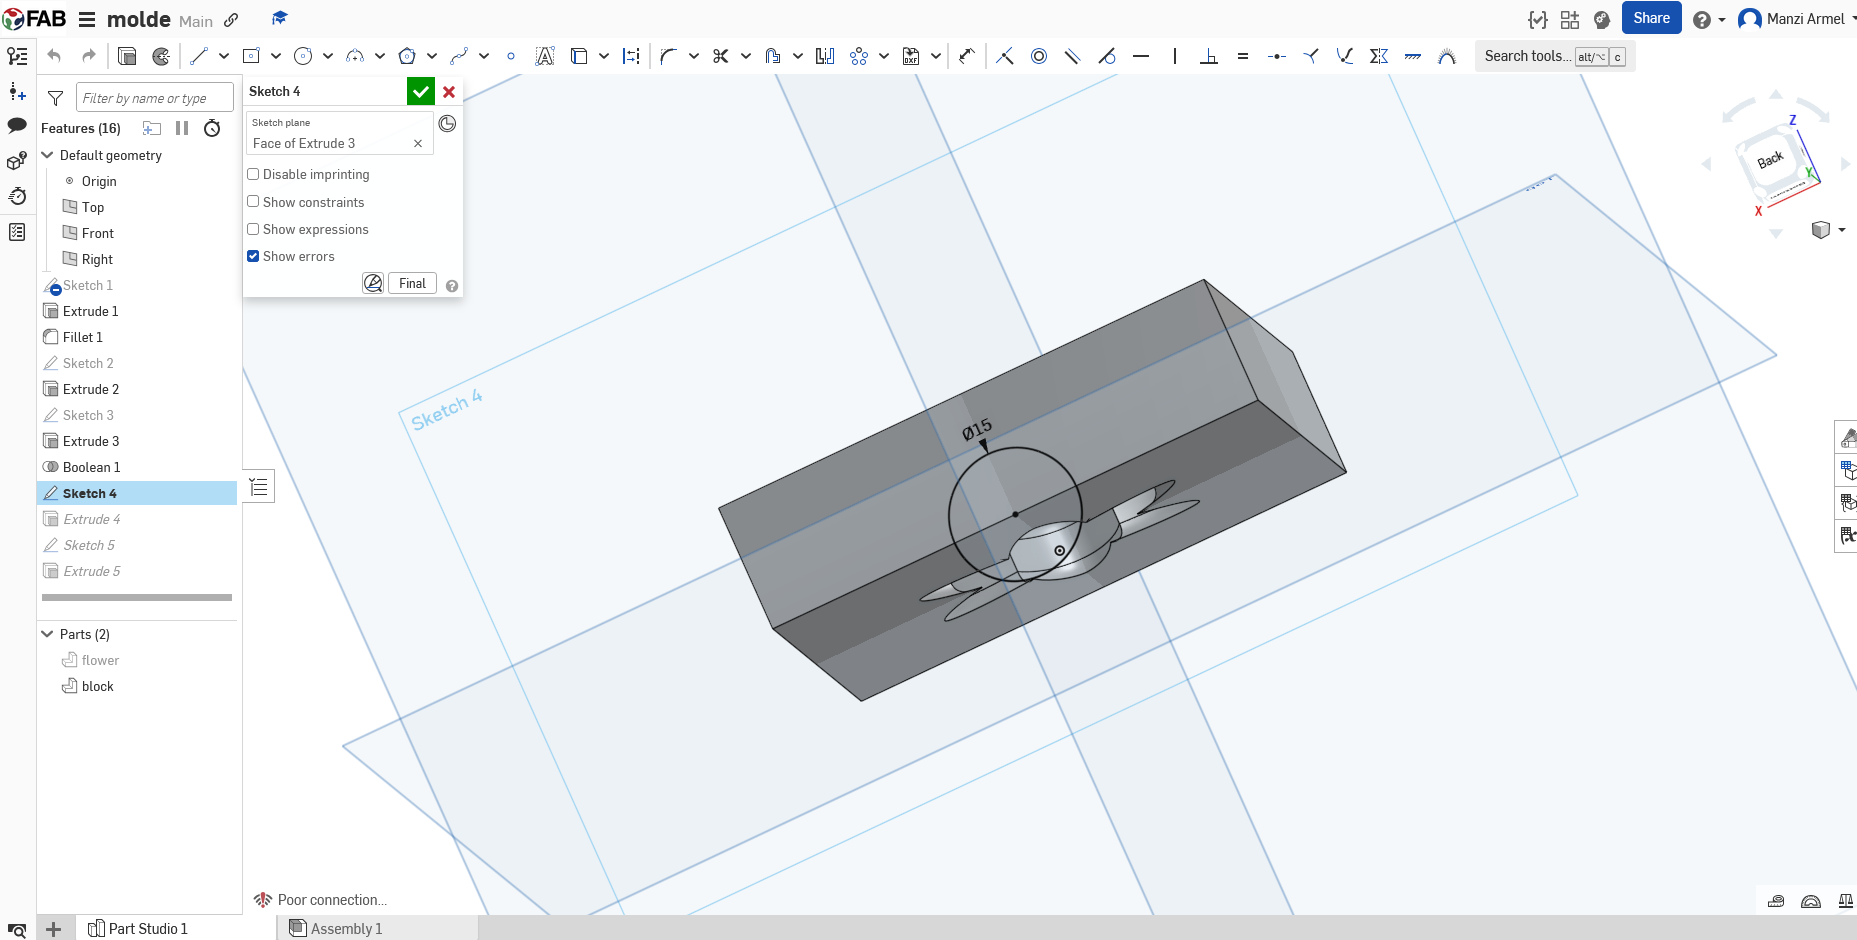
had to add where the wax will pass when starting the creation
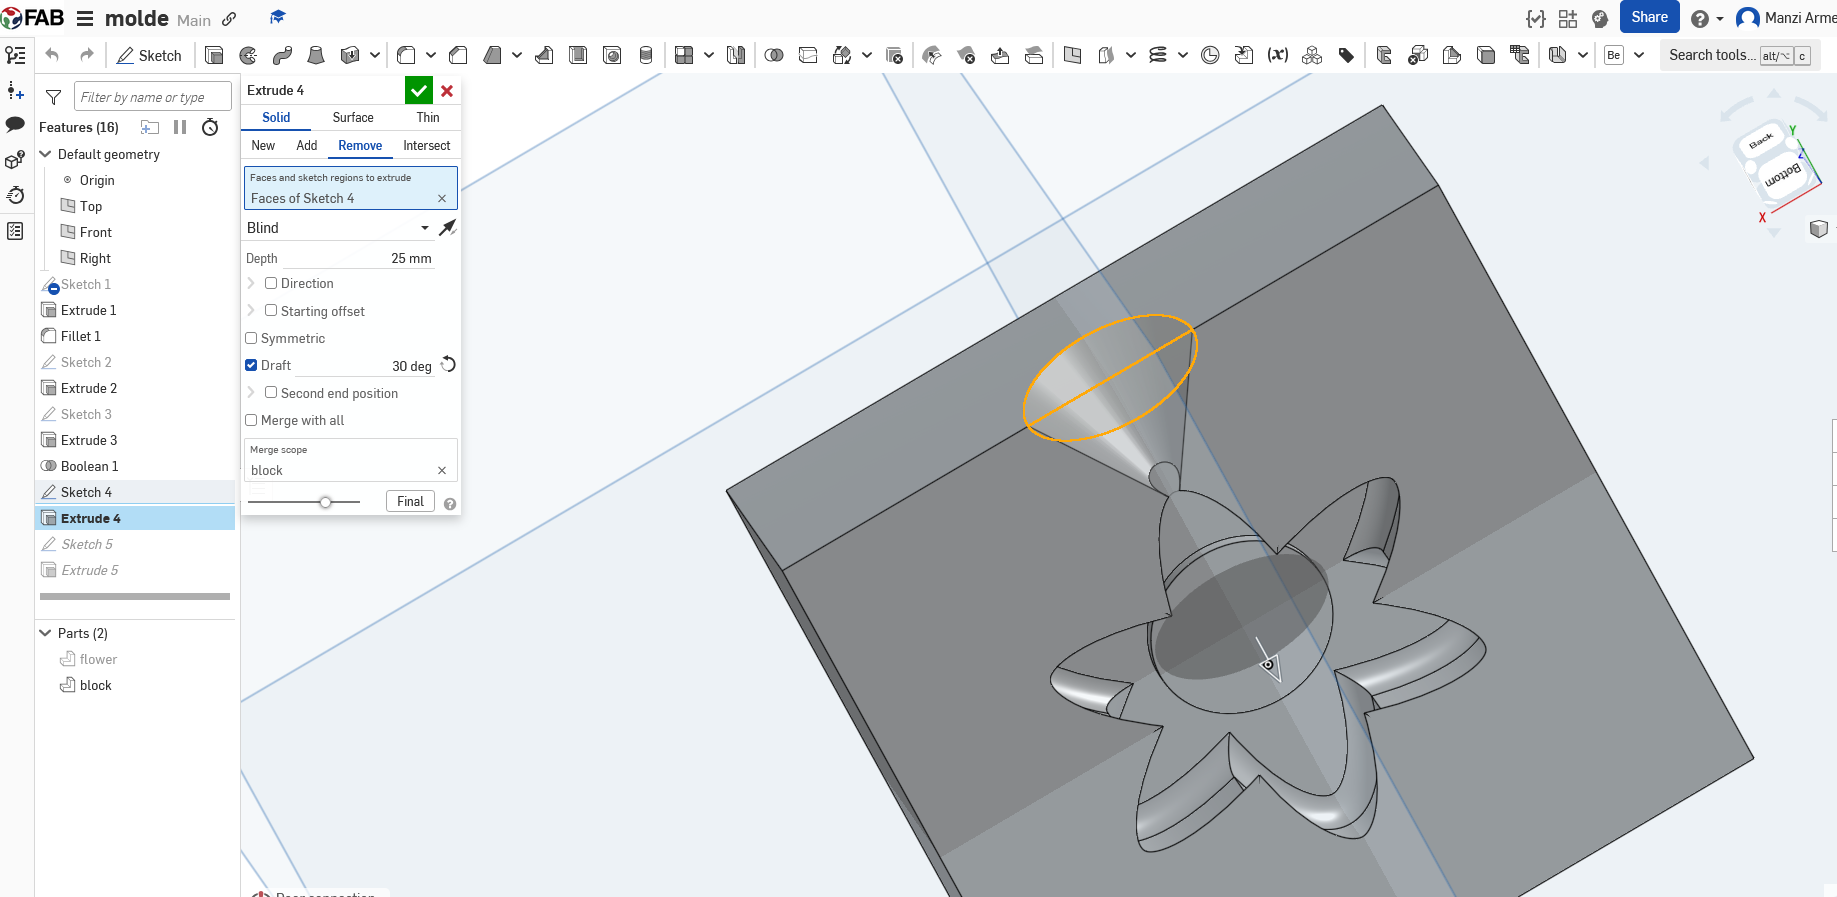
remove the part to create the parth for the wax
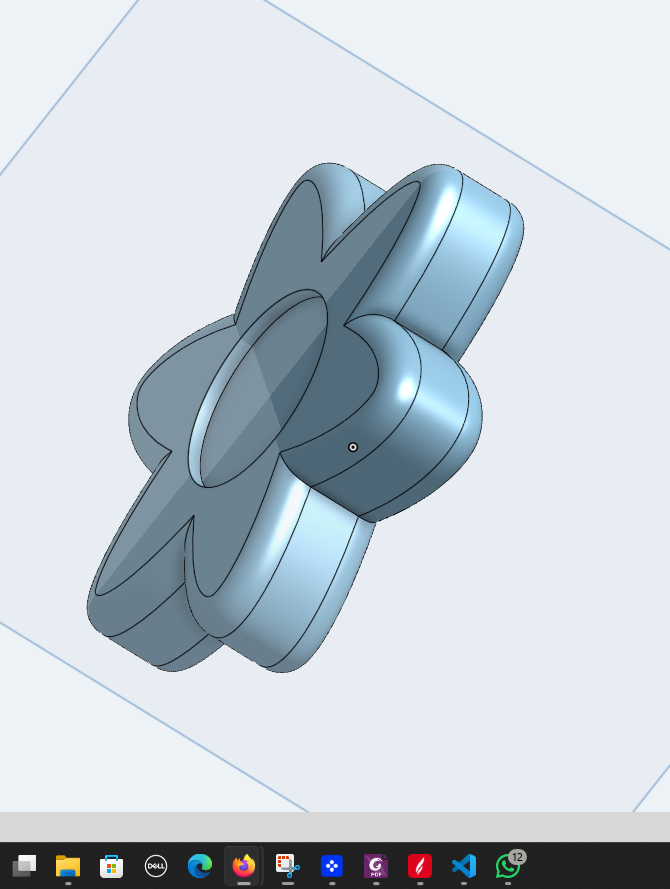
Step 9: Final 3D Model
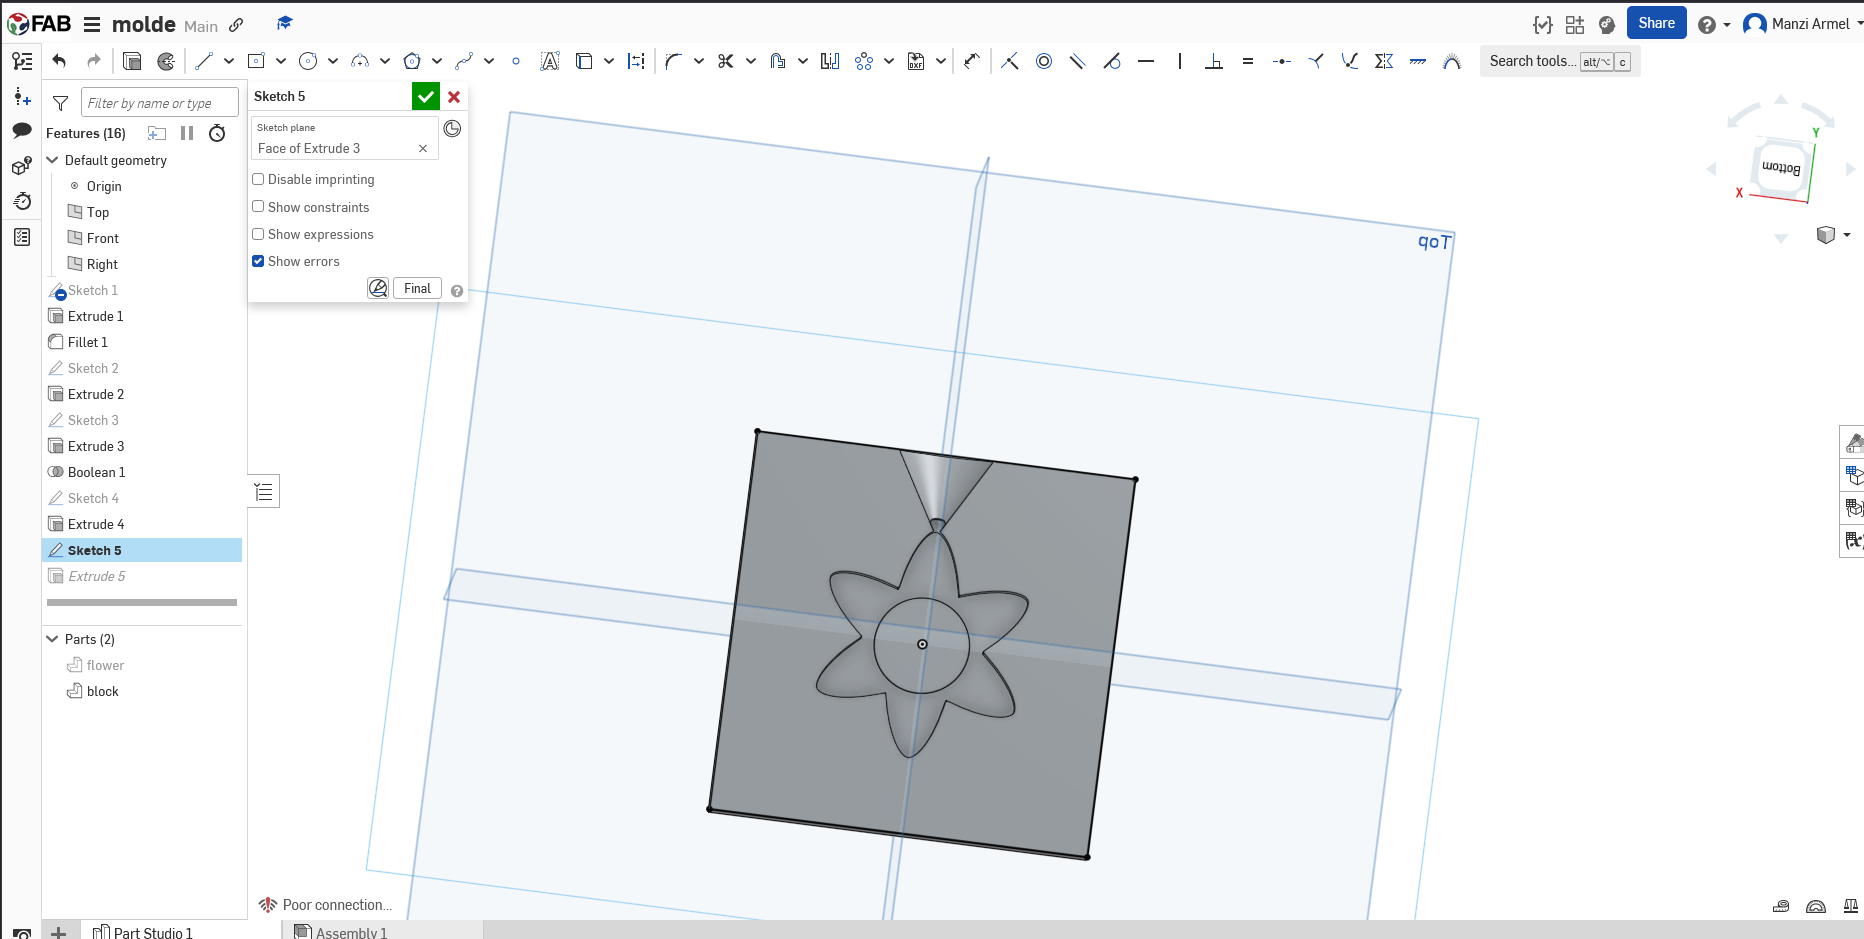
The final 3D model of my flower casting, showing how it will look when cast.
This shows what the final cast flower should look like. The detail level looked good in the 3D model - detailed enough to be interesting but simple enough that it should cast well.
Step 10: Complete Assembly
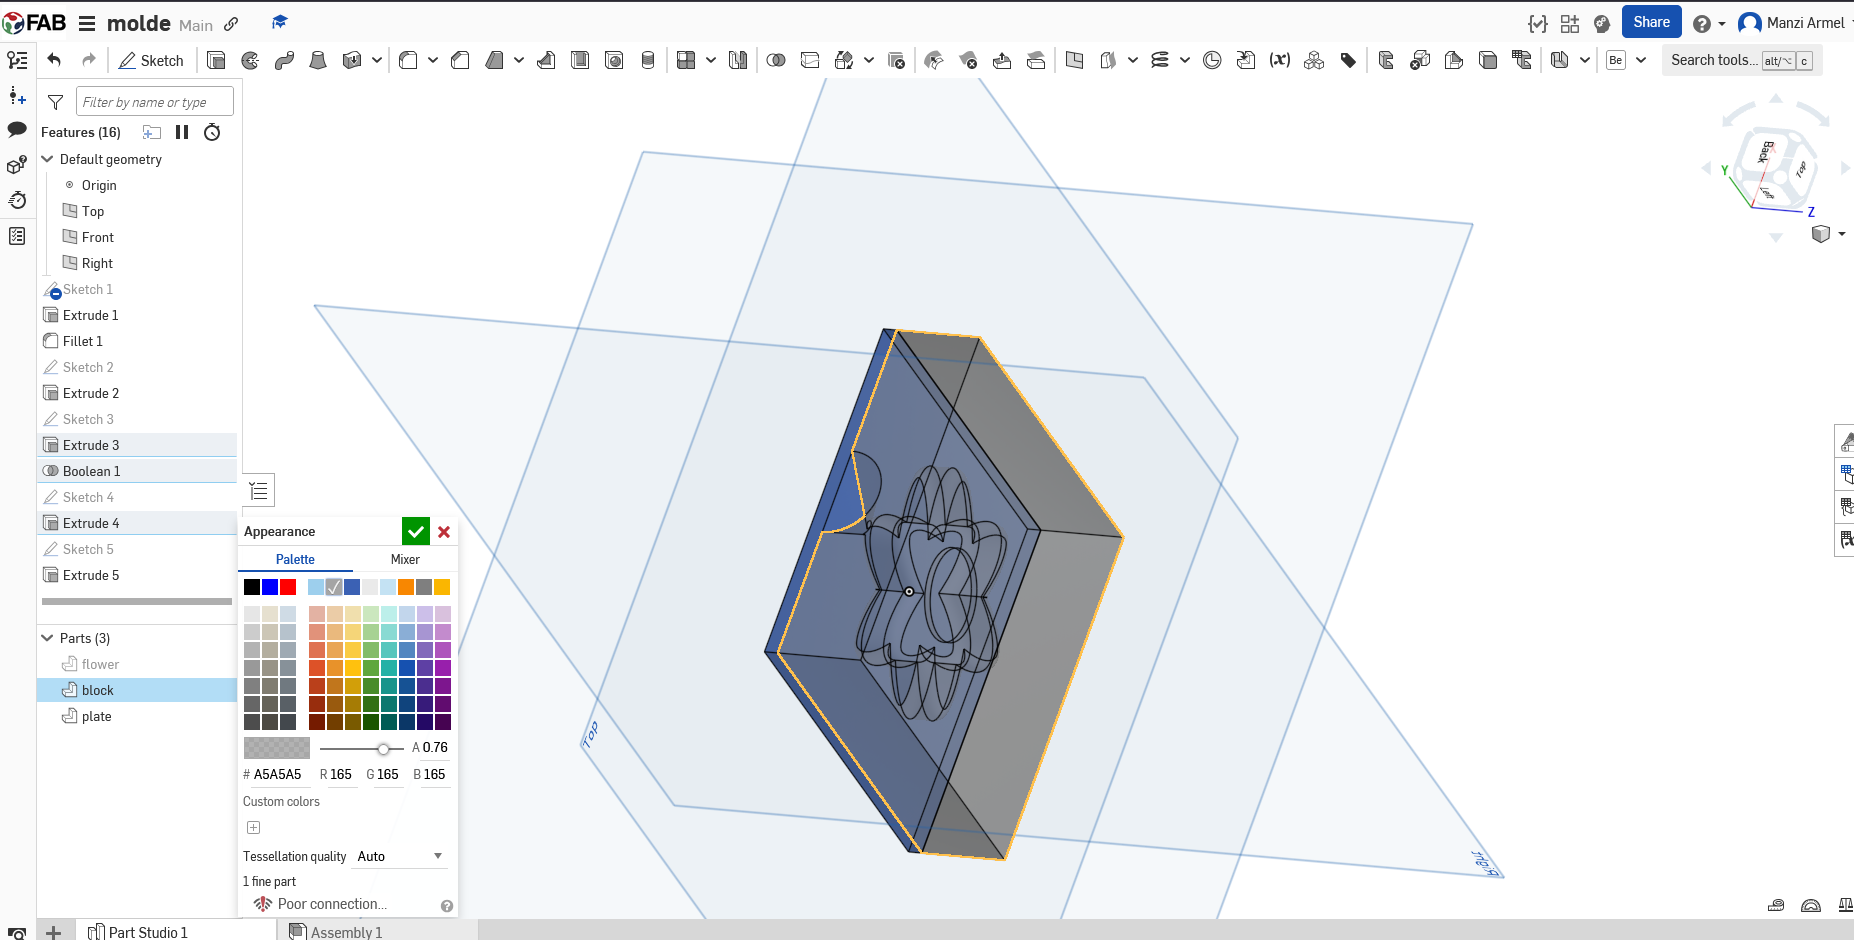
The complete flower design showing all the details that will be reproduced in the casting process.
The final assembly shows how all the parts work together. I was pretty happy with how the design turned out - it had nice organic curves and good detail without being overly complex.
3d printing the molds for wax
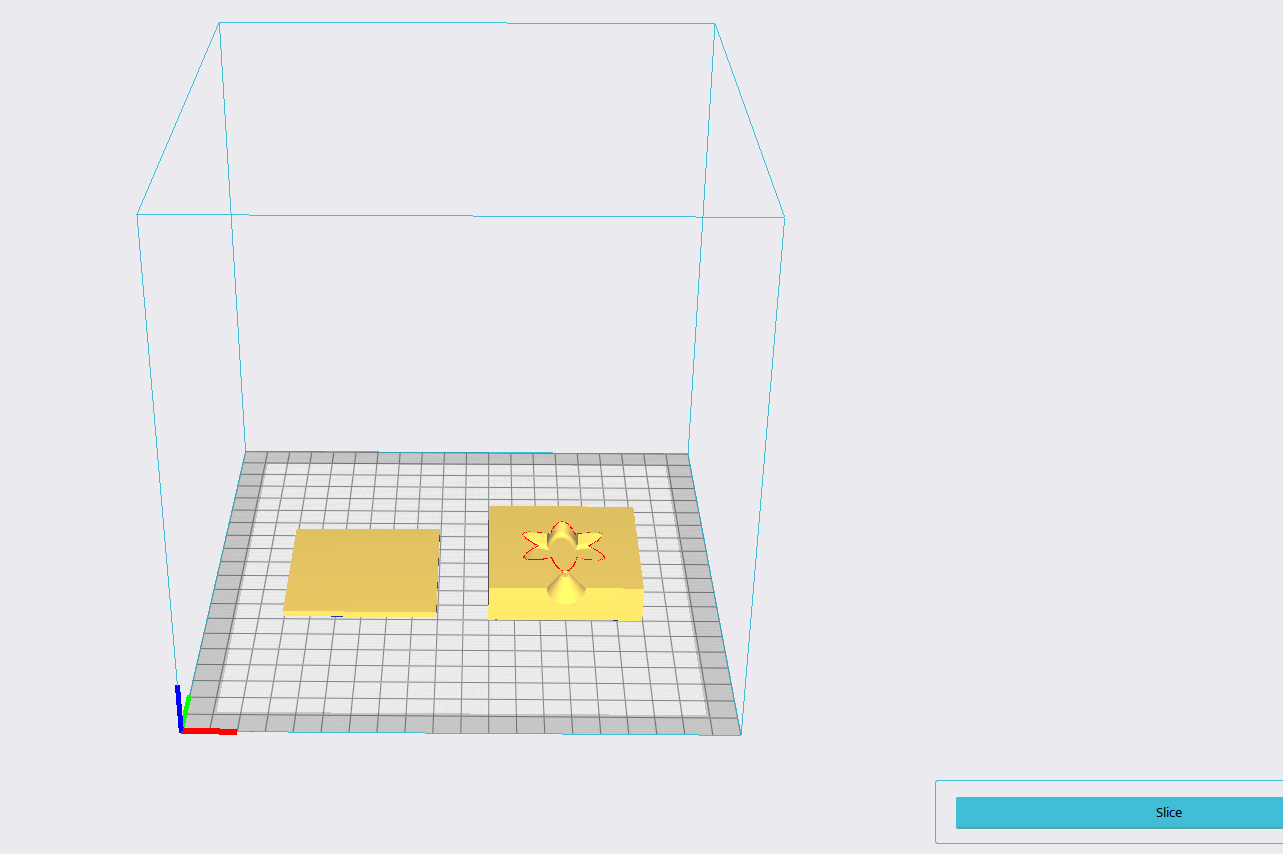
slicing the stl

3d printed molde
applying the wax into the molde (flower cuddle)
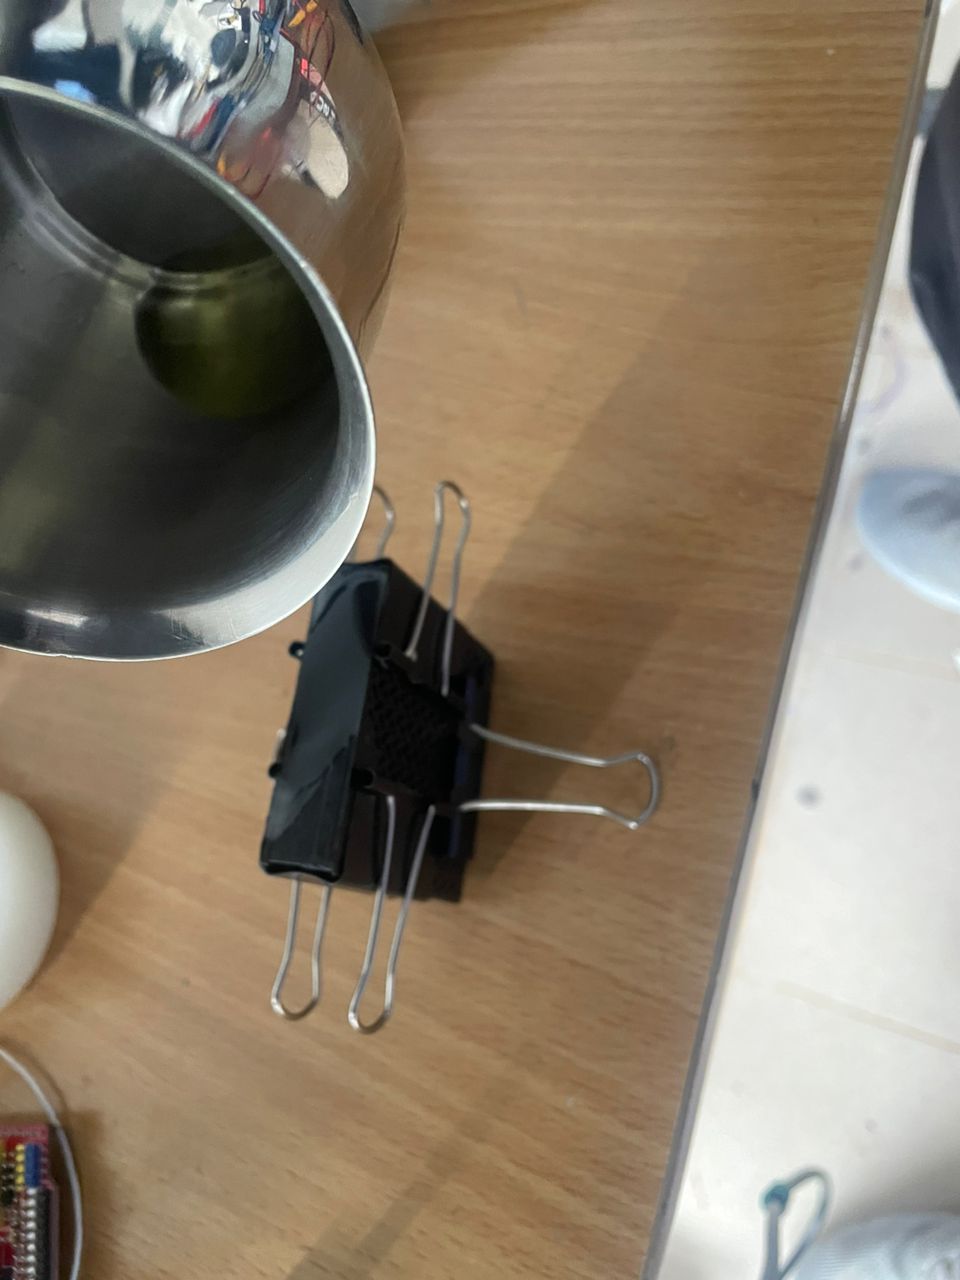
i started by apply some lubricant for the wax to be removed easely

I used the paper clips to holde the part together
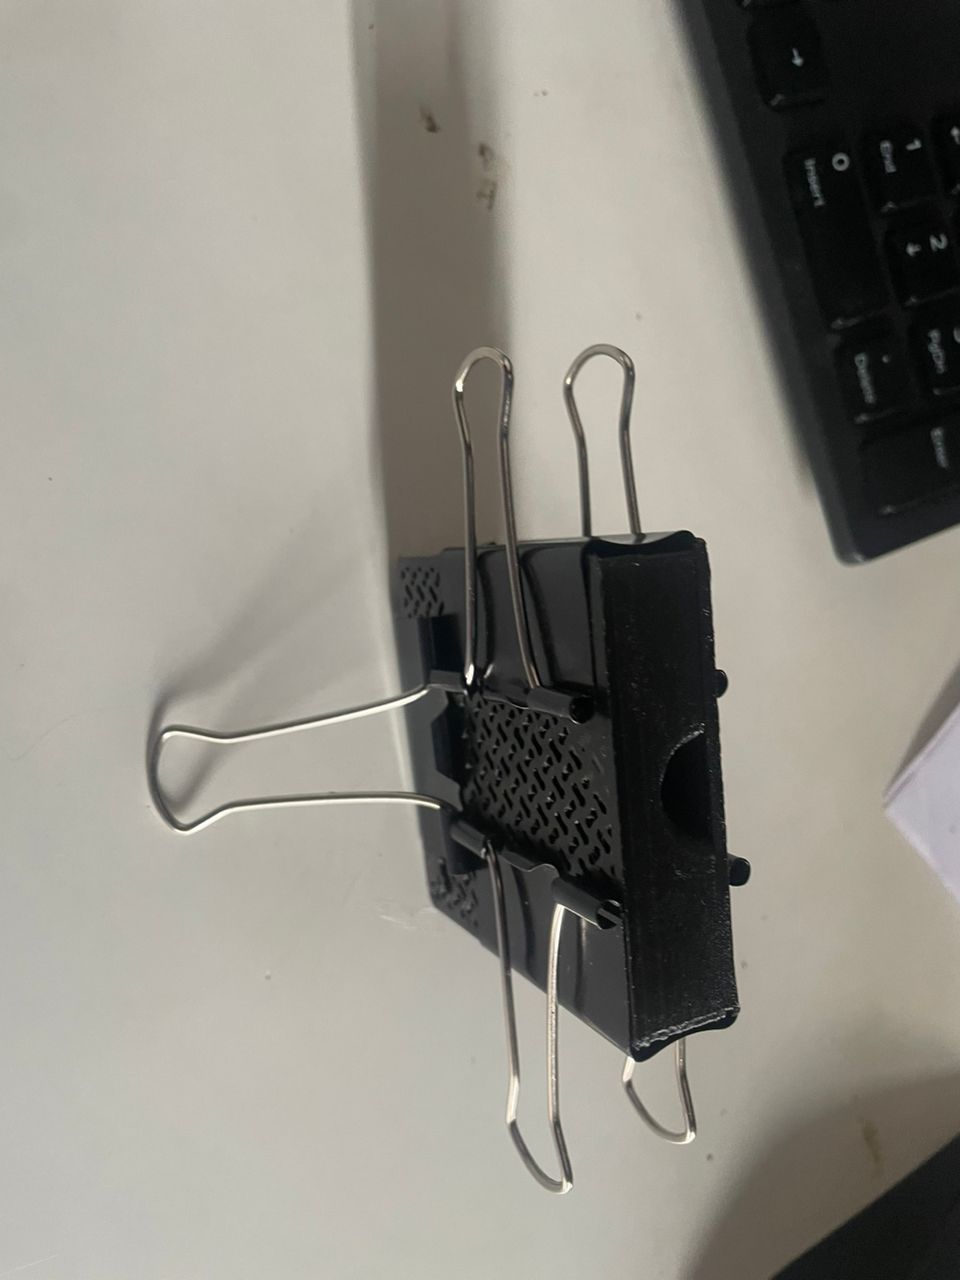
the paper clips has done the job ready to insert the wax
here is the wax used with some good smell
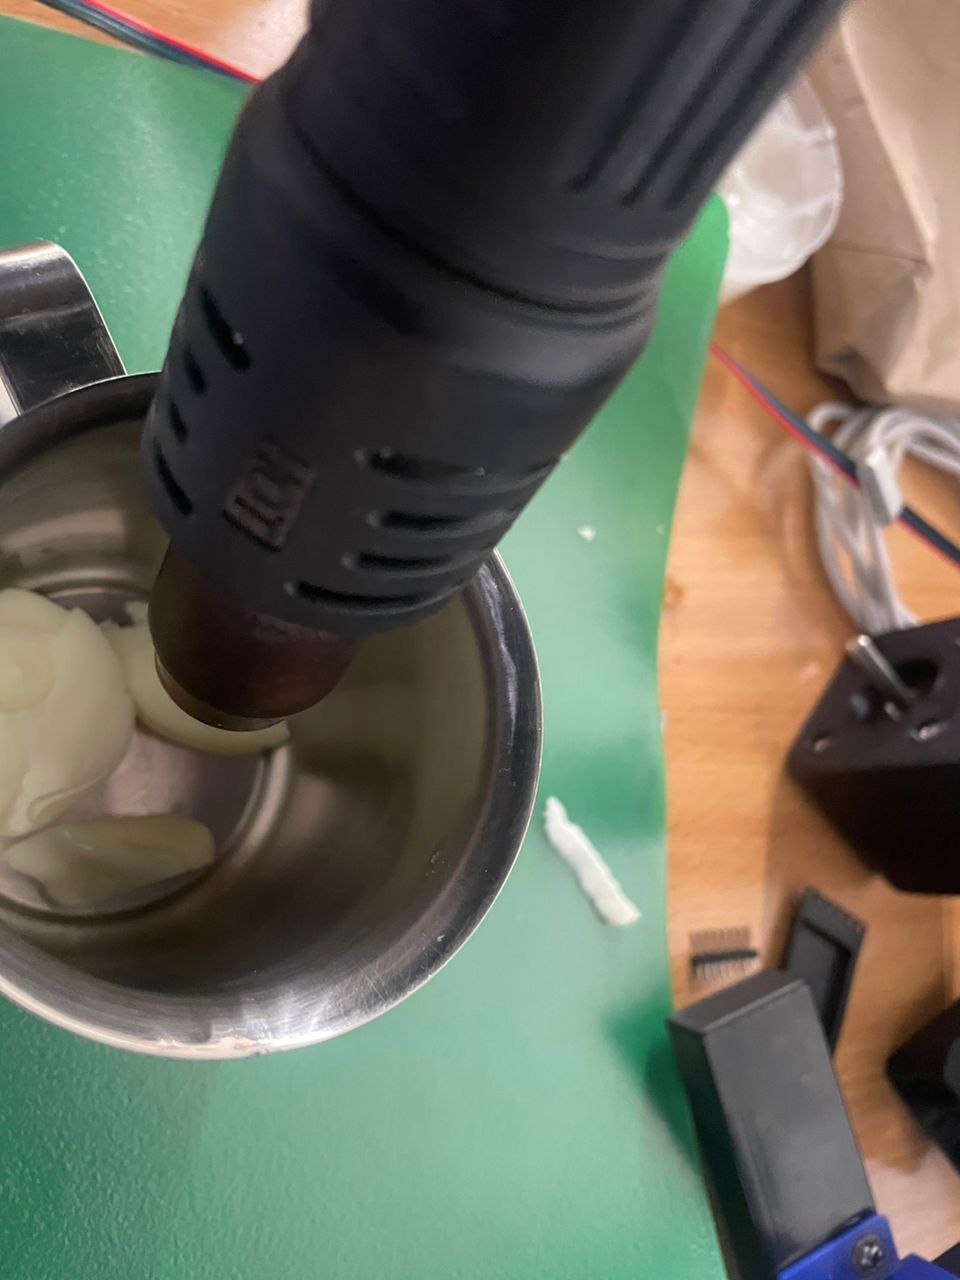
cutting the wax into small part and started hiting them
wax in liquide form and am puting it into the molde

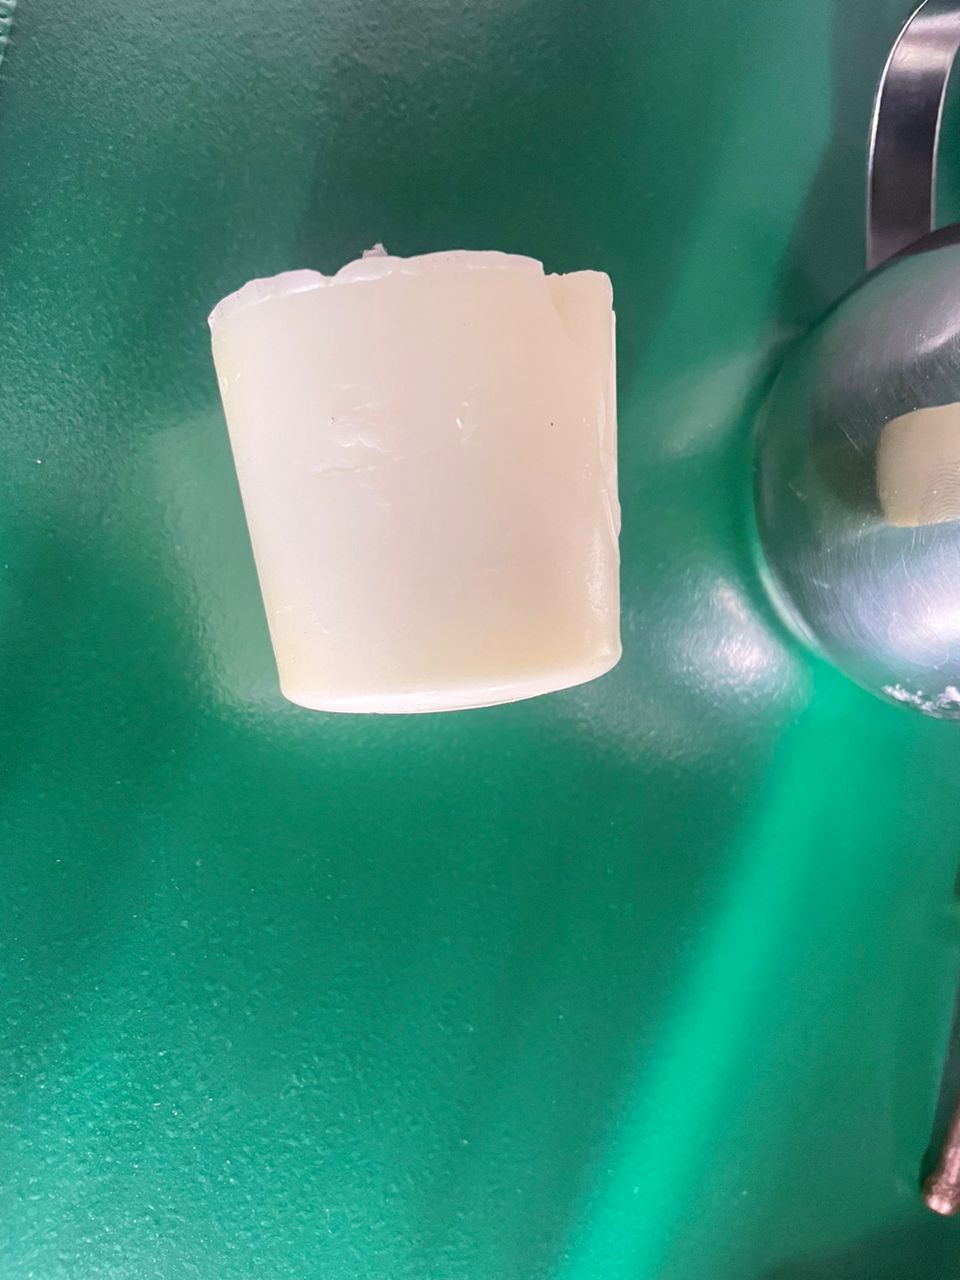
wax filled the molde and we are going to wait for one hour the make sure it's solide
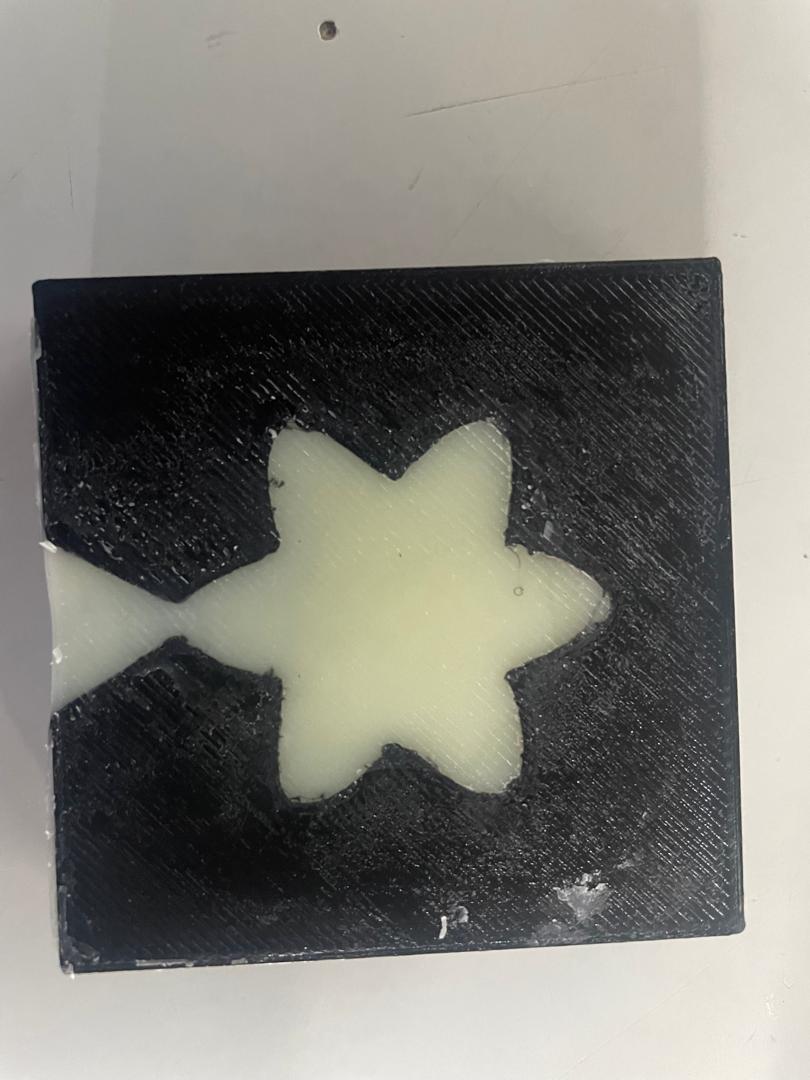
it looked good
tried bee wax into the molde
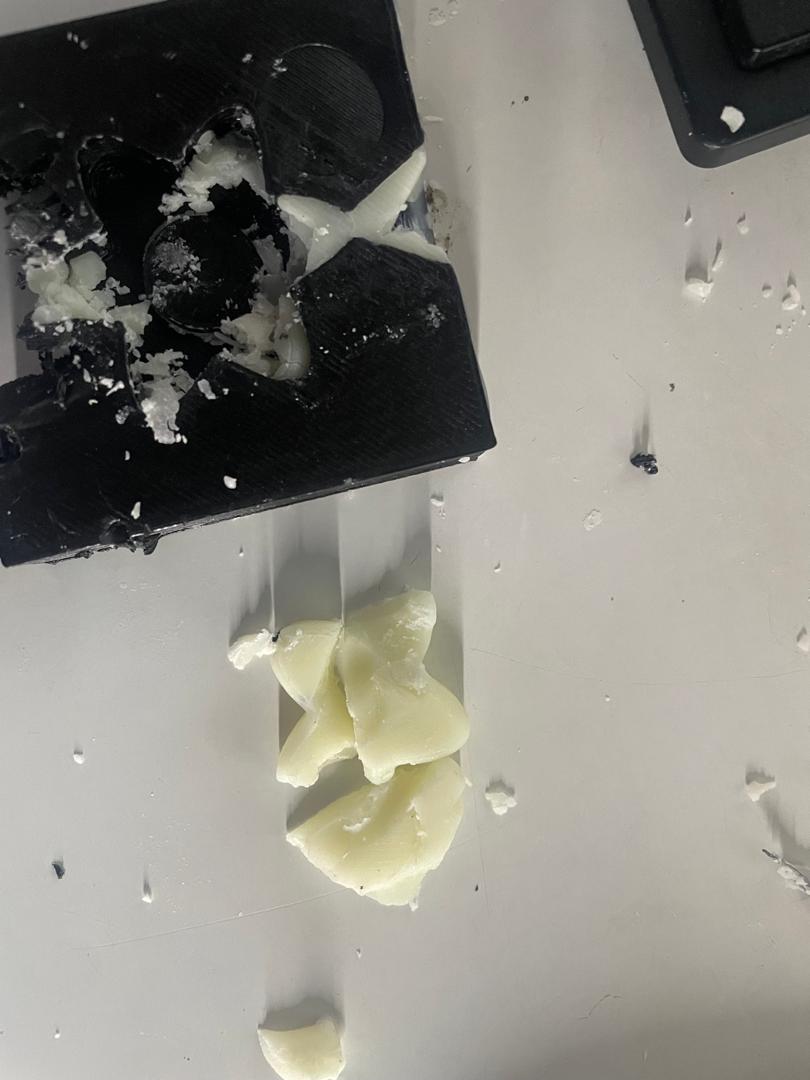
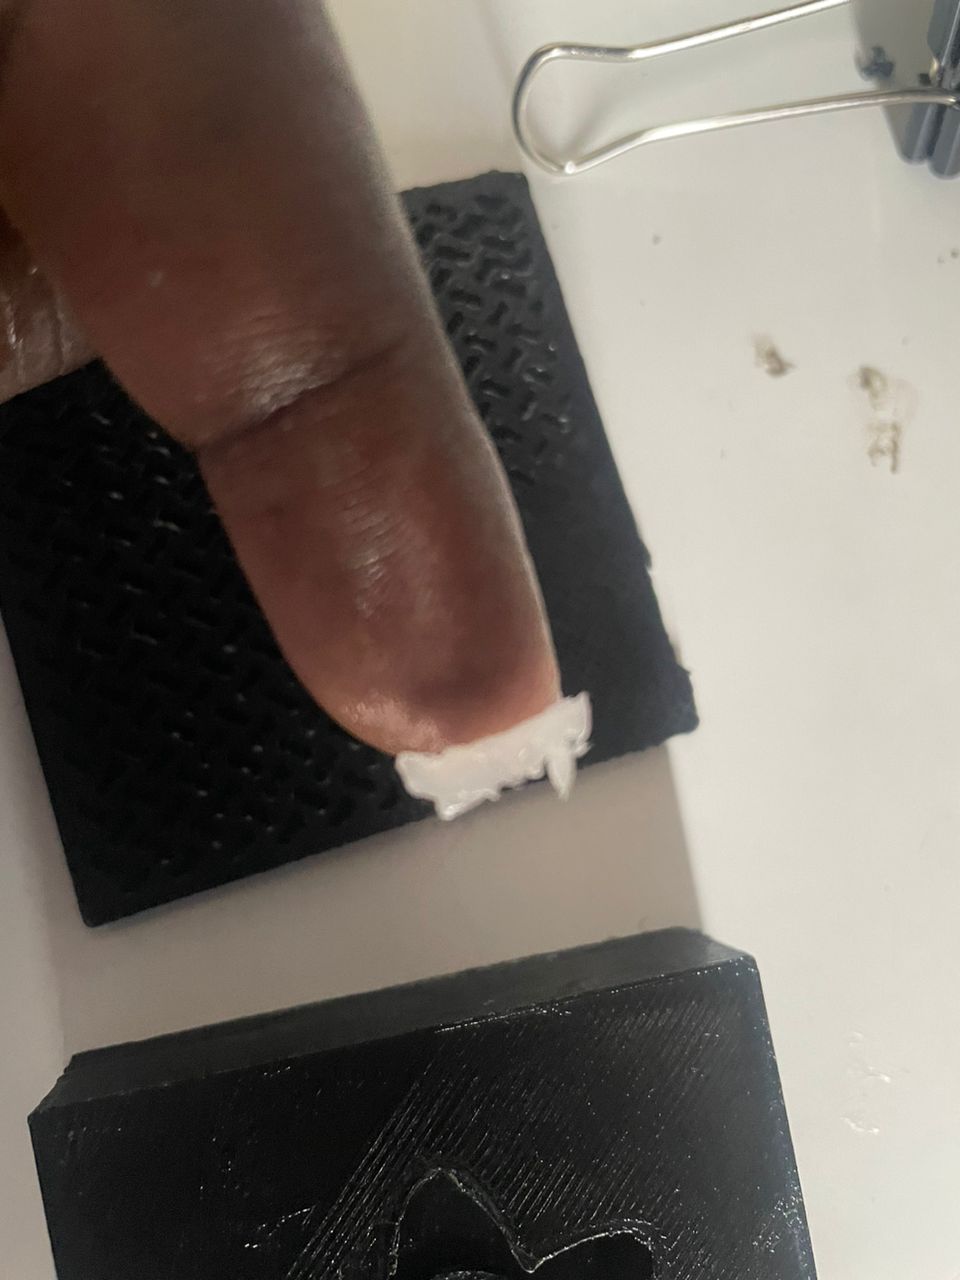
i failed to remove the wax, i read that for the cuddle molde it is good if we use flexible molde because they are very soft
tried again with bee wax into the molde
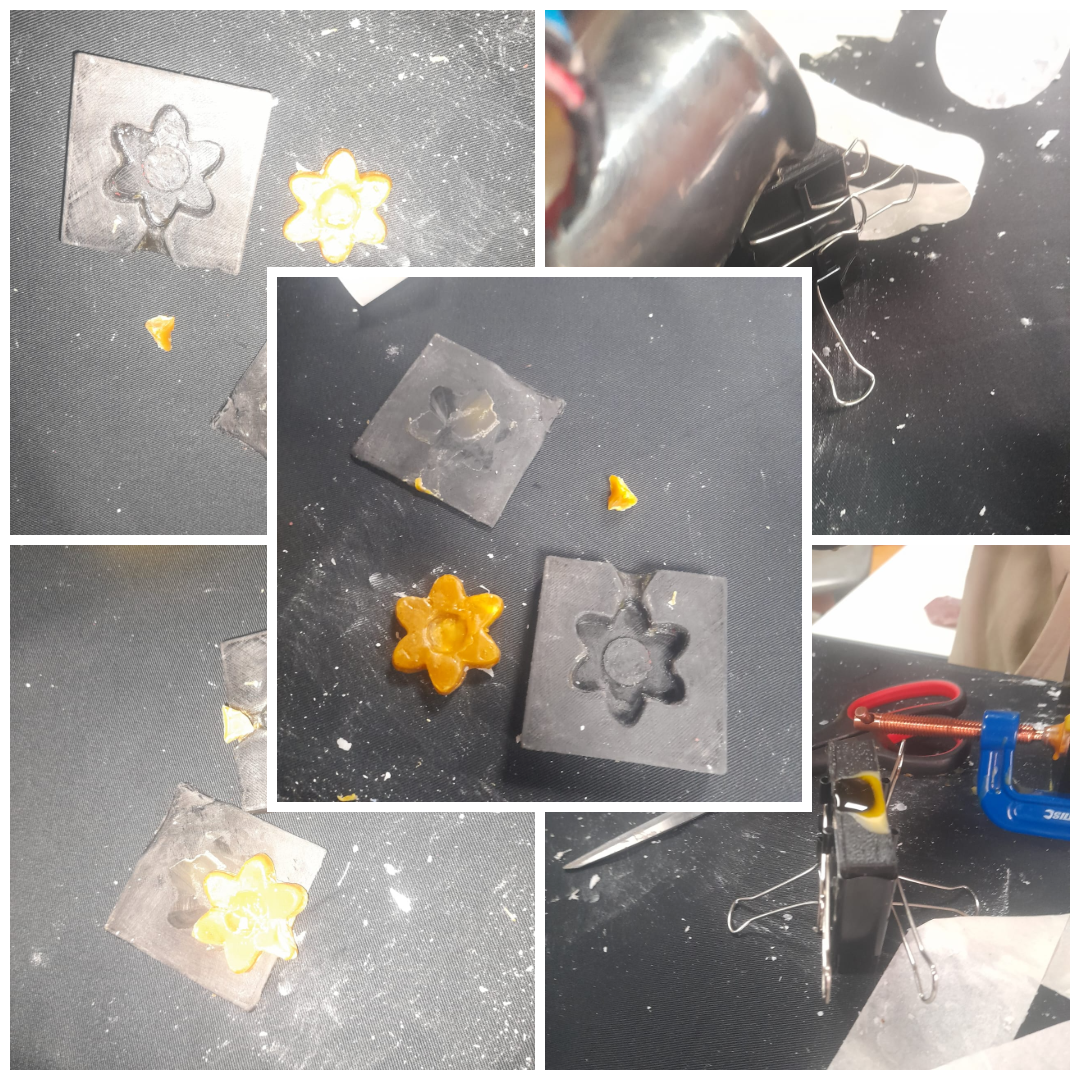
i used the same molde but this time i used bee wax

i final got the finish product, some decoration with the bee wax but the flower is there, looks like a sweety
What I Actually Learned
This project taught me way more than I expected, mostly through things going wrong:
Design Lessons
- Undercuts are your enemy - My flower design had parts that curved back on themselves, making it impossible to remove from a rigid mold
- Draft angles matter - Even slight angles help with demolding, something I didn't think about enough
- Keep it simple for first attempts - I probably should have started with something less detailed
Material Insights
- 3D printed molds are too rigid - For complex shapes, you need flexible silicone molds
- Wax temperature is critical - Too hot and it might warp the PLA mold, too cool and it doesn't flow well
- Release agents are essential - Even with lubricant, getting parts out is challenging
- ORGINAL stl file stl file for the desinged molde