mechanical
Fixtures
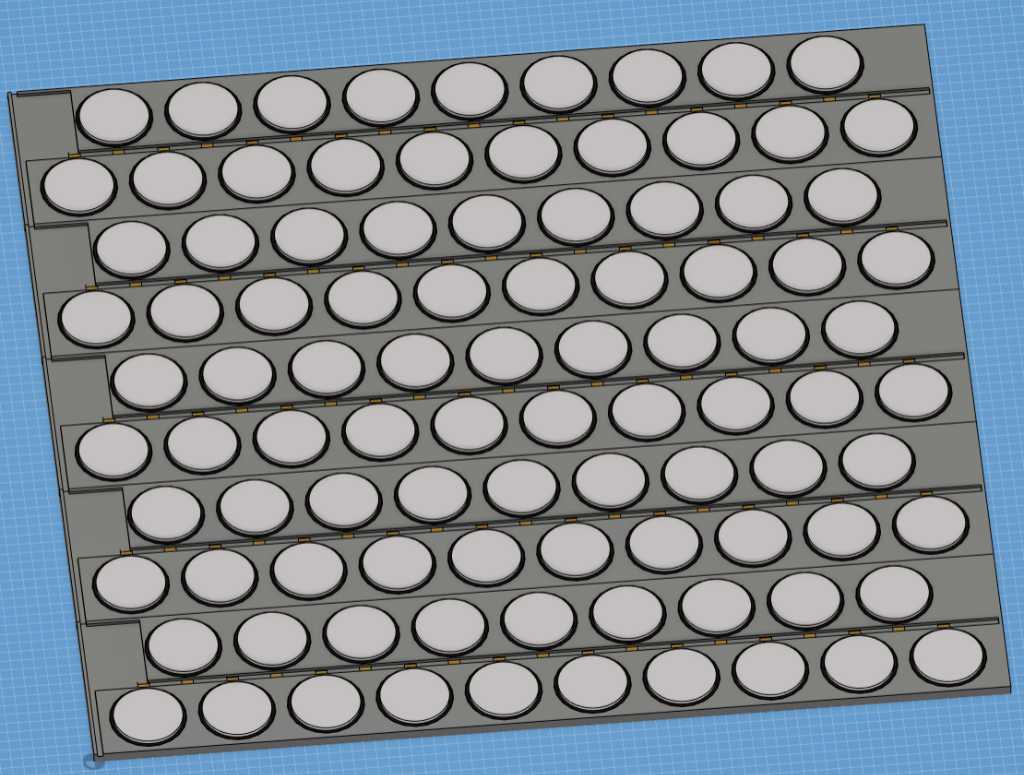
I want to make my design modular. So I intent to mill a fixture that will hold the sensors required for 1 octave (1 row of 10 sensors and 1 row of 9 sensors). This sensor-fixture will also have a space for a PCB that is used to connect the sensors to.
Multiple sensor-fixtures can connect together to create a multi-octave base.
I also want a UI-fixture and a controller-fixture. The UI-fixture goes in front of all sensor-fixtures and is used for the round LCD and the menu navigation buttons. The controller-fixture will go at the back and is used to hold the main PCB including the power, footpedal and USB connectors. These will all be interconnected, creating one big base.
Total size of a 4 octave Marimbatron is around 700 x 800mm (L x W)
Milling these fixtures will allow me to check if all sizes are correct. If they are, I can either mill some more, or cast a single silicon mold from them. Then, I’ll use this to cast the fixtures out of poly-urethane. The interconnects will require something on the bottom of the fixtures. Maybe I can 3D print the shape and use that during the casting procedure. Or maybe I’ll just add a solid sheet of plywood underneath and bolt it all. So it totally depends on time if I will be able to cast a silicon mold. But let’s first just mill and make my first spiral of 1 octave.
The top of the case will be lasercut, out of acrylics, or maybe even better: a lasercuttable material that is more impact resistant, so it doesn’t scatter into pieces when hit by a drumstick. Maybe polycarbonate or ABS? Even more interesting: PET-G sheets or Delrin? I will have to bend it so it follows the curve of the controller-fixture.
Finally there will be 2 side covers screwed into the base.
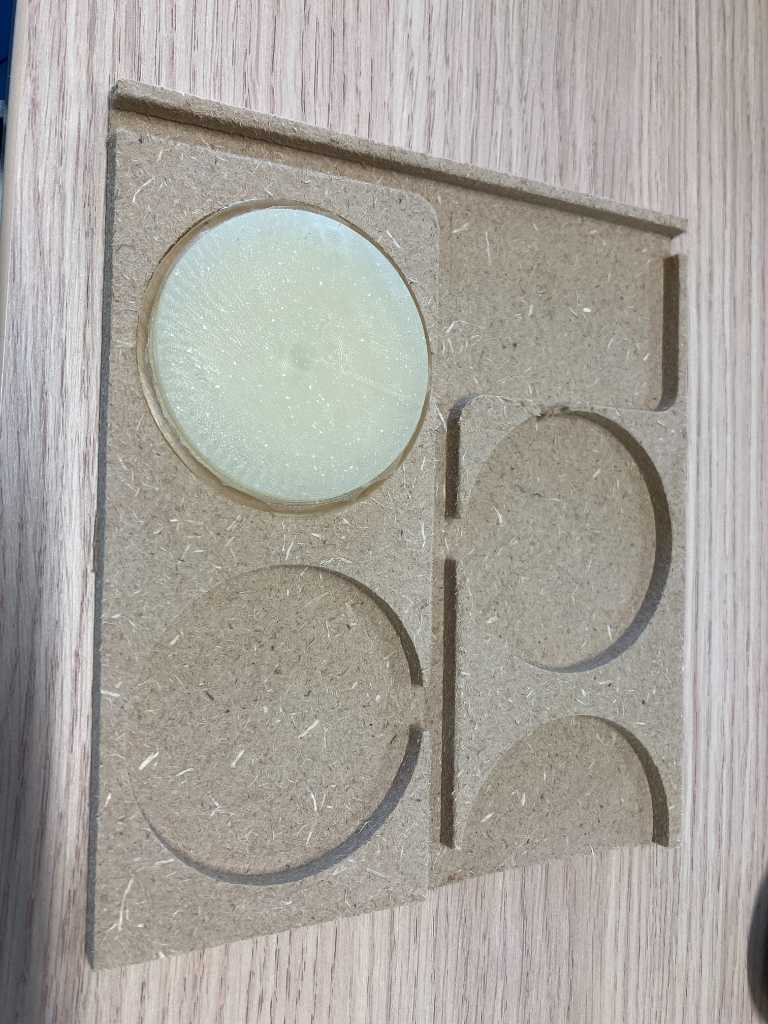
Milling partial test
I milled a partial piece of the sensorfixture as a test to see if a sensor fits, how the sizes look&feel.


Thats a good fit. However the left long edge feels a bit small and fragile.
Lasercutting instead of CNC
Based on my discussions at WAAG it seems a no-go to try to cast these fixtures. They’re quite big. Not only will it be expensive, but chance of success is limited due to size.
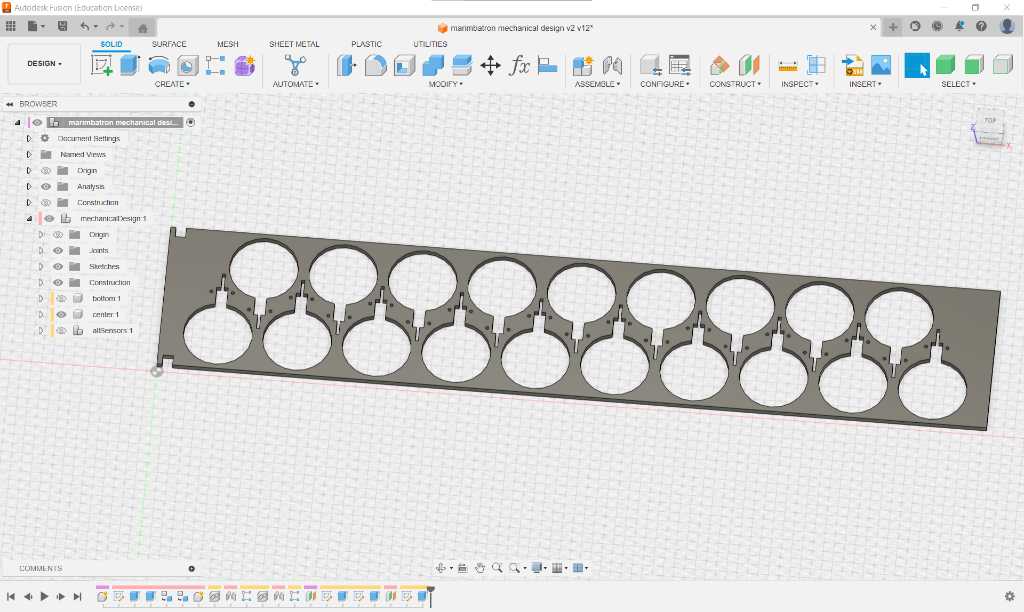
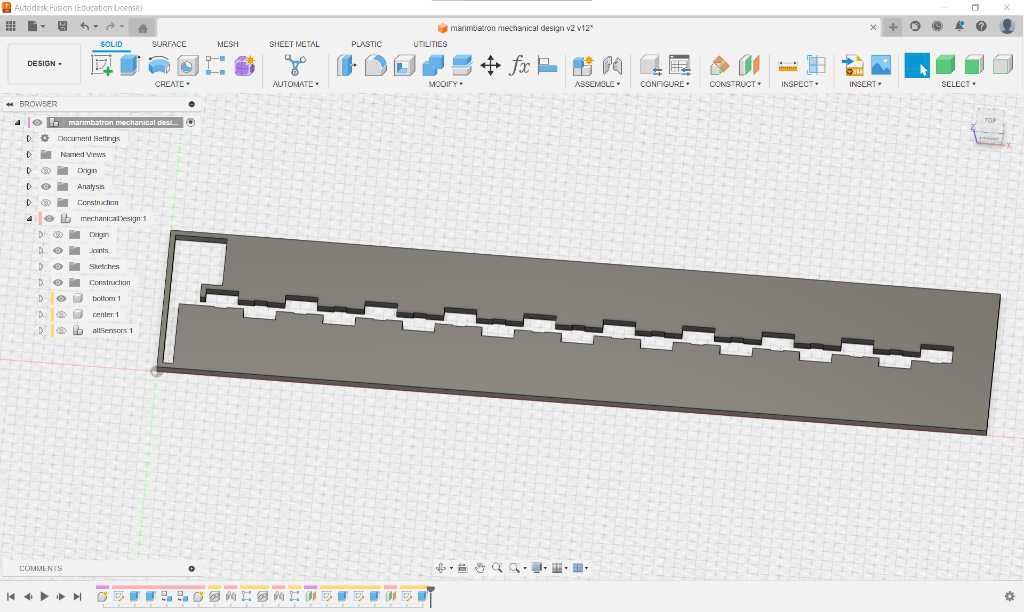
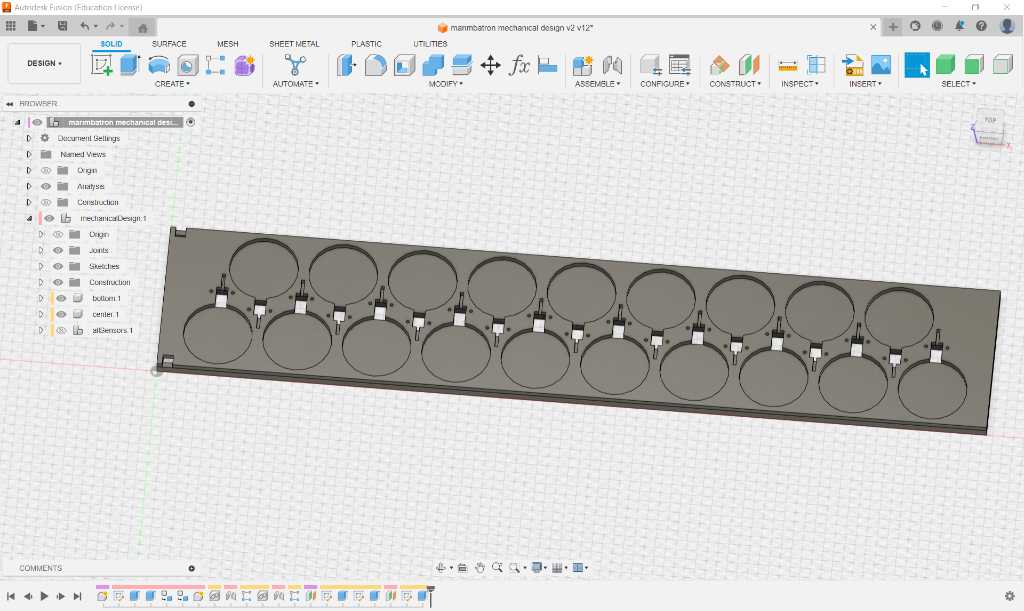
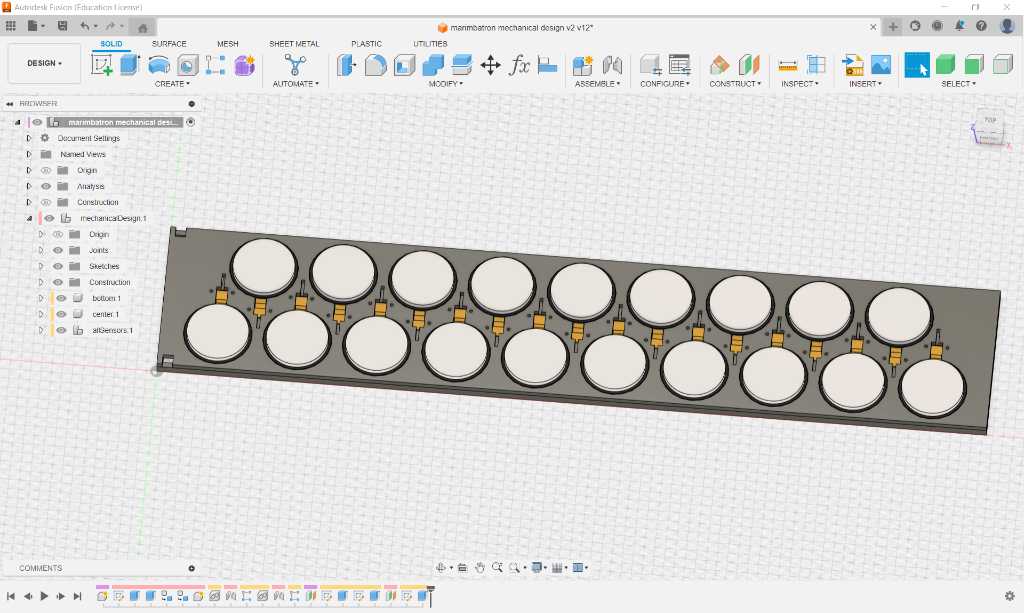
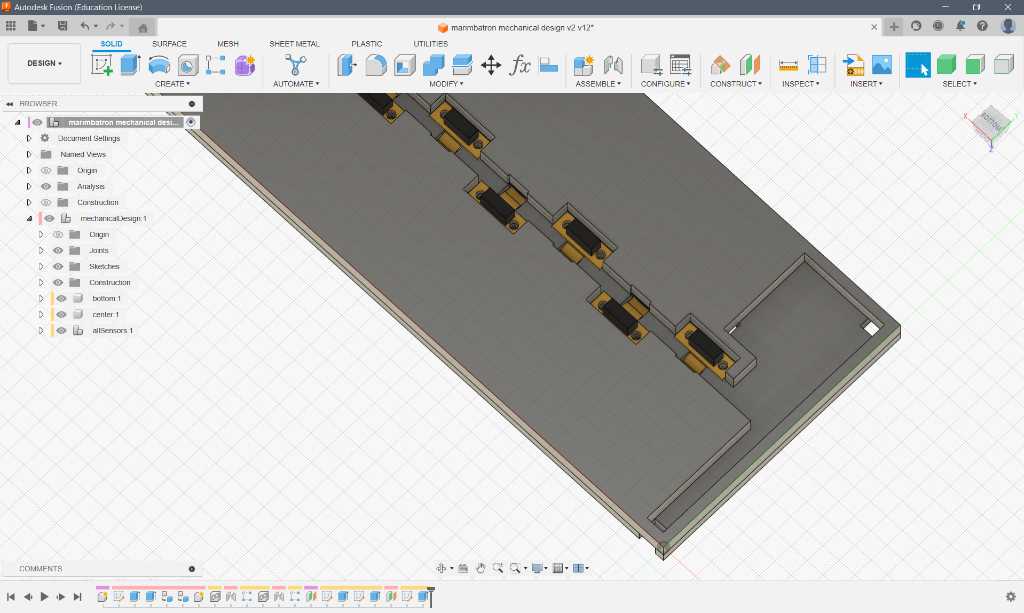
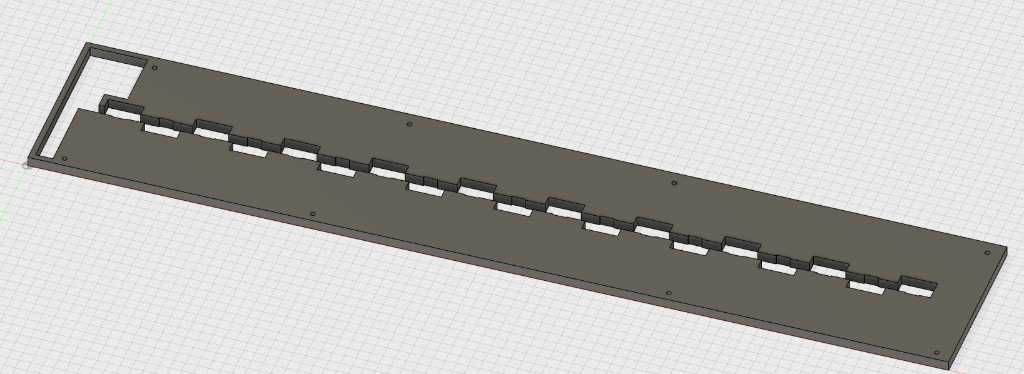
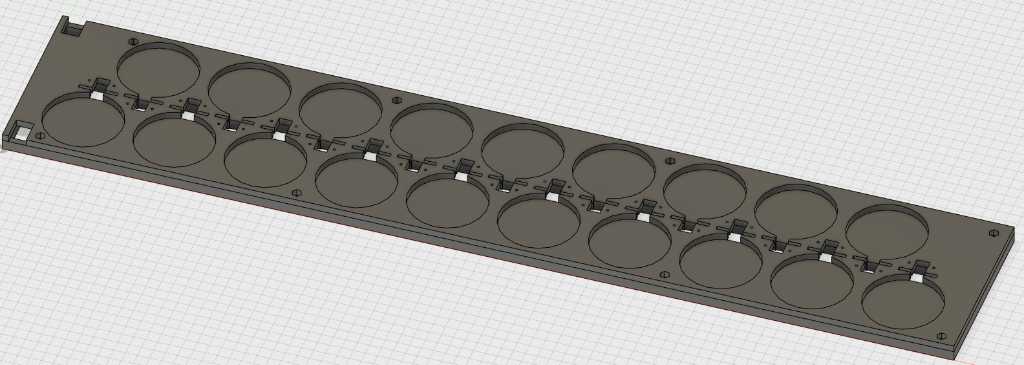
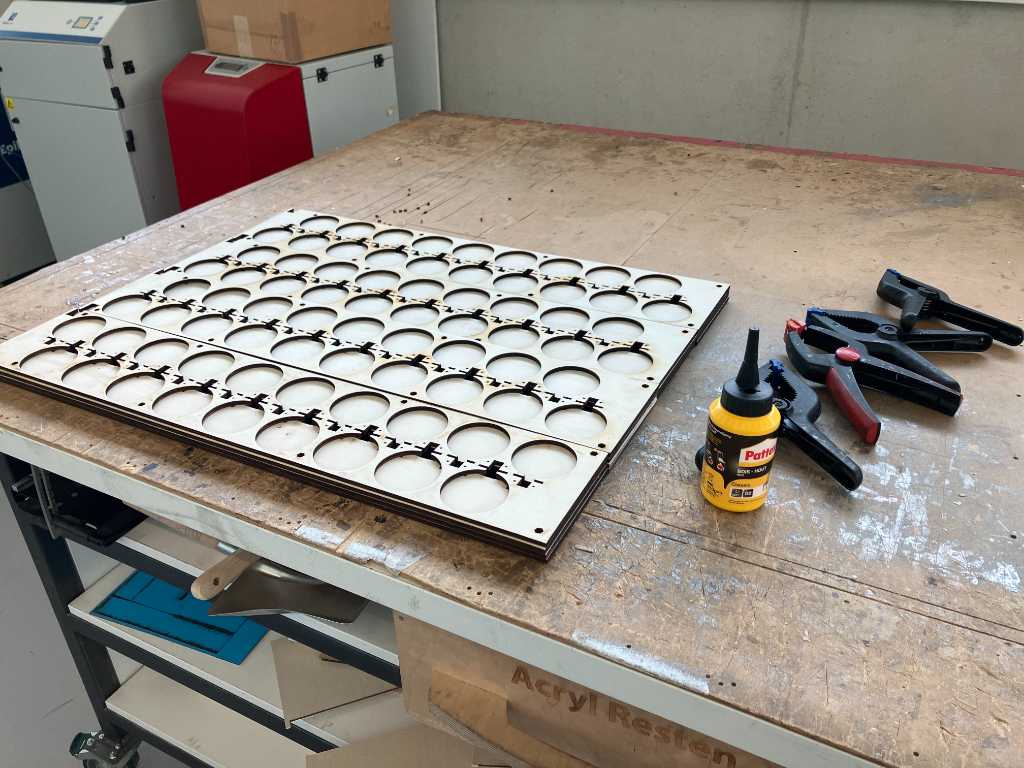
Looking at the sensor fixture design, this could be lasercut out of various thicknesses of material. That’ll be much quicker and higher chance of succes. So I redesigned it. Here are the center part, the bottom part and the fully assembled part, including the pressure sensors and flex PCBs that I designed in Electronics Design week:
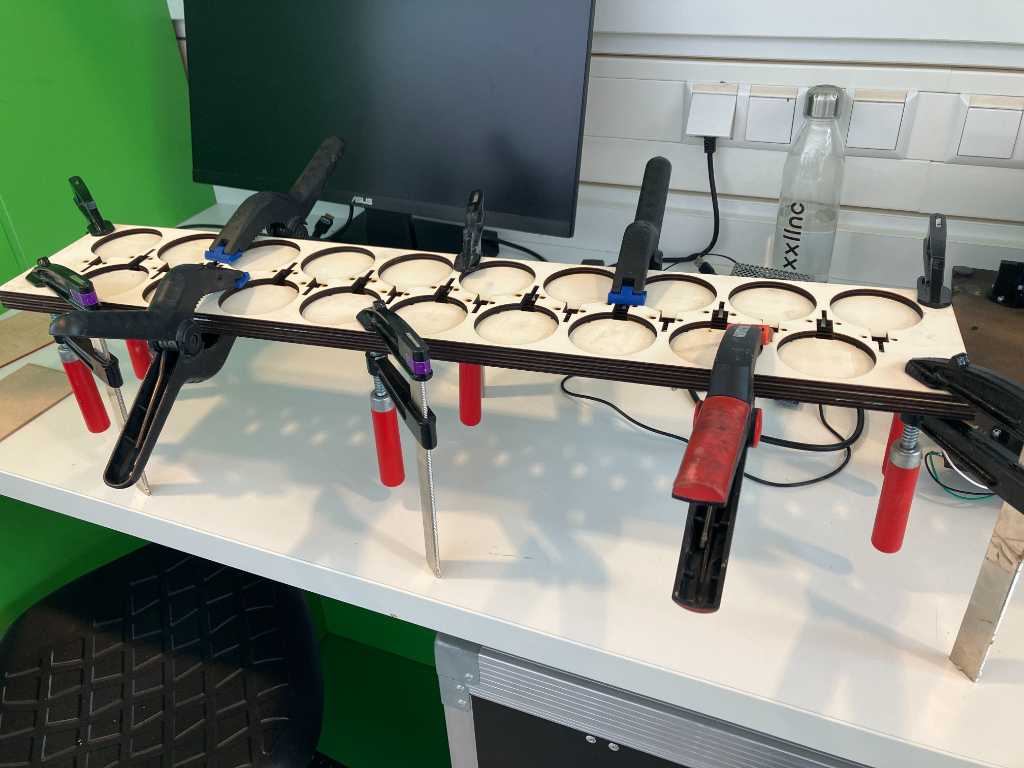
I’ve lasercut this on our Trotec Q500 using our 6mm plywood preset. That worked immediately.
I have 1 top layer (with the circle cutouts) and 2 bottom layers (with the PCB cutout). All 3 are made out of 6mm plywood.
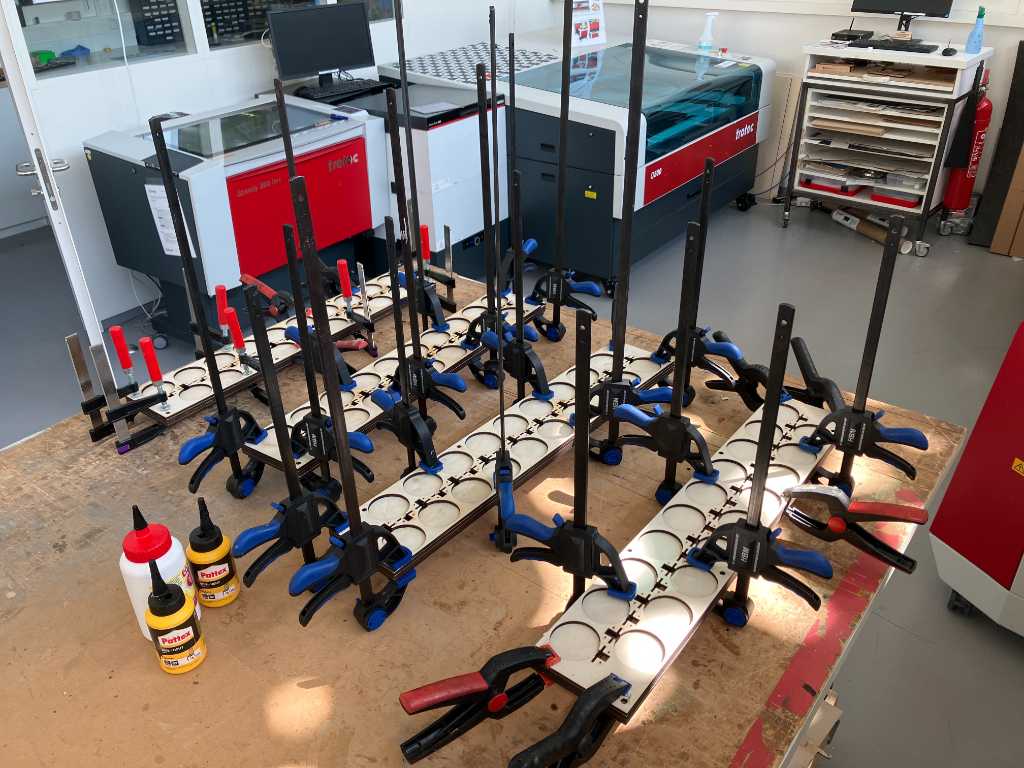
Next I glued them together using woodglue.
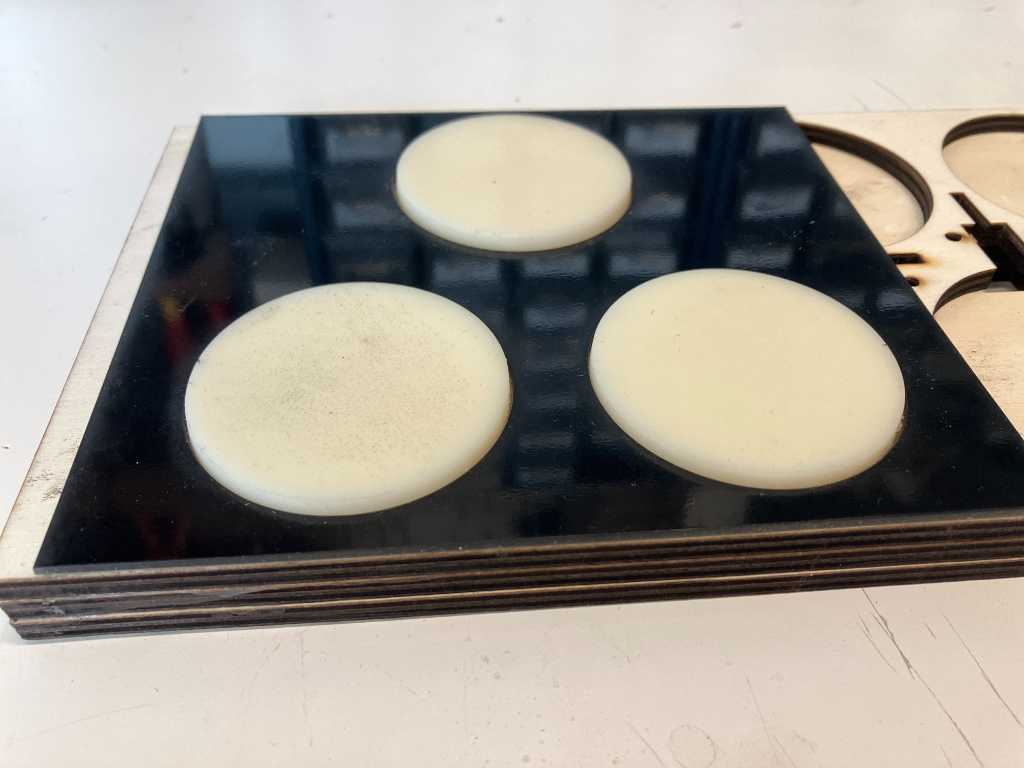
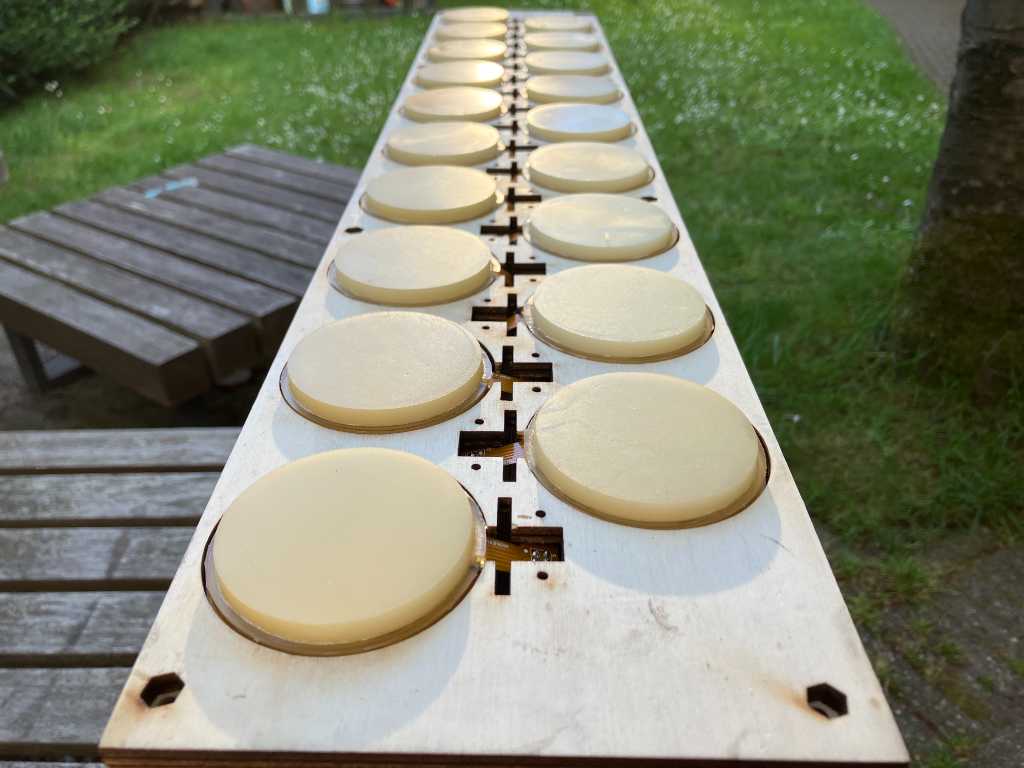
After drying the sensors fit nicely into the sensor board:
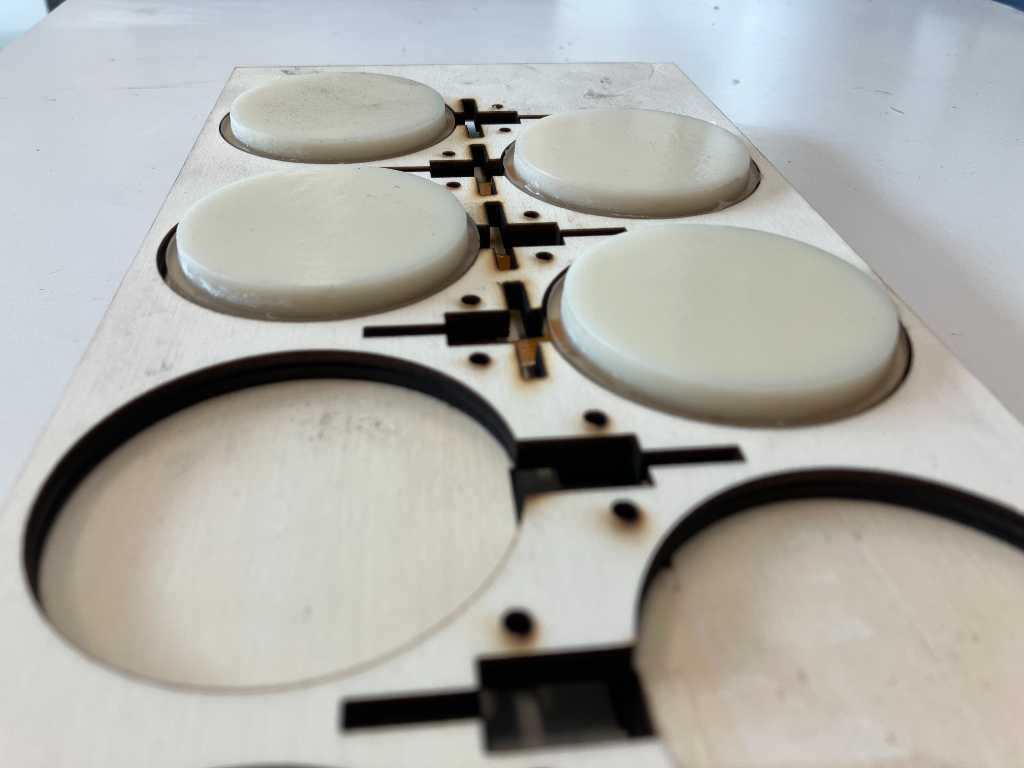
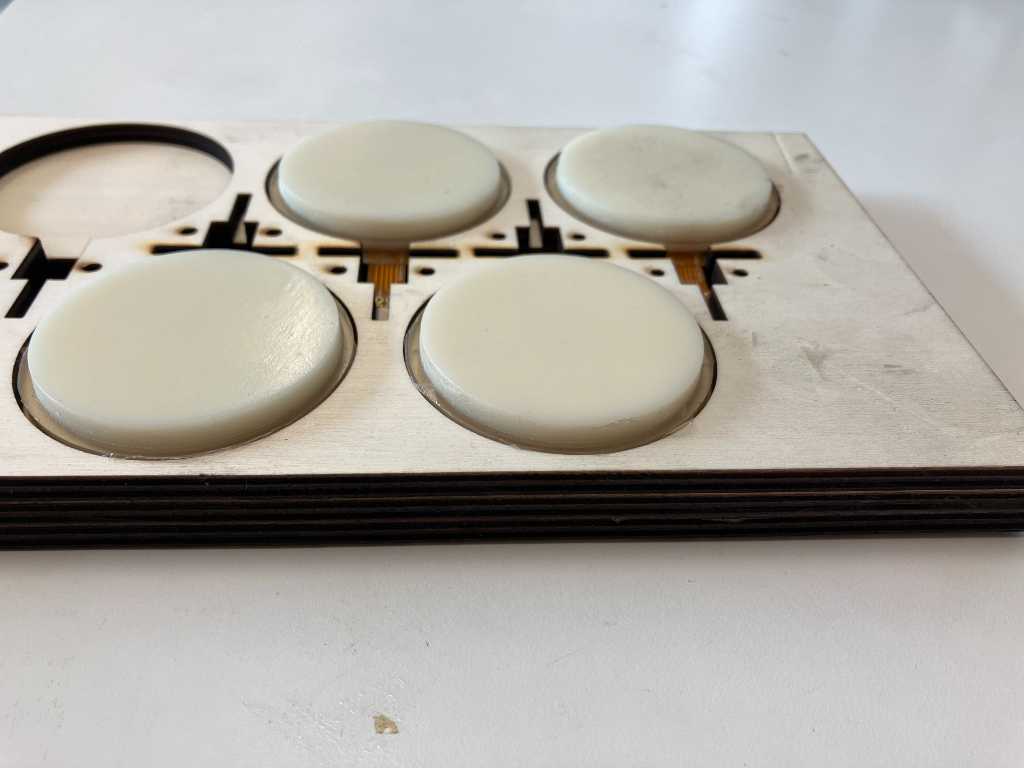
Finally, a thin sheet of some material (impact-resistant composite?) will be the top cover, holding the sensors in place:
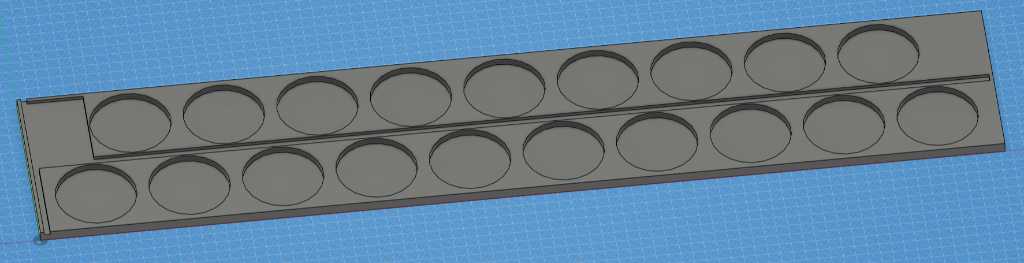
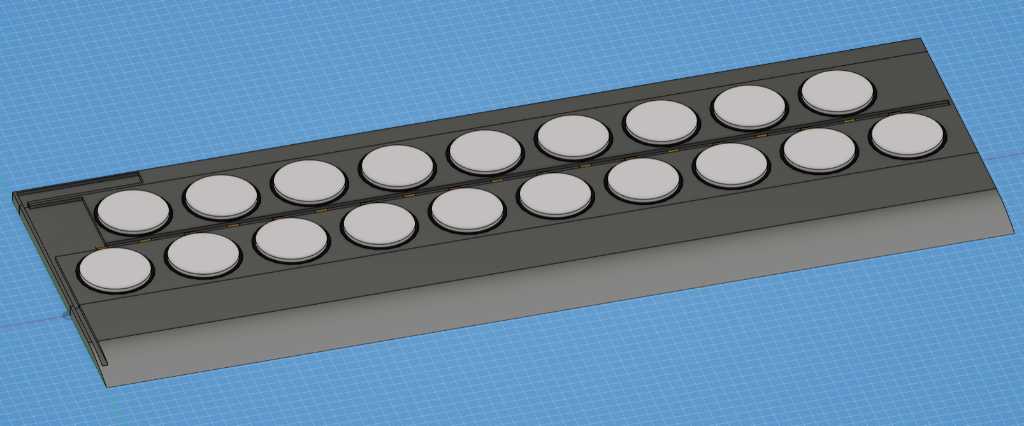
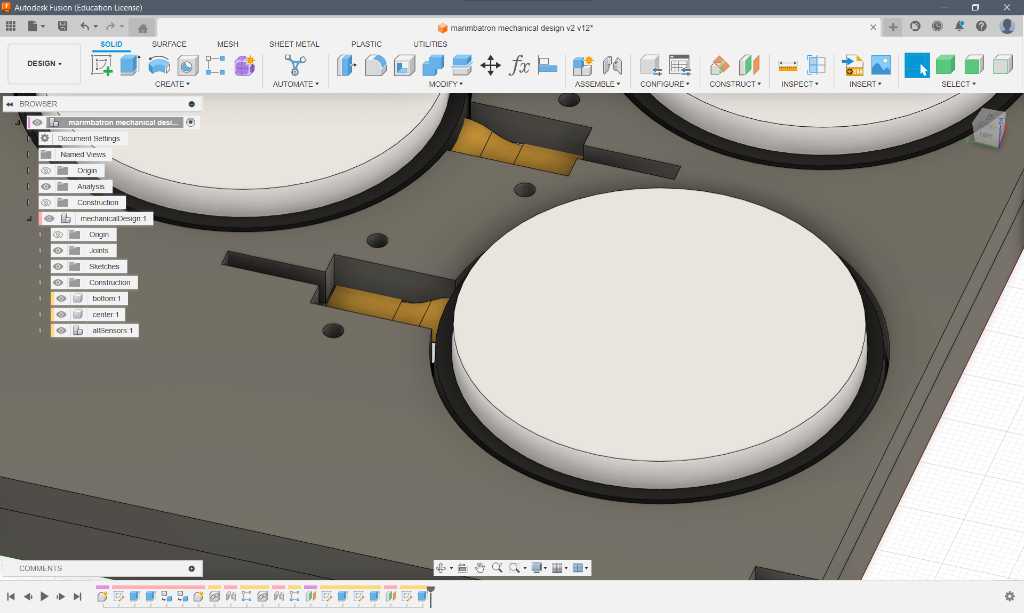
Sensor fixture
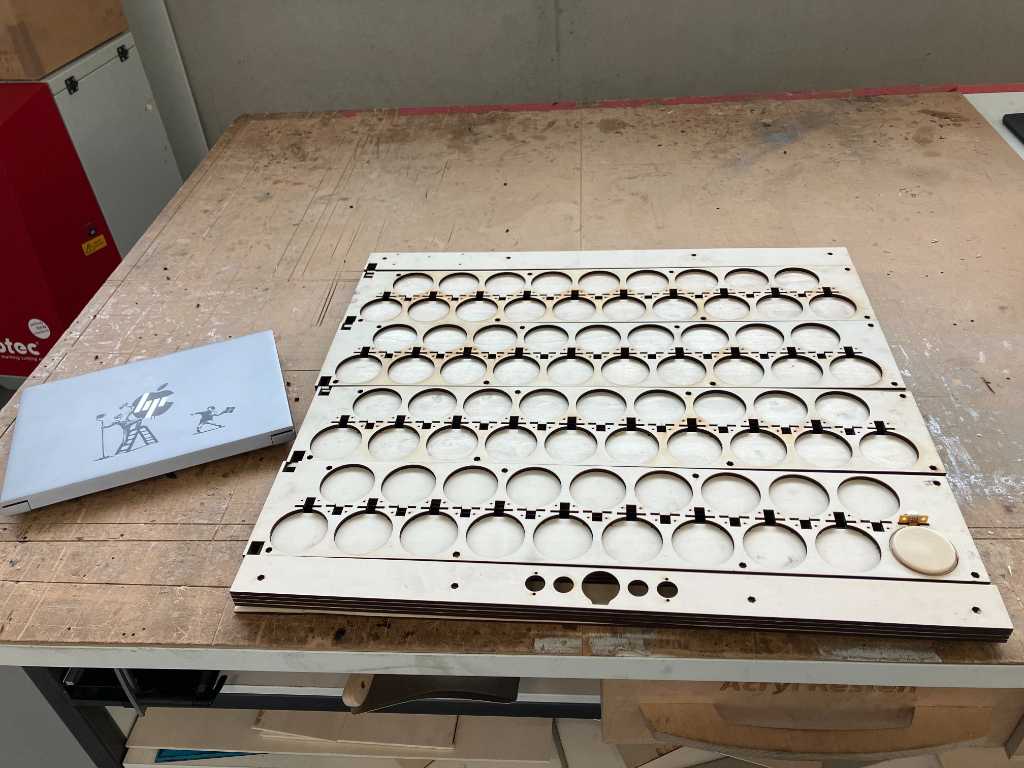
Time to make more the final sensorfixtures!
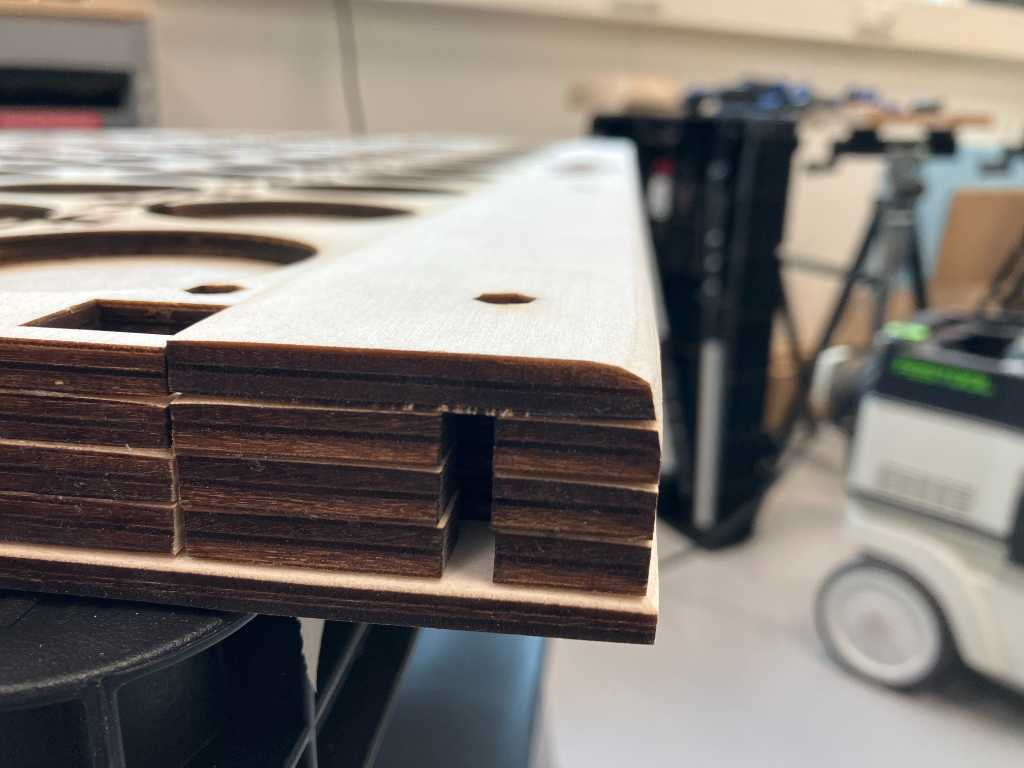
One sensor fixture consists of 1 centertop plate (6mm) and 3 centerbottom plates (6mm).
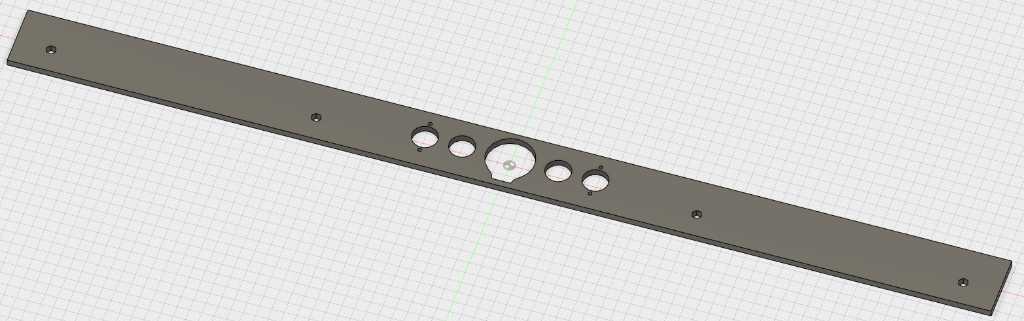
centertop plate:

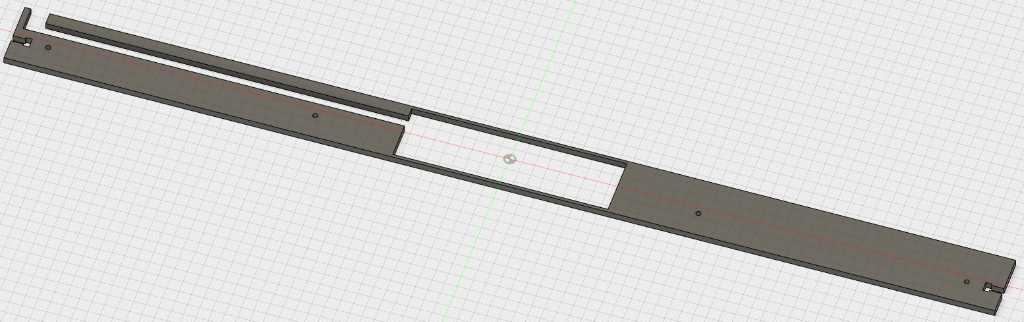
centerbottom plate:
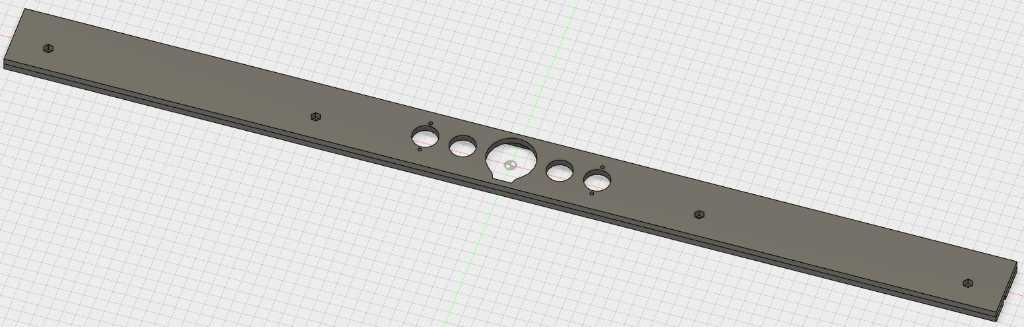
combined:
I used 6mm multiplex and cut them using our Trotec Q500 CO2 lasercutter. Power 100%, speed 1.1%.
4 sensor fixtures have a total width of 794mm and a length of 600mm and a thickness of 4x6mm = 24mm.
Controller fixture
The controller fixture will have the same width of the sensor fixture (794mm) and will also consist of multiple layers of multiplex.
The centertop plate:
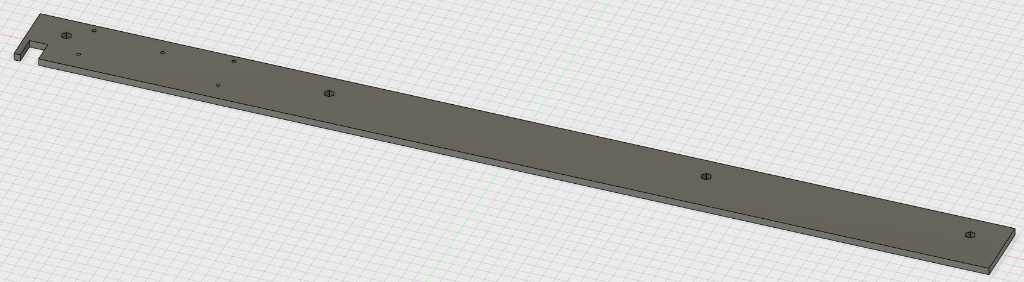
The centerbottom plate:
Combined:

Again, this is 1 centertop plate and 3 centerbottom plates, totalling to a thickness of 24 mm. The measurements are 794mm length, 56mm width.
UI fixture
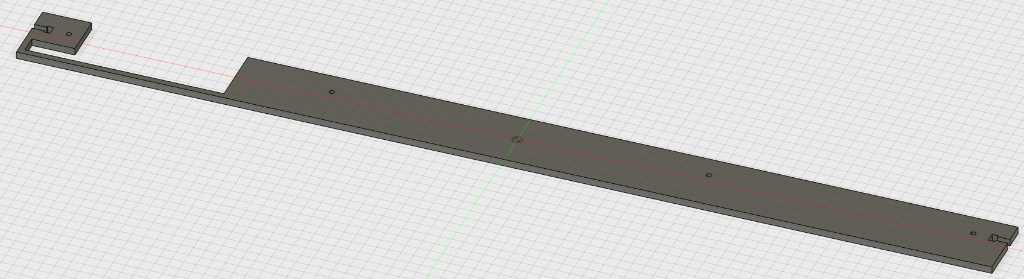
The UI fixture will have the same width of the sensor fixture (794mm) and will also consist of multiple layers of multiplex.
The centertop plate:
The centerbottom plate:
Combined:
Again, this is 1 centertop plate and 3 centerbottom plates, totalling to a thickness of 24 mm. The measurements are 794mm length, 51.5mm width.
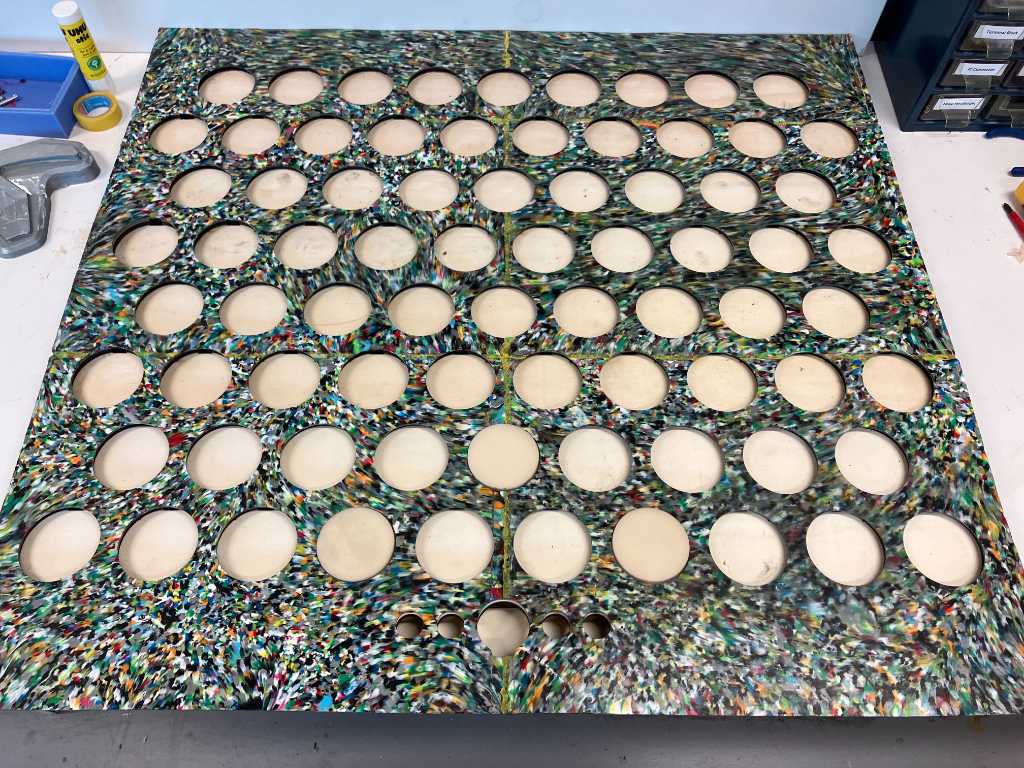
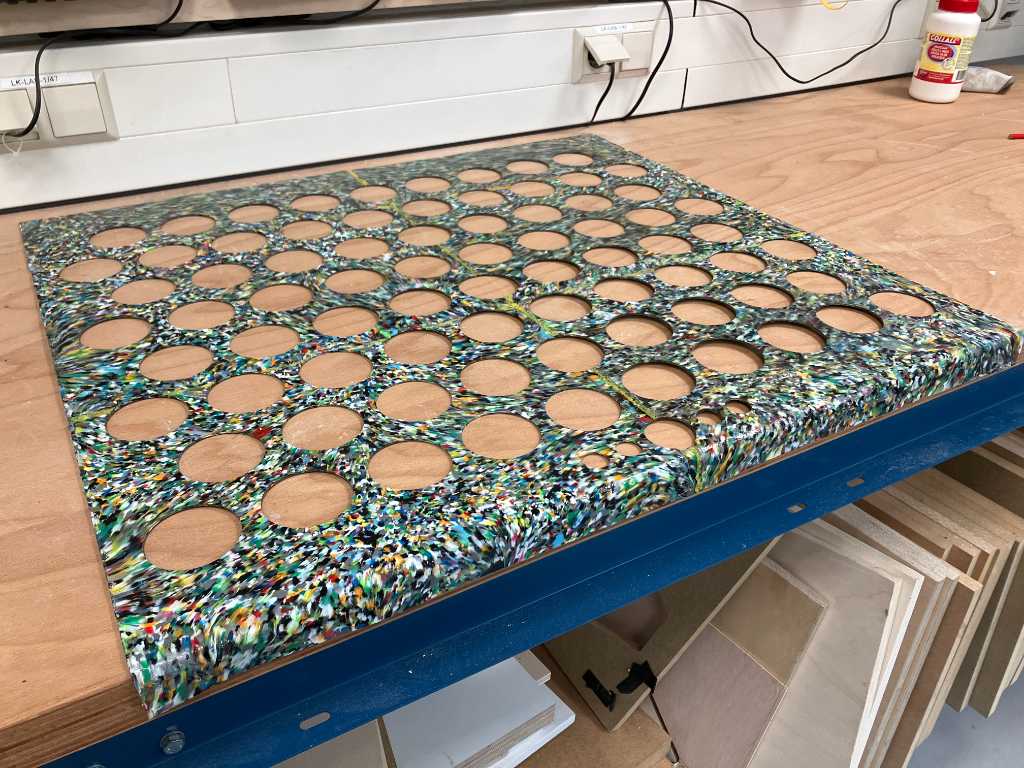
Combining the Marimbatron fixtures
The total size of the fixtures is:
length 600mm + 56mm + 51.5mm = 707,5mm
width 794mm
thickness 4x 6mm + bottomplate thickness + topplate thickness = 24 + 6 + 2 = 32mm.
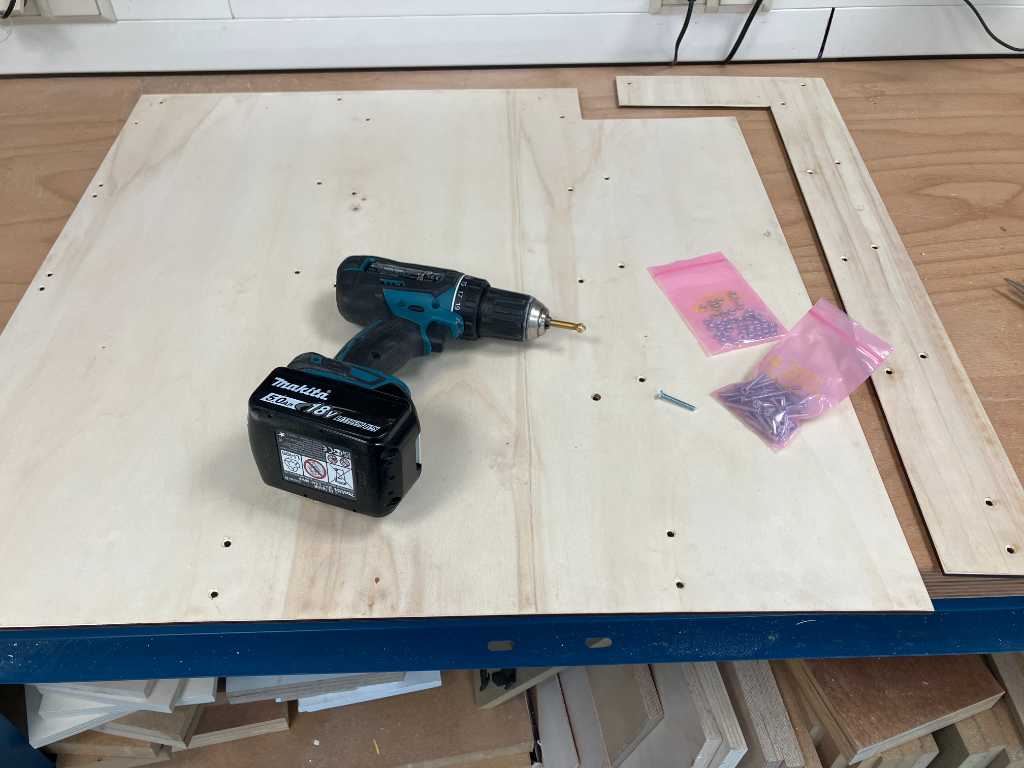
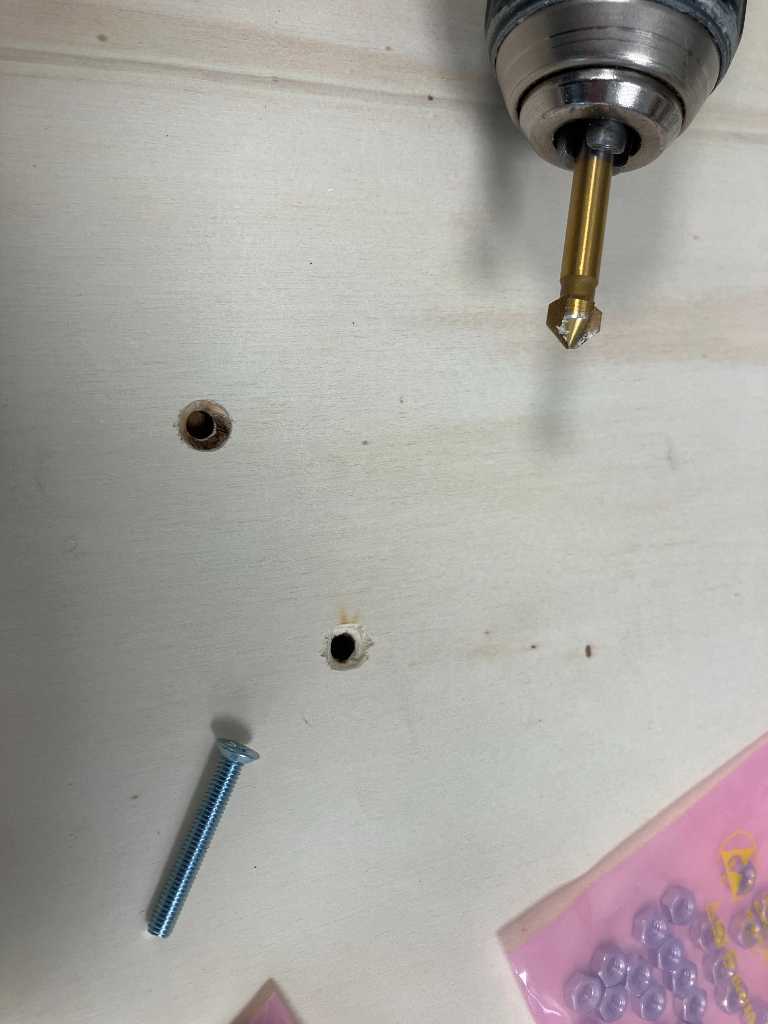
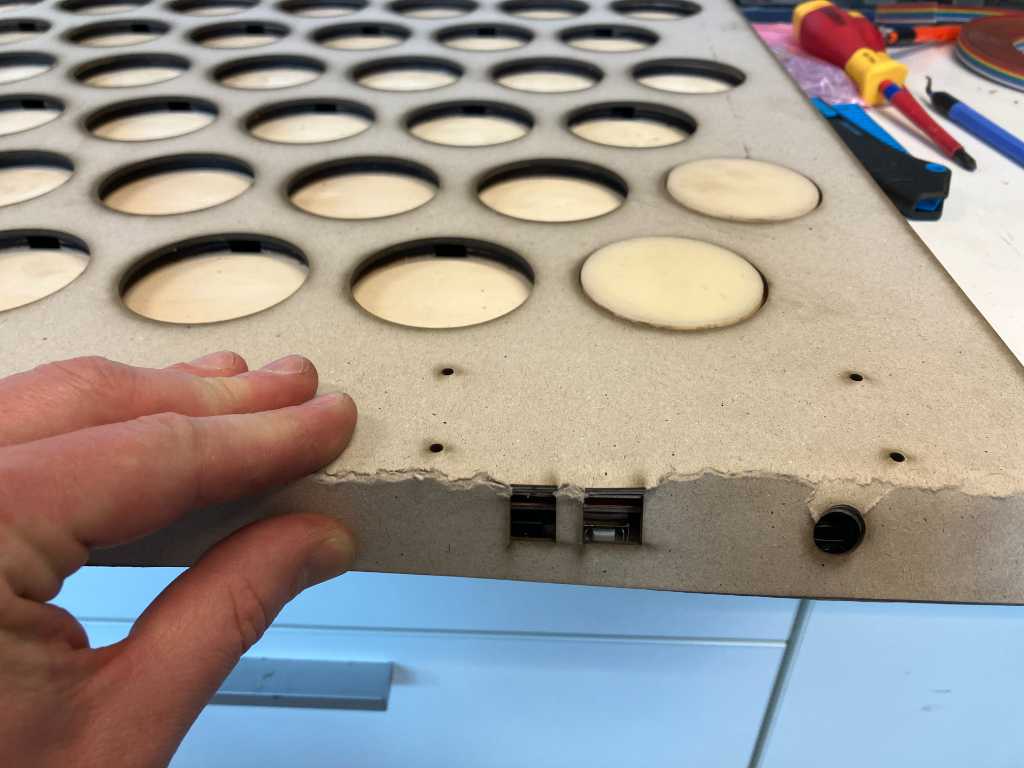
Every board will be bolted on a large bottom plate. The design is lasercut, including the screw holes. Afterwards these holes are manually countersunk.
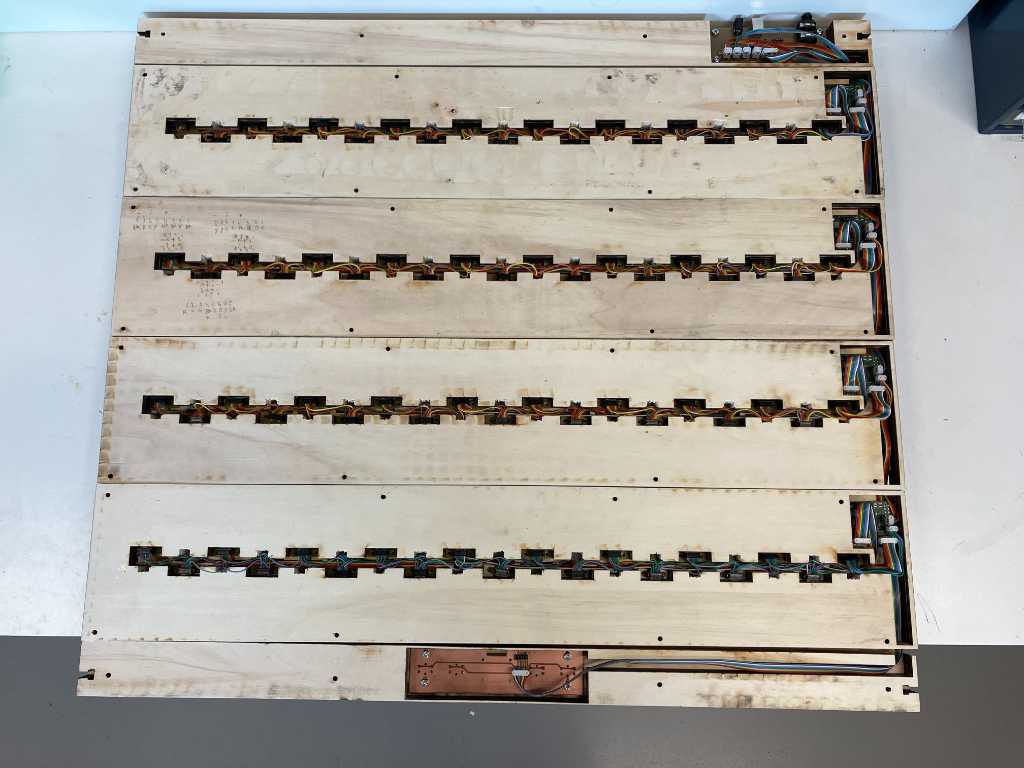
This is the bottom view. The back board is 2 parts so that I can reach the PCBs without having to unbolt the hole back board:
The UI fixture is hand sanded so the edge is curved. The PLA top sheet will bend over this edge.
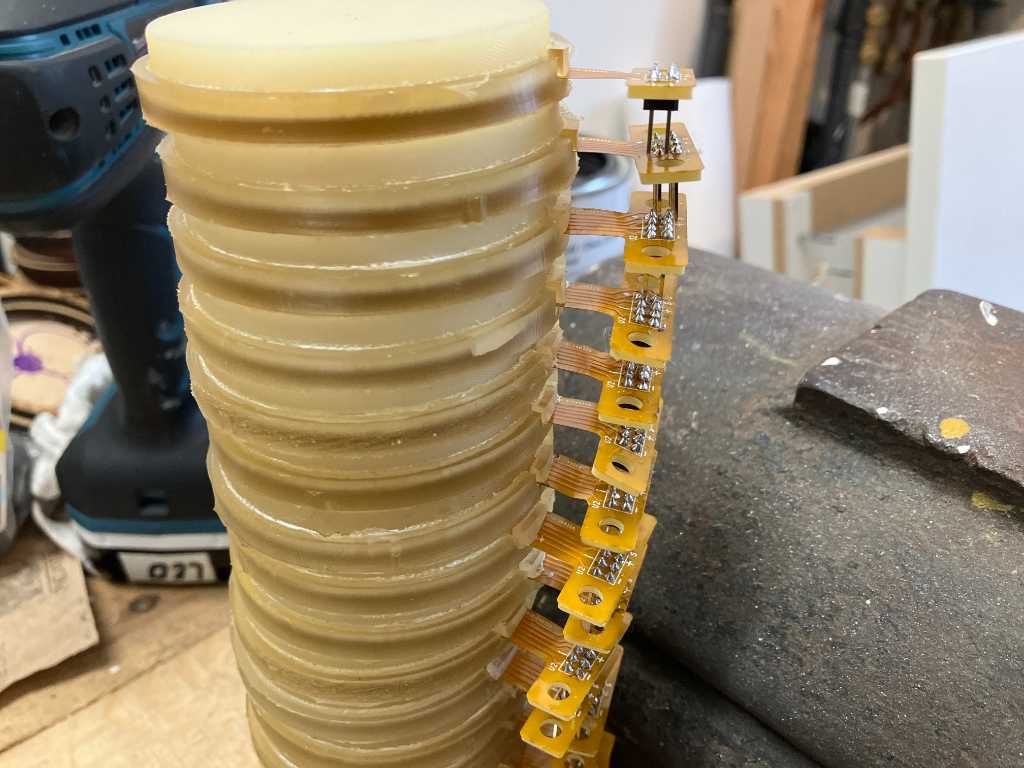
Sensor mistake
Oh no! I made a mistake! The only way the sensors can be put in is the wrong side up!
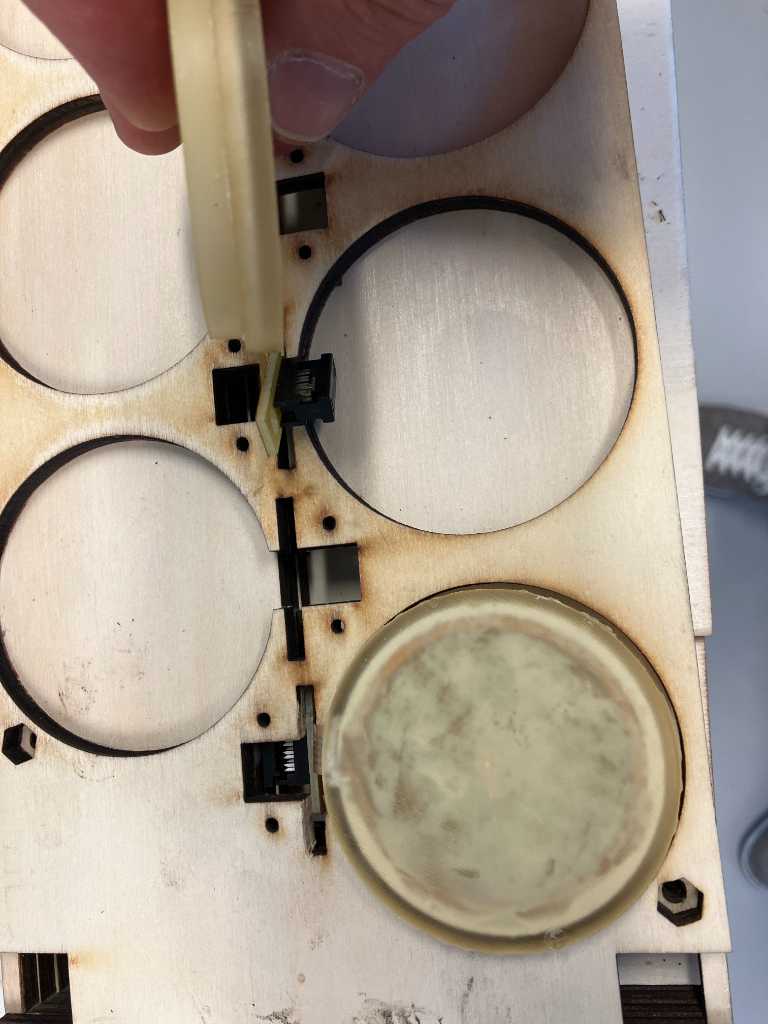
Need to change the connectors because there’s also no room on the bottom to wire it…

So I have to desolder almost 80 sensors. No fun…
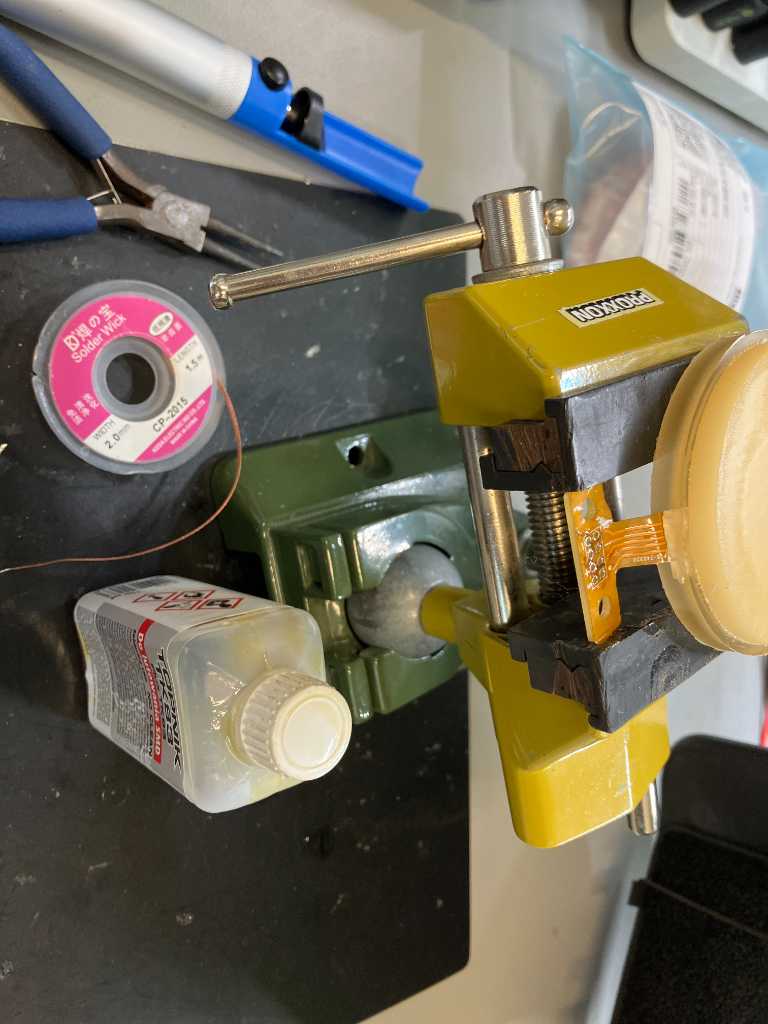 And solder the new connectors:
Next change the sensor fixtures so the sensor fit in with the correct side u. I did this manually:


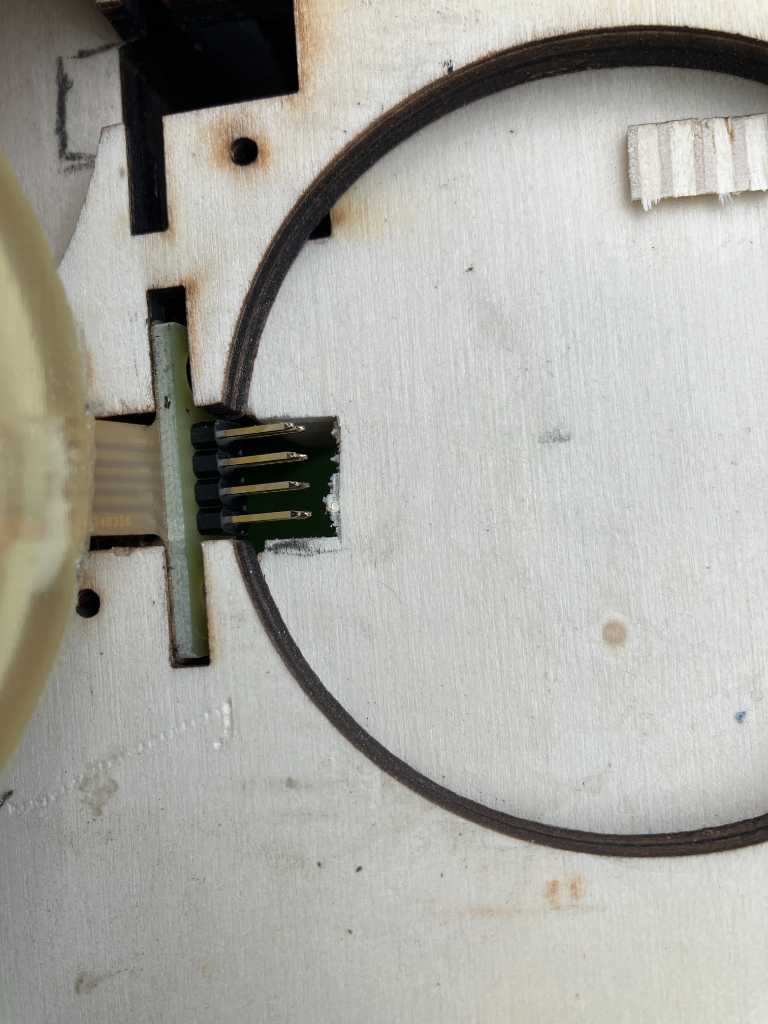
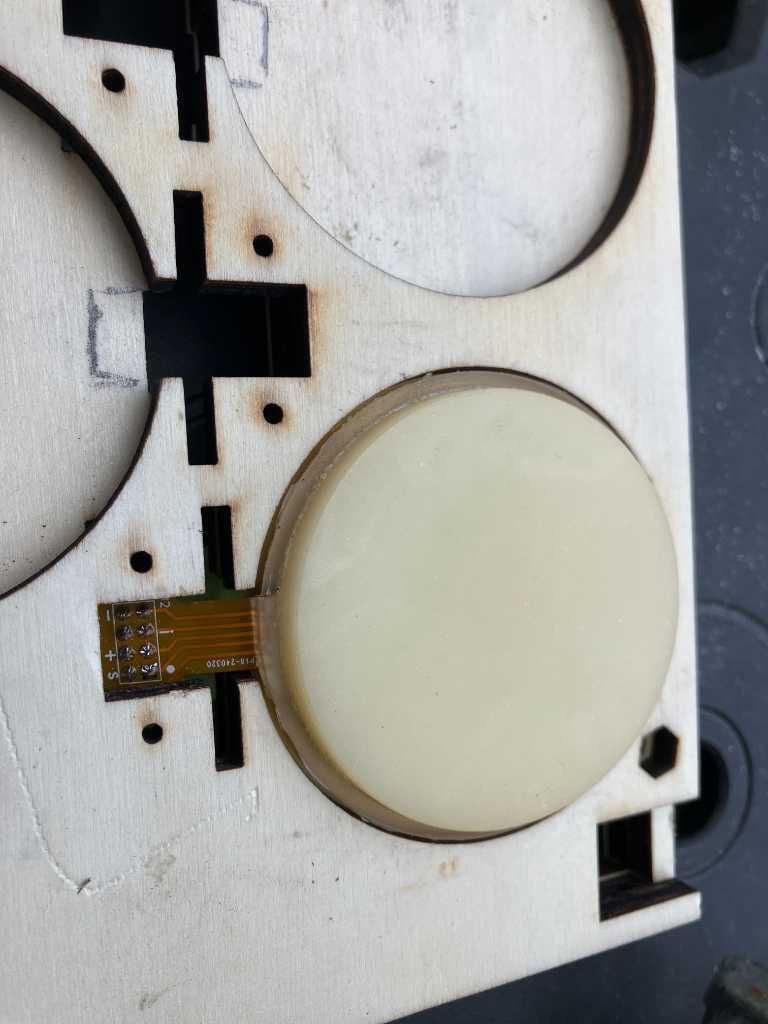
Success!! They fit!
Top cover
In my wildcard week I used an industrial heat press to create PLA plates for the top cover of the marimbatron. The documentation of this process can be found here.
The design of the top cover Sides +4mm due to 90degree bend
 Test with cardboard: holes need to go down another 8mm. Eventually I didn’t use this backside because the PLA sheet was a bit too small. I will create a different backplate.

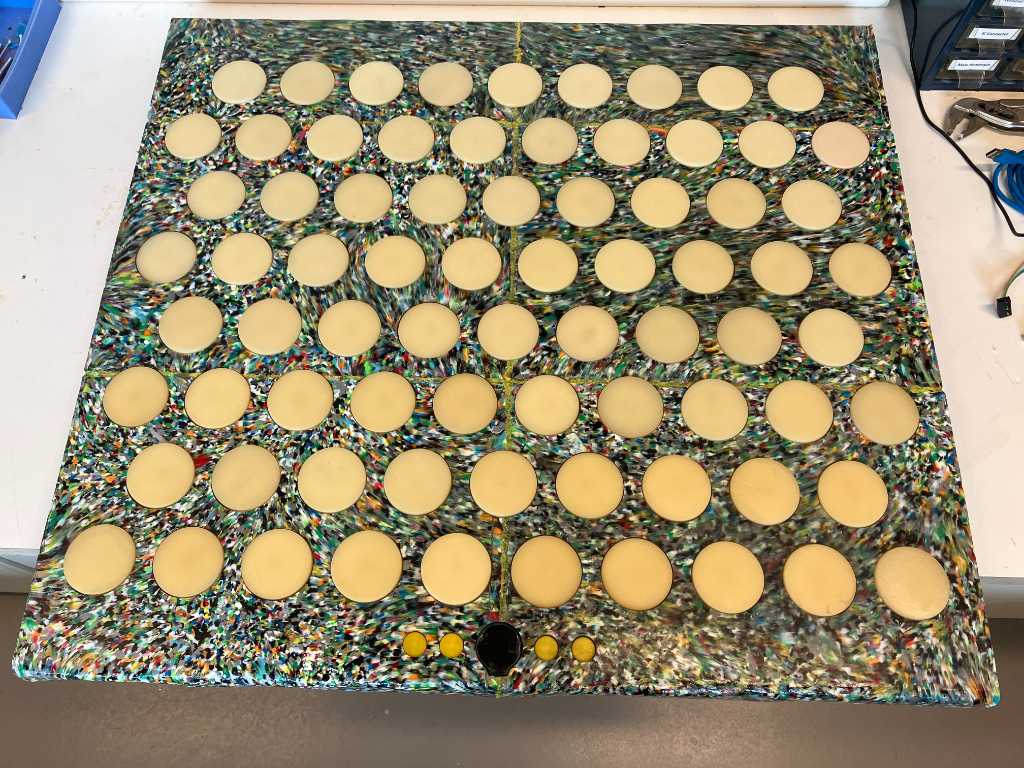
With all sensors and the display and buttons inside:

And the backside where you can see all cable are nice and tidy.
Fusion360 - get volume of a body
A useful command in Fusion is to get the volume of a body. Usually you would right-click a body and go to properties. You’ll find the volume of the body here. But in case you don’t want to know the volume of the body, but how much it can contain, I found this tutorial on Boundary fill.
This is a command that you can for example use to predict how much material you need for casting. I thought it would come in handy so that’s why it’s here as an unrelated note… In the end I didn’t use this, I just poured water in my mold and poured that water into a measurement cup to find the volume. To ways to solve the same problem :-)