6th week Assignment
Embedded programming
Embedded programming
Please for group assignment details visit Anderson Zelarayan Web Page.
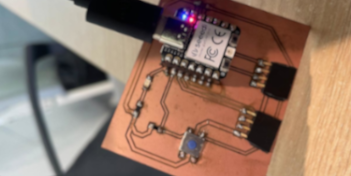
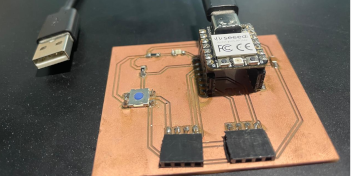
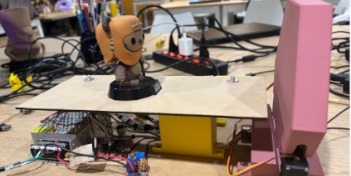
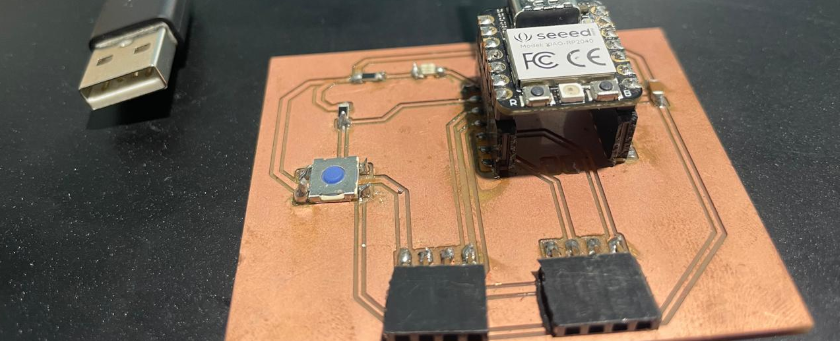
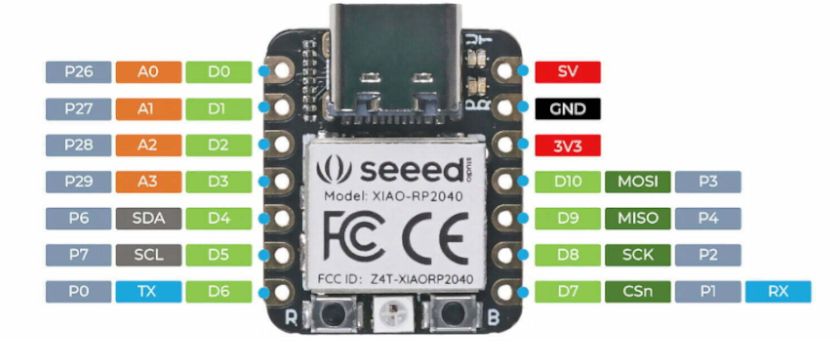
I worked with the board I developed in week 4th and use Module XIAO RP2040.
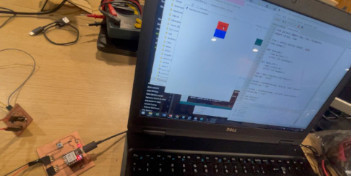
First I wanted to explore more programing options using Arduino IDE. You can download the program from here
Board Manager and install Raspberry Pi Pico/RP2040.Tools, board board manager.
In that way Arduino IDE will recognise the XIAO RP2040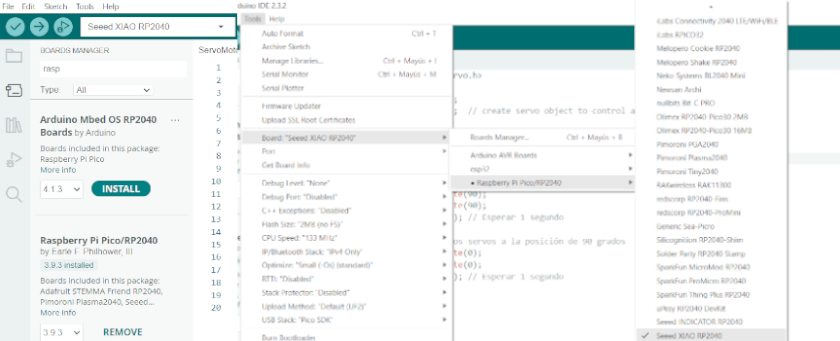
// Blink
// Define pin numbers
const int LedPin =  D0;  // the number of the LED pin

// the setup function runs once when you press reset or power the board
void setup() {
  // initialize digital pin LedPin as an output.
  pinMode(LedPin, OUTPUT);
}

// the loop function runs over and over again forever
void loop() {
  digitalWrite(LedPin, HIGH);  // turn the LED on (HIGH is the voltage level)
  delay(100);                      // wait for a second
  digitalWrite(LedPin, LOW);   // turn the LED off by making the voltage LOW
  delay(100);                      // wait for a second
}
	// Define pin numbers
	const int buttonPin = D1; // the number of the pushbutton pin
	const int ledPin =  D0;  // the number of the LED pin

	// Variables will change:
	int buttonState = 0; // variable for reading the pushbutton status

	void setup() {
	  // Initialize the LED pin as an output:
	  pinMode(ledPin, OUTPUT);
	  // Initialize the pushbutton pin as an input with internal pull-up resistor:
	  pinMode(buttonPin, INPUT_PULLUP);
	}

	void loop() {
	  // Read the state of the pushbutton value:
	  buttonState = digitalRead(buttonPin);

	  // Check if the pushbutton is pressed.
	  // If it is, the buttonState is LOW:
	  if (buttonState == LOW) {
		// Turn LED on:
		digitalWrite(ledPin, LOW);
	  } else {
		// Turn LED off:
		digitalWrite(ledPin, HIGH);
	  }
	}
run the program and check for LED lightining like shown in the video below.The
LED goes on when pushing the buttom
	// Define pin numbers
	const int buttonPin = D1; // the number of the pushbutton pin
	const int ledPin =  D0;  // the number of the LED pin

	// Variables will change:
	int buttonState = 0; // variable for reading the pushbutton status

	void setup() {
		Serial.begin(9600);
		// Initialize the LED pin as an output:
	  pinMode(ledPin, OUTPUT);
	  // Initialize the pushbutton pin as an input with internal pull-up resistor:
	  pinMode(buttonPin, INPUT_PULLUP);
	}

	void loop() {
	  // Read the state of the pushbutton value:
	  buttonState = digitalRead(buttonPin);
	  Serial.print("button state: ");
  	  Serial.println (buttonState);


	  // Check if the pushbutton is pressed.
	  // If it is, the buttonState is LOW:
	  if (buttonState == LOW) {
		// Turn LED on:
		digitalWrite(ledPin, LOW);
	  } else {
		// Turn LED off:
		digitalWrite(ledPin, HIGH);
	  }
	}
Serial.begin(9600); to pass the value 9600 as speed parameter. This tells
the
Board to get ready to exchange messages with the Serial Monitor at a data rate of 9600 bits per
second.
That's 9600 binary ones or zeros per second, also known baud rate.Serial.print("button state: "); Prints data to the serial port as human-readable
ASCII
text. In this case when I physically interaction with the input (bUtton), will report its state on
the
serial monitorSerial.println; will allows that every time the button state is reported in
the
serial monitor, it will be on a next line (like pressing enter every time) run the program and check for LED lightining and the report on the serial monitor like
shown in the video below.The LED goes on when pushing the buttom
You can get access to the Arduino code here.

Wellcome to the process of trying to make almost something