Individual Assignment
Git.. GitLab... GitHub… What are they?
 Are
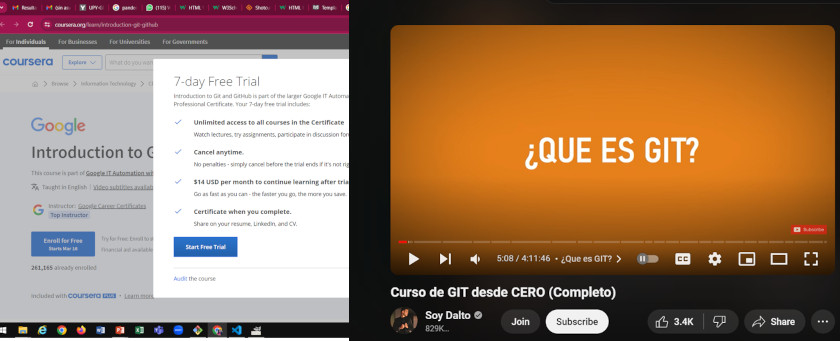
they related? What I need to know? I read Pedro Caneias web site. He suggest to watch a tutorial on
Coursera ,
however, it cost. So I decide to use youtube to understand more about it. I found
Soy Dalton Chanel .
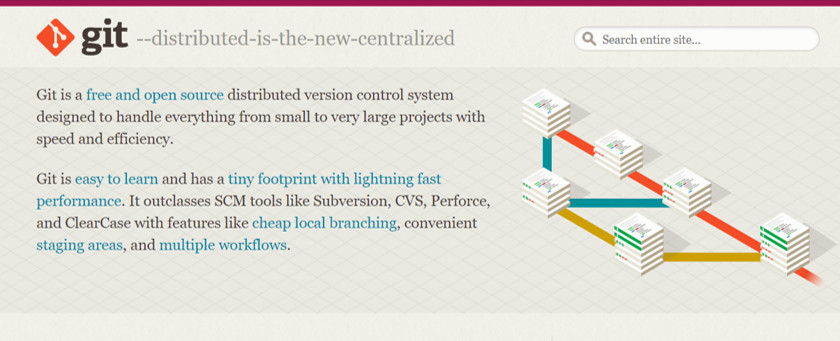
Git is a software that function as a version control system, allows to work in a collaborative way
that record different versions of a coding. Thus, is a cloud-based platform to build coding projects
freely, and where averyone could contribute due to its version control system - VCS. meaning that
allows to track changes in computer files. Thus, it is used for source code management in software
development. There are different tools that work based in Git, like GitHub or GitLab ,
along many others platforms that will receive all the information that we upload to our Git File.
They are web-based git repository, function as a DevOps platform facilitating software building
fostering
collaboration. All the tutorials that I review are in spanish.
Thus, Git will allow us that our files for our web page will update to the GitLab repository that
belong to our user. To configure our file we need to commit our local repository to the GitLab
platform. What that it means?
Well, we need to develop a personal web page, which will show our learning progress by registering
our activities for the weekly projects that we need to develop. And instead of working on line, we
can work in our computers, using programs like VS Code to develop our page using html and css coding
to
desing our web page content, and then upload everything to GitLab.
To do that we need a key for connecting your local repository to GitLab to establish a secure and
authenticated communication channel between your computer and the GitLab server. The key allow us:
- Authentication: The key verifies your identity, ensuring that only authorized users can
access and modify the repository. This prevents unauthorized access and maintains the
integrity and security of your codebase.
- Security: SSH keys provide a secure way of logging into a server without exposing your
password. This is crucial for protecting your data during transmission and preventing
potential security breaches.
- Convenience: Once set up, SSH keys allow you to connect to GitLab without needing to enter
your username and password every time you perform a git operation (like pull, push, or
fetch). This streamlines your workflow and saves time.
Access Control: Keys can be easily managed and revoked if necessary. If a key is
compromised, it can be removed from the GitLab account, preventing further unauthorized access.
Here is important to highligth that my instructor recommend us to manage a principal
local repo and a backup repo. This because each data upload must reach 10MB maximum.
Thus, we need to mantain equal content between our local repo and Gitlab repository. However,
because we are creating multiple photos and videos it is better to record our progress in a
backup file and then update content verifying data weight
Finally, to launch or repository we will need to use/run Git Bash, an application from Git that run
for Microsoft Windows interface. Git Bash (Bourne Again Shell) that brings an emulation layer for a
Git command line experience. A shell is a terminal application used to interface with an operating
system through written commands. The following photo shows GitBash interface
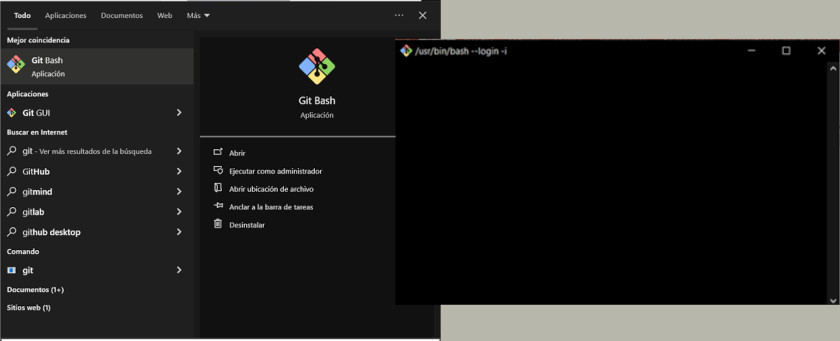
Using Git Bash command we will have to generate the connection between our local repo and the GitLab repo.
The following sumary will provide some description for each written command that we will use in Git Bash:
- The 1st command
$ git init tag Initialized empty Git repository relatied to
selected directory. This means that we need to run our local repo configuration
- Then
$ git config --global user.name will help us to establish the global
user. This global user has to be the same that we use in GitLab (that is also our Fablabs.io user)
- Using
$ git config --global user.email allow us to connect our user with the
email that is registered on GitLab Platform (that is also our Fablabs.io user)
- With
$ ssh-keygen -t rsa -C "email" allow us to generate our digital Key, that is the one
that bring us security regarding the connection between our local repo and GitLab, thus no other computer will
be able to upload information to our GitLab repo. We will get this digital key (like code that will provide to us
throught Git Bash). Then we need to "copy" it to our space at GitLab (adding it to your GitLab account under
Settings > SSH Keys
- Once the key is been included to our GitLab, we need to return to Git bash in our computer and type the following
code
$ clip < ~/.ssh/id_rsa.pub. This will conceale our local repository with our
id. This mean that our credentials, user and registered email have been correctly registered.
- Now we are ready to upload our first web update. For this, we have to write new coding in Git Bash. Using
$ ls this command is applied to locate the file directory of your local repo will be use to
be connected with our GitLab repository.
- Once the local repo directory has been located, Git Bash will establish the connection to this location to update any
Html, CSS, images, videos or any other type of file that develop as part of our web page content.
- Because the configuration between our local repo and GitLab repository need to be the same, we will need to clone the
content configuration generated in GitLab repository for our local repo. To do that we need to use the command
$ git clone, this will clone our GitLab repository to our local disk/file.
- Then, using
$ git pull command, Git Bash will compare that all the information uploded in our GitLab
Space is the same that the one in our local repository
- Thus, when we have any update in our files, we will need to use this commands:
- Once we update our local files, with
$ git add . command, we can innitiate the update of our
GitLab Space
- Then, we need to use
$ git commit -m 'first upload' command, that allow as to label the
content that we will update, such as in this case: "my first web launch". This is useful, because we can provide some
kind of tracking to our updates.
- Finally, using
$ git push command, we can launch the files that we have updated in our
local repo to our GitLab repository, in this case "my first web progress"
Creating My Web Page
I reviewed the information provided within FabAcademy platform and the class video. We need to develop our
web page using html and CSS coding. Somehing that I've never used before. Thus, I notice that we can use
a template. Following professor suggestion I visit
html5up web, reviewing different templates, downloding 4 different designs to decide which one
could provide me an adequate and easier framework to work with. I finally Choose the one called Future
imperfect, you can direct to this web page to
download the files
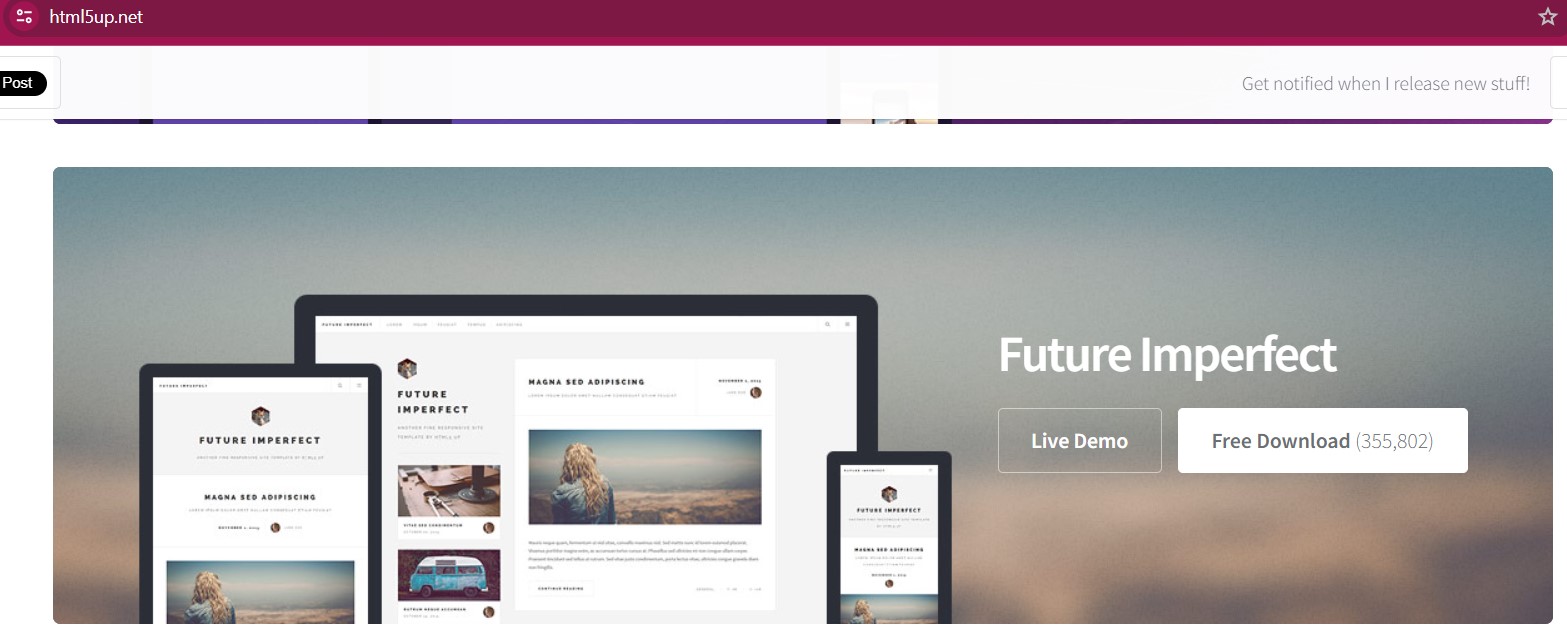
There were different files in this template:
- One CSS file
- Two Html files, one labeled as Index, and the other called single
- and images folder with different images sizes as examples
 To understand html
and CSS coding I review diferent web tutorials, and I found great youtube videos created by the usuario
HolaMundo in Spanish.I provided
here
direct links to html
and CSS.
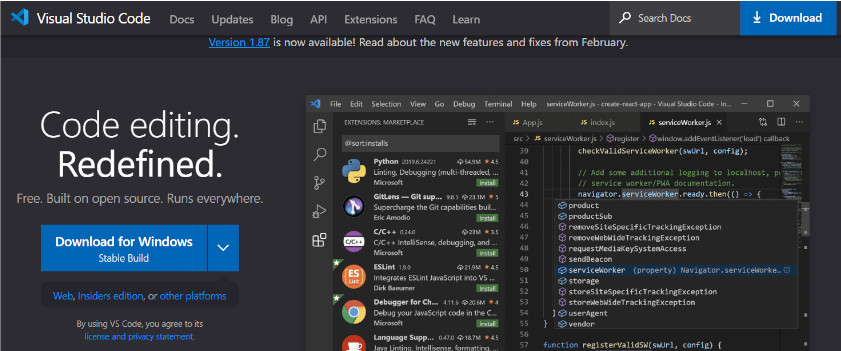
In those tutorials, similar to my instructor suggestion, they recommend to work with Visual Studio Code. An open source
software, supported by Microsoft, that allows you to visualize the coding and previsualizes
our progress in the web page, because you can download different plugins. This software also allows
changes tracking and coding with Java, JavaScript, Python, C, C++, and other different programing
languajes.
Withih VSC I explore the pogram following tutorial instructions, thus in extensions I explore options to
change text colors chosing 'Andromeda' dark theme, with neon colors. I also install 'GitLab Workflow',
'HTML CSS Support' and 'HTML Preview'. Within VSC I took the following steps:
- Intalled
VSC in my case I downloaded Windows version.
- Once running the program I went to
File from menu options
- There I choose
Open Folder option because when unzziping the template, every
file was in a folder.
- Then, from the lateral menu select
Explorer.
- There, clicked the
public dropdown menu and appeared 3 options.
- A folder called
assets where you can get acess to a file CSS coding.
- Another folder called
images that contains images used in the template, and
provide
information regarding images dimensions that we need to consider to mantain the selected web aspect.
- An
index.html file, the one with the basic structure that can be vary.
- A file called
single with a basic coding to one single web template
- A txt file
README containing basic instructions and recognizing the authoship
- Finally, the txt file
license
- Reviewing files content, and previsualizing them on a browser it was easier to identifed the coding
behing different web features
- Here, I can highlight some key command that could be easily to identify such as:
<p>""</p>" that we need to use at the begining to start writting a
parragraph and establish where it ends, following the features that the template assign for a
parragraph, such as type of letter, height, spaces, displacement within the web page, among others <h1>""</h1>" that according to the template we need to use when we
want that a phrase of our text will show at our web page as a title and will establish where
this feature will close. This kind of titlle (meaning its feature) will respond to the CSS file
features that the template is assigning <b>""</b>", will allow us to establish a bold feature to a "word" <span>""</span>", will allow us to introduce different classes of objects in
our web page, in accordance with our CSS file. This command we can used to add images, videos, files,
links to external web pages, among other. For example, we can use <span>class="image
featured"> to establish that we are going to introduce a image, followed by <img
src="images/1st Week/VSC.jpg" alt=""/> to indicate the location of the image file that I have
labeled as "VSC.jpg"
- When you understand the logic behind the link between CSS and Html files, it is easer to star editing the content
- I decided to start editing
index.html, because this is the one that will allow you to surf between
my web page content, like stablishing the main link to go to each week progress (assignment)
- And use
single.htmltemplate to build each assignment web page
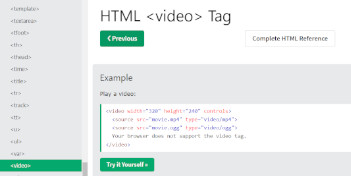 The template
that I choose provide different examples for coding things like parragraphs with images at left and
right, include bullet points, bulid tables, link web pages, and other. Howeverm, did not have examples
to include videos or include coding instructions in our web pages. Thus, I used suggested html and CSS
coding from
W3 School the web allos tu run the conding example and provides you and idea of real
visualization. And because it provides also CSS coding examples, provides applications using both at the
same time. Brings also definitions, other attributes that we can add to our basic coding, and
inforamtion about, in this case, supported formats for the video.

Reflections
- Nevertheless we are focus on GitLab, YouTube videos that explain about Git, GitHub, and GitLab
are useful as a newbee at this topic
- In order to understand some new technical vocabulary in english, being my mother tonge spanish,
was useful for me to search for spanish tutorials
- The FabAcademy tutorial on how to go live at GitLab is a little outdated, and the information does
not really agree with the current interface of GitLab. Thus, SSH Key connection could get a little
confuse
- A totally recommended
W3 School web page, to use it as a guideline for html and CSS languages learning process. It
allows you to run the code live and whatch how it must be viewed

 Are
they related? What I need to know? I read Pedro Caneias web site. He suggest to watch a tutorial on
Coursera ,
however, it cost. So I decide to use youtube to understand more about it. I found
Soy Dalton Chanel .
Git is a software that function as a version control system, allows to work in a collaborative way
that record different versions of a coding. Thus, is a cloud-based platform to build coding projects
freely, and where averyone could contribute due to its version control system - VCS. meaning that
allows to track changes in computer files. Thus, it is used for source code management in software
development. There are different tools that work based in Git, like GitHub or GitLab ,
along many others platforms that will receive all the information that we upload to our Git File.
They are web-based git repository, function as a DevOps platform facilitating software building
fostering
collaboration. All the tutorials that I review are in spanish.


