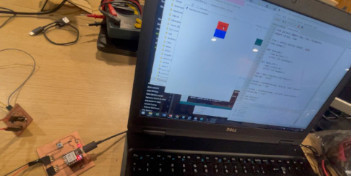
I decided to use thonny to replicate a softrobotic grip. I look for some information in different web
pages.
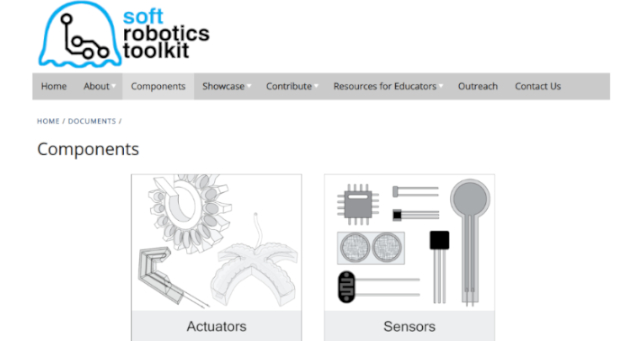
I found thissoft robotic toolkit
page that brings different softrobotics tools, resulting in a series of elements and explanations
develop for different projects. I decided to explore how to develop soft robotic actuartors:
I choose PneuNets Bending Actuators
Anderson Zelarayan also used this web page first, so I decided to look for a similar actuator,
but with four (04) arms
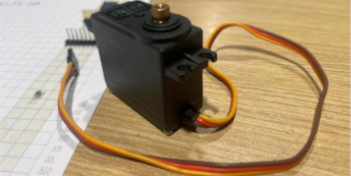
The limitation for our project was to limited access to electroninc sensors
Our instructor suggest to develop a neumatic system using a 50ml syringe, that was available
within the FabAcademy inventory
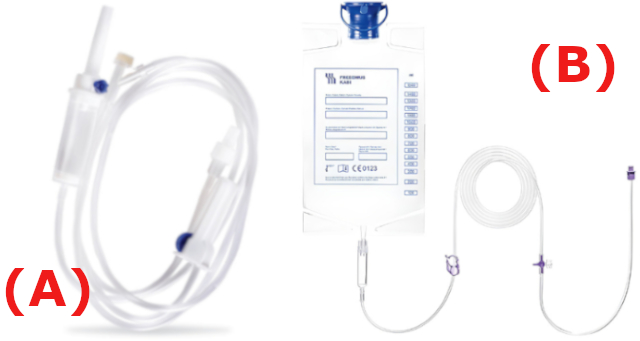
I needed to build a neumatic system, so I look for some medical supplies that I could use
I choose two different products:
01 Venoclysis System (fig A) that cost $0.5
01 Administration System for Enteral Pump for Tube Feeding (figure B) that cost $9
uploaded in 2015 and updated in 2016. This blog brings
comparissons between different kind (desings) of robot grippers, base on performance
and flexibility. It recommend the use of 3 finger grippers (also call as self-centering).
This one could be actuated by hydraulic or pneumatic energy, and because the comparisson
is made about robotic grippers it says that the finger could be not so flexible and they
probably need to be changed according to the type of object to be lifted. This kind of
model could be used to lift different objects sizes and shapes. Thus I decided to look
for grippers models with three fingers that could be 3D desing and fabricated.
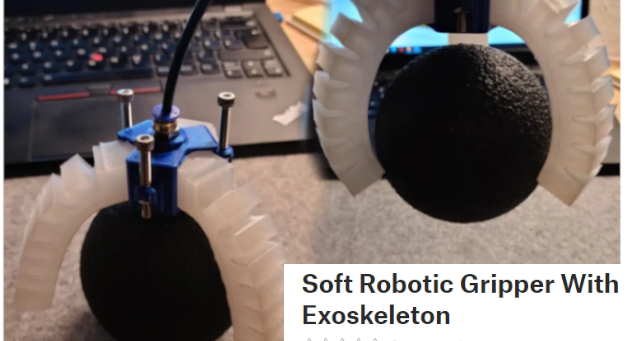
Further, I found this project at by Fabian Veile - @FabianVeile at printables web page. The project is
called Soft Robotic Gripper with Exoskeleton
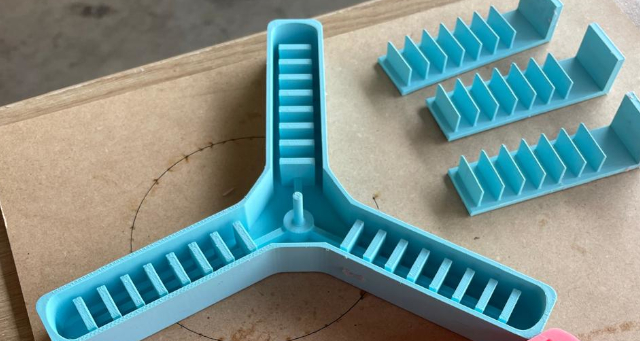
I downloaded the files, and printed a first version for testing this was printed locating the
mold base at the 3D printer's X axis
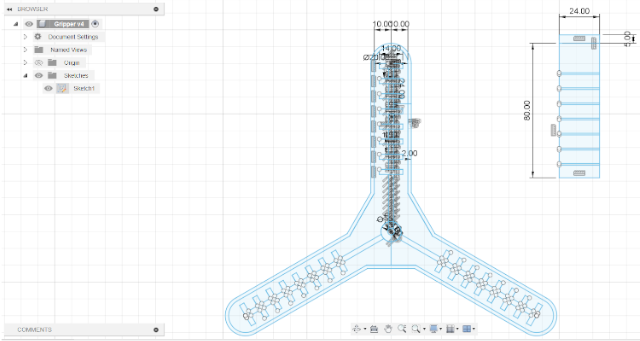
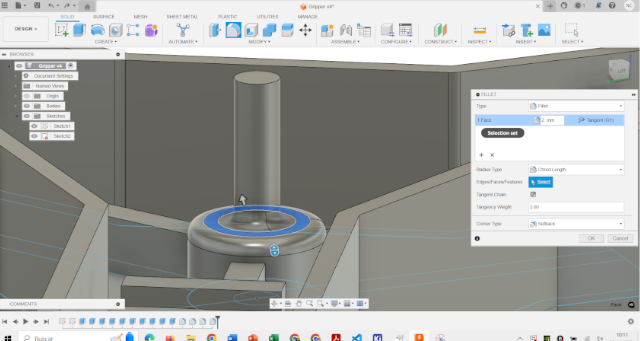
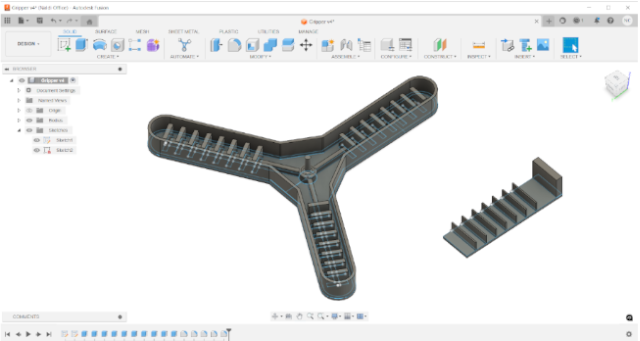
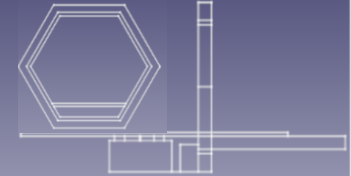
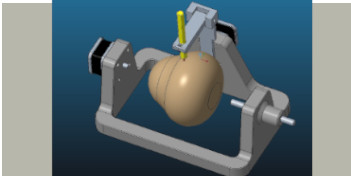
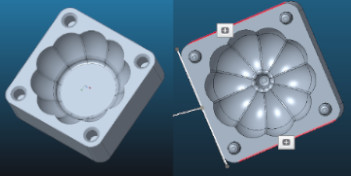
I decided to replicate this model and design it using fusion 360. I measuare the two main parts
and desing both, I made same small changes using fillet function. The following photos resume
the process
I decided to follow molding and casting week process to profuce the gripper
We used Resine F-20 that requires Component A and B at a relantionship of 100/3
The process requires to generate the first part of the mold using 4 3D printed parts
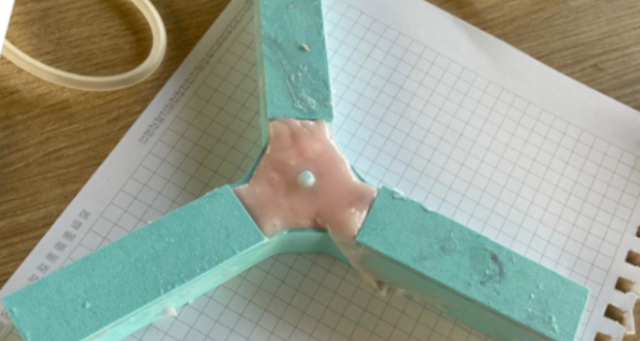
The first result was good, like shown in the following image
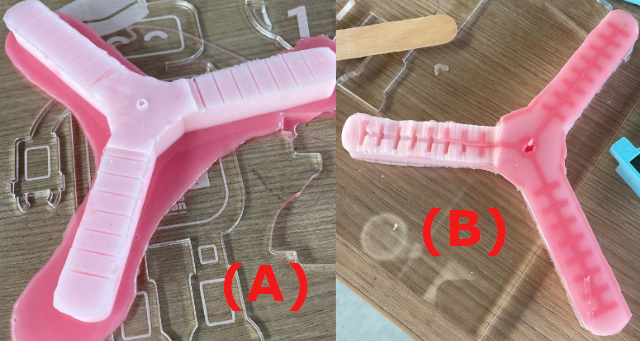
The first result was good, like shown in the following image, so I run the second step, that
was to pour off a second layer of resin to enclosed the grip (figure A). Thus, I used a acryllic
base to locate the first part of the grip. However I did not consider superficial tension
phenomena. Hence the resin fill into the grip's channels, blocking the air (Figure B) like shown
in the image below:
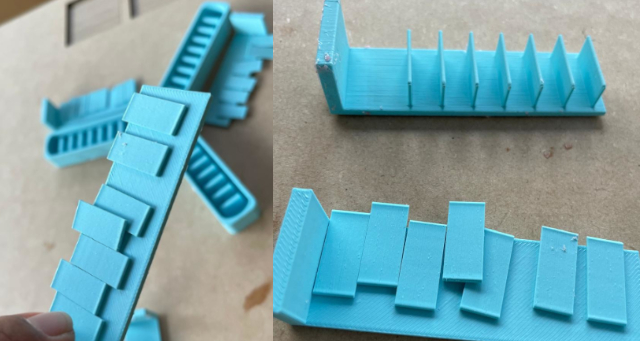
The other problem was that the 3D printed mold broke during the disemsamble process. Thus, I
need
to change the mold position for 3D printing it, to avoid losing the mold during the process,
like
shown in the photo below
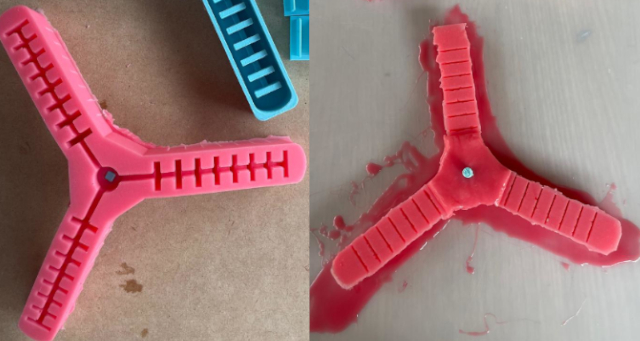
With the 2nd mold I generated a new grip, and pour off a second enclose resin layer, in this
case
I pour off a slimer layer of resin, like shown in the photo below
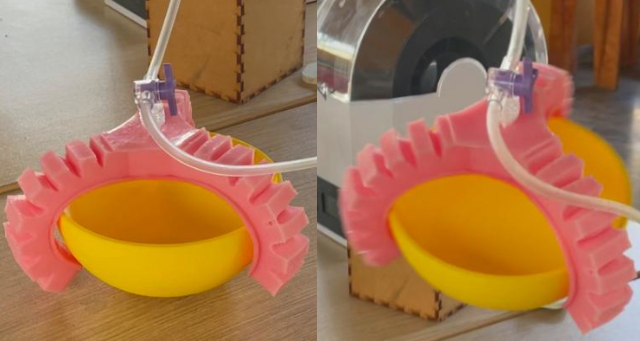
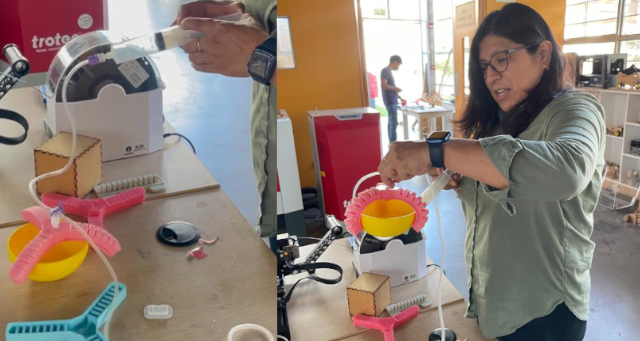
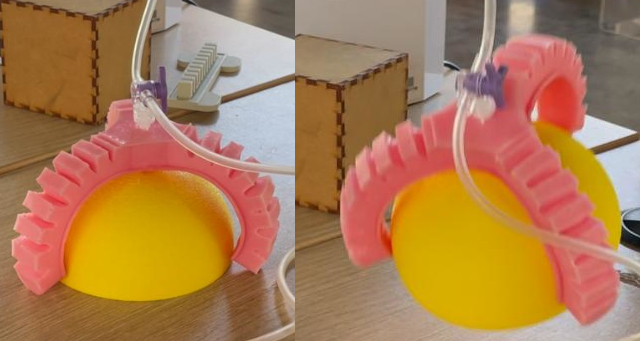
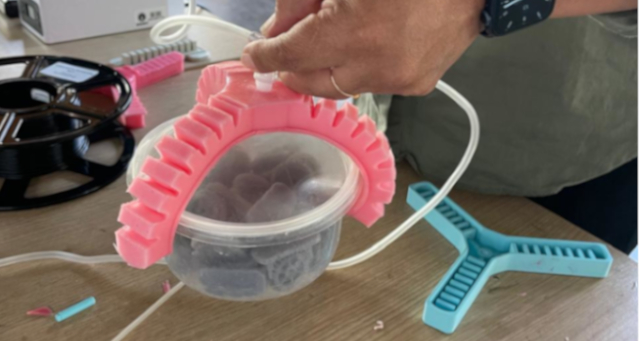
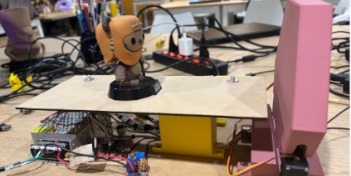
We tested the grip functioning by connecting the air system
I decided to test the grip using a semi-sphere object
Finally, I decided to test the grip with 100gr weigth
You can download the original 3D printing fileshere.
You can also download my modified version designed on fusion 360here.
A Peruvian FabAcademy Journey
Wellcome to the process of trying to make almost something