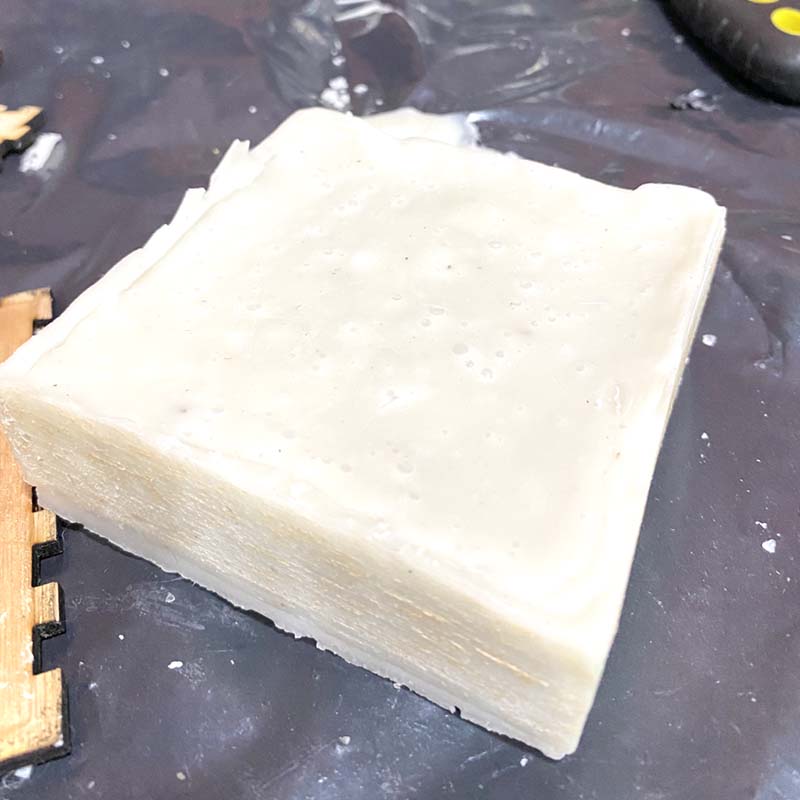
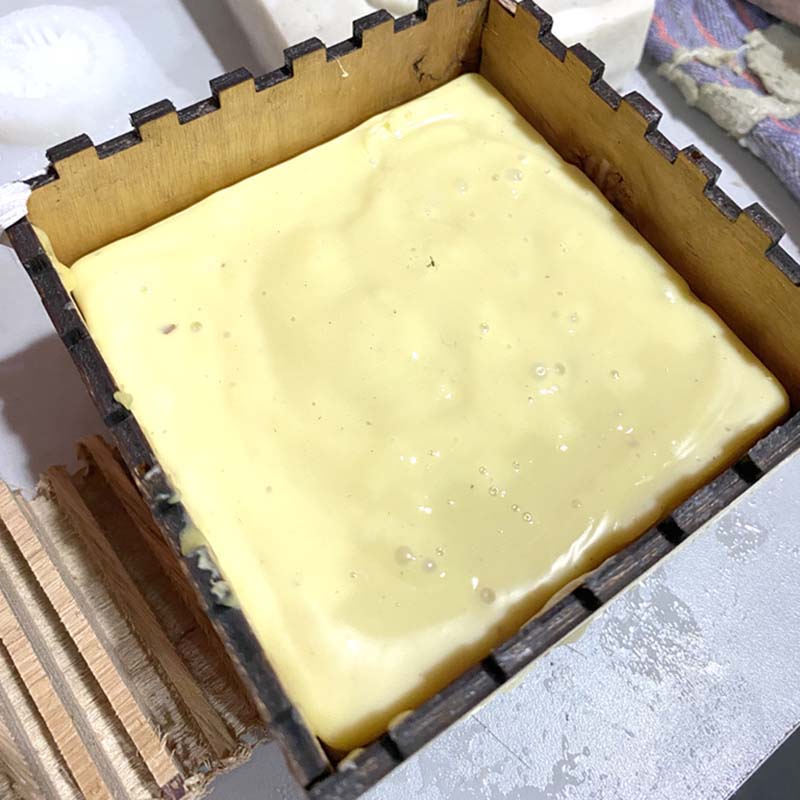
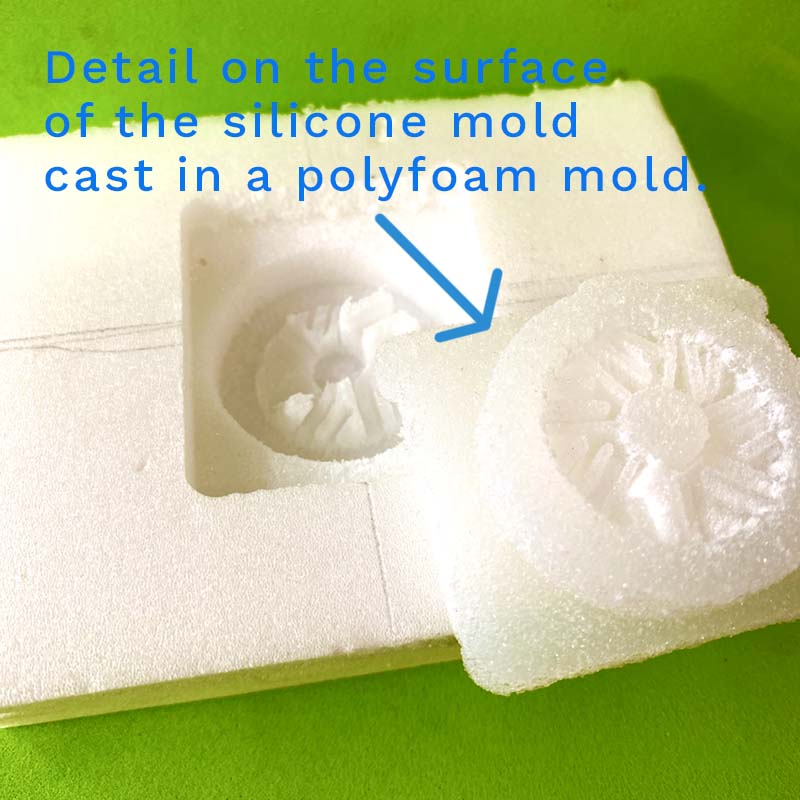
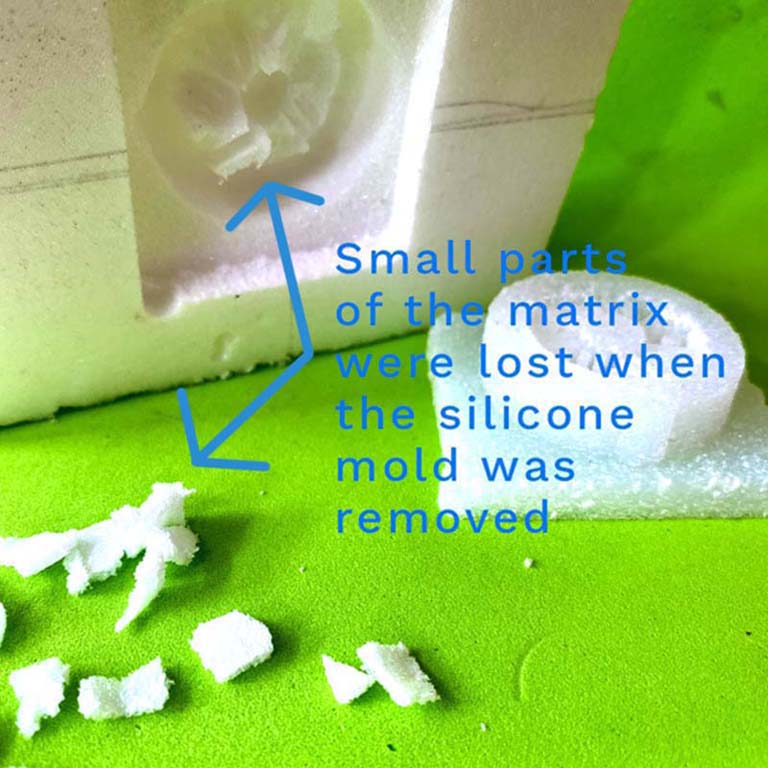
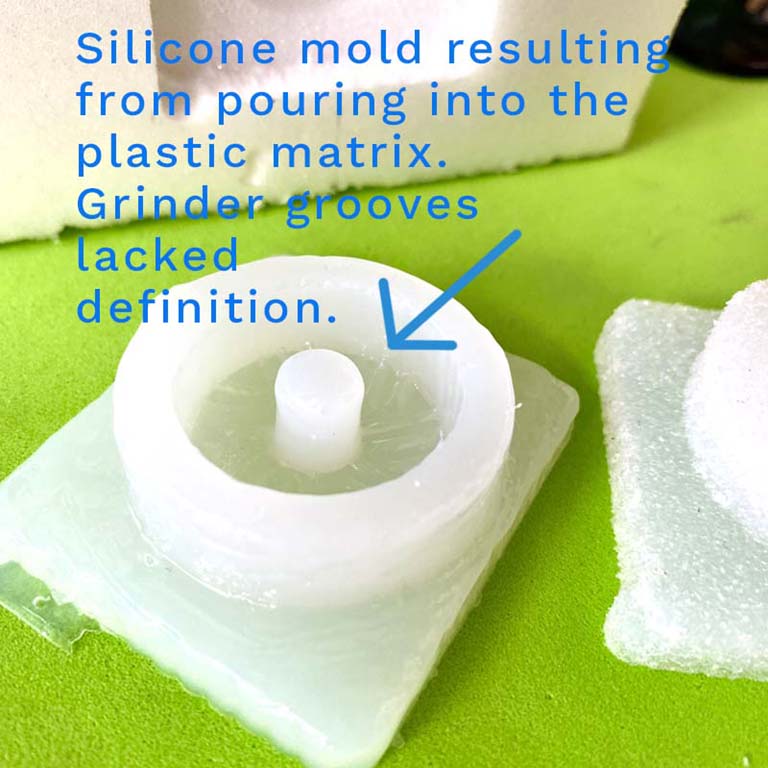
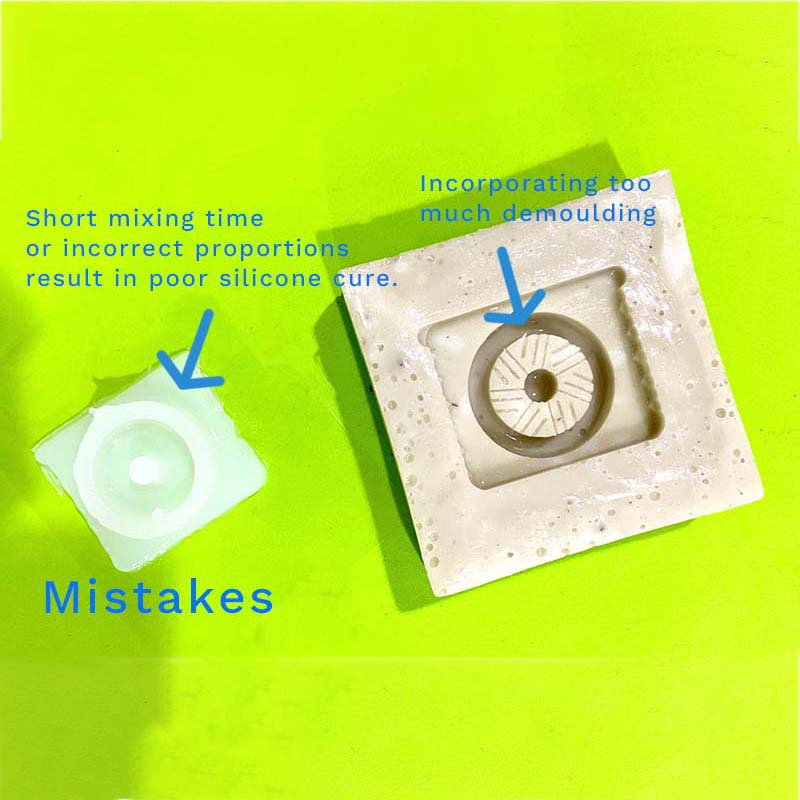
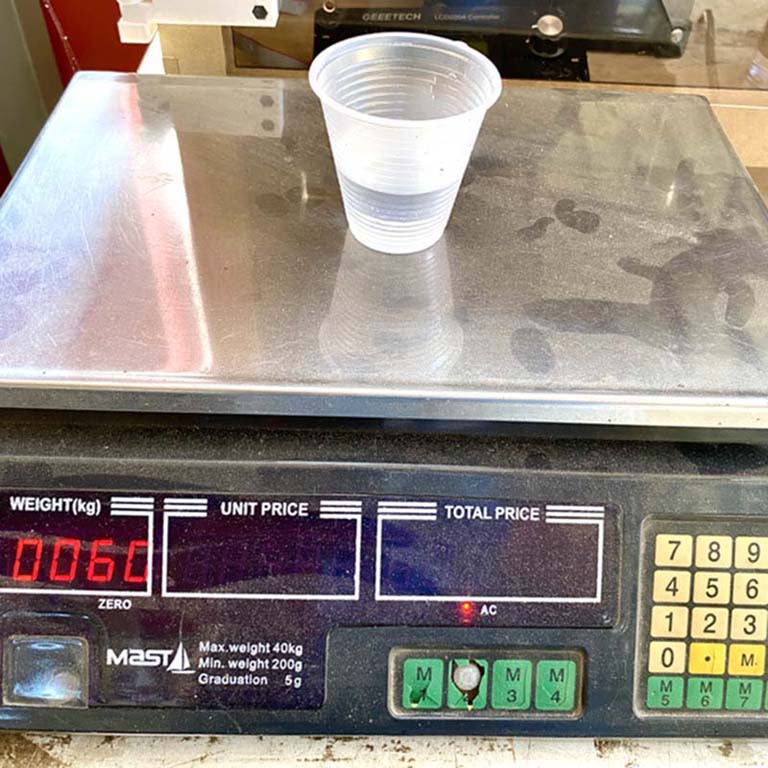
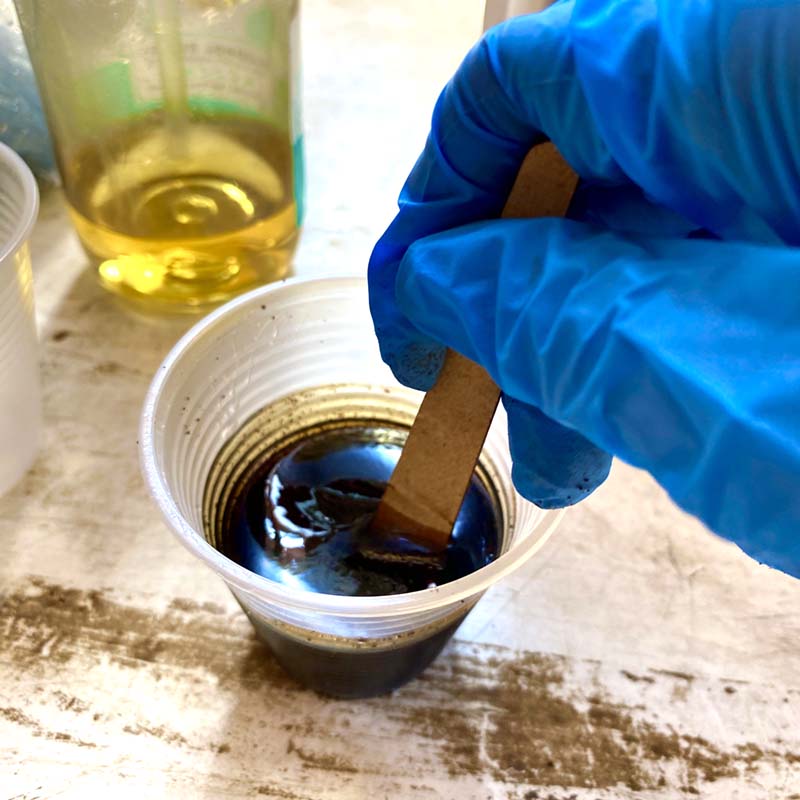
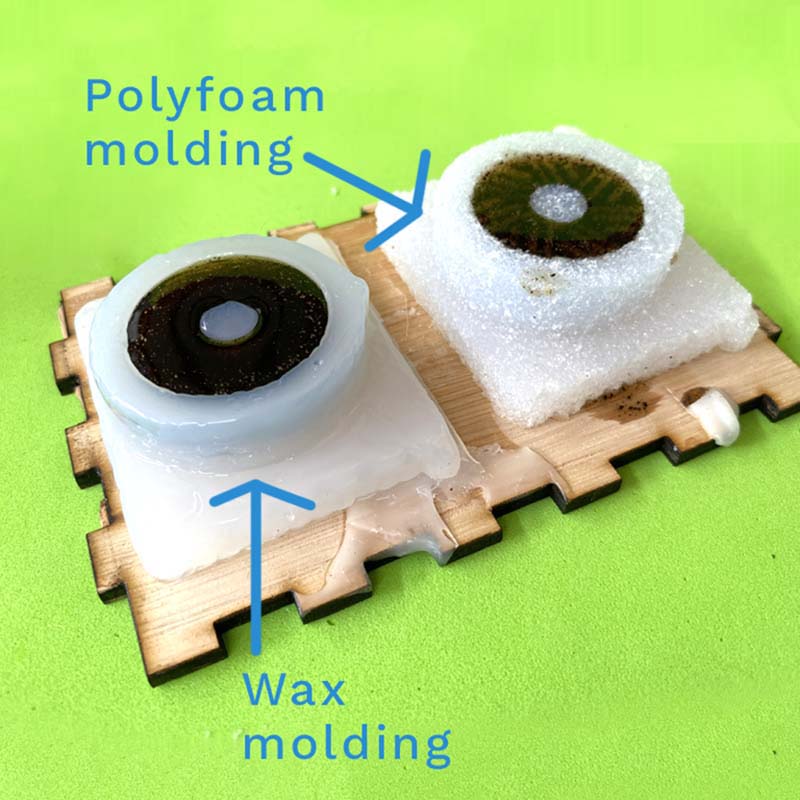
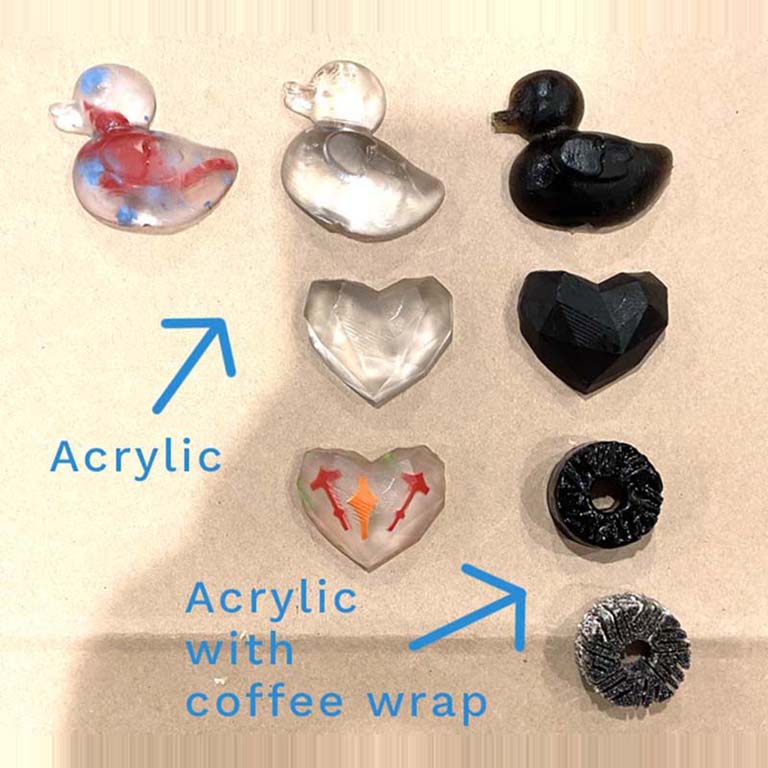
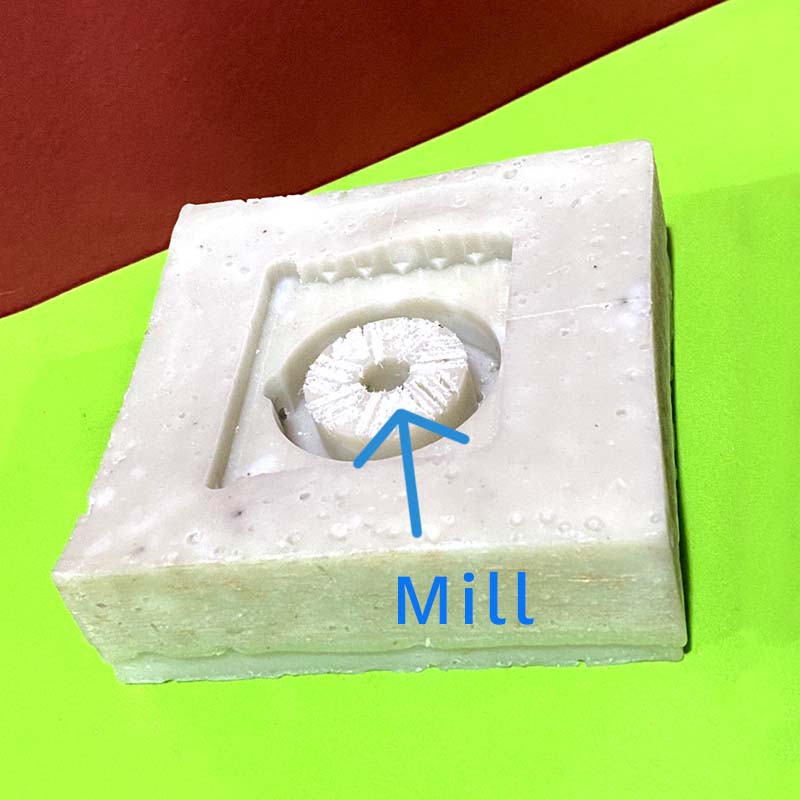
As long as the mold was ready for machining, we experimented the process of casting in silicone to obtain molds: one of a heart 💛, of a duckling 🦆 (molds made by FabLab interns) and some ears (mold made by Dr. Royg, of the FabAcademy 2022 generation). Using the two-component silicone (A-B), mixed in the 1:1 ratio, we pour the mixture into the three molds. The curing process lasted approximately 6-9 hours.
The next day, already with the silicone molds, we proceeded to use the epoxy resin also of two components. Mixed in 1:1 ratios, for about 15 minutes. Then, it is dumped into the silicone molds. The curing process lasted approximately 24 hours.
Molding
Capitalizing on the topic of week 12: molding and casting, this week my goal is to explore in the production of an important component for the MoliNito 😎: the grinder. First, we analyze together with Abdon the possibilities to produce the conical model of the grinder: a priori answer NO 😞 due to the fact that the machines we have cannot produce the conical part ☹️. Although I will continue to explore this week the alternatives in terms of design and materials, which in principle I would like to realize it with ceramic. For the moment, I focused on the design of the flat grinder.
First, I review some tutorials on YouTube to understand the process of modeling and preparation of the file for the manufacture of the mold.
STL to 3D Printed Injection Mold
Then, more tutorials on coffee grinder models ☕️:
Coffee Mill Fusion360 Study
Now, following part of this tutorial, I make the model:
Machining
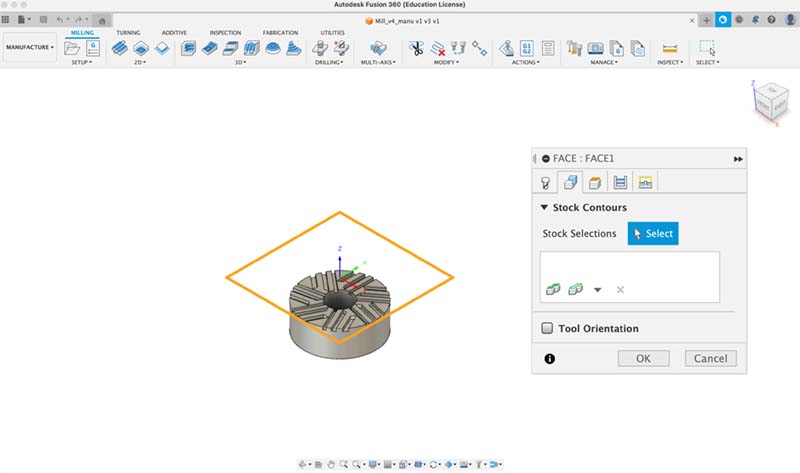
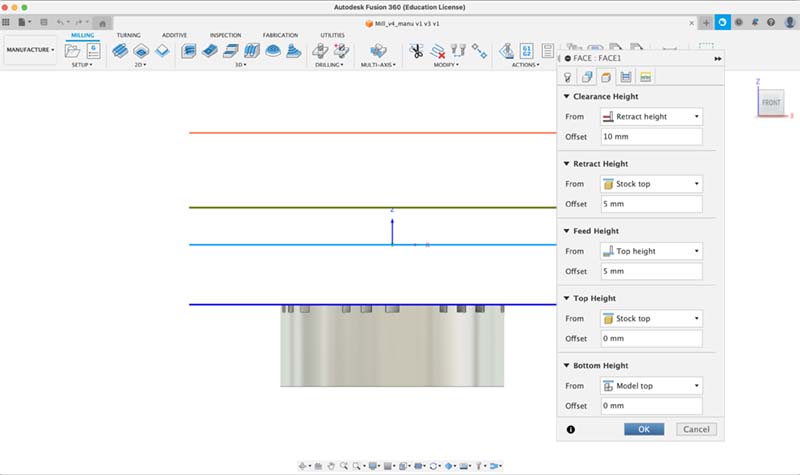
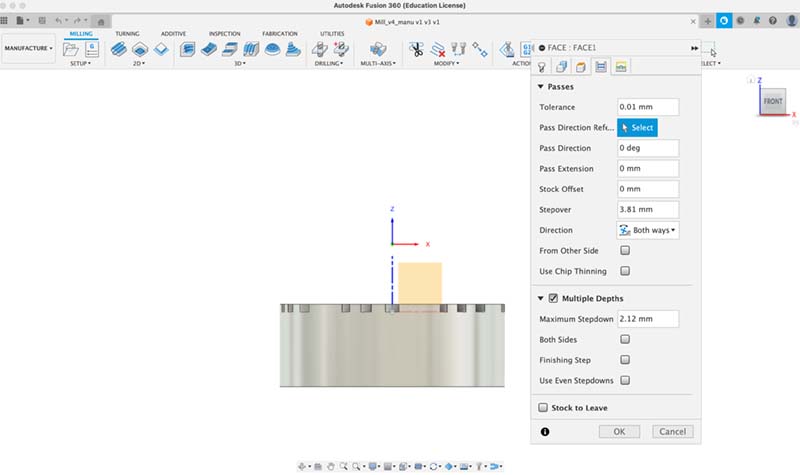
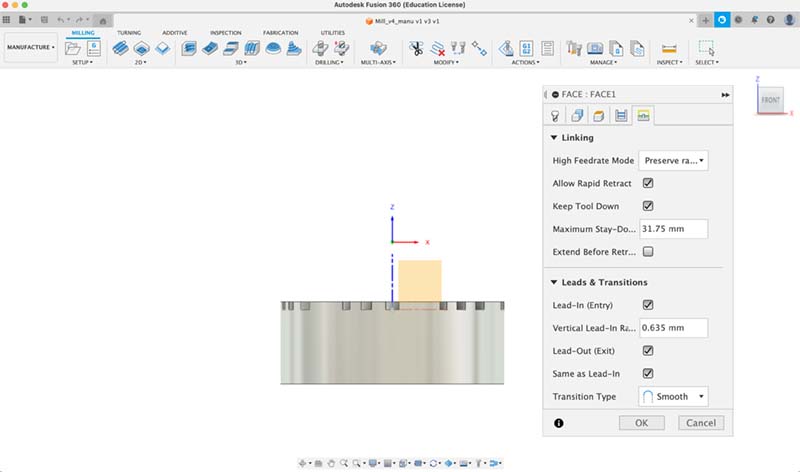
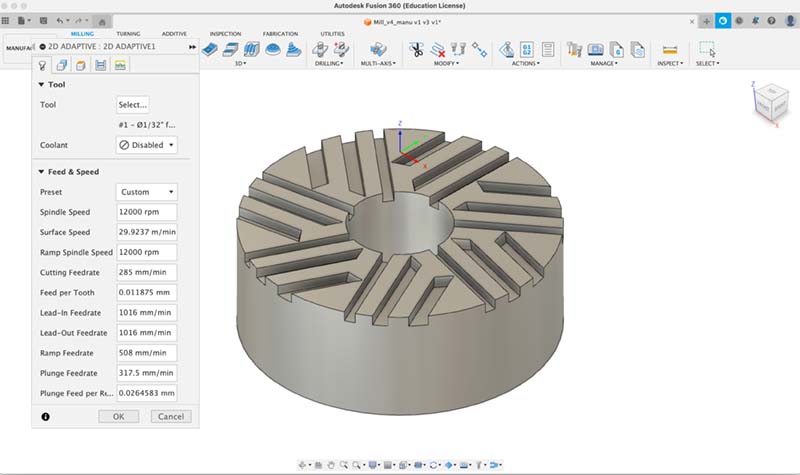
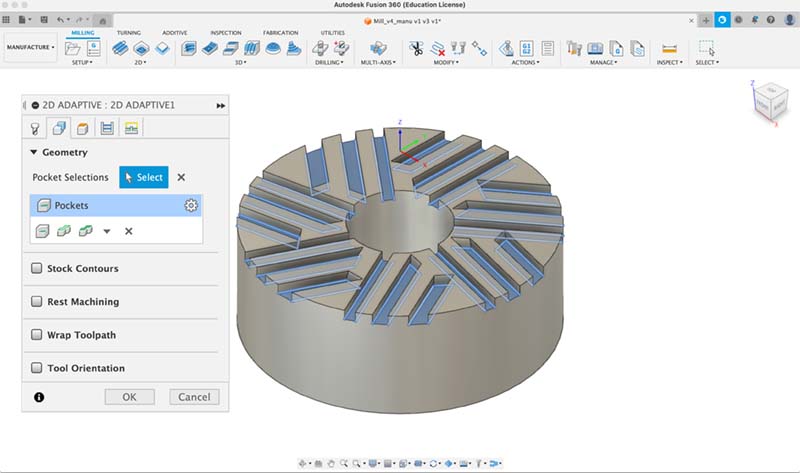
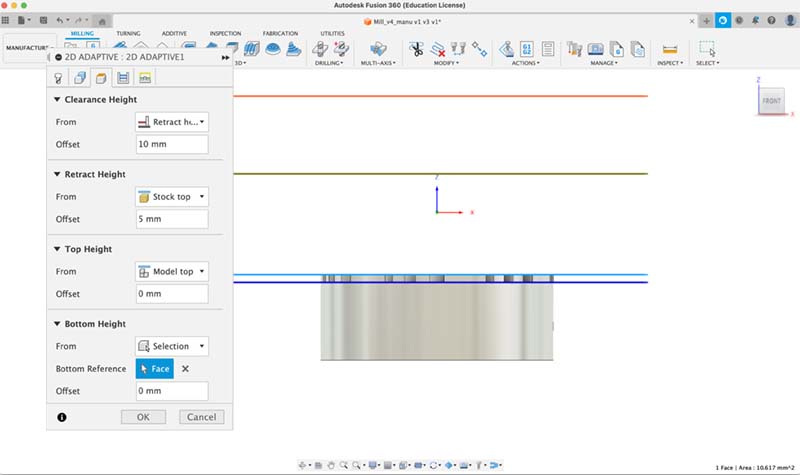
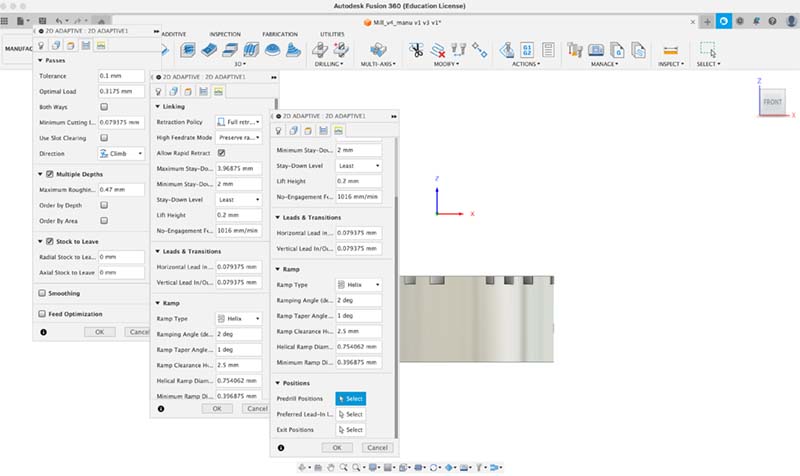
To prepare the file, I use the Fusion 360 functionality for mold manufacturing, with the following parameters. I recommend this series of videos that explain the process that will be applied to the model, until the NC or RML file is obtained.
Fusion360 Help - AP Mastercam Manufacturing Setups
Then, the .nc file is generated in my case, since the .rml file type produced an error at the time of generation.
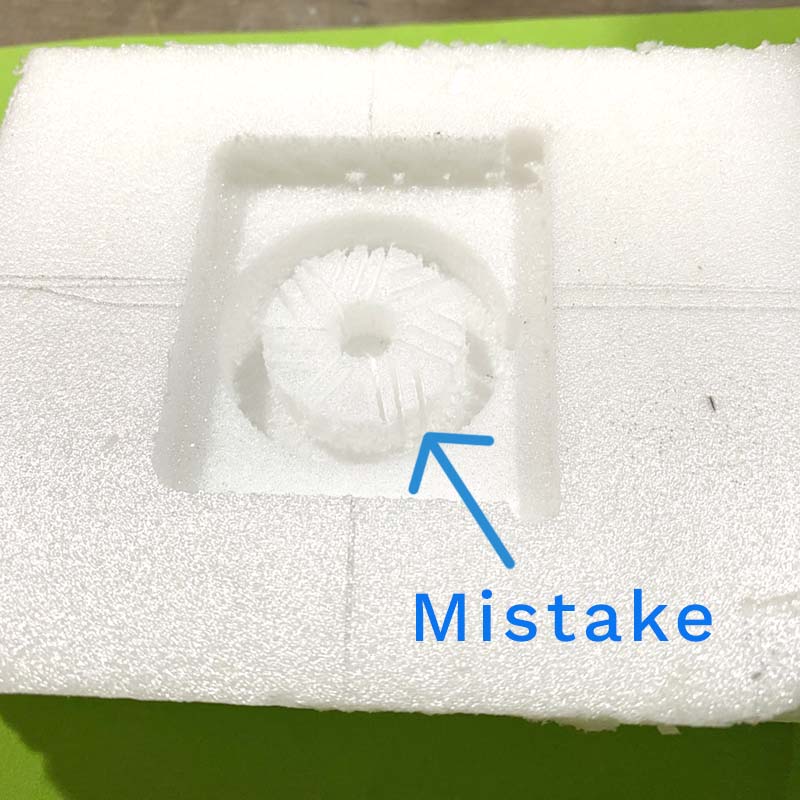
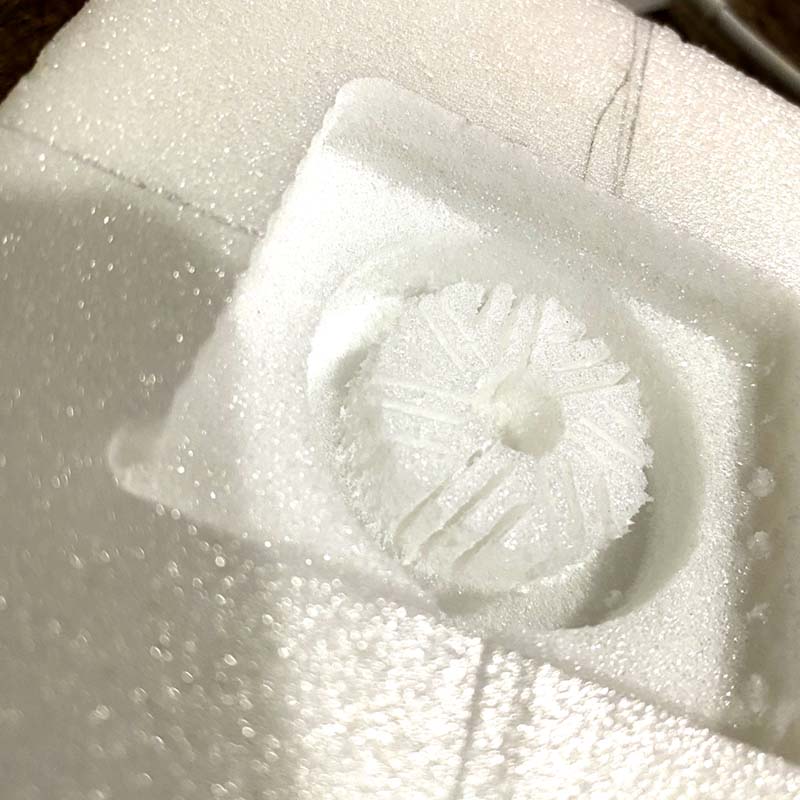
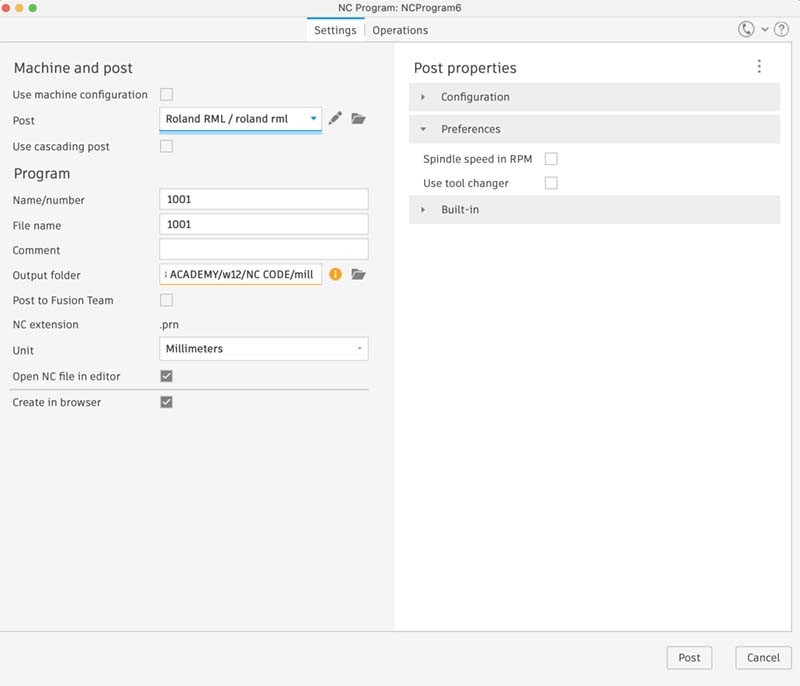 The mistake was in setting the Z from the starting face of the machining, which caused the milling to be done across the entire width of the part, and not just on the surface. This was solved by machining the wax block.
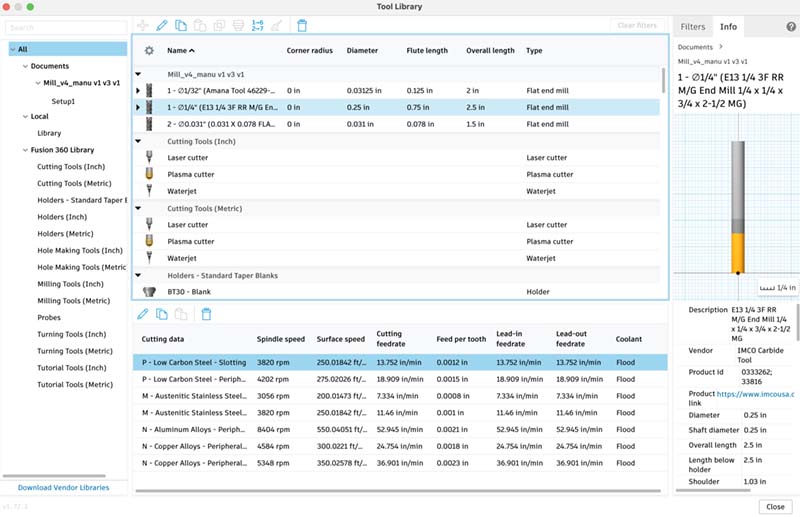
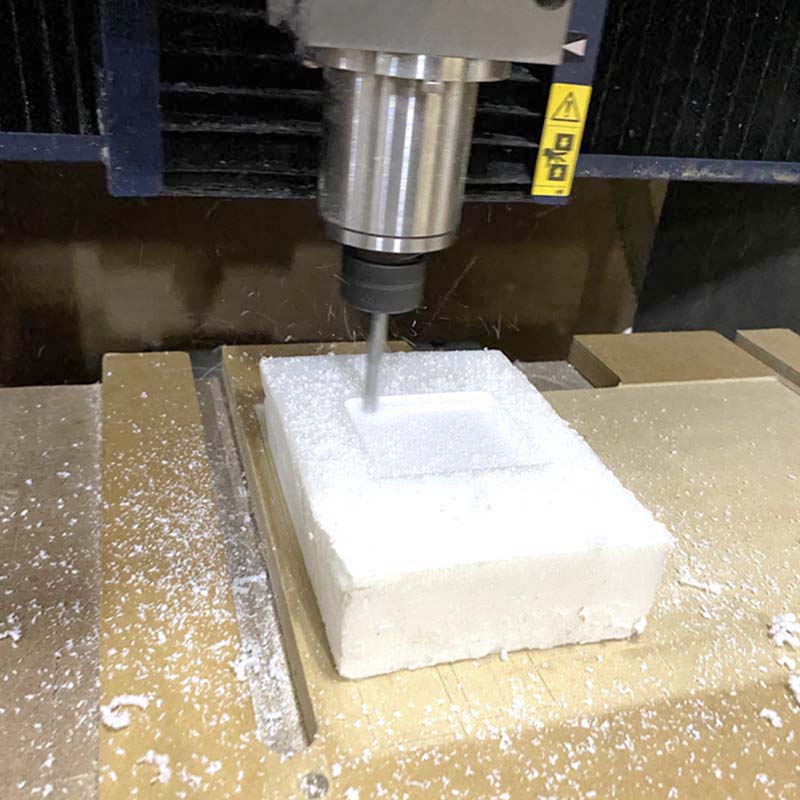
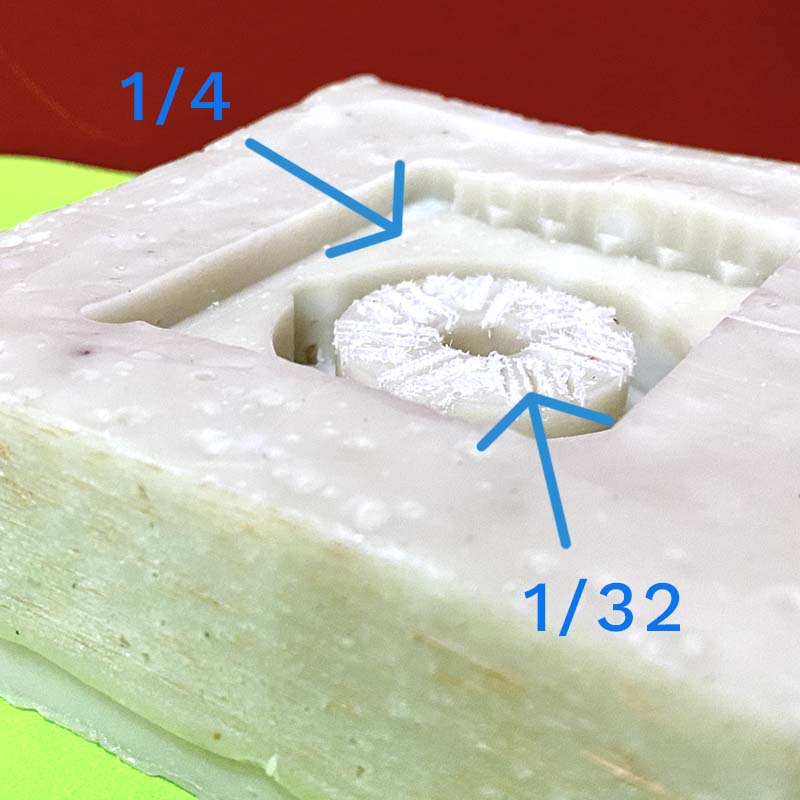
Wax block machining with mills of 1/4 and 1/32.
Resume manufacturing process
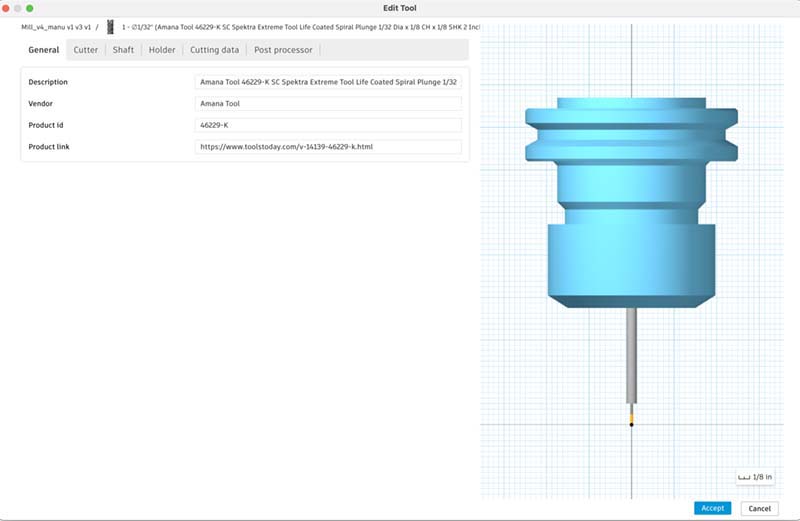
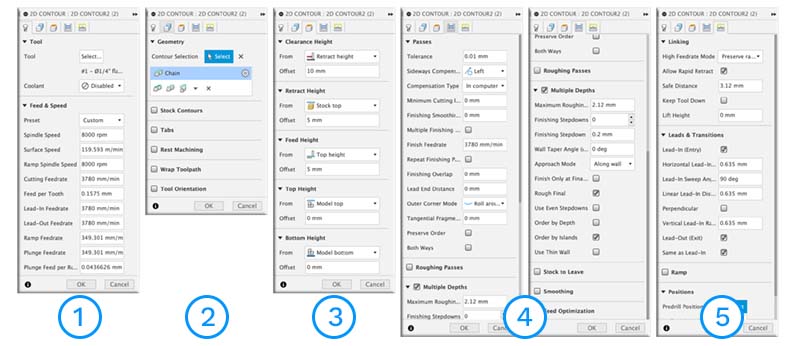 1. Edit tool; 2. Stock contours; 3. Clearence; 4. Setup passes; 5. Linking.
 Initial setup
 Face setup
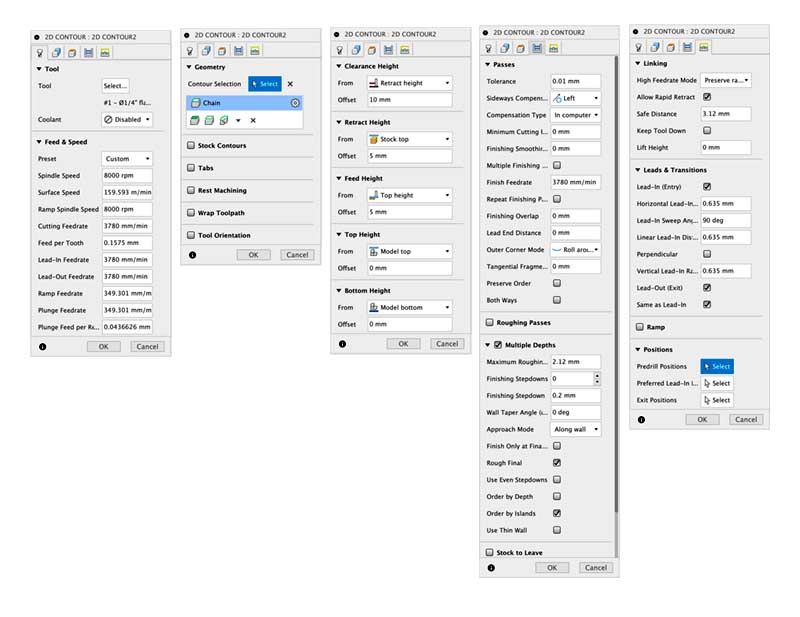 2d Contour setup
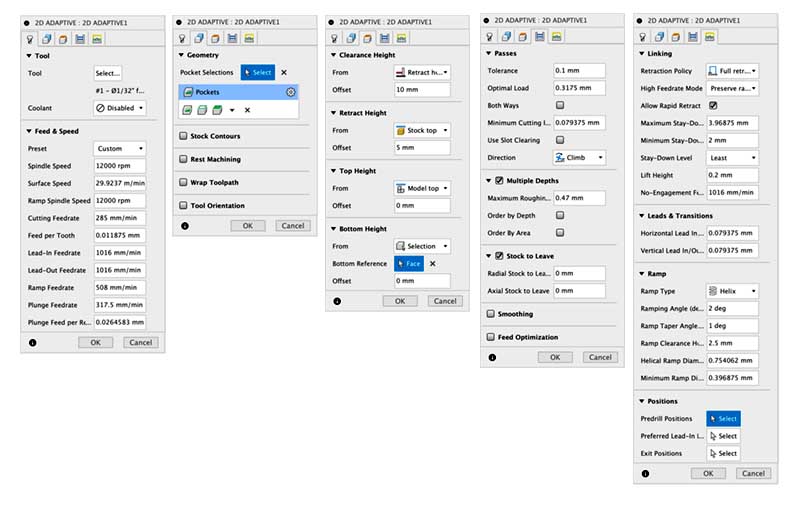 2d Adaptative setup
