Week 11

Input devices

By Patricia Samudio Salinas β€” on

Input devices

This week I decided to try a sensor that I could use in the MoliNito (final project): a pressure sensor. For this, I selected the loading board from the documentation for the week Step response > loading > hello.load.45. I make the schematic, first on paper, then in Eagle.


I then proceed to the machining of the board and soldering of the components:

Item Value Quantity
ATtiny 45 1
Jack Conn 4 pos 1
Resistor 1M 1
Resistor 10k 1
Capacitor 1uF 1
FTDI 6 pos 1
Jack ISP 6 pos 1


PCB programming

For programming, I use the information from the documentation of the week, also relying on other sources:

Matt Keeter // HTM(a)A // Capacitive Multitouch

Step response documentation by Adrian Torres

Load Cells & Force Sensors.

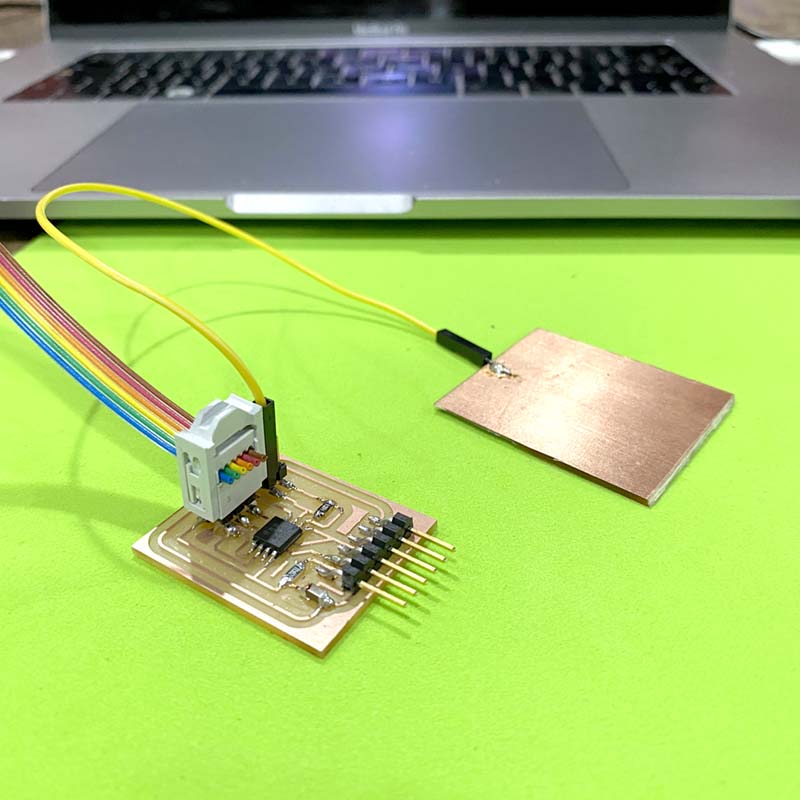
Capacitive Sensors measure low forces.

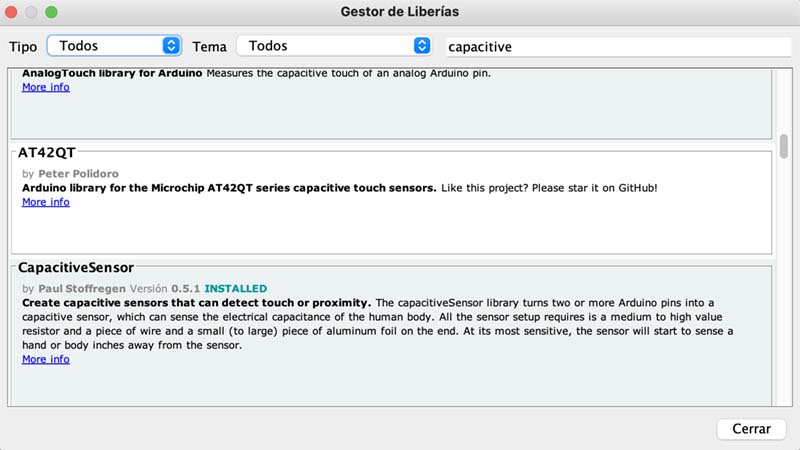
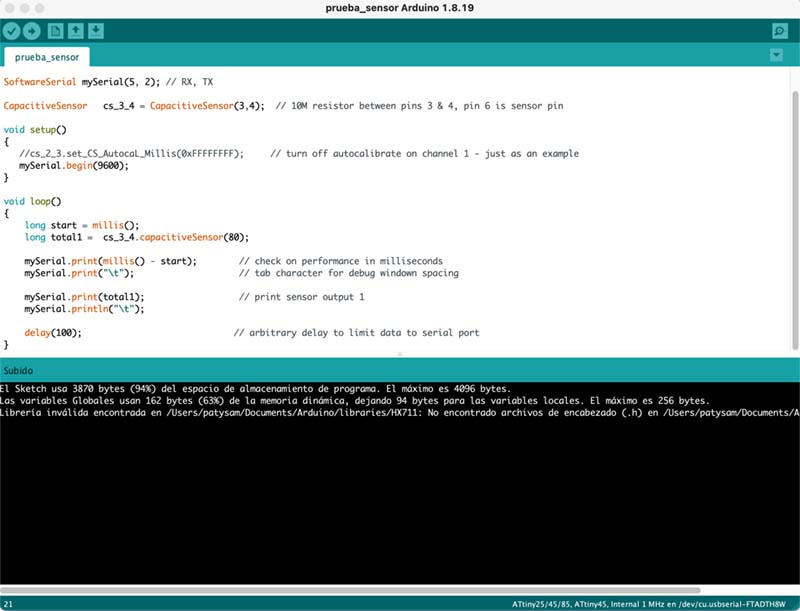
In the Arduino IDE, the SoftwareSerial.h and CapacitiveSensor.h Libraries are included first, then the Rx and Tx configurations in the SoftwareSerial and the declaration of the pins corresponding to the sensor in the line CapacitiveSensor.


                                    #include 
                                    #include 
                                    
                                    SoftwareSerial mySerial(5, 2); // RX, TX
                                    
                                    CapacitiveSensor   cs_3_4 = CapacitiveSensor(3,4);  // 10M resistor between pins 3 & 4, pin 6 is sensor pin
                                    
                                    void setup()                    
                                    {
                                       //cs_2_3.set_CS_AutocaL_Millis(0xFFFFFFFF);     // turn off autocalibrate on channel 1 - just as an example
                                       mySerial.begin(9600);
                                    }
                                    
                                    void loop()                    
                                    {
                                        long start = millis();
                                        long total1 =  cs_3_4.capacitiveSensor(80);
                                    
                                        mySerial.print(millis() - start);        // check on performance in milliseconds
                                        mySerial.print("\t");                    // tab character for debug windown spacing
                                    
                                        mySerial.print(total1);                  // print sensor output 1
                                        mySerial.println("\t");
                                    
                                        delay(100);                             // arbitrary delay to limit data to serial port 
                                    }
                                

In this activity what I was able to learn about serial communications is:

πŸ“ Serial communications allow you to connect two different devices by sending and receiving data between them.

Test

For the communication test, I first use the IDE's integrated monitor:


Where I did run into a snag was when using a visual GUI to display the sensor response. Using the code included in the week, it did not work 😞.

I also reviewed some tutorials from years past, to observe the installation on a macOS computer, as well as several forums; but still no success 😩.


What I learned

😎 How a sensor (capacitive in this case) works.

😬 Sketch and verify the schema as many times as necessary.

How I learned it

By the assistant of the local instructors. πŸ™ŒπŸΌ

Making my product.

What I should do

πŸ™ŒπŸΌ Use a serial monitor to display the result of the interaction with the sensor.