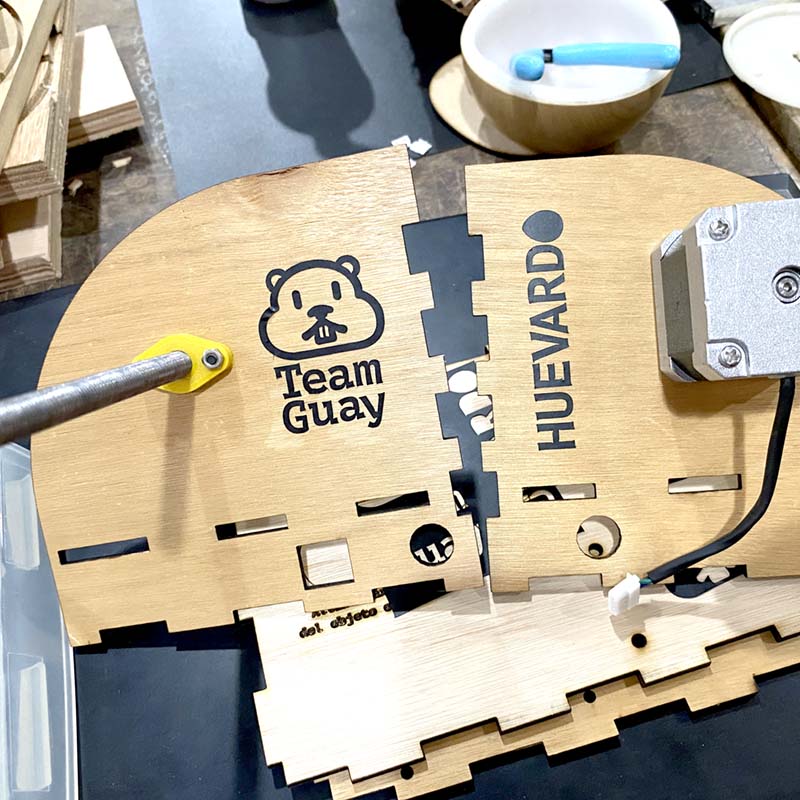
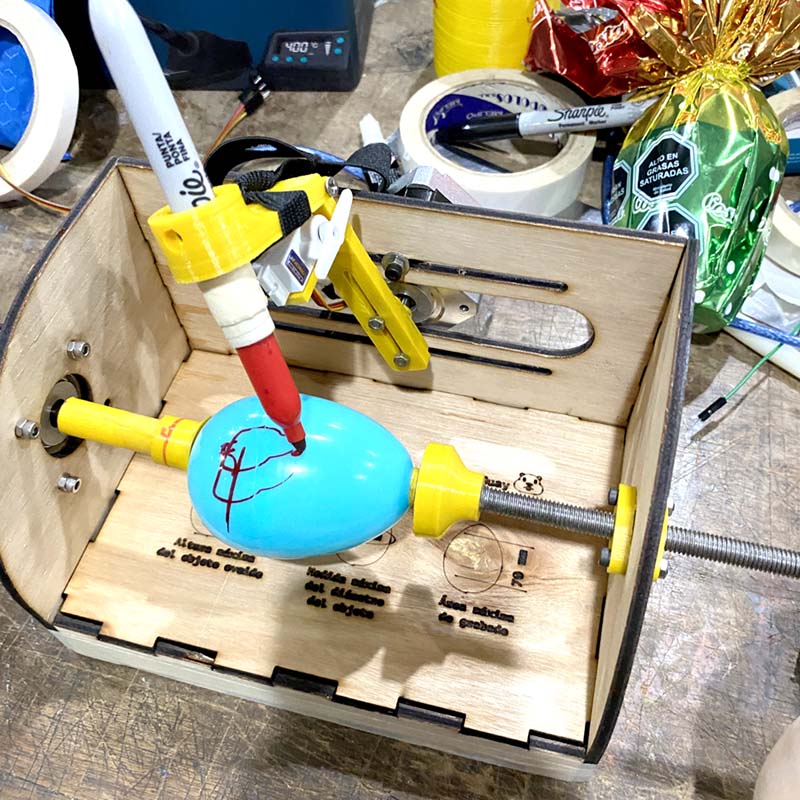
Huevardo Eggbot process
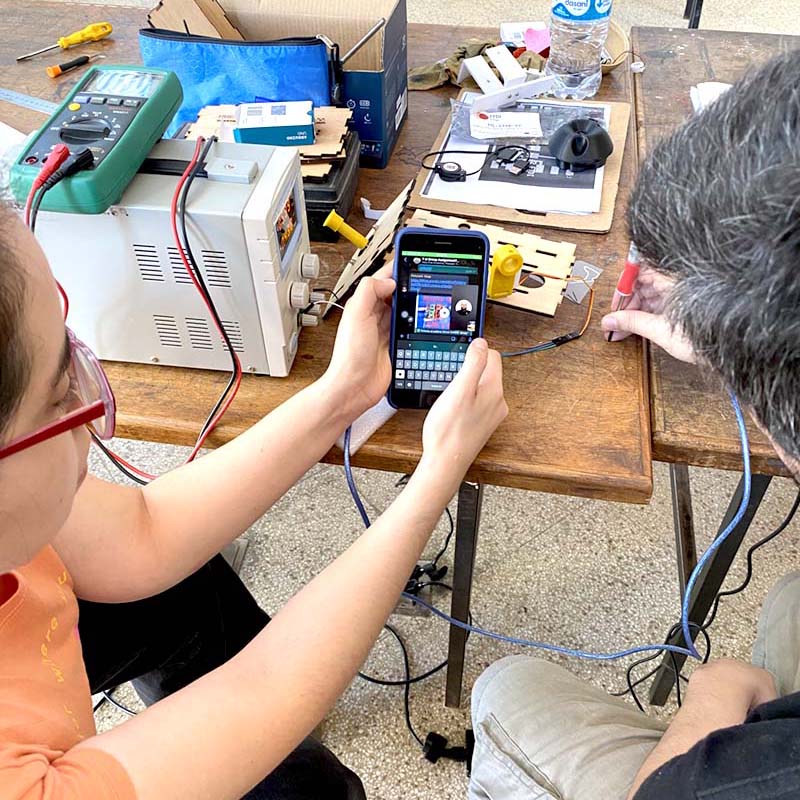
Week 10! We've made it halfway through the Fab Academy curriculum (who would have guessed 😅). This week's challenge is a collaborative effort (but individual challenges are still available 😎).
This week's assignment was to create a machine that included: Mechanism + Actuation + Automation + Application
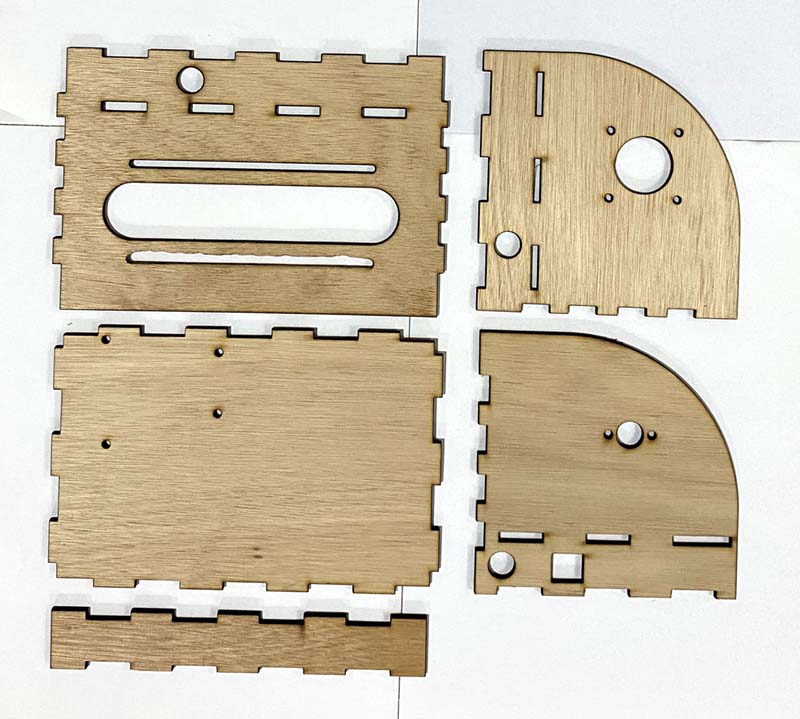
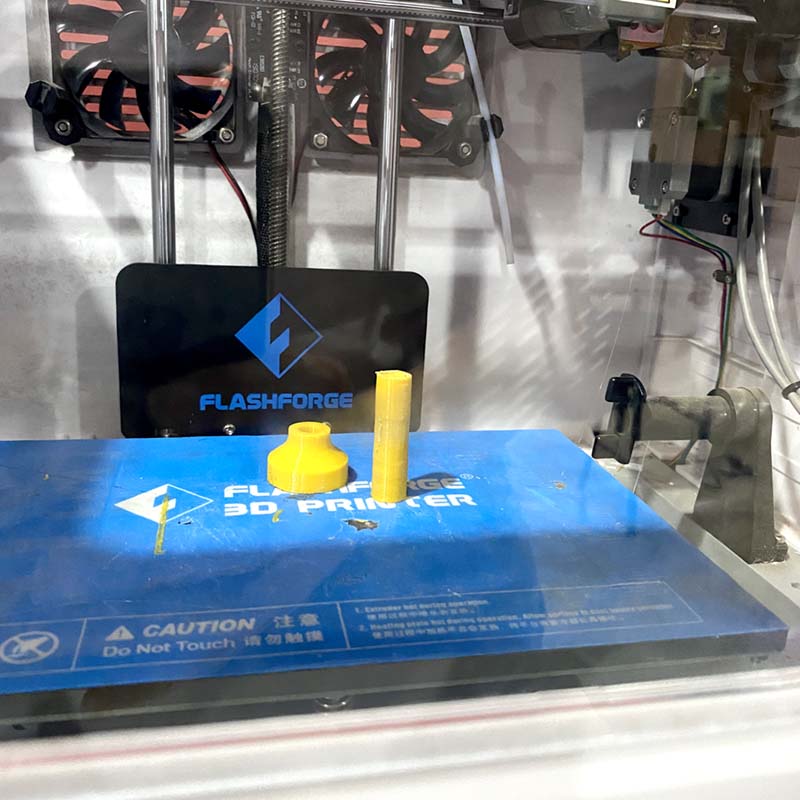
Which mechanical pieces are machine-made (CNC, Laser Cutting, 3D Printing, Vinyl Plotter...) 🤩 And, of course, it must function. 😯
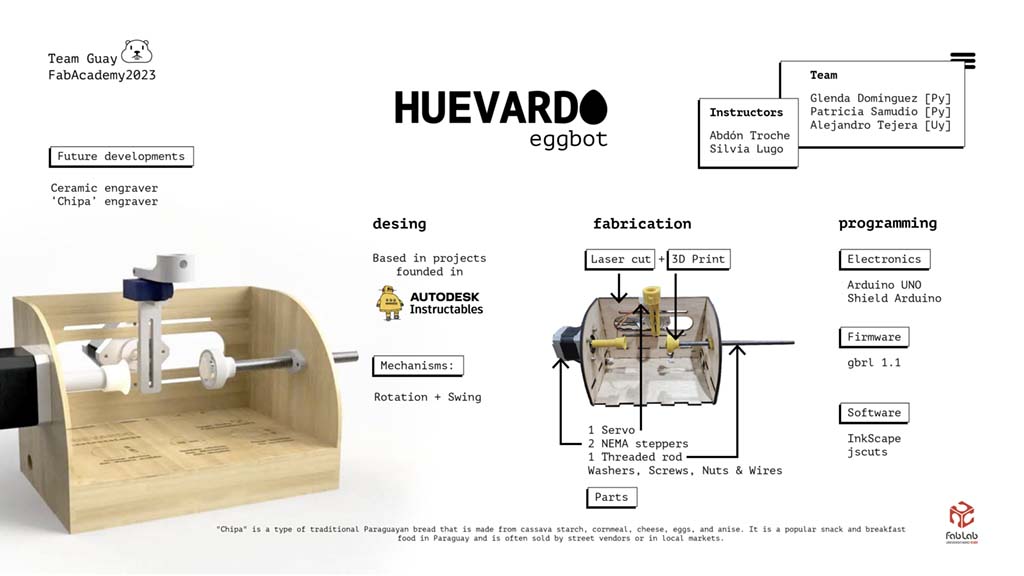
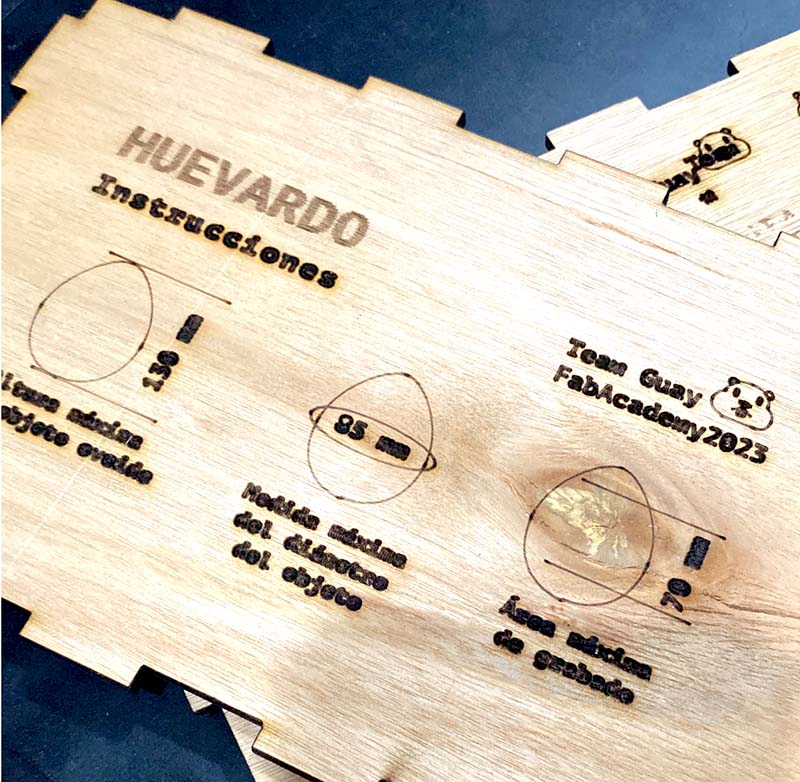
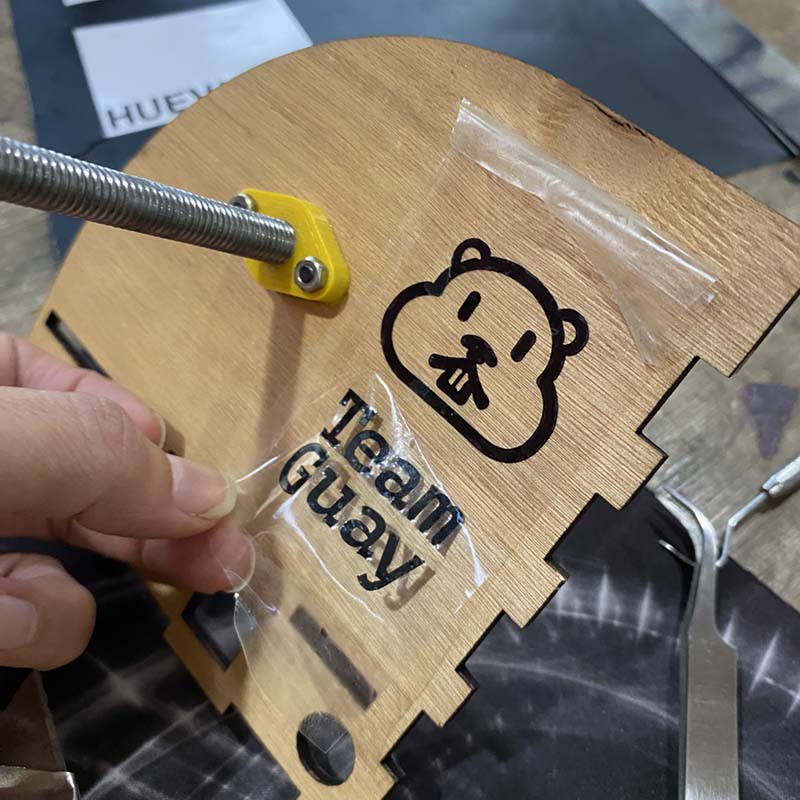
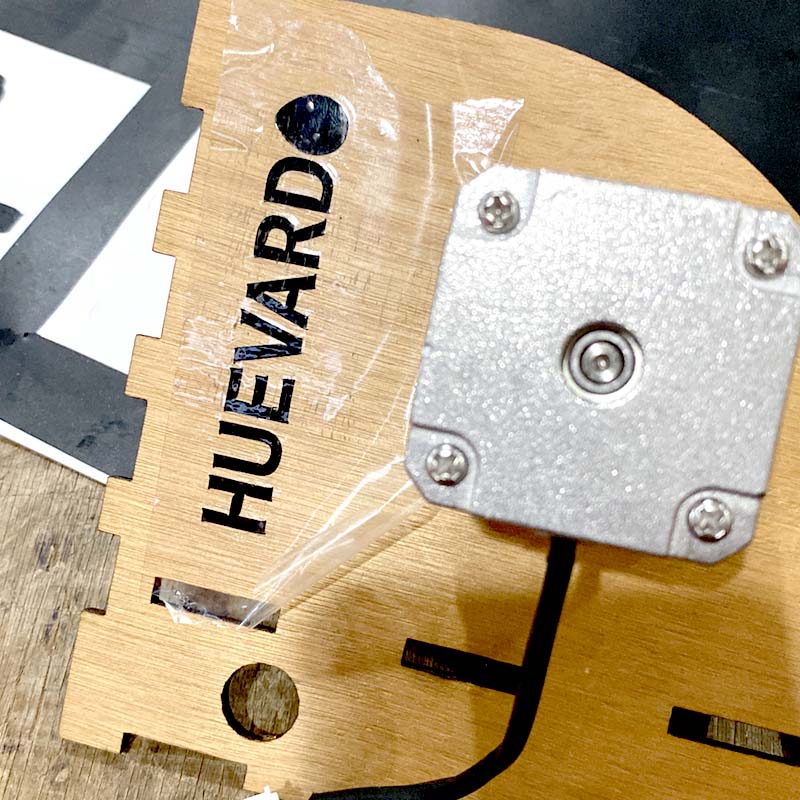
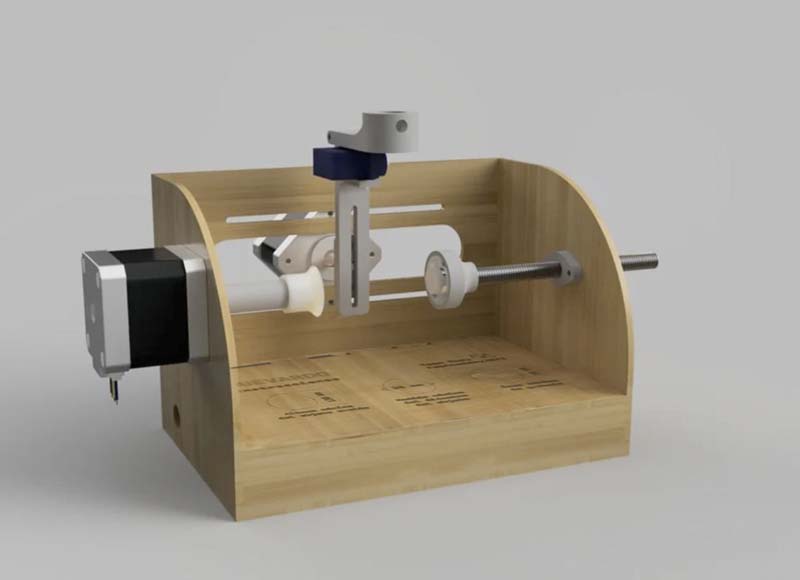
We choose to build an Eggbot, a machine with a rotation and tilt mechanism, among the possibilities available. 🥚
We gathered several pre-existing projects, primarily those uploaded on the Autodesk Instructables site.
We mentioned the materials and components required, as well as the machines that would be employed in production:
| Item | Type | Quantity | Price | Supplier |
|---|---|---|---|---|
| Material | Multilaminated wood | |||
| Fabricación | Láser cutting and vinyl plotter | |||
| 3D Printing | ||||
| Parts | Servo | 1 | $ 3.62 | Digikey |
| NEMA steppers | 2 | $ 184.53 | Digikey | |
| Threaded rod | 1 | McMaster-Carr | ||
| Washers | 6 | McMaster-Carr | ||
| Screws M3 | 10 | $ 0.10 | McMaster-Carr | |
| Hex Nuts M3 | 10 | $ 0.10 | McMaster-Carr | |
| Wires | The necessary | $ 64.80 | Digikey | |
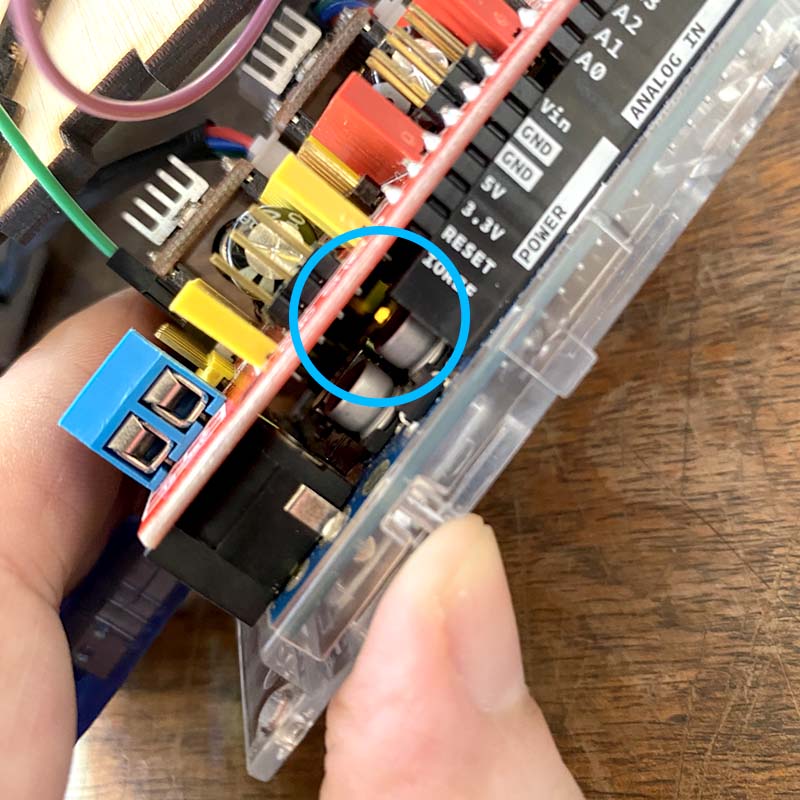
| Electronics | Arduino UNO Rev3 SMD | 1 | $ 27.60 | Arduino |
| Electronics | Arduino Motor Shield Rev3 | 1 | $ 27.60 | Arduino |