The other challenge consists of knowing, understanding and preparing the personal space (website) for the documentation
and distribution of the information of the work done week after week.
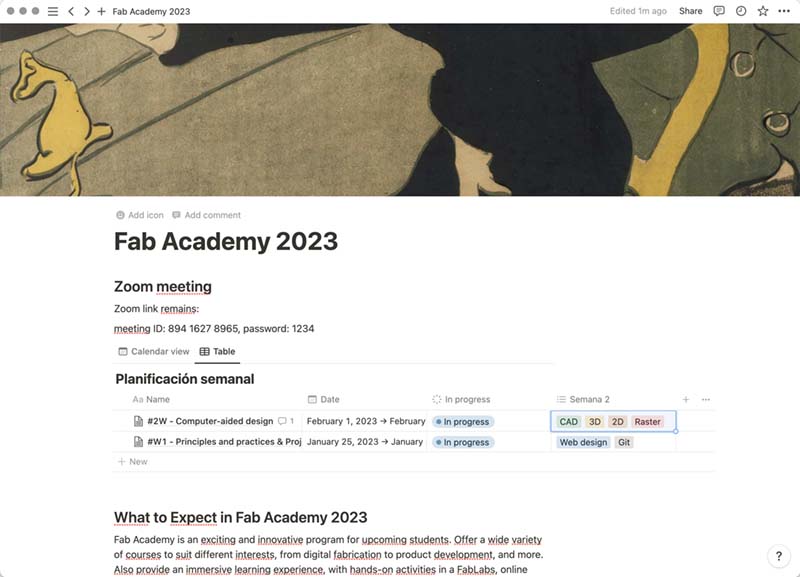
First of all, I plan my study plan. To do this, I use Notion as a tool to organize my tasks,
as well as collect and organize all the documentation generated each week for later insertion into the personal website.
Bellow, will observe an image of my Notion spacework.
Resources
Then I selected the resources that helped me in the development of the website, and in the management of the documentation of a GitLab platform. In the side column, you can review the tools I used.
Fab Academy
Challenges
Plan and sketch a potential.
Build a personal site describing you and your final project.
The Fab Academy organization makes available to each of the students a personal space on the GitLab platform. But let's first see what Version Control System, Git, GitHub and GitLab are.
Version control systems (VCS) are important components in source configuration management (SCM). With them, the history of source files and documents that make up a project can be recorded.
VCSs allow for a production quality system to be applied and are widely used around the world, including free software projects.
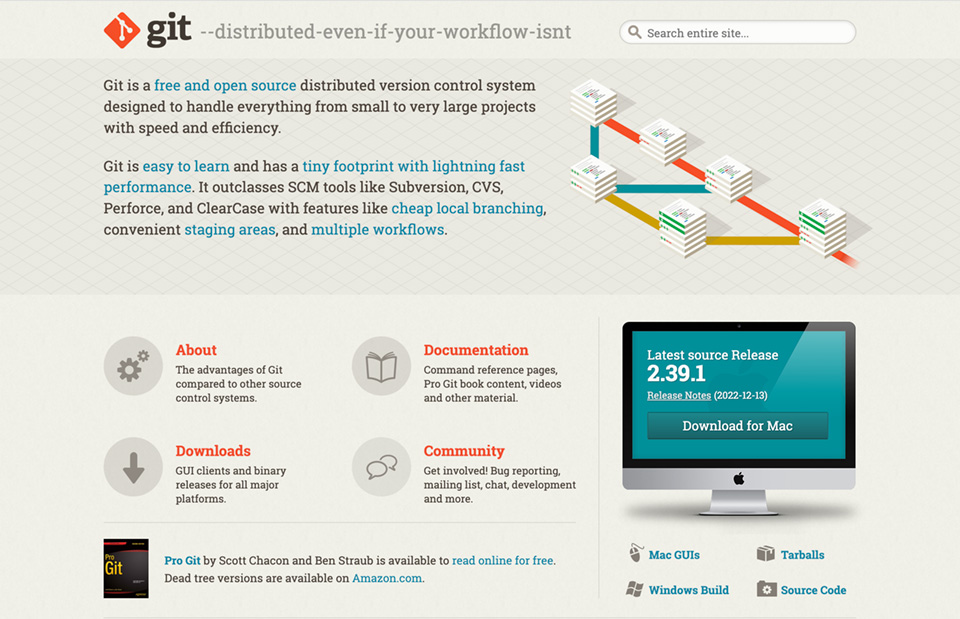
Git
Git is a free, open-source distributed version control system (DVCS) that is highly developed and dynamically maintained, designed by Linus Torvalds in 2005, to manage all kinds of projects, from the smallest to the largest, quickly and efficiently. Unlike other version control systems, it offers the developer to have a working copy of code from one or more projects, not only in the global Git repository, but also to have a local repository where all the history of changes made is stored. Git, being a system with a distributed architecture, has four pillars that make it the most used system: functionality, performance, security and flexibility.
Git workflow schematic. Source: https://www.studytonight.com/git-guide/git-vs-svn. Made with Loopy (v.1.1)
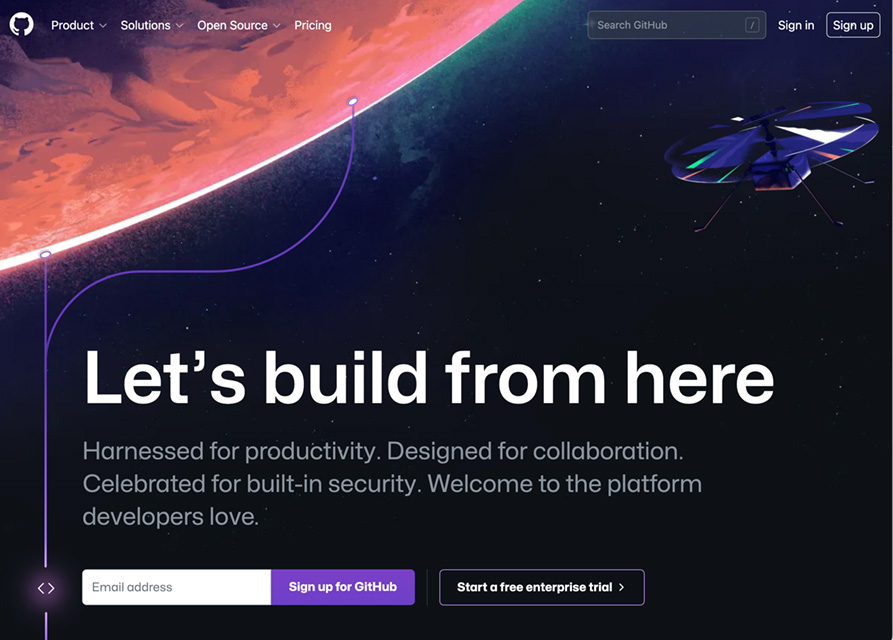
Git Hub
GitHubit is the complete platform for developers that allows them to create, extend, manage and distribute software securely and collaboratively.
Git Lab
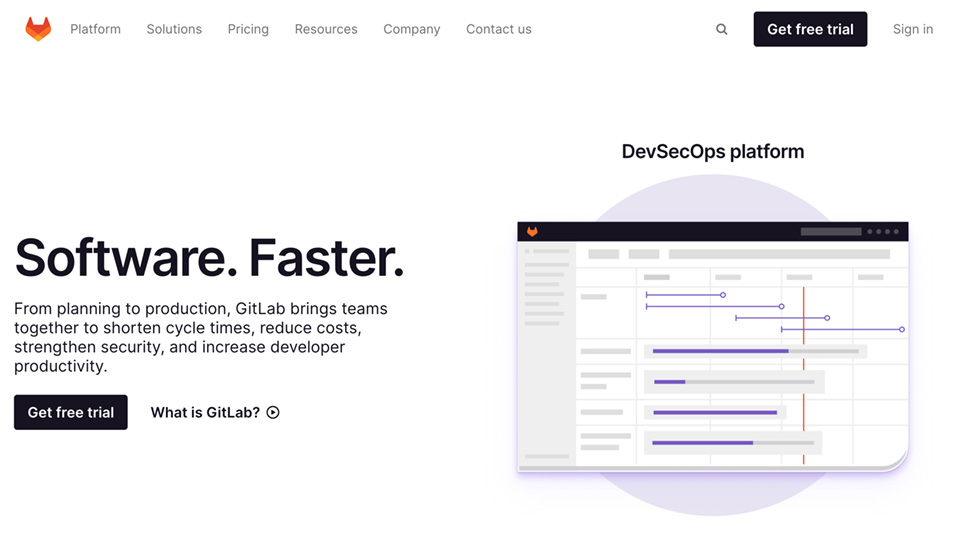
Git Lab, according to their website, it is a DevSecOps platform that simplifies software development. It was born in 2011 as a system to host project repositories managed in the Git versioning system.
Git Lab repository
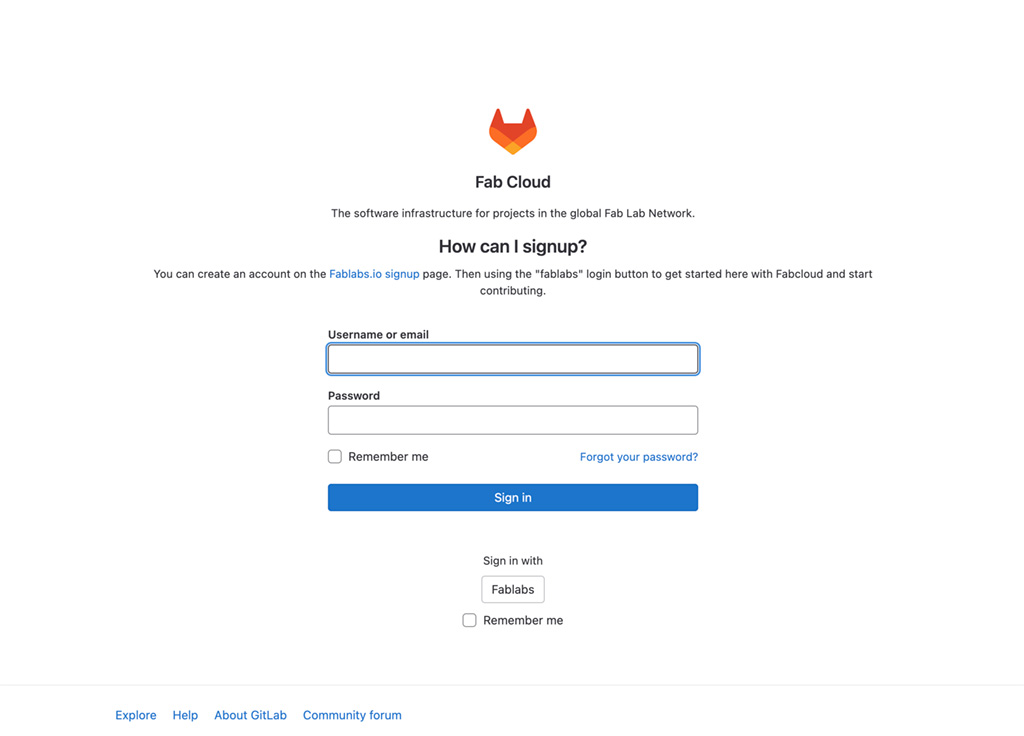
Well, now that we have learned what Git and Git Lab are, we have registered with Git Lab, where the Git repository assigned from the Fab Academy organization is located, through the links received by email.
Once inside, we explored the interface, and with the help of the tutorials we began to use it 😅 to perform the first tasks. The first thing was to sign the student commitment.
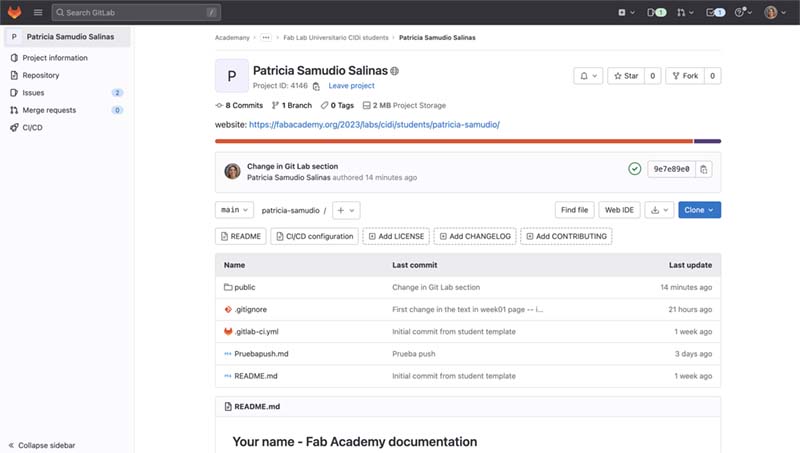
Image of my repository Git Lab.
Configure Git on my computer
To generate the local repository, it is necessary to have the functionalities of Git on the computer. For this, and if you are a macOS user, as in my case, you must first discover if your computer has Git installed 🧐.
You do this through the computer's Terminal. To do this, go to the Terminal ⌘-Space, press return and write:
$ git --version
If the answer is NO (as it happened to me ☹️), then you will need to install a package manager for macOs called Homebrew. To do this, copy and paste the following text into the terminal:
Once the installation is complete, we can be sure that we have Git on the computer 🥳. But... since I'm a graphic designer, I get along better with graphical interfaces 🙃, so I'm going to check what 'more visual' alternatives I can use to perform actions in Git. And, of course, the GUI tools appear 🙌🏼.
Graphical User Interface (GUI) clients Git
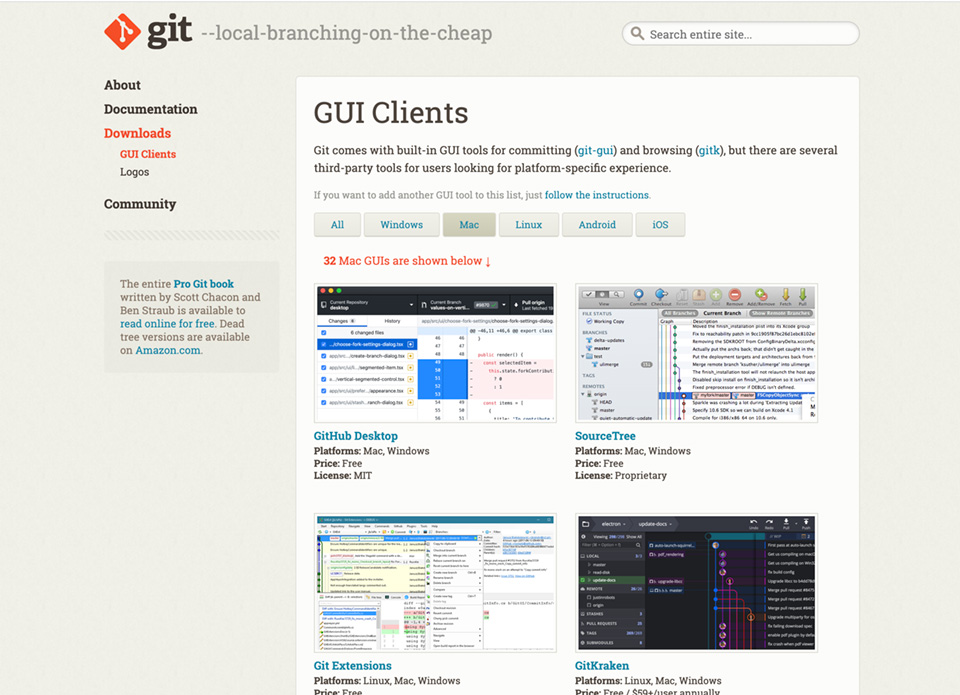
If you are not a developer, you are probably not used to so much code line. For users (like me 😇) who are looking for a specific Git experience, that is, more visual, there is a variety of third-party tools that you can find on the Git website, in the GUI Clients option 🧐.
In my particular case, I was looking for a functional GUI tool for a 2016 MacBook Pro, with macOS Monterey 12.6.3 operating system. So I chose Sourcetree
If you are a user of the Apple operating system, Sourcetree is a beautiful, simple and powerful Git GUI (until you want to do your first push 😅, but we'll see that later). But this beauty of the interface will not make you not have to use the Terminal when necessary 🙈.
Generate the local repository (Chapter 1: clone via HTTPS)
The HTTPS Path
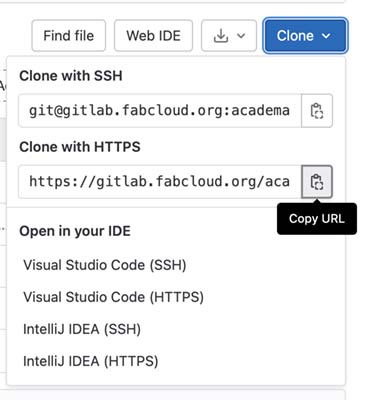
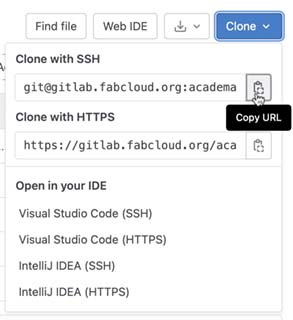
Go to your repository and click the Clone button and choose Clone with HTTPS (this copies the URL of your repository).
Link the repository in Soucetree
Open the Soucetree application. Choose the Clone/New via URL option. Paste the URL copied from GitLab. Success! 🥳. The action generates a clone of the repository folder, and you can now start editing the files contained, supported by other tools such as code editors to move on to the web design process.
Web design
The next activity is build the personal website. To do this, we need to incorporate other tools into project management, such as a code editor, as well as knowing the basics of markup languages such as HTML to structure the site, as well as the syntax in the CSS style sheets that will give it the visual aspect.
Although GitLab has a Web IDE function from which you can make modifications to your code files, I decided to use a code editor. There are several code editors, you can even use resources like Open Office or the computer's Text Editor.
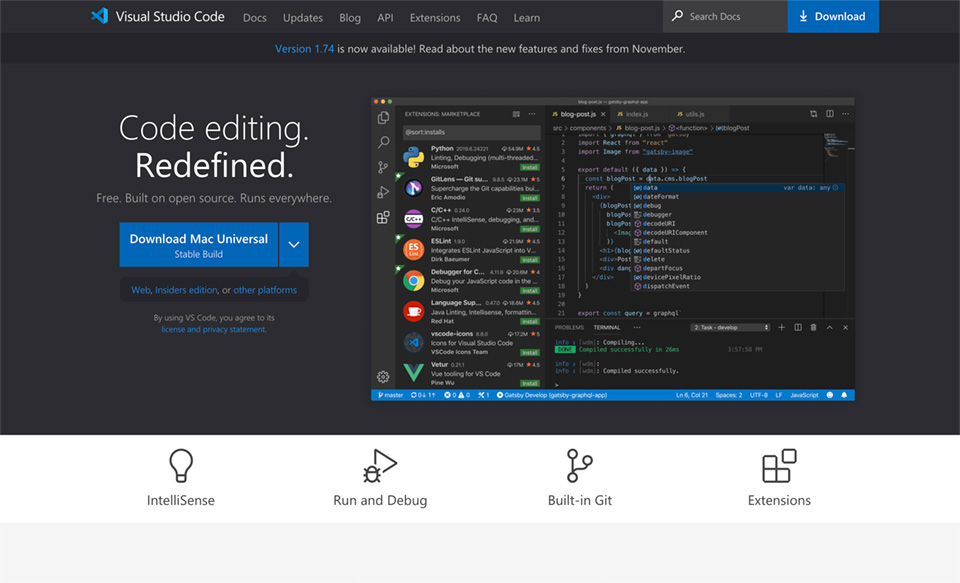
For this course, I chose Visual Studio Code, what is an editor that I use for front-end design practices of online courses on platforms such as Udemy,
FreeCodeCamp and Codecademy.
Among its features is the ability to easily work with Git and other SCM providers. Check diffs, prepare files and allow commits directly from the editor; as well as push and pull code files (this, according to its own website 😎).
Image of Visual Studio Code web site.
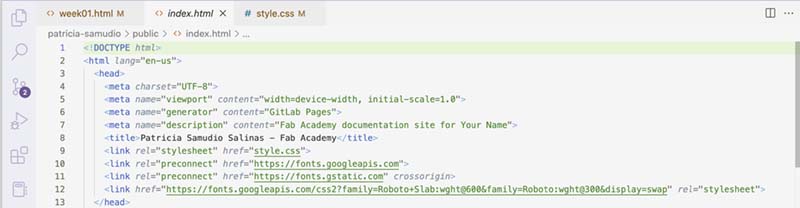
To build the website we reviewed the documents from the local repository, in the public folder: index.htlm To recognize the structure of the website, the internal pages (about.hmtl, 404.html, final-project.html; folders: assignements/week01.html, assets: images: avatar-photo.jpg; In addition to the style sheet. style.css)
In this first week I used the basic template, modifying the HTML code and the CSS style sheet in VS. Coming weeks, I will be updating the site, using a theme from Booststrapstarter (🫡 Goal of my week 5).
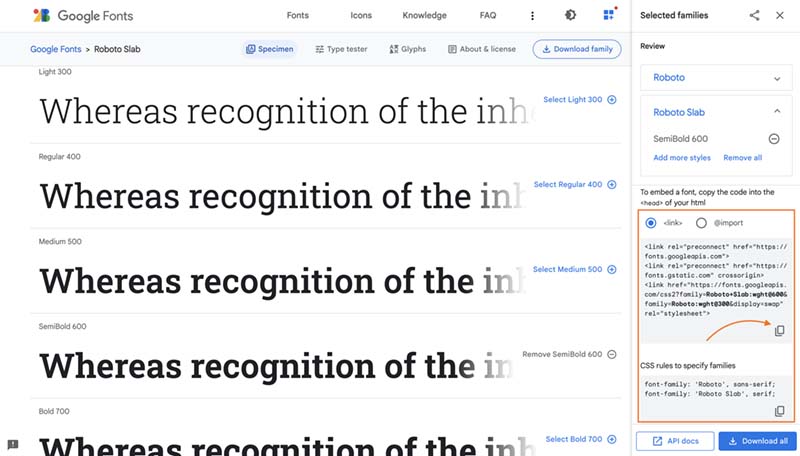
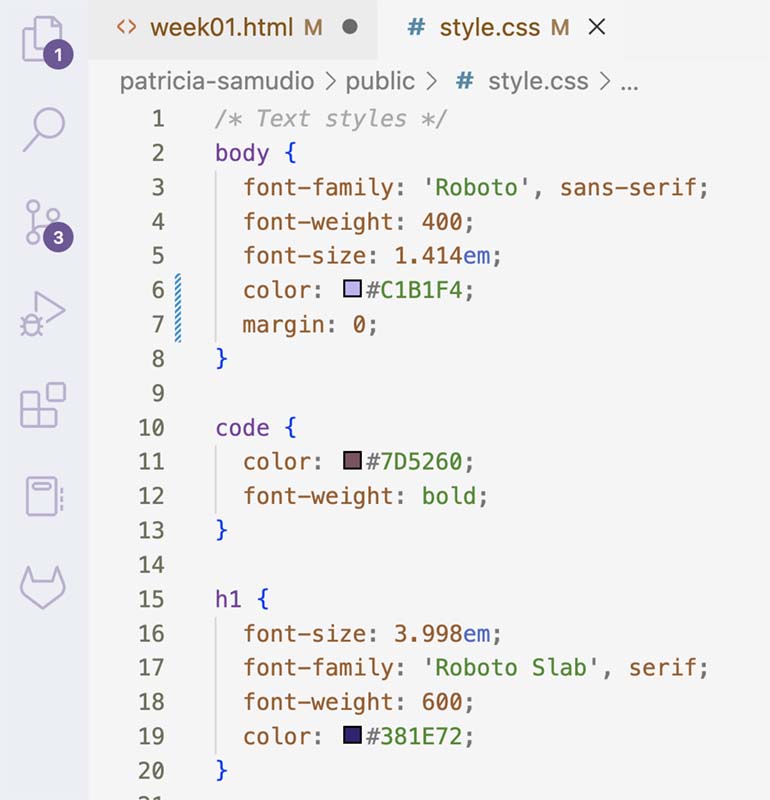
Modified the typeface family on one side, using typefaces available on Google Fonts. In my case, I selected two families: Roboto Light 300 and Roboto Slab Semibold 600. From the selection console displayed to the right of the browser, links to the codes are copied to embed them in the head from the HTML files and the specific CSS rules for the families, which will be applied in the style sheet.
Image of Google fonts site, and de option where I copied de code to paste in a HTML and CSS archives.
Image of VS html Google fonts code.
Customize texts in labels h1 y p, as well as the insertion of personal photo, replacing the file avatar-photo.jpg so that it can be applied to the label img on the page About me.
Image of VS css rules Google fonts code.
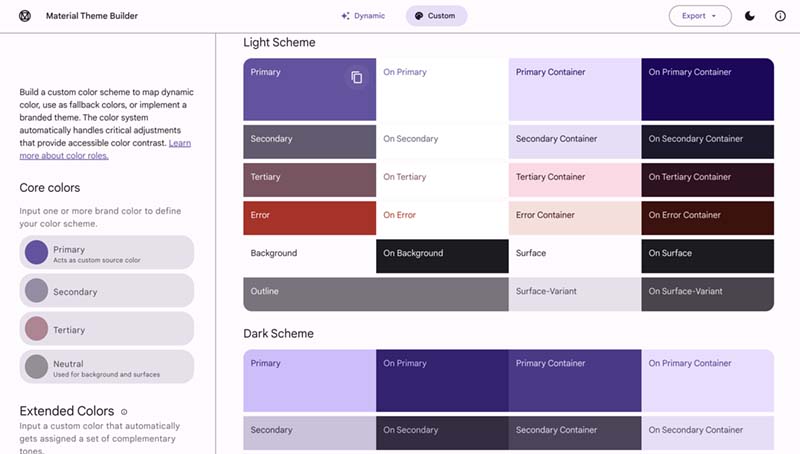
As for the color, I used Material Theme Builder Custom, I selected the colors from the Google Material Design 3 system, copied the corresponding HEX codes, and replaced or incorporated them into the chosen elements.
Image of Material Theme Builder Custom.
Launch the new web site
With part of the website already personalized, it was time to make the second push, with a commit 😅, at the suggestion of Silvia Lugo, our local instructor 🫡, to verify that the publication in the online repository from the local repository is effective. From Sourcetree, with the project with modifications was prepared to go to the stage, and from there to the push…
Do you remember the side note in Chapter 1: cloning via HTTPS... Well as I was explaining my roadmap in the challenges of the week (I learned about Git and built my website, with basic code 🤩 -basic, but code after all-) the time came to publish it 😅, that is, the time to do a 'push' came.
Generate the local repository (Chapter 2: clone via SSH)
To ensure that you can push the changes made in your local version, the safest way to clone the repository using the SSH option is the safest (for something, SSH™ -Secure SHell- is a protocol that facilitates secure communications between two systems using a client / server architecture and allows users to log in to server host systems remotely. Unlike other remote communication protocols, SSH encrypts the login session, making it impossible for intruders to collect uncrypted passwords 🫡).
Go to your repository and click the Clone button and choose Clone with SSH.
Open the Soucetree application. Select the Clone/New via URL option. Paste the URL copied from GitLab. Success! 🥳 The action generates a clone of the repository folder, and you can now start editing the files contained, supported by other tools such as code editors to move on to the web design process.
Push test
A new file of type md called Pruebapush.md was created in the local repository, and commit push from Sourcetree.
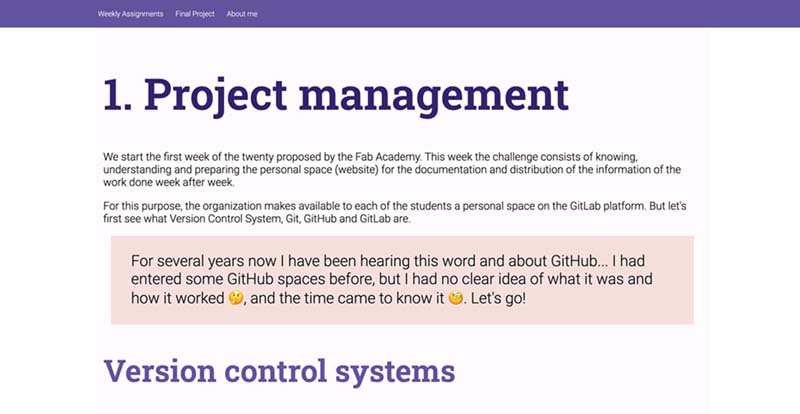
And with all these steps and changes, the basic page looks like this, as we adjust it to the selected template.
This joy will last only a fleeting moment 😩, later you will find out why I say it 🙈
Back to the Terminal
At the time of a new push, the Sourcetree software again generated a problem. At Abdon's suggestion, and with the collaboration of Victor Ughelli, I finally returned and opted for the use of the Terminal of the computer to carry out the process of publishing the page.
For this task, I performed the same steps already mentioned:
Clone the repository from de GitHub site with a command $ git clone -place the https://github.com/...-
Generate and vinculate the public SSH key cd ~/.ssh$ ssh-keygen -o. Then, a password is entered to authorize changes.
And ready, from the Terminal following the next commands the changes made in the local repository will be published in the remote repository:
Enter the local repository $ cd (repository name)
Check the status $ git status
Add all changes $ git add .
Realize a commit $ git commit -m
Upload changes $ git push origin main
What I learned
🤯 I now better understand what Git (and products like Hub and Lab) is and what it is used for.
🧐 I know what version control systems are and their functionality.
😳 I know what Markdown is (and I realize that I have been using it for a while now).
How I learned it
Through tutorials and documentations.
Through observation of known tools.
Through practice.
What I should avoid
Overthinking the 'aesthetic' aspect 😅
Wanting to experiment (for the moment) with too many options 😰
It will be difficult, but I will try.
What I should do
Set a learning goal at a time in terms of tools.
Start from previous knowledge and gain confidence in it (there will be mistakes, surely, but from them one learns 🫡).