Week 5

3D scanning and printing

By Patricia Samudio Salinas β€” on

3D scanning and printing

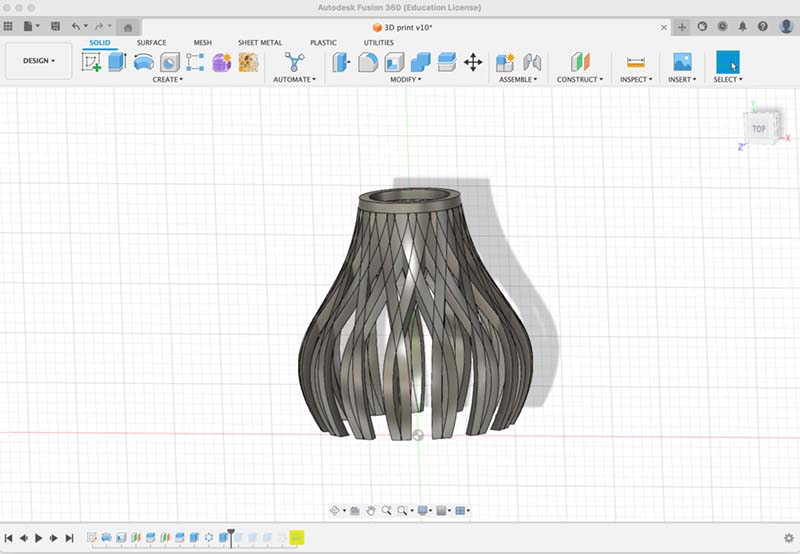
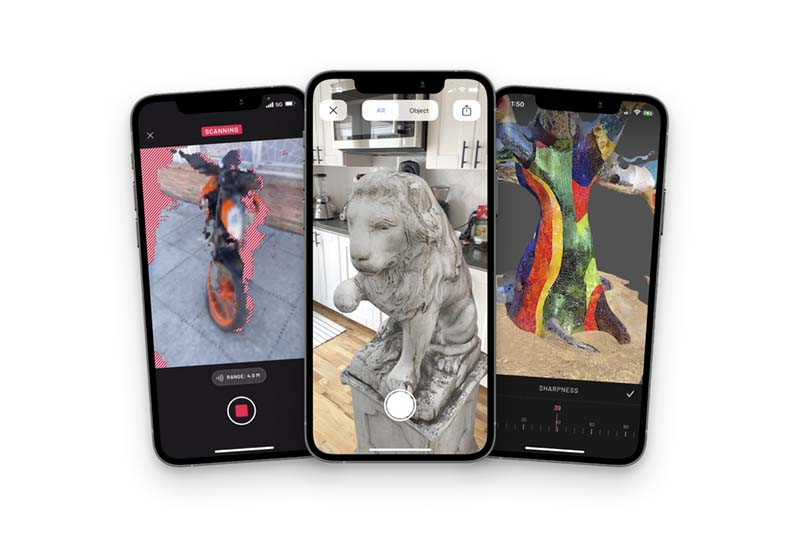
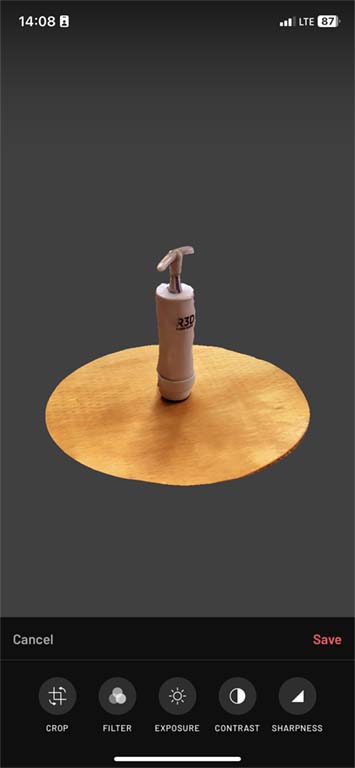
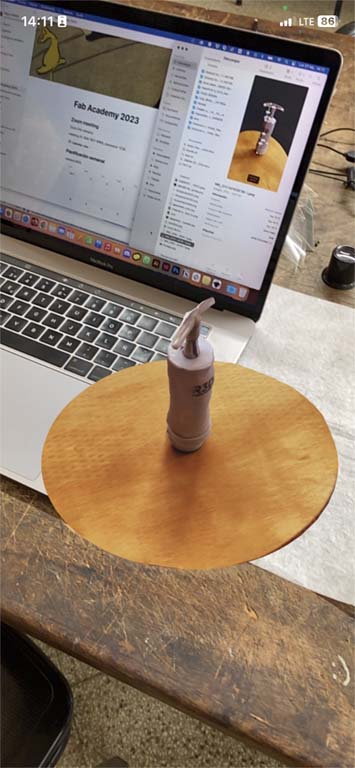
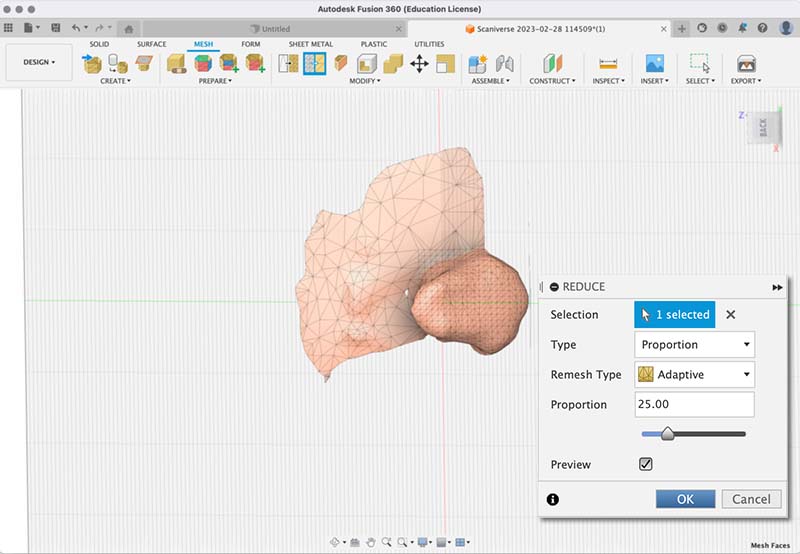
In the 5th week of the FA 😰, we began to explore additive manufacturing technologies with 3D printers; in addition to the process of scanning objects for the purpose of modeling and printing them.

To learn more about additive manufacturing, I refer to what I read on the site Hubs.com about 3d printing 🀩. Below, I highlight a few paragraphs that helped me better understand what it is, the materials and the difference with other manufacturing systems.

3D printing

3D printing is an additive technology that is used to manufacture parts, even of more complex geometries than "traditional" technologies, and in a usually fast way.

"Additive" because it does not require a block of material or a mold to manufacture objects, it simply stacks and fuses layers of materials increasingly wide (plastic, powder, cement, chocolate, sugar, resin ...).

In general, it is low cost and can create. It is widely used in the engineering industry, especially to create prototypes and light geometries.

Types of manufacturing

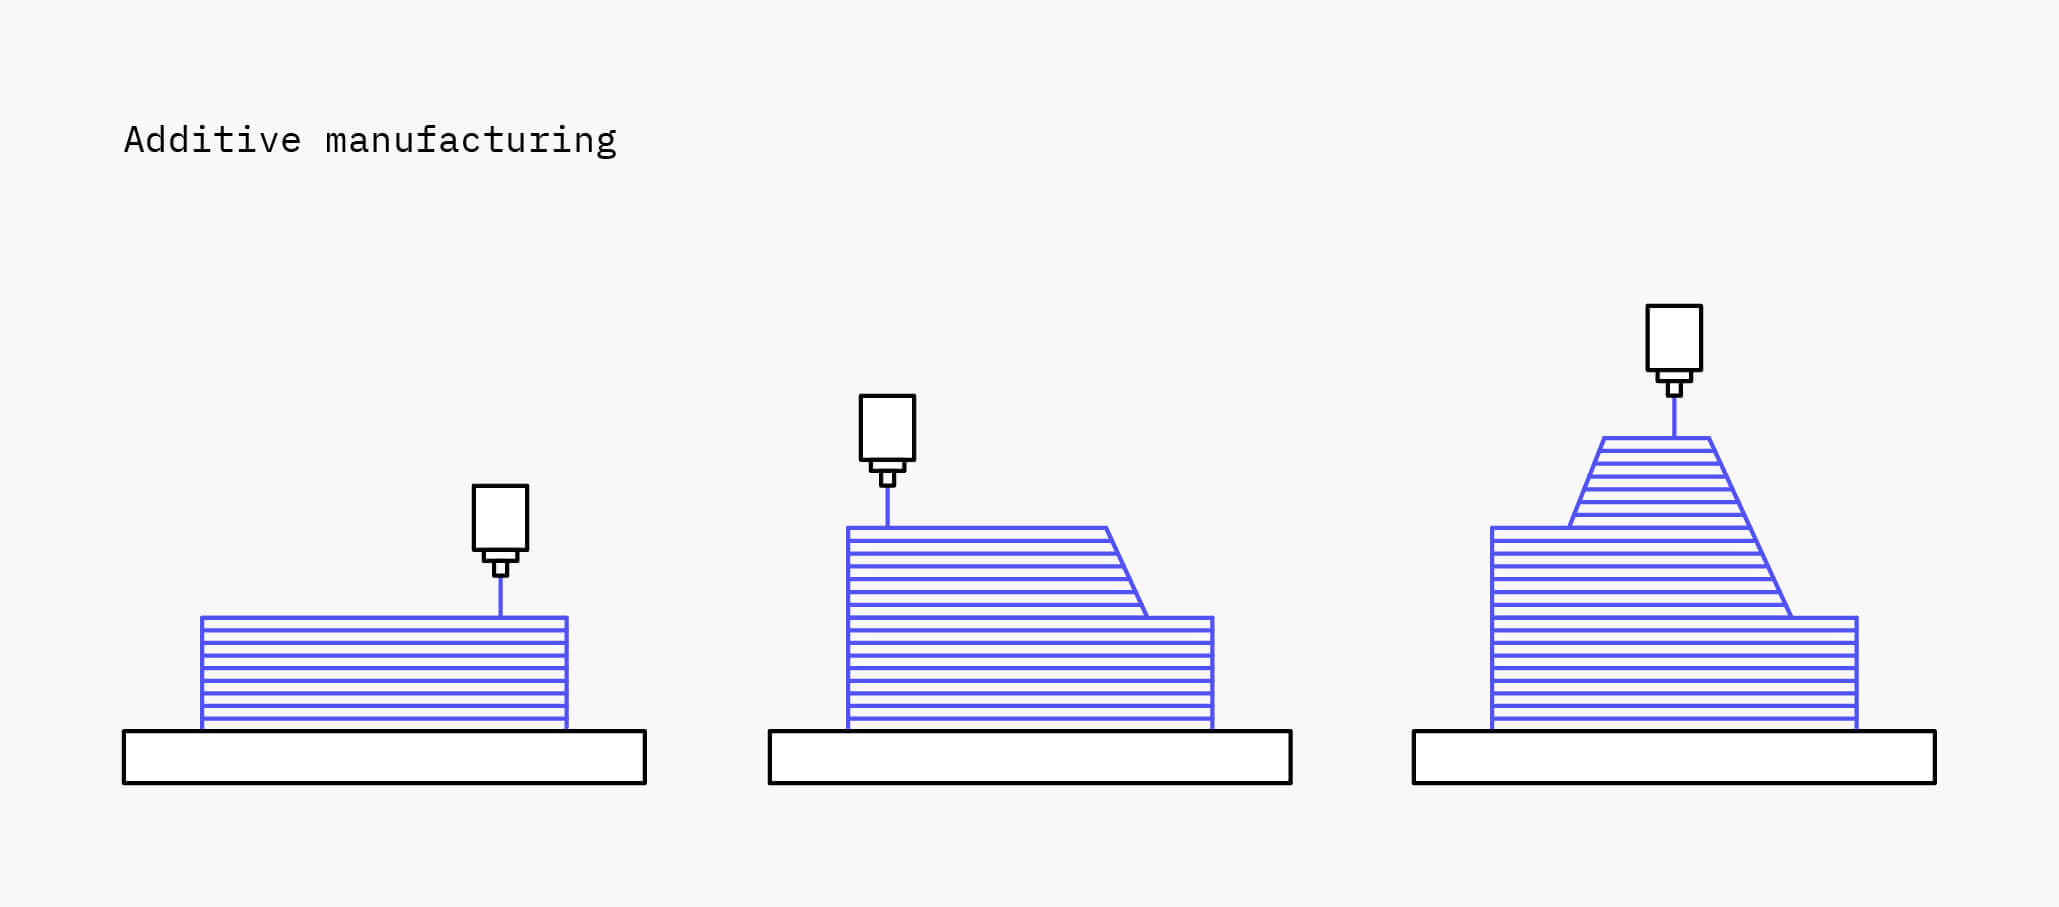
Additive manufacturing: Additive manufacturing builds up 3D objects by depositing and fusing 2D layers of material.

Additive manufacturing system schema. Source: Hubs 3d printing Guides

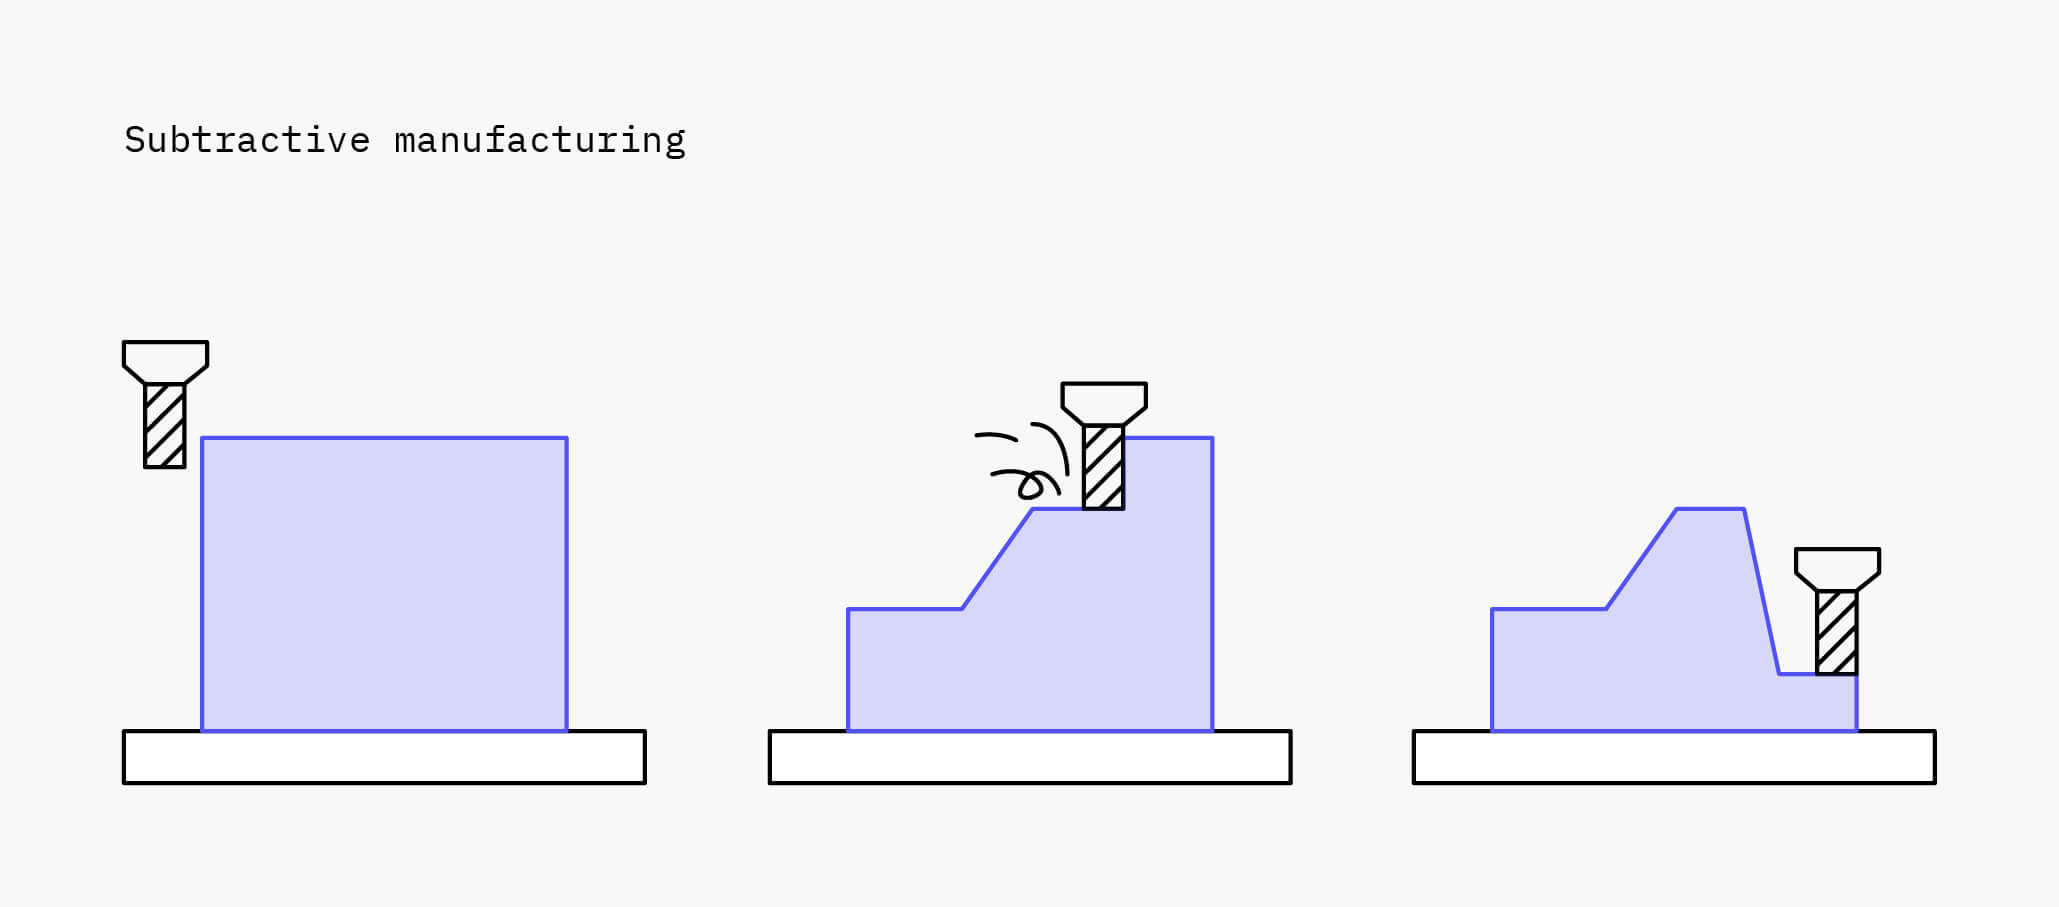
Subtractive manufacturing: Subtractive manufacturing, such as milling and turning, creates objects by removing (machining) material from a block of solid material that's also often referred to as a 'blank'.

Subtractive manufacturing system schema. Source: Hubs 3d printing Guides

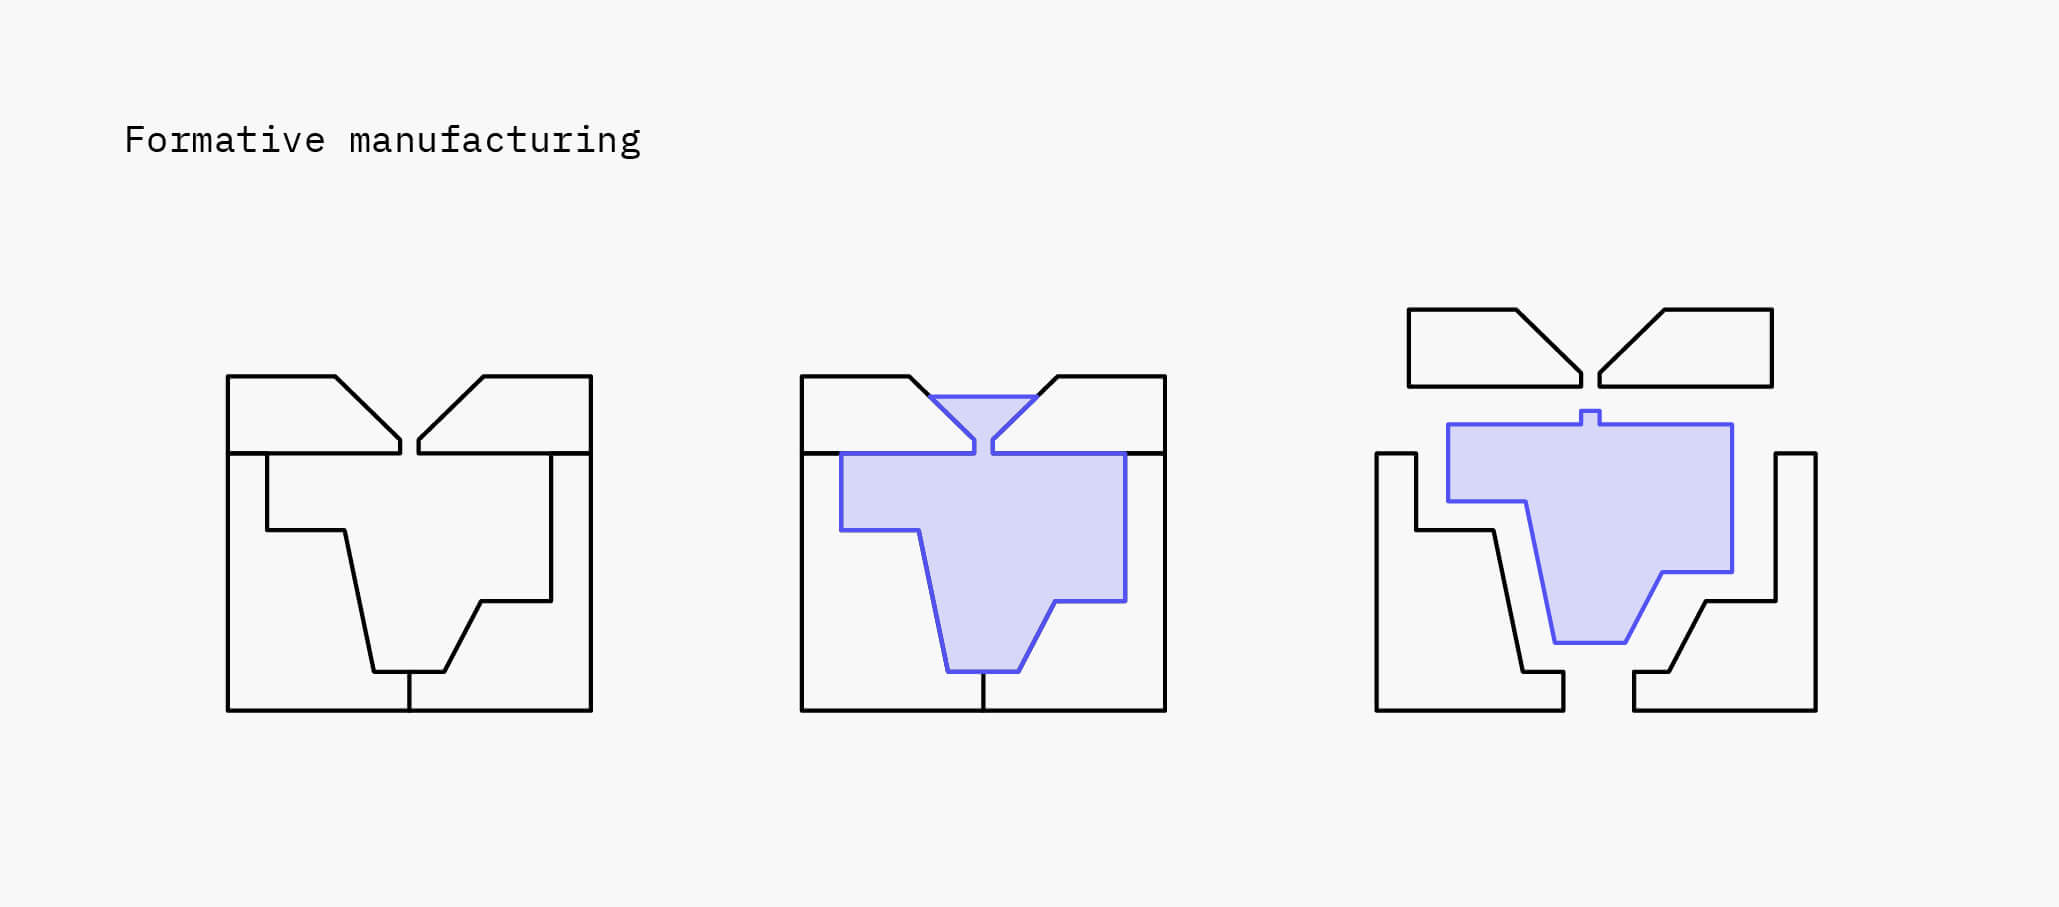
Formative manufacturing: Formative manufacturing, such as injection molding and stamping, creates objects by forming or molding materials into shape with heat and/or pressure.

Formative manufacturing system schema. Source: Hubs 3d printing Guides

πŸ“ Definitely, the Hubs site is added to my favorites for learning 🀩.

For the choice of a manufacturing technology, we consider:

  • Additive manufacturing: best for low volumes, complex designs, and when speed is essential.
  • Subtractive manufacturing: best for medium volumes, simple geometries, tight tolerances, and hard materials.
  • Formative manufacturing: best for the high-volume production of identical parts.

Types of 3D printing

This week allowed me to learn about the types of 3D printing, of which I knew only three from observing the printers of Fab Lab Cidi and other fablabs (PTI Cerro, in Uruguay).

So, following the reading on the Hubs.com site, 3D printers are categorized according to the type of process:

  1. Vat Polymerization: liquid photopolymer is cured by light.
  2. Material Extrusion: molten thermoplastic is deposited through a heated nozzle
  3. Powder Bed Fusion: powder particles are fused by a high-energy source
  4. Material Jetting: droplets of liquid photosensitive fusing agent are deposited on a powder bed and cured by light
  5. Binder Jetting: droplets of liquid binding agent are deposited on a bed of granulated materials, which are later sintered together
  6. Direct Energy Deposition: molten metal simultaneously deposited and fused
  7. Sheet Lamination: individual sheets of material are cut to shape and laminated together
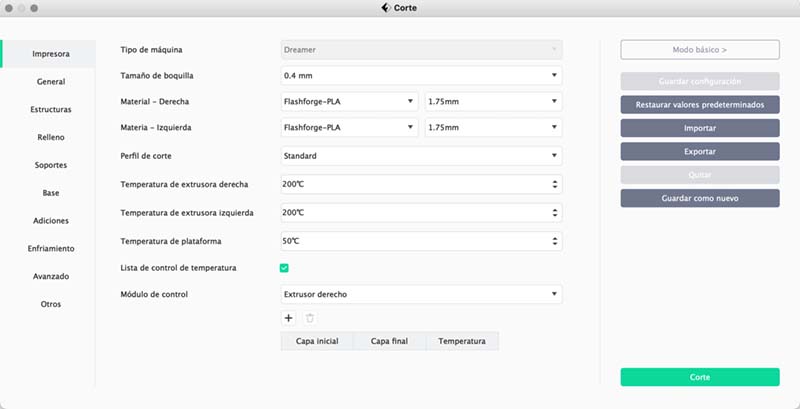
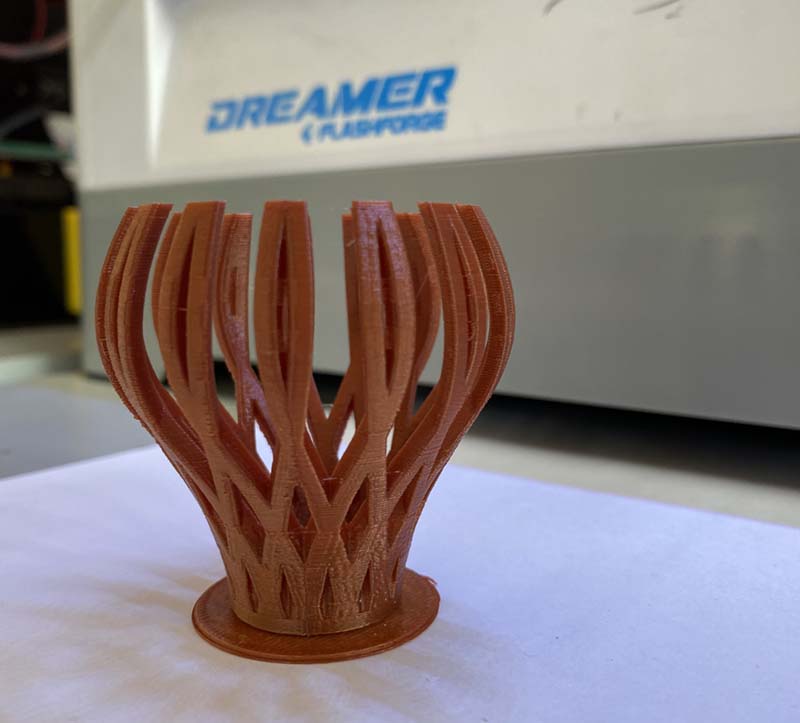
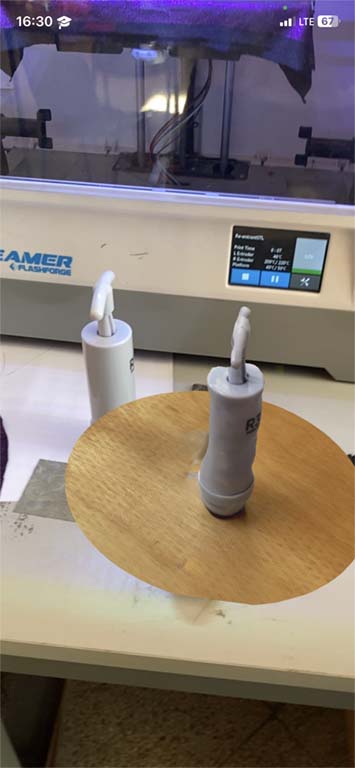
πŸ“ In our Fab Lab, the 3d printers are the type of Material Extrusion.

Design and print a object 3d

For the individual task of the week, I modeling my object based in a tutorial I found in a channel in a YouTube.

Then, I set to work to make it, and after several attempts, the design was ready:

Objetc modeling in Fusion 360.

Operations performed

Intersection of shapes, circular pattern, drawings by planes, simplification of bodies, parametrics values.

I should mention that I am already improving the work I do with Fusion 360 😊.


Slicing process

For the slicing process, I used the Flash Print 5 software. This is a free downloadable software, available from the Flashforge website, the company that produces the Dreamer 3d printers, which is the one we have at the Fab Lab.

  1. First, I download the program for the MacOS operating system, and install it.
  2. Then, I import the generated stl file.
  3. The parameters are entered:
  4. Printer setup

    Supports setup

    Backfill setup

    Slicer code generated

Printing process

And now I share the printing process and the final product in detail:


3d Scannig

As for the process of scanning objects and then taking them to modeling and subsequent 3d printing, I explored some alternatives suggested in the schedule of the week.

Finally, I decided to use Scaniverse 🀩, which I think is a great tool for the process and for is available for iOs πŸ˜….

Source: Scaniverse Press Kit.

Let's see how it works and what operations I have performed with the application. Scaniverse is a mobile application that allows you to capture, edit and share 3D content from your phone. For now, it is only available for phones with the iOs operating system.

A short video tutorial can be found on their website.

For de app experience, I try with various objects:


Mesh processing

A 3D mesh is the structural build of a 3D model consisting of polygons. 3D meshes use reference points in X, Y and Z axes to define shapes with height, width and depth.

About this process, I still have to explore and study about it. For now, the software initially used is Fusion 360, which has a built-in Mesh functionality. I also explored the functionality in Blend, as well as initially the MeshLab application.


What I learned

🀯 About LiDAR and Mesh.

😳 Different 3D printing technologies.

😳 How is the processing of an idea for its reproduction in 3d printing.

How I learned it

By the guidance of the local instructors and through the explanations of my fellow who are already experienced in the printing and processing process. πŸ™ŒπŸΌ

By reviewing sites and reading

What I should do

Continue to practice with 3d applications and the printing process.

Learn more about mesh processing and finish my object.