Protopie
ProtoPie is a prototyping tool to easily turn your interaction design ideas into realistic prototypes. Create interactive prototypes for mobile, desktop, web and IoT devices.
This resource is a complement to Figma, since in this case it is a platform that, unlike Figma, allows the generation of prototypes of applications with more interactions, in a simple and intuitive way, and also with other functions that involve a certain degree of programming.
It has a pluggin for Figma, which allows to quickly link the high-res Figma design with Protopie, to prepare the functional prototype.
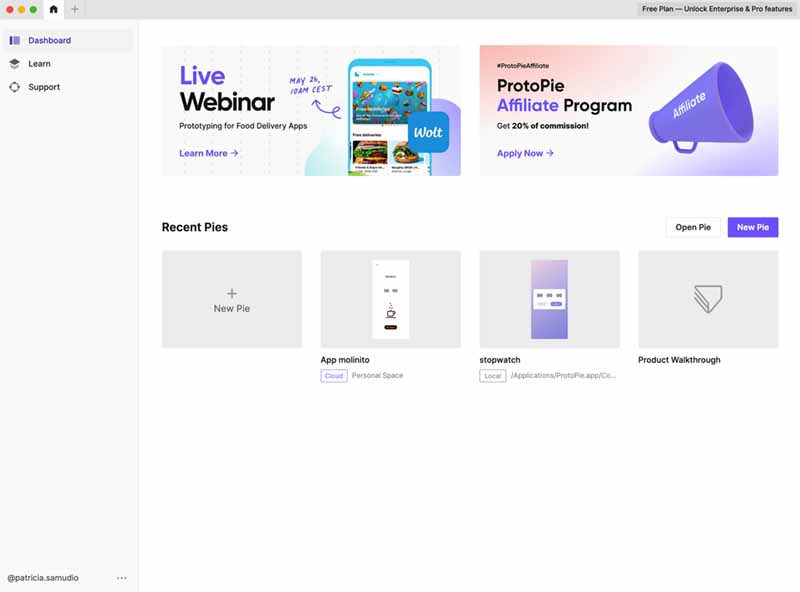
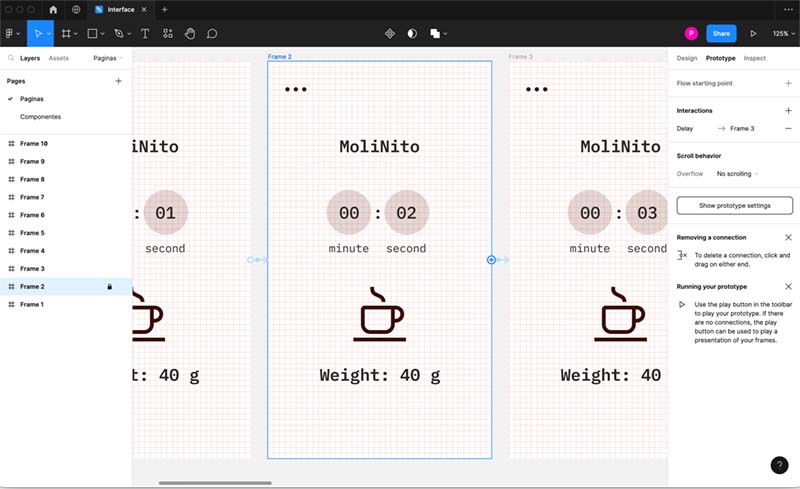
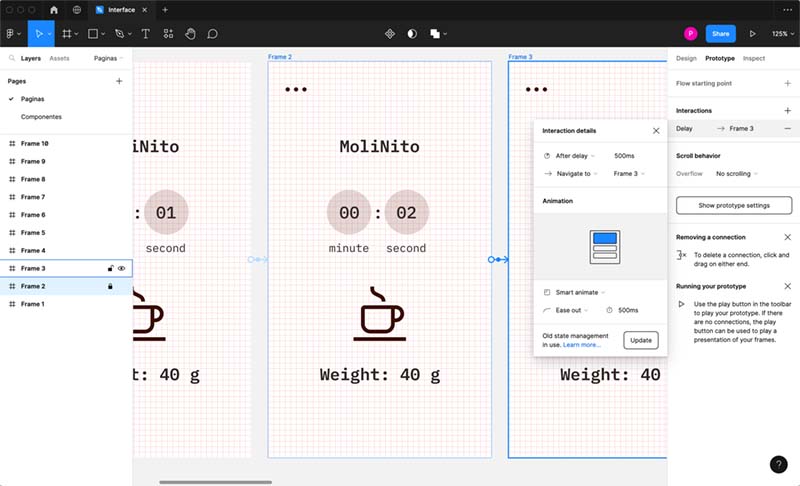
Protopie dashboard.
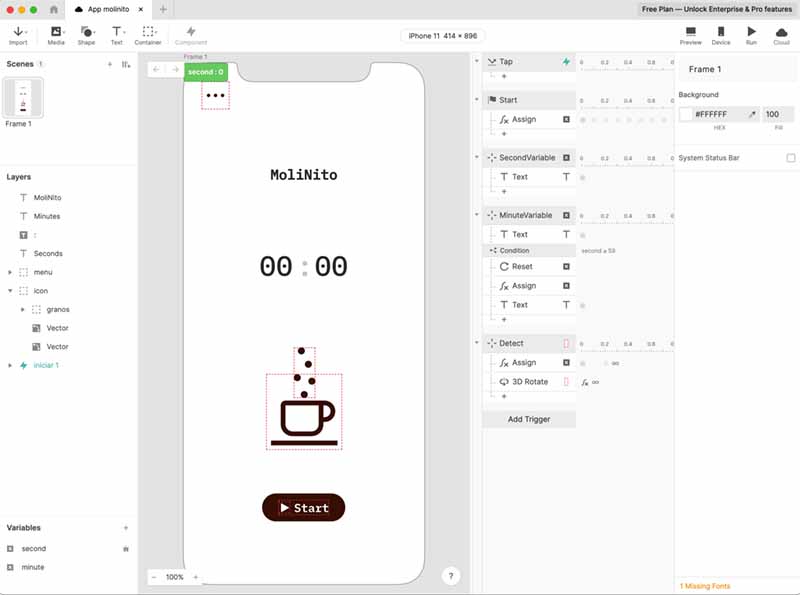
GUI of Protopie.
Proccesing
Processing is an application that I already knew, but it is from now on that I can understand a little more about how to take better advantage of its functionalities to create interfaces.
As a practice, I share part of the result of a course I had done a few years ago, where the program was used to generate experimental typography.
Code
With an image generated with an AI application (Adobe Firefly), the following exercise was performed, always with Processing:

                                    /**
                                    * Pointillism
                                    * by Daniel Shiffman.
                                    *
                                    * Mouse horizontal location controls size of dots.
                                    * Creates a simple pointillist effect using ellipses colored
                                    * according to pixels in an image.
                                    */

                                    PImage img;
                                    int smallPoint, largePoint;

                                    void setup() {
                                        size(800, 800);
                                        img = loadImage("metamorfosis.jpg");
                                        smallPoint = 10;
                                        largePoint = 40;
                                        imageMode(CENTER);
                                        noStroke();
                                        background(255);
                                    }

                                    void draw() {
                                        float pointillize = map(mouseX, 0, width, smallPoint, largePoint);
                                        int x = int(random(img.width));
                                        int y = int(random(img.height));
                                        color pix = img.get(x, y);
                                        fill(pix, 200);
                                        ellipse(x, y, pointillize, pointillize);
                                    }
To connect the sensor made in the Input Devices week, I reviewed some documentation, and retrieved some codes made in Processing that use the Serial option but I was unsuccessful, as there were difficulties with the device to program ☹️. In the coming weeks I will continue to search and test options to achieve connectivity.
Capitan log
Finally, and after several attempts (and some burned components 💥) I managed to perform a Serial communication 💫.
For this, I used a potentiometer and an Arduino UNO board, and from a project found on the Arduino.cc blog I started to perform the steps.
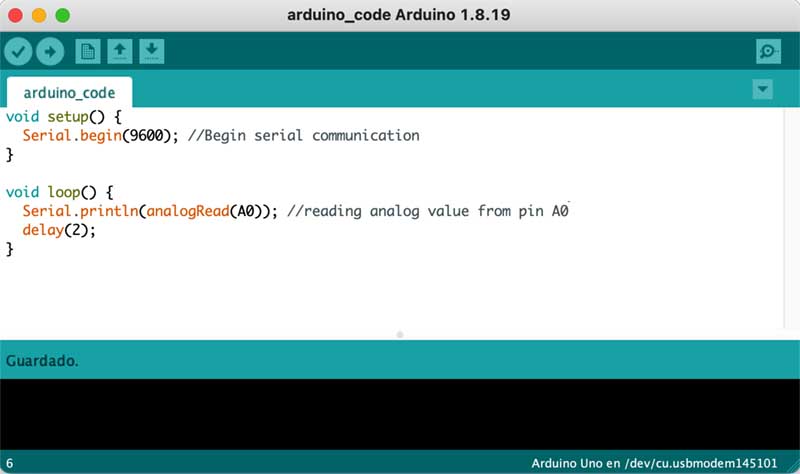
First I programmed the potentiometer function, with the following code:
                                    void setup() {
                                        Serial.begin(9600); //Begin serial communication
                                      }

                                      void loop() {
                                        Serial.println(analogRead(A0)); //reading analog value from pin A0
                                        delay(2);
                                      }
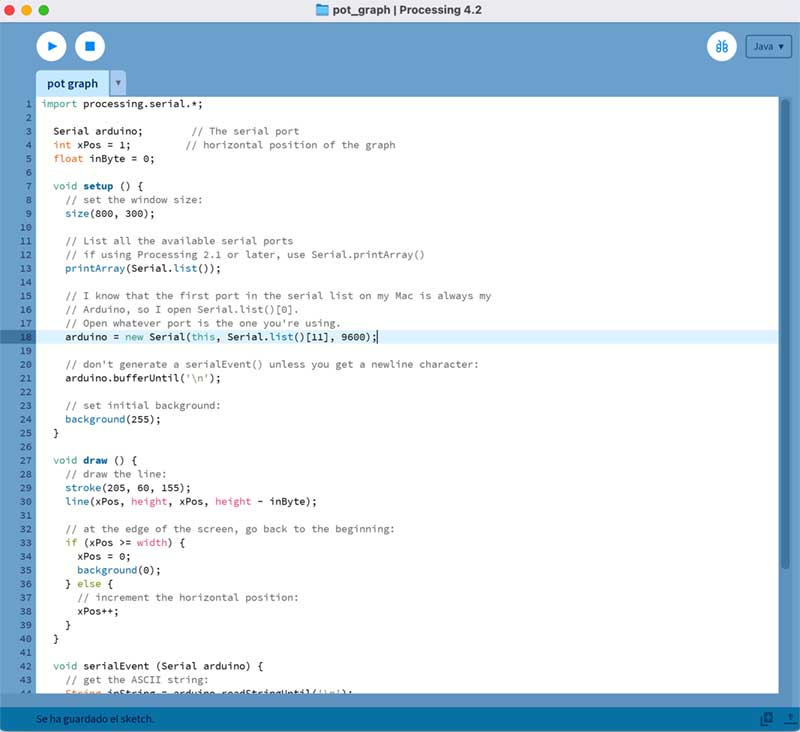
Then, in Processsing the following code was introduced, modifying the necessary parameters, according to the connections:
                                    import processing.serial.*;

                                    Serial arduino;        // The serial port
                                    int xPos = 1;         // horizontal position of the graph
                                    float inByte = 0;

                                    void setup () {
                                        // set the window size:
                                        size(800, 300);

                                        // List all the available serial ports
                                        // if using Processing 2.1 or later, use Serial.printArray()
                                        printArray(Serial.list());

                                        // I know that the first port in the serial list on my Mac is always my
                                        // Arduino, so I open Serial.list()[0].
                                        // Open whatever port is the one you're using.
                                        arduino = new Serial(this, Serial.list()[11], 9600);

                                        // don't generate a serialEvent() unless you get a newline character:
                                        arduino.bufferUntil('\n');

                                        // set initial background:
                                        background(255);
                                    }

                                    void draw () {
                                        // draw the line:
                                        stroke(205, 60, 155);
                                        line(xPos, height, xPos, height - inByte);

                                        // at the edge of the screen, go back to the beginning:
                                        if (xPos >= width) {
                                        xPos = 0;
                                        background(0);
                                        } else {
                                        // increment the horizontal position:
                                        xPos++;
                                        }
                                    }

                                    void serialEvent (Serial arduino) {
                                        // get the ASCII string:
                                        String inString = arduino.readStringUntil('\n');

                                        if (inString != null) {
                                        // trim off any whitespace:
                                        inString = trim(inString);
                                        // convert to an int and map to the screen height:
                                        inByte = float(inString);
                                        println(inByte);
                                        inByte = map(inByte, 0, 1023, 0, height);
                                        }
                                    }
In the original code, de line 13, the author used println(Serial.list()). In my case, as I have Processing version 4, I modified the variable for printArray(Serial.list()). Then, in a line 3, I called arduino to my Serial port. While in the line 18 I declared the port number [11] which corresponds to the Arduino board connection used.
It is important to note that the processing.serial.* library must be included to establish the connection with the visual interface.