5. 3D printing and scanning
This week I was tasked with designing a 3d printed model that could not be made subtractively along with exploring the limitations of 3d printing as a group linked here. I also made sure to use all the printers in my lab this week, so I can use them in the future.
3D modeling
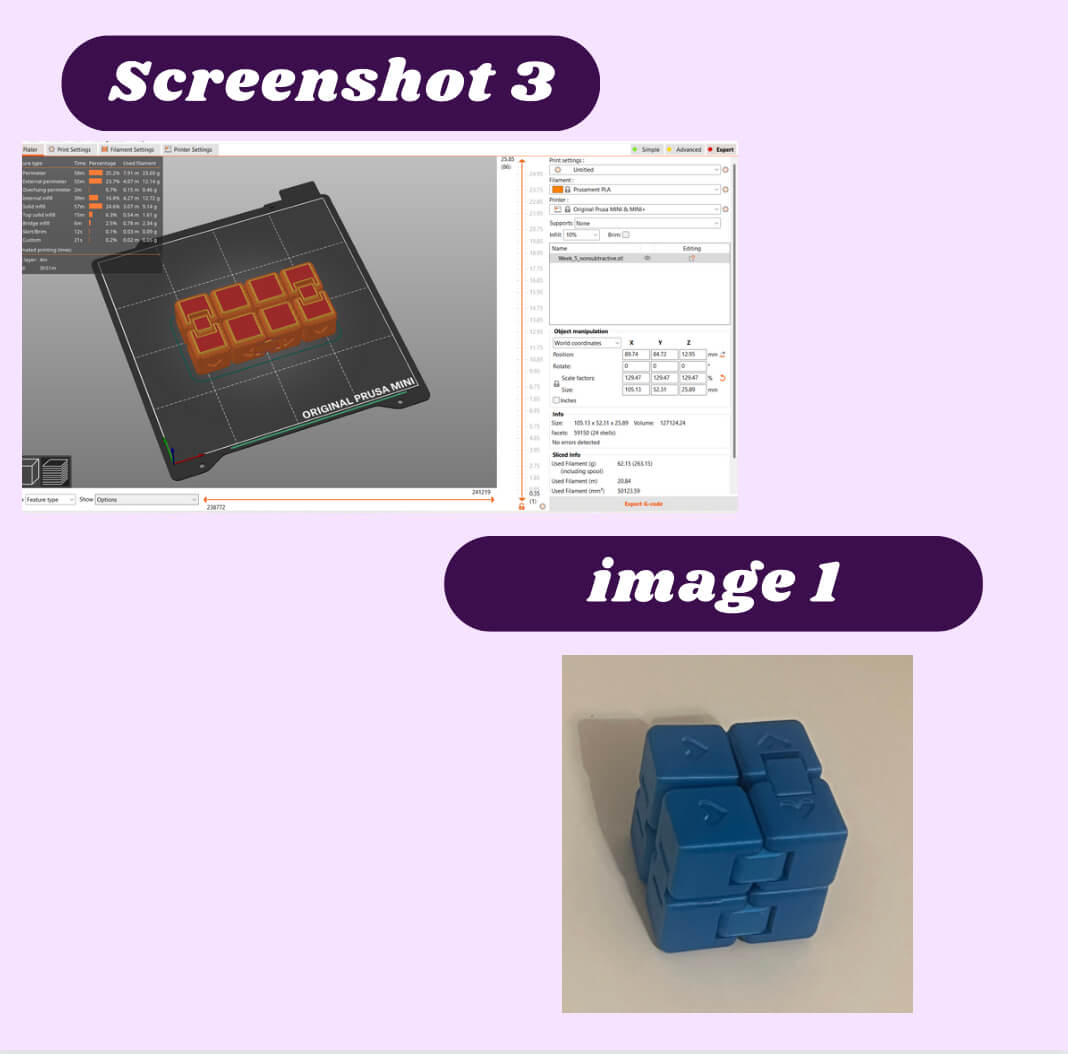
For my 3D model design, I choose to make an infinity cube. This could not be made subtractively because the pins that allow the cubes to move are printed within the design. I watched this tutorial to get a general understanding of how to begin designing. I decided to use a fillet instead of a chamfer because I liked the rounded look instead of the block look (screenshot 1). I also wanted to create little heart indentations on each face of the infinity cube, so Ginny Foster showed me how she creates hearts in fusion360 and I applied them to each face of the infinity cube (screenshot 2). From there I intruded the hearts with a -30 taper angle. Infinity Cube file
Printing the design
I took the .stl file and uploaded it into Prusa slicer. From there I scaled the model to the approximate size I wanted it to be. I also selected the print settings I wanted to print it on which were just the default FFF printer settings. I exported the G-code, put it onto my flash drive, and loaded the job onto my printer (screenshot 3). The final result turned out perfect (image 1)
3D scanning
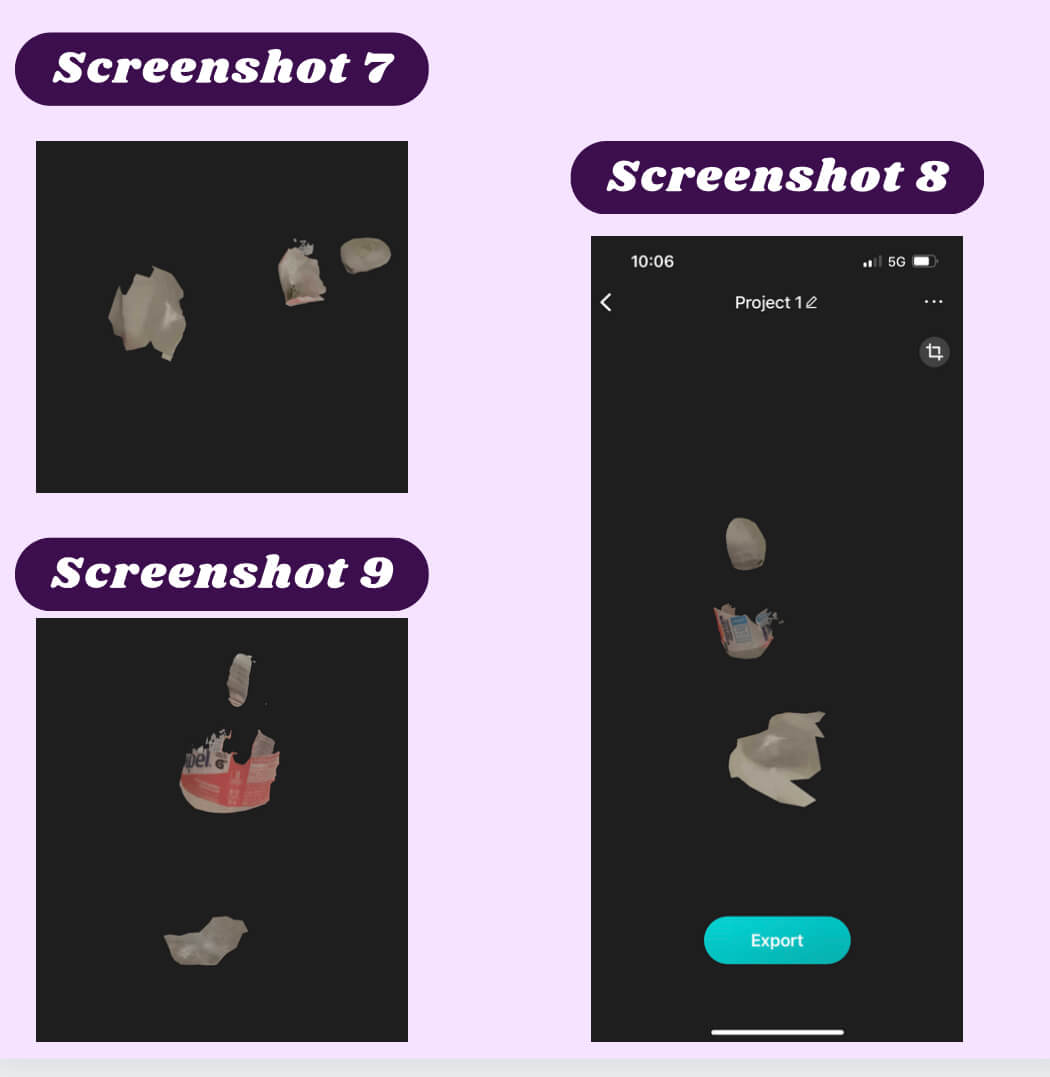
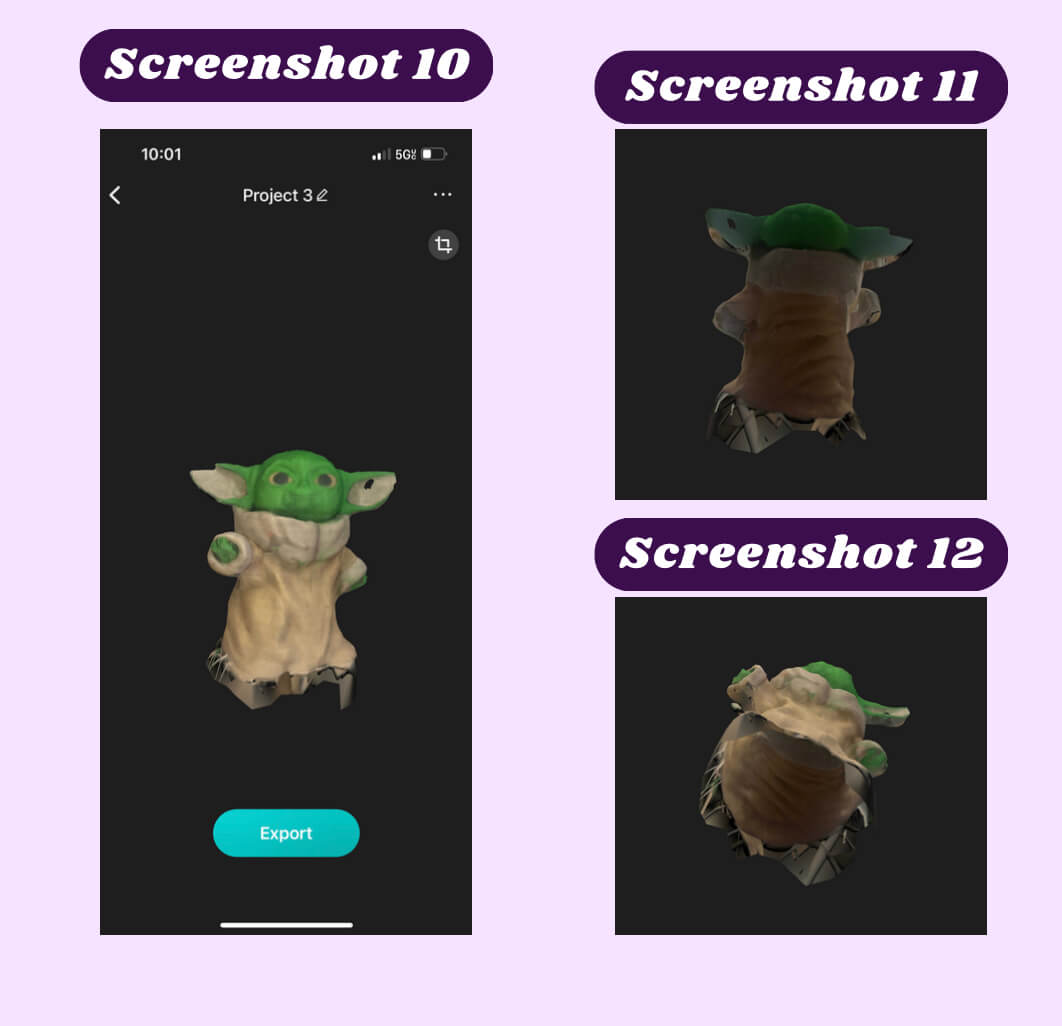
To get started with the scanning process I looked through Barbara Morrow’s documentation site from last year. She looked at a few different scanning apps. I decided to do with with the Metrascan app. I first wanted to get a quick feel for how that app worked so after I installed it I used a water bottle and took about 20 pictures of it from various angles to make sure the app saw every part of it. The final scan came out horrible like I thought it would (screenshots 4-6), so I went home and continued to play around with it from home. For my second attempt at it, I used a mostly solid plain background to see if it would affect the quality of the scan. I later decided not to try Metroscan again and instead try KIRI Engine. I used the automatic picture-taking option and slowly moved around the object while the app took a total of 70 pictures. I then uploaded all the pictures, selected the quality settings I wanted, and waited as the app processed all the images. The results turned out worse than the Mertoscan ones did (screenshot 7-9), so I tried again however I moved slower while using the auto camera option. I also turned on the object masking feature to see if that would make my object more noticeable in my scan. The results came out horrible again, but I realized the reason for the bad results was the fact that a majority of the water bottle was clear. To solve that problem, I chose a different object to scan and I used the same process as all the other scans I made. This scan came out significantly better than the previous 2, even though the bottom of the can came out I a little wonky (screenshots 10-12). Scan files.

printing the 3D scan
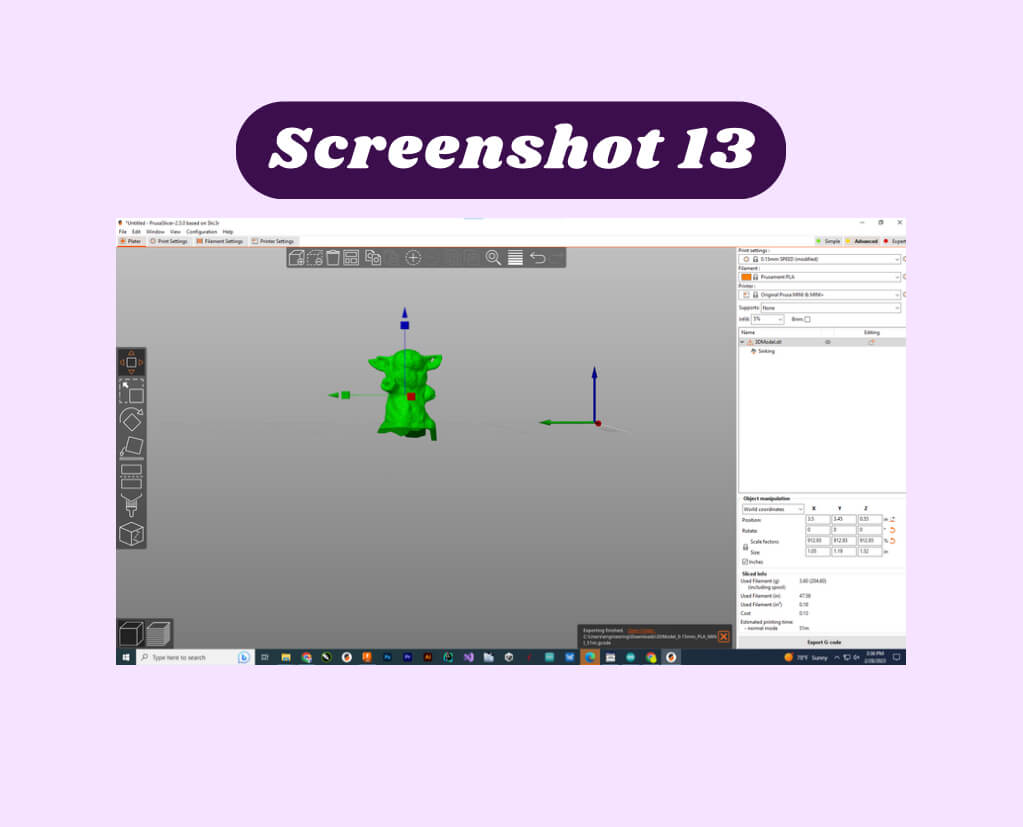
Once I was able to export my 3D scan as an .stl file, I imported it into prusa slicer. Because the bottom of the scan I made was not flat, I decided to move the file down below the build plate of the printer (screenshot 13). That way it would hopefully start printing on a flat surface. When I sent the job to print to the printers in the lab, it failed twice, so I decided to try the printer at my house to see if the printers I was using were just dirty. I exported my G-code from Prusa slicer and put it onto a flash drive that I plugged into my 3D printer. I pressed start and hoped for the best. It failed again, but then I realized that I had no supports on. After I added supports and sent my G-code to print, the result was quite nice and looked fairly close to the original.
Resin printer (extra)
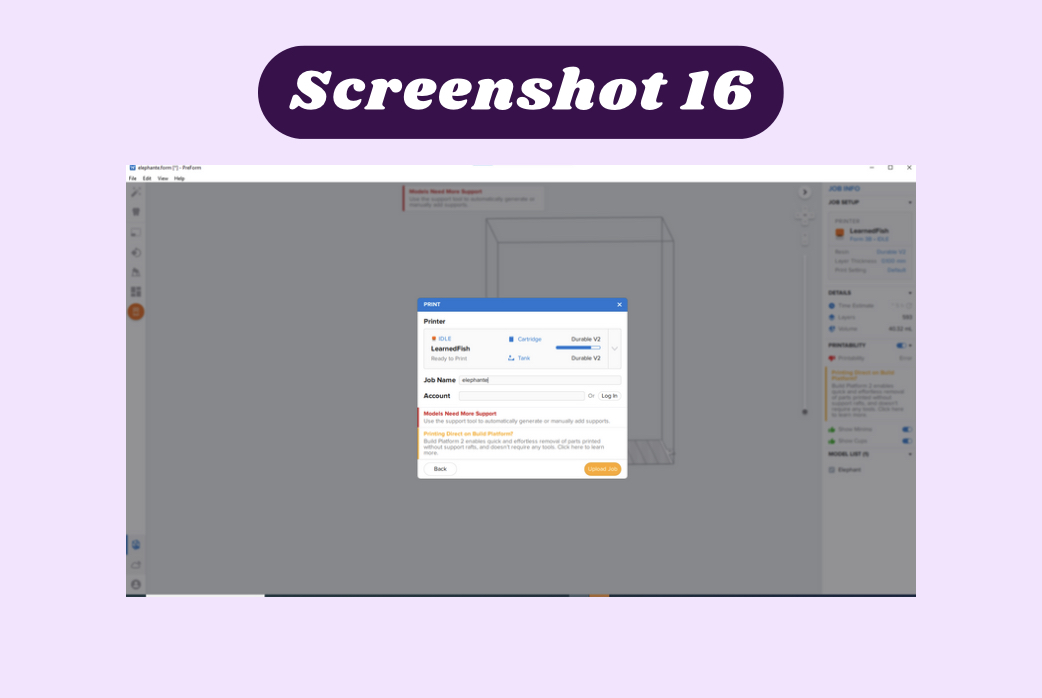
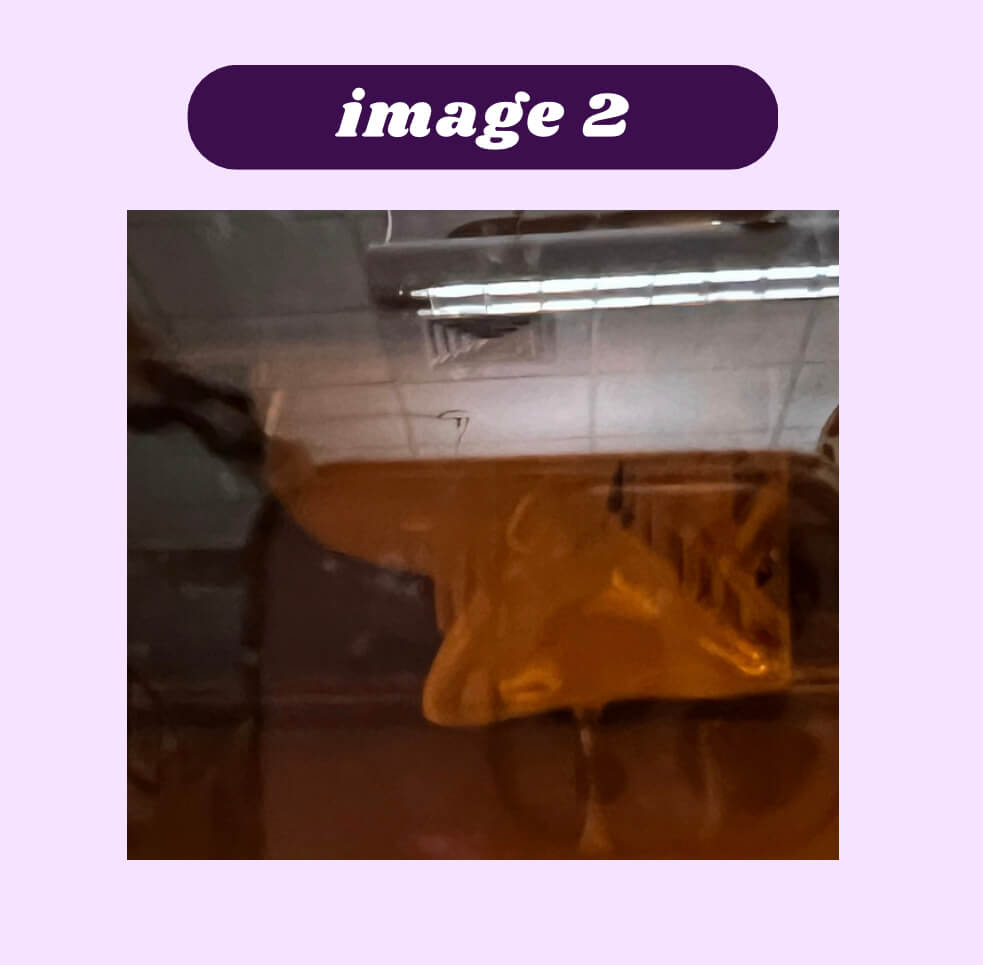
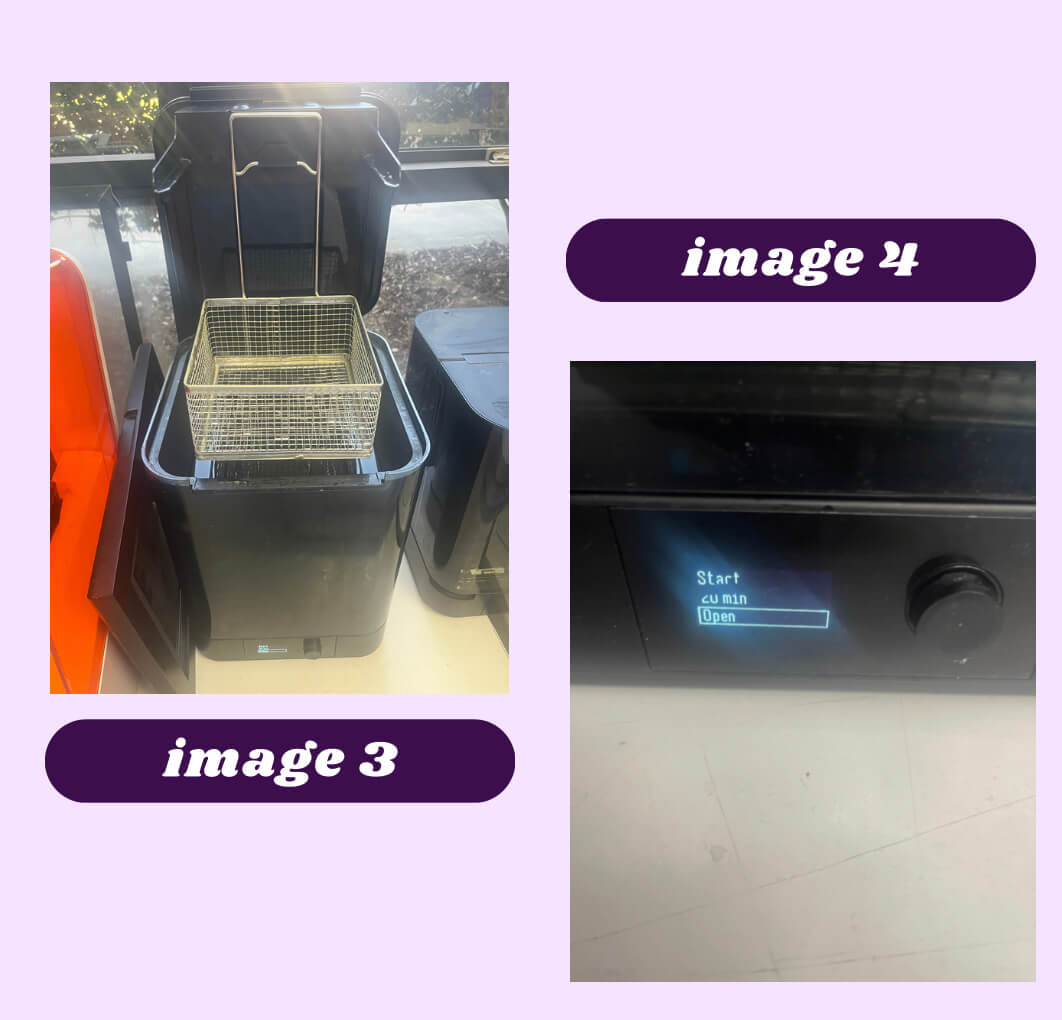
Because I have never used the SLA printers in my lab, I decided to learn how to use them. I followed this workflow and I used a cute elephant thingiverse file that was simple enough that I should not have any problems with it. I started with the preprint setup on the resin printer which included opening the vent cap and ensuring the print bed was secured correctly. I took the zip file I downloaded from Thingiverse and opened it into FormLabs PreForm 3.28, when I first opened the file I needed to scale the design (screenshot 14). I also got an error message that told me I needed supports to make my file printable. I added supports and edited the printer settings to accommodate the printer I would be using (screenshot 15 ). After that, I sent the file to print and I watched as the printer began to fill its tank (screenshot 16). I then left for the weekend and when I came back there was an error message saying that the cartridge was jammed. I have the option to either abort the print or retry. I selected retry to see what would happen and when I returned a few hours later, the print was over halfway through (image 2). Once the print was finished I checked the workflow to see what I needed to do next. The next step was to wash the extra resin off the print, to do that I opened the machine that washes the prints and I took the bed plate off of the printer, and placed it in the machine to be washed (image 3). I set the timer for 20 minutes (image 4) and I left it to complete the wash cycle. Once the cycle was completed the It was still really sticky, so I put it in the cycle again and once it was complete, I took the print off the built plate and placed it in the machine to cure it for an hour (image 5). After the hour cycle was completed, it still looked pretty wet, so I left it for another hour. At that point the print was finished and I now know how to use the resin printers in my lab.


Cleaning a Prusa Mini+ (extra)
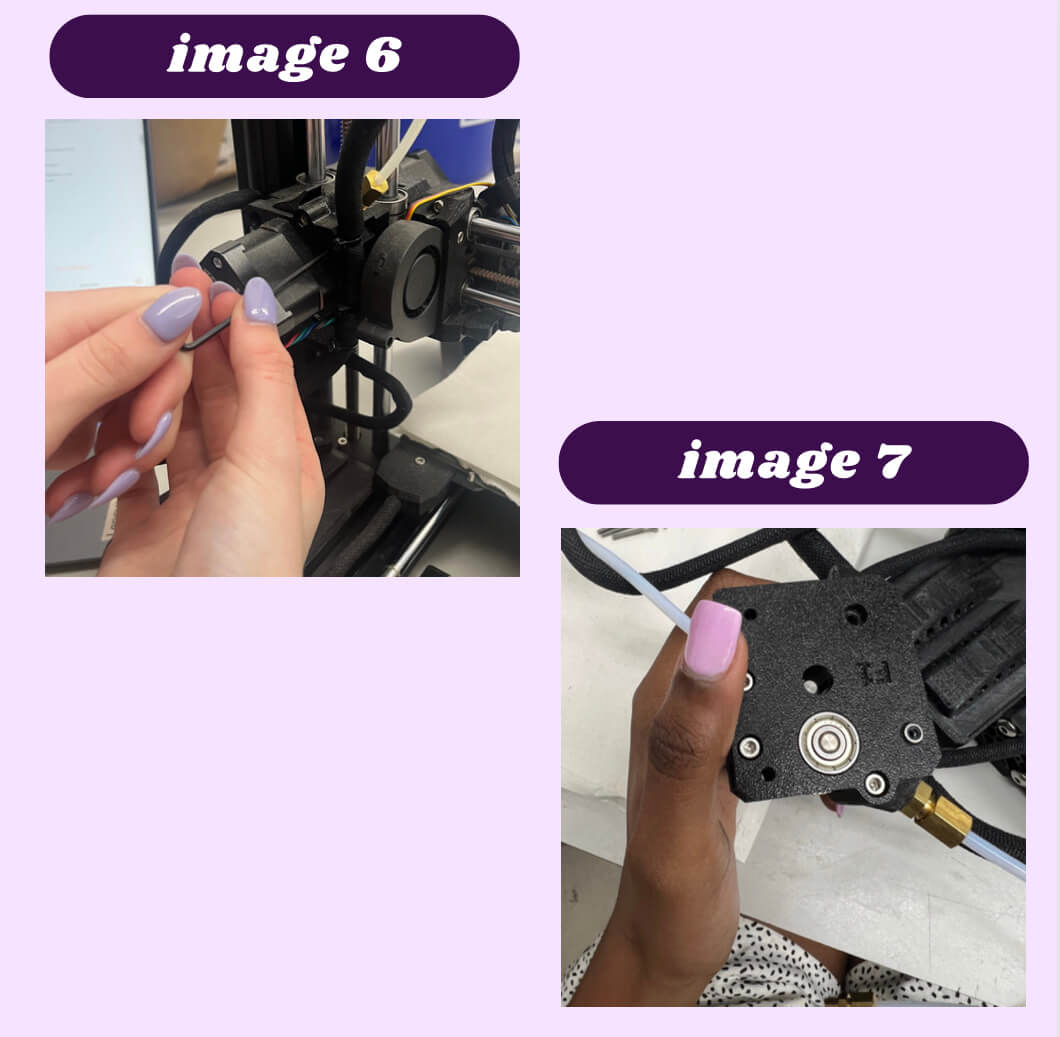
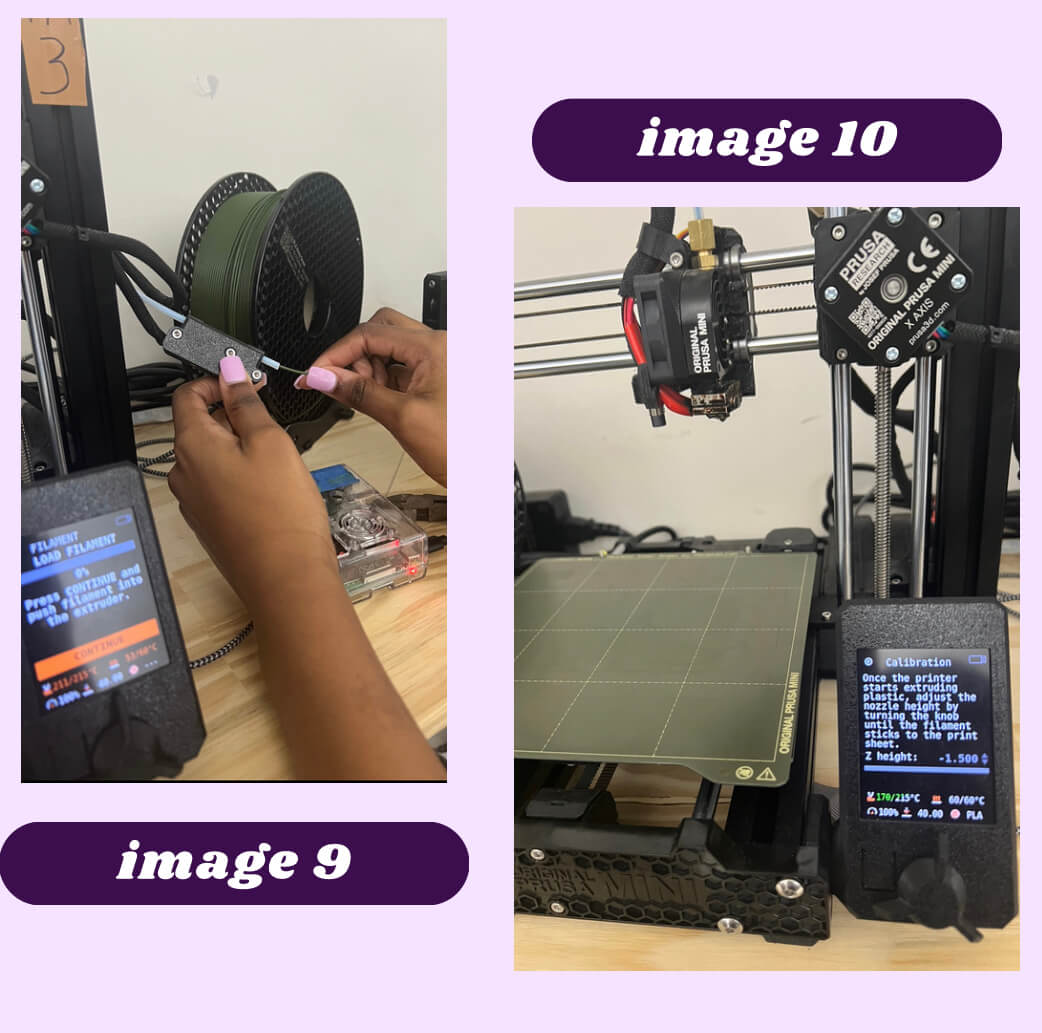
I also learned how to clean a Prusa Mini 3+ extruder pulley this week in addition to the rest of the required 3d prints assignments. This was done in partners and I was partnered with Ginny Foster. I used the Official Prusa Guide to understand what I needed to do. I started off by unscrewing the PTFE tube with a wrench. After that I used an allen wrench to remove the exturder and the take out the gear in the extruder (image 6 & 7). I then took the gear to a microscope and looked to see how much needed to be cleaned off (image 8). Because the gear to the printer I was cleaned already, there was no debris in the gear, so I didn’t need to clean it off. We reassembled the extruder, and reattached it to the printer. I also reconnected the PTFE tube and reconnected the power supply as well as the raspberry pie. I then needed to run a first layer test to adjust the extruding thickness (image 9 & 10). After that was done, we successfully cleaned the extruder for the 3D printer.