12. Molding and casting
This week I was tasked with milling out a design to create a mold for as well as casting that mold. as well as experiment with different molding and casting materials, documented here
Design
For the design of what I chose to do, I used a design I made for my molding and casting unit of bioengineering. File linked here
Manufacturing in Fusion
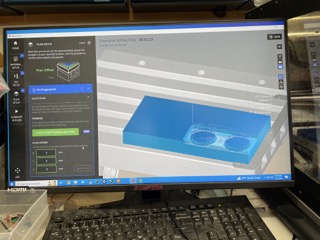
I decided to mill my piece along with Ginny Foster, so we could finish our pieces faster and save material. To generate our toolpath we needed to use the manufacturing option in fusion 360. I watched Mrs. Morrow’s video on how to generate a toolpath in fusion and I followed her directions. I switched from the design tab to the manufacturing tab in fusion and selected the “setup option”.
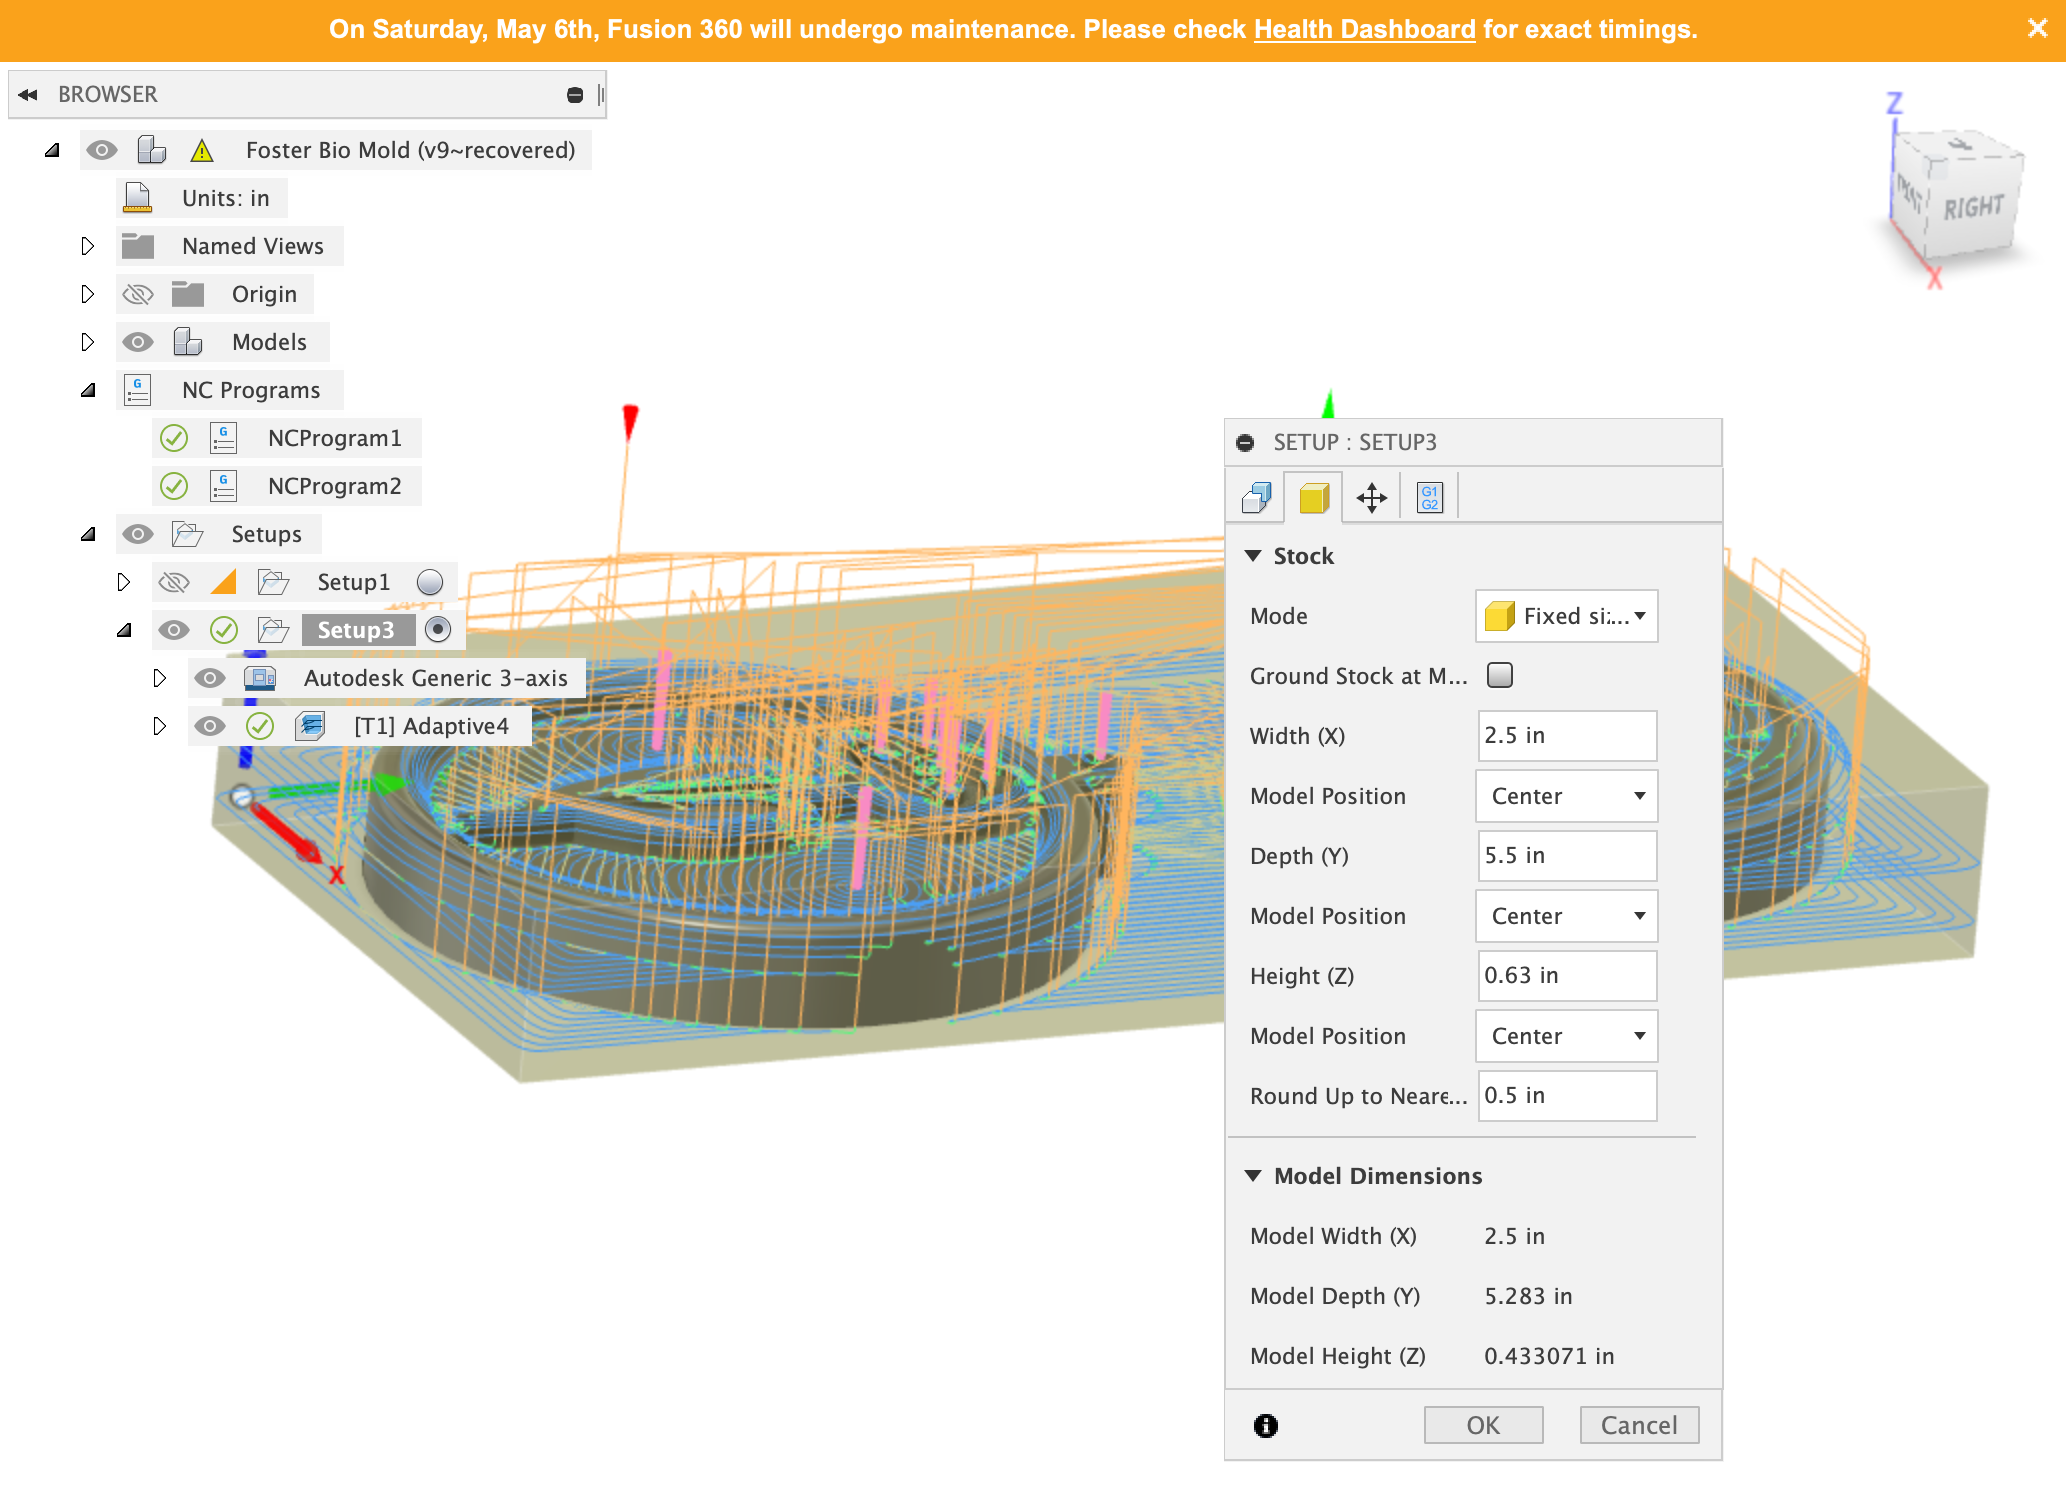
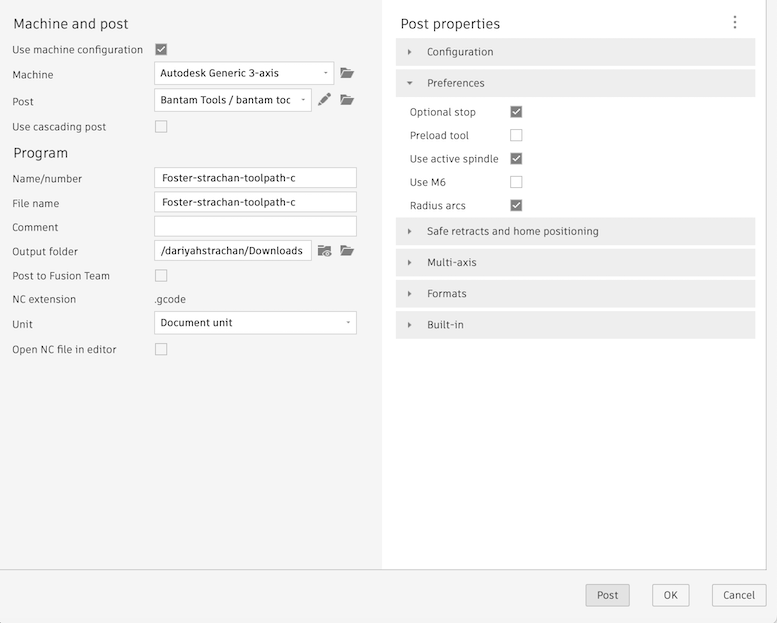
From there, I Followed the video exactly except for one minor difference. because I wanted a hard mold, I need to mill out the final object, make a soft mold from that, and then use that soft mold to create a hard cast. In the video, she is making the mold out of the wax and casting with a soft material, so instead of making the offset on the z-axis from the top, I make mine from the bottom. along with that change, I also needed to select the correct bit (1/8 ballnose wax bit) and the appropriate feed rate, 760mm/min.
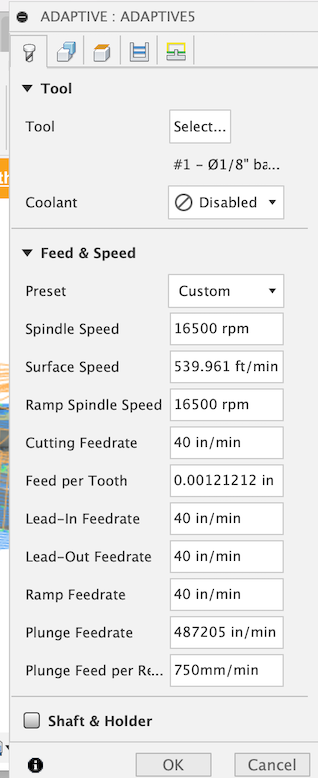
Another thing I needed to set was the max stepdown rate, this way the bit would not move too far down or brake while milling. I set the max stepdown rate to be .3. After this I finished up creating the toolpath by he instructions of the video. I then use the post feature in Fusion to export my toolpath as a g-code designed for my machine.
Here is the file to my roughing toolphath, finifhing toolpath, and toolpath .stl
Milling
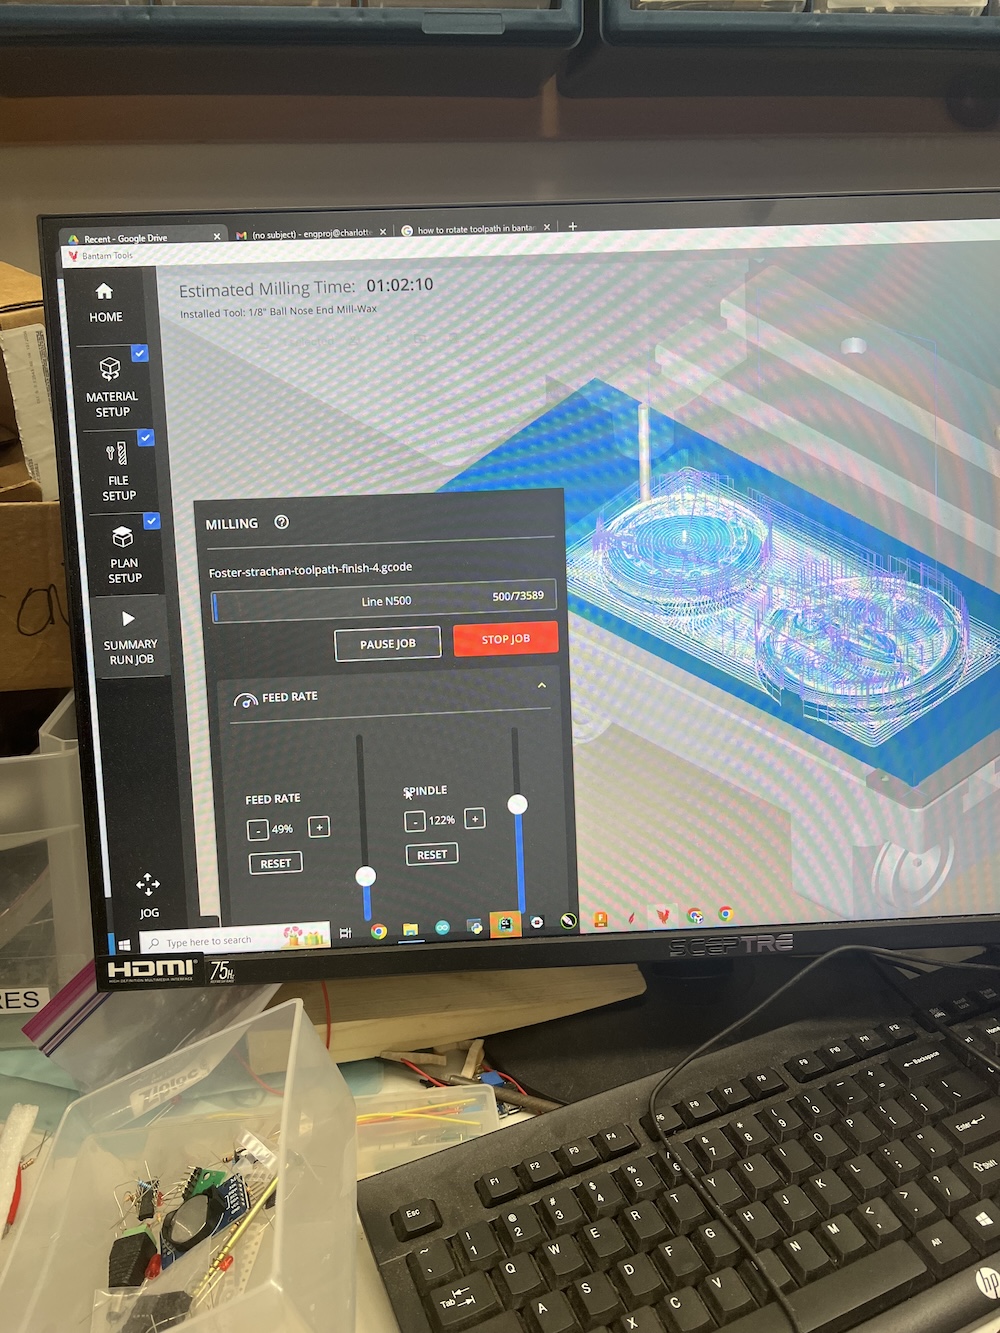
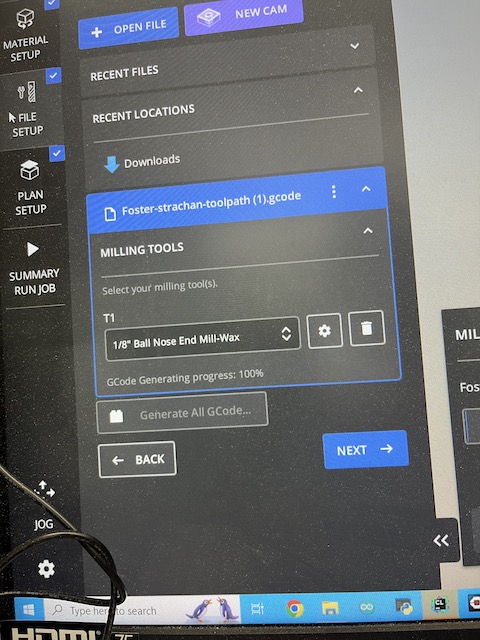
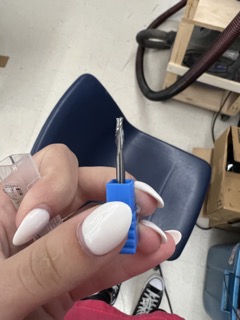
After I imported my g-code file to the Bantam software, I followed the same instructions as I did more milling on my PCB milling page. I changed the bit on the software to the 1/8 ballnose wax bit.
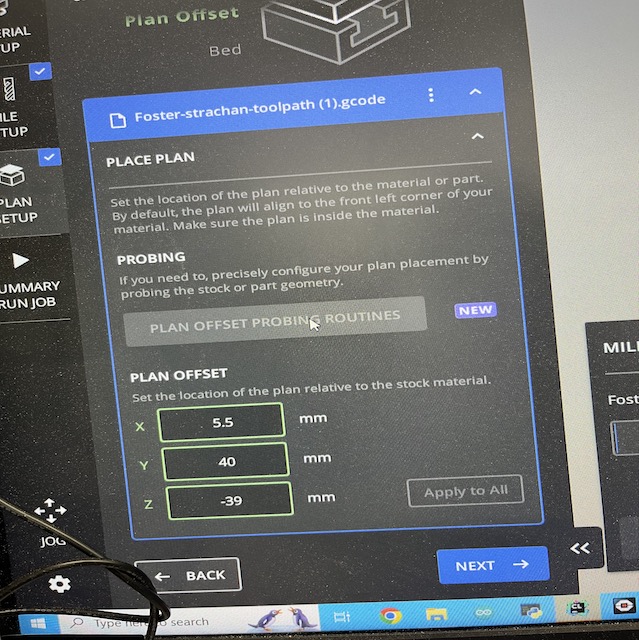
I also adjusted the job placement to fit over the wax.
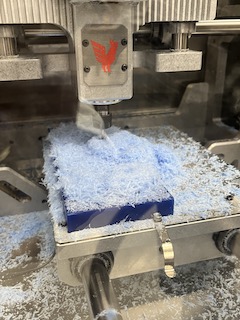
after all of my settings were adjusted I started the mill. about 1/4 through the job, the wax block I used moved, and got stuck in the bit.
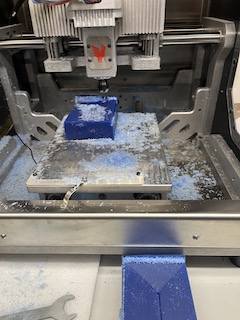
To fix this we hit the emergency stop, and I needed to remove the bit and re-home the machine and restart the mill. We unscrewed the collet and removed the way from the bed. Once the bit was reattached, I selected the re-home button in the jog panel. Once the pit was re-homed, we re-probed the bit so we could continue. Before I started the job again, I decided to use the bandsaw to cut my block of wax in half, this would significantly decrease the amount of time and wasted material this job would take. Once my wax was split, we went back into fusion to adjust the the z-axis height to fit the new dimensions of my wax.
After that we exported the file as g-code again and and started it up on the Bantam machine. Because there was so much extra material being cut out of the wax, we needed to vacuum out the chamber repeatedly.
One of the times when we went to vacuum the chamber, the job did not start back up again. We were about 90% done with our job, so we decided instead of restarting the job for hours only to complete 10% of the job, we could instead just run the finishing toolpath and it will take care of the little bit of milling left from the first job.
Roughing vs. Finishing Toolpath
The difference between a roughing and finishing toolpath is size of the bit you are using. For my roughing pass, I used a 1/4in flat endmill bit
that way it would clear out as much wax as possible before the finishing toolpath which would allow for fine details that the larger bit could not clear. to demonstrate this, Ginny Foster and I made a toolpath that was designed for a larger bit and would only clear areas where that bit would fit.
Next We changed the g-code file to the work with an 1/8th ballnose wax bit to work with the finer details of the design.
We then changed out the bit in the machine to match that of the g-code. We then used that g-code mill everywhere the larger bit didn’t.
Milling finishing toolpath & post processing
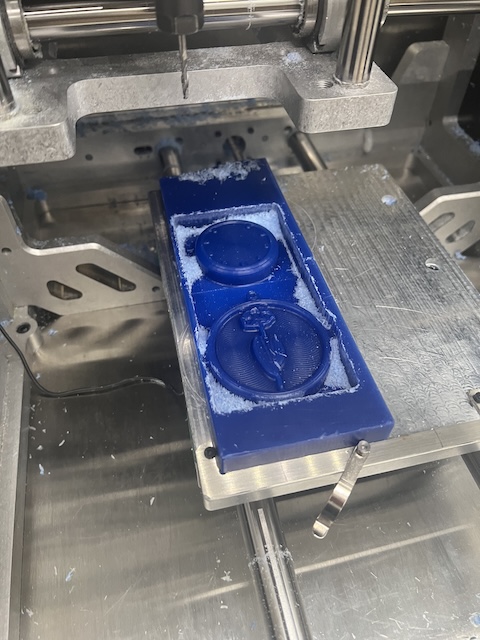
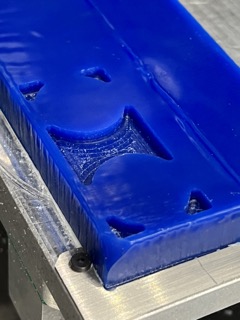
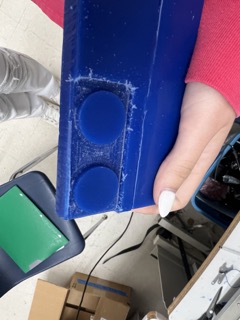
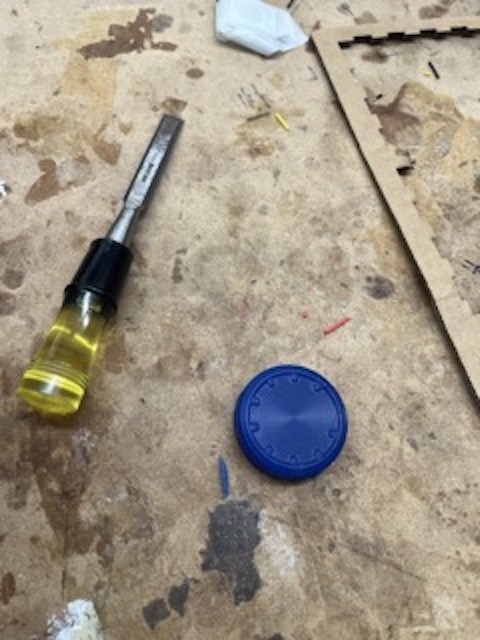
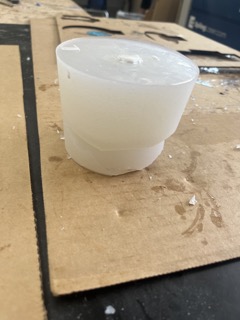
We set the final toolpath to mill for about 1.5 hours and then I removed the final product from the Bantam machine. After that I took a chisel to remove the thin layer if wax left at the bottom so the bit would not drag across the bed. I quickly sanded around the edges to smooth them out a little.
Creating the mold
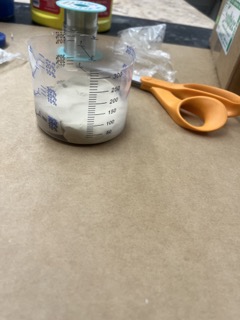
I watched this video on how to create a 2 part mold out of silicon and repeated the process. I started by placing a layer of clay at the bottom of the the cup I was using.
From there I took my milled piece and placed it midway through the clay.
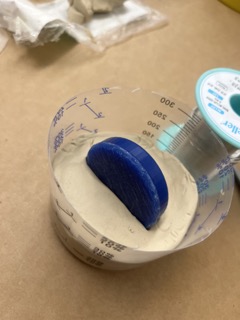
I also used 6 marbles on both sides of my wax piece, so when it was time it put the two silicon pieces together, they would fit perfectly together.
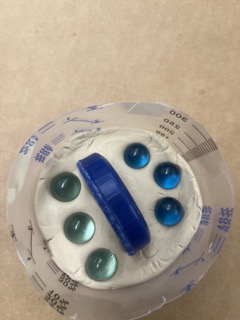
After that, I sprayed mold release all over the clay and cup, so I could easily remove it later. I then used a 1:1 ratio of part A and B of Mold star and mixed them for about 2 minuted before pouring the silicon into the cup with the clay and wax.
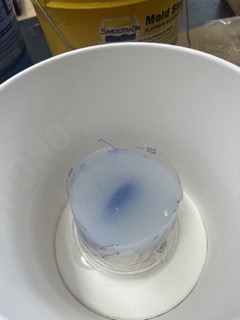
I let that set for a few hours and came back to remove the half of the mold. I removed the clay and marbles from the first half of the mold and placed it upside down in another cup. I sprayed mold release on the first half of the mold and mixed the same ratio of Mold star part A and B. I poured it over the rest the the piece and let it set.
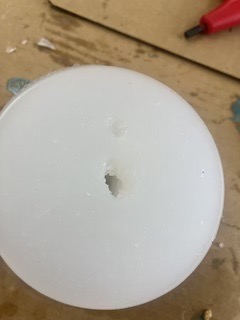
I then pulled both halves part from each other, and realized I had made a mistake. I forgot to create a pour spout to allow for the casting material to enter the mold. To resolve this, I took an knife and carved out a hole that was wide enough I could pour the Task 8 into. I also created a vent where bubbles could escape from. The addition of the pour and vent holes completed my mold.
Casting the mold
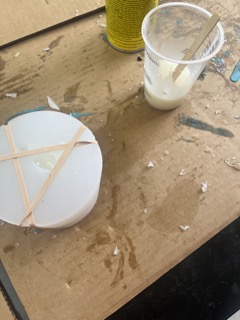
To make a cast of my mold, I simply sprayed the mold with mold release and secured the two halves of the mold together with rubber bands to prevent any leaks.
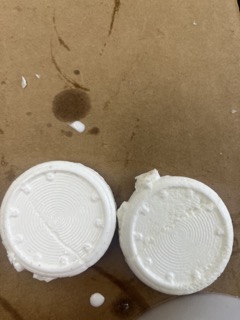
After that, I mixed a 1:1 ratio of parts A and B of Task 8 and mixed it together very quickly because it had a pot life of 2 minuets. I then poured the material into the mold and allowed it to set. After the cast hardened, I de-molded the cast and noticed several imperfections like bubbles and areas where the material looked like it wasn’t mixed very well.

I decided to re-cast the mold with a few minor changes that would hopefully produce better results. The first change I made was spending a little more time mixing the two parts together. After I poured the material, I also used a popsicle stick to smooth the material inside the mold and remove any air bubbles trapped inside. These two changes seemed to help the final result of the cast because there were no bubbles left in the final cast nor was their any material that was not mixed entirely.
Reflection
This week taught me a lot about how to create a two part mold and why different molds must be made from different materials. A hard mold cannot cast a hard material because the are more likely to adhere to one another. Same goes for Soft materials and soft molds. I also learned how minor changes when casting a mold can change the quality of the cast dramatically. I also learned about the different between a clearing pass and a finishing pass and how a doing a clearing pass before a finishing pass can save a significant amount of time.
Correct Mold
I was informed by my evaluater that the correct way to make the mold for this week is to mill it out and used the milled portion as a mold and cast it with silicon material from there. To fix this I used the same exact roughing and finishing files, however I placed them differently on the wax where if I were to cast it with material, it would not seep out. By not chislong out the design this time, Since I want to cast my parts out of a hard material, the mold needs to be soft, so I can use the wax block as the base for creating a silicon mold which I would used for crating hard parts.