15. Wildcard week
For this week I decided to learn how to uses the embroidery machine.
Machine Specs
The Embroidery machine I will be using is a Brother SE600 with a 4in x 4in hoop area. The thread tension for this machine should be between 2 and 6, however during this week the tension was set to 4 because it was loose at 2 where it originally was set. I also used a size 75/11 needle and a cutaway stabalizer.
Research
To get a feel for the machine before I used it, I watched this video so I could have a general understanding of how to set up the machine. I decided to use the program Sewart to create all of the files I wanted to make. SewArt is a software made to turn raster and vector image files into embroidery files. I also watched this video to understand how to use the program.
Creating the File
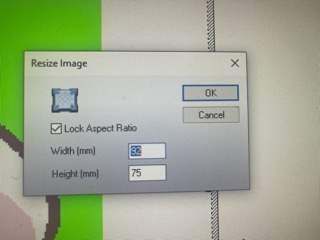
After I found the image of what I wanted to do from Gummy Bunnii on Etsy, I pasted the image into SewArt and cropped it using this tool after that, I used the resize too to make the design 92mm across:
Then, I used the image processing wizard to reduce the number of colors in the image to as few as possible:

after completing that process, I used the color fill paint bucket to add a very bright color that I did not intend to be on my final product:

I then moved on to cleaning up the fine details in my image with the paintbrush tool:

Next came creating the stitches. I used the auto stitch generator tool and selected the green as the transparent color. The software then generated the rest of the stitches:

Once that was done, I went to file and save as. From there I saved the file as a .png and a .pes, which I uploaded to a flash drive and brought it over to the embroidery machine. Here is a link to my final file.
Winding the Bobbin
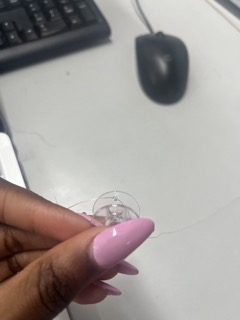
the first thing I did was plan out the colors I would be using. I then needed to wind bobbins for each of the colors I chose. I followed the image instructions depicted on the machine to prepare the thread and then I threaded the end of the thread through the hole in the bobbin.
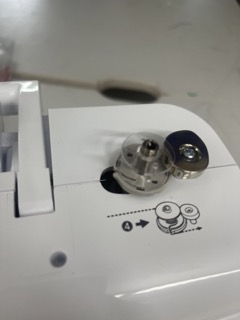
After that I placed it on the bobbin winding peg and slid it backwards to let the machine know I wanted to wind a bobbin.
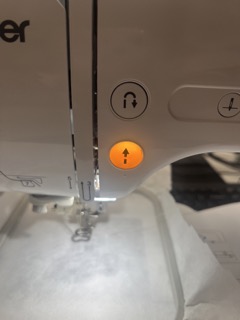
I then pressed the orange arrow button and the bobbin started winding:
I the repeated this process for each of the colors I wanted to use. Once I had made a bobbin for every color I needed, I loaded the bobbin into its area following the pictured instructions and moved on to preparing the material:

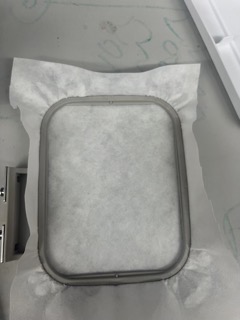
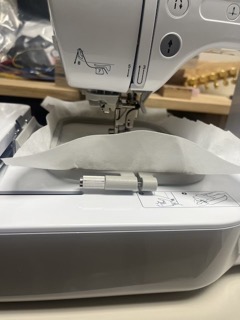
Preparing the Material and hoop
After I had my bobbins wound, I moved on to securing the material in the stabilizing hoop. I first separated the two halves of the hoops and I placed one sheet of tearaway and one sheet of cut away on top of the tearaway. I then secured the two parts of the hoop together and tightened it and placed it in the designated area for the hoop.

The Spool
For the rest of the thread that I would need, I put the spool on the spool holder and looped the thread around the according to the images on the machine:
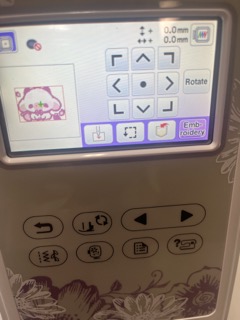
Loading the File
I then needed to take a flash drive and upload the .pes file onto it from earlier and plugged it into the machine. After that, I selected the the file on the machine and selected the ‘embroidery’ button:
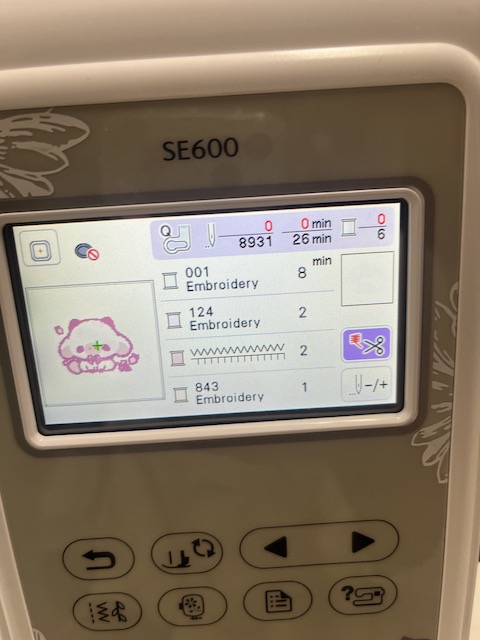
It then listed a series of colors in the order that it would be embroidered, starting with white:
Because I already had white loaded into the machine, I let the presser foot down and pressed the green button:

I then repeated this process with every color I needed and it looked like this:
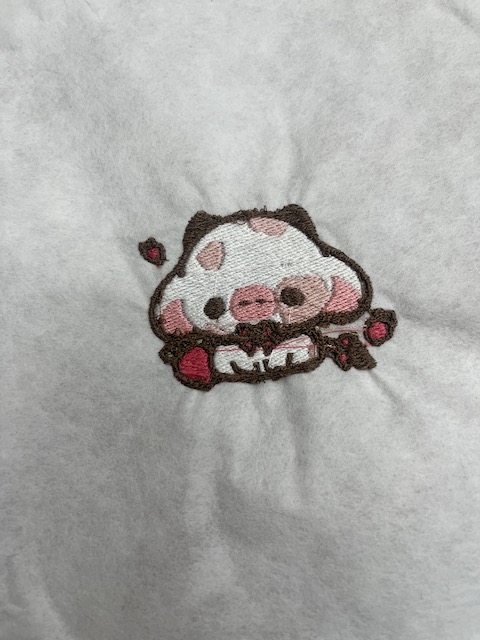
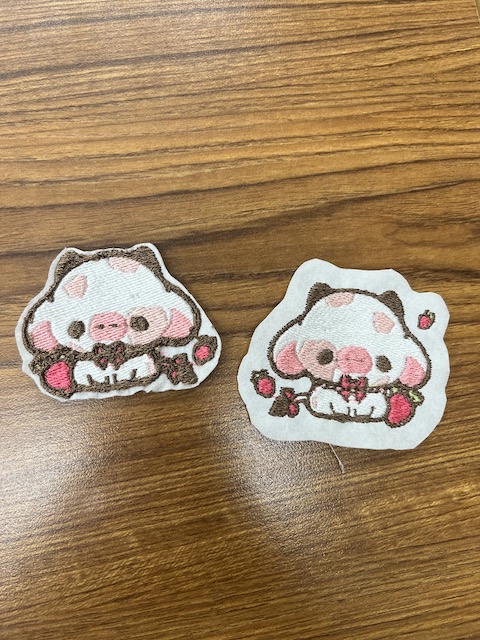
Tearaway vs. Cutaway
Because the final product of the cow was not as neat as I would like it to be, I decided to try and figure out why. I wanted the test the difference between embroidering on the tearaway side vs. the cutaway side. because I had already done the cutaway side, I followed the all of the previous steps mentioned earlier however, I put the tearaway side on top. This ended up looking significantly better and I was very happy with these results.
Reflection
This week I learned how different materials impact the final product. Because of the texture of the material the output of the patch looked different. The impact of different materials on the final