WEEK 09
ON THIS PAGE WE WILL FIND A BRIEF DESCRIPTION OF MY JOB THROUGHOUT THE NINTH WEEK
GENERALITIES
A mold is a piece manufactured for replicas, it is made up of a set of coupled pieces, it is internally hollow and it is the negative element of the manufacture with the details and external imprints of the solid future that is desired to be obtained.
Inside, the fluid or plastic material is poured – molten metal, concrete, plaster, resin, silicone, etc. – that when it solidifies it takes the shape of the mold that contains it. Once the mold is removed, normally, the piece obtained is reviewed, correcting possible imperfections in the coupling areas, removing the remains deposited in the holes made to introduce the plastic material, and in the exit holes of the surplus or vents.
| Day | Wenesday | Thursday | Friday | Saturday | Sunday | Monday | Tuesday |
|---|---|---|---|---|---|---|---|
| 09:00 | |||||||
| 10:00 | Meeting CT | Assigments | Assigments | Local Review | |||
| 11:00 | Meeting CT | Assigments | Assigments | Local Review | |||
| 12:00 | Assigments | Assigments | |||||
| 13:00 | Assigments | Assigments | Regional Review | ||||
| 14:00 | Assigments | Assigments | Regional Review | ||||
| 15:00 | Fabacademy | Practice | Assigments | write Documents | |||
| 16:00 | Fabacademy | Practice | Assigments | write Documents | Review Documents | ||
| 17:00 | Fabacademy | Practice | Assigments | write Documents | Review Documents | ||
| 18:00 | Fabacademy | Practice | Assigments | write Documents | Review Documents | ||
| 19:00 | Practice | Assigments | write Documents | Review Documents | |||
| 20:00 | |||||||
| 21:00 | Tutorial | Tutorial | Assigments | write Documents | |||
| 22:00 | Tutorial | Tutorial | Assigments | write Documents | Write Documents | ||
| 23:00 | Tutorial | Tutorial | write Documents | Write Documents | |||
| 24:00 | Tutorial | Tutorial | write Documents | ||||
| 01:00 | |||||||
| 02:00 |
In this practice the objective is to start programming electronic boards built by myself. There are several things to learn at the same time.
What is the goal for this week?
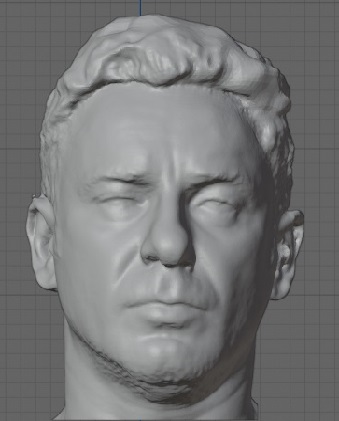
In week five, I've scanned my lump, so I'll use the file to create a cast.
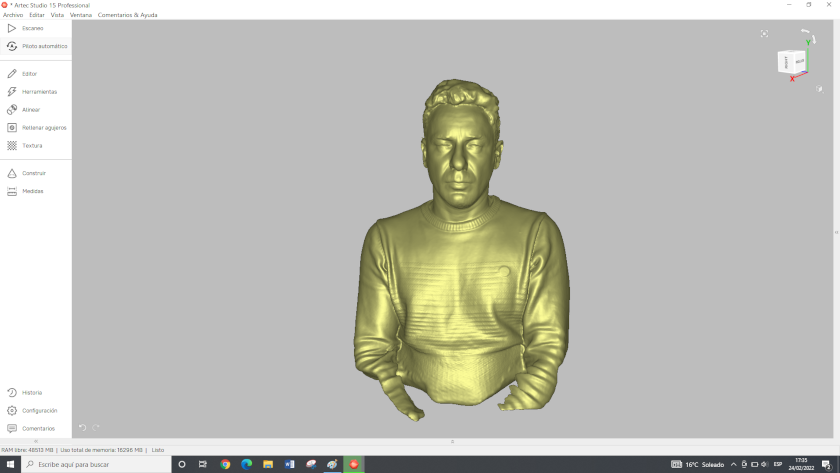 Scanned image
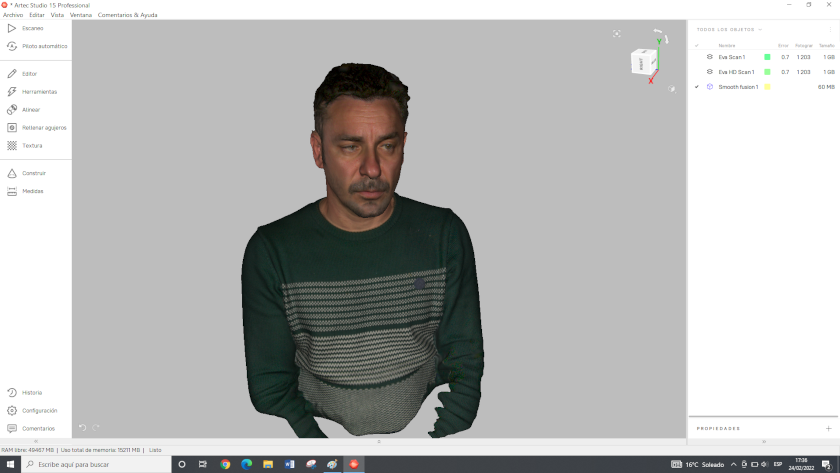 Scanner Preview
Working with AutoCAD and blender
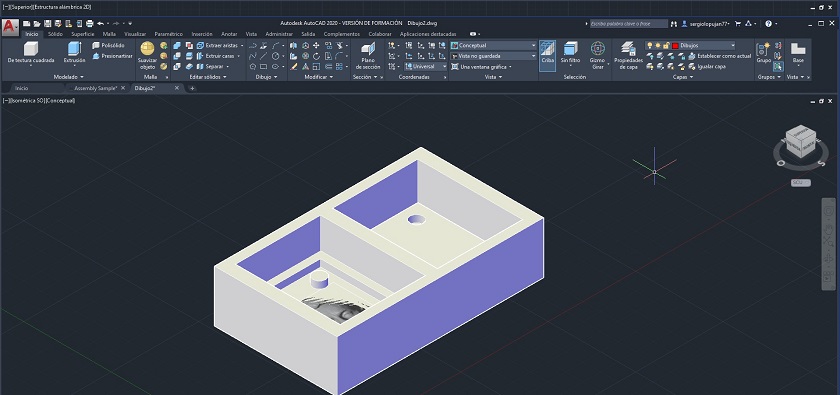
Once I was able to retrieve the scan file, I proceeded to place it in the countermold.
From the Cura software, look for a front shot of my face to place it in autocad and design all the accessories that a counter mold needs.
That was very important to design a mold with a good fit.
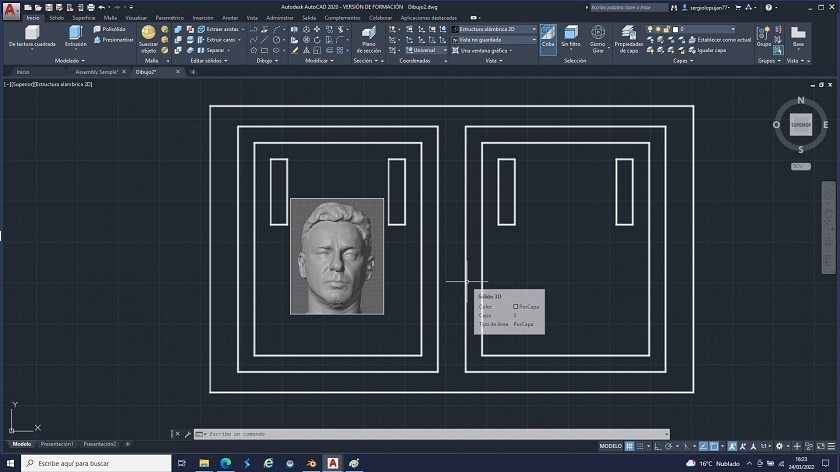 Autocad design of the counter mold
In our case, it is like this. We will not have any problem in programming.
 Autocad design of the counter mold
Another step was to join the two pieces in blender.
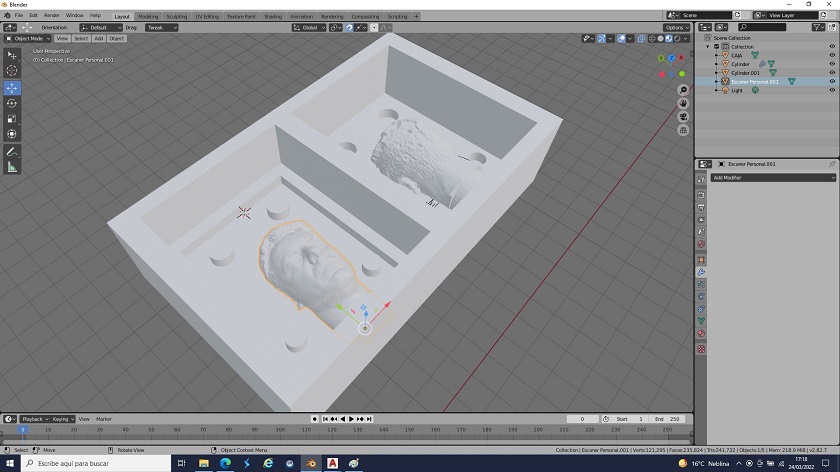 Blender design of the counter mold
I leave here the steps I followed to make the countermold.
- First I entered the shape of my head and flipped it, scaled it until I placed it in the desired place.
- I introduced the counter mold that was designed to scale.
- I scaled my head again to make it a suitable size.
- I positioned it properly in the counter mold.
- With the union and subtraction tools I made the three-dimensional object of the countermould.
Manufacturing begins
In the Aspire Milling software there are a number of steps to follow before milling. In this section we will explain the process of changing the parameters.
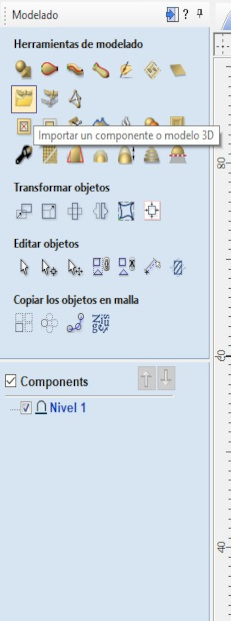
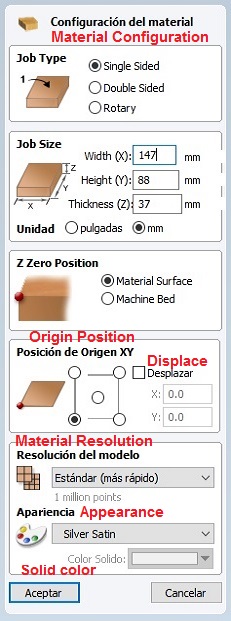 Step 1. Aspire software
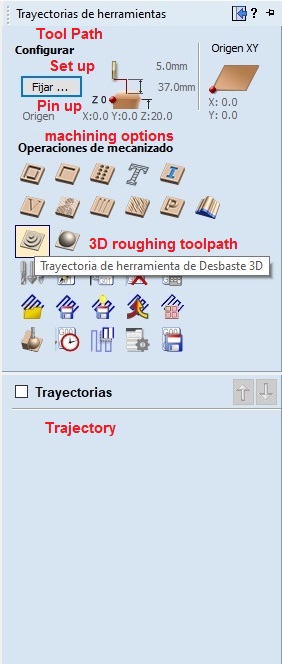
 Step 2. Aspire software
 Step 3. Aspire software
In the first step, the size and position of the element to be sculpted is established.
Then we open the modeling window and import the file that will have the extension .stl
Once the file is imported, we close the panel on the left to continue with the milling parameters on the right.
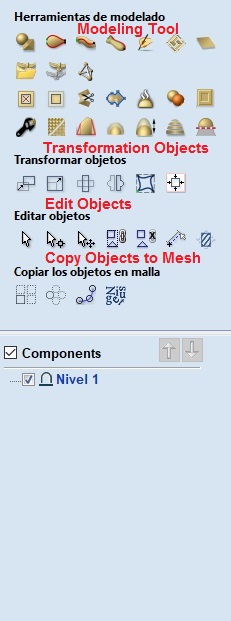
 Step 4. Aspire software
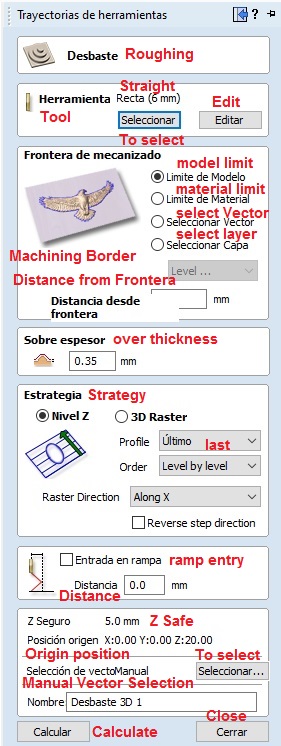 Step 5. Aspire software
 Step 5. Aspire software
The next step is to set the size of the milling. There will be two types, one thicker, to transport all the material and eliminate the large amount. Second finest for plastering details.
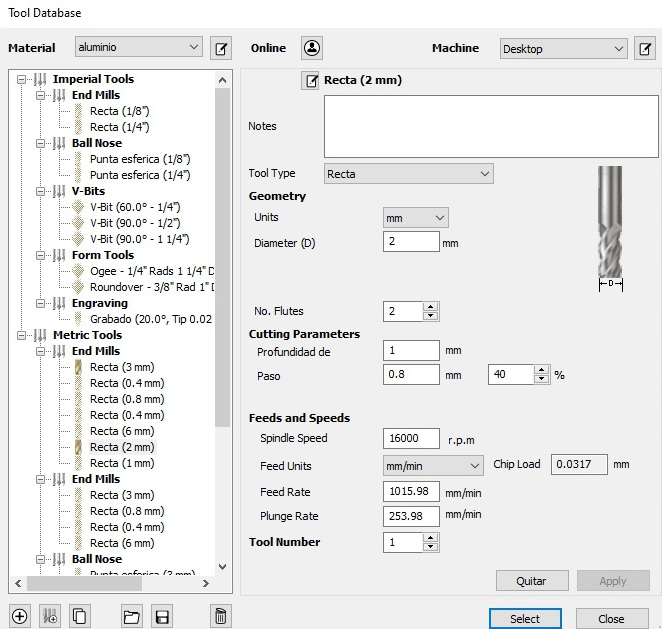
In this window the parameters of the milling cutter are established.
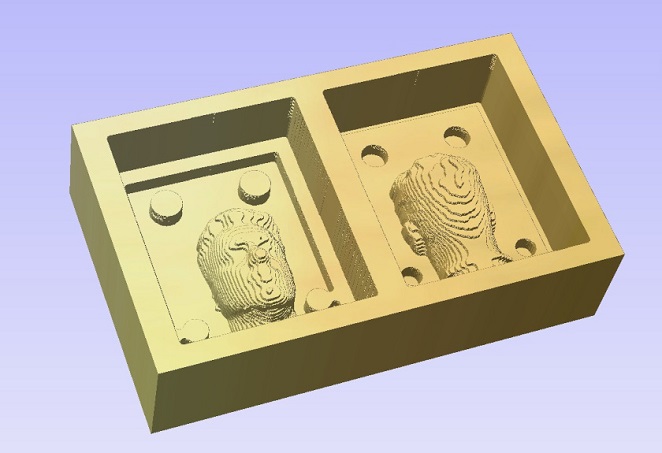
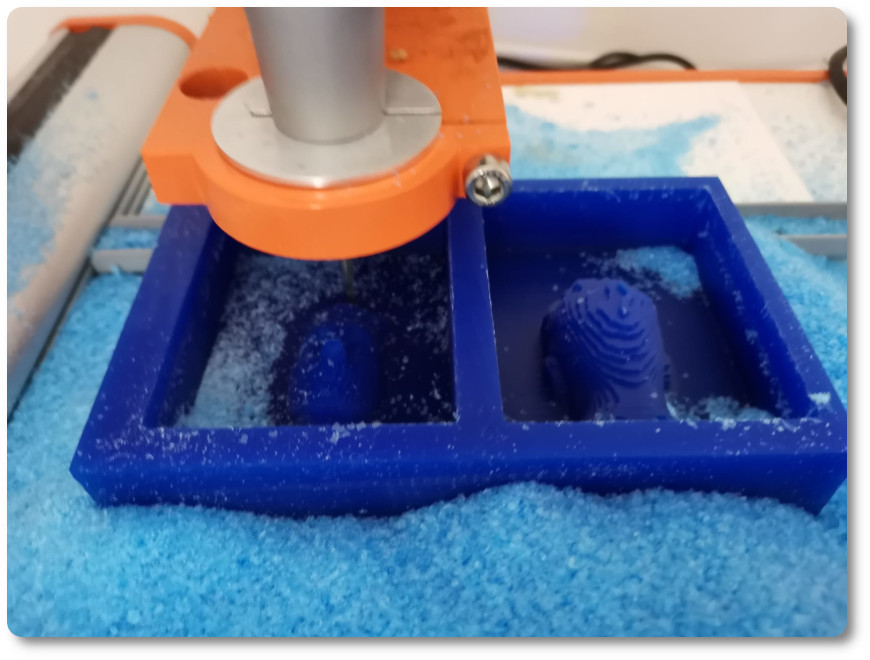
This is the result of the ghastly milling
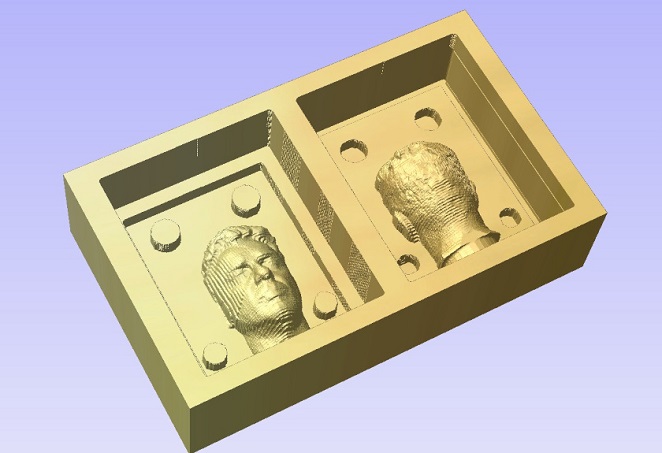
This is the result of detail milling.
I leave a video to show how the milling machine will sculpt the negative of the mold.
I use the Stepcraft milling machine
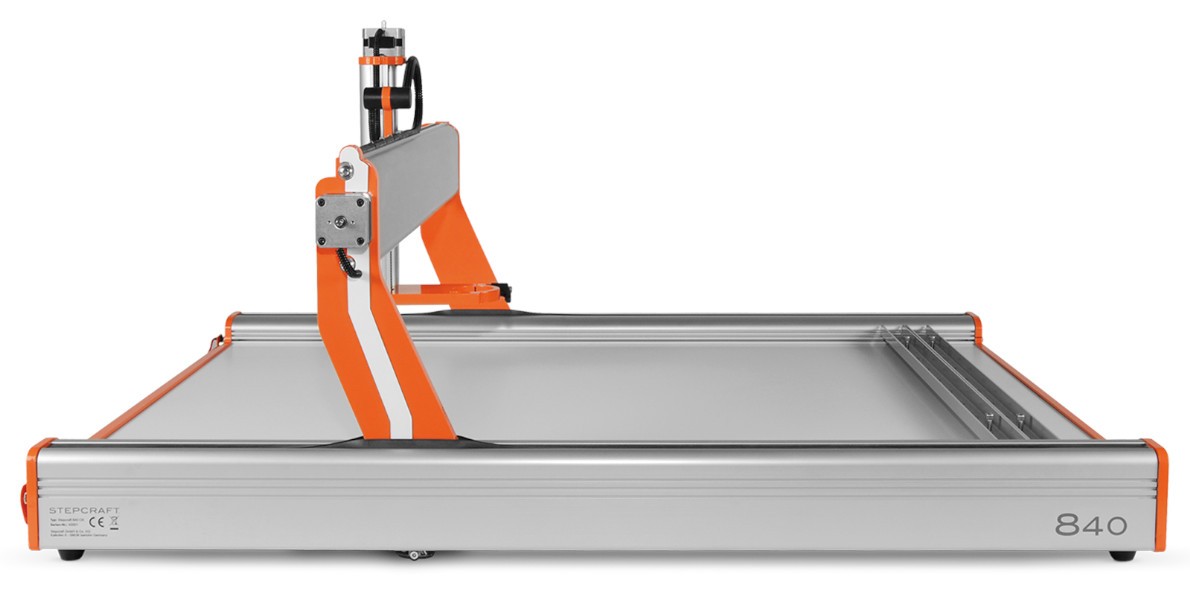
| Step height | Torsional Stiffness Height | Spindle | Weight | Energy consumption | Engines |
|---|---|---|---|---|---|
| 146 mm. | 0.09 -0.13 mm. | 10 x 3 mm | 19.7 kg | 90 / 150 W | Nema 17 |
Now I am going to use the stepcraft software, which is the milling machine that I will use.
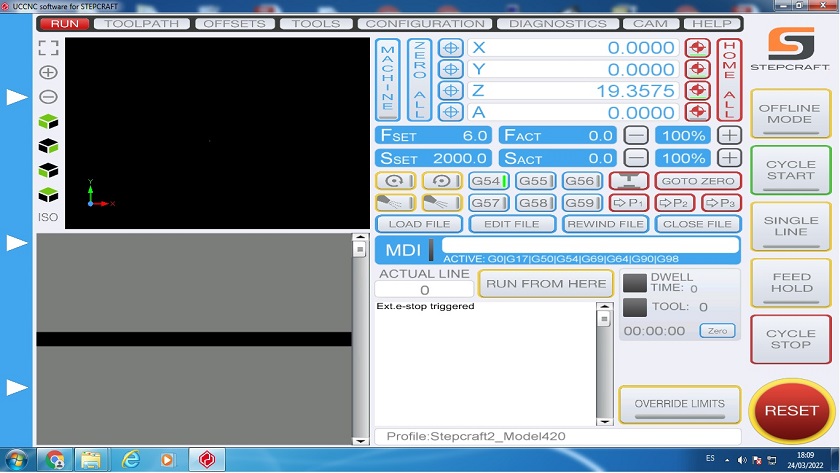
This software is the same as all those used by a CNC, you have to set the 0.0 and in the three axes and then start milling.
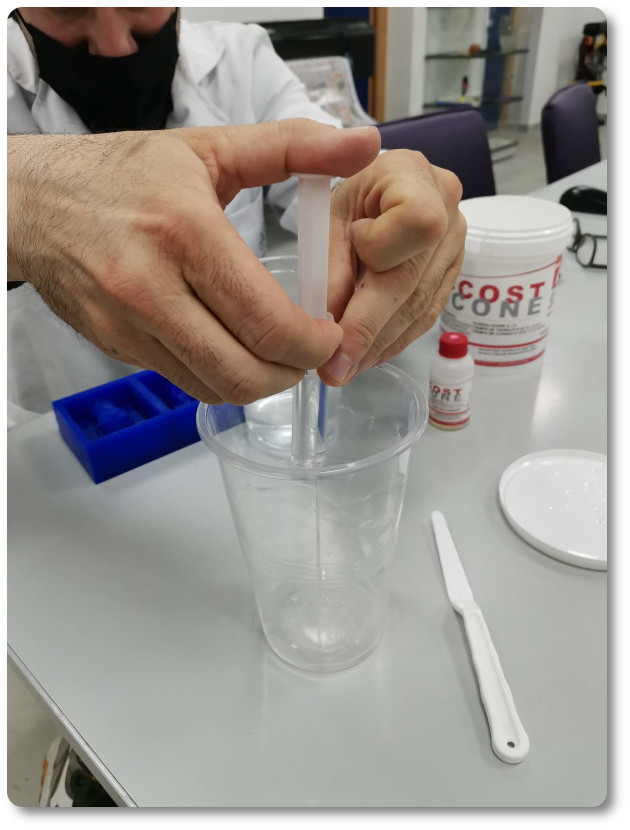
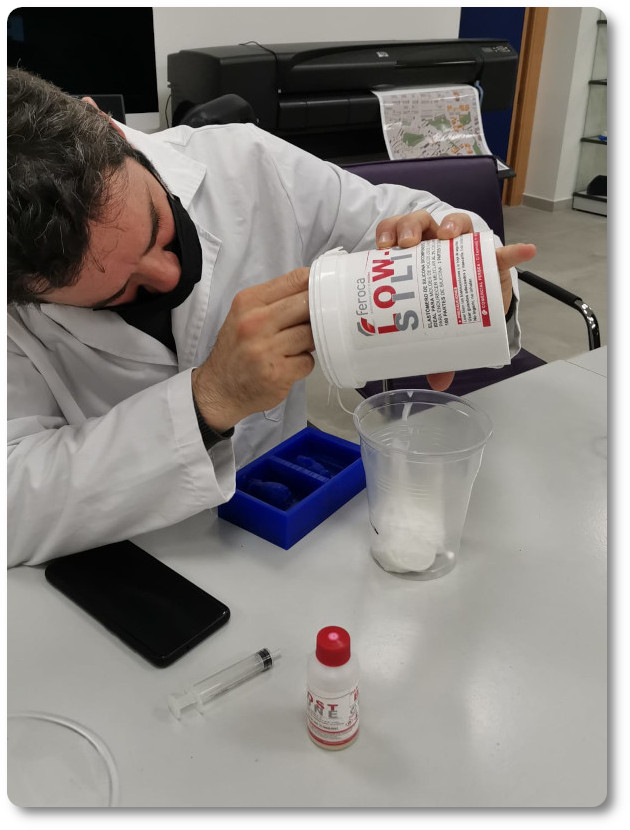
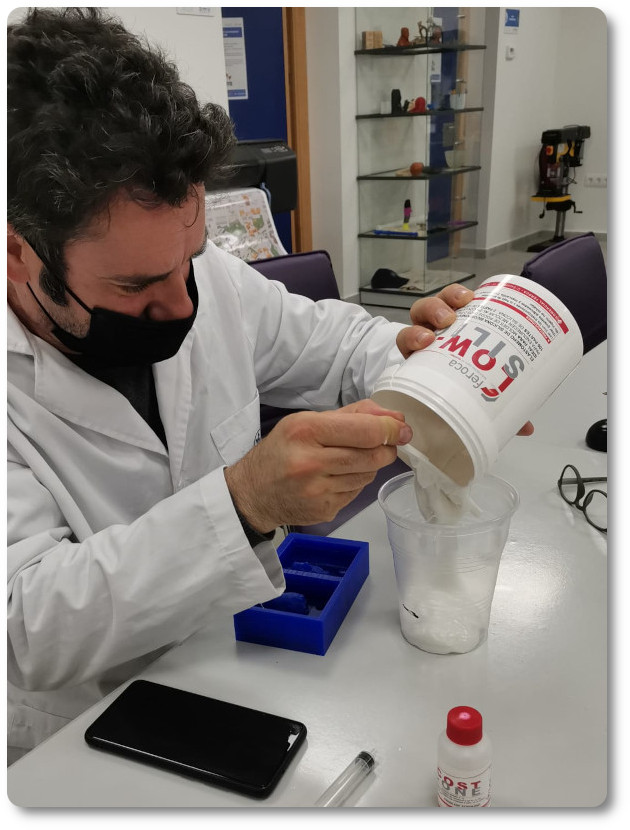
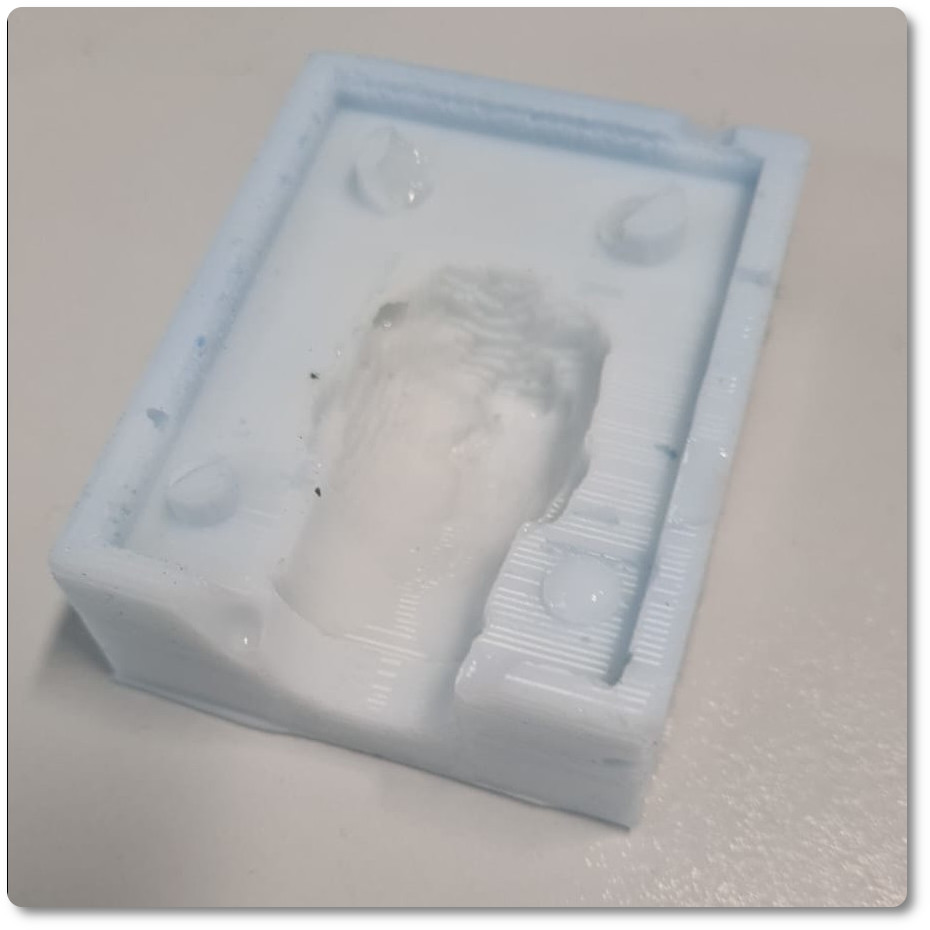
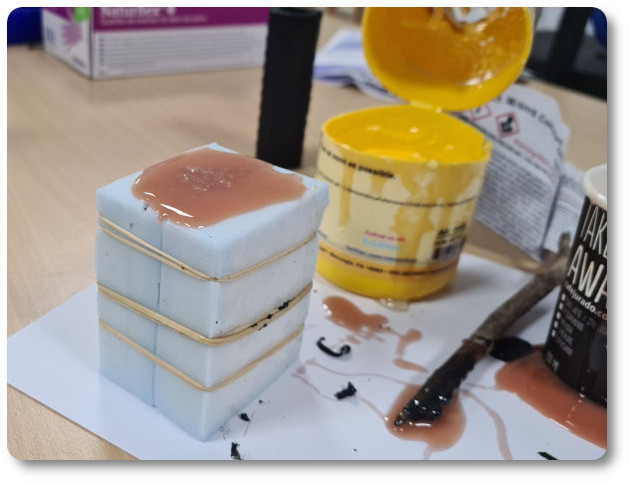
MAKING THE SILICONE MOLD
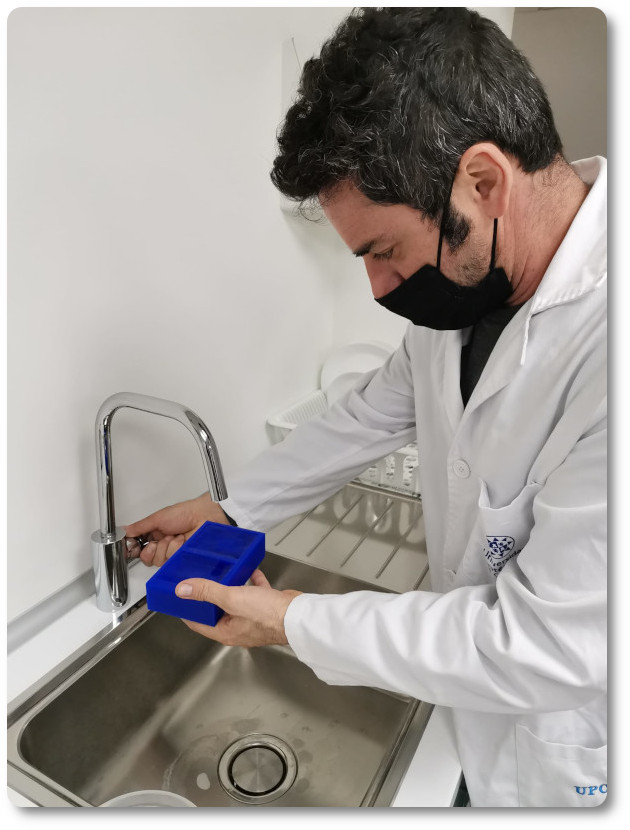
With the construction of the Mold I had some problems. I didn't have a measuring cup, so I had to follow a few steps so I wouldn't make a mistake.
- Step: First I filled the mold with water to know the exact amount.
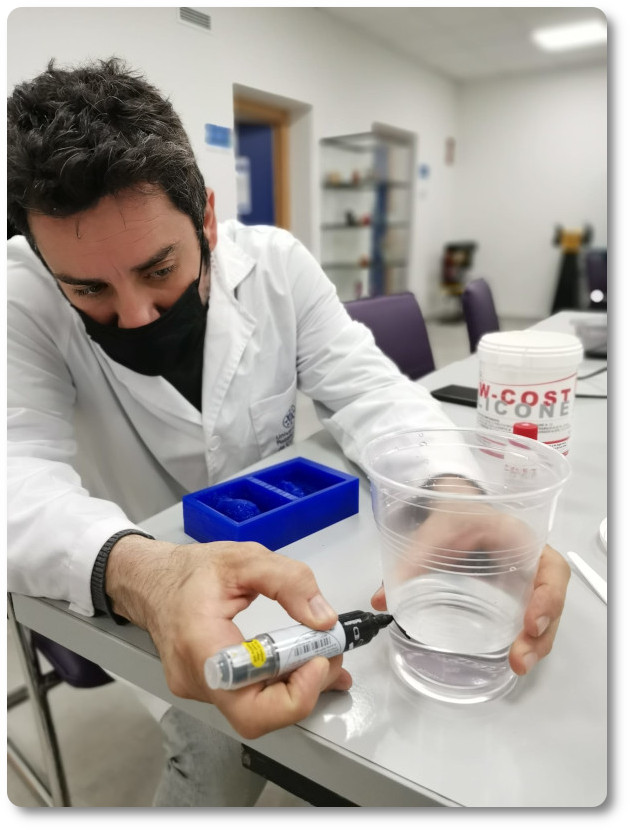
- Step: Then I mark the exact amount with a marker and measure with a syringe. I have 180 ml of product A.
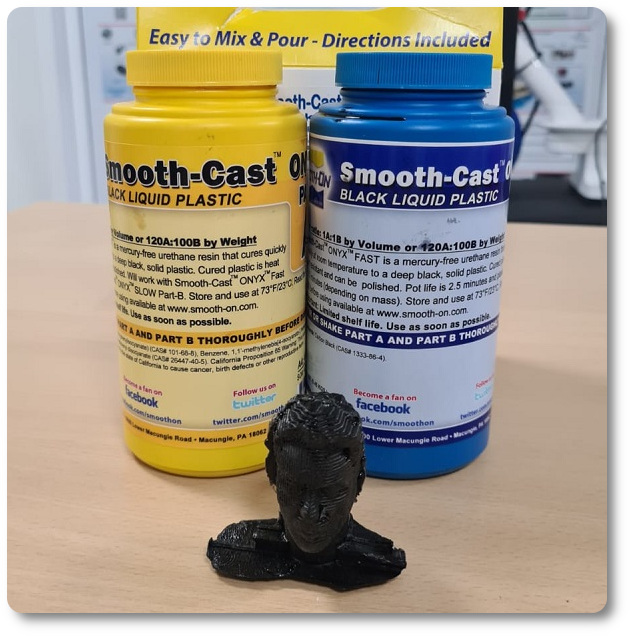
- Step: I pour the Material A and, after, I add 4ml of Component B (4%).
- Step: I shake everything vigorously and pour the contents into the negative of the mold.
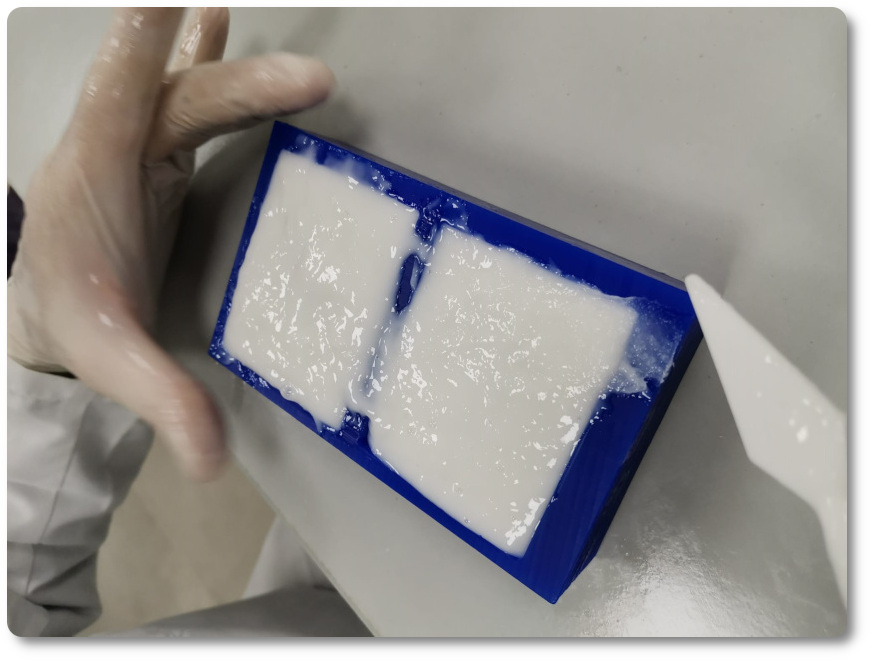
In the end, after waiting 16 hours I get the working mold.
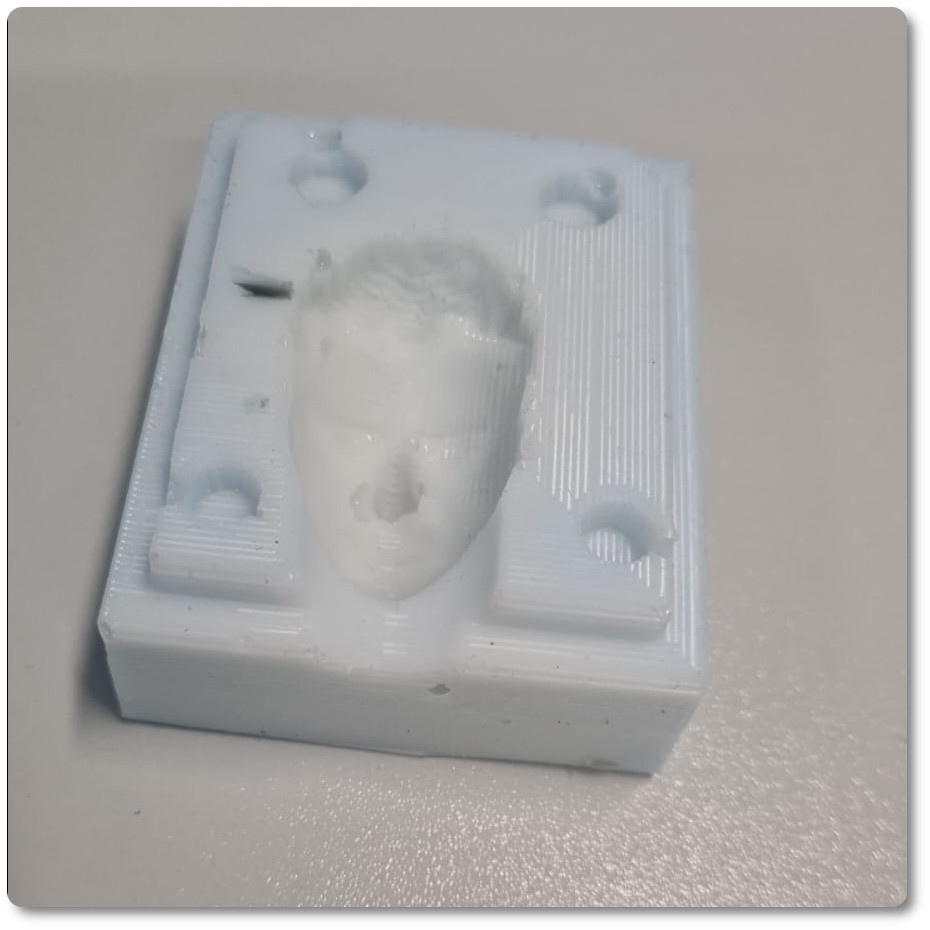
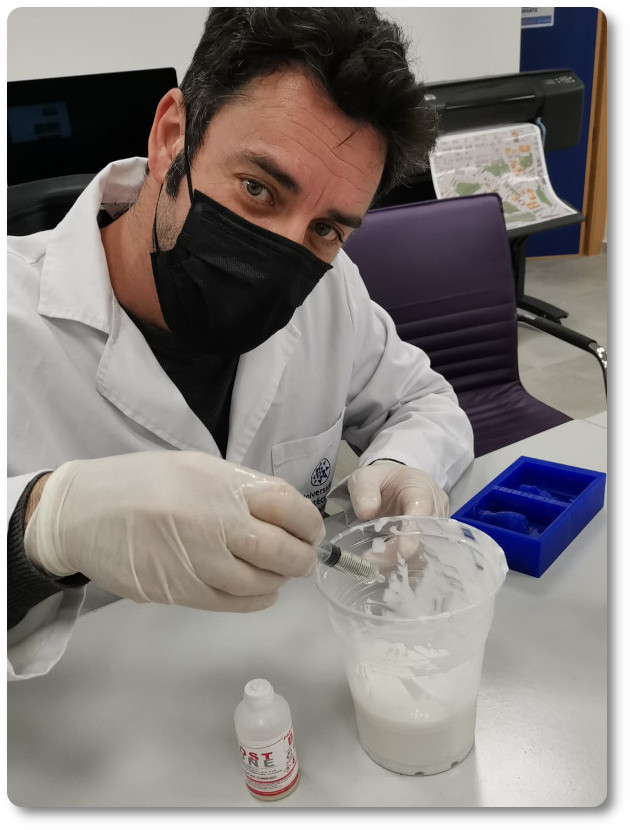
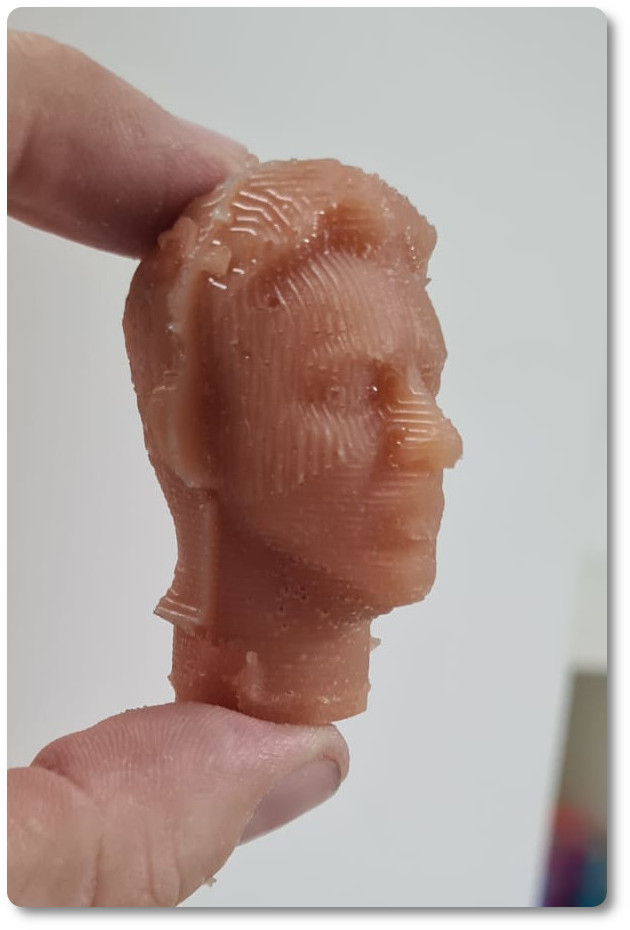
CRAFTING OBJECTS
With the construction of the Mold I had some problems. I didn't have a measuring cup, so I had to follow a few steps so I wouldn't make a mistake.

- Step: First I filled the mold with water to know the exact amount.
- Step: Then I mark the exact amount with a marker and measure with a syringe. I have 80 ml of product A and B.
- Step: I pour the Material A and add Component B.
- Step: I shake everything vigorously and pour the contents into the negative of the mold.
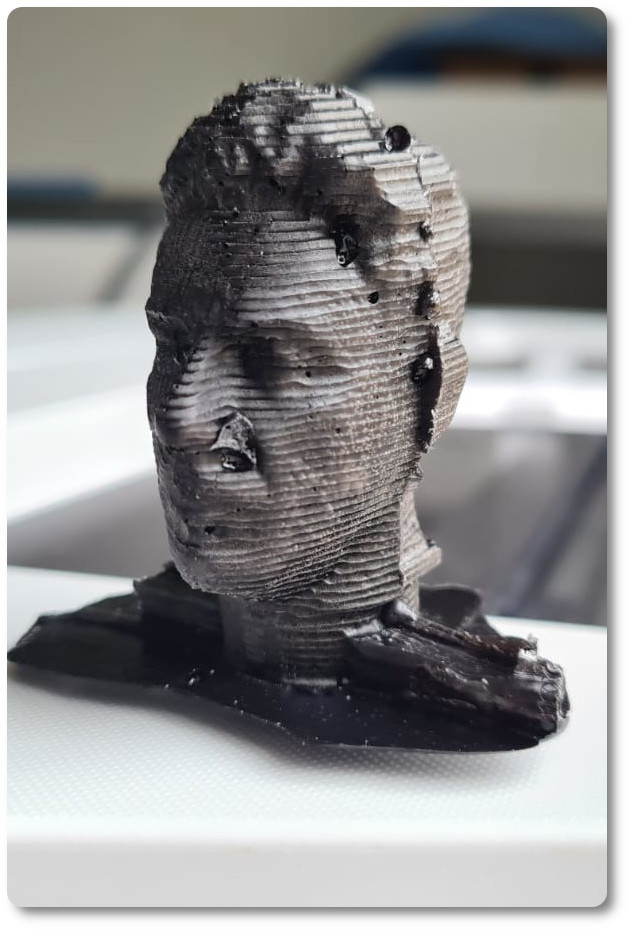
With the construction of the Mold I had some problems. I didn't have a measuring cup, so I had to follow a few steps so I wouldn't make a mistake.
- Step: First I filled the mold with water to know the exact amount.
- Step: Then I mark the exact amount with a marker and measure with a syringe. I have 80 ml of product A.
- Step: I pour the Material A 50% and I add 50% of Component B.
- Step: I shake everything vigorously and pour the contents into the negative of the mold.
Now we have to wait 15 hours of drying. We hope all goes well.

CONCLUSIONS OF THE WEEK
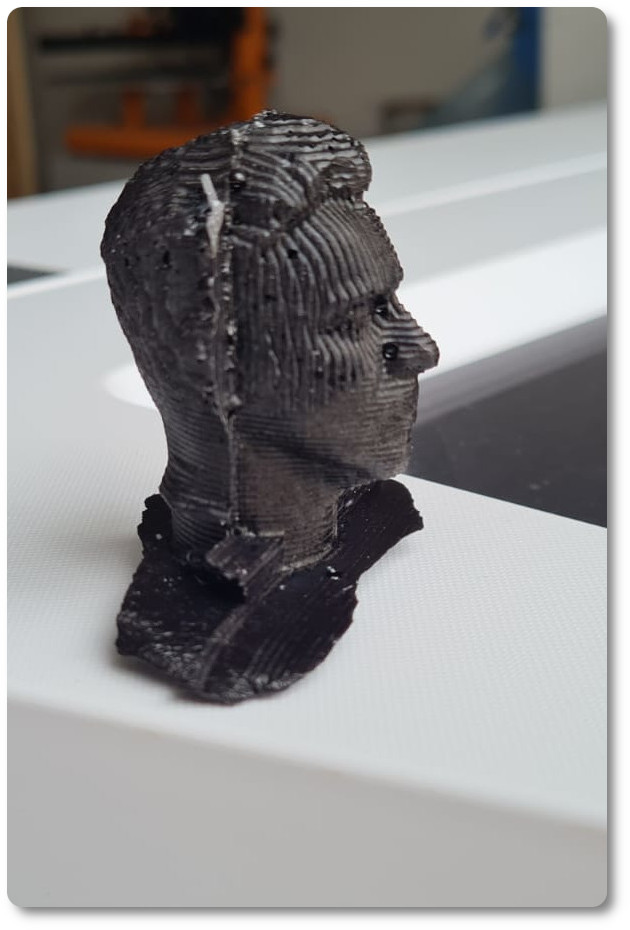
This week I have worked for the first time in the elaboration of a mold. Experimenting with the negative and positive is a real headache.
In the end I decided to make a cast of my head. The first goal was to do something fun. I wanted to experiment with food materials but I couldn't for time. My fault!!!!
“What went wrong”: I think that to make a good mold you need different software at the same time. When you know an interface, you don't like to change.
“What went well”: It is practical work and you really enjoy practicing.
“What will you do differently next time?”: Feed material!!!!!!!
MY FILES
Here I am uploading the files that I have been making this week
Main parts of this document
-
9.1 Introduction
-
9.2 Steps for building a mold


