WEEK 01
On this page we will find an explanation of the development of my work throughout the first week
1.1 Introducción
1.1.1 GENERALITIES
Before taking my first class at the FABacademy, I was thinking about the importance of learning to create both for my personal development and to help those closest to me. It also took me a long time to come up with an idea for my final project as it had to be something stimulating and make the tasks more fun. In the elaboration of these topics I count on the advice of my instructors from the Fab lab Sedi-Cup-CT, along with the BOOTCAMP meetings on the web and the study of the contents offered in previous years on the web page https://fabacademy.org
| Day | Monday | Tuesday | Wenesday | Thursday | Friday | Saturday | Sunday |
|---|---|---|---|---|---|---|---|
| 9:00 | |||||||
| 10:00 | MEETING CT | ASSIGMENTS | ASSIGMENTS | ||||
| 11:00 | MEETING CT | ASSIGMENTS | ASSIGMENTS | ||||
| 12:00 | ASSIGMENTS | ASSIGMENTS | |||||
| 13:00 | Regional Review | ASSIGMENTS | ASSIGMENTS | ||||
| 14:00 | Regional Review | ASSIGMENTS | ASSIGMENTS | ||||
| 15:00 | FABACADEMY | ||||||
| 16:00 | Local Review | Review Doc. Week | FABACADEMY | Read/Practice | |||
| 17:00 | Local Review | Review Doc. Week | FABACADEMY | Read/Practice | ASSIGMENTS | ASSIGMENTS | ASSIGMENTS |
| 18:00 | write Documentation | Review Doc. Week | FABACADEMY | Read/Practice | ASSIGMENTS | ASSIGMENTS | ASSIGMENTS |
| 19:00 | write Documentation | Review Doc. Week | Read/Practice | ASSIGMENTS | ASSIGMENTS | ASSIGMENTS | |
| 20:00 | write Documentation | ASSIGMENTS | ASSIGMENTS | ASSIGMENTS | |||
| 21:00 | write Documentation | Read Documents | ASSIGMENTS | ASSIGMENTS | ASSIGMENTS | ASSIGMENTS | |
| 22:00 | write Documentation | Write Documentation | Read Documents | ASSIGMENTS | |||
| 23:00 | Write Documentation | Read Documents | |||||
| 24:00 | Read Documents | ||||||
| 1:00 | Read Documents | ||||||
| 2:00 |
1.2 AFTER THE FIRST CLASS
1.2.1 ORGANIZING MY TASKS
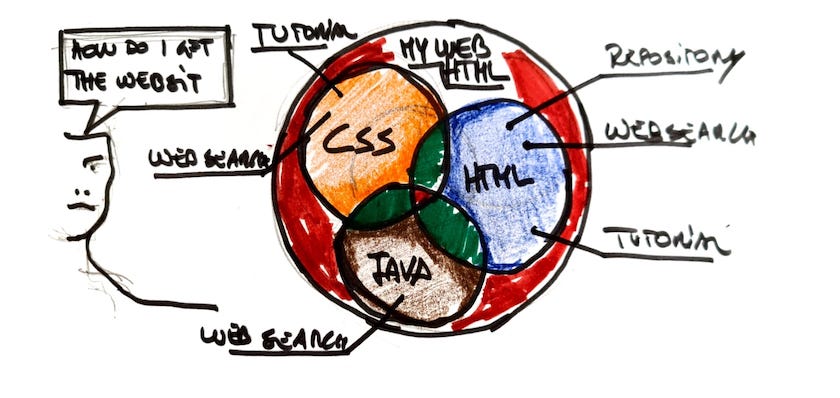
After the first class received by the Fabacademy, my first job was the composition of my personal web page. In my profession I had never thought about developing a web page and consequently I had never practiced with programming and software for its development. To learn more about programming, I searched for information on the web.
1.2.2 SEARCH FOR MORE INFORMATION
The videos uploaded by FreeCodeCamp were of great help to me, where both the structure and the composition are described very well. The link that helped me the most was the following:
https://www.youtube.com/watch?v=XqFR2lqBYPs&t=8731s
But this was not my only source of learning, as I was using other easily accessible resources that were provided on the web.
1.2.3 SOFTWARE DOWNLOAD
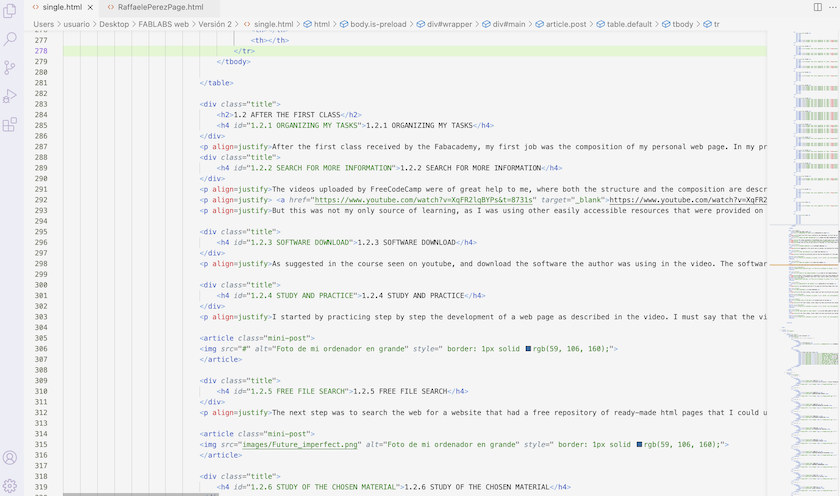
As suggested in the course seen on youtube, and download the software the author was using in the video. The software used is Visual Studio Code , an open source software that can be installed on different operating systems. This was a point in favor to choose the software to use since I usually use different operating systems.
Visual Studio Code is a source code editor developed by Microsoft for Windows, Linux, macOS, and the Web. It includes support for debugging, integrated Git control (this is the best and not only, it can also be programmed for PCBs), syntax highlighting, smart code completion, snippets and code refactoring. It's also customizable (in my case I changed the colors, and it looks much better) so users can change the editor theme, keyboard shortcuts and preferences. It is free and open source,12 although the official download is under proprietary software and includes custom features by Microsoft.
A few historical details, Visual Studio Code was announced on April 29, 2015 by Microsoft at the 2015 Build conference. On November 18, 2015, Visual Studio Code was released under the MIT license and its source code was published on GitHub. On April 14, 2016, Visual Studio Code was released to the web.
1.2.4 STUDY AND PRACTICE
I started by practicing step by step the development of a web page as described in the video. I must say that the video describes very well the composition of a web page, the video gives all the necessary clarifications to learn the key scripts. After the course, I made an outline of how I wanted my page to look like.
1.2.5 FREE FILE SEARCH
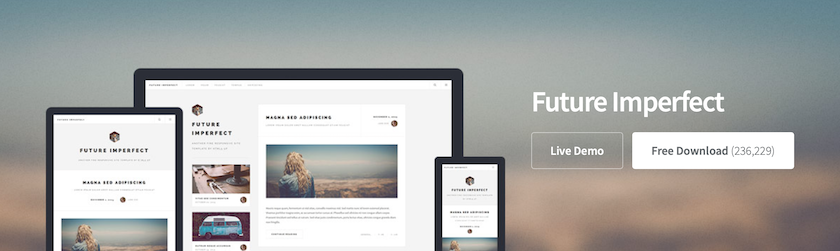
The next step was to search the web for a website that had a free repository of ready-made html pages that I could use and adapt to my intentions. To achieve the goal I remembered that one of my instructors had already used a repository for this purpose. So I began to search and find it in the information made available by Héctor Flores Aparicio and more specifically at https://html5up.net. Once I entered the page, I looked for the type and style closest to my idea, which was Future Imperfect, I leave the link below https://html5up.net/future-imperfect/download
1.2.6 STUDY OF THE CHOSEN MATERIAL
Then I first studied its composition to learn the links between the HTML file and the CSS file and in the end I modified the code to make my personal page.
1.2.7 ADAPTATION OF THE CONTENT
I was adapting each part of my page and inserting images that came from my own repositories or at most from the UPCT, leaving information about their source.
In the page that I created, I had to change some things to make it more adjusted to my requirements. In order to understand myself, I will give some examples.
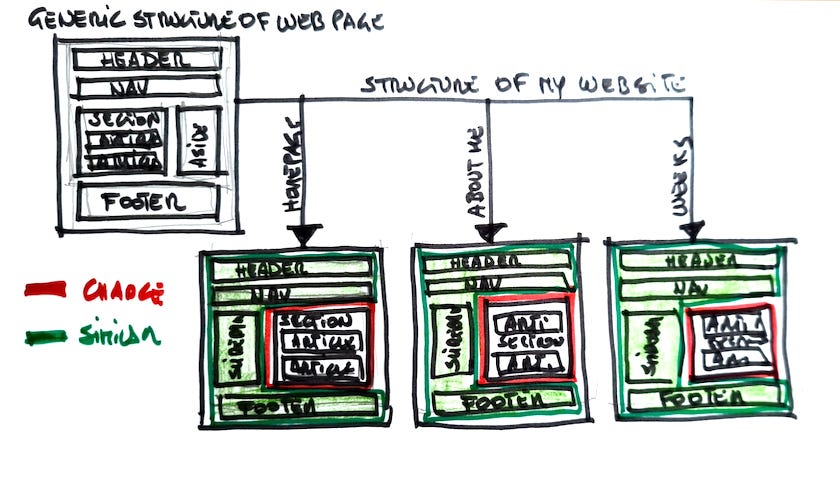
First example: in the original main page the sections of the weeks were placed vertically, this is boring. I don't like pages where you have to download a lot to go to a site. For this purpose, through programming in html and CSS, I have incorporated the sections and in such a way it is easier to navigate my page.
HTML, lenguaje
- <div id="contenedor">
- <div>
- <!-- 1 Week -->
- <article class="mini-post">
- <header>
- <h3><a href="single.html">Week 01: Principles and practices / Project management</a></h3></p></time>
- </header<
- <a href="single.html" class="image"><img src="images/Primera semana.jpg" alt="" /></a>
- </article>
- </div>
- <div>
- <!-- 2 Week -->
- <article class="mini-post">
- <header>
- <h3><a href="Week2.html"<Week 02: Computer Aided design</a></h3>
- <time class="published" align=justify>2D and 3D design. Images, convert raster to vector. Modeling and 3D animation.</time>
- </header>
- <a href="Week2.html" class="image"><img src="images/Secunda semana.jpg" alt="" /></a>
- </article>
- </div><br>
- <div>
- <!-- 3 Week -->
- <article class="mini-post">
- <header>
- <h3><a href="Week3.html">Week 03: Computer controlled cutting</a></h3>
- <small>Clicking here you can see my work on laser cutters, vinyl and parametric drawing. </small>
- </header>
- <a href="Week3.html" class="image"><img src="images/Tercera_Semana.jpeg" alt="" /></a>
- </article>
- </div>
- </div><br>
But this is not all, it is also necessary to modify in css language, to complete, I will put the code that I have used in css.
CSS, lenguaje
- #contenedor {
- display: flex;
- flex-direction: row;
- flex-wrap: wrap;
- }
- #contenedor > div {
- width: 33%;
- }
The final effect will be the following:

Week 03: Computer controlled cutting
Clicking here you can see my work on laser cutters, vinyl and parametric drawing.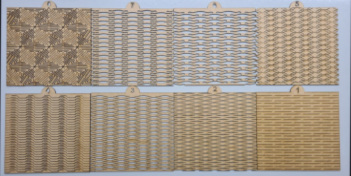
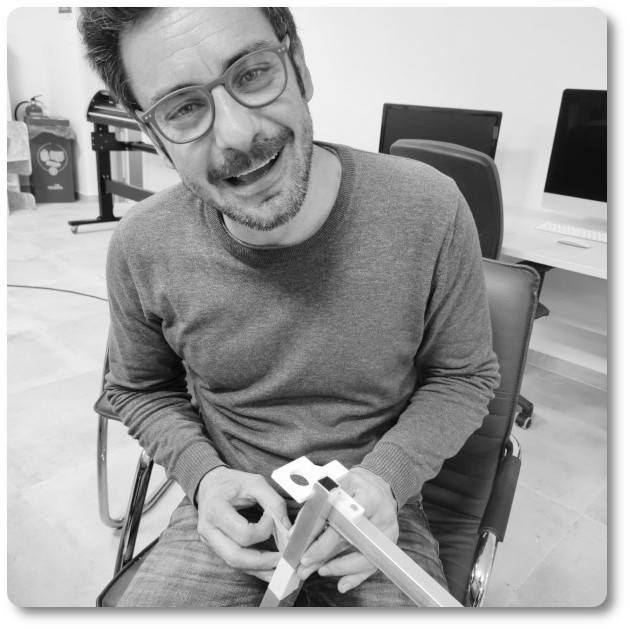
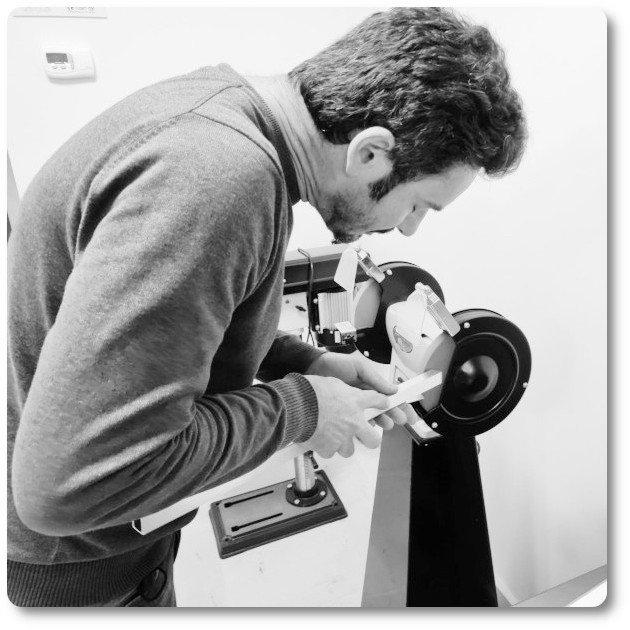
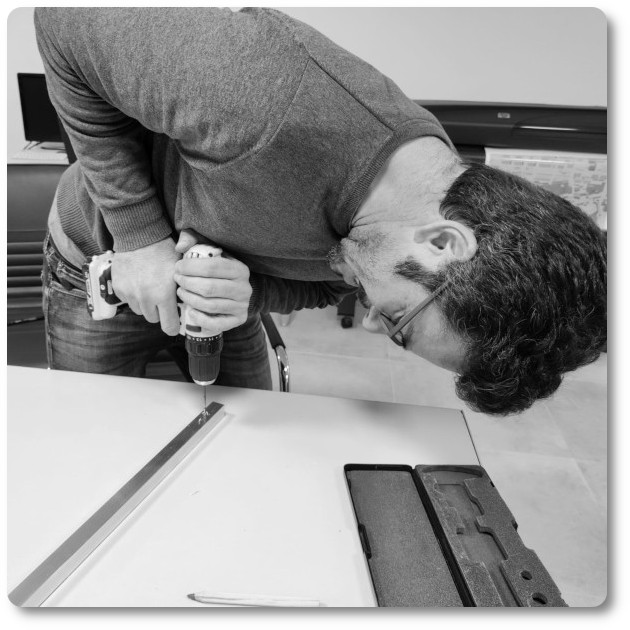
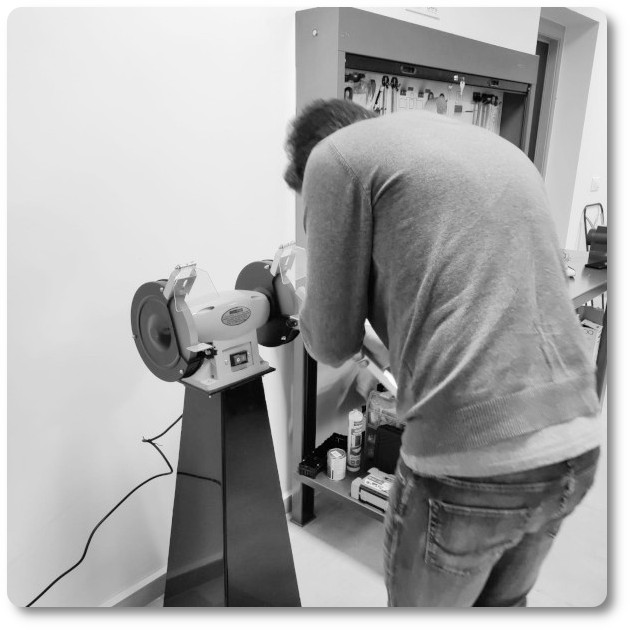
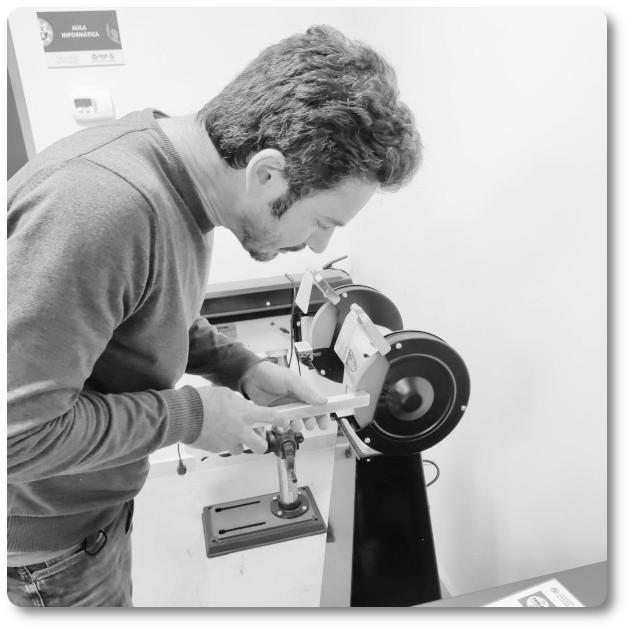
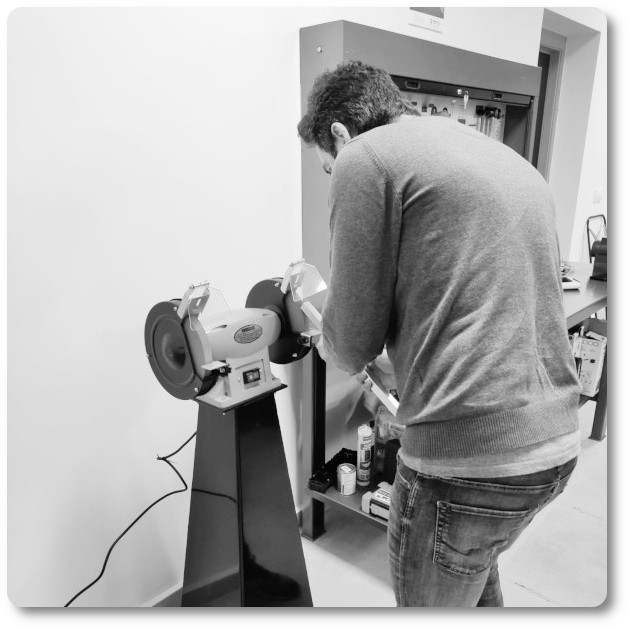
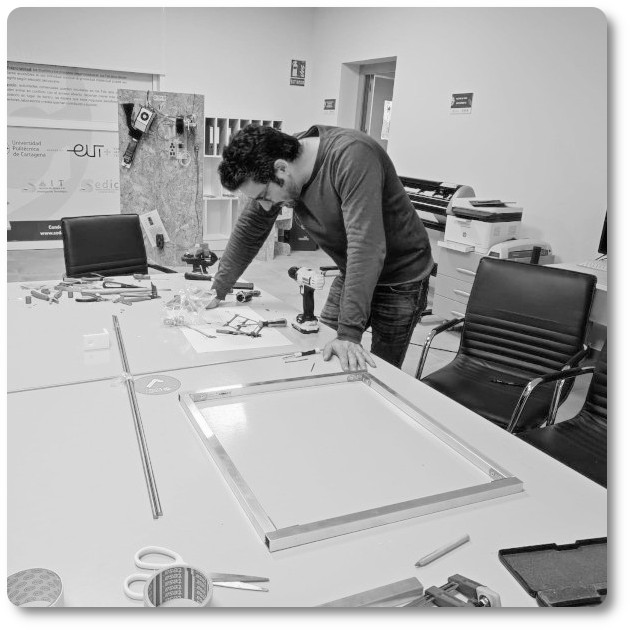
Second example: Another problem that he had to solve was how to insert photos that in themselves are not very important, but all together describe an interesting manufacturing process. To solve the problem I introduced a wheel that turns and shows me the process in a few seconds.
HTML, lenguaje
- <div class="content-all">
- <div class="content-carrousel">
- <figure><img src="images/week11/Montaje/1.jpeg" width="255"></figure>
- <figure><img src="images/week11/Montaje/2.jpeg" width="255"></figure>
- <figure><img src="images/week11/Montaje/3.jpeg" width="255"></figure>
- <figure><img src="images/week11/Montaje/4.jpeg" width="255"></figure>
- <figure><img src="images/week11/Montaje/5.jpeg" width="255"></figure>
- <figure><img src="images/week11/Montaje/6.jpeg" width="255"></figure>
- <figure><img src="images/week11/Montaje/7.jpeg" width="255"></figure>
- <figure><img src="images/week11/Montaje/8.jpeg" width="255"></figure>
- <figure><img src="images/week11/Montaje/9.jpeg" width="255"></figure>
- <figure><img src="images/week11/Montaje/10.jpeg" width="255"></figure>
- <figure><img src="images/week11/Montaje/11.jpeg" width="255"></figure>
- <figure><img src="images/week11/Montaje/12.jpeg" width="255"></figure>
css, lenguaje
- #content-all {
- display: flex;
- flex-direction: row;
- flex-wrap: wrap;
- }
- width: 210px;
- height: 230px;
- margin: auto;
- perspective: 1000px;
- position: relative;
- }>
- .content-carrousel{
- width: 84.05%;
- position: absolute;
- animation: rotar 25s infinite linear;
- transform-style: preserve-3d;
- }
- .content-carrousel figure{
- width: 100%;
- height: 100%;
- position: absolute;
- }
- .content-carrousel:hover{animation-play-state: paused;}
- .content-carrousel figure:nth-child(1){transform: rotateY(0deg) translateZ(300px);}
- .content-carrousel figure:nth-child(2){transform: rotateY(32.7272deg) translateZ(300px);}
- .content-carrousel figure:nth-child(3){transform: rotateY(65.4544deg) translateZ(300px);}
- .content-carrousel figure:nth-child(4){transform: rotateY(98.1816deg) translateZ(300px);}
- .content-carrousel figure:nth-child(5){transform: rotateY(130.9088deg) translateZ(300px);}
- .content-carrousel figure:nth-child(6){transform: rotateY(163.6360deg) translateZ(300px);}
- .content-carrousel figure:nth-child(7){transform: rotateY(196.3632deg) translateZ(300px);}
- .content-carrousel figure:nth-child(8){transform: rotateY(229.0904deg) translateZ(300px);}
- .content-carrousel figure:nth-child(9){transform: rotateY(261.8176deg) translateZ(300px);}
- .content-carrousel figure:nth-child(10){transform: rotateY(294.5448deg) translateZ(300px);}
- .content-carrousel figure:nth-child(11){transform: rotateY(327.2720deg) translateZ(300px);}
- .content-carrousel figure:nth-child(12){transform: rotateY(360deg) translateZ(300px);}
- .content-carrousel img{
- width: 100%;
- transition: all 300ms;
- }
- .content-carrousel img:hover{transform: scale(1.5);transition: all 300ms;}
- @keyframes rotar{
- form{
- transform: rotateY(0deg);{
- }to{transform: rotateY(360deg);
- }
- }
- .fraction {
- display: inline-block;
- vertical-align: middle;
- margin: 0 0.2em 0.4ex;
- }text-align: center;
- }
- .fraction > span {
- display: block;
- padding-top: 0.15em;
- }
- .fraction span.fdn {border-top: thin solid black;}
- .fraction span.bar {display: none;}

1.2.8 END STRUCTURE
In the final scheme, visual impact has been prioritized over documentation of little interest or that is within reach of everything. I also made an outline as the cover image of my first week.
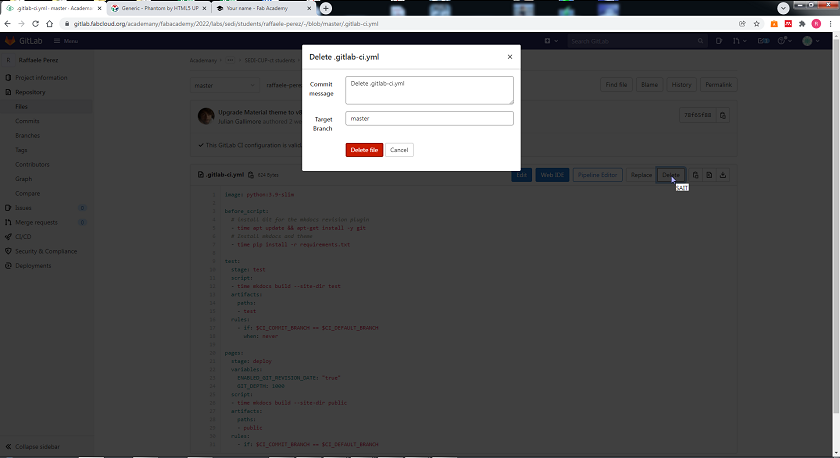
1.2.9 UPLOAD FILES TO THE WEB
In this section the objective is to upload the documentation made so that it is visible on the web. It consists of three linked parts, on the one hand the choice of software that will allow us to upload the page to the web, the study of how the software works and the explanation of the steps I have followed to carry it out.
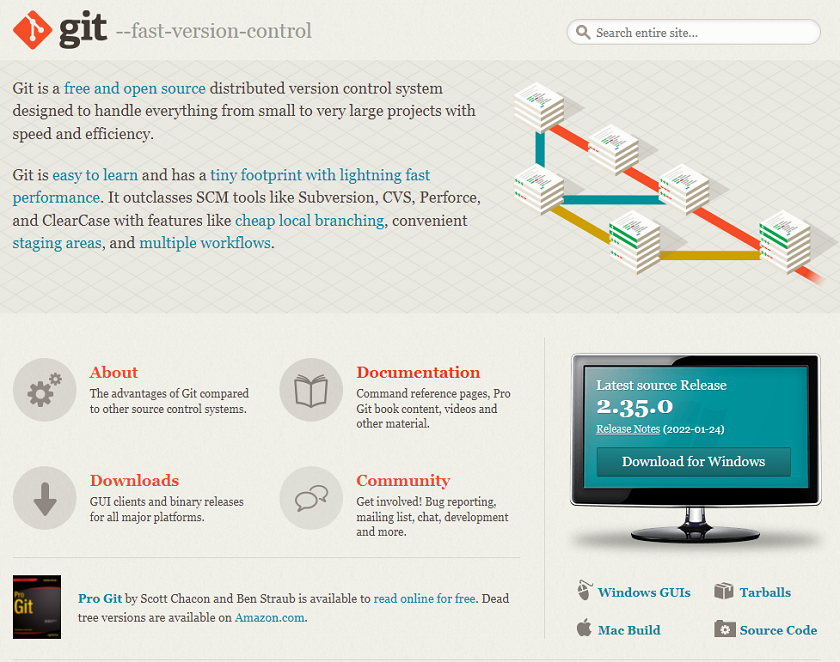
The chosen software is Gitlab. It is very useful for managing multitasking jobs, it allows knowing and recovering the changes that are being made in a document with thousands of lines where bad management could cause the loss of information.
Git is an open source version control system. It can be installed on different operating systems and can be downloaded from the following link https://git-scm.com/.
The operating concept of this software is really very simple, as soon as we open the console we have the opportunity to program Git so that it manages the files created through scripts.
The first step is to open the console using the git bash here command. After having opened the console we will move to the folder where the work is going to be done, this is possible through the same type of script that is used in the command console and we will achieve it with the “cd” command plus the address.
If we give the command "ls" it will give us a list of the documents in the folder. But it won't be until you type the "git init" command that a project will start.
The working concept is very simple, once we open the project we start working in the working directory to move to the staging area and definitely move it to the git directory like in the photo below.
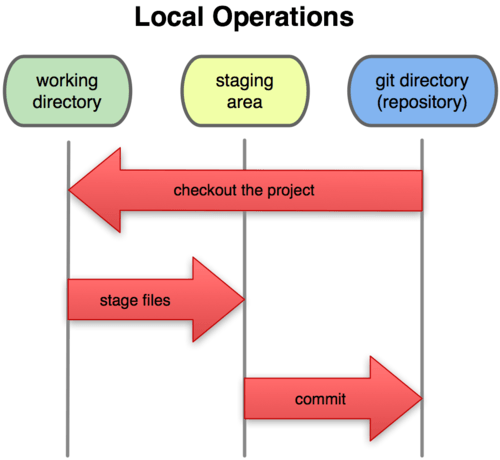
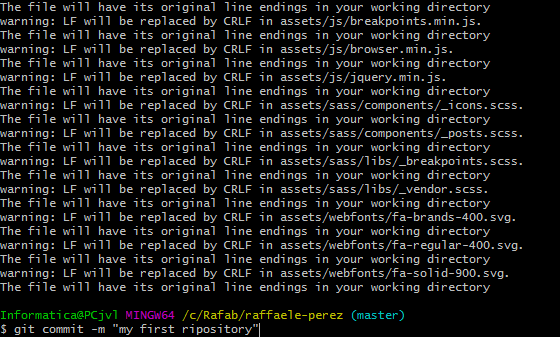
To add the files to my workspace I will write the command "git add + name file" and to upload it to the repository we will use the command "git commit -m + version name".
The next step is to upload it to the server to make it visible. To perform this operation we will have to use the "git push" command.
After having carried out these first operations we will have to enter the user and the email so that gitlab recognizes who has made the changes and returns the date, time and version of the changes. we will use the command "git config --global user.name" and "git config --global user.email you@yourdomain.example.com".
To upload the page to the repository I will have to perform the following operations:
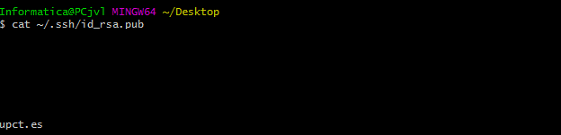
Generating a new SSH key

Checked for existing SSH keys

Adding your SSH key to the ssh-agent

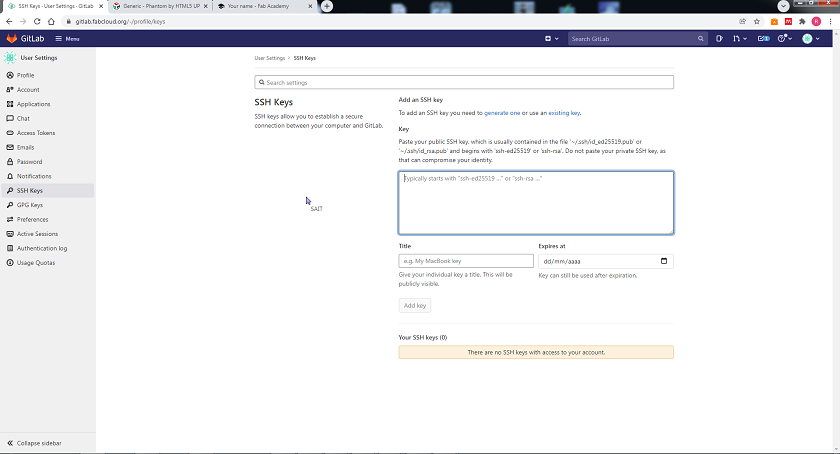
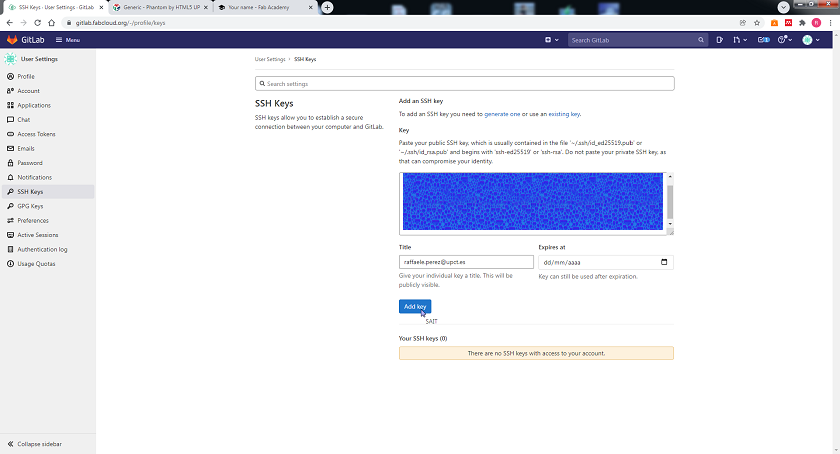
Adding a new SSH key to your GitLab account

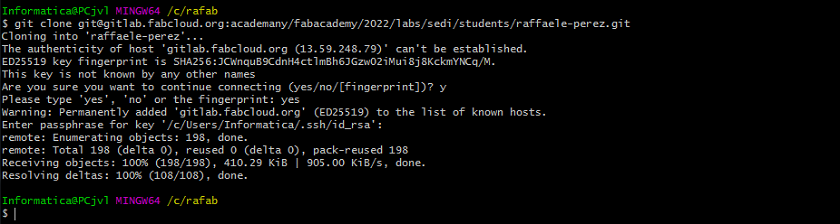
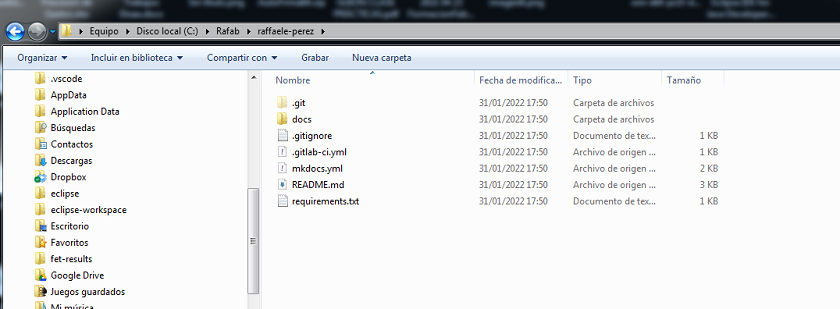
Clonning my repository GitLab. In the GIT BASH console, I first go to the location where I want to save the repository copy. And I use the command “cd”. I create a folder that I will call MyProjectFabAcademy. I use the command “mkdir”.
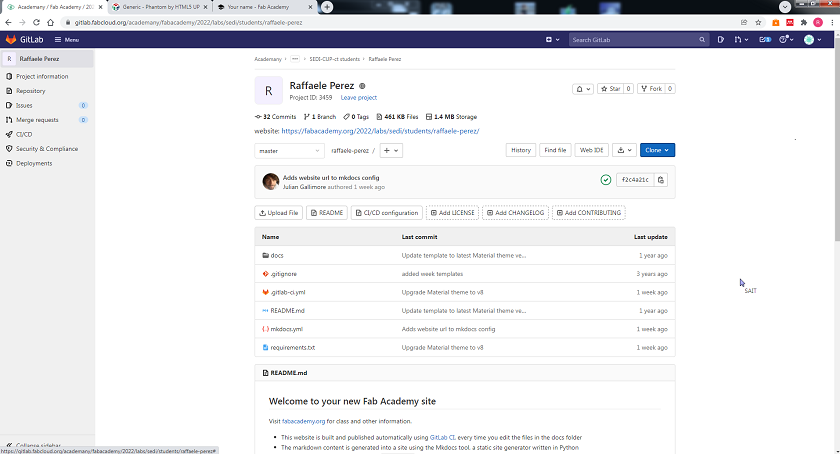
Now I will try to clone my repository to work locally. I go to my repository in GitLab. Click on clone with SSH and the address will be copied to the clipboard.
Create a folder in c: / where the local files of my web page will be. Open the folder location in GibBash

Open GitLab and clone with SSH
Copy it to GitBash. Right clip and paste

Enter personal password: xxxxxxx
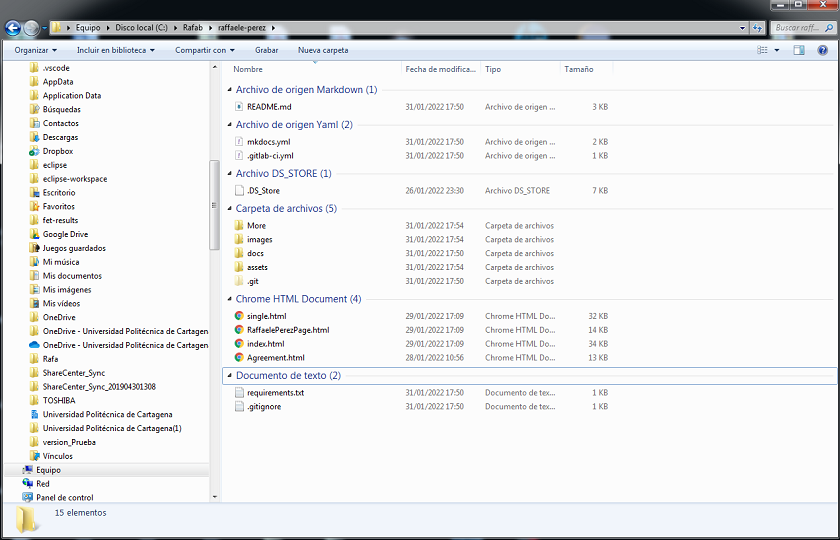
Verify that the web page files have been copied to the local folder
The following steps are to copy the html page from the local folder to the GitLab website. Check that the local folder is less than 10 mb
Write the command "git status" to see the modified files and after I write "git pull" and after my personal password

I Write the command "git add ." to load changes
Now you have to upload it to the repository (git commit –m "comment: add the web page in html")s
and finally I write "git push", to finish uploading the files to the web
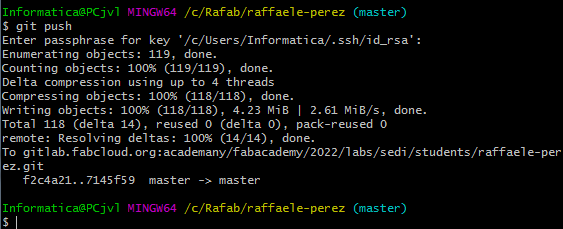
and finally I write "git push", to finish uploading the files to the web
1.2.10 ANY IDEAS ABOUT MY FINAL PROJECT.
In the final scheme, visual impact has been prioritized over documentation of little interest or that is within reach of everything. I also made an outline as the cover image of my first week.
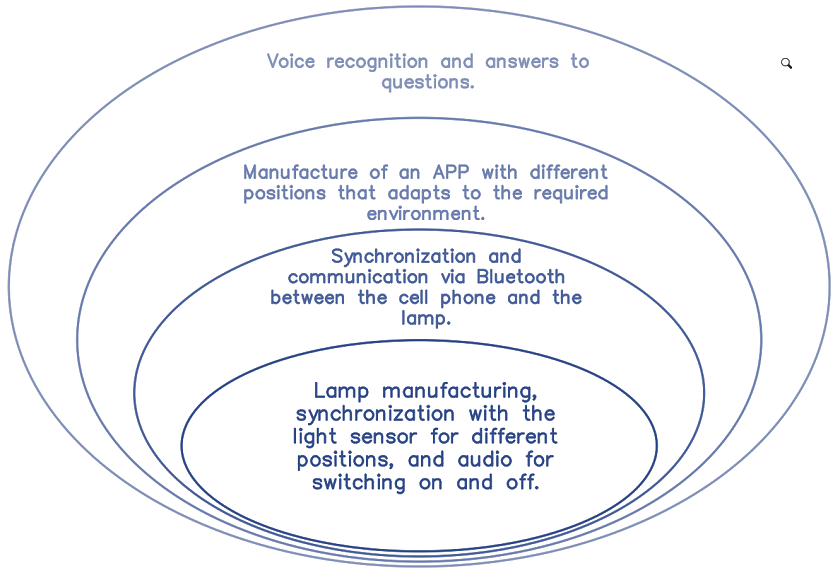
1.2.11 SPIRAL MODEL DIAGRAM
This scheme intends to structure the scope by stages. In the smallest spiral we will have the predetermined minimum objective and in the largest one the top of the scope of the project.
1.2.12 SOME MORE CONSIDERATIONS ABOUT MY PROJECT
Why did I choose this project?
I chose this project for several reasons. To begin with, my training as an architect has led me to study the great role that the Bauhaus plays in the training of architects from all over the world. Carrying out the Fabacademy is like walking those difficult paths full of learning by doing. Not only, I think that since ancient times, since the Romans, architects were trained in laboratories, today these laboratories are full of electronics and you have to learn to transmit.
How can fablabs contribute to architecture?/i>
The world of architecture needs fablabs, if we understand the fablab as a new way of educating architects. Lectures between educators and students do not stimulate the student. The way of teaching, solving in a group, helps both the students to find solutions and the educators to consider new solutions. Everyone contributes, everyone is part of an active process. The laboratories and the community workshop unite technological machinery for the project with just-in-time production, where the error is an essential part of the game.
What are the innovations that fablabs bring?
In addition to the infinite potential for industrial design and the just-in-time design and manufacture of innovative products, the prospects for the world of architecture and the international contract market are exciting, with large "turnkey" construction projects. For example, there are mini-FabLabs transported and installed in shipbuilding sites to ensure greater control over the project and the tailor-made production of the necessary elements, but also state-of-the-art industrial networks of FabLabs that can offer those who manage a contract project, unprecedented tools. to produce elements and products contained in the construction specifications in record time.
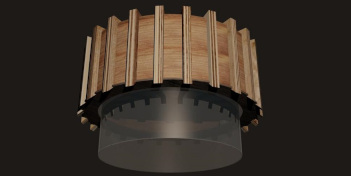
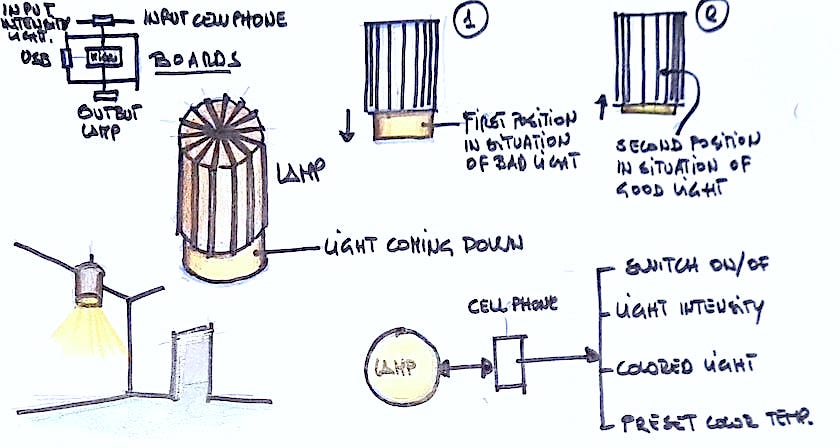
Why design lighting and how does it influence architecture?
- The type of human activity that will take place in the space.
- The amount of light required and how it influences its habitat.
- The color of light (color temperature) affects the environment and physical space.
What are the functions of lighting in architecture?
- Delimit spaces: light makes the space habitable and separates it visually.
- Can help resolve architectural barriers, limited users.
- Create different environments according to the needs of each user.
- Mark routes: the lighting can indicate the exit or route of some place, with the use of low-intensity courtesy light.
- Generate different light intensities for different situations, creating aesthetically pleasing sensations, which improves the comfort of its users.
What are my motivations?
I have always liked digital fabrication. In the architecture career we have a lack in that sense and I think it's time to adapt it. I love the laboratory, but the educational laboratory, where failure is evident and it is not the position of an educator. I am a laboratory technician and I love to help and assist educators in their tasks.
Is it for a business?
No, I'm not motivated by money, I'm motivated by solving problems. That yes, if it is necessary to look for the stability before. Do you plan to produce several of them later? I would like to take advantage of my knowledge so that future architects have more business opportunities and can defend themselves.


