10. Output Devices
This week is outputs. For my project, I need to have multiple NeoPixels each assigned a different location so I can control each one individually, or at least that’s how I understand it. Basically they’ll be laid out like a grid, with a row and column numbering system assigned to each. I’ll get to that eventually, but for now, I want to see what all I can do to program the NeoPixel.
But First: NeoPixels
AdaFruit UberGuide for NeoPixels
Since we’re in the researching mood, I spent some time reading over AdaFruit’s amazing guide to NeoPixels. I plan on using them in my final project and have added them into the boards I’ve designed so far. I don’t know much about them, but after reading through the guide, I feel more comfortable working with them, both in understanding how to solder and design, but also a bit more of the programming.
Though that part needs a lot more work.
Another guide I found is about sipping power, or how to calculate the amount of power needed for the NeoPixels as well as a lot of information about planning out your NeoPixels. The first thing he emphasizes is to use a FEW NeoPixels as possible. If you can get away with one, do it. If you absolutely need two, fine, but don’t immediately use three. Less is more in this case, and I’m going to try to stick to that in my own build.
The other interesting point was about pulse width modulation (PWM), or how the LEDs inside the pixel switch on and off rapidly, so fast that you can’t even see it. This process uses a lot of power, so one way to reduce the amount of power needed is to adjust the duty cycle, or reduce the brightness.
Lastly, he goes into gamma correction, specifically the way to use it in order to make a NeoPixel at 50% brightness appear brighter than it actually is. This means you can reduce the amount of power necessary without sacrificing the perceived brightness of the pixel. I’m going to have to experiment with that for sure. Given how many I need at minimum, anything I can do to reduce the power needed will be a huge help in the long run.
Starting With the Basics
My goal is to have the light change to the next color with each button press, but before I do that, I need to get the basics down. Earlier I had programmed the NeoPixel to blink, and it was quite exciting when it worked! Now I need to play around with some more settings, like changing colors, timing, and maybe getting into some more complicated things. Eventually, I’ll need to make a board with more NeoPixels so I can expand on the grid concept as well individual control.
Changing Colors
One of the key concepts of my project is using different colored lights to color code each day. I need to figure out which colors I want to use and how many. Garrett found a great color chart, so I’ll start there to find the colors I want.
So let’s start with how many colors. Let’s say six colors to start.
- Red
- Blue
- Purple
- Orange
- Green
- Burgundy
I know, the last one is a bit in left field, but I don’t think yellow will show up very well (but there’s no reason not to try) and I wanted something that’s unusual. Plus I really love the color in general, so I’m curious how the NeoPixel will handle it.
// https://github.com/adafruit/Adafruit_NeoPixel/blob/master/examples/strandtest/strandtest.ino
// and
// https://create.arduino.cc/projecthub/robocircuits/neopixel-tutorial-1ccfb9
// NeoPixel Ring simple sketch (c) 2013 Shae Erisson
// Released under the GPLv3 license to match the rest of the
// Adafruit NeoPixel library

#include <tinyNeoPixel.h>
// NeoPixel Ring simple sketch (c) 2013 Shae Erisson
// Released under the GPLv3 license to match the rest of the
// Adafruit NeoPixel library

// Which pin on the Arduino is connected to the NeoPixels?
#define PIN        4 // Cori's ATTiny NeoPixel Board

// How many NeoPixels are attached to the Arduino?
#define NUMPIXELS 1 // Only 1 on board

// When setting up the NeoPixel library, we tell it how many pixels,
// and which pin to use to send signals. Note that for older NeoPixel
// strips you might need to change the third parameter -- see the
// strandtest example for more information on possible values.
tinyNeoPixel pixels(NUMPIXELS, PIN, NEO_GRB + NEO_KHZ800);

#define DELAYVAL 500 // Time (in milliseconds) to pause between pixels

void setup() {

  pixels.begin(); // INITIALIZE NeoPixel strip object (REQUIRED)
  pixels.setBrightness(85); // about 1/3 brightness
}

void loop() {
  pixels.clear(); // Set all pixel colors to 'off'
  delay(DELAYVAL);
  // pixels.Color() takes RGB values, from 0,0,0 up to 255,255,255
  // Here we're using a moderately bright green color:
  pixels.setPixelColor(0, pixels.Color(0, 150, 0));
  pixels.show();   // Send the updated pixel colors to the hardware.
  delay(DELAYVAL); // Pause before next pass through loop
  pixels.clear();
  delay(DELAYVAL);
  pixels.setPixelColor(0, pixels.Color(150, 0, 0));  //red
  pixels.show();
  delay(DELAYVAL);
  pixels.clear();
  delay(DELAYVAL);
  pixels.setPixelColor(0, pixels.Color(0, 0, 150));  //blue
  pixels.show();
  delay(DELAYVAL);


}
This is my original code, for reference.
I already have red, blue, and green, so I’ll just change the values for each to the other three colors (replacing burgundy with yellow for now) and try it again.
// https://github.com/adafruit/Adafruit_NeoPixel/blob/master/examples/strandtest/strandtest.ino
// and
// https://create.arduino.cc/projecthub/robocircuits/neopixel-tutorial-1ccfb9
// NeoPixel Ring simple sketch (c) 2013 Shae Erisson
// Released under the GPLv3 license to match the rest of the
// Adafruit NeoPixel library

#include <tinyNeoPixel.h>
// NeoPixel Ring simple sketch (c) 2013 Shae Erisson
// Released under the GPLv3 license to match the rest of the
// Adafruit NeoPixel library

// Which pin on the Arduino is connected to the NeoPixels?
#define PIN        4 // Cori's ATTiny NeoPixel Board

// How many NeoPixels are attached to the Arduino?
#define NUMPIXELS 1 // Only 1 on board

// When setting up the NeoPixel library, we tell it how many pixels,
// and which pin to use to send signals. Note that for older NeoPixel
// strips you might need to change the third parameter -- see the
// strandtest example for more information on possible values.
tinyNeoPixel pixels(NUMPIXELS, PIN, NEO_GRB + NEO_KHZ800);

#define DELAYVAL 500 // Time (in milliseconds) to pause between pixels

void setup() {

  pixels.begin(); // INITIALIZE NeoPixel strip object (REQUIRED)
  pixels.setBrightness(85); // about 1/3 brightness
}

void loop() {
  pixels.clear(); // Set all pixel colors to 'off'
  delay(DELAYVAL);
  // pixels.Color() takes RGB values, from 0,0,0 up to 255,255,255
  // Here we're using a moderately bright green color:
  pixels.setPixelColor(0, pixels.Color(255, 255, 0));  //yellow
  pixels.show();   // Send the updated pixel colors to the hardware.
  delay(DELAYVAL); // Pause before next pass through loop
  pixels.clear();
  delay(DELAYVAL);
  pixels.setPixelColor(0, pixels.Color(255, 128, 0));  //orange
  pixels.show();
  delay(DELAYVAL);
  pixels.clear();
  delay(DELAYVAL);
  pixels.setPixelColor(0, pixels.Color(153, 153, 255));  // light purple
  pixels.show();
  delay(DELAYVAL);

}
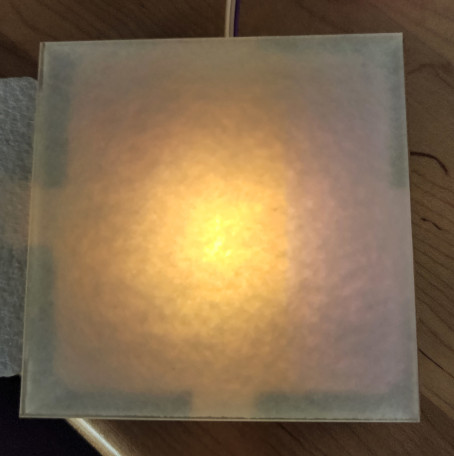
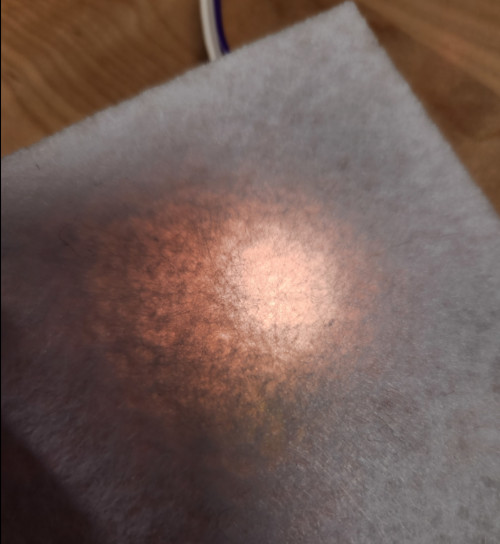
It’s hard to see in the picture, but the yellow actually looked pretty good. I was surprised. Orange also worked, but I had green mixed in as well.
I changed the values for purple to a slightly different shade, and it worked! It’s a very pretty lighter purple, one I may just decide to use. I had a lot of fun experimenting with the different colors, and I also found something interesting.
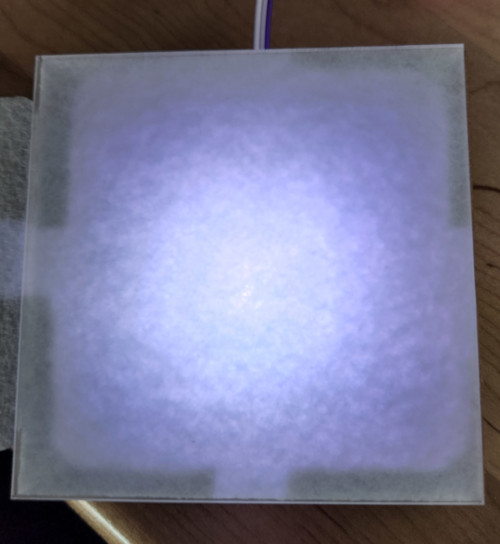
One of the key parts of my calendar is to have all the days of the month lit with a white light. I thought I would have to use the NeoPixels with the additional white light built in, which are different enough from the ones I’ve been using that I would have to learn a completely new skillset, one I don’t really have time for. Alternatively, I thought about doing a light that was not quite white so I wouldn’t have to change components, but it turns out, this NeoPixel does white just fine!
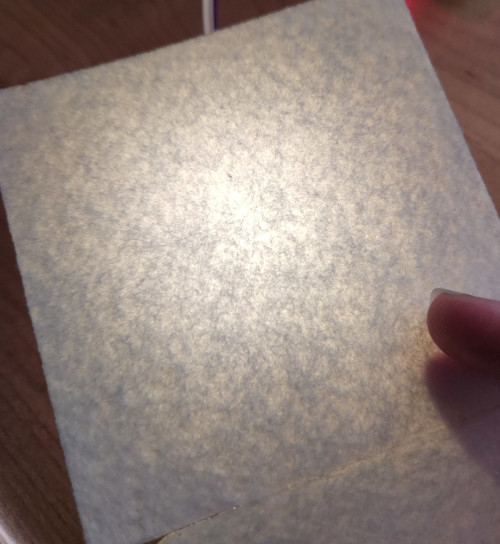
It looks so good! I’m really excited about this.
Color Results
As stated, these are the winners from my color experiments, the ones I’ll use in my final project.
| Number | Color | Red | Green | Blue |
|---|---|---|---|---|
| 1 | Light purple | 153 | 153 | 255 |
| 2 | Green | 0 | 102 | 0 |
| 3 | Red | 102 | 0 | 0 |
| 4 | Violet | 102 | 0 | 51 |
| 5 | Teal | 0 | 153 | 153 |
| 6 | Yellow-orange | 204 | 102 | 0 |
| 7 | White | 255 | 255 | 255 |
Moar Colors!
I think I found the colors I want to use, at least for now, so now I want to cycle through all of them at the same time so I can see them “side by side”.
// https://github.com/adafruit/Adafruit_NeoPixel/blob/master/examples/strandtest/strandtest.ino
// and
// https://create.arduino.cc/projecthub/robocircuits/neopixel-tutorial-1ccfb9
// NeoPixel Ring simple sketch (c) 2013 Shae Erisson
// Released under the GPLv3 license to match the rest of the
// Adafruit NeoPixel library

#include <tinyNeoPixel.h>
// NeoPixel Ring simple sketch (c) 2013 Shae Erisson
// Released under the GPLv3 license to match the rest of the
// Adafruit NeoPixel library

// Which pin on the Arduino is connected to the NeoPixels?
#define PIN        4 // Cori's ATTiny NeoPixel Board

// How many NeoPixels are attached to the Arduino?
#define NUMPIXELS 1 // Only 1 on board

// When setting up the NeoPixel library, we tell it how many pixels,
// and which pin to use to send signals. Note that for older NeoPixel
// strips you might need to change the third parameter -- see the
// strandtest example for more information on possible values.
tinyNeoPixel pixels(NUMPIXELS, PIN, NEO_GRB + NEO_KHZ800);

#define DELAYVAL 500 // Time (in milliseconds) to pause between pixels

void setup() {

  pixels.begin(); // INITIALIZE NeoPixel strip object (REQUIRED)
  pixels.setBrightness(127); // about 1/3 brightness
}

void loop() {
  pixels.clear(); // Set all pixel colors to 'off', Color 1 Start
  delay(DELAYVAL);
  // pixels.Color() takes RGB values, from 0,0,0 up to 255,255,255
  // Here we're using a moderately bright green color:
  pixels.setPixelColor(0, pixels.Color(153, 153, 255));  //Light purple
  pixels.show();   // Send the updated pixel colors to the hardware.
  delay(DELAYVAL); // Pause before next pass through loop
  pixels.clear(); // Color 2 Start
  delay(DELAYVAL);
  pixels.setPixelColor(0, pixels.Color(0, 102, 0));  //Green
  pixels.show();
  delay(DELAYVAL);
  pixels.clear(); // Color 3 Start
  delay(DELAYVAL);
  pixels.setPixelColor(0, pixels.Color(102, 0, 0));  //Red
  pixels.show();
  delay(DELAYVAL);
  pixels.clear(); // Color 4 Start
  delay(DELAYVAL);
  pixels.setPixelColor(0, pixels.Color(102, 0, 51));  //Violet
  pixels.show();
  delay(DELAYVAL);
  pixels.clear(); // Color 5 Start
  delay(DELAYVAL);
  pixels.setPixelColor(0, pixels.Color(0, 153, 153));  //Teal
  pixels.show();
  delay(DELAYVAL);
  pixels.clear(); // Color 6 Start
  delay(DELAYVAL);
  pixels.setPixelColor(0, pixels.Color(204, 102, 0));  //Yellow-orange
  pixels.show();
  delay(DELAYVAL);
  pixels.clear(); // Color 7 Start
  delay(DELAYVAL);
  pixels.setPixelColor(0, pixels.Color(255, 255, 255));  //White
  pixels.show();
  delay(DELAYVAL);

}
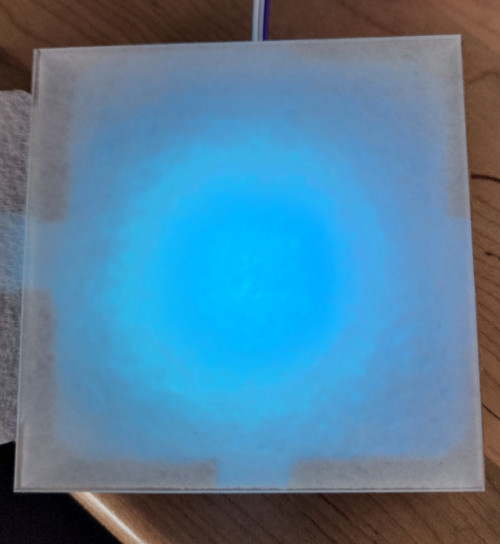
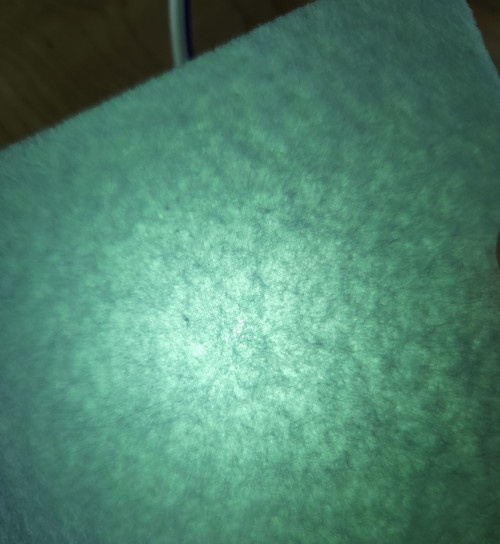
They all look great! I’m really happy with how that turned out, and how they contrast against each other.
What’s Next?
The next step is to make multiple boards that I can string together and try them out physically side by side. Since I have a board that works, I’ll start with that one and then refine it to it’s final shape and size for the pockets. I also need to get the button option working, but that’s a project for another week.
But overall, success!!!!
Files
I have two files in the zipped folder. One is the original program at the beginning, and the second is the final version as of this writing.
Group Project
The group project can be found here.
I wasn’t able to participate in this week’s group project due to work. For two weeks, we held a joint Apprenticeship Orientation with another company, where we had two groups of canidates complete a four day orientation and project. That meant my work schedule had to shift to midday to evenings, which is when I would usually go to the lab.