Week 9: Molding and Casting¶
This week I learned to use the manufacturing tab in Fusion to design toolpaths for CNC and milling. I used this to create a custom mold which I would later cast into using the materials I expirimented with during the Group Work.
Assignment #1: Datasheet Analysis¶
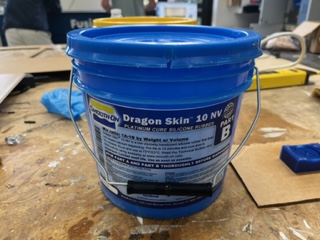
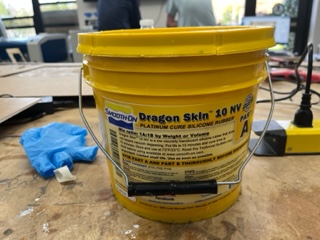
Since I planned to use Dragon Skin, I looked into finding it’s datasheetm found here. It backed up the information I had gathered from using it in group work, but it also showed there were multiple types of dragon skin. Different types had different Pot lifes, and the one we had convienently was one of the longest pot-life versions of the dragon skin. Additionally, there are thicker and thinner versions of dragon skin for different applications which I found interestng. An additional note is that a lot of the important datasheet information can also be found on the actual container of dragonskin that we have in our lab.
Assignment #2: Design a Mold around your Lab’s Requirments, Mill It, and Cast in It¶
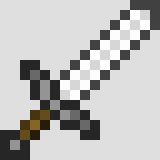
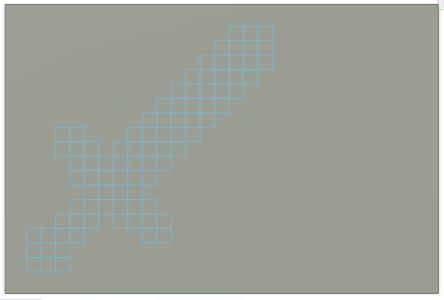
I began by choosing my design idea. I wanted to do a Minecraft iron sword out of flexible plastic.
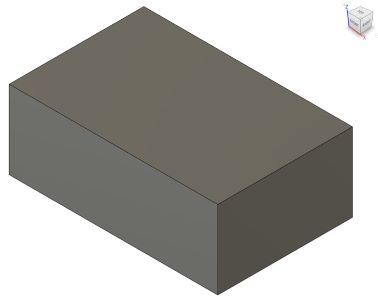
I first created a 4 x 6 x .722 sized cube in inches to model my sword atop of.
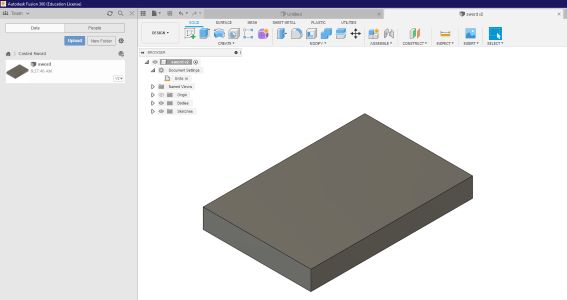
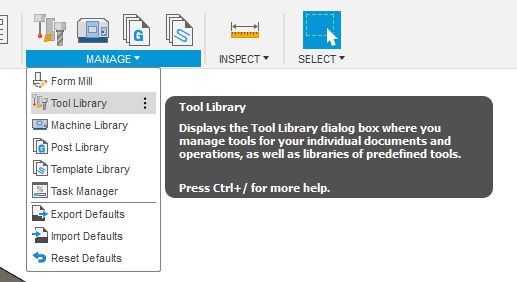
The thickness was also set as a parameter. I continued to follow the workflow provided by our lab on setting up the CAM and Machine settings in Fusion. I started by downloading the bantom milling library for fusion here. I opened the dropdown that says “Design” in fusion and clicked manufacturing, then went to manage and tool libraries:
I extracted the dowloaded zip. I opened the tool library, clicked on local, and hit import library at the top.
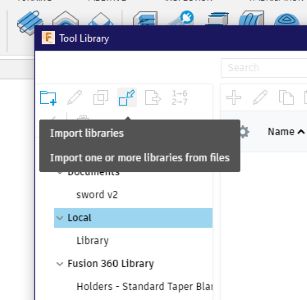
Since I am on windows, I added the .hsmlib file into the library list, Mac would use the other.
Now, I had the library added.

After following the documentation on how to set up the CAM, I drew my sketch for my sword.
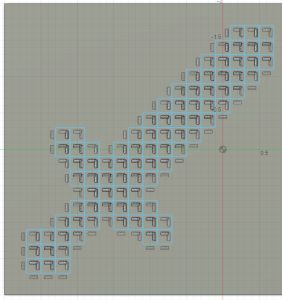
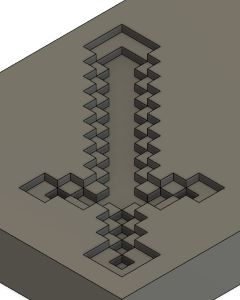
I then extruded the correct parts to make it 3D:
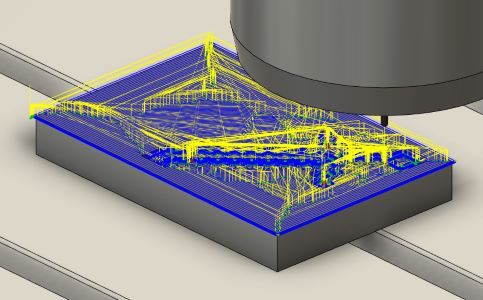
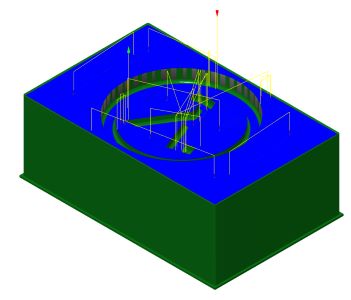
And now needed to go back into the manufacturing tab and followed the steps found here to setup my toolpaths and then I opened my simulation and found it workded:
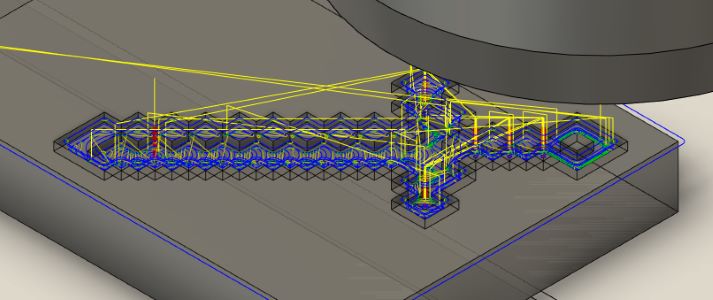
I followed a few more settings from the documentation to get this:
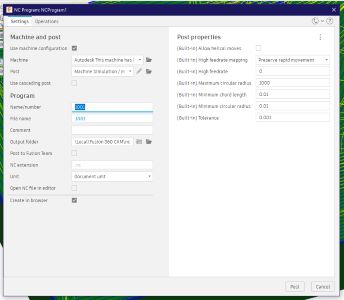
And finally opened the post processing for the toolpath menu:
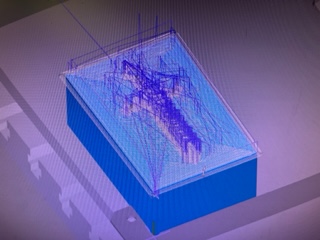
I opened it in the milling software on the milling computer and the scale was entirely off, I realized I had been blindly following the documentation and the size of the block I was milling was completely off. I scaled everything correctly and made sure the depth scalled correctly as well. I then re-ran the toolpath and exported that gcode. I was still having issues however with the similated cut in Fusion, so I changed the bit and added a roughing then finishing path.

Huge Failure¶
After hours of trial and error with the camming system on Fusion and time-checking the cuts in the Bantim program, I realized the cut would take hours, around 2 or 3 because of the detail and size. Knowing this even though I really wanted to do the sword, I decided to do something simpler so I could get it done on time.
Big changes¶
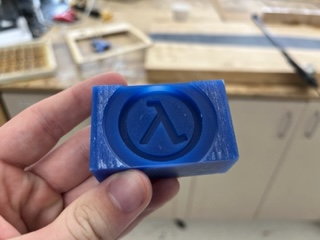
I decided instead to make a lambda mold that I could cast lambdas into, inspired by one of my favorite game series Half-Life.

I reverted my Fusion timeline back to just the block.
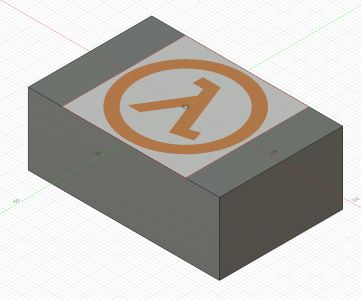
I then imported the Half-Life 2 Lambda logo from my computer as a canvas so I could draw my shape which I did:
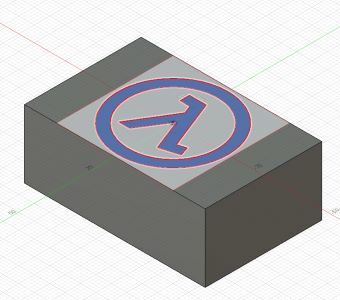
And extruded my shape to the correct height:
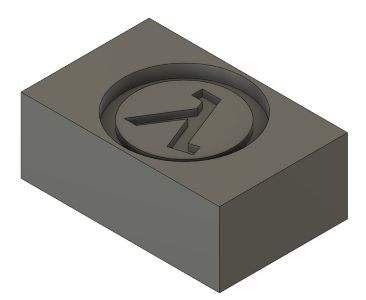

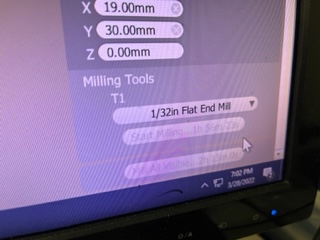
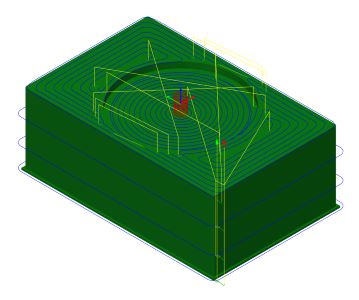
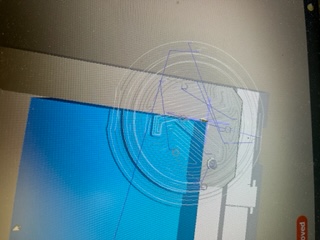
I then added an adaptive toolpath using the 1/8 flat endmill bit and then a flat toolpath using the 1/16 ball end bit.
This above is the 1/8 flat endmill bit for the roughing pass.
This above is the 1/16 ball end bit for the finishing pass.
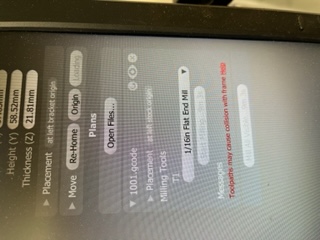
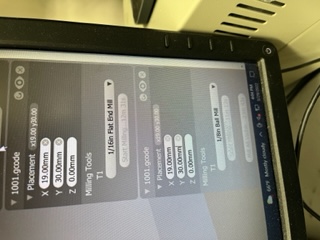
I exported these paths and brought it to the bantom computer, only to realize my cut would again take around 2 hours. I went back to my design and made some changes which brought this down a TON. I changed the finishing bit to a 1/16 flat end mill instead of a ball, and then I also used the “horizontal” toolpath instead of the “flat” toolpath option and this let me select specific faces/edges to finish over instead of the entire thing. I then sent this to the milling computer to check the time. It was around 20 or so minutes. I was having one final error, that the roughing toolpass was cutting the oustide of my material for some reason and was creating errors in the bantom program. I went back and did some reasearch and found a fix:
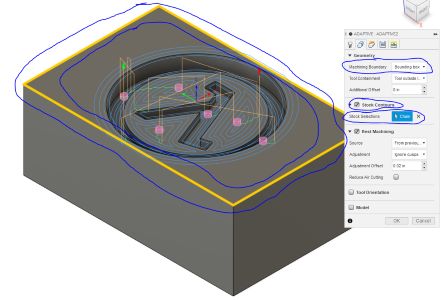
Toggle “Machine Boundary” to bounding box and setting “Stock Contours” on and selecting the outside of my block. I watched through the entire simulation of the cut and it was correct so I re-exported my toolpaths.
More Problems¶
After more work I realized that I needed a ball bit to actually do my finishing pass… I can’t belive I missed that part. To fix this idiotic mistake, I changed my finishing cut to a 1/8 ball bit and I also scaled the lambda some more to make sure the bits would be able to make passes in the tight areas. After ALL of this, I sent it to the milling machine, and set everything up.
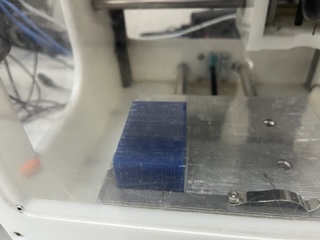
And I began the milling.
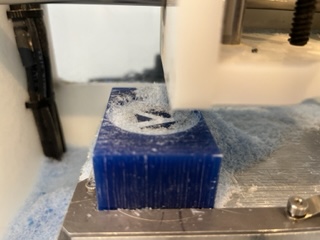
And it was done sucsesfully.
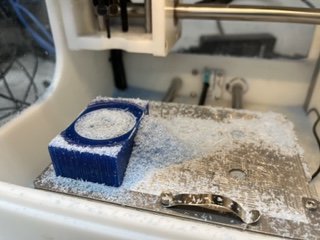
Then I vaccumed.
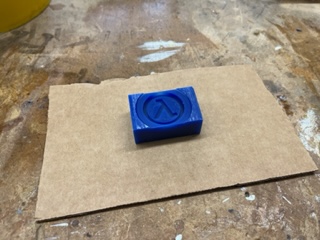
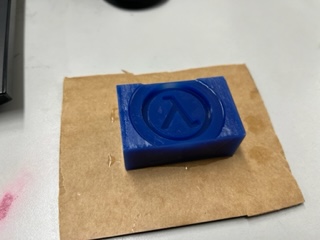
And then I layed it out on a piece of cardboard to prepare to cast the material into it.
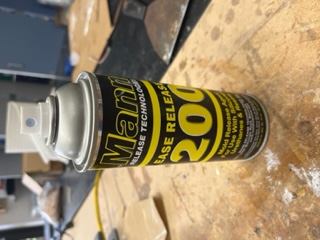
I used the no-stick spray and sprayed it into the mold.
Then I grabbed the casting material I was going to use. I planned on using the Dragon Skin brand casting because of it’s flexible transparent qualities which we found doing our group work at the begining of the week.
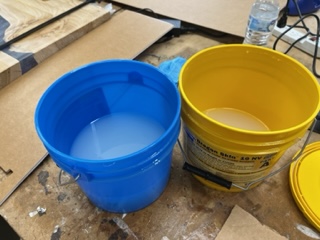

Then I poured the cast into the mold.
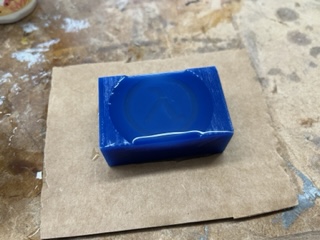
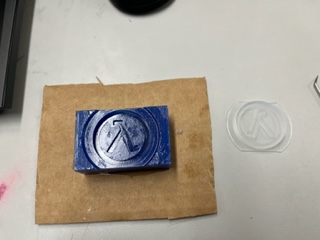
After around 2 hours, my cast had cured. It was noticably more transparent and was solid to the touch.
I popped it out and did some post processing work for the final result:
I then went about making some small changed such as cutting off the excess around the outside with a blade:
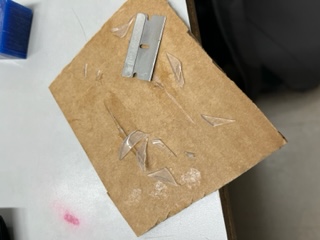
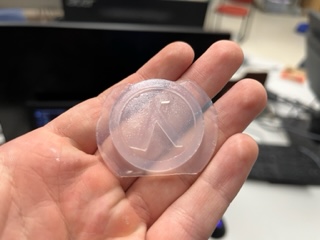
And finally got this:

One thing to watch out for as you’ll notice is if your doing a one part mold the logo/design you intended will be mirrored as my lambda is!
Dowloads¶
Assignment 2: Group Work (Review the Safety Data Sheets for Each of your Molding and Casting Materials,then Make and Compare Test Casts with Each of Them) §¶
All group work is documented on your group site, found here.
For this week, I helped layout the molds, labled the molds, and I mixed and casted 3 of the materials into their designated molds.
Week Summary¶
Overall I went from knowing nothing about molding and casting to knowing tons. I learned how to cast, how to make molds, and the different properties of different materials that we have in our lab. Overerall, a very fun week!