Week 12: Input Devices
This week I added onto my output week board the only 2 input sensors I would need for my final, those being a soil moisture sensor as well as a water level sensor.
Assignment #1: Measure Something: Add a Sensor to a Microcontroller Board that You have Designed and Read it
Goals
My goal in the end was to have almost my entire final project’s electronics done. I wanted to incorporate my Output Week board and simply modify it so that my final project’s electronics would practically be done. All I needed was to add 2 inputs to my ATTiny that led to headers on my board. I was going to add a water level sensor and also a soil moisture sensor, both of which were simple analogs who’s code was also simple. I began by finding online Arduino tutorials for my sensors, found here for the water level and here for the soil moisture.
Testing on an Arduino
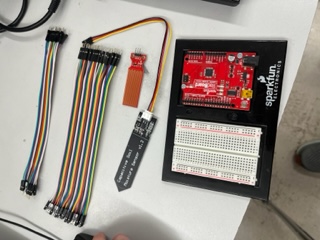
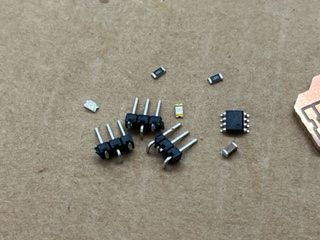
I started by testing both sensors using an arduino and breadboard. I first grabbed the parts I’d need:
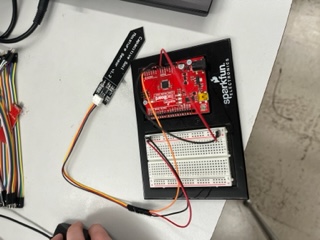
I first wired up the soil moisture sensor.
I used the example code from the tutorial linked above with sucsess:
I knew for my KiCad desing, I’d simply need a three pin header, one for VCC, one for Ground, and one for ANALOG input to the tiny.
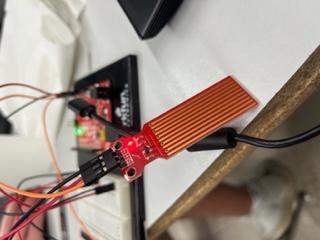
Next I went to test the water level sensor. I then wired it.
And once more used the example code from the tutorial linked above with sucsess:
Here is the simplified code for both sensors:
Soil Moisture
const int waterLevelPin = 1;
const int soilMoisturePin = 2;
const int pumpRelayActivation = 4;
const int hearbeatLight = 3;

int counter = 0;
float currentSoilMoisture = 0;
float currentWaterLevel = 0;

void setup() {
  pinMode(pumpRelayActivation, OUTPUT);
  pinMode(hearbeatLight, OUTPUT);
}

void loop() {
  counter += 1;
  delay(125);

  // Hearbeat Toggle
  if (counter % 2 == 0){
    digitalWrite(hearbeatLight, HIGH);
  }
  else{
    digitalWrite(hearbeatLight, LOW);
  }

  // Relay Check
  if (counter % 40 == 0){
    digitalWrite(pumpRelayActivation, HIGH);
  }
  else if (counter % 70 == 0){
    digitalWrite(pumpRelayActivation, LOW);
  }

  //Soil Moisture Data Calculation
  for (int i = 0; i <= 100; i++)
  {
    currentSoilMoisture = currentSoilMoisture + analogRead(soilMoisturePin);
    delay(1);
  }

  currentSoilMoisture = currentSoilMoisture/100.0;

  if (currentSoilMoisture > 400){
    //Soil is moist
  }

  //Water Level Data
  int currentWaterLevel = analogRead(waterLevelPin);

  if (currentWaterLevel > 10){
    //Tank full
  }

  // Counter Reset
  if (counter >= 71){
    counter = 0;
  }
}
Designing in KiCad
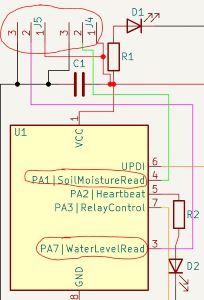
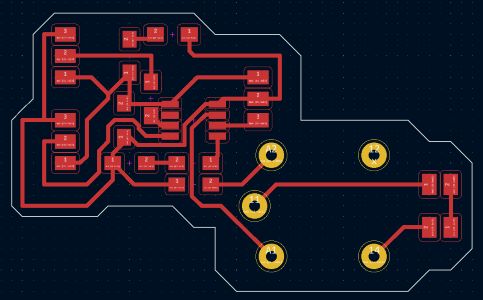
Then, I opened my output week kicad project, and edited the attiny symbol to include PA1 for Soil Moisture and PA7 for Water Level, both of which I wired to 3 pin headers as seen below:
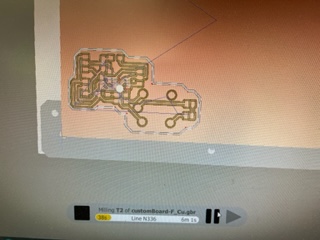
Then I redesigned my PCB with the new edits:
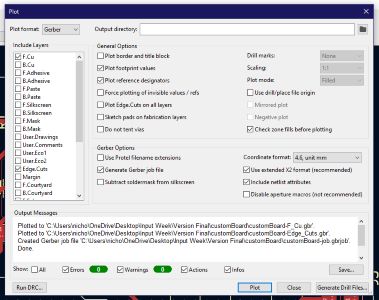
Then I plotted the gerbers to their trace files to bring to my milling machine.
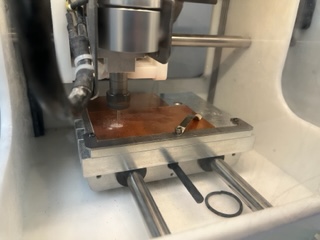
Milling the Board
I then grabbed a one-sided PCB and nitto taped it to the machine bed for my milling machine.

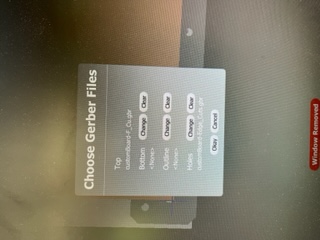
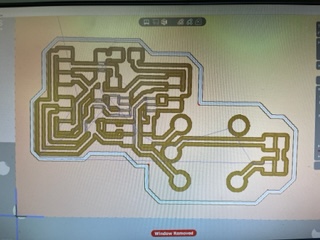
Then I imported my gerbers.
I set up the tools and changed the bit and from there I ran the mill:
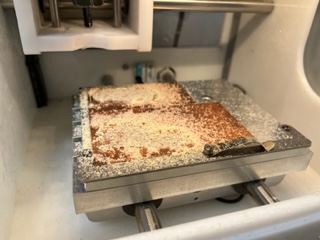
And lastly cleaned it up.
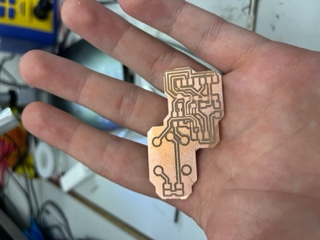
Soldering
I then grabbed my parts. I grabbed these and began soldering.
The final result turned out really well. Then I programmed the hearbeat LED from output week to blink using the code above with sucsess:
With this, I plugged in my sensors starting with the soil moisture and with great sucsess:
I then attempted to use the water level sensor but was having trouble. After a bit of troubleshooting, I realized I didn’t bridge the 0 resistor link from the sensor’s analog out to the tiny’s analog in. After doing so, I got it to work:
And overall had both sensors working for the week.
Dowloads
Assignment 2: Group Work (Measure the Power Consumption of an Output Device)
All group work is documented on your group site, found here.
For this week, I contributed by providing my analog sensor, wiring it to the osiliscope with help from Aaron’s tutorial he found, and doing the demo seen in the video.
Week Summary
Overall this week brought me many big developments in my final project as practically all of the electronics are now done. I also expanded my knowledge of sensors. I really enjoyed this week.