Week 15: Wildcard Week
This week I embroidered a logo for my final project.
Assignment #1: Design and Produce Something with a Digital Fabrication Process (incorporating computer-aided design and manufacturing) Not Covered in Another Assignment
For Wildcard Week I wanted to embroider a logo for my final project. I began by watching a tutorial that was shared to me by another fab student in our lab Nidhie Dhiman:
Some important notes from the video:
Something to note: these are my own personal notes and if you want to follow them I highly recommend reading them as you watch the video to see visually how the notes align with the video, or else the notes make no sense.
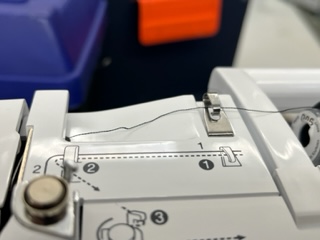
- Set wheel on top of machine to 4
- Press button to pop off plastic piece in base
- Put in bobend in machine and pull thread behind hook
- Bring it through the little indented path that is in the machine
- Place embroidery thread spool into top holder and pull through silver holder and around wheel then bring down
- Go around illustrated point on machine
- Make thread go around and inside hook in machine
- Then bring thread down and put inside small silver part on head
- Then bring up and around white plastic piece and lower presser foot, grab leaver on side of machine to bring piece down, then let go
- Machine is not threaded, put scisors through string loop and pull thread through
- Cut string but leave a lot of length still
- Machine is now ready to embroider, bring presser foot up
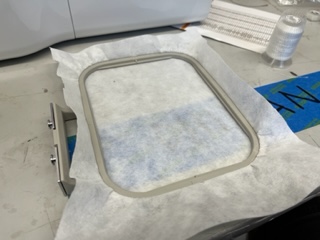
Now for the hoop:
- Loosen hoop by unscrewing side screw
- Take off middle panel
- Put two pieces of tareway stabalizer so that it covers entire hoop
- Arrow goes up, put inner hoop atop main and press in.
- Tighten hoop (goal is to have lots of tension but not many lines)
- Lay hoop flat on machine and slide under
- Connect hoop to arm:
- Attach two pieces by pressing together and pushing down
To begin embroidering:
- Press USB stick into machine
- Press USB icon in UI
- Select design
- Press “edit end”
- Test all design areas to know how large design is and if it fits properly
- Put presser foot down and press green button to begin embroidering
The machine will stop when it is time to switch color where we simply swap out spool for new color.
To change spool:
- Lift presser foot
- Remove exess thread via tweasers
- Cut thread atop machine from spool
- Grab piece of exess thread from cut and pull out
- follow same steps as before to insert spool
Then hit green button again.
Creating my Design
I began by installing Ink Stitch to create my design. As it turns out, InkStitch is an extension of Inkscape, a program I already knew and had installed.
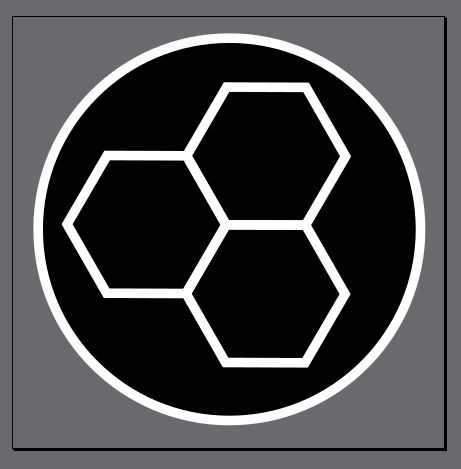
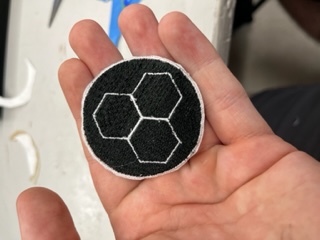
I began working on my design. I wanted to create three hexagons interconected on a black background with a white circular background. I first added the circle:
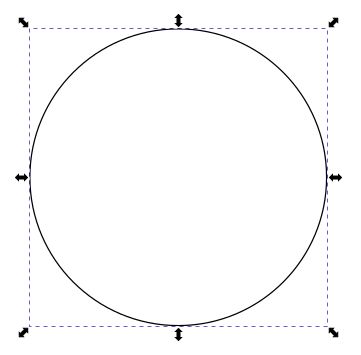
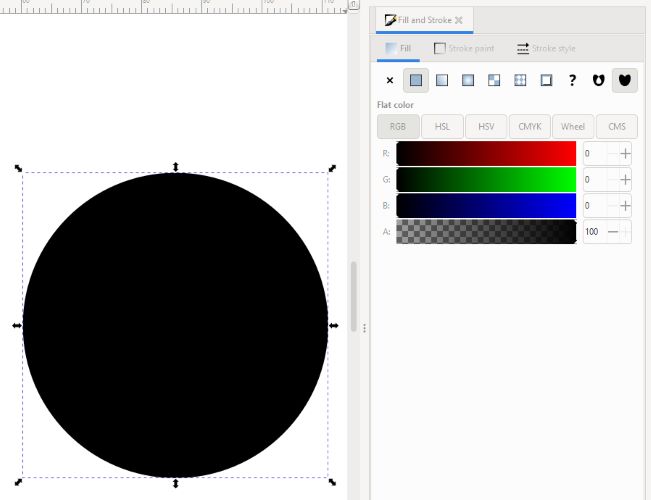
I then gave it a black fill:
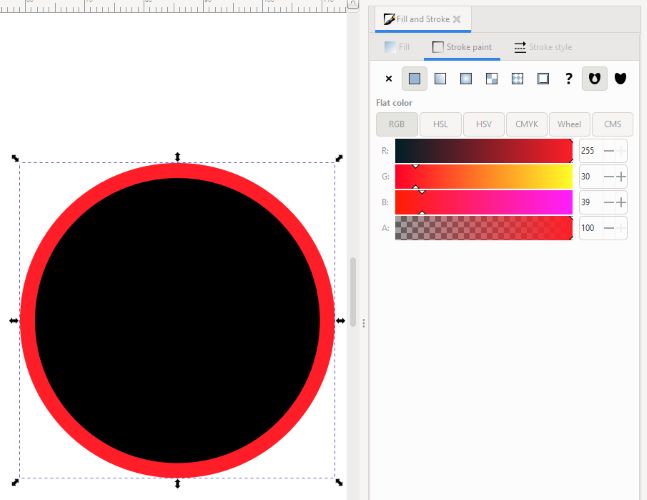
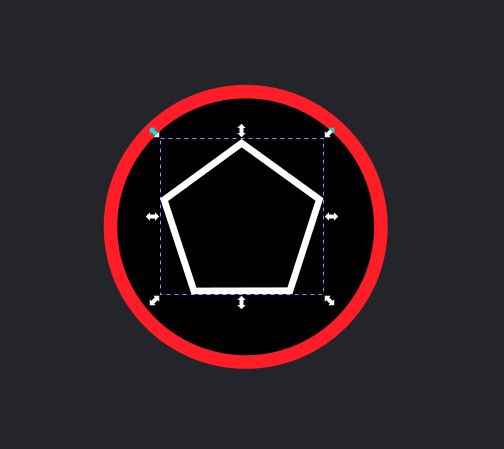
And also a white outline. In the image below, I made this outline red so that you can see the change:
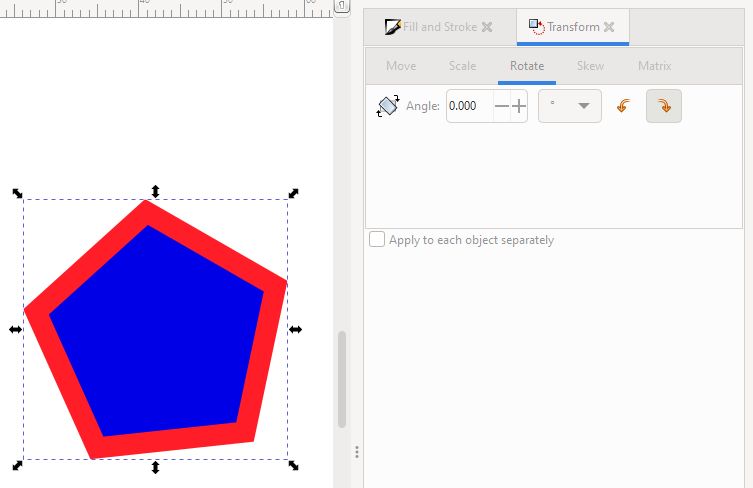
Lucky for me, Inkscape had a built in polygon funcion to draw the shape, so it was super easy to add a hexagon:

I found that when drawing the objects, they were slightly rotated/off. To fix this, I went to Object –> Transform and was able to edit the exact values of rotation scale, position, etc.:
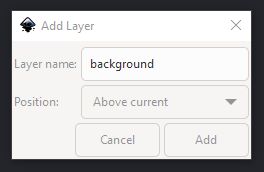
I also added a new layer and a dark gray backdrop so I could see my work easier:
After a little bit of designing, I got this:

I lastly set the page background color to gray, removed the gray fill in the hexagons, and re-scaled the page size.
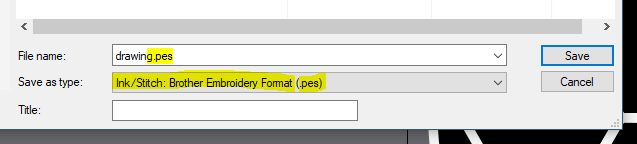
I then saved my design as a .pes (For the machine I am using):
Embroidering my Design
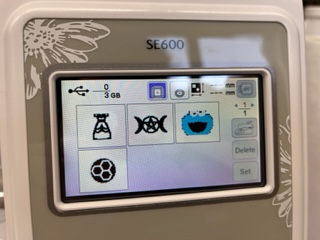
I then sent this design file to a USB stick. I grabbed the black bobbin and black spool first. I selected my design on the machine:
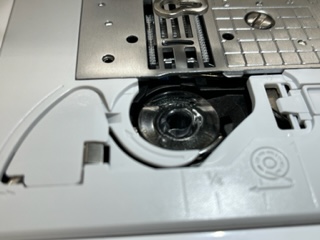
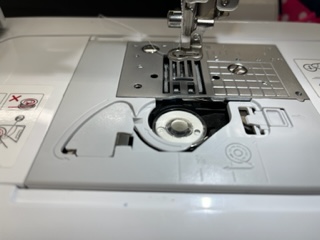
Then I threaded the bobbin correctly in the bottom of the machine:
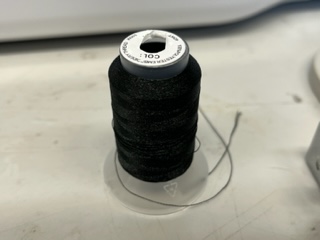
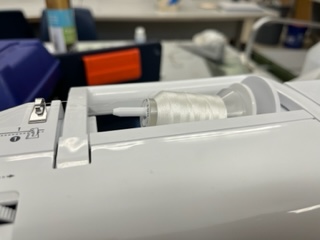
Then the main spool of black string:
Then set up the hoop with the paper:
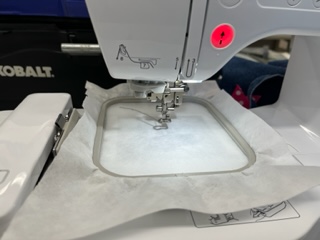
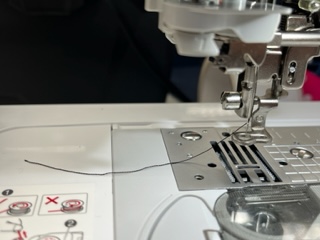
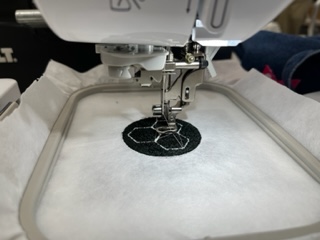
And then loaded my design, lowered the presser foot, and began the embroidery:
Switched the spool and bobbin to white for the top layer since the black was done:
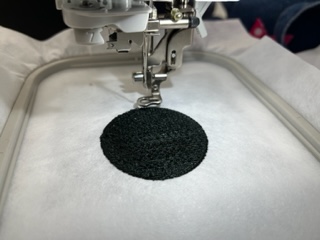
And it came out perfectly. It took around 15 minutes.
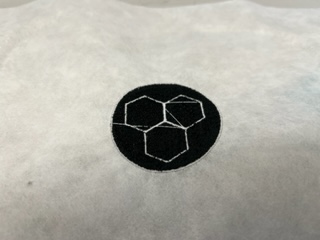
I then did some post processing to get the final result:
Dowloads
Week Summary
Overall this week was very relaxed and fun. I am glad to have designed a logo for my final project as well.