Week 5: 3D Scanning & Printing¶
This week I learned to 3D print and scan real life objects into a virtual textured model. I also learned and characterized the design rules and different outputs of the 3D printer.
§ Assignment #1: Design & 3D Print an Object §¶
I decided I wanted to use my previously designed model of the Garden unit from CAD Week as the object I print. I wanted a small scale model of it to get an idea of what it would look in reality, and to see if there where any flaws so I could print a full sized one later.
I began by using the model which is downloadable here. I exported it from Fusion as an stl.
I then opened said stl in PrusaSlicer.
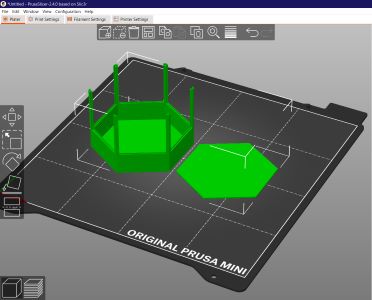
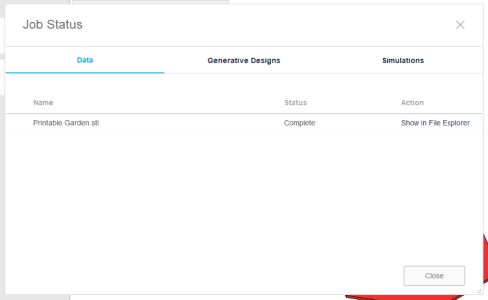
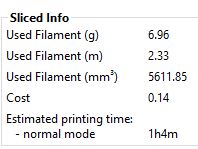
I gave it the correct infill and settings, and exported it as gcode, the extension recognized by 3D printers. I then sliced the file into gcode to get a sense of the time it would take.

Then exported it to the SD as gcode.

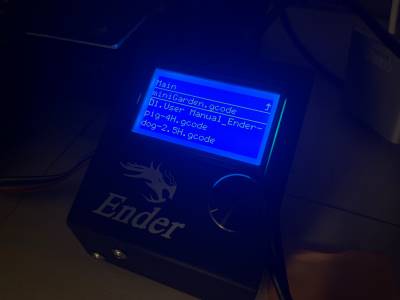
Then, I plugged that into my printer and began the print.

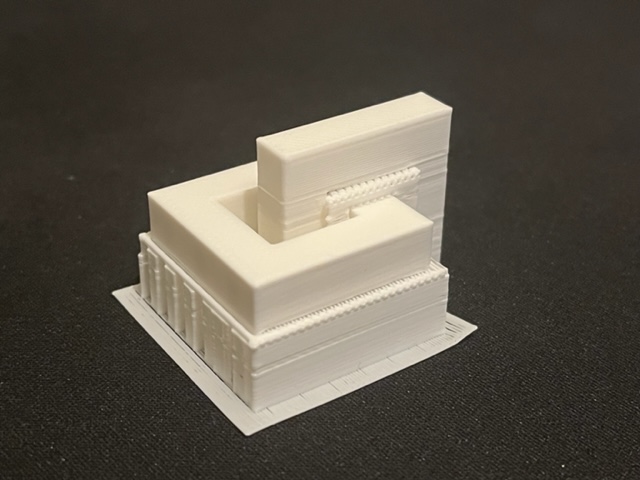
This is how it turned out.
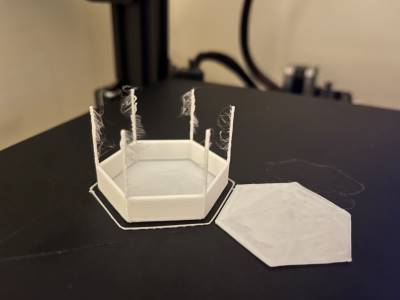
Due to the small scale (the normal size version of this model takes up the entire print bed) much of the detail had to be cut out, and it also gave the small spires a weird stringy piece on each due to the small size of them. However, this was a sucsessful first print which proved my model was ok and there were no issues with that and also that my 3D printer was ok. I would have done a larger print if I had more then just the sample filiment that came with the printer.
This object was desgined to keep 3D printing in mind so that my parts for my final project could be mass produced later by simply 3D printing, so none of it could be made easily subtractively as it has no overhangs but very in depth parts.
§ Assignment #2: 3D Scan an Object §¶
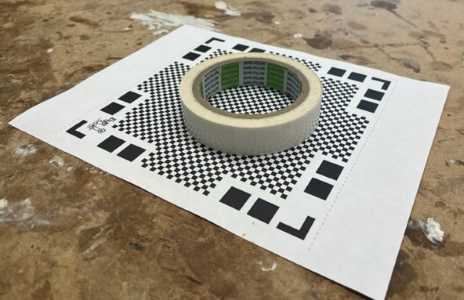
My goal was to scan an object into a 3D model. My method of doing so was via my iPhone which has a LiDar camera, as in it can sense the distance away the camera is from an object. Using the app APPNAME, I managed to do so. I printed out the mat they provided on the website, placed it down, and grabbed a nearby object to scan. For this scan, I chose Nitto tape to scan in. I placed the tape roll on the mat:
Then, I scanned each face by angeling my camera correctly to get a shot of each part of the tape.
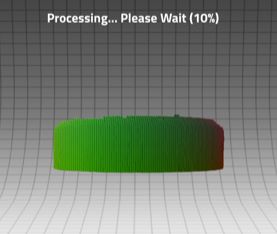
After completing this process, the tape had been scanned. It took around 5 minutes to angle the camera for all the correct shots. The result was impressive.
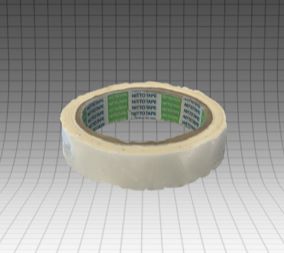
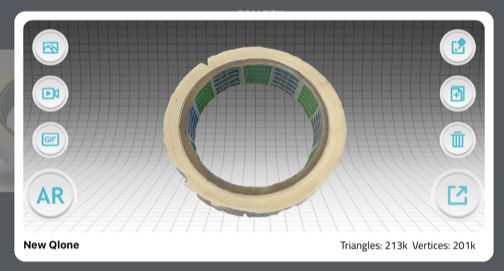
I was impressed primarily by the fact that it was not only modeled, but fully textured. I found this very impressive. You could easily make out the word “Nitto” which was writen tinely on the inside of the tape role.
The only downside was the model was a little distorted on the outside. To fix this in the future, I think I could use a less reflective object with also more color or texture to help my camera discern different parts, but overall I found 3D scanning very facsinating and easy to do.
I wanted to put a 3D model viewer of the final model, but the app requires the premium version to export the STL or to send it to applications like SketchFab, which is a $20.00 fee sadly.
Making Something More Subtractive¶
While my previous design was 3D printed, it could’ve been made subtractively. I decided to make some sort of printable chain that wouldn’t be able to be made easily subtractively. I opened fusion.
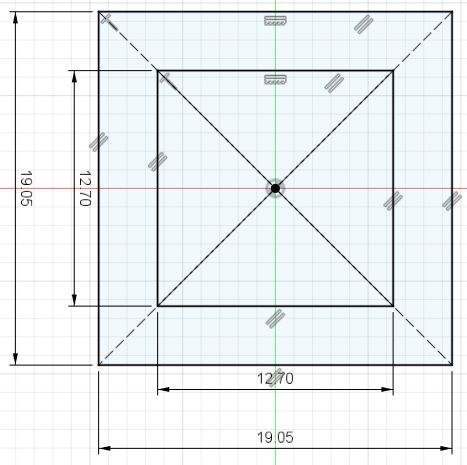
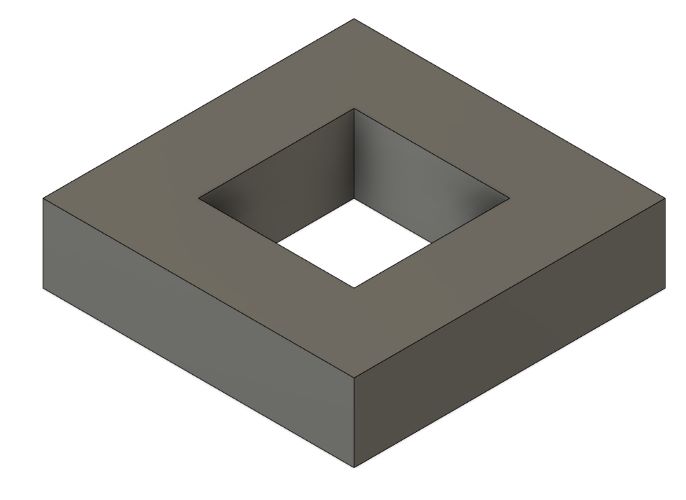
Above you can see that I made a basic chain link. It was .75 inches wide and .25 inches thick. I then extruded this:
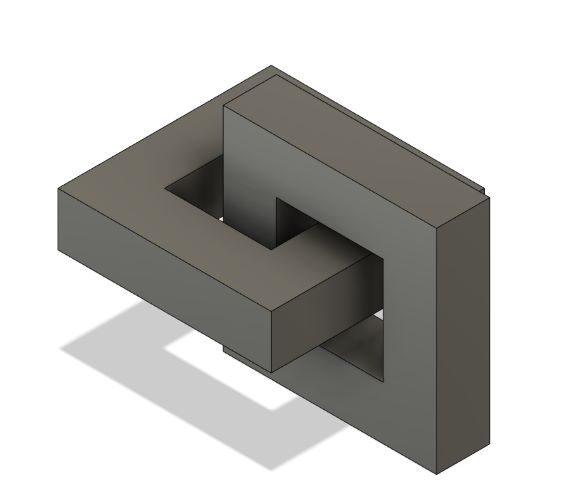
And from here I duplicated the object and rotated it to get a link:
And now I exported the STL and opened it in Prusa Slicer.
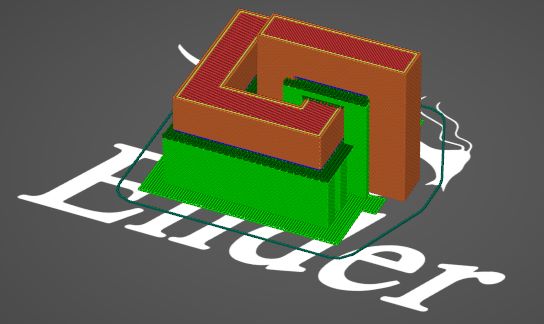
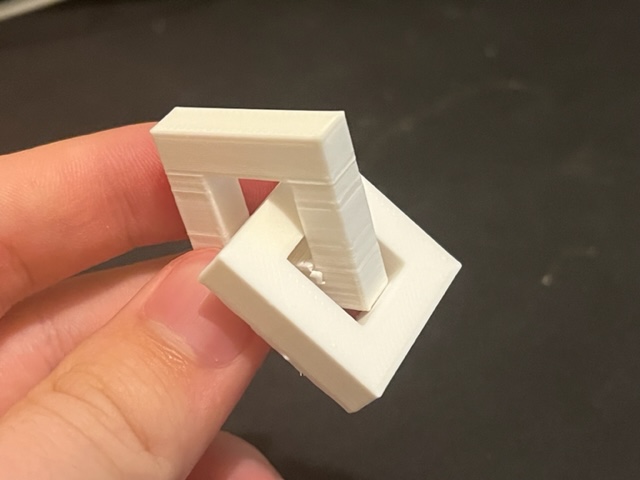
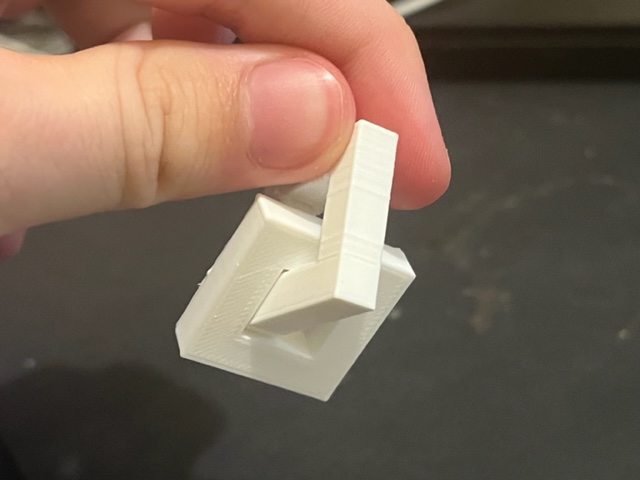
From here I printed it and it came out like this:
So I took off the supports, cleaned it up, and had this:
Downloads¶
§ Assignment 3: Group Work (Test the Design Rules for Your 3D Printers) §¶
All group work is documented on your group site, found here.
Week Summary¶
This week, overall, I learned how to uplaod my own model to my at-home 3D printer and also got comftorable on printing on every printer we have in our lab. I learned which printers we had were most accurate and each’s benefits and abilities compared to the others. 3D scanning to me is a very interesting concept that I think has a lot of application such as creating hyper realistic virtual environments, and I was surprised my phone could recreate an object virtually so accurately considering it was a phone. Overall a very relaxed and fun week.
Note from Final Project Week: I would go on to use the skills I learned in this week to print a pipe intersection for my gardening system.