8a. Computer controlled machining (CLS Students)
Lab Safety Training
Before any student is allowed to use the Shopbot in the lab we must review the workflow for each machine. Also when anyone is in the room, eye and ear protection is required and face protection is also recommended. Finally there must be two people in the room at all times if the machine is running. The assignment for this week was to test our shopbot but the main goal for students and instructors was keeping everyone safe.
Speeds & Feeds
Reviewing what our lab’s prior 2021 Fab Academy group did, found here as well as reviewing ShopBot’s official documentation, Nick found out how to define and characterize each term. Feed Rate can be described as the speed at which the head of the machine is moving to make the cuts Chip Load is the size of chips of material that come off during a cut (The goal is to get the maximum chip load possible, according to the documentation) Some terminology was also listed on the documentation: Chip Load = per cutting edge. IPS = Inches Per Second. IPM = Inches Per Minute. RPM = Revolutions Per Minute.
of cutting edges = # of flutes.*
Some of which may be obvious but it is still relevent nonetheless.
How to calculate
The documentation further lists how to calculate these values. For example: Chip Load = Feed Rate / [RPM x number of flutes on bit] As well as Feed Rate (IPM): Feed Rate (IPM) = RPM x # of cutting edges x Chip Load Speed (RPM): Speed (RPM) = Feed Rate (IPM) / (# of cutting edges x Chip Load) And Inches Per Minute (IPM): IPM = IPS x 60 Lastly, the ShopBot program to move the CNC actually includes a built in Chip Load calculator, and also the documentation continues and has charts for all of the stats talked about above per material.
Toolpath
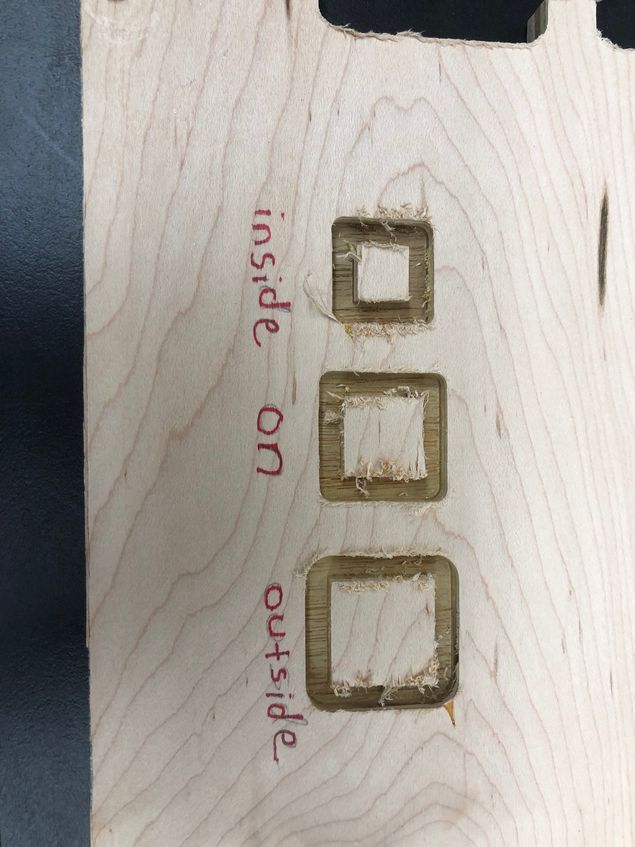
Andrew Aaron and Alaric worked on Shopbots’ different tool paths. The two types of cuts that we normally use in the lab are profile cuts and pocket cuts. Changing the tool paths can be accessed when the cut is a profile cut. After a vector has a toolpath, there are three options to select: Outside/Right, On, Inside/Left. Depending on what toolpath is selected, the machine will use the bit to cut along the line. To test this we created 3 1 in x 1 in squares each with a different toolpath . We made them a profile cut but decreased the cut depth so we could get a better visual.
They all used the small shopbot to cut them out, which we weren’t that familiar with. Because the machine was off, we knew we had to warm up the spindle before cutting, but we were not sure how. Searching it up, we found shopbot’s official documentation on how to set up the machine, and we pretty much just followed that.
This is us warming up the spindle.
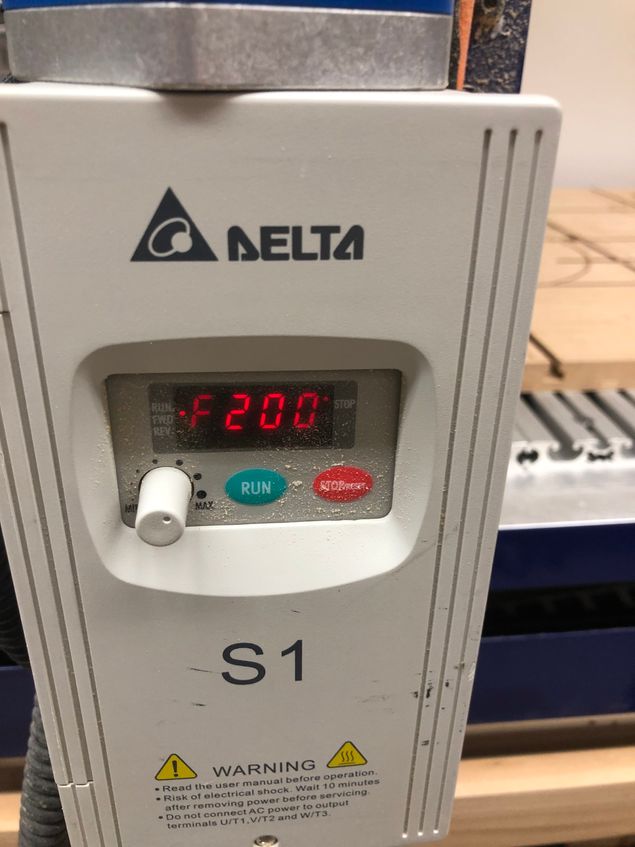
After warming up the spindle, we had to set the the spindle frequency to 200 rpms
Next it was time to set up the cut, which we could follow the exact same process as the large shopbot. This is us calibrating the thickness with the bed plate.
After setting up the machine, we performed the air cut, which looked fine.
However, the first few times we tried to run our toolpath, we ran into some issues with the machine cutting way too deep, so much so that it would cut out the tabs onto the bottom board.
We finally realized the problem after a few tries, which was that the Desktop machine couldn’t go as high for the Z axis as the big machine. When we were trying to calibrate the Z then, the machine thought that it was higher than it actually was, and so it was cutting into the bottom board. Thus we ran it again, this time taking the lower Z value into account, and it worked perfectly. This was the result of our tests.
 `
`
Fixturing
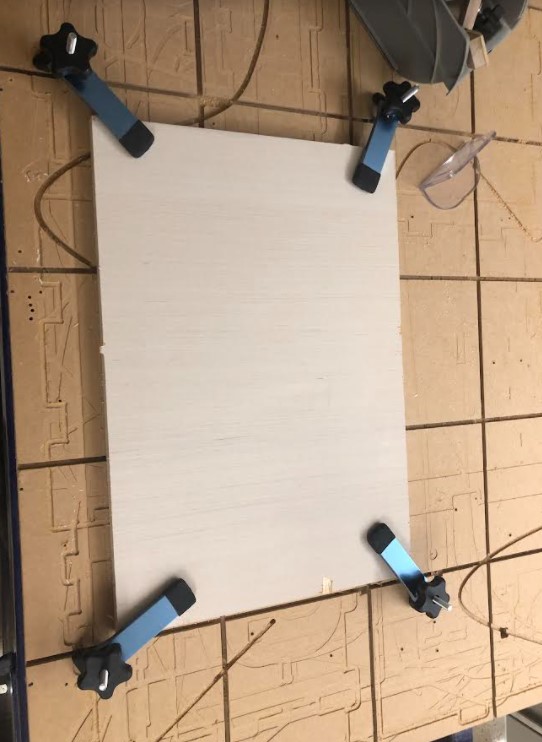
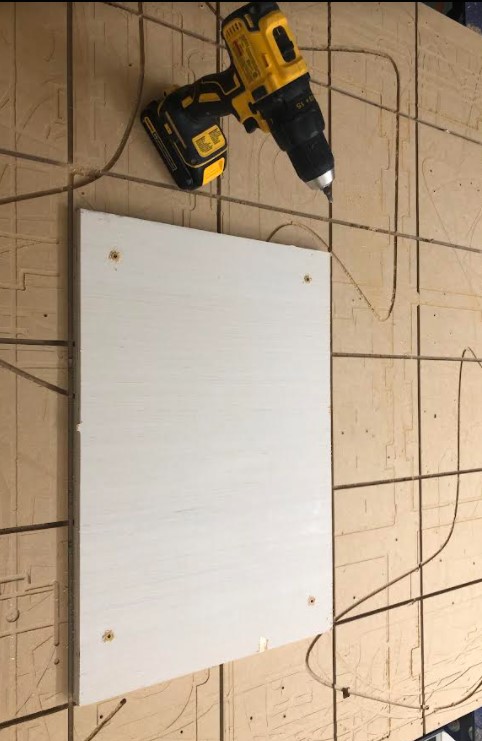
Jack experimented with different ways of fixturing a piece of plywood. Currently there were two ways of fixturing available to him. These were bolting the plank into the machine bed and using clamps to hold the material onto the machine bed. First Jack tested clamping the board down. He came to the conclusion that clamping is great for smaller cuts but because it can only hold the board down on its edges, However, It is quick and easy to set up
Next Jack tried drilling the board into the machine bed. He came to the conclusion that drills are better for larger cuts as they can go all throughout the board. However, they do take longer and put extra holes in both your material and the machine bed.
Runout
Andrew Aaron and Alaric also worked on the Shopbots runout. There are two types of runout, axial and radial. In order to test this we had to use a specific tool to measure the runout as a group member spun the spindle by hand. After finding the tool and setting it up, we made sure to shut off the spindle by taking the key out. Then we held the probe up to the spindle, and the group read the output measurement as one member spun the spindle. These were our results
Alignment
Aarush worked on characterizing the Alignment of the ShopBot in the lab. The alignment of a CNC machine is important because having proper alignment makes production more efficient and helps minimize waste. Our shopbot is already equipped with proximity switch endstops, which help find x and y-axis alignment. It also has a z-probe plate as well which is connected to the machine throughout the milling process. In order to home Z, it is required to move the plate from its mount onto the material bed, directly underneath the spindle.
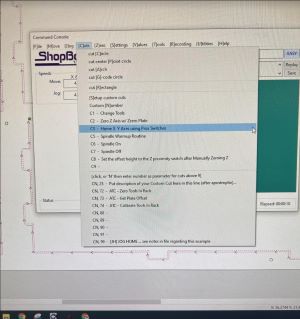
Aarush started by rehoming the X and Y. To rehome the x and y-axis Aarush used the command
C3
After the x and y are homes, he moved the spindle to the middle of the bed by using the command
J2, 30,30
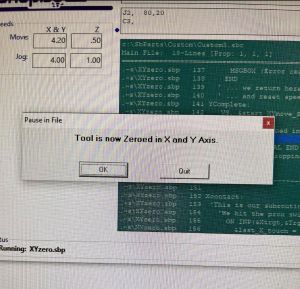
This jogs the X and the Y axis respectively 30 inches. After he did this, he placed the z-probe plate underneath the spindle and ran the command
C2
After he homed the Z axis, Aarush jogged the Z-axis up to 4 inches just to be safe the spindle wouldn’t hit anything while returning back home using the commands below is that respective order
JZ, 4
J2 0,0
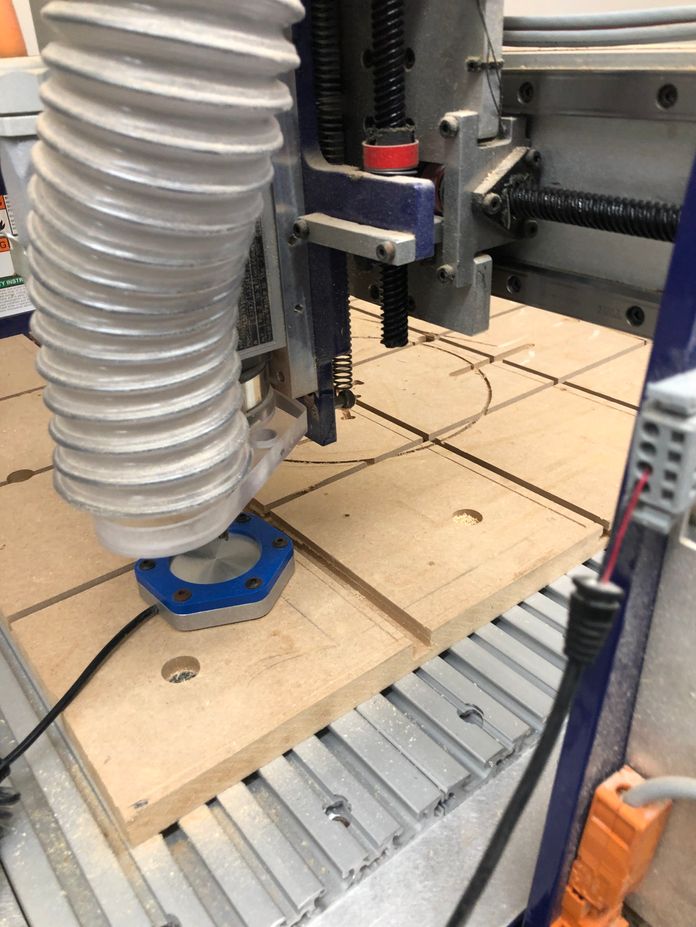
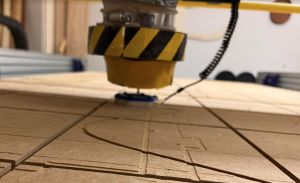
Here is an image of the Z-axis probe plate in action
Materials
Pari and Jada characterized the materials for the CNC for this week. You can cut almost anything on the CNC, although different factors such as heat, temperature, weight, fixtures, and other components can contribute to what you use to cut. The “Feeds and Speeds” help determine what and what not to use on certain materials. The official Shopbot Site has a more in depth explanation of the materials that the CNC Machine is capable of cutting with. Usually, the first pass should have a feed rate of about 0.005-0.020 IPR, and the second pass should have a feed rate of about 0.002-0.004 IPR. Here is a list of common cut materials which is recommended by Custom Components%20and%20Polypropylene%20(PP))
Rigid foam → Helps keep good detail Carving foam → Good for molds Phenolics → Good for military grade related projects Plastics → Many markets exist for plastic; very popular