Mold and casting, and 3D cnc, this will be the topic of this week.
-- Mold and casting explanation,
3D milling --
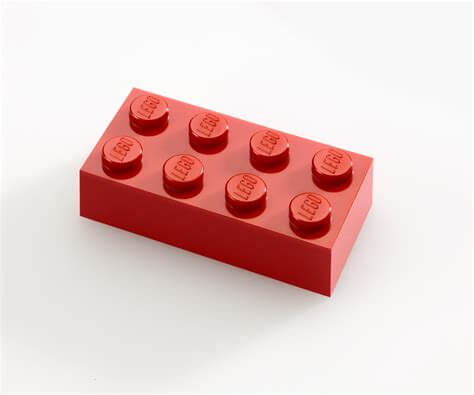
The project I decided to create for this week is inspired by a Lego Brick:
Inspiration from the original LEGO brick
Specifically I'm going to create a simplified form of a LEGO that, as the original, will be able to fit with its copie in order to make contructions with them. The idea is to make it out of chocolate hence I will use food-safe silicon.
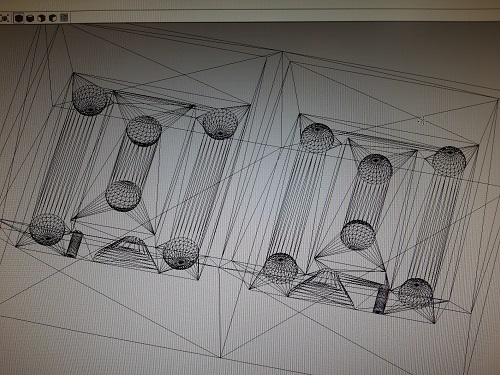
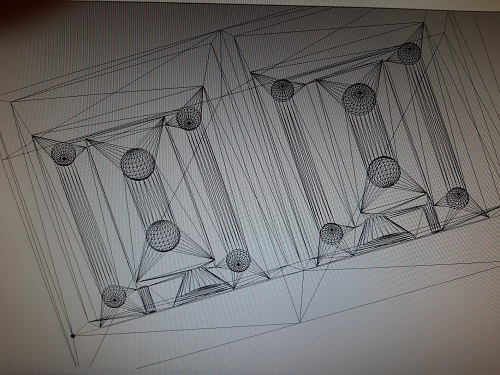
3d Model Simplified Lego Brick
The steps needed for this assignment are the following:
I will explain all the steps in detail on this page:
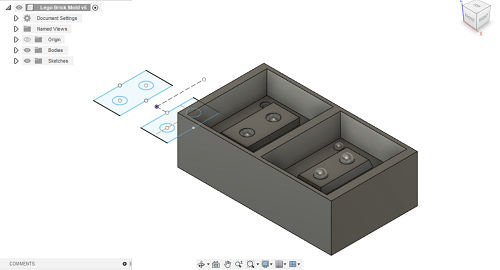
Once I chose the object to reproduce, I modeled it in Fusion360, he model consists of the upper and lower halves of the LEGO brick,
also you can see 4 hemispheres in the four corners of eath half of the mold, they will be useful to align
the two halves of the silicone cast when you will then pour the melted chocolate.
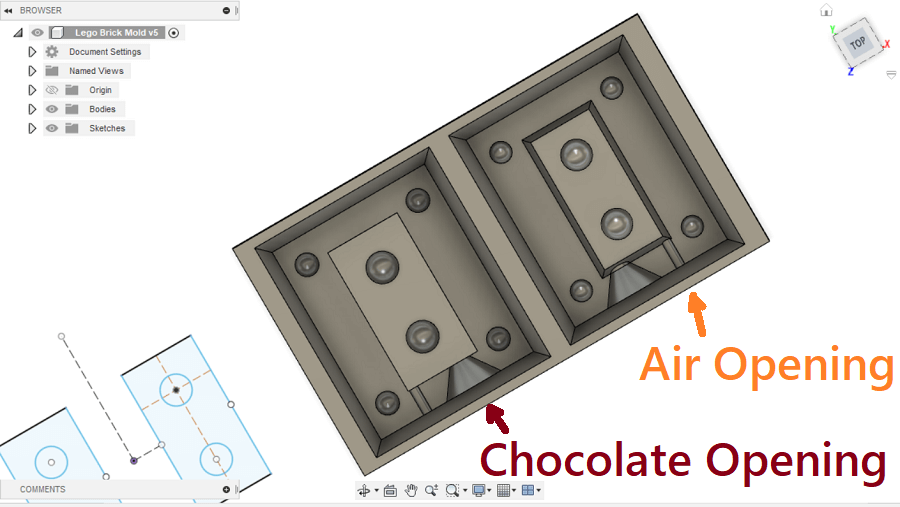
Also, it is important to create openings, one to be able to pour the chocolate and one
at least 3mm in diameter to let the air go out to avoid air bubbles in the
final casting.
Opening holes in Fusion360 model
Modeling
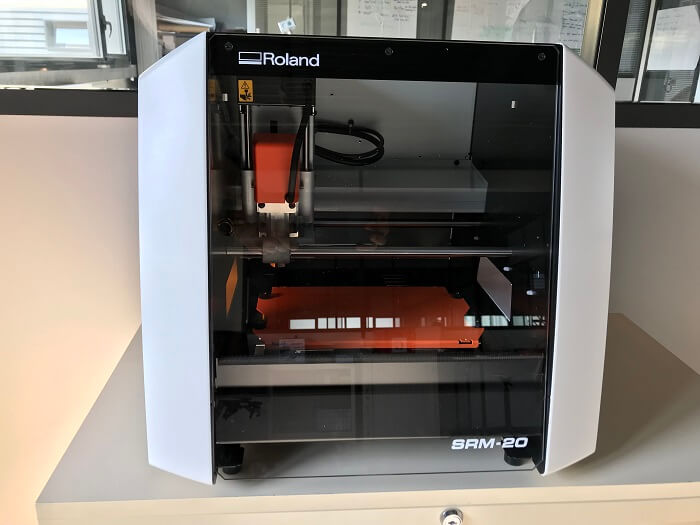
Made the model, to get the G-Code we used the sw Modela, that is
specific to the CNC SRM-20 we have in our Lab.
SRM-20 CNC machine
The sw is very straightforward to use, once you've chosen which bit-mills to use for
roughing and finishing you can see the simulation of the result.
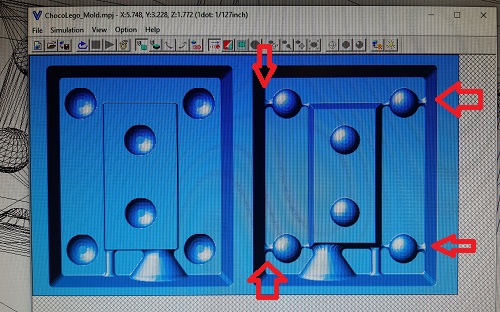
Model uploaded in Modela
In my case, as you can see from the image below, the semispheres for alignment
were slightly big for the types of mill-bits I chose for milling.
And the simulation in fact showed me that I would not have had a perfect finishing.
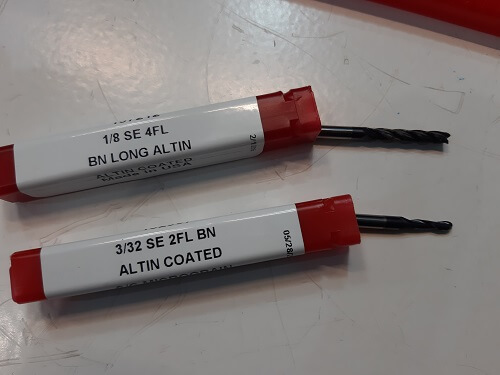
Once you have the G-Code you go to milling, specifically I used
a 1/8 inch flat tip and a 3/32 inch rounded tip, as shown in the pic.
2 Bit mill type, 3,147 mm Flat-mill for Roughing and 2,381 mm ball-mill for finishing
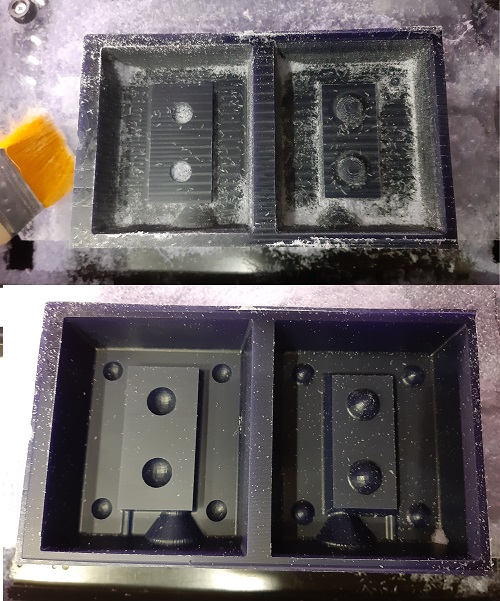
And here is the result of the milling:
Milling the mold
Preparing the Casting
To prepare the casting, you must first calculate how much silicone you need.
After having carefully washed and dried the mold, we proceed to measure the
volume of water needed.
In my case the volume of water needed was about 200 ml.
Measuring the volume with water
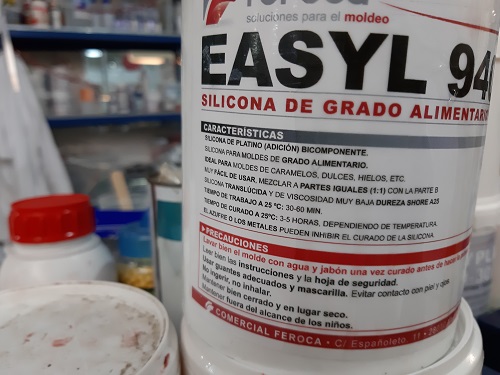
For the food-safe silicone Easyl 940-FDA(Datasheet)
I need to mix two substances in one ratio 1: 1.
I will therefore need 100ml of substance A and the same amount of substance B.
FDA food safe silicon Part A + B
For greater precision it is advisable to use a scale and have a reference in WEIGHT
compared to VOLUME. I then poured 100ml of substance A into the container upon a scale,
I measured the weight and therefore I poured the same weight of substance B.
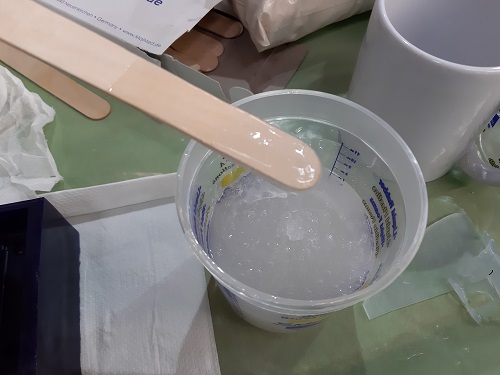
Once this is done, I proceed to mix, carefully considering the edges and the bottom
of the container so that every part of the two substances is mixed.
Mixing Up
At this point, according to the datasheet, you have about 30 minutes before the compound starts curing, hence I have time to degass it.
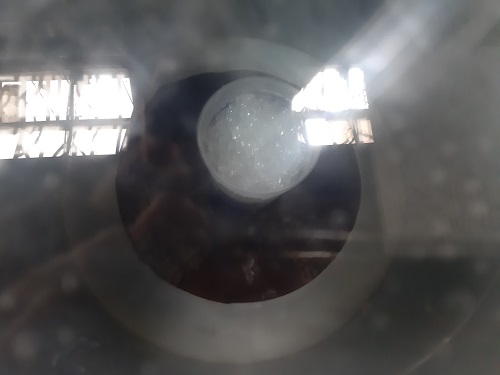
To do this, I took the degassing machine we have in the laboratory. It's simply a cylindrical container of thick plastic, which rests
on a rubber surface and a lid with a pressure gauge and valves installed, one of which is directly connected to the aspirator.
Degassing machine
I putted the cointeiner with the mix inside the degassing machine (be sure that the
the volume level of the mixture does not exceed half of the container, because during
degassing you expect an increase in volume which could spill the whole thing out.
Degassing
Close the lid, activate the aspirator and press the lid firmly so as to
start vacuum packing. Sometimes I noticed that there were leaks from the bottom as well that
preventing the vacuum, so it is also useful to fold the bottom
rubber to ensure that there is air leaks from the outside.
I then proceeded to degassing until I see no more bubbles (or very few),
the process would generally last no more than 15 minutes.
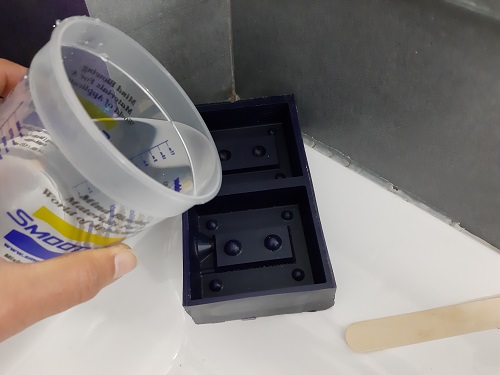
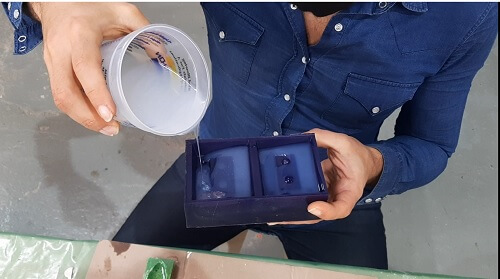
Having done this, I then very carefully poured the mixture into the mold,
in order to prevent other air bubbles from reforming.
Pouring the mix into the mold
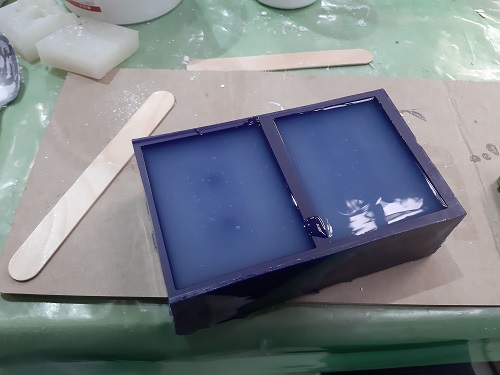
I filled the mold and then left it overnight so that it cured.
Mold filled
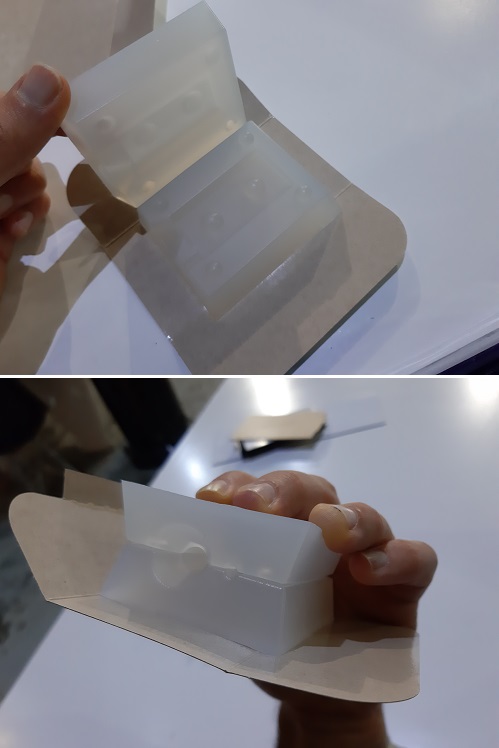
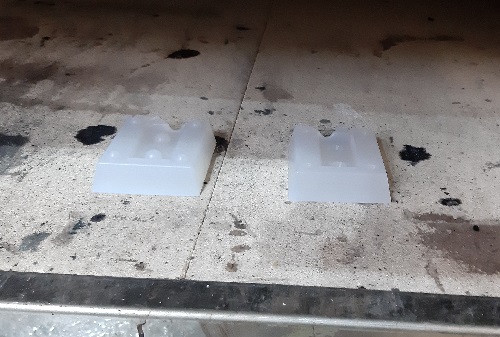
Here you can see the cast complitely cured.
The result
Post production
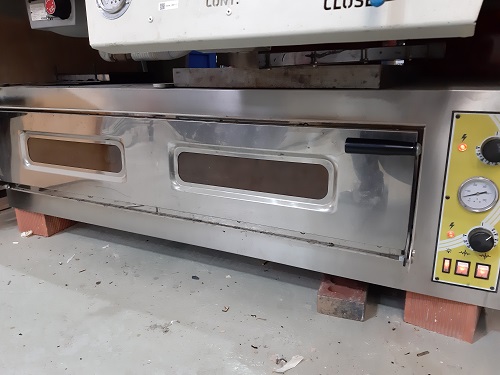
The following day it was ready for a post-processing, that is to baked it in
oven for about 1 hour at 110 ° C.
The oven
I repeated the same process 3 times, thus getting 3 Molds to test
simultaneously 3 types of chocolate.
Baking process
The fun part
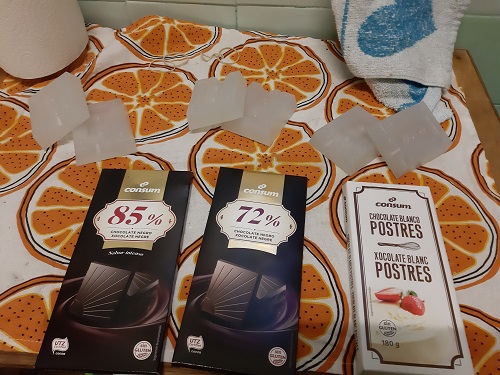
I repeated the same process 3 times, thus getting 3 Molds to test
simultaneously 3 types of chocolate.
Chocolate Test: White, 72% and 85% Cocoa
We therefore first boiled the molds to disinfect them.
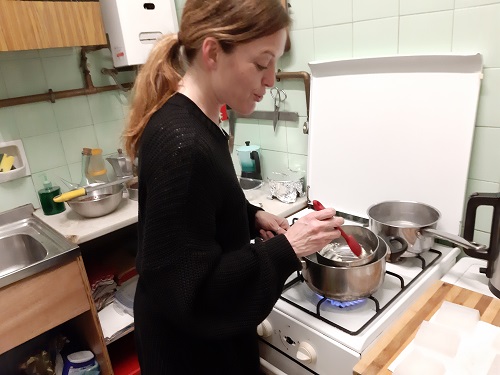
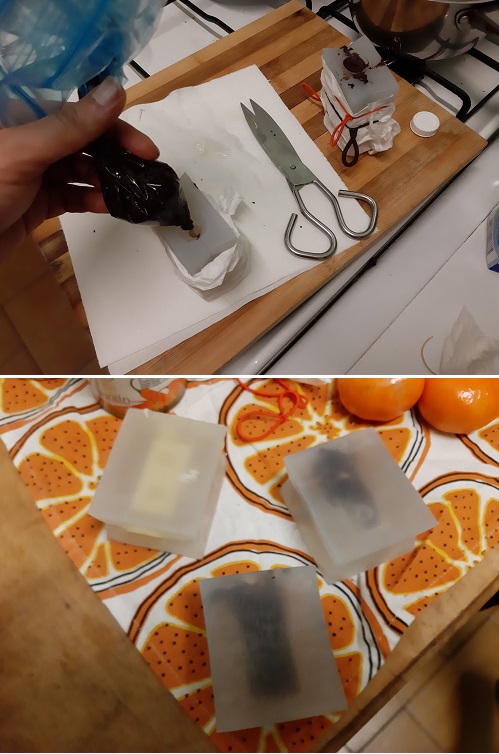
We then melted the chocolate one at a time and put the mixture through
a sac-a-poche.
My Argentine Assistant while melts the chocolate
We then put the three molds in the freezer for 30 minutes, and this is the result.
putting the chocolate into the molds and final result
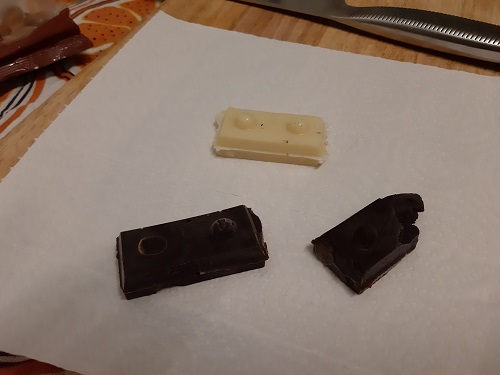
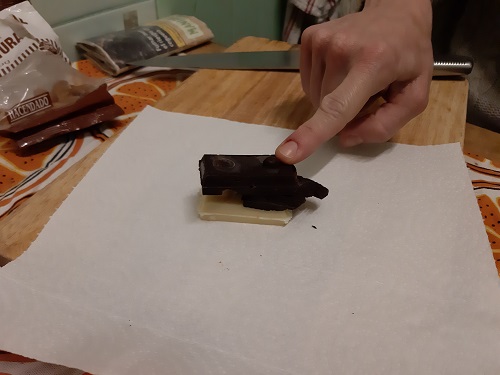
Unfortunately, the third cast didn't come out complete, but it was found that the bricks fit together
very well.
Making the Chocolate Lego Bricks
They fit eachother!!
The next step will be to use caramel and insert an LED to create a structure
of chocolate and bright caramel. I hope I have the time to be able to
realize in the future. Stay Tuned.