Final Project
Week 0: Digital Fabrication Principles and
Practices
Week 1:
Collaborative Technical Development, Documentation and Project
Management
Week 2:
Computer Aided Design
Week 3:
Computer Controlled Cutting
Week 4:
Electronics Production
Week 5:
3D Scanning and Printing
Week 6:
Electronics Design
Week 7:
Moulding and Casting
Week 8:
Embedded Programming
Week 9:
Computer Controlled Machining
Week 10:
Input Devices
Week 11:
Composites
Week 12:
Interface and Application Programming
Week 13:
Output Devices
Week 14:
Networking and Communications
Week 15:
Mechanical Design and Machine Design
Week 16:
Applications and Implications
Week 17:
Invention, Intellectual Property and Income
Week 18:
Project Development
Week 19:
Final Project Presentation
|
Computer Aided Design
The second week of the Fab Academy program required the investigation
of computer-aided design methods. The lecture focussed on a large
amount of programs that can be effectively used for differing methods
of computer-aided design, whether in was 2D, 3D or simulation.
Using the programs linked to the corresponding Fab Academy lecture page, I decided to chose a selection of open source programs from the list that would do a range of the computer-aided design.
2D Raster Manipulation:
Initially I downloaded GIMP,
this was achieved easily by following the website links and
directions. The program itself allows you to do operations that
are normally associated with the more well known Adobe Photoshop.
When you create a new file/image you get to select the size of the
paper you require for a list of preset templates and the resolution
required. In this instance, I just used the default setting for
an A4 @ 300 x 300 ppi. The program works in Layers and initially
starts with just the background layer. When inserting a new
layer, you have to define the pixel size which will be relative to the
overall template size you initially started with. By selecting an
operation on the toolbox palette within the graphical interface you are
then able to alter the operation by using the options on the GUI.
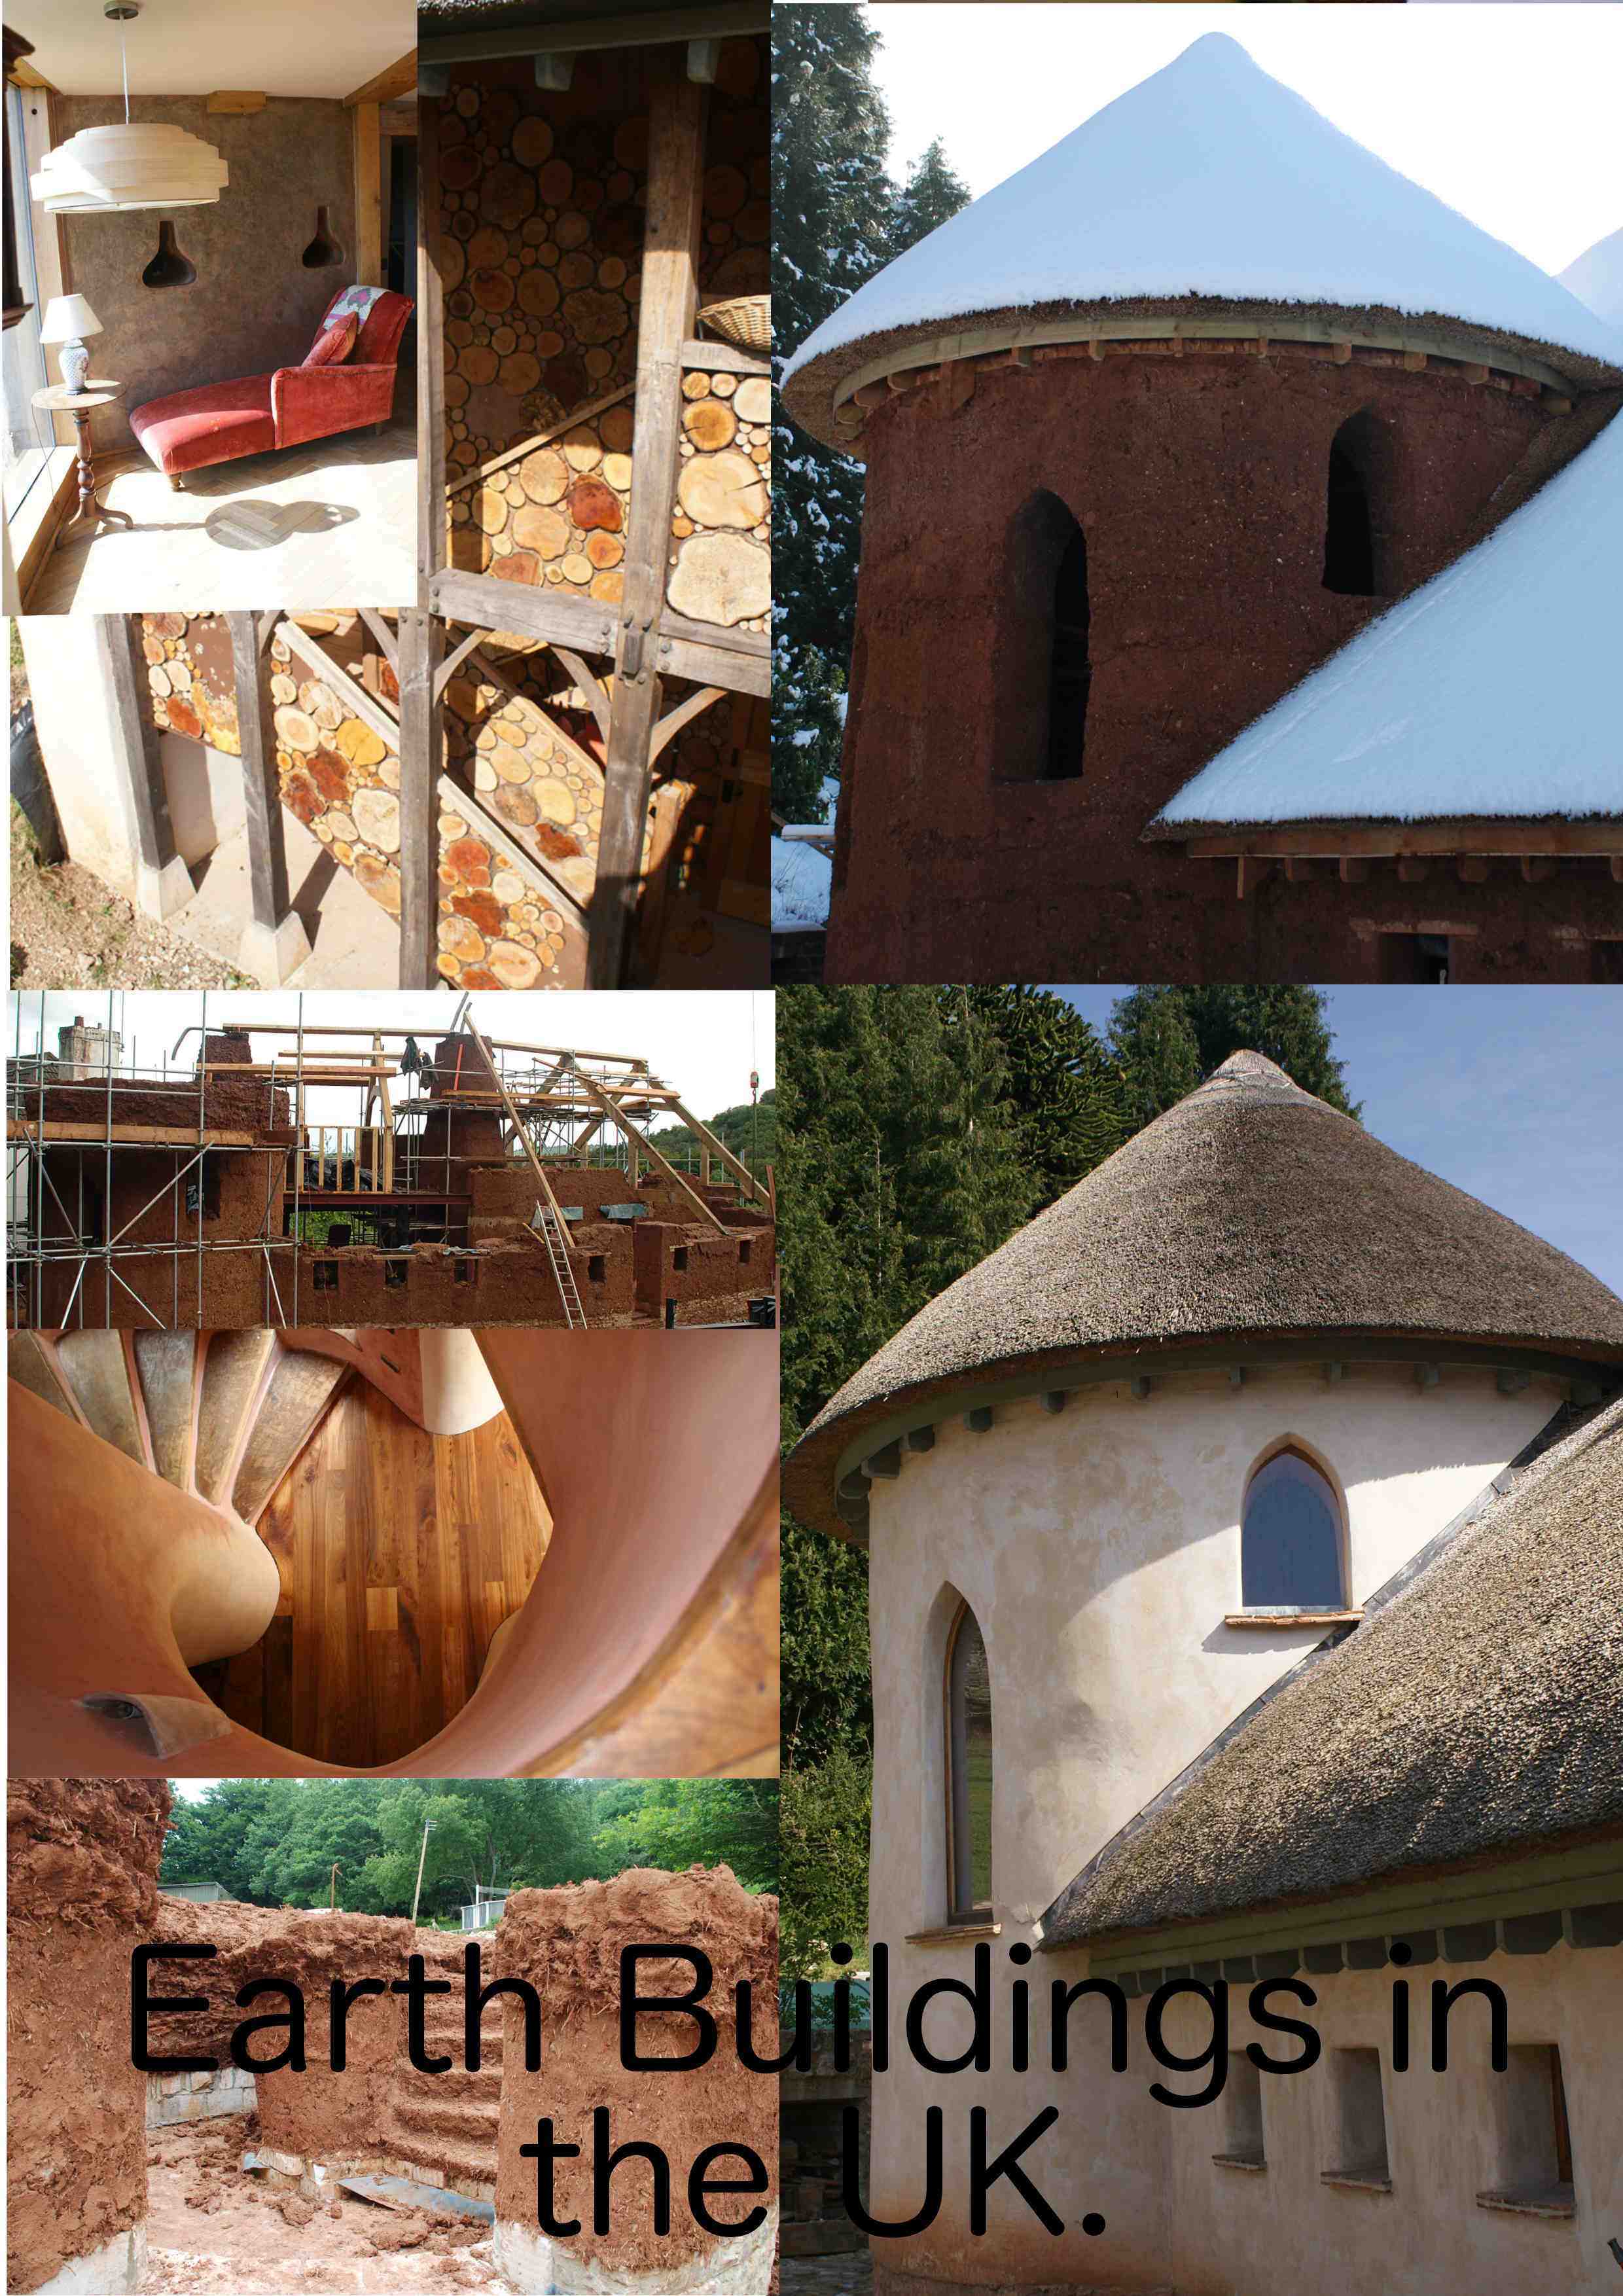
I decided to try and edit some photos within the space and create
a collage/poster about earth buildings to see how the editing within
GIMP was achieved. Initially, I selected images within my
database and opened them individually within GIMP, once in GIMP I
copied each individual photo as a new layer within my original template
and started scaling and arranging the photos to develop the
picture. Depending on the position of the layer within the list
layer GUI the order of the layer within the picture will be altered,
using this facility I juggled the further arrangements of the pictures
to form a background for my poster. After this, I use additional
picture format tools to alter the perspective of some of the pictures
in the file, and then inserted over the text to complete a rough raster
manipulation using GIMP. I found this program quite intuitive and
very powerful for the manipulation of photographs, I will use this in
future to alter images with more precision than I did previously using
the native Mac OS picture editor. I then exported the file, using the
export to function in the file menu and simply typed the file extension
I wanted to export to (in this case .jpg) for uploading onto the
internet. An additional menu box appeared to allow me to chose
the quality and therefore the file size of the picture export, which
was very intuitive and convenient.
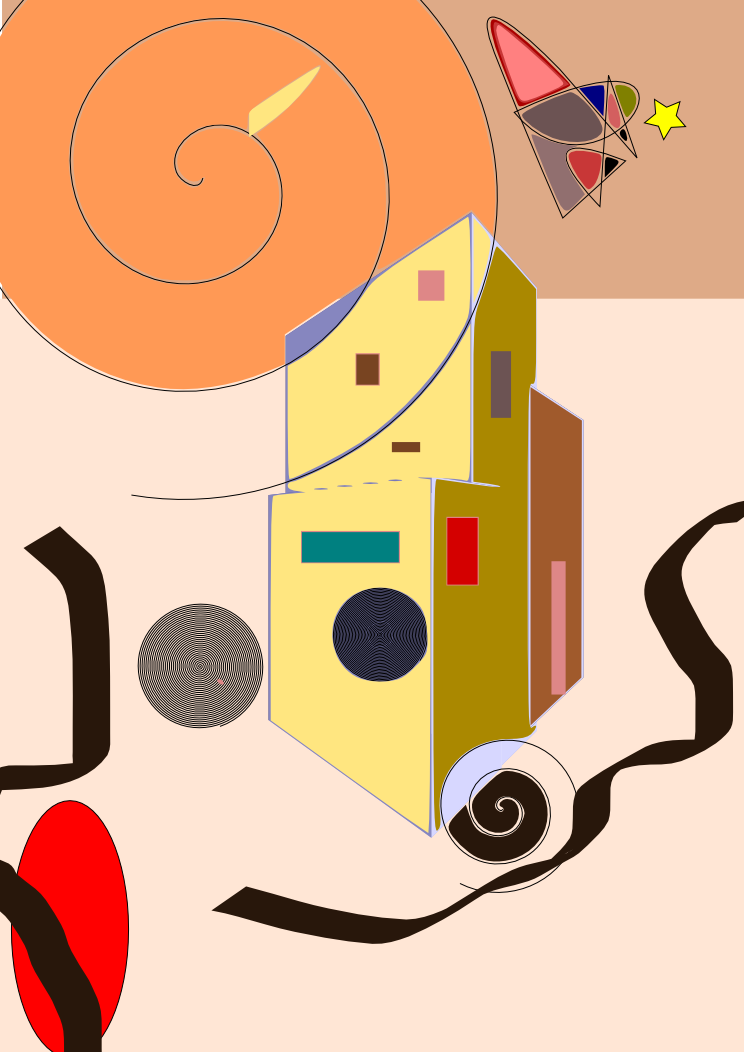
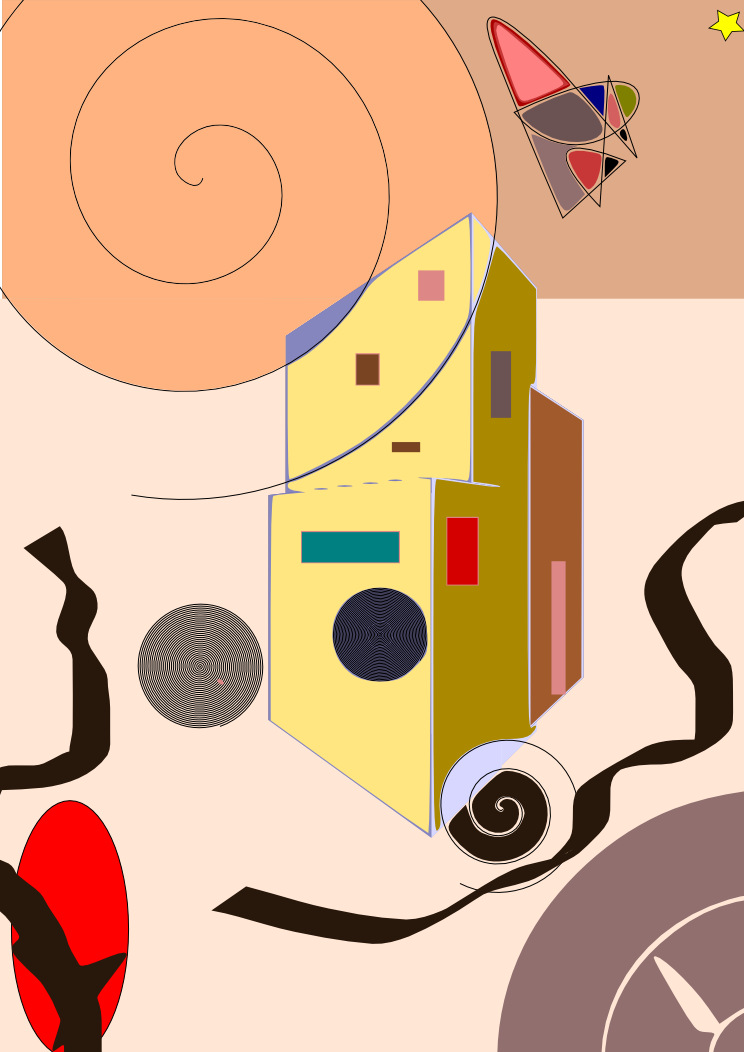
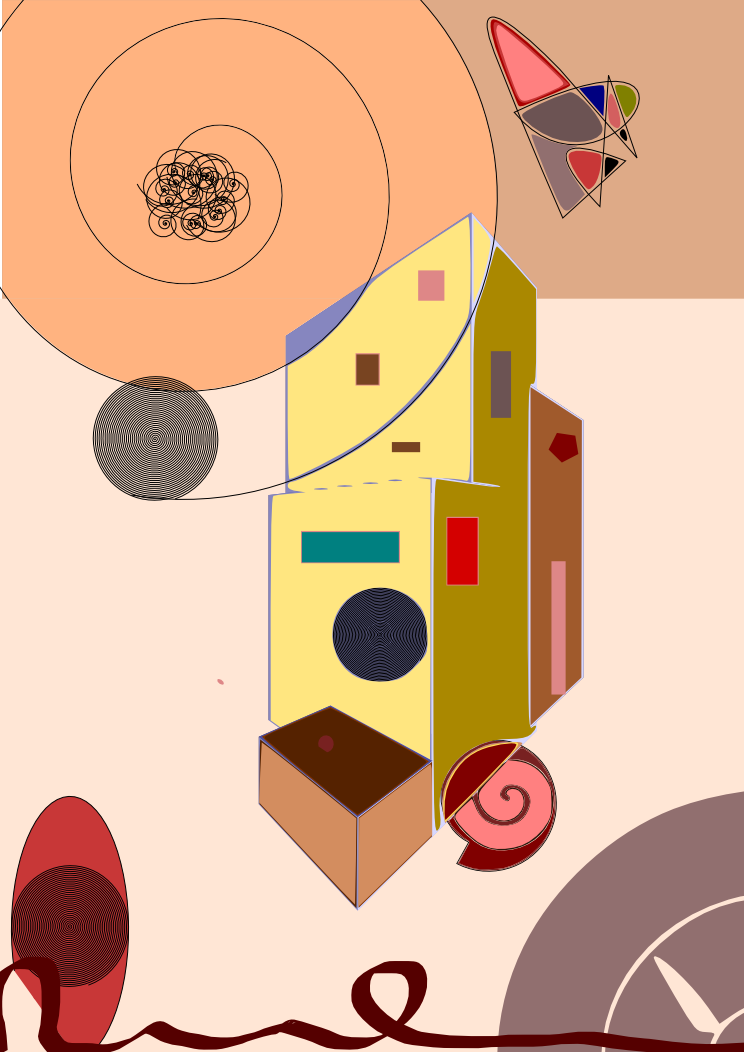
2D Vector Manipulation:
Afterwards,
I decided to install Inkscape to be able to draw
bitmap images, GIMP did have a draw function but it did not seem to be
as immediately apparent as Inkscape. The Inkspace program was
slightly more artistic and would not be used for technical drawing, I
decided to draw an abstract of a building trying to play around with
what capabilities of the program and not necessarily create something
finite. I found the path file directory useful, and have played
around with the shapes available to produce drawings,
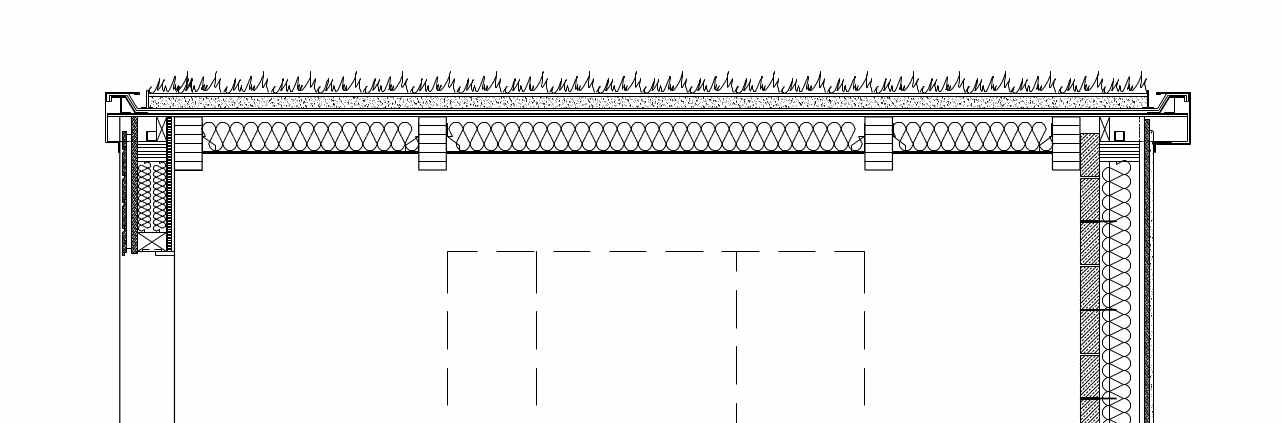
2D Technical CAD:
To allow me to produce technical 2D drawings I downloaded LibreCad
which is a Open Source CAD application for windows to produce some
small 2D details of a potential timber building for production.
Having some experience with the AutoDesk version of CAD I found this a
little less intuitive at first but found that once I have got over the
initial learning curve it behaved and was similar to the previous 2D
CAD packages I had used and I managed to provide some small technical
detail drawings quite quickly and effectively. It also allowed
.dxf files to be imported into the program which allowed for
interchangeability between other CAD packages. One difficultly I
found was the absence of print layout options which would allow you to
arrange a technical drawing for traditional printing through the GUI
and allow for easy annotation of the product. To achieve a layout
which could be viewed on the internet, I exported the file as a .png
file and opened the file in GIMP to edit and export as a .jpg file for
use on this site.
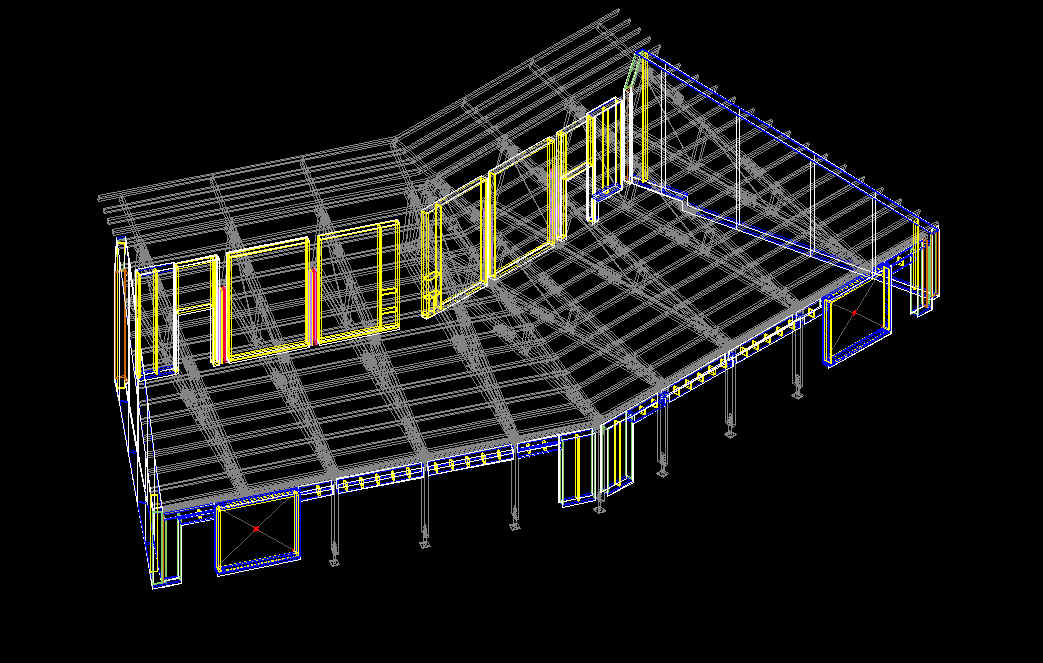
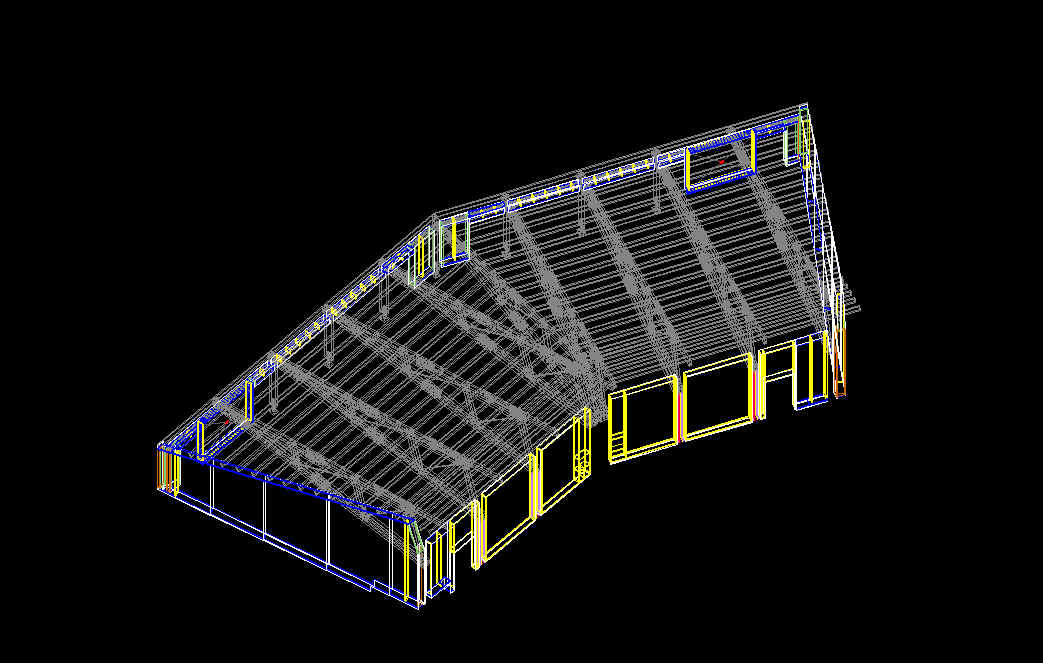
3D Technical CAD:
For 3D CAD production I attempted to download FreeCad
for Mac OS and begin the installation, unfortunately the available
program did not work on Mac OS 10.6.8 as the current build of FreeCAD
was not available for earlier operating systems of Mac OS.
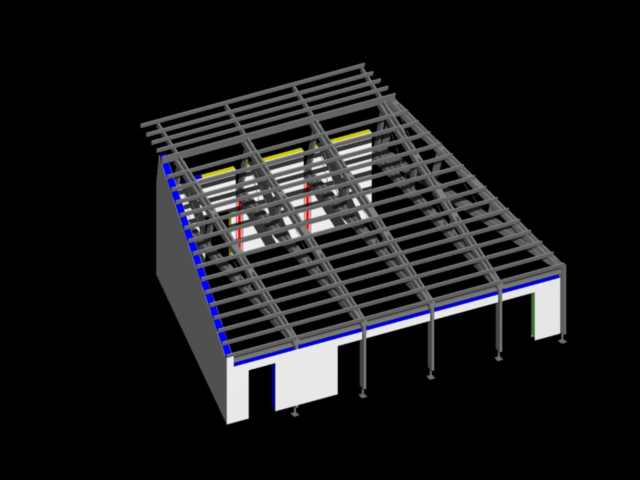
Instead I turned towards a commercial product AutoCad by Autodesk, and
began designing a prototype building in 3D. The program is not
immediately easy to use but with time and dedication the system becomes
easier to use but not in my opinion very intuitive.
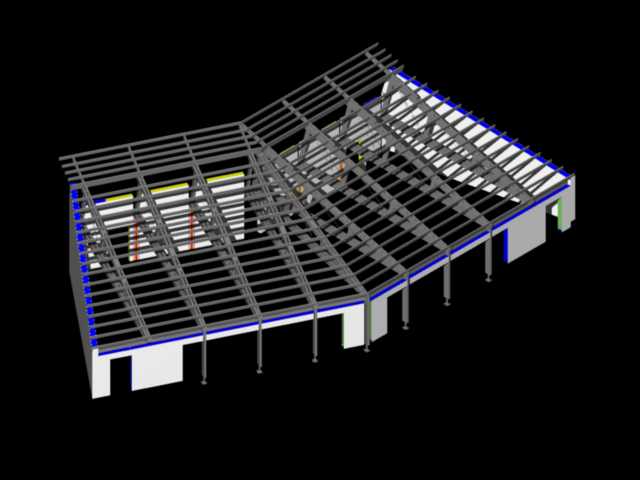
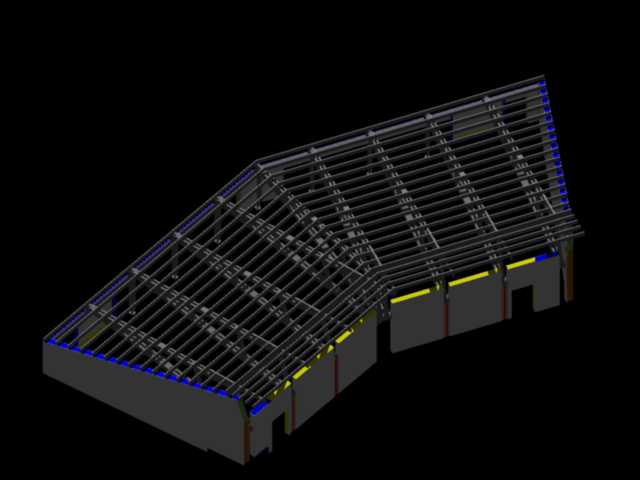
Once
I had drawn the wireframe of the 3D I began rendering the building
using the Render function in AutoCad to fill the faces. You were able
to additionally alter the position of the sunlight to create different
shadows on the buildings.
|

|
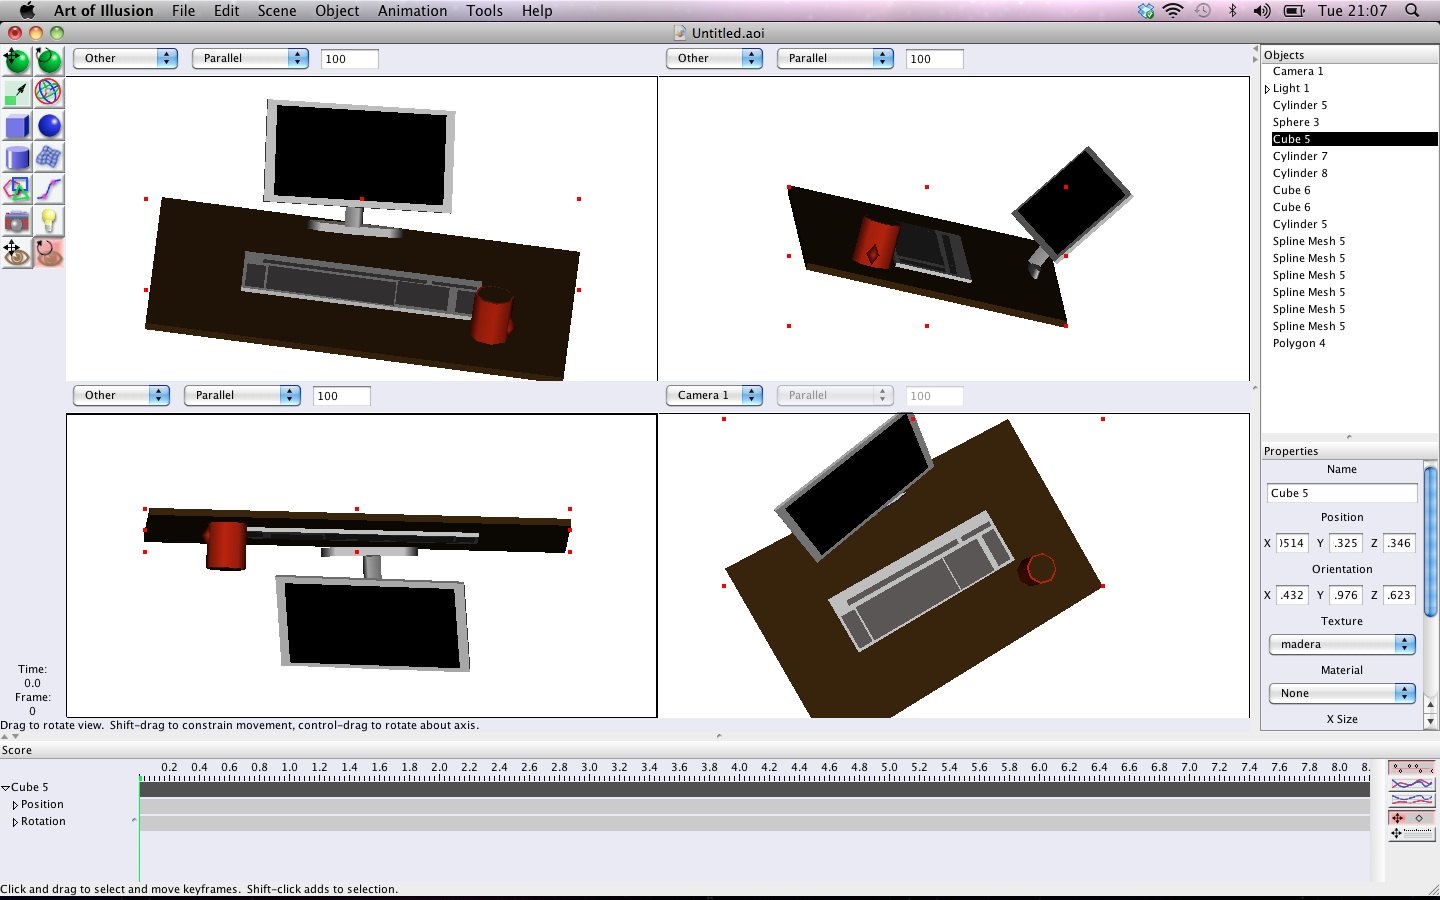
3D Modelling:
Due to my familiarity with AutoCad, I chose another 3D program to begin modelling - Art of Illusion which
is another Open Source program which is freely available online.
Initially the program was quite cumbersome to use and difficult to
orientate yourself in it, so I started just drawing a basic desk
arrangement to learn the basics. Once I had drawn the objects, I
encountered problems with assigning material properties to the
elements, you had to right-click the object and click on the texture
properties and in the new window go to textures and material button and
click on the library drop down menu to easily select a material.
To export the model in a way that can be viewed as a simple picture,
was not easily achieved so I took a screen grab of the project.
|