This week we have to learn how to use the ShopBot PRSalpha CNC machine.Practice and learn how it works and we also have to make something big and functional and innovative.
Single-Task
======= Design and Cut my drums for my project =======
For this task, I prefer to start with the design and manufacture of the first prototype of my electronic drum, but due to the issue of the VOC-19, I did not manage to completely finish my electronic drum. But until I managed to cut I could learn how to upload my file to the machine's program. Below are the steps.
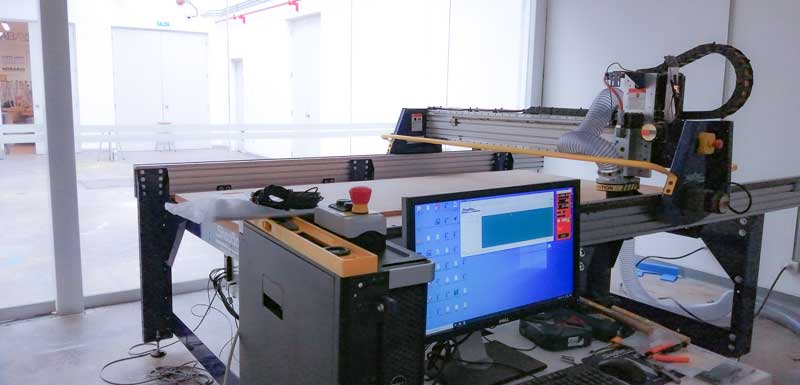
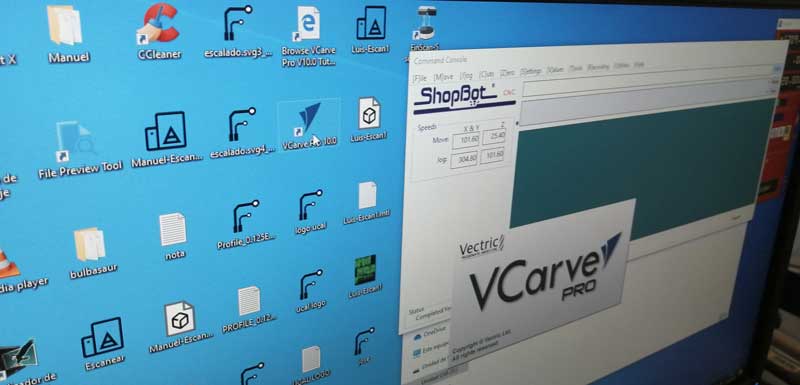
Picture ShopBot.
STEP 1. Design and drawing in Rhinoceros
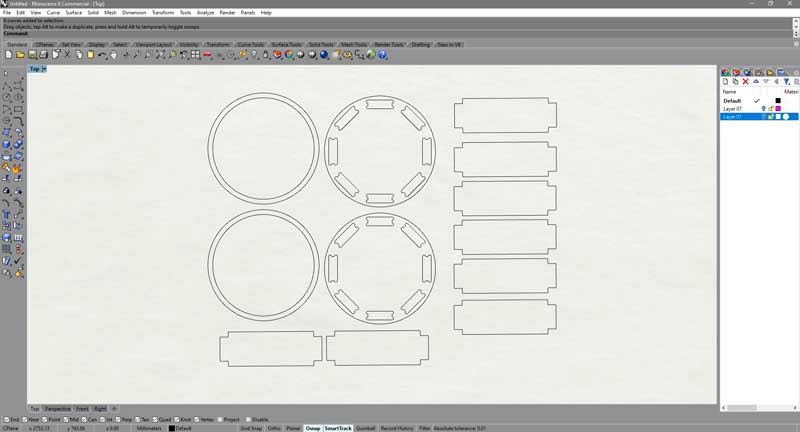
When I finish draw my design en rhino, I export in "dxf" extencion. Picture 80.
Picture 83. For this part, I had problems with my design, my sizes were wrong and I did not realize that the CNC machine needs a special design to create corners. In addition, my FabLab was closed due to the COVID issue, I could not finish correcting and doing the manufacturing again, my process was stopped by VOC 19. I am waiting for a new notice of when I can go to FabLab-UCAL and finish this project.
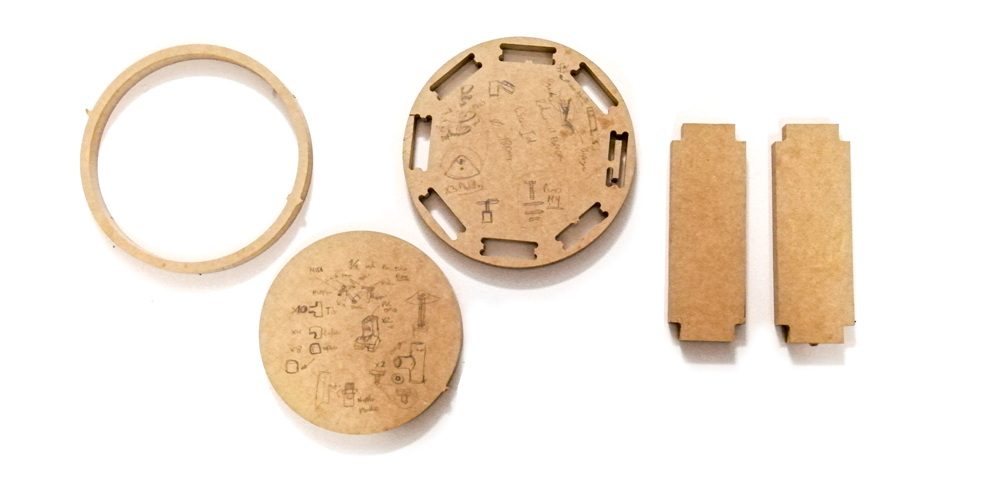
The picture below shows the parts manufactured by this part. I made notes on some pieces with some modifications.
New-Task
======= Design and Cut =======
After a few months we were finally allowed to go to FabLAb-UCAL one day.
In the previous part I made a drum but my design was wrong, but due to the VOC-19 problem, I could not completely finish my drum. But I managed to cut a few pieces.
But I decided to redesign and modify my pieces for this task. I made a cabinet, a drum and a living room table (reversible table). I called Table & Drum. Below are the steps.
Picture ShopBot.
STEP 1. Picture 80. Sketch of my Table & Drum.
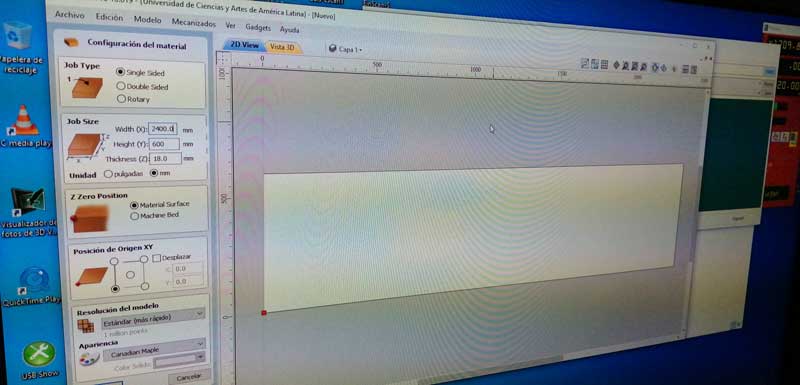
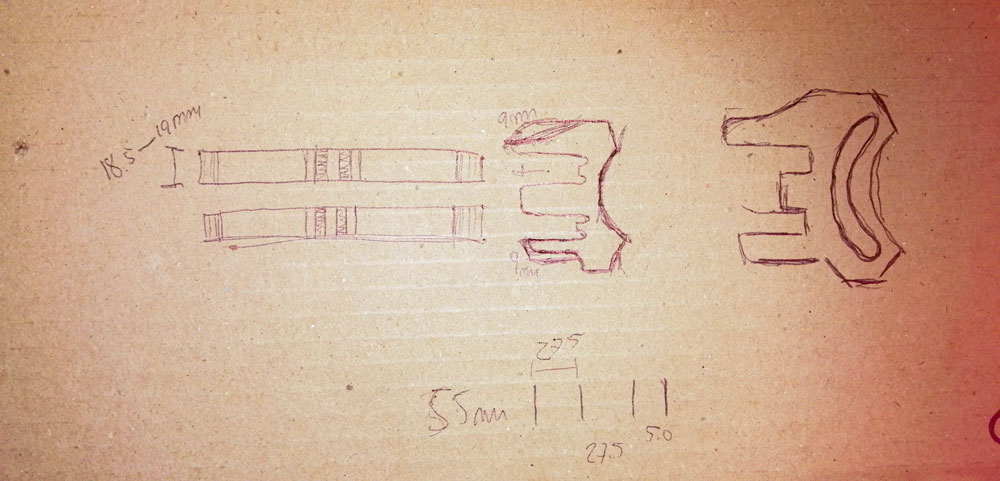
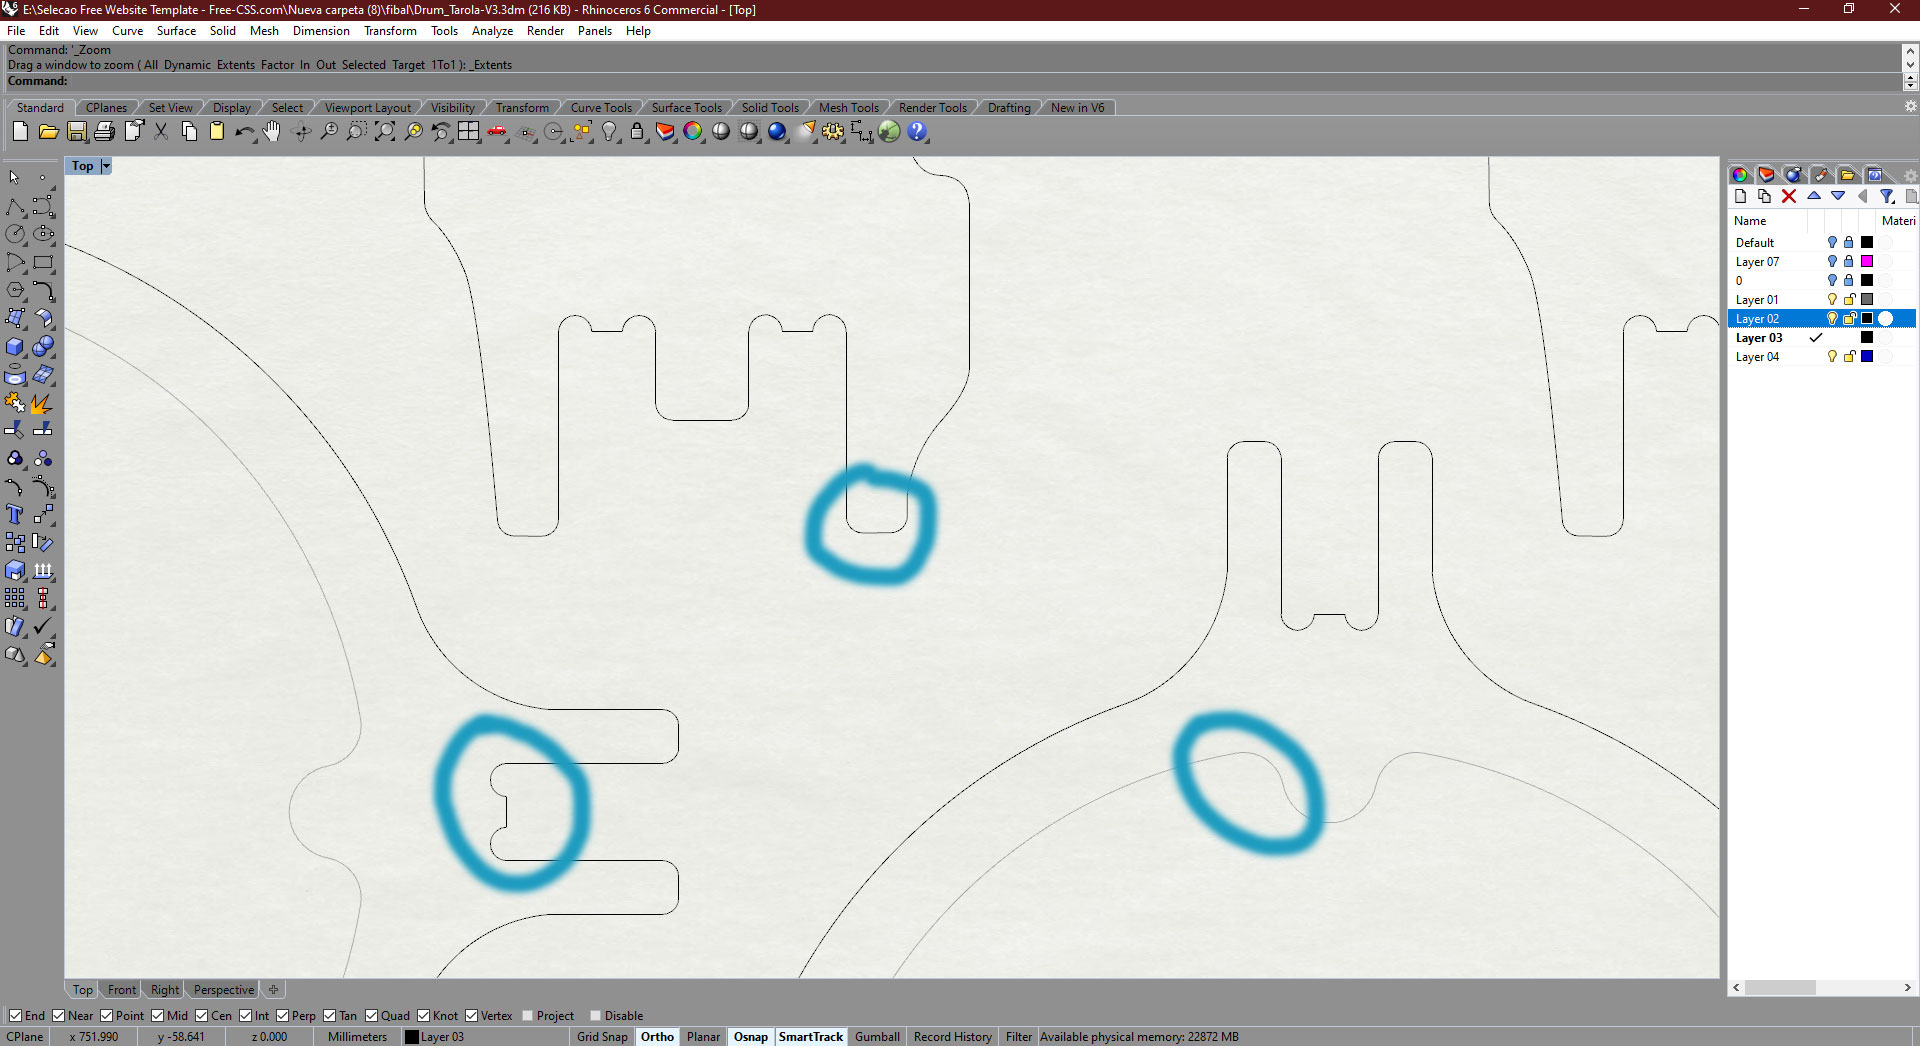
Picture 80.1. I design my Table & Drum in Rhinoceros First, we have to take into account the height of the MDF board which is 18 mm to be considered in the design of the Table & Drum After measuring the height of the MDF, we found that it increases to 18.4mm or 18.5mm, so we consider this to add a tolerance. Picture 80.2. Picture 80.3.
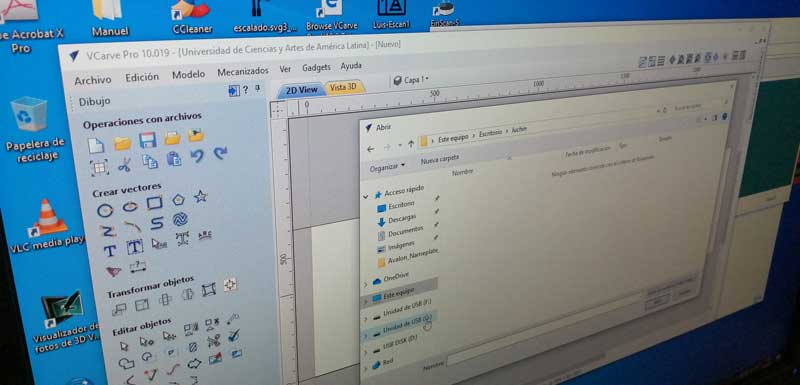
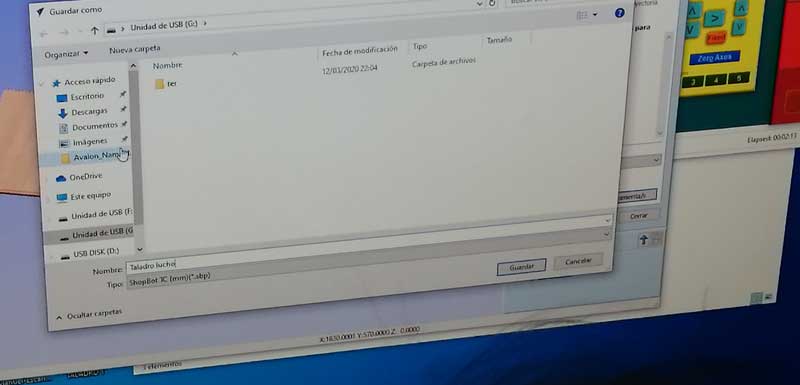
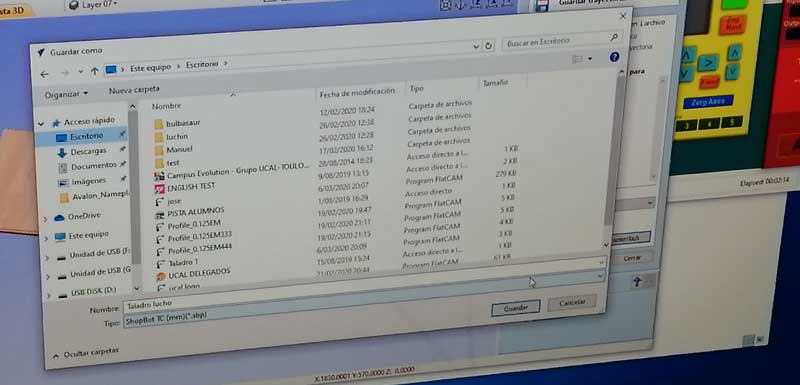
When I finish my design I export in "dxf" extencion, to milling in the ShopBot. Below are the files of my design.
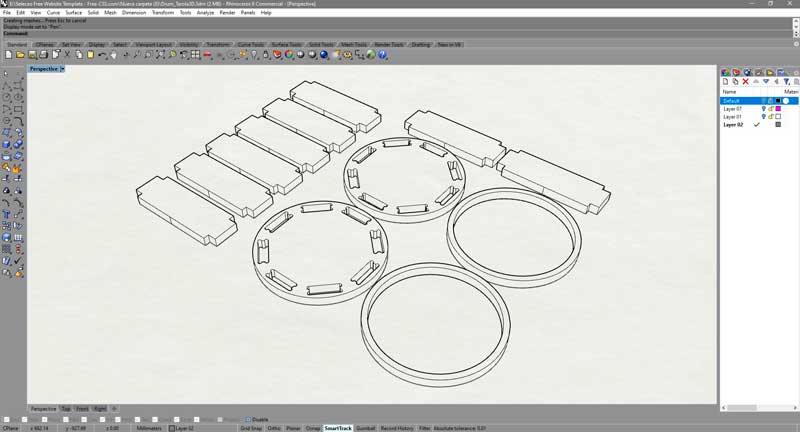
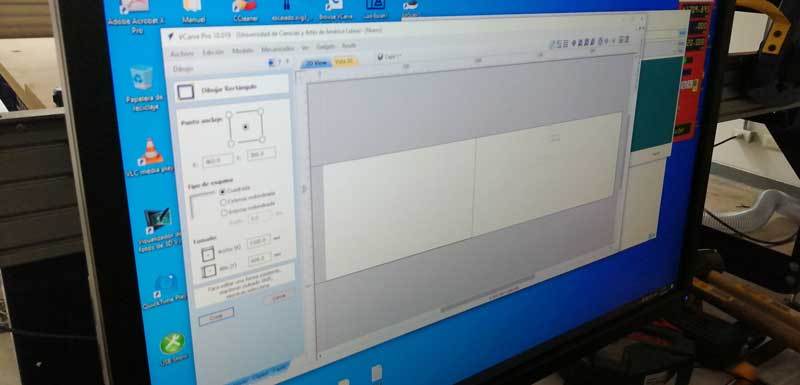
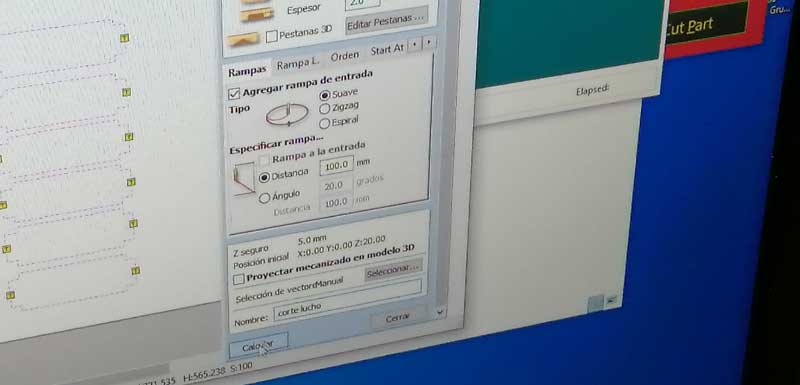
Picture 80. Second important issue to be considered is how the endmill works. As it is round shaped tool, it does not cut in a 90 degree angle to make a perfect square as example, so we need to make a circle of the endmill diameter like it is shown in the image below.
STEP 2.
After designing in Rhinoceros, I need to save my work using the extension dxf.
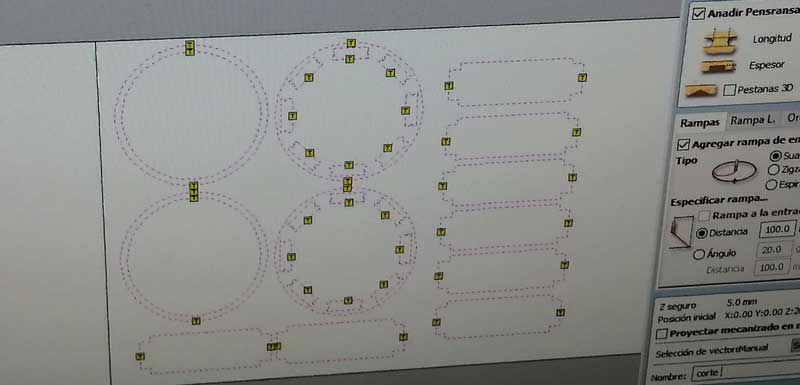
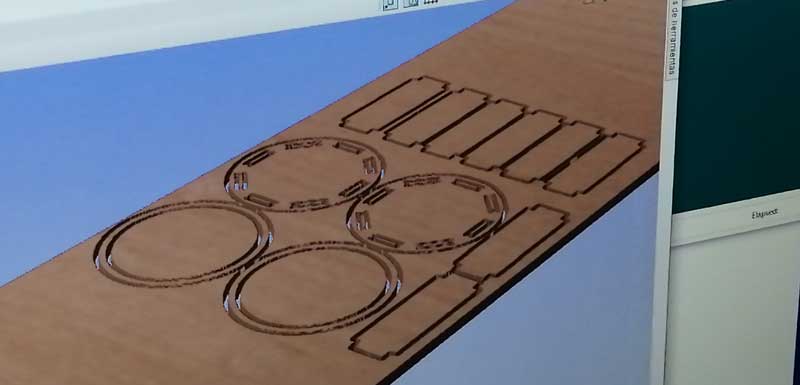
Then we have to put all the parts in 2D to be able to cut them. In this case, we put both jobs (my partner and mine) in the same document to maximize the use of the material.
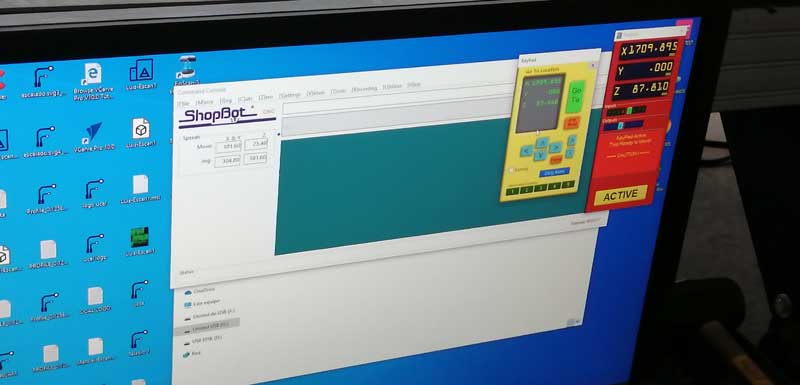
Go up to the Shopbot program, below the steps to use the Shopbot.
-This part was part of the group work, using the MIT table.
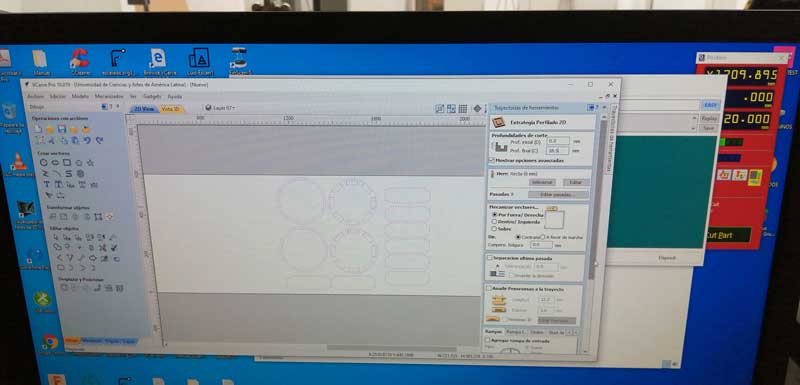
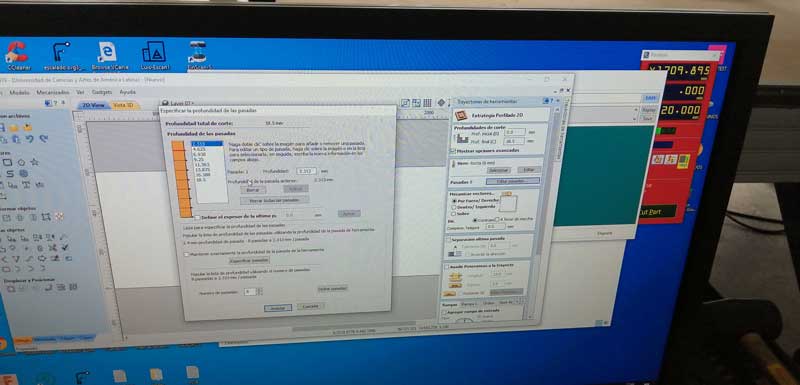
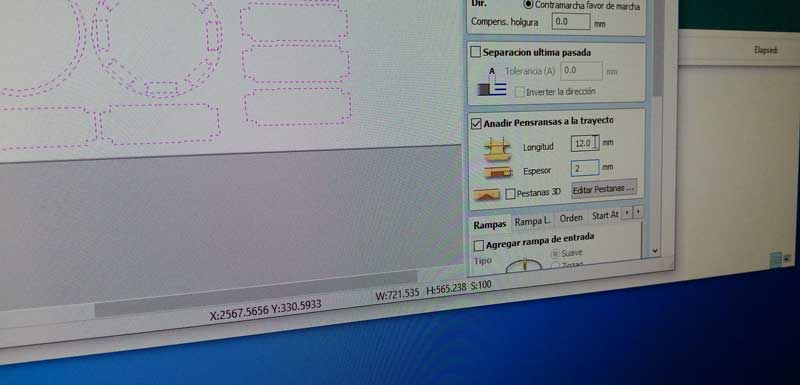
Calculate some important values. Image 81. We need Fablab's speed and feed calculator to execute some parameters. FabLab speed calculator. Picture 81.1. Then after i pressed the button “Calculate”, we have to use those parameters in the software VCarve before we send the information to the SHopbot. Picture 81.2. In the VCarve software we have to add some measurements to calculate the surface area to be used. Picture 81.3. We upload the file containing both designs. Picture 81.4.Next step is to locate the circles to fix the MDF to the spoil board or sacrifice desk. The diameter of the endmill is 6.2mm.
STEP 3. Fabrication
Prepare the MDF to the mill.
Picture 82.1. I have to prepare the Sheet of MDF and cut it according to the size that is going to be used. For the two projects; mine and that of my partner we use the half of a MDF sheet. Picture 82.2.We place the MDF sheet to be cut. Picture 82.3. Picture 82.4.
The Milling STEP.
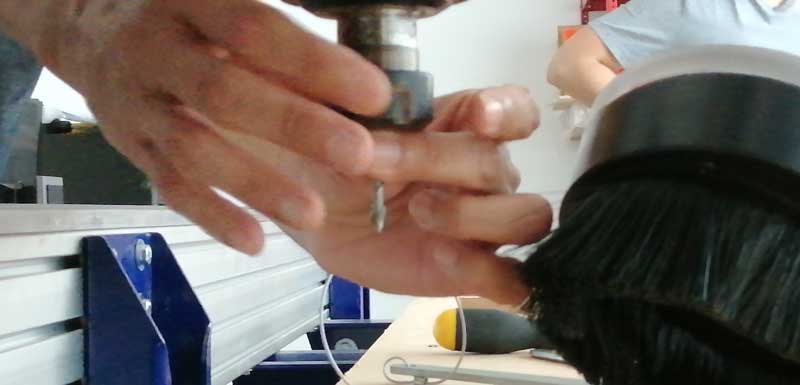
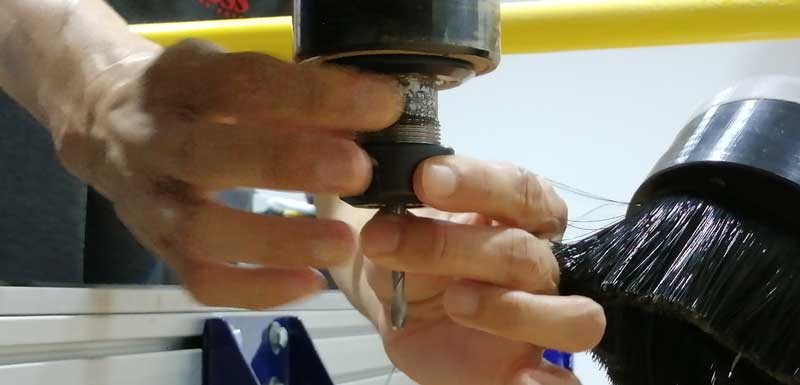
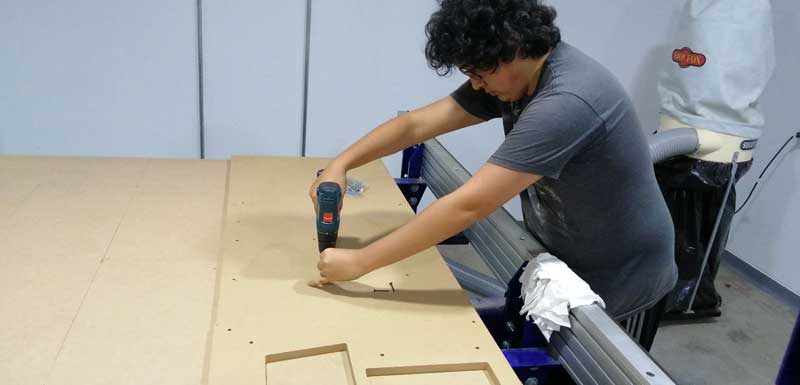
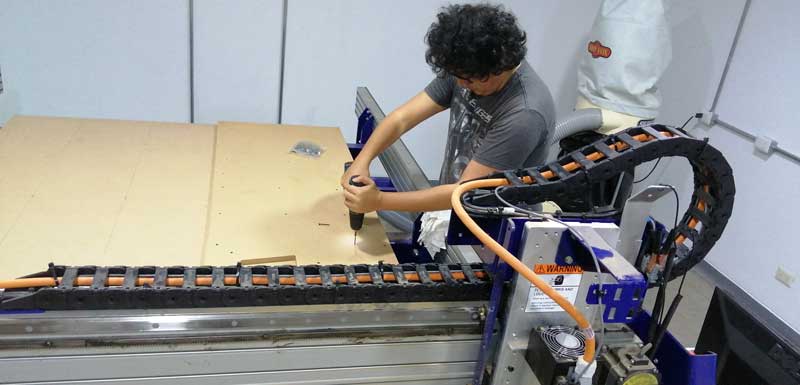
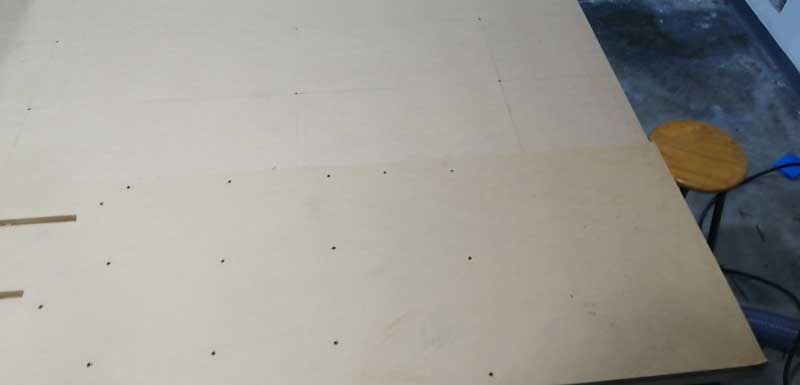
According to the circles labeled i inserted the screws to fix the MDF.
After that i configure the Shopbot software by locating the XY paramters that is done automaticaly and the Z parameter by hand.
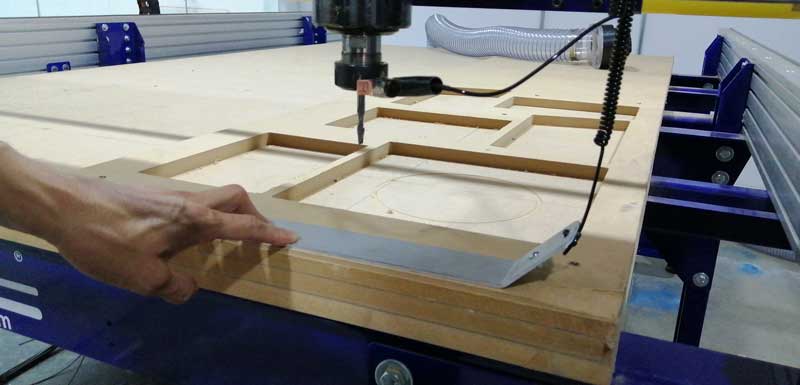
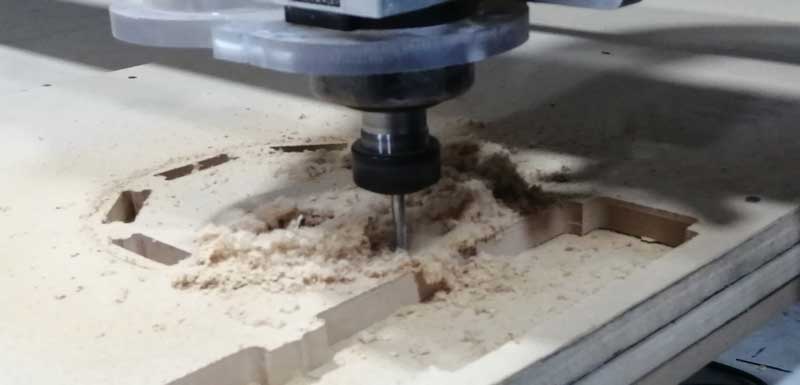
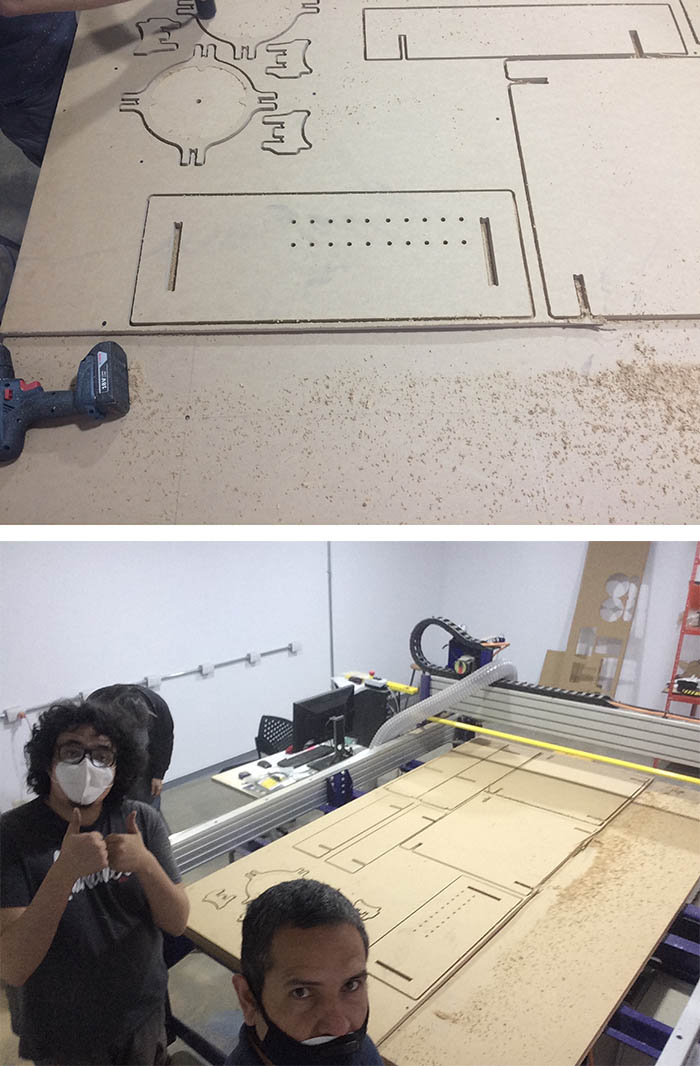
After the Shopbot started cutting by carving the material with 8 passes.
Picture 82. Finally after about 5 hours of work I could see the birth of my Table & Drum, all the parts being cutted and then we start assembling them. Picture 82.1. Picture 82.2. Picture 82.3. Picture 82.5. YEAH!
STEP 4. Assemble my Table & Drum
They know how to see the cut pieces ready to put them together is an huge satisfaction.
Knowing all I had to do to get it I am proud of myself!.
Picture 83.Feel the power of the dark side!!!. Picture 83.1. So then I proceed to assemble my Table & Drum. Picture 83.2. Picture 83.3. Picture 83.4. Picture 82.4.This Is the Way!!!.
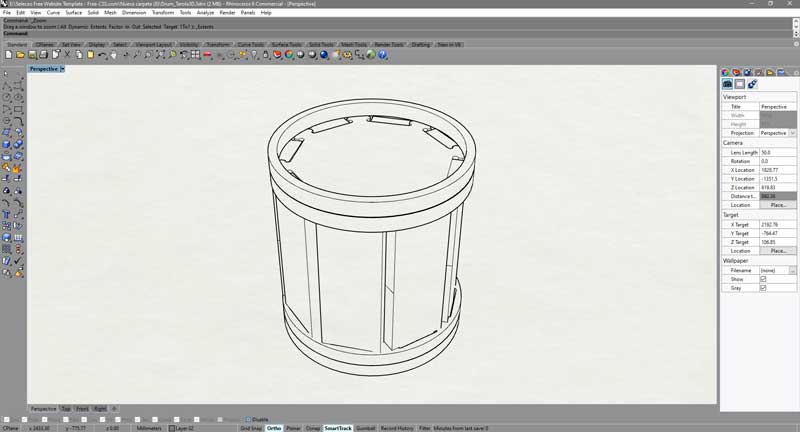
STEP 5. Final view of my Table & Drum.
Finally I show my Table & Drum.This assigment was very tedious preparation and setup but it compensates it and is worth everything. Because seeing my manufactured parts come out and seeing that everything went well, it felt great and I really enjoyed putting it together.
Picture 83. My Table & Drum. Picture 83.1. Picture 83.2. Picture 83.3. Having the knowledge of silicone manufacturing I decided to put silicone on the side of the drum and attach my PCB that I made in assigment 7. Electronics design. Picture 83.4. Picture 83.5.
========== learned/conclusions ==========
This was my one of my two most anticipated asgnaturas! since I have to manipulate the Shopbot! And also that I could despite the pandemic since when I learned this subject in Peru there was a mandatory curfew. But it gives me satisfaction to see I have been able to complete this assignment.
I learned that if I want to have a right angle, I have to make a special design for my model so that it can be perfect. And do not fall for the attempt like I did at the beginning and practice the subject of tolerances is very important.


.PNG)
.PNG)
.PNG)
.jpg)
.jpg)
.jpg)
.jpg)
.jpg)
.jpg)
.jpg)
.jpg)
.jpg)
.jpg)
.jpg)
.jpg)
.jpg)
.jpg)
.jpg)
.jpg)
.jpg)
.jpg)
.jpg)
.jpg)
.jpg)
.jpg)
.jpg)