First Assigment


Introduction

For someone who has never worked with GIT before, this task is a great challenge. The codes are very tidal but there are codes similar to HTML, that made the task easier for me.

I found all this really difficult and confusing, but I managed to memorize and understand the git codes. The process is not difficult to understand but has a considerable amount of steps, so to have the information organized and not have an endless page besides getting dizzy, I decided to divide it into four steps.

============== STEPS ==============

1.Started with Git

To begin to understand Git, my instructor teachme and teke me exercesi to learn the basic. In short, Git is a version control system,Version control is a system that keeps track of every change made to a file in the process of making a project, and saves all the versions of it for each change you make., that allows you to control the progress and modifications of your project without the risk of losing your information.
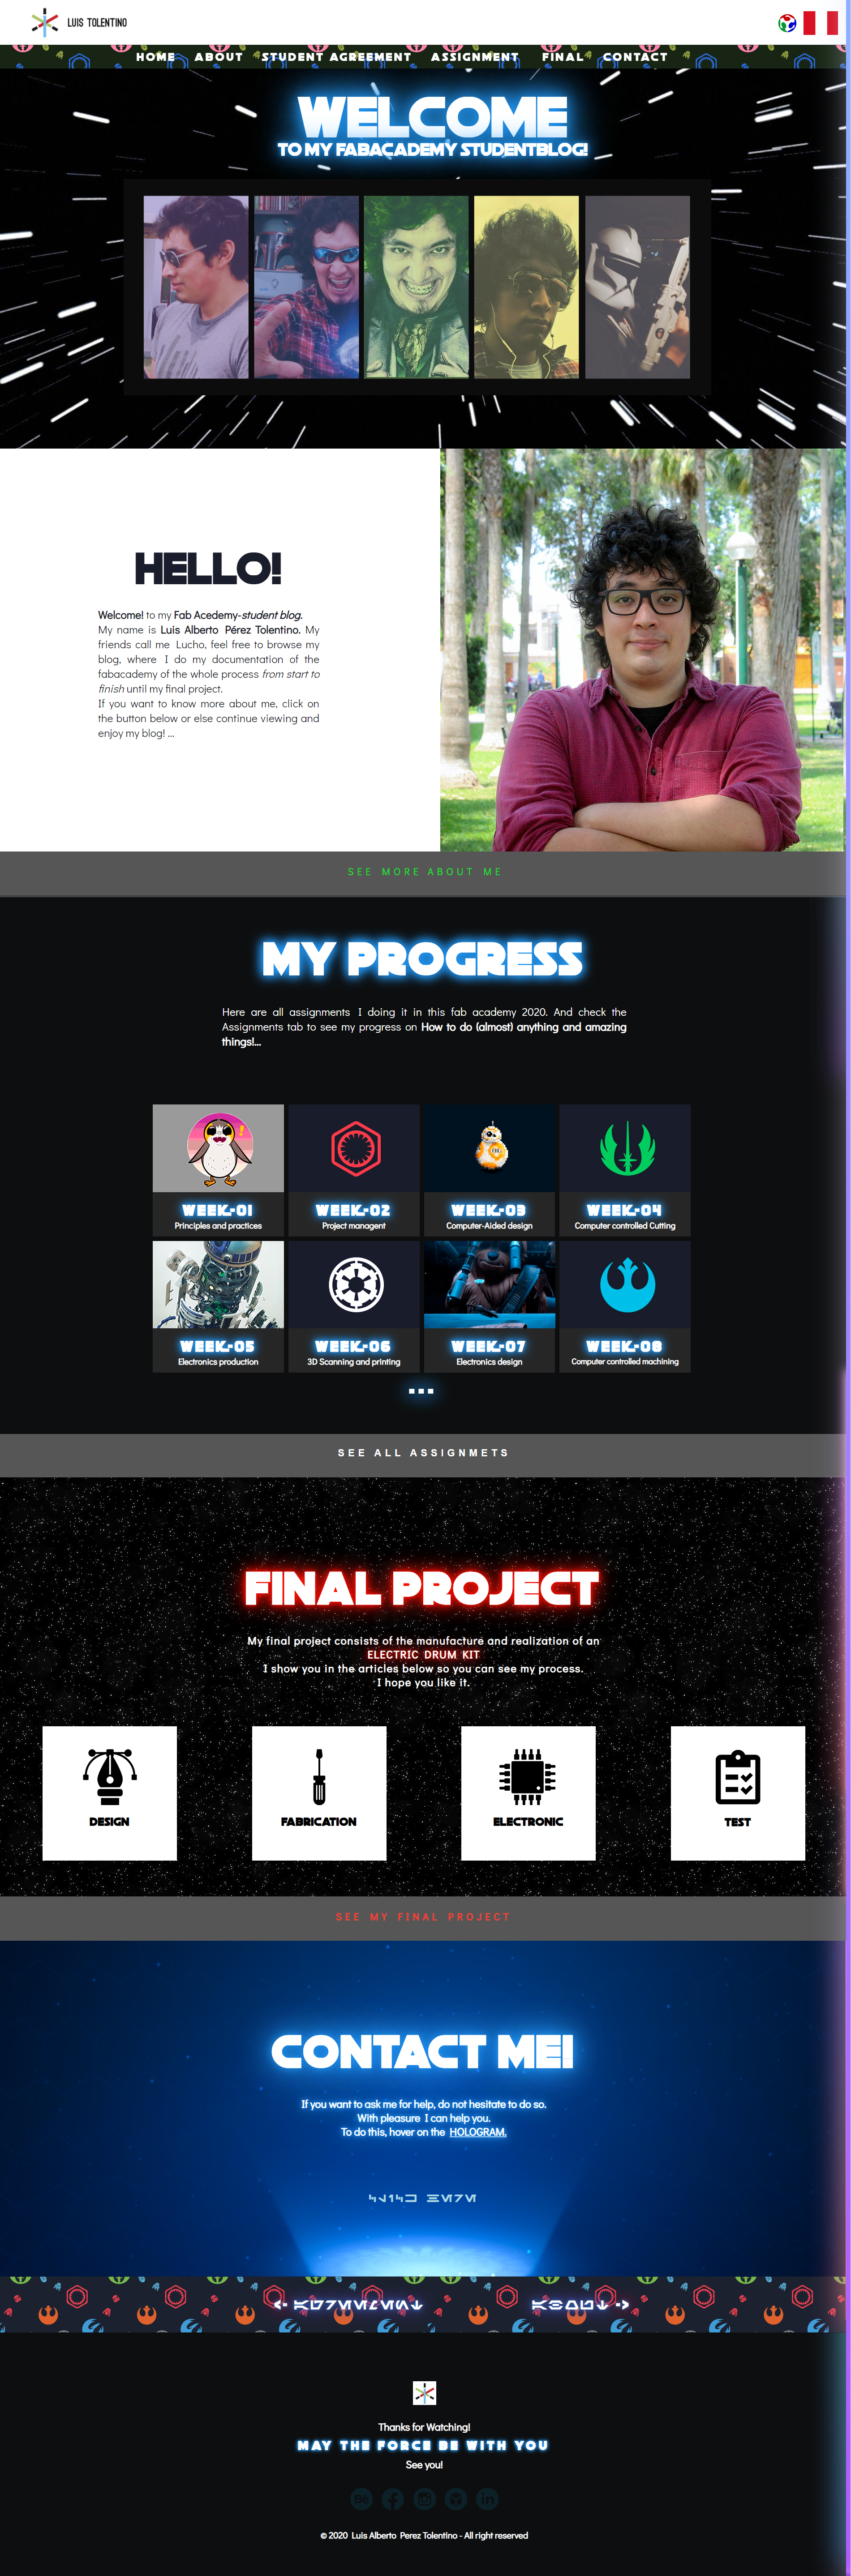
First Step Downloading, intalling and setting the GIT and linkied with the GIT-Lab (the link send to my email.
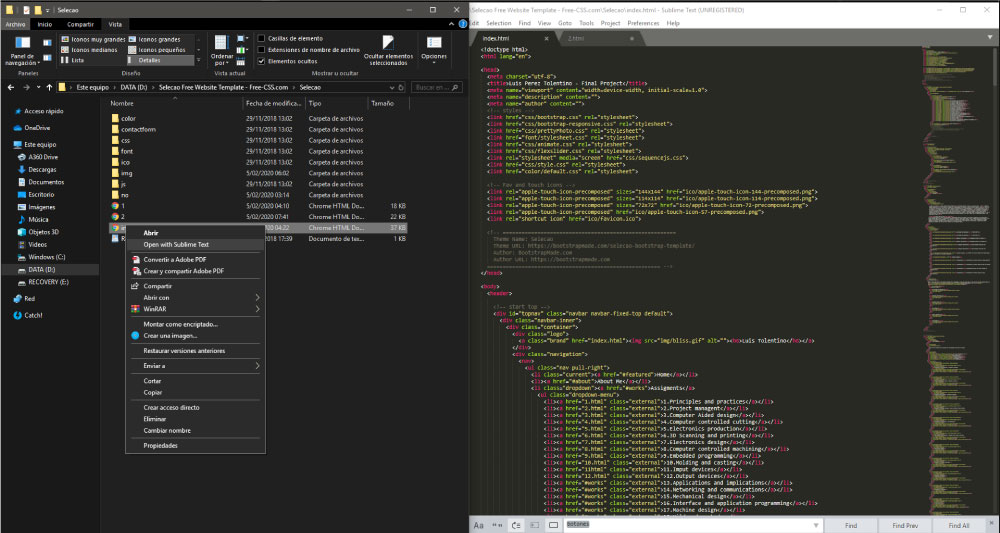
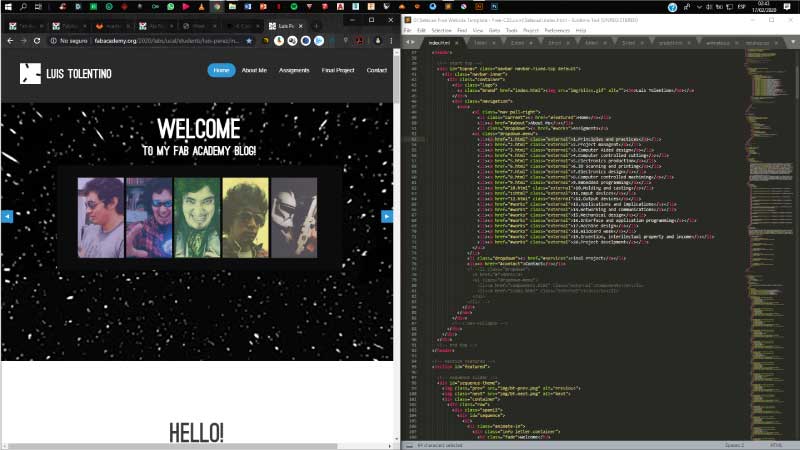

Picture 1.


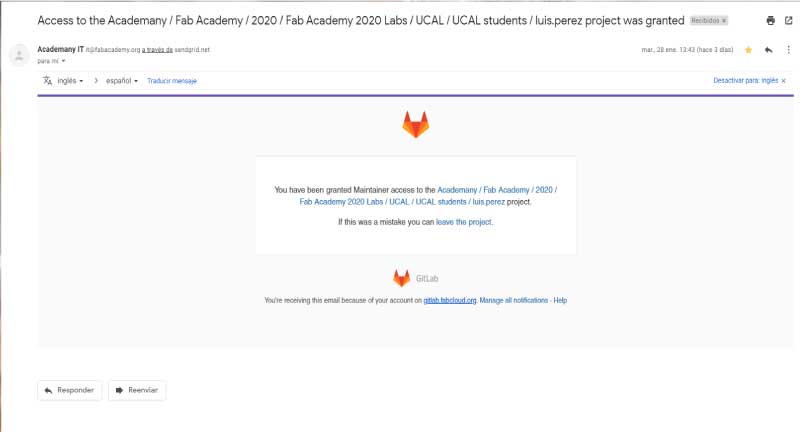
Git is an open source, free distributed and very popular version control system up.


I installed git for windows on my computer.
Download git for windows.


Once I had it installed I started the setting up.

1. Establish user name

git config --global user.name testuser

I replaced "testuser" with my name.

2. Establish user email

git config --global user.email testuser@example.com

I replaced "testuser@example.com" with my email.

3. Check information

git config --list

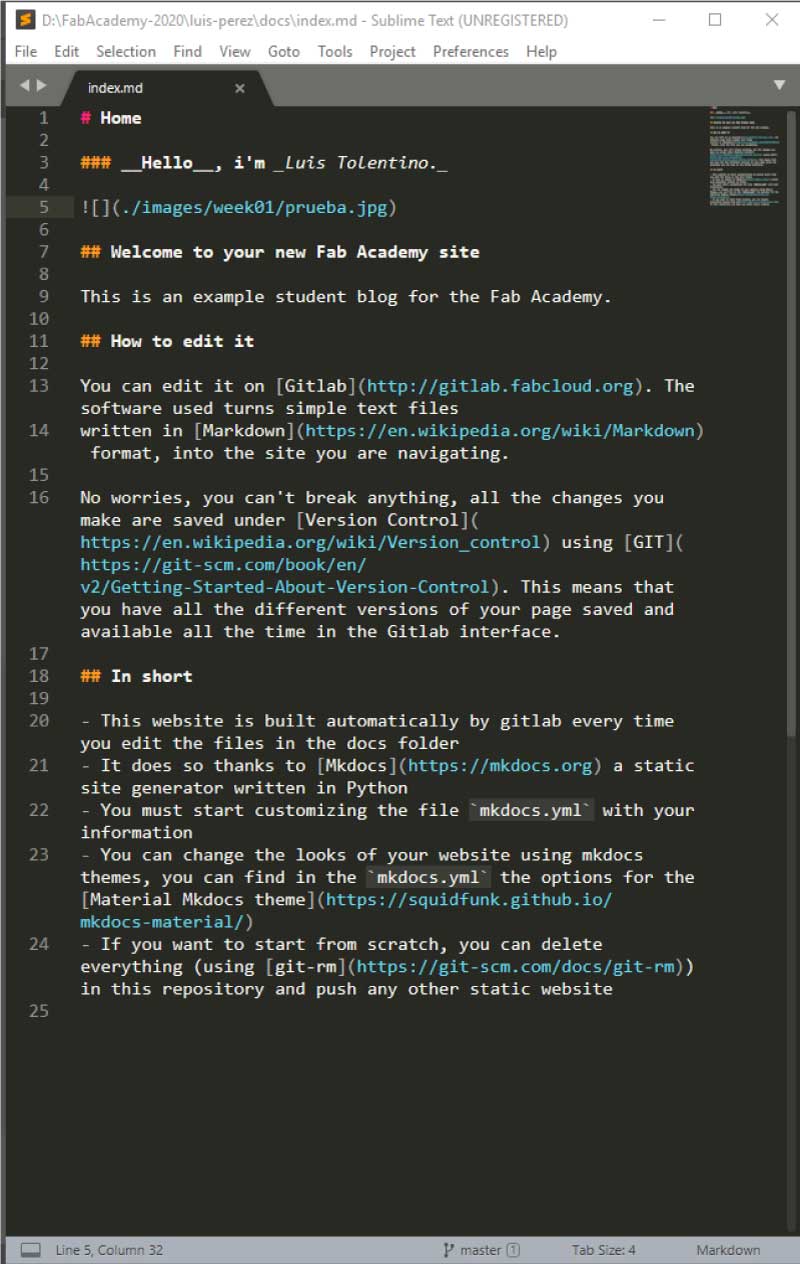
It should look like the image.

Picture 2.


MY SECOND STEP WAS CREATING THE LOCAL REPO

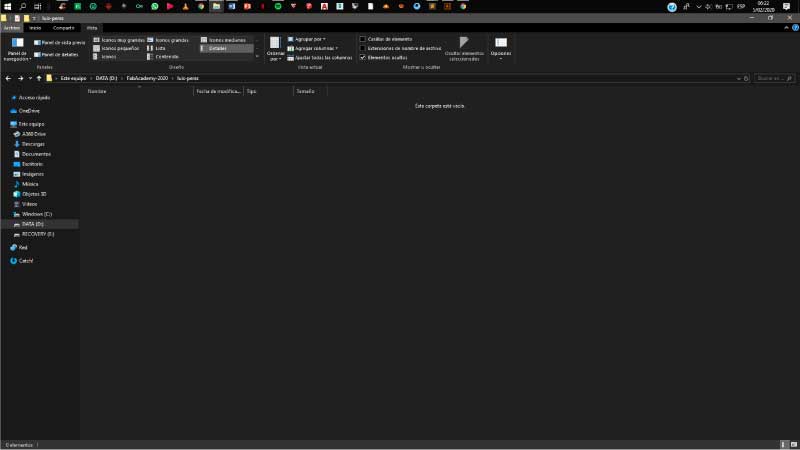
1. Create a new file in my computer

2. Copy the path.

Picture 3.


3. Set the repo location

cd path


I replaced the word "path" with the location of my file (ex: D:\FabAcademy-2020\luis-perez)


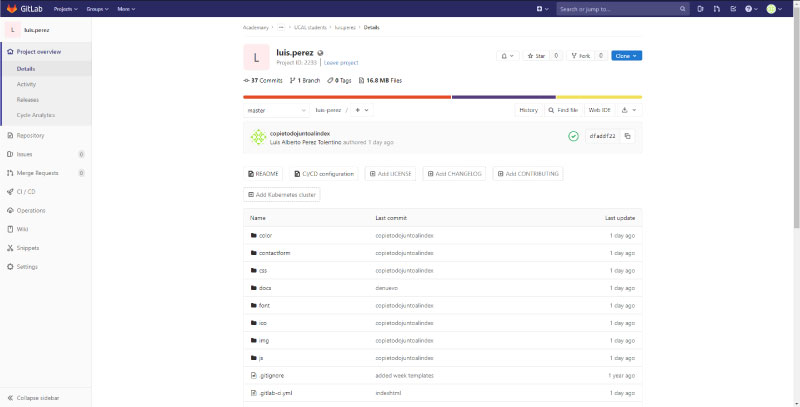
MY THIRD STEP WAS COPYING FROM GITLAB TO MY COMPUTER

1. Copy gitlab's url

2. Clone the archives

git clone path


I replaced the word "path" with this URL

git@gitlab.fabcloud.org:academany/fabacademy/2020/labs/ucal/students/luis-perez.


FINALLY, THE TEST

1. Make a modification in the local repo, adding or deleting a file for example
2. Check status

git status


3. Stage the changes

git add .


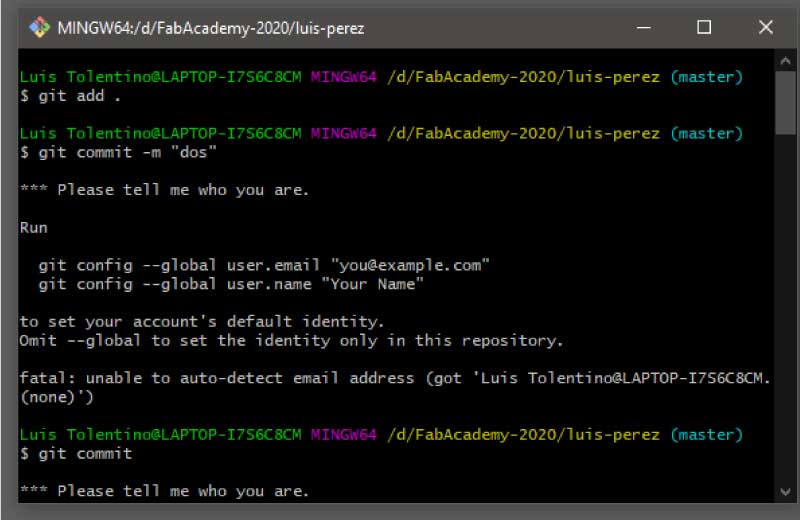
4. Commit the file that you've staged in local repository

git commit -m "message"


I replaced "message" with a label for the change made (ex:deletedimg5) 
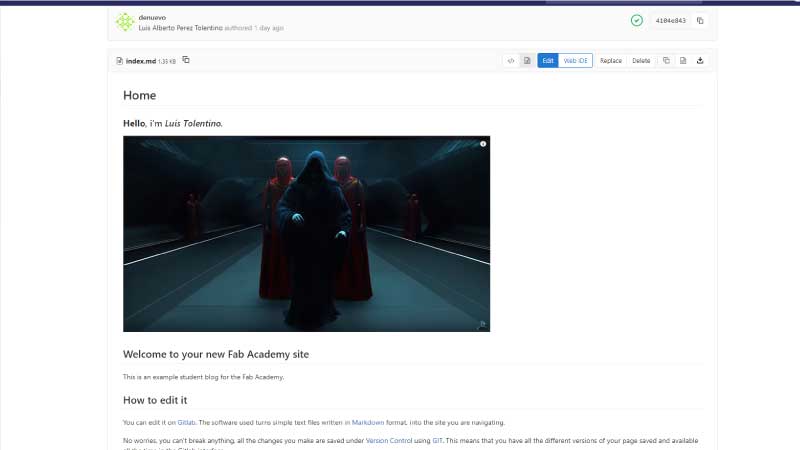
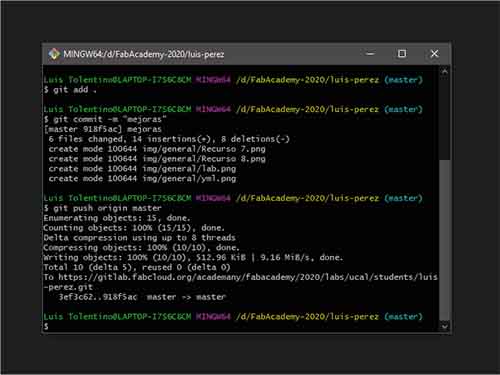
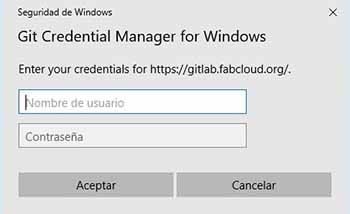
5. Send changes to the remote repository

git push origin master


Git credential appears the first time you push. Enter user name and password for gitlab
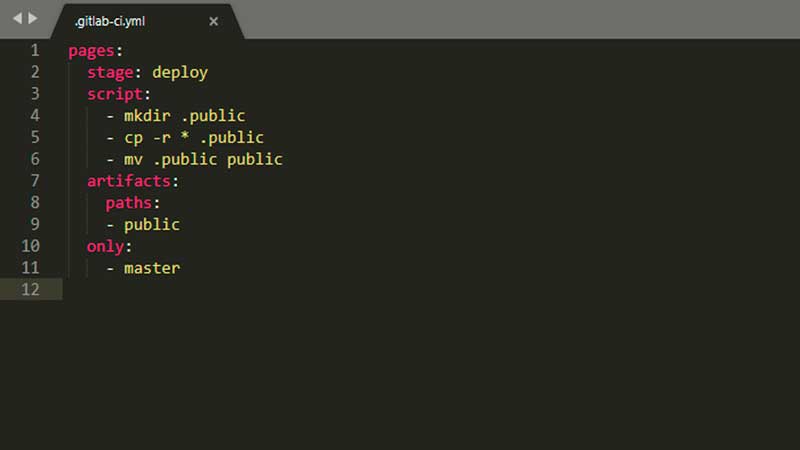
 Picture 4.


-------------------------- 6. There will be a moment that git may hang and get a fatal error preventing you from uploading your files to the repository. The best thing to do is a git clone.

git clone "paste the gitlab url"


So let's see how you should clone the repository, so that you can benefit from Git with the downloaded code. The process is as follows.


First you will copy the URL of the remote repository you want to clone (see the "Copy to clipboard icon as shown in the following image).


Picture 4.


The next thing I suggest you do is create a new folder, example: My repository is in a Res-Academy folder, I do git push and I get a fatal error. what I should do is first create a folder with a similar name, example Res-Academy2 then you enter this folder and you will open a terminal window or the same Git Bash terminal.
Then you write

git clone "paste the url of gitlab"


and wait for the files to finish downloading. And repeat the git again from the first git add point.


This picture is if you used the windows terminal.


and This picture is if you used the git terminal.


2.Editing Code

For the design and writing of the code I decided to use the Sublime-Text software. First time I use it. Download Sublime Text from here.


Working with Sublime-Text


This program is very similar to Dreamweaver. So it was very easy for me to use it.


HERE IS HOW I USED IT:


I opened the part of the webpage that I wanted to edit.

In this case I started with the about page, oppening and modifying the code of the index.md archive with Sublime. (docs/about/index.md)

Picture 5.


I uploaded the changes with git using the three commands I mentioned before.
1.Check status

2. Stage the changes

3.Commit the file that you've staged in local repository

I replaced "message" with a label for the change made (ex:deletedimg5)
4. Send changes to the remote repository

Git credential appears the first time you push. Enter user-name and password for gitlab


Here you can see the changes made.

Picture 6.0.


Picture 6.1.


Picture 6.2.


3.Use a Templade

Although I had already understood the logic of all of this, and updated my page, I wanted it to look different, something I feel comfortable with.
I started looking for a template, there are plenty of pages where you can download HTML or CSS templates from.

-Working with a Template call it Selecao Free Website Template.zip.
I founded in this Website Free CSS check it out yeah!.


REPLACING THE FILES (have a problem)

I had a problem trying to upload my files from my page to the repository. I didn't know how to link the html with the yml.
I looked in other classmates if they had this problem to guide me and I only found one in which I looked for my instructor Ale Rivaneyra.
For security reasons, I created a back up of my previous files in my folder on my computer, in case I disagree something I have a backup.

STEP 1.
Replace the codes within the file .lab-ci.yml

Picture 7


STEP 2.
Copy all the templade files inside the folder that is linked to the Git Lab.


Picture 8.


STEP 3.
Upload it to the repository using GIT.


Picture 9.


STEP 4.
Then I finished my Student Blog-Website with Sublime-Text.


Picture 10.


4.Design my New Webside


After uploading to the GitLab my Template in the course of the classes I had not noticed some visual errors that my page had.
I noticed when I shared my StudentBlog link that is in GitLab (template) with my friends and family so they can see my Assignments so they can see what I did they were having some display issues.
Some of them after viewing my page, gave me some recommendations and advice on usability and design of some parts of my StudentBlog. I paid a lot of attention to their recommendations, besides when I had to edit the Template, there are many codes that are new to me, for example, bootstrap that I had never heard before. Seeing all this I came to the decision to correct and make my own StudentBlog from scratch.

So watching tutorials and asking my university web design professor, I started writing and designing my own StudentBlog.
In the days after this decision I have learned a lot about web design and new programming codes, but I still need to learn more about responsibe and javascript.
I made this decision to design my own StudentBlog because I want to have more control over the tags and the code itself, because if something goes wrong, I know where to look and fix it.

I started making this website after Assignment 16, I have continued with the documentation, it was double work since I had to edit the template that is in the GitLab in case of That they will call me, I will be able to present and also explain that I am designing my own StudentBlog from scratch.
Now I am about to finish Assignment 18 and 19 practically this week along with these subjects I hope I can replace my StudenBlog that is in GitLab with this new one and you can enjoy this new website that I will do.


Screenshot 00.
I present to you the Home of my own StudentBlog Web-Site that I call it "theForce-StudentBlog_Site".

I gave it a GEEK.Style and obviously gave it effects like Star Wars with simple Java Script codes. Try to make it quicker for users to navigate my StudentBlog Web-Site, as well as intuitive navigation since I didn't want users to get dizzy or stressed looking for buttons or not knowing how to interact. That's why I wanted to make it simple, colorful and cool!. I enjoy doing this job!. I hope you like it!

May the force be with you on this Fab Academy adventure! See you around!.