========= Raster & Vector =========
3D Design
I'm more familiar with Autodesk 3D's Max, but I want to try modeling with
Fusion 360. If I compare it with solidworks, it would take me longer to learn how to use solidworks than Fusion 360. But solidworks is an excellent program and it also does simulations. But for this exercise I decided to use Fusion 360 since it is something simple. The steps to start a model in Fusion 360 are simple. Below I show you the steps I followed to model in Fusion 360.
At this point I don't have a clear idea of what to do for my final project because I have many ideas and I can't decide which one to choose, I want to make a drone, a hologram communication system, I always wanted to do one drum kit and other crazy and ambitious things, so for this part I decided to recreate the seat of a bicycle.
Picture 11.0. To model it, I decided to watch a tutorial to jog my memory, Then I saw this
Youtube Tutorial to learn and remember the basics of
Fusion 360.
Here's a tip when you
don't remember or
don't know something, look on
YouTube or
Google. Even you may come out knowing something new that you weren't even looking for, that happens frequently to me.
Once my memory has refreshed, I open fusion 360. I started to use Fusion 360, the Education version which is Free.
Download Link
Picture 11.1. When opening
Fusion 360, the program asks me to create an account in
Autodesk. something like a social network by Autodesk.
In the picture below, I show you the vignettes that come out when you start for the first time Fusion 360.
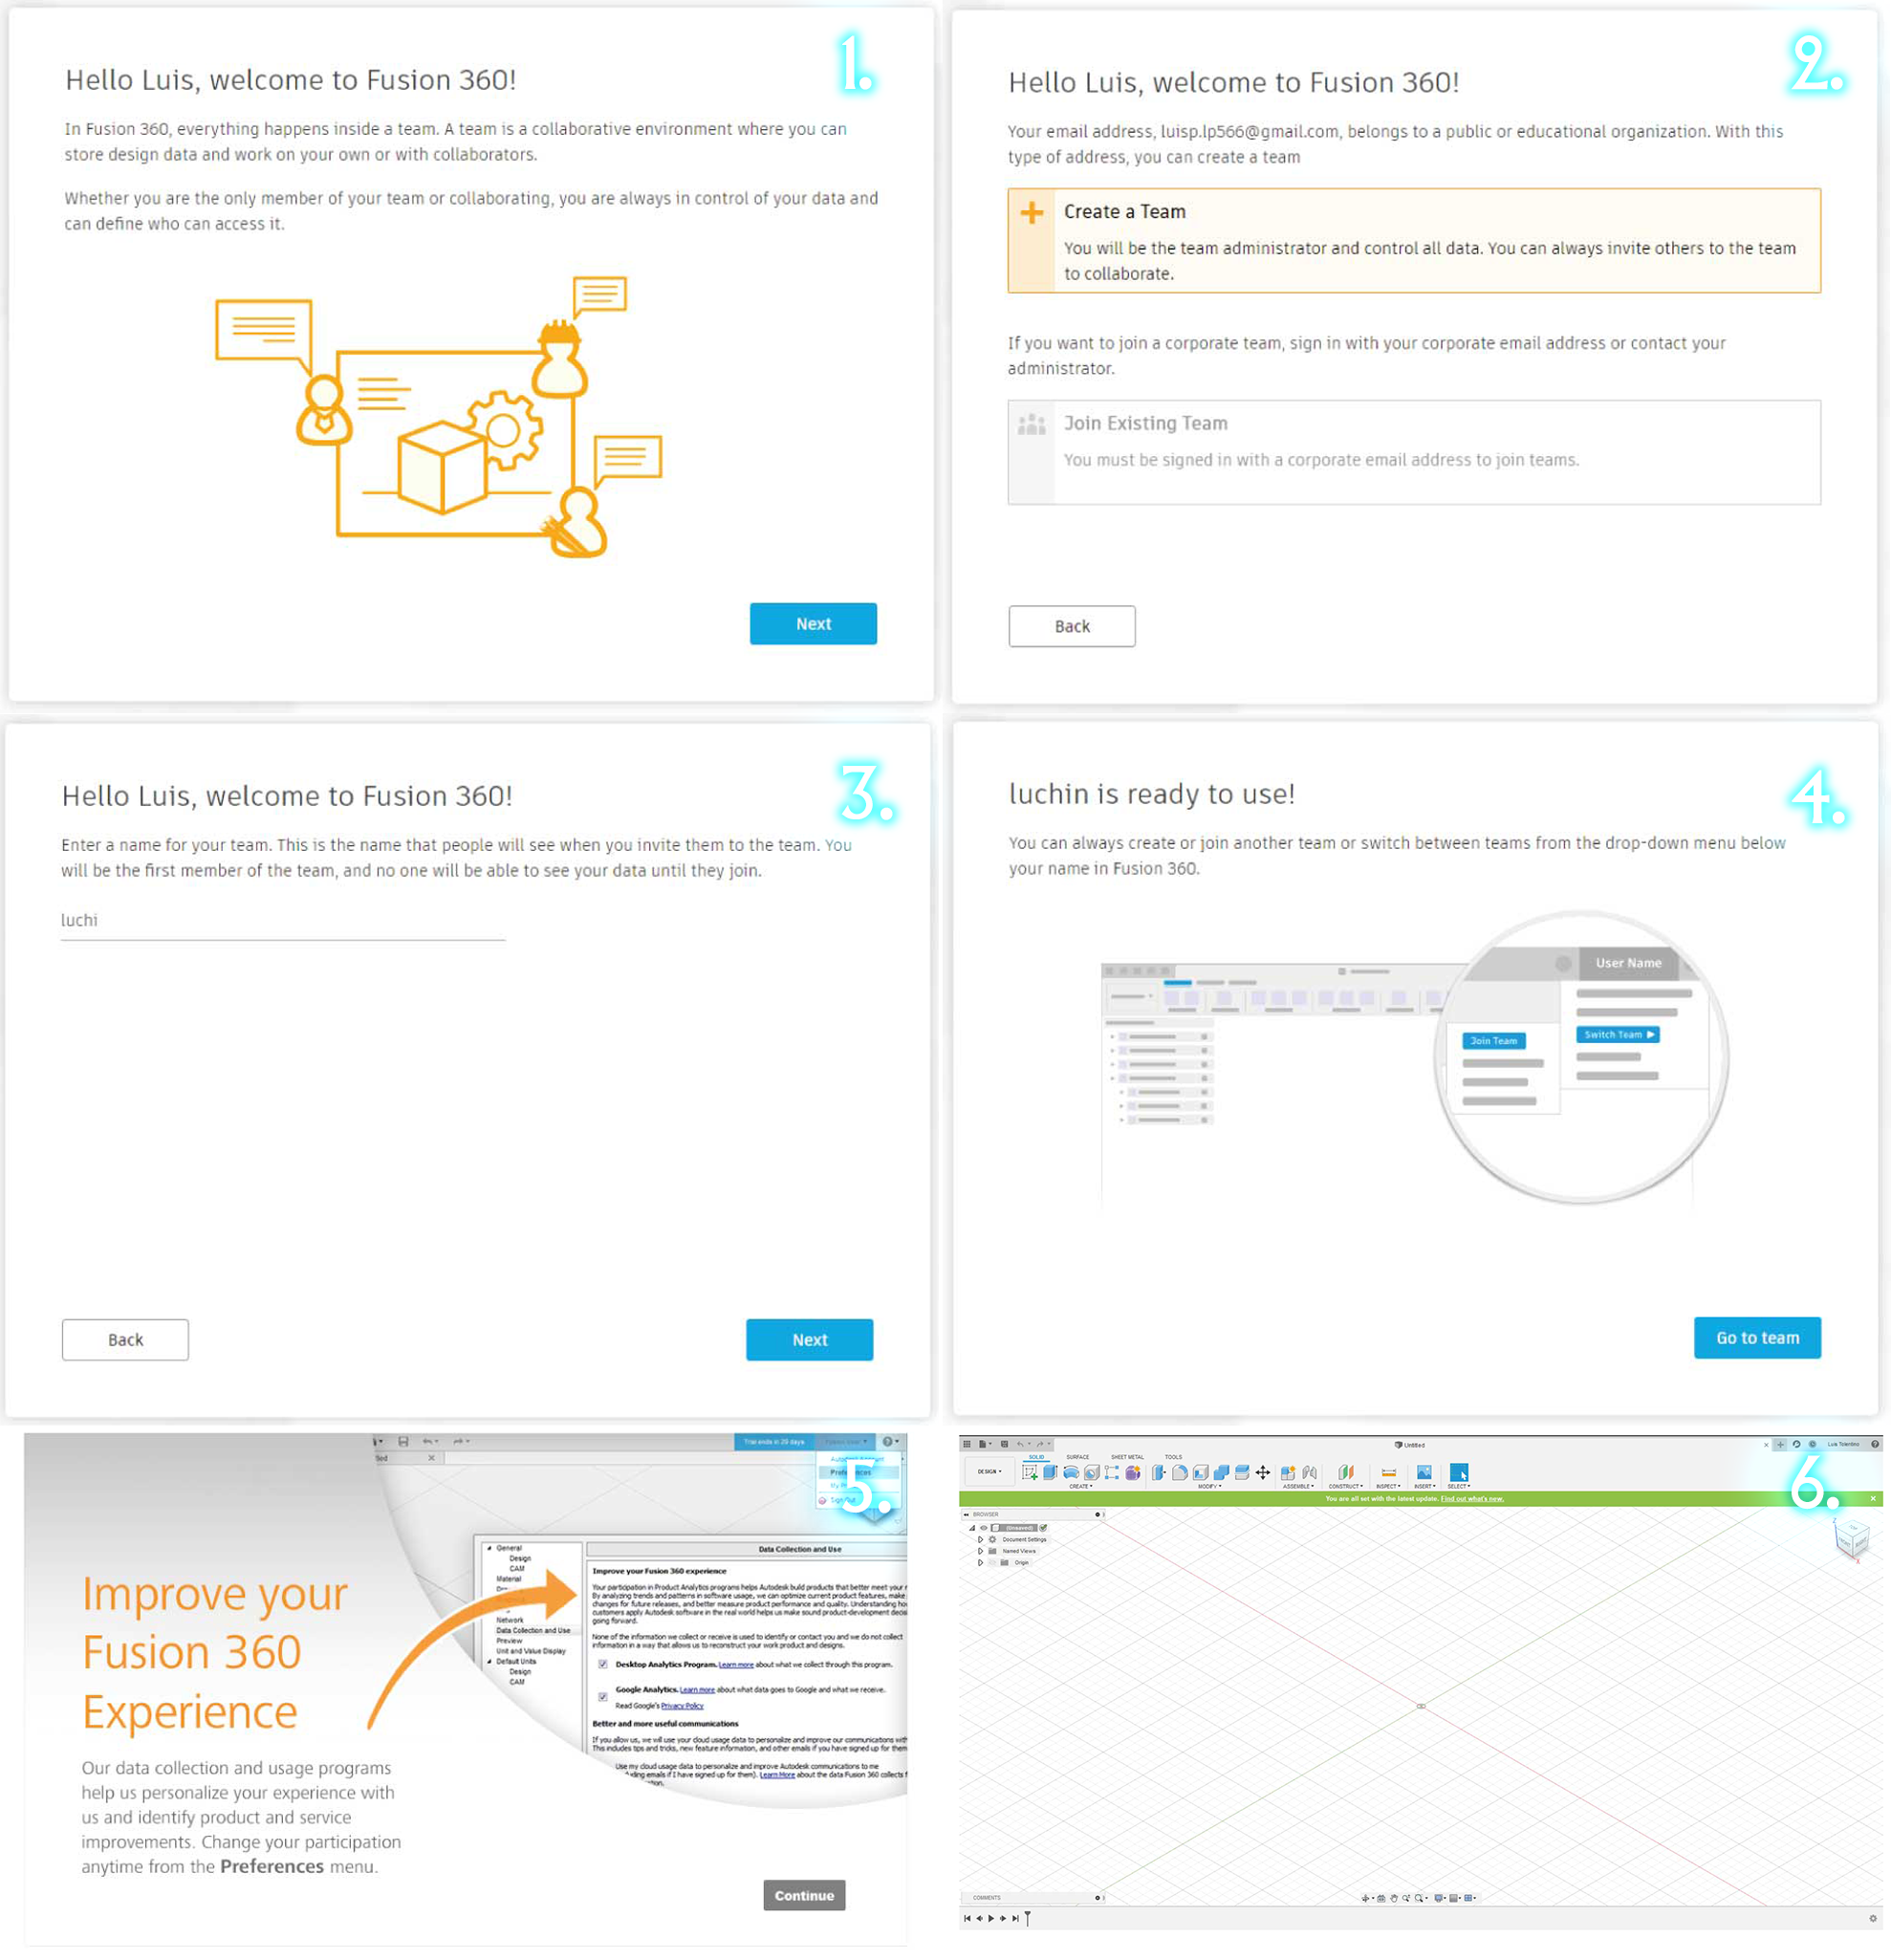 Picture 11.2.
 Well I ready to draw in
Fusion 360.
I am an expert modeling in Rhinoceros and especially in 3ds Max so what I do as a first step to model is to have three images or else it would be to make 3 drawings by hand of your object or whatever. to be done in 3D in the program. In my case I already have my 3 necessary images: Side, Plant and Isometry. The images I have and will use I will share a Zip file at the end of this page in case you want to continue what I do.
Picture 11.3. These images are compressed into a Zip file.

This I will do is very useful in addition that it allows us to have more help when modeling a 3D object. I think you wonder. How will we use them? And what would it do for us? In the steps below I will answer those two questions.
Picture 11.4. Well I will answer the two questions that I put above, these images that we will use will be placed in the viewport (canvas) of Fusion 360 in such a way that it will allow us to draw in 3d more less like tracing but in 3d.
This is a technique that is used in several programs, as in the images that I share below. As we will also use it now with Fusion.
 STEP 1.
 I upload the images to the Fusion 360 canvas.
To upload the images to the fusion canvas, it is done as follows.
Picture 11.5. First click on to Insert icon. Then click on Canvas.
 Picture 11.6.
 Then you put these two image on the top (Z) and left (Y) canvas.
Then I proceed to draw the chair.
STEP 1.
Picture 12.0. First click on the purple icon in the create panel.
 Picture 12.1.
 Then Click on the first icon, the cube.
 Picture 12.2.
 Next draw a rectangle exact the dimension of the chair in the picture in the top canvas. Like the picture below.
 Picture 12.3.
 After you finish the rectangle, hit enter twice and pull the arrow up on the Z axis.
 Picture 14.
 Now move the volume of the model trying to place it in the image on the left canvas.
 STEP 2.
Picture 13.0.
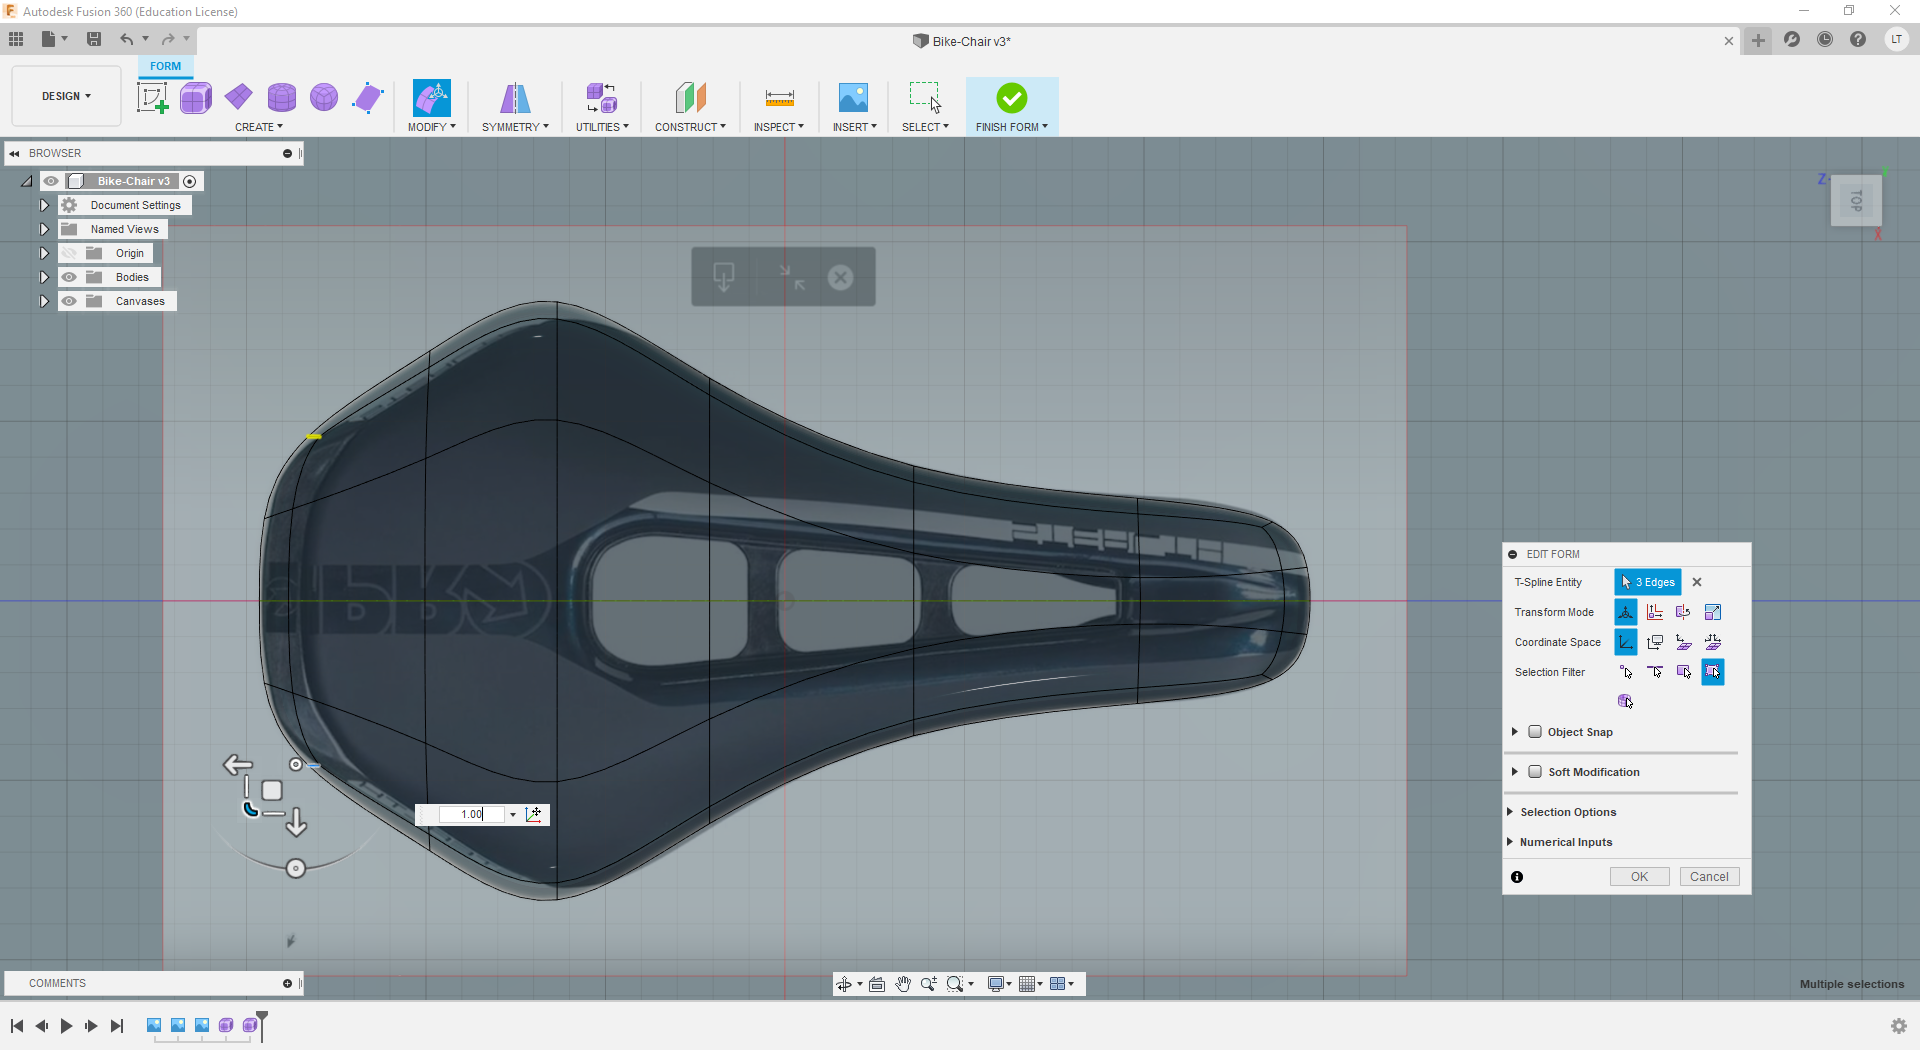
STEP 2.
Picture 13.0. This step is important, Select two squares like the picture below and in the modification panel find "Mirror" and click on it.
 Picture 13.1.
 Now the model is modified by symmetry.
 STEP 3.
Picture 14.0.
STEP 3.
Picture 14.0. This part is more easy. This can be easy since if you know how to model in 3ds Max Fusion 360 has similar terms as 3ds Max.
 Picture 14.1.
 Now we start to move and I try to fit the components. To select several objects, it is done in the following way, press the "shift" key and holding down "Shift" we click on what we want to select. As in the image below, select all that blue line.
 STEP 4.
Picture 15.0.
STEP 4.
Picture 15.0. We continue to accommodate if you do not block or something moves, do not worry, Fusion being a software for metrics allows you to move with precision several points at the same time, so with a lot of passion you have to give shape to that volume that we are creating.
 Picture 15.1.
 Ready!. I think it already looks a lot like the canvas image on the z axis (top)
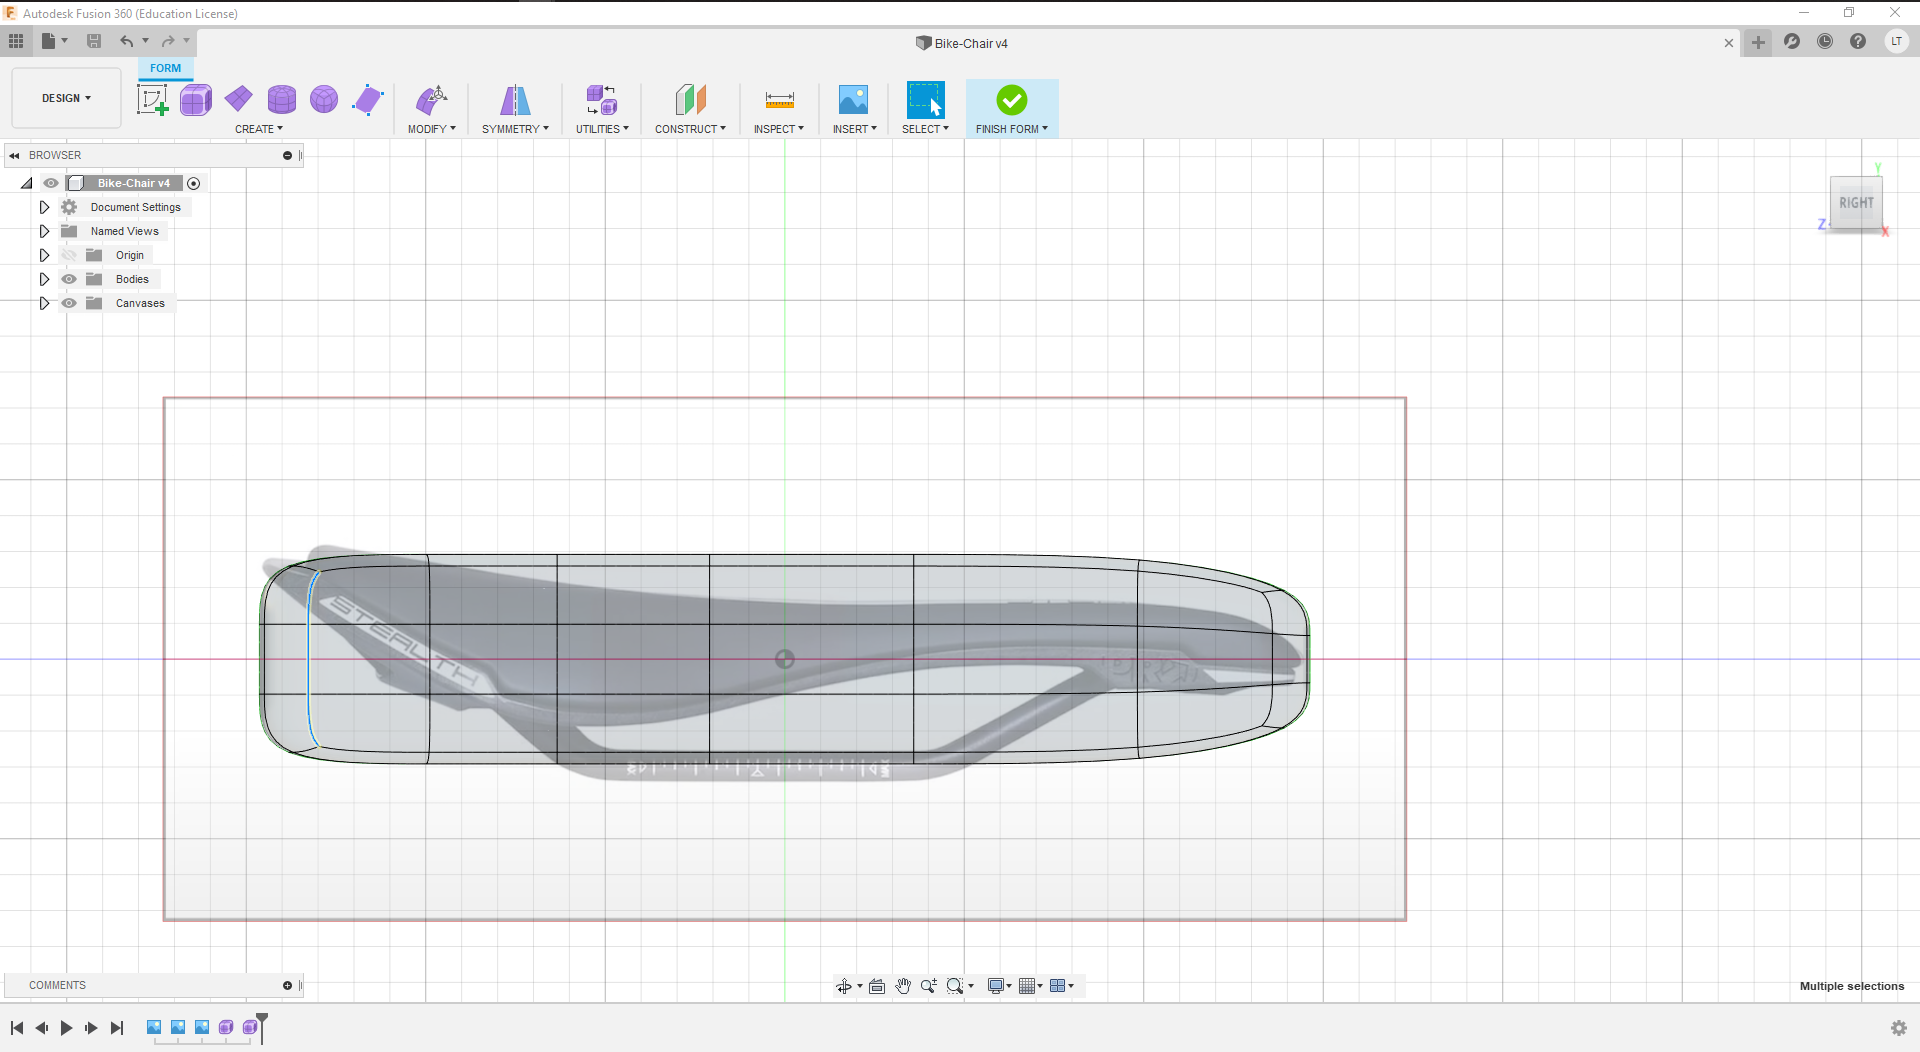
 STEP 5.
Picture 16.0.
STEP 5.
Picture 16.0. Now, we have to do the same in the left or right view.
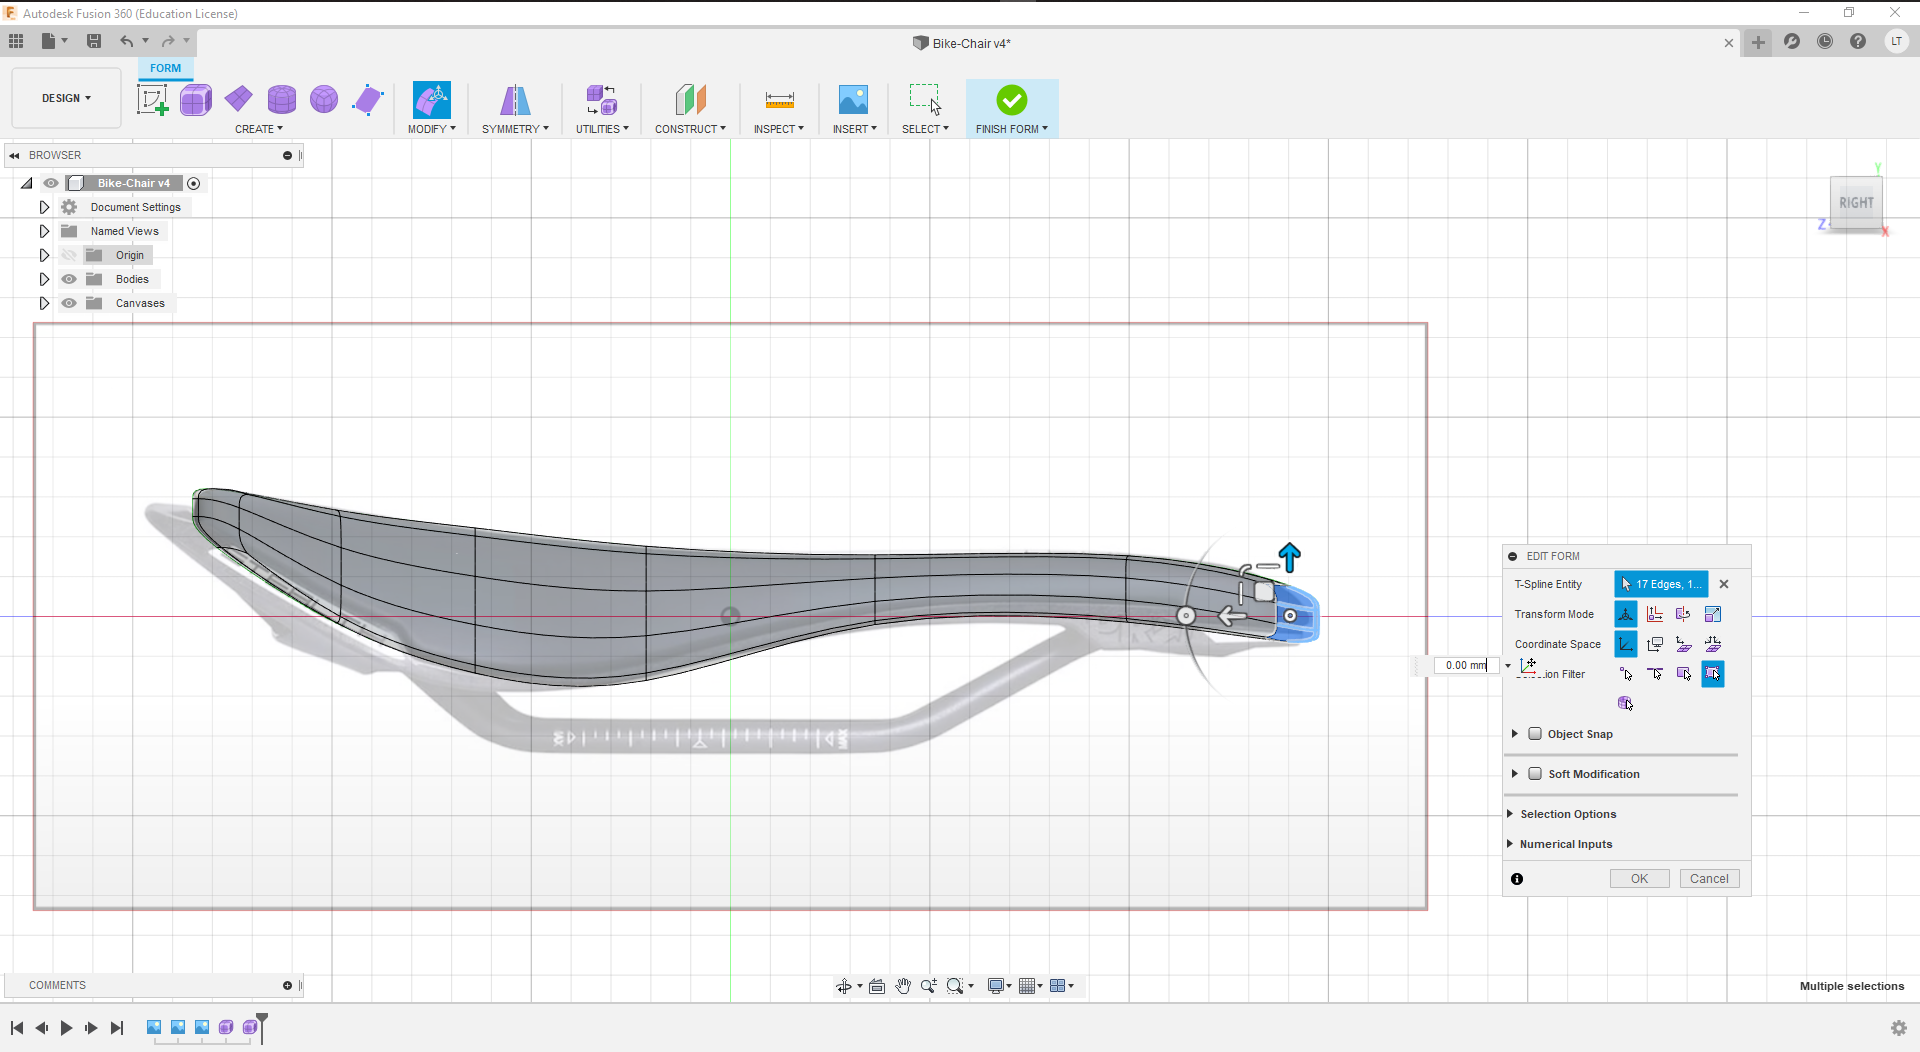
 Picture 16.1.
 Ready!. I think it already looks a lot like the canvas image on the Y axis (Right).
 STEP 6.
Picture 17.0.
STEP 6.
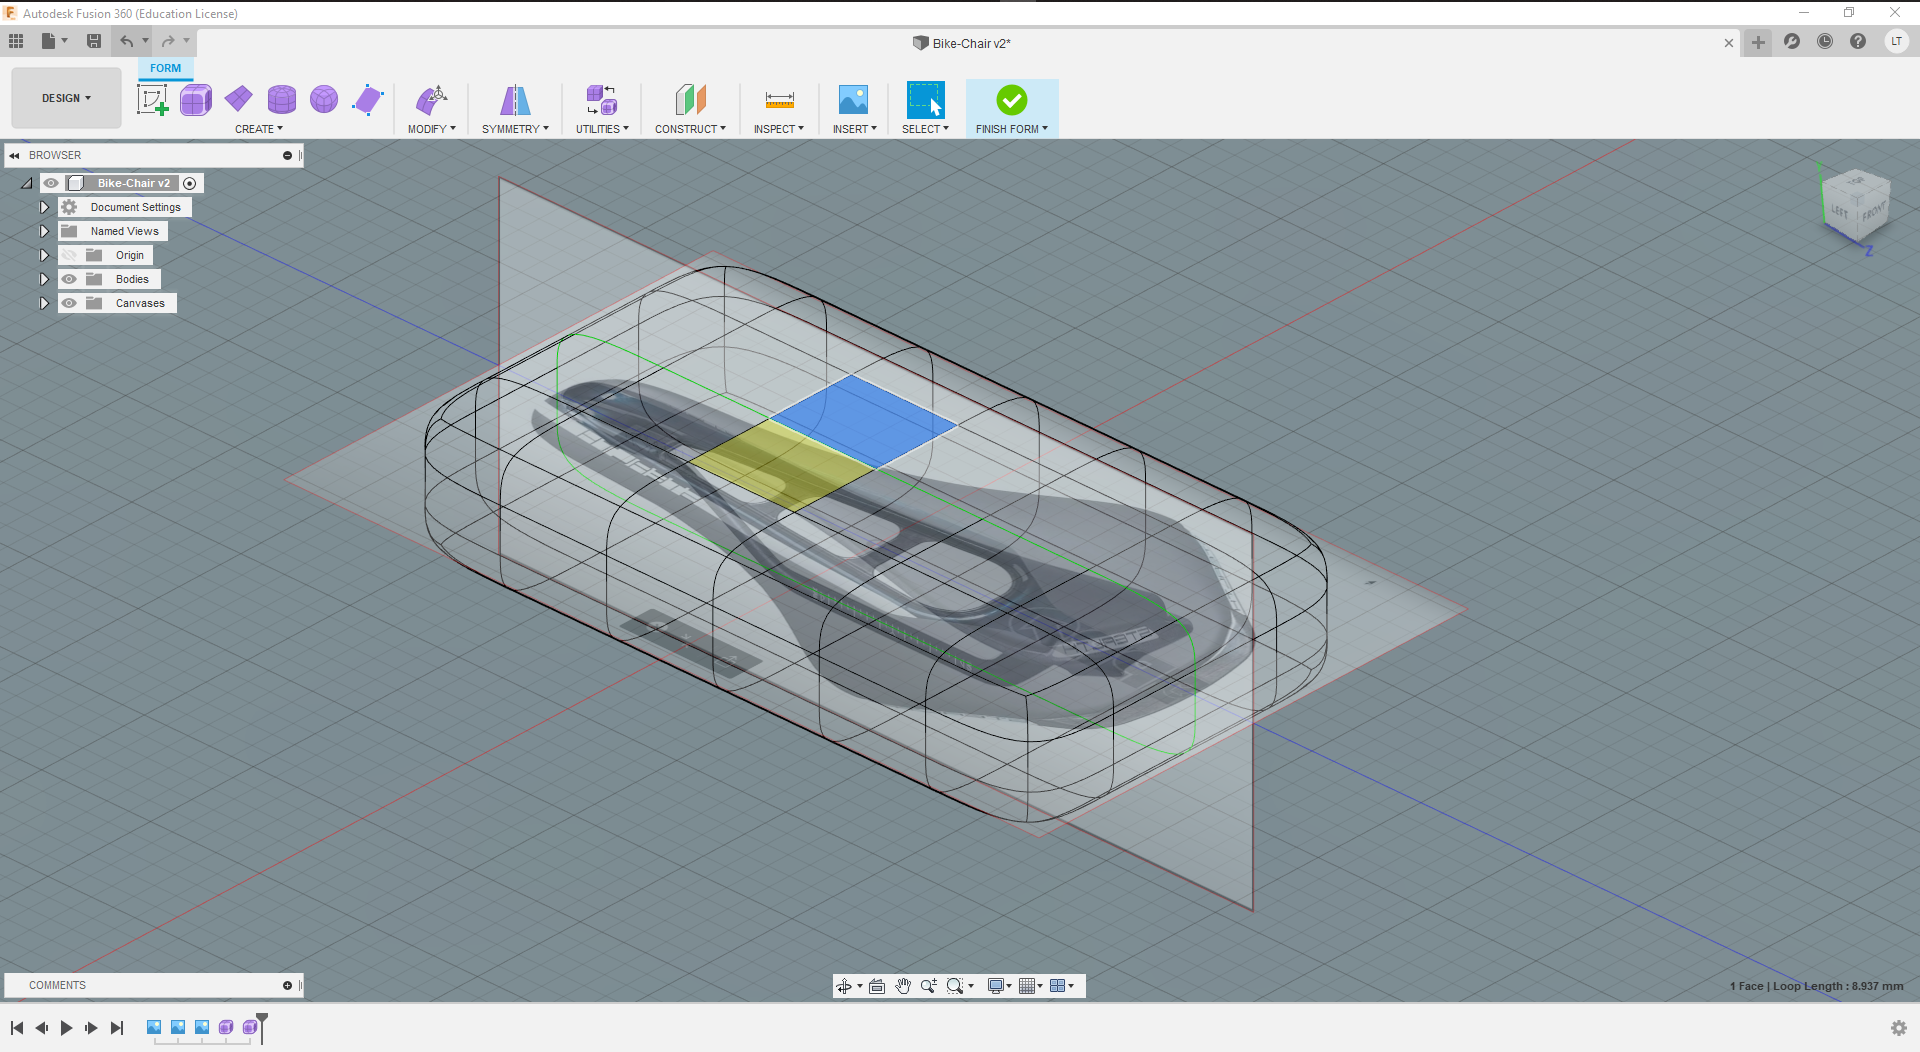
Picture 17.0. So, now we have to draw the holes that are in the central part of the seat. For this we go to the create panel and then we look for create scketh and we click on it.
 Picture 17.1.
 Then click on the first icon call "Line" and click on it. Then you draw the holes carefully.
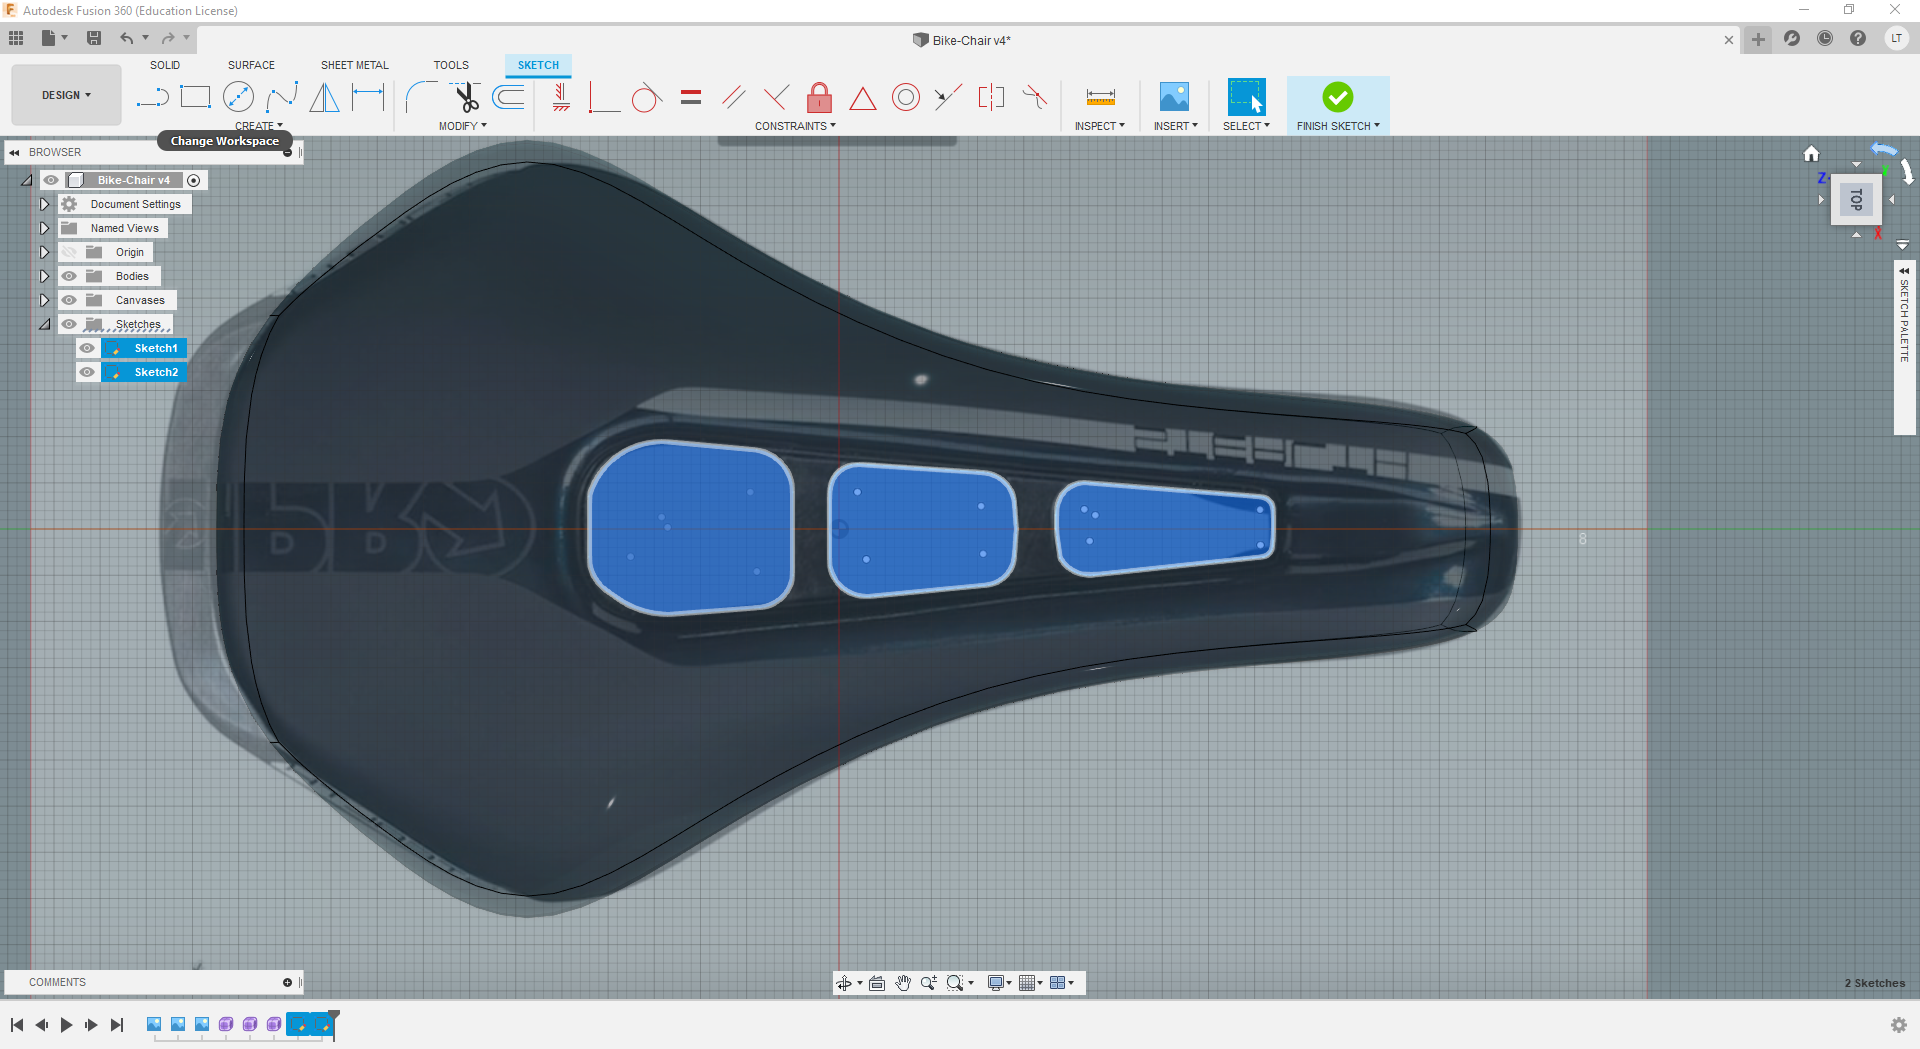 STEP 7.
Picture 18.0.
STEP 7.
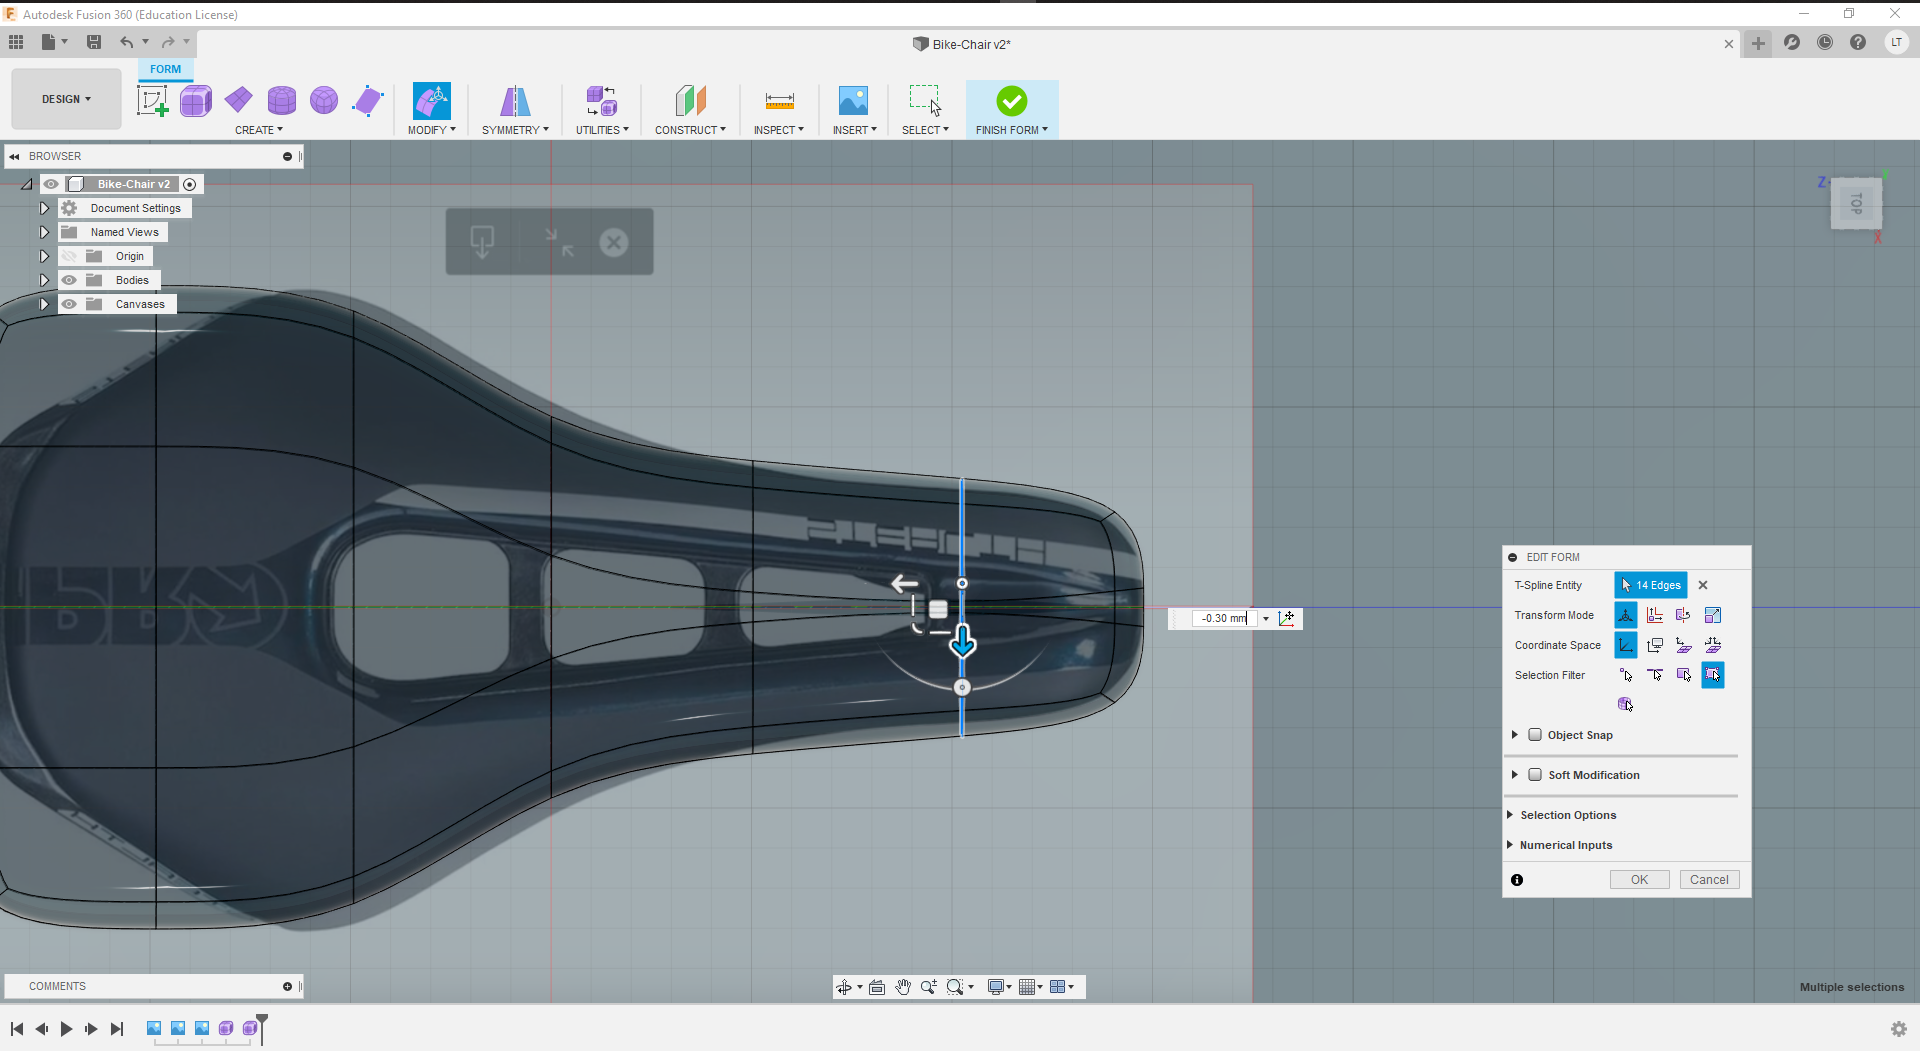
Picture 18.0. Once the holes are drawn, we give it the "Extrude" modifier. And we configure it so that the intersected area subtracts the one that is automatically marked RED. And we click on the button "OK".
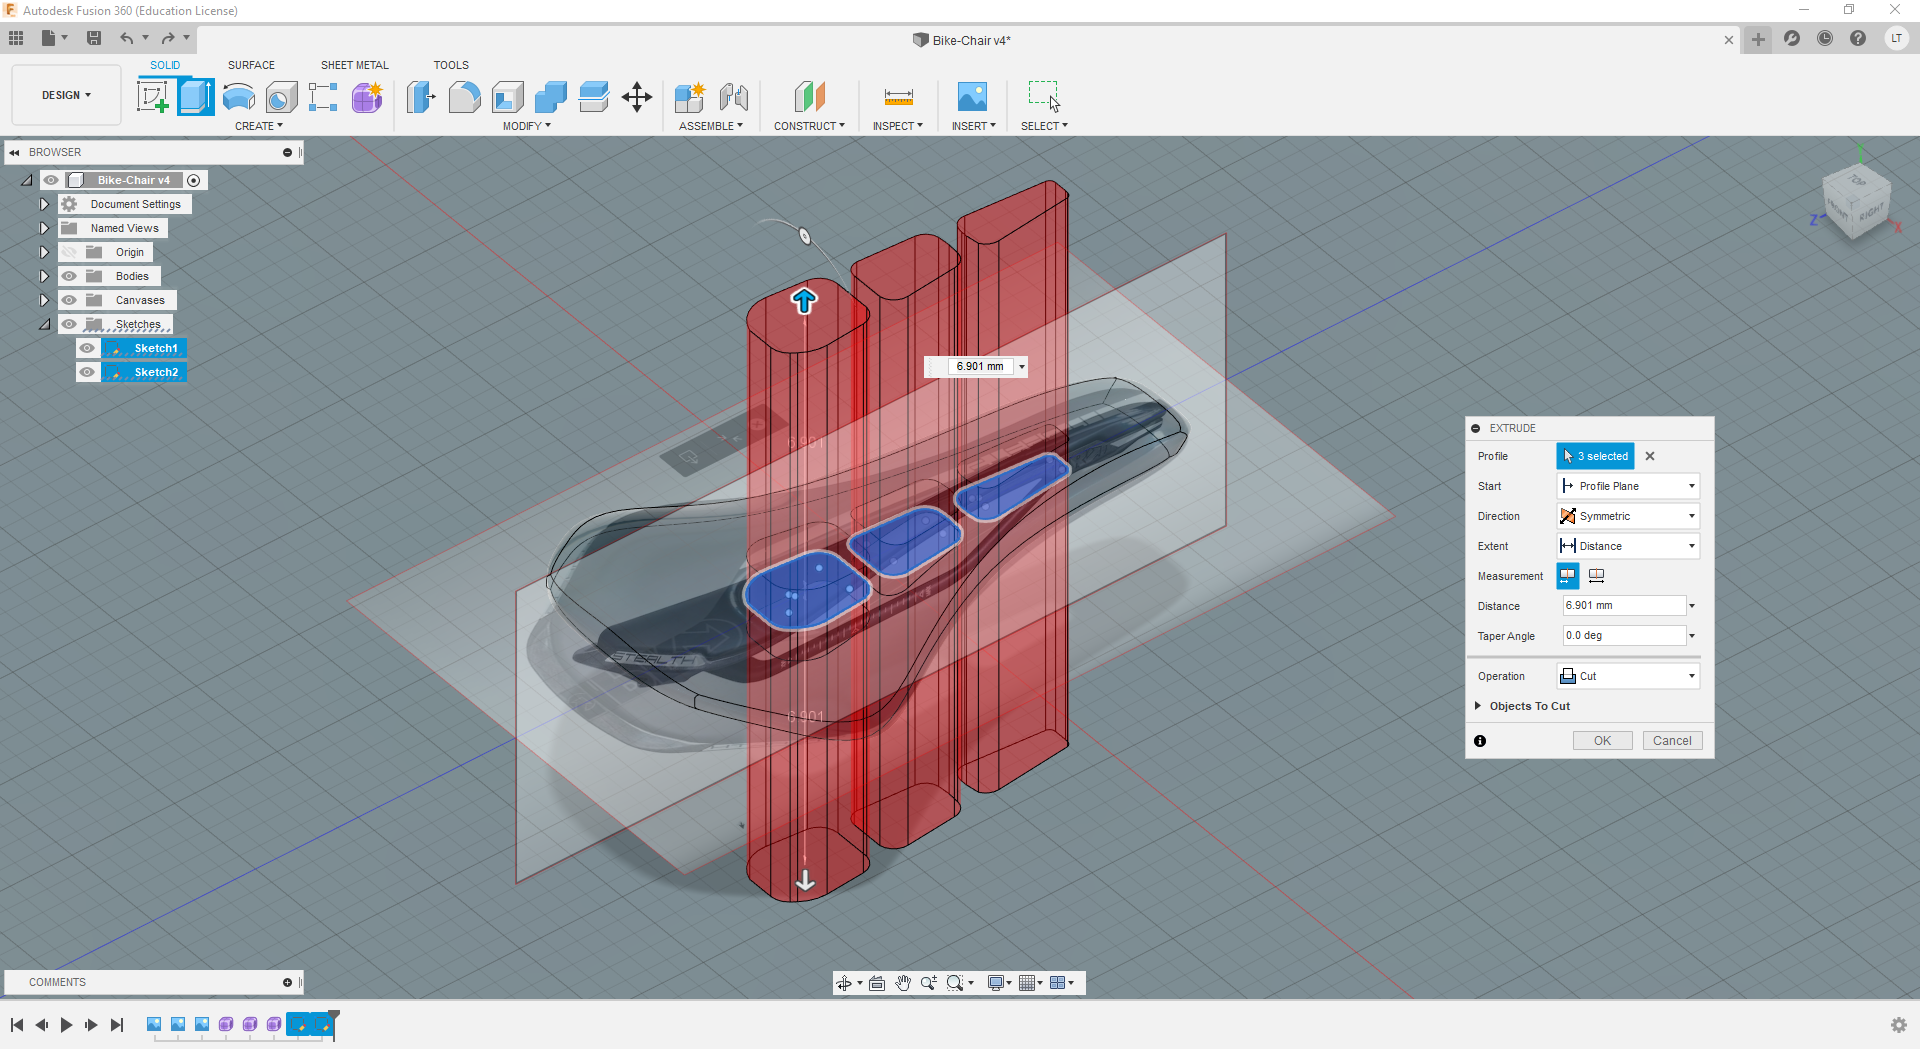 STEP 8.
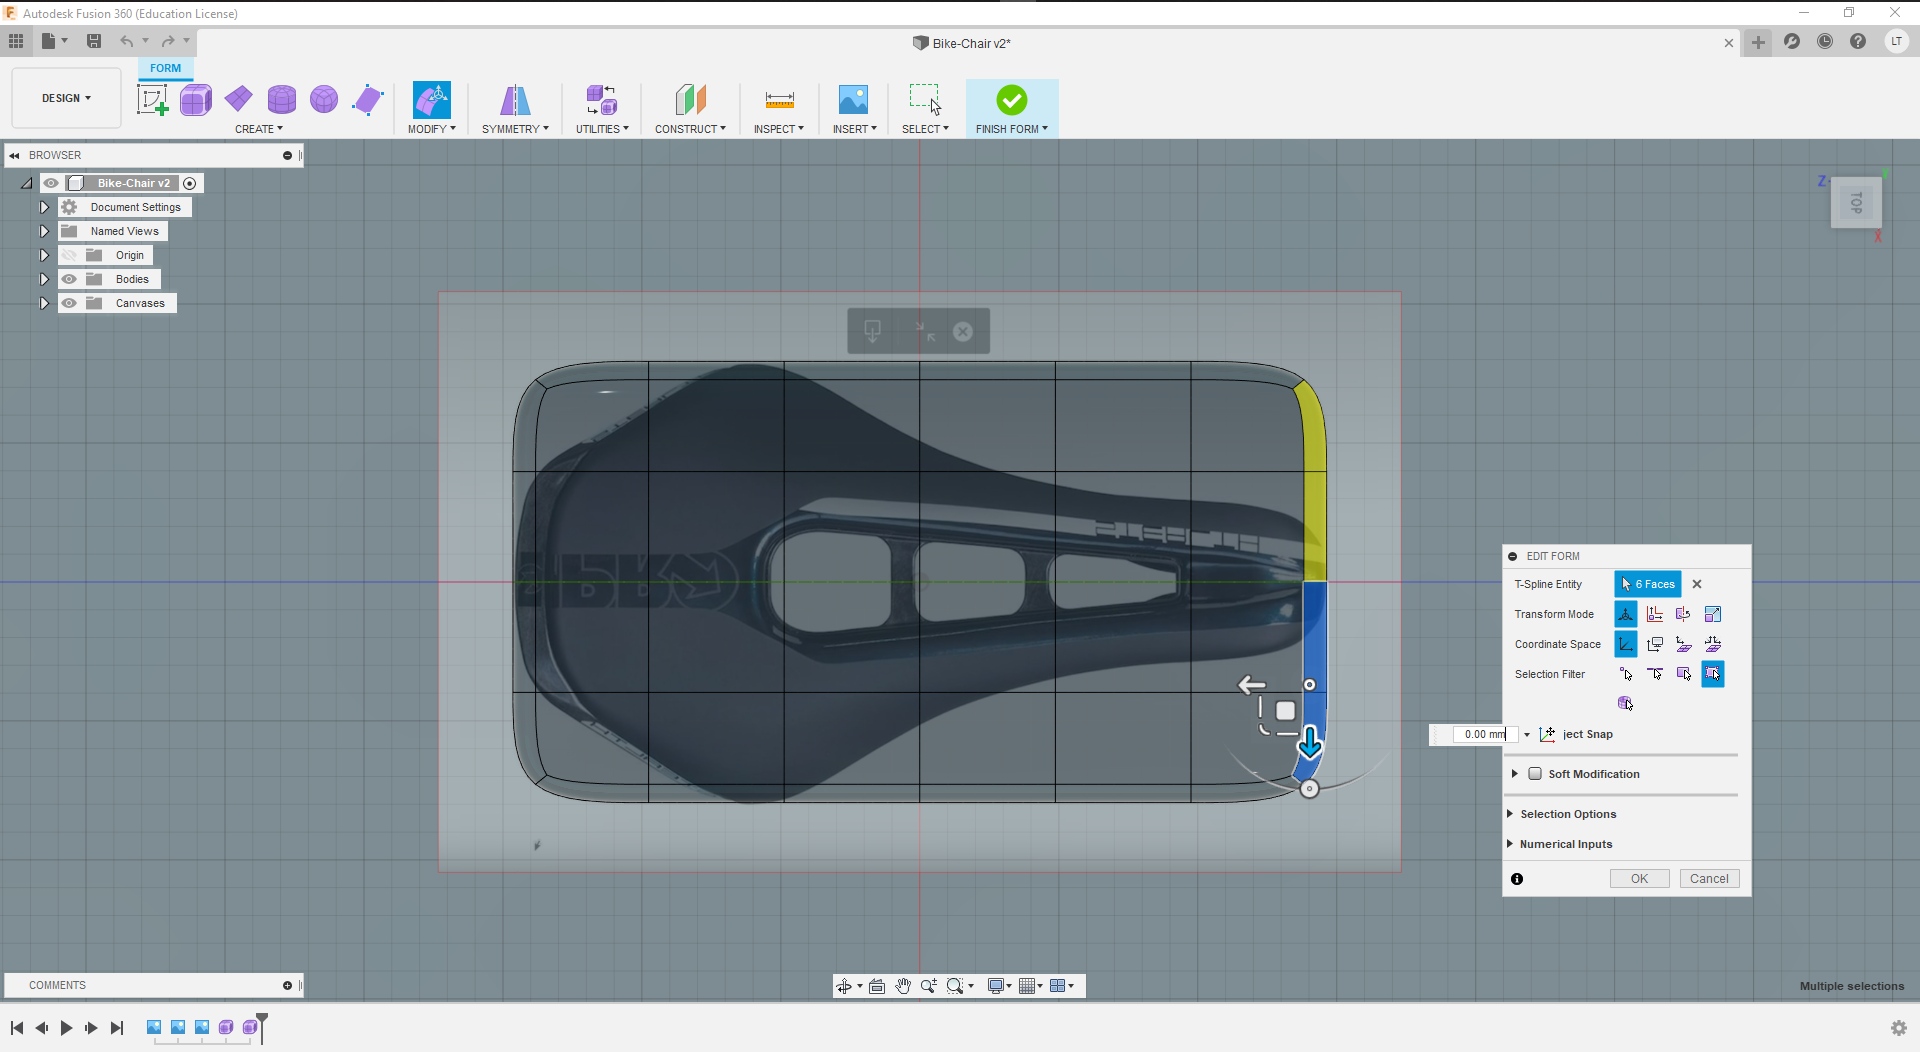
Picture 19.0.
STEP 8.
Picture 19.0. Una vez creados los tres hoyos, pasamos a daarle un acabaado al borde de los tres hoyos usando el modificador "Fillet".
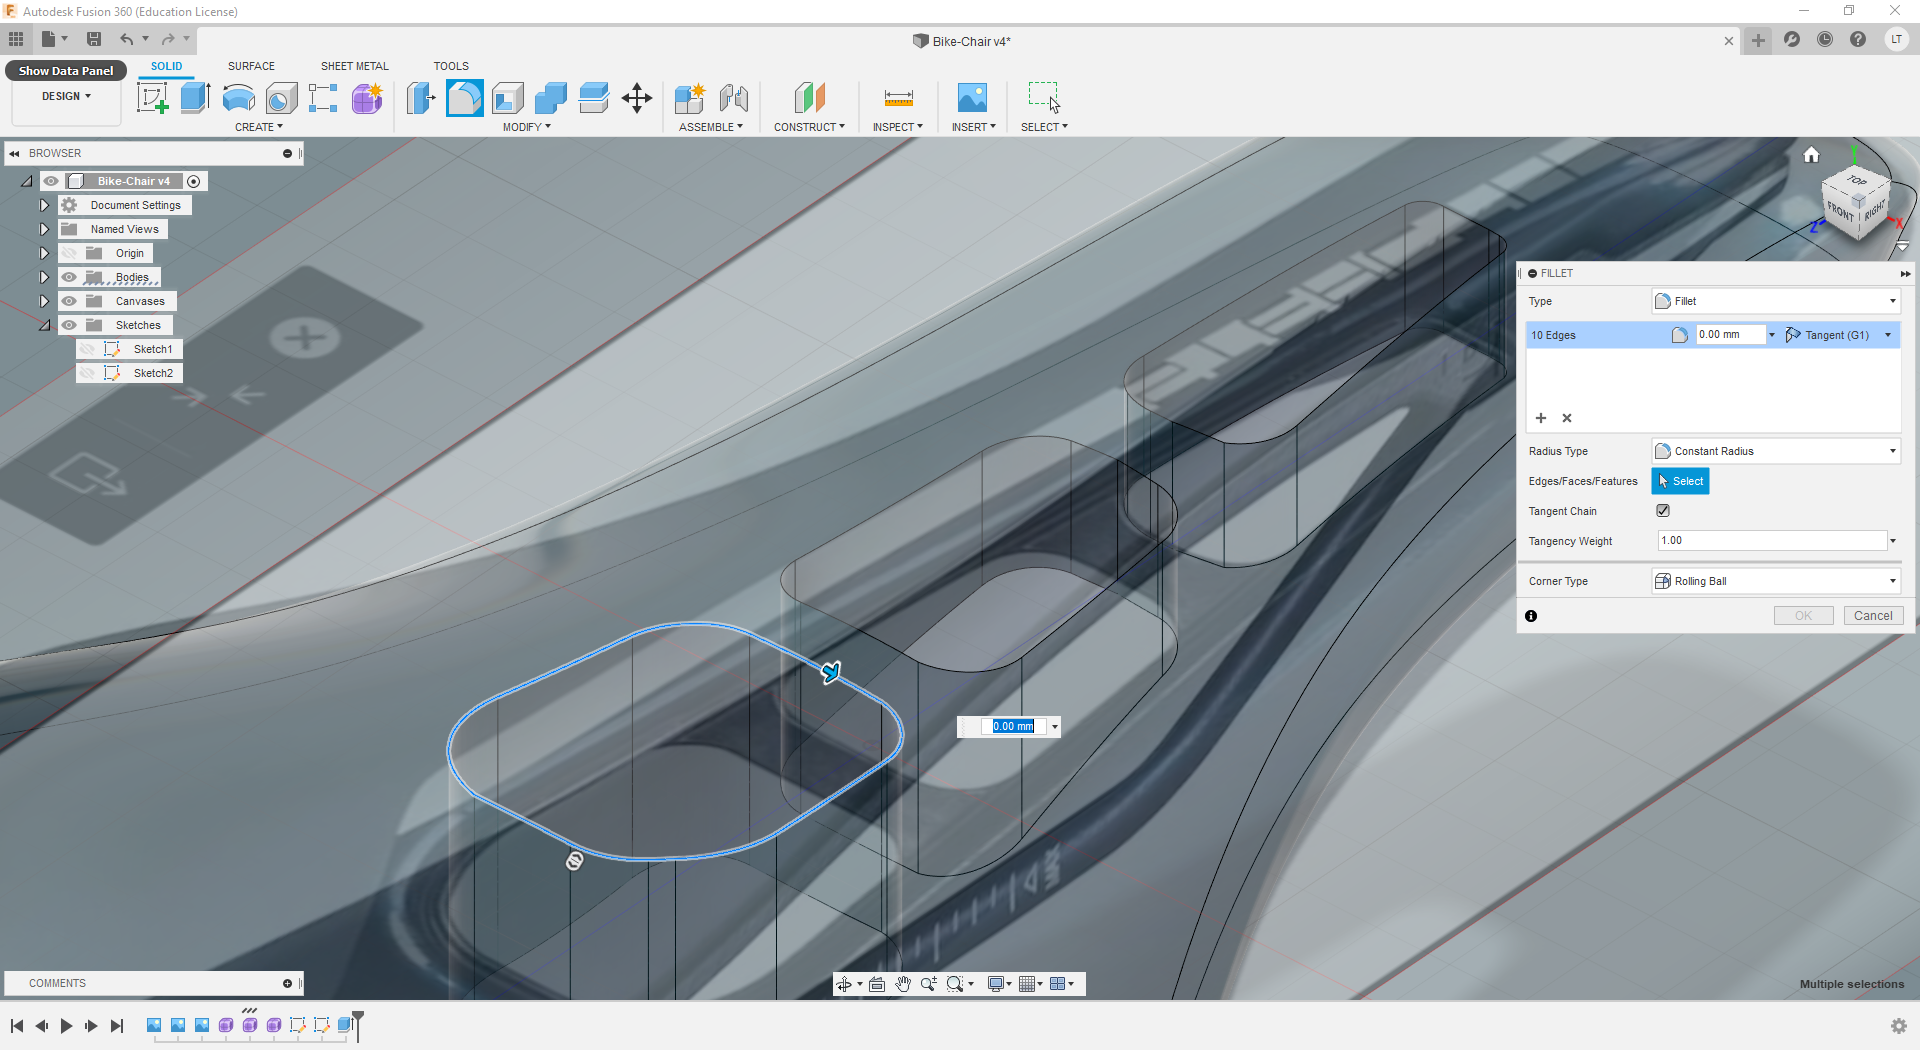 Picture 19.1.
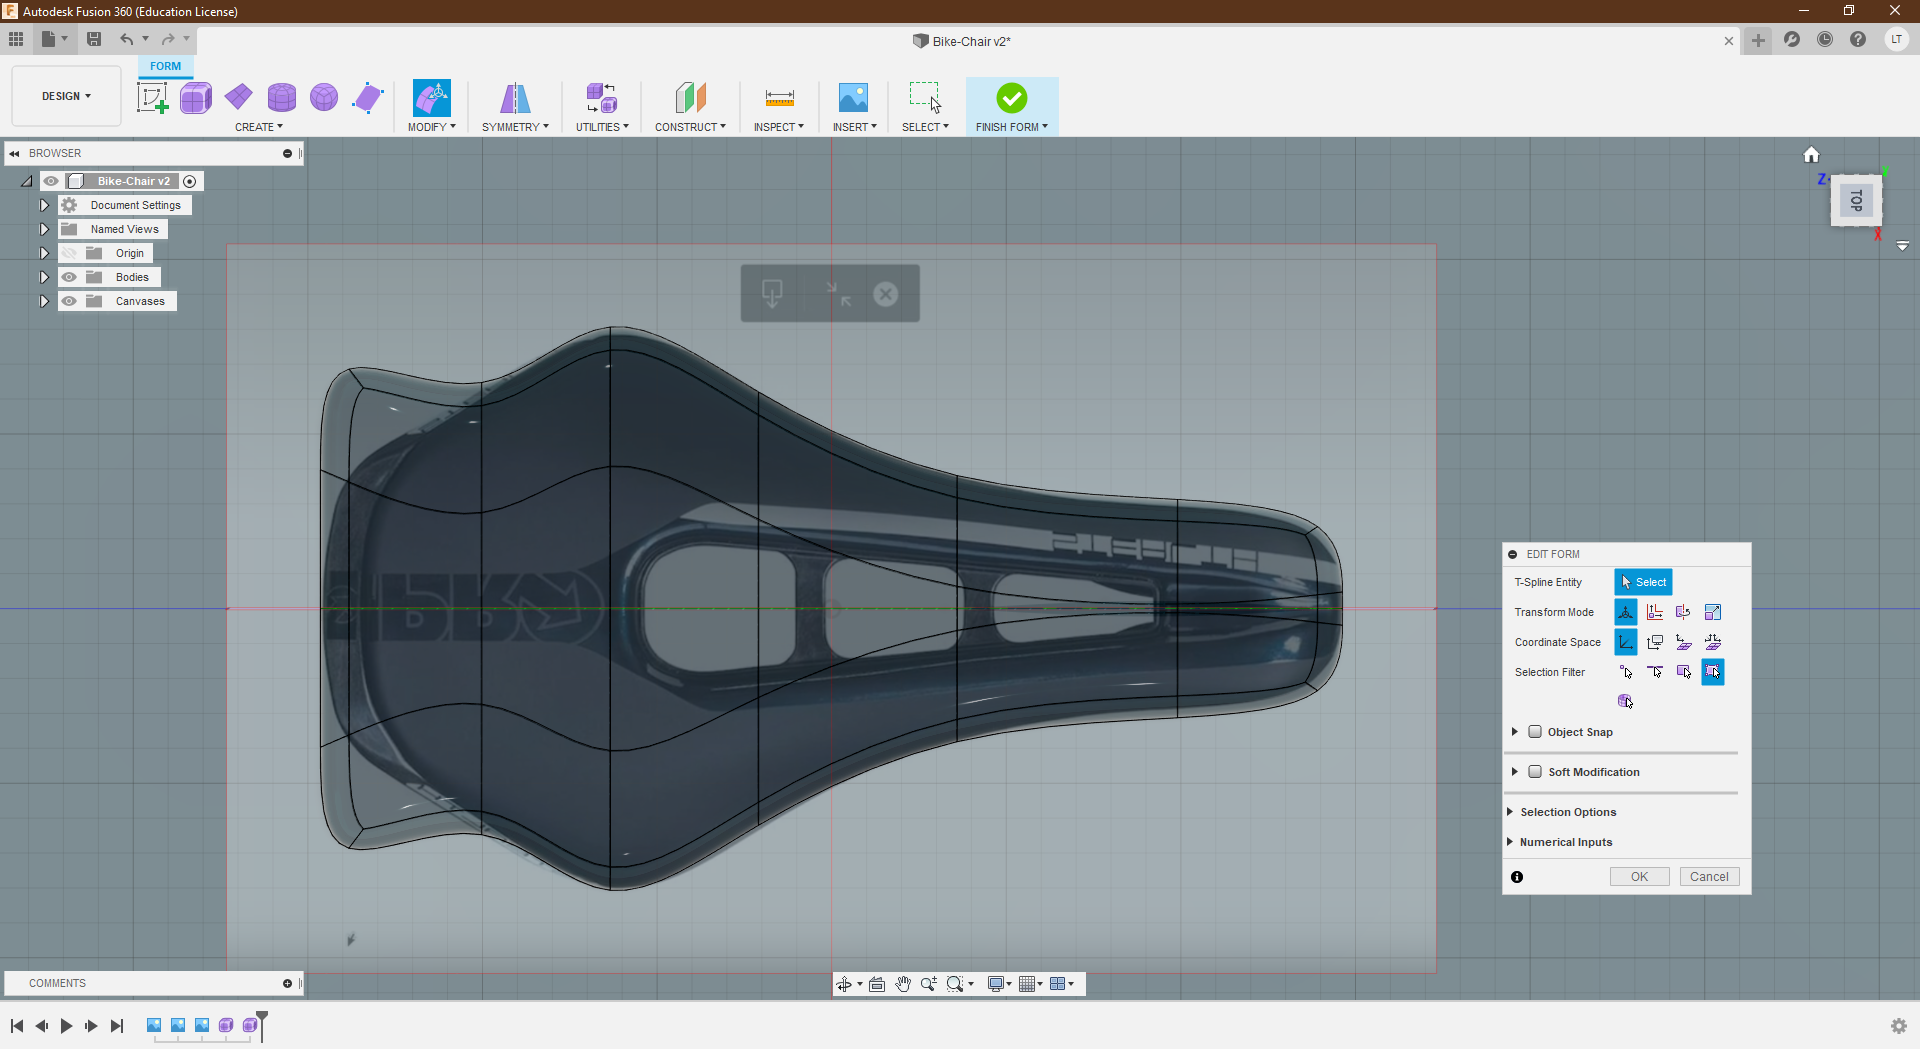
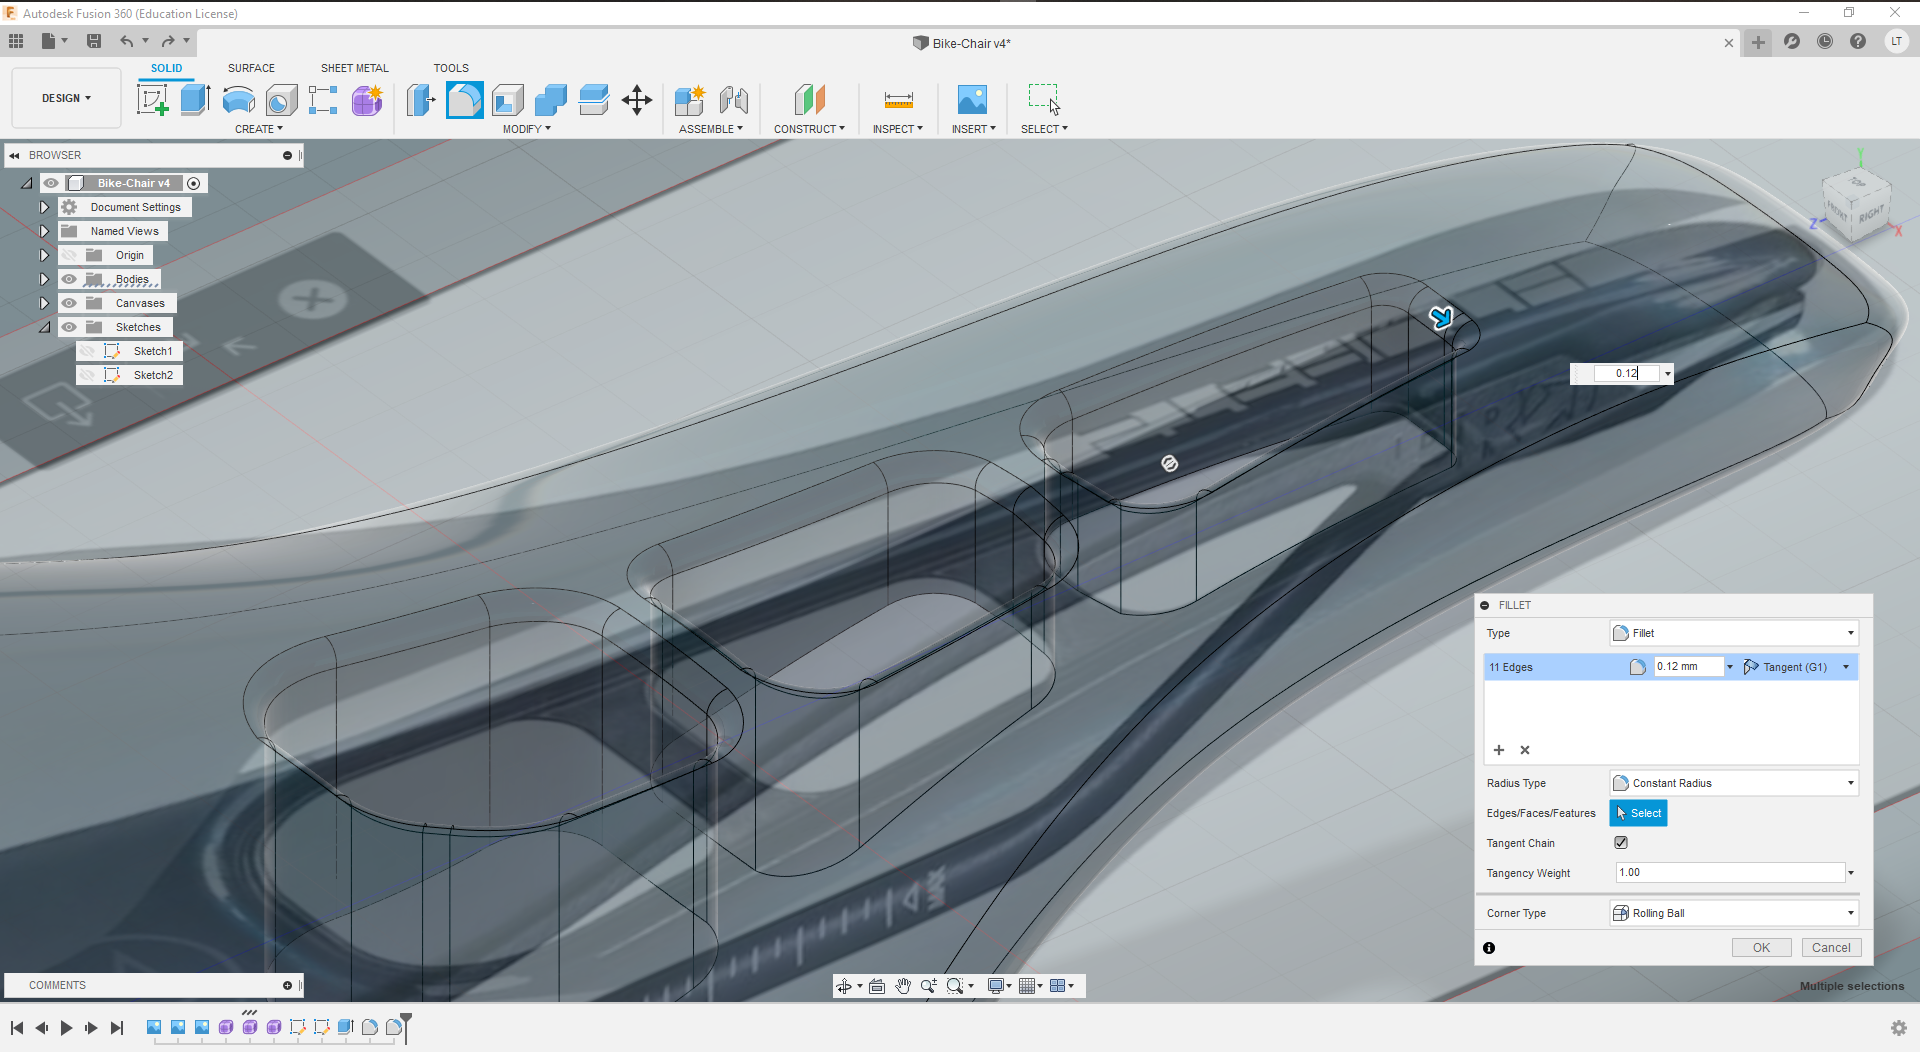 STEP 9.
Final view of the 3D model of my Bike-Chair in
Fusion 360.
Picture 20.0.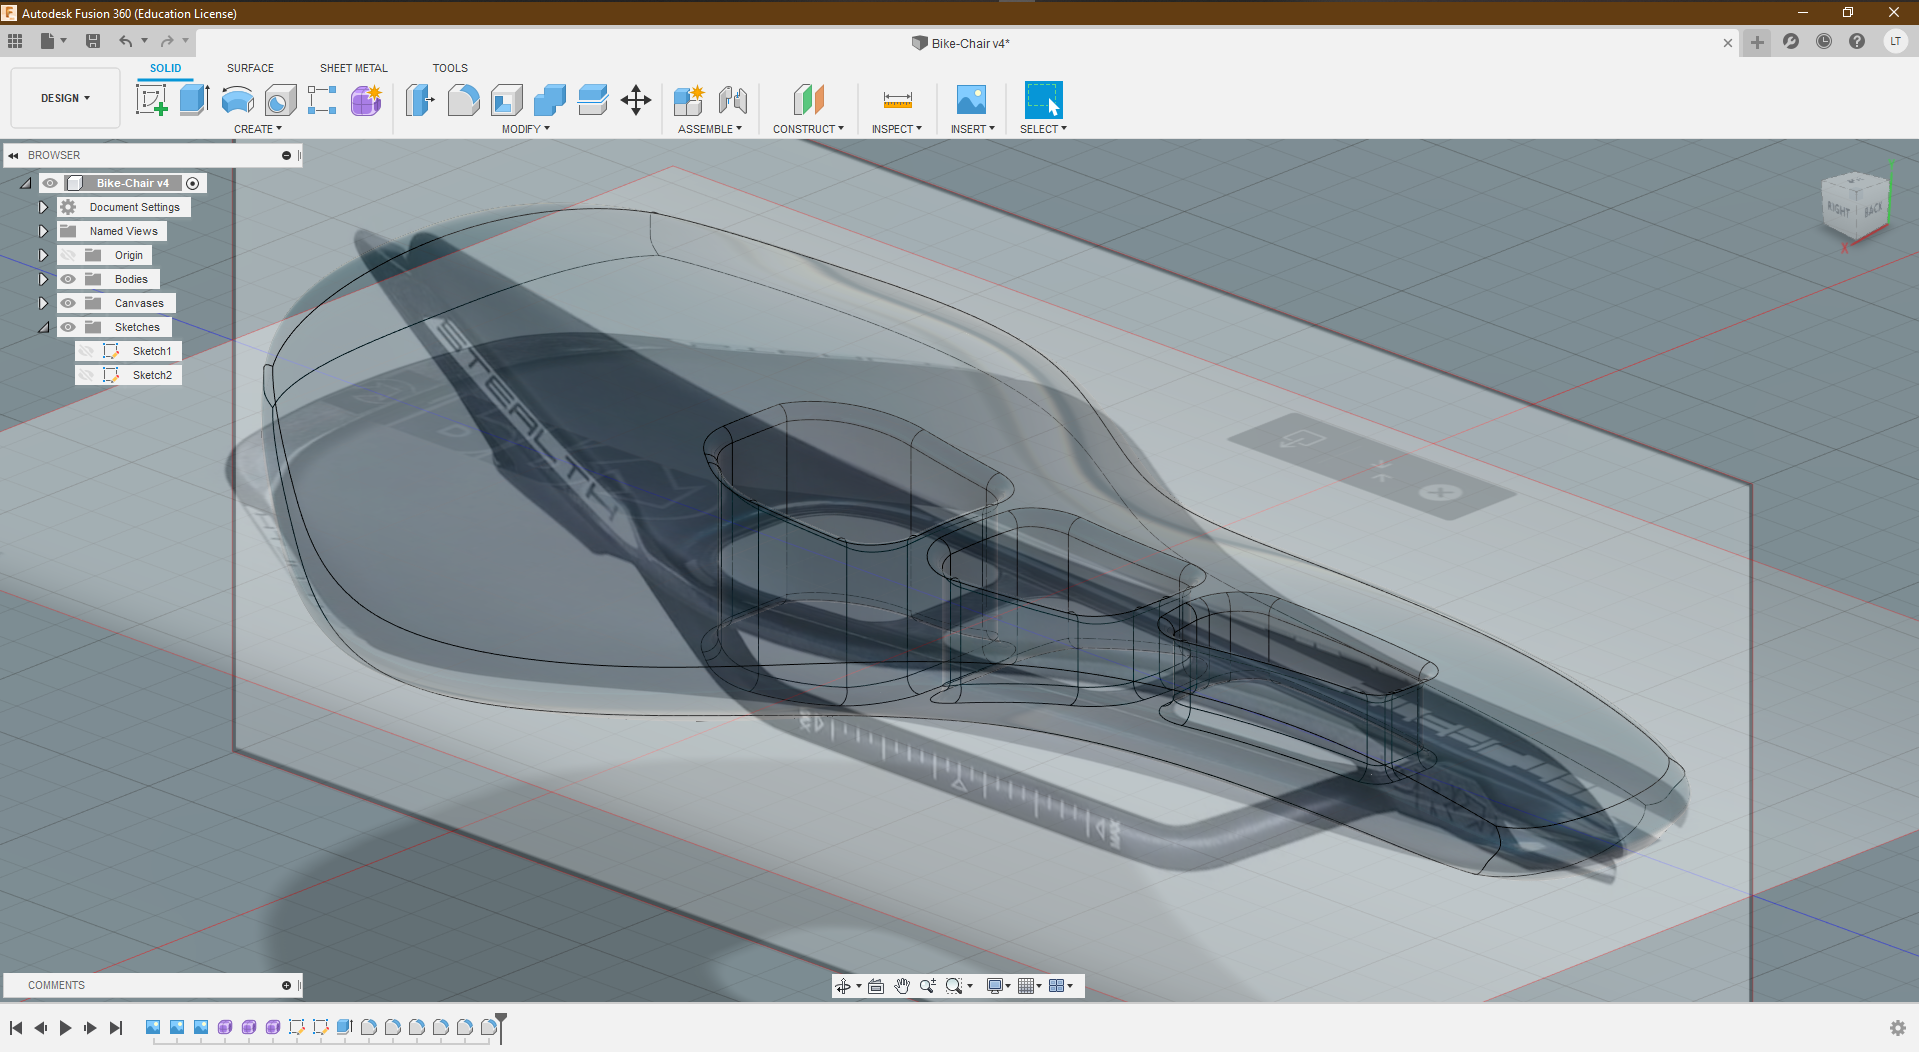 Picture 20.1.
 STEP 10.
Picture 21.0.
STEP 10.
Picture 21.0. Finally I give it a texture and render it.
 Picture 21.1.
This are a Render of my 3d model in Fusion 360
Picture 21.2.
2D Drawing
Raster image files use pixels, each containing color information, making them dependent on the image resolution.
In other words, a good quality image requires more storage space than a raster (vector) image.
Vector image files only use points and lines, therefore they are not resolution dependent.
I found many videos that explain and guide how to use Krita. Initially it was between using
GIMP or
Krita but I saw references I chose Krita for this assignment, use
Krita because it is similar to
Photoshop, it will be easy to learn and I will enjoy this experience of using
Krita plus I will use my
Wacom.
Before starting you have to know that Krita is a program widely used by Professional Digital Illustrators. I personally am not a Digital Illustrator but I will try draw something in this software.
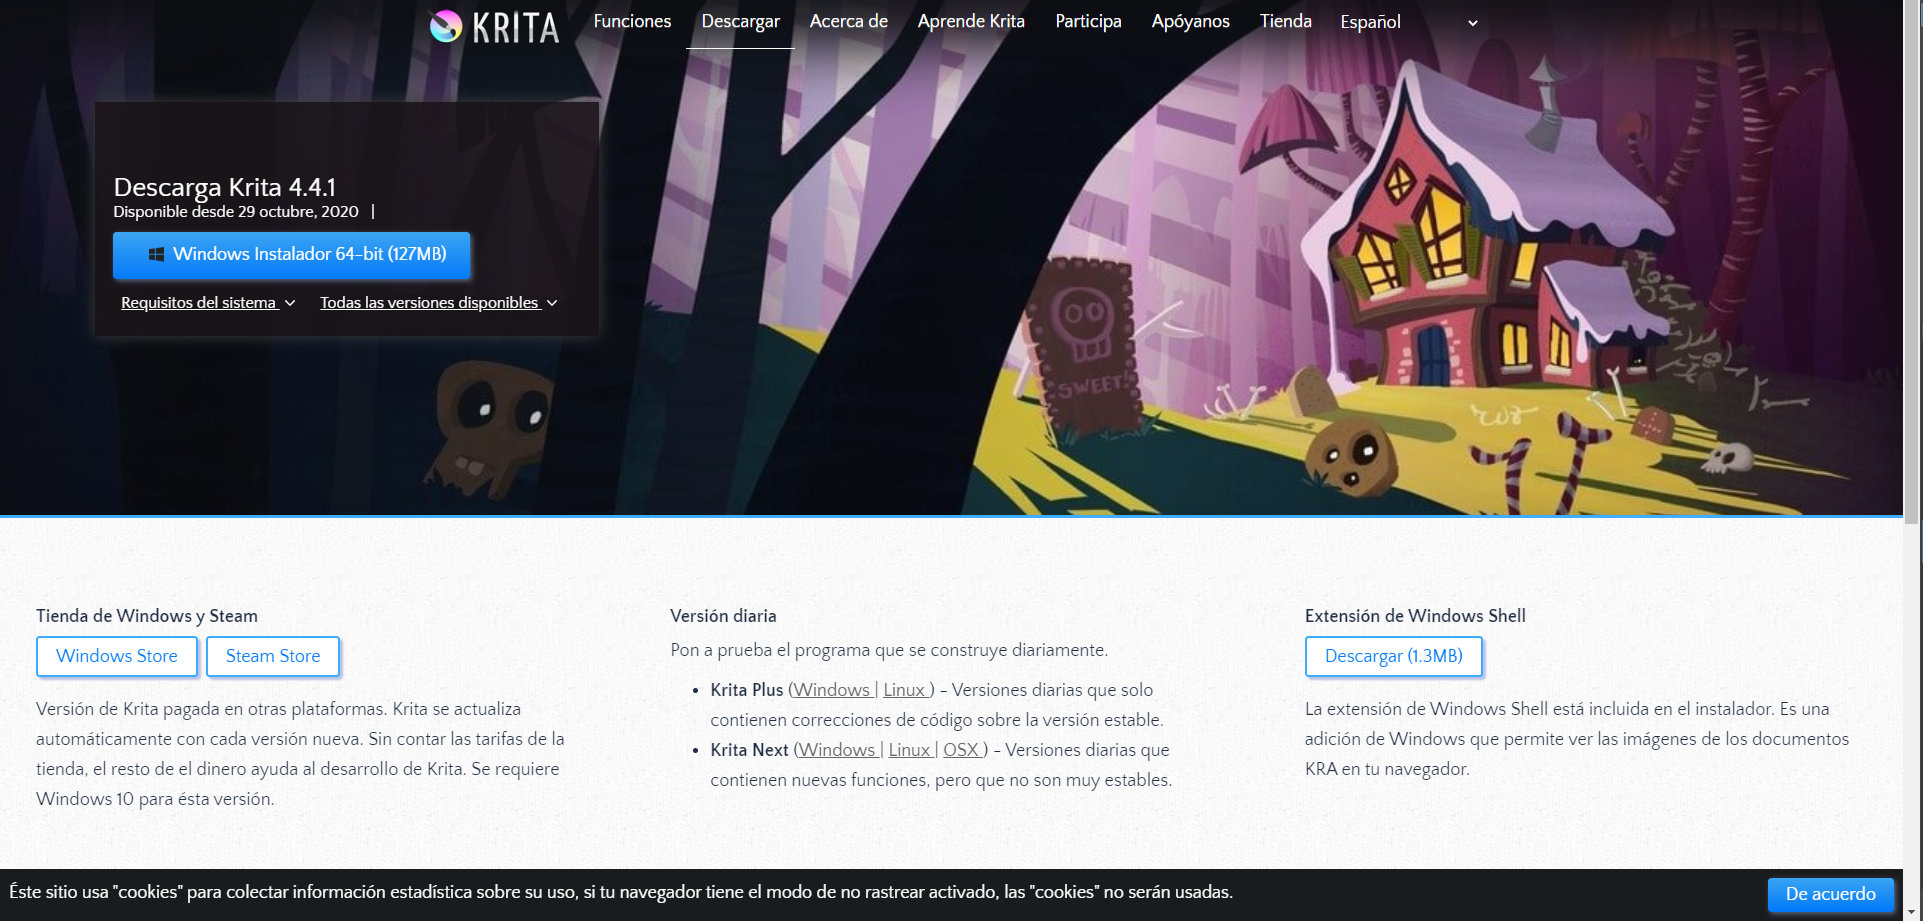
STEP 1. So, as a first step we look for the latest version of Krita and download it.
Picture 22.0. Download Krita in its latest version. Go to this link to
Download .
 STEP 2.
 Open
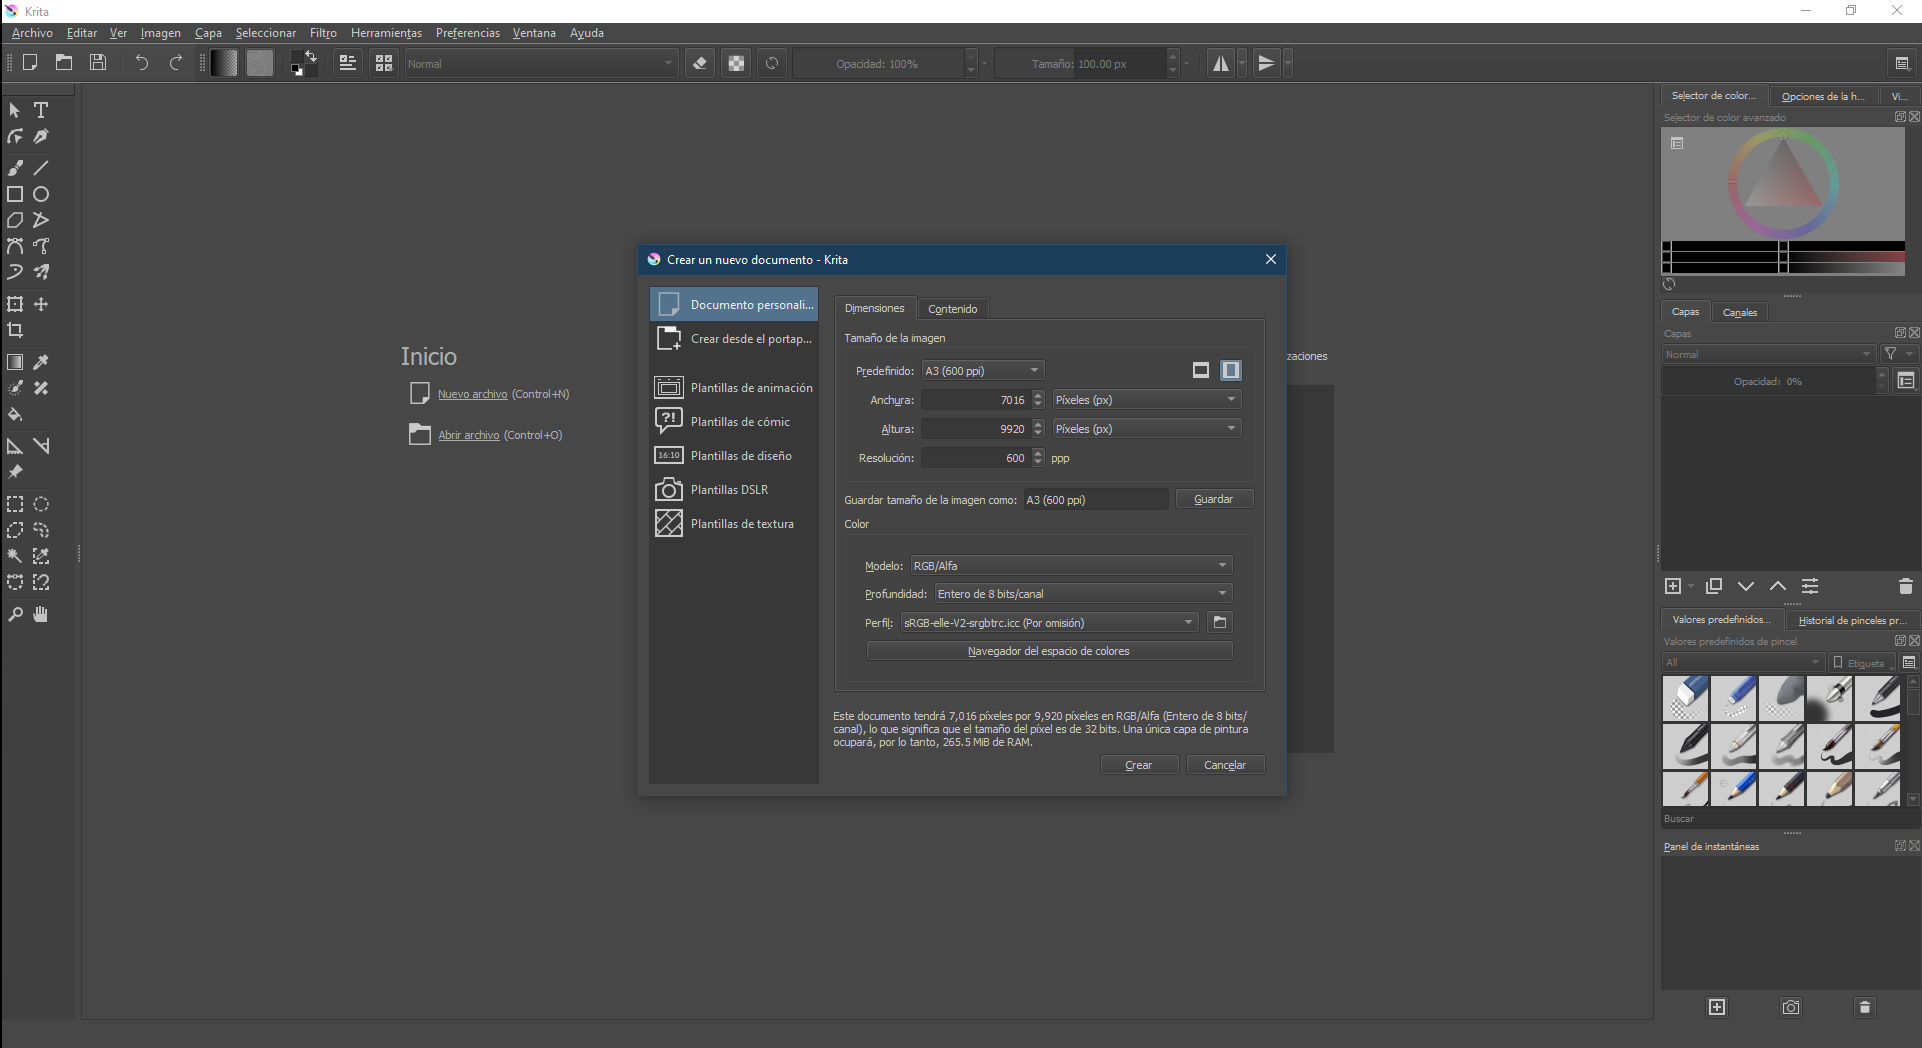
Krita and create a New File.
Picture 22.1.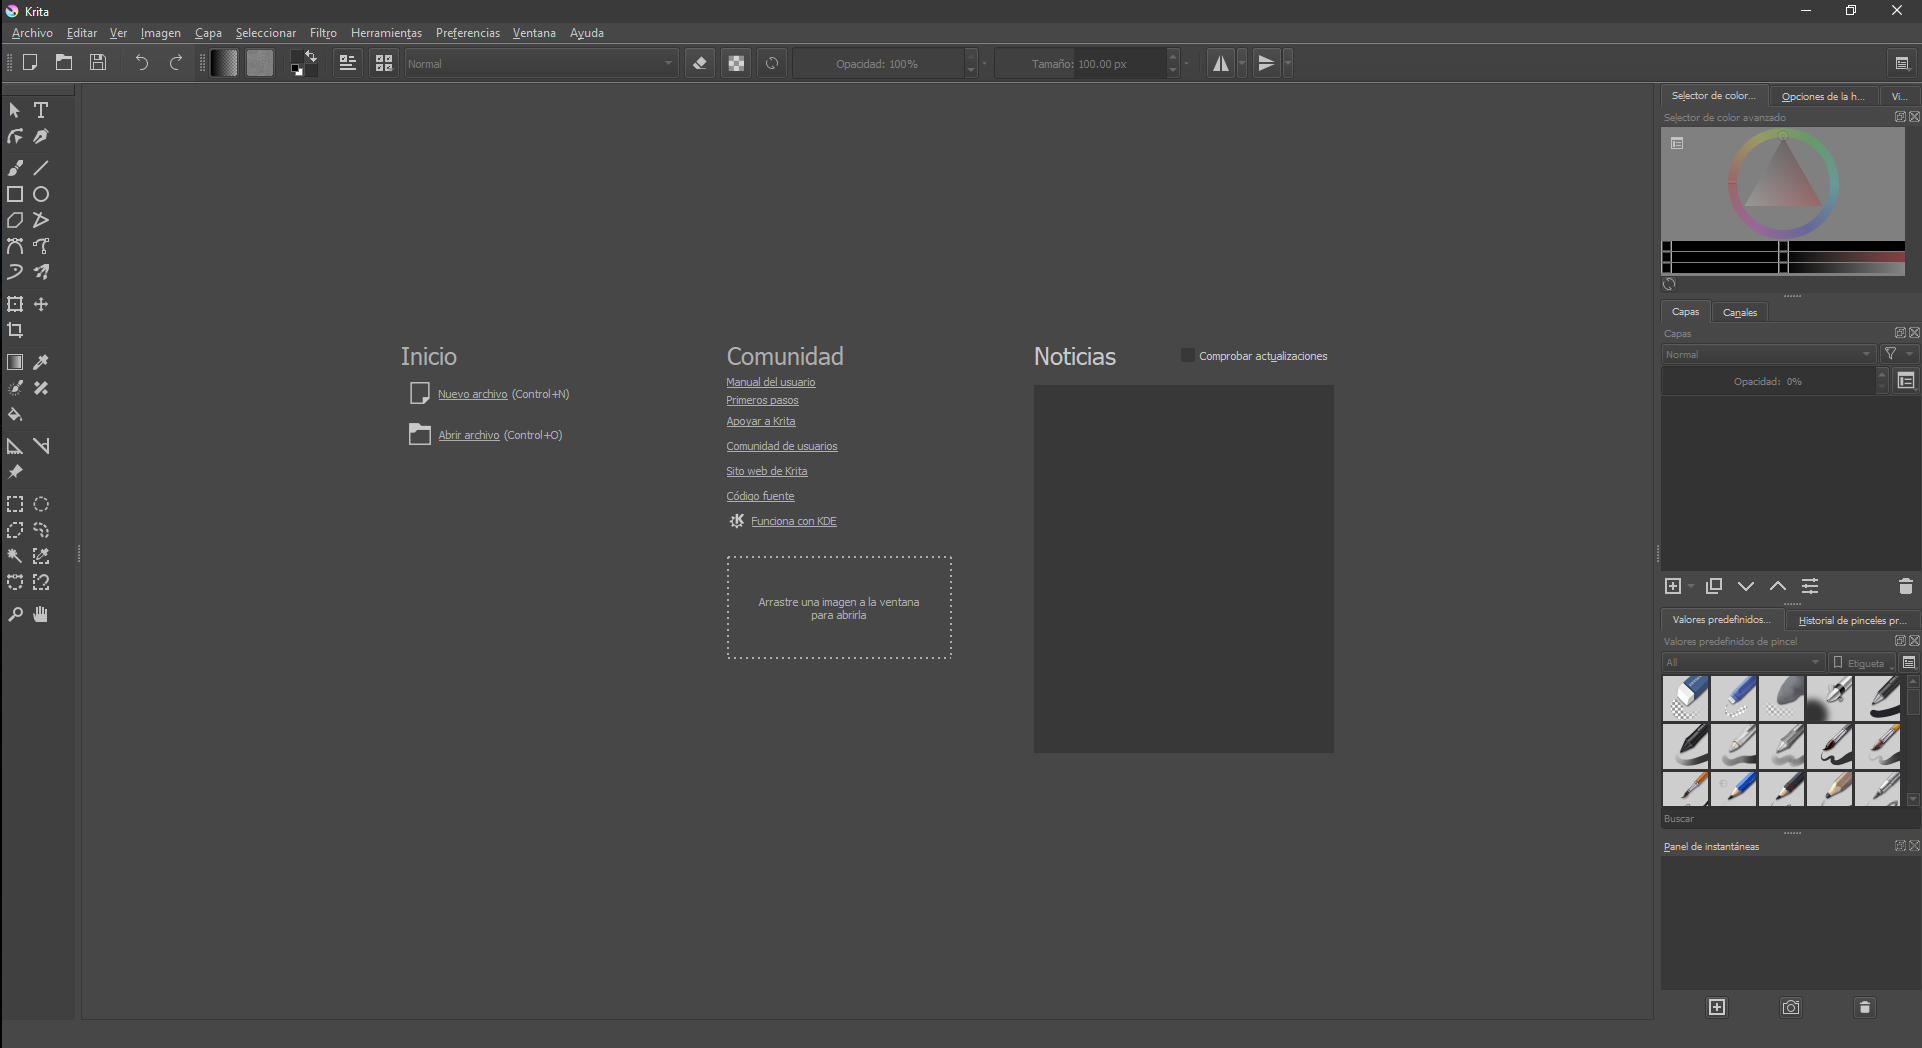 Picture 22.2.
 Then I go on to setting up my Krita file. As is in the image below.
 STEP 3.
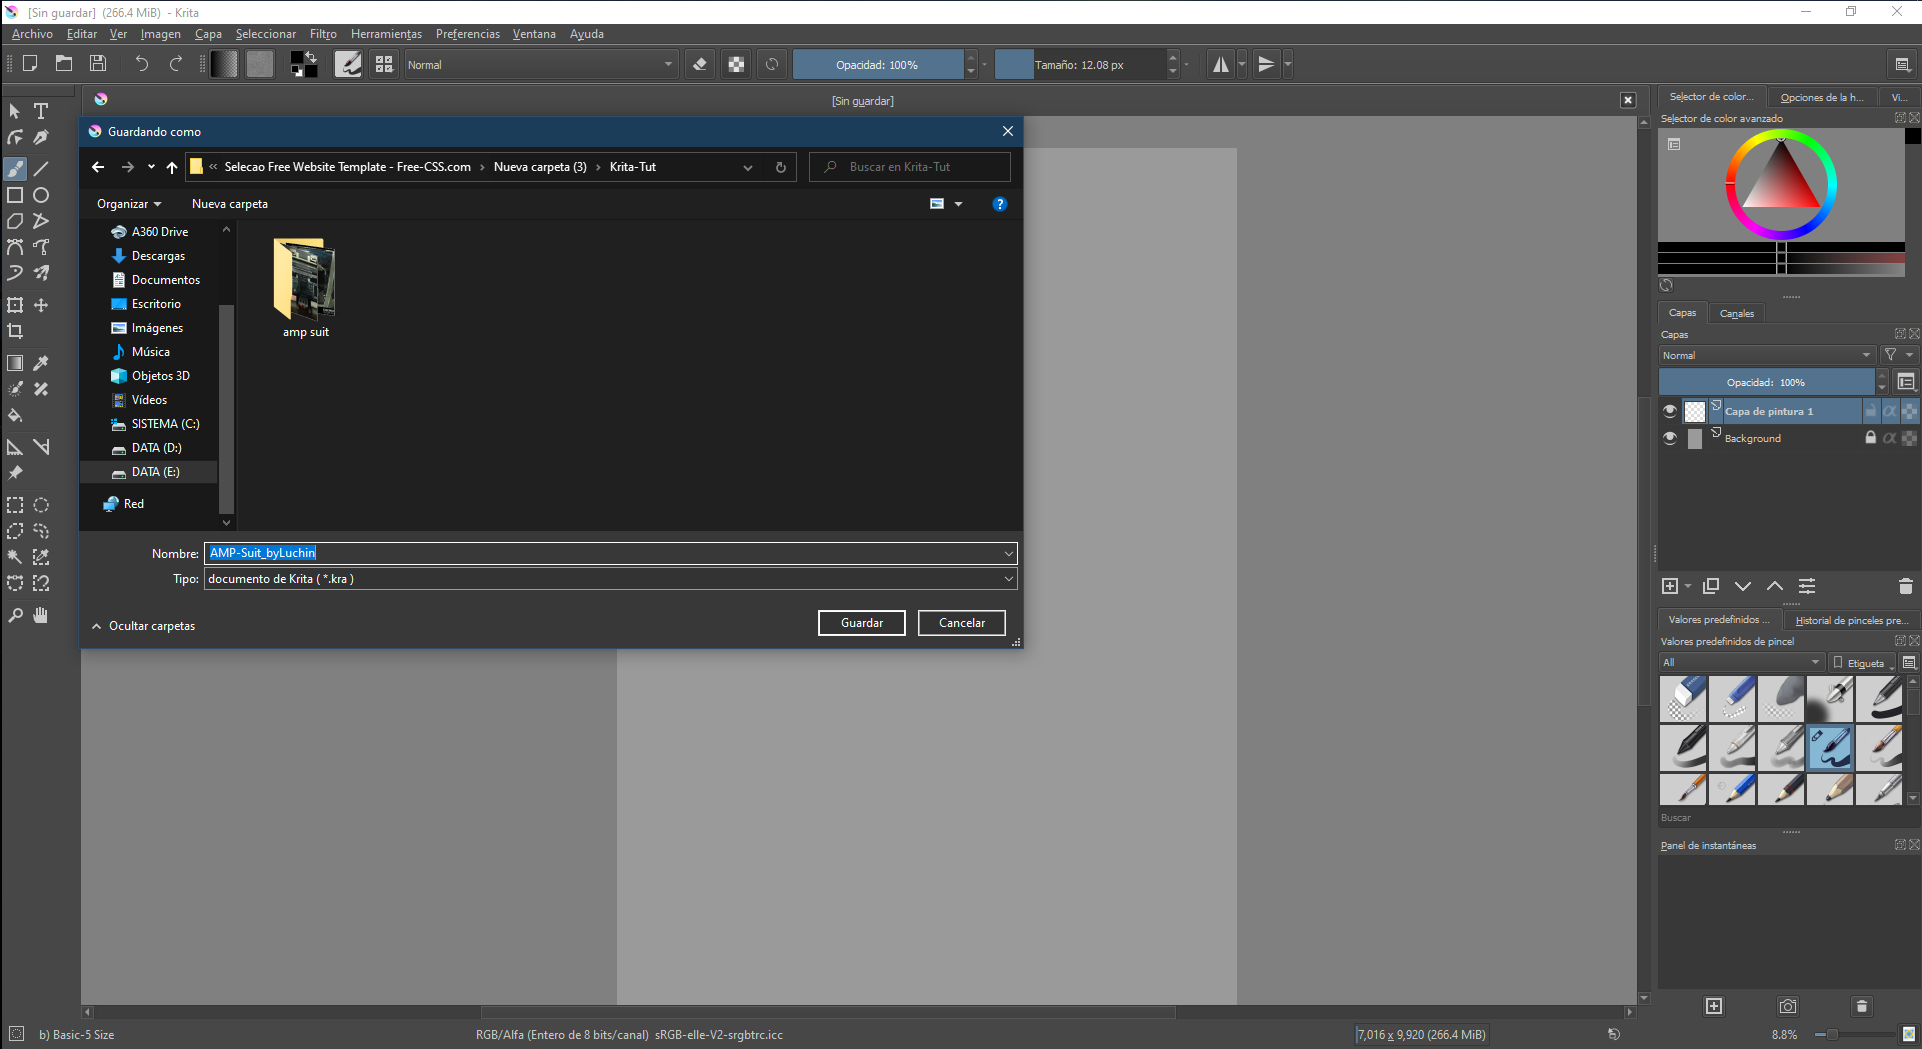
 Save the file.
A recommendation, as soon as we have created the file. It is preferable that you save it as you can see in the image below
(Picture 23.0.) I show you that in the file that we created we get [without saving].
(Picture 23.0.) and recort the background.
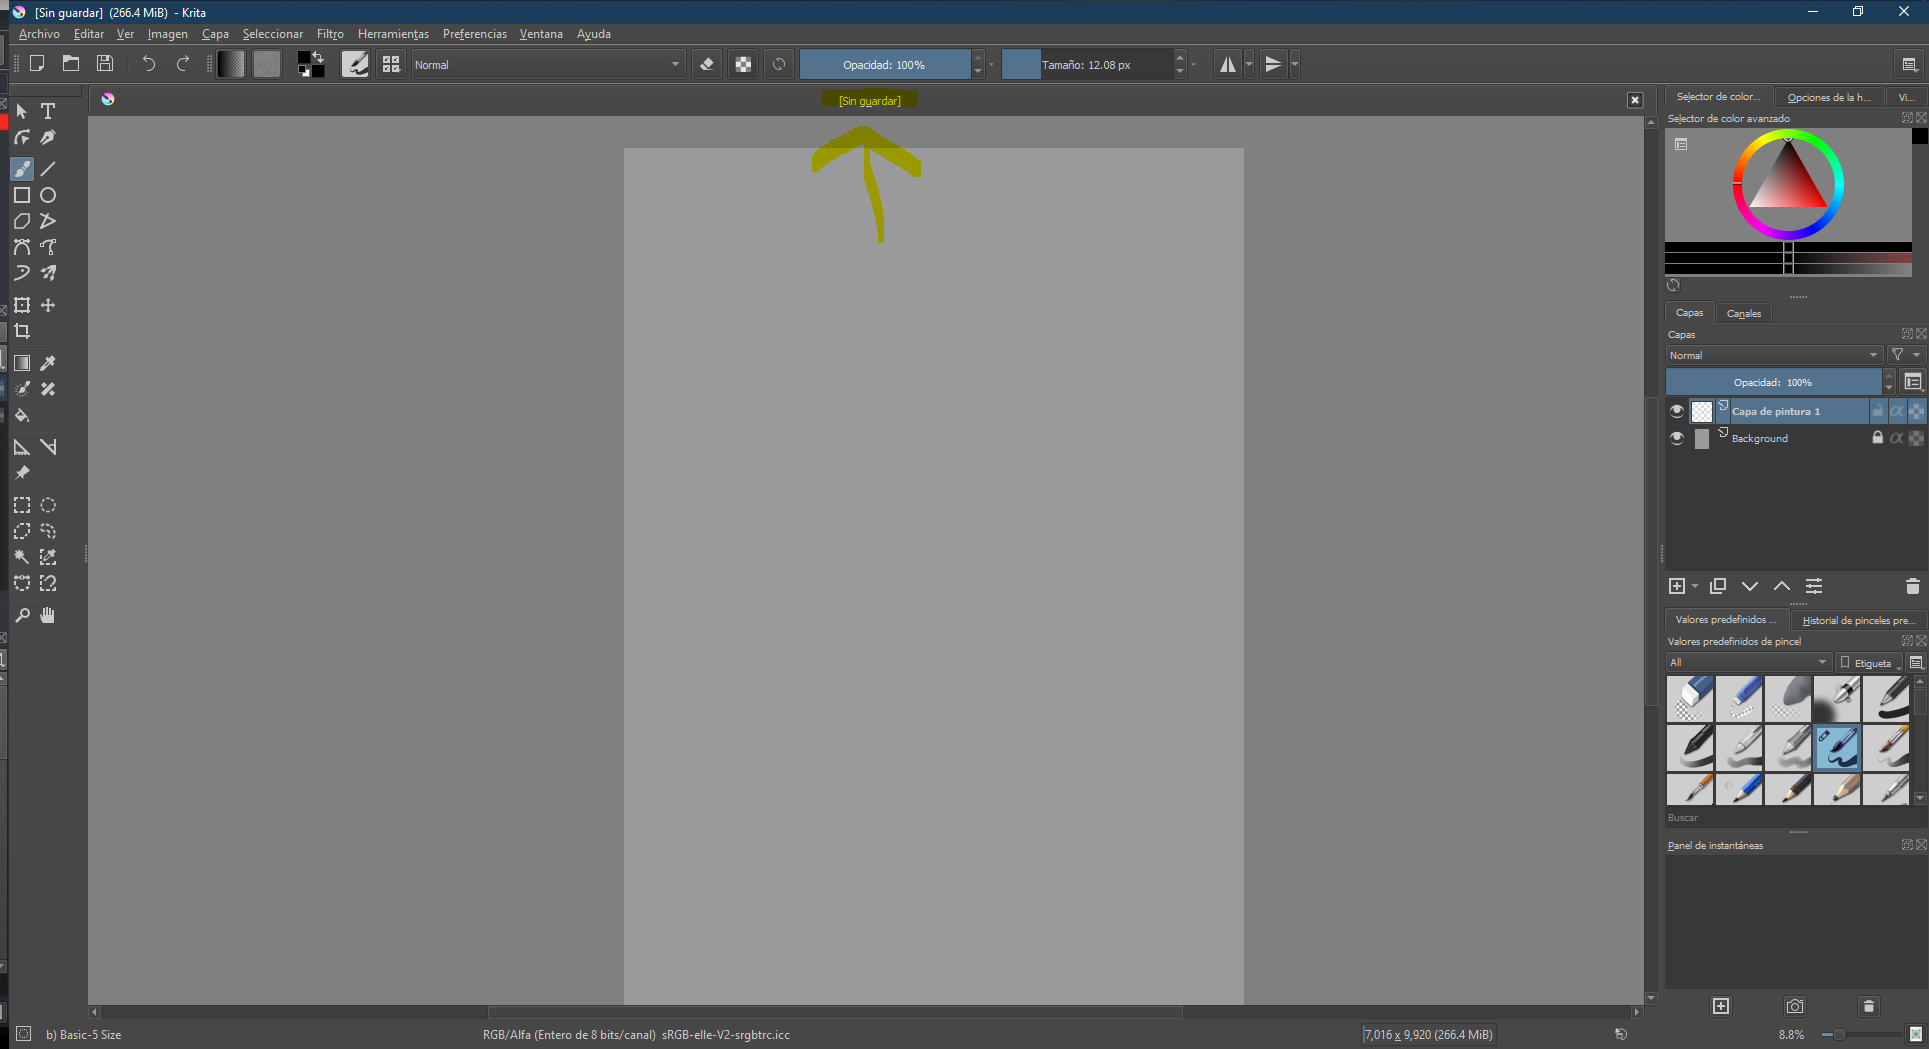
If we leave it as it is and there your pc turns off or the power goes out, everything you have drawn on the file will be lost. For this reason I recommend that you save your file and periodically then save your progress.
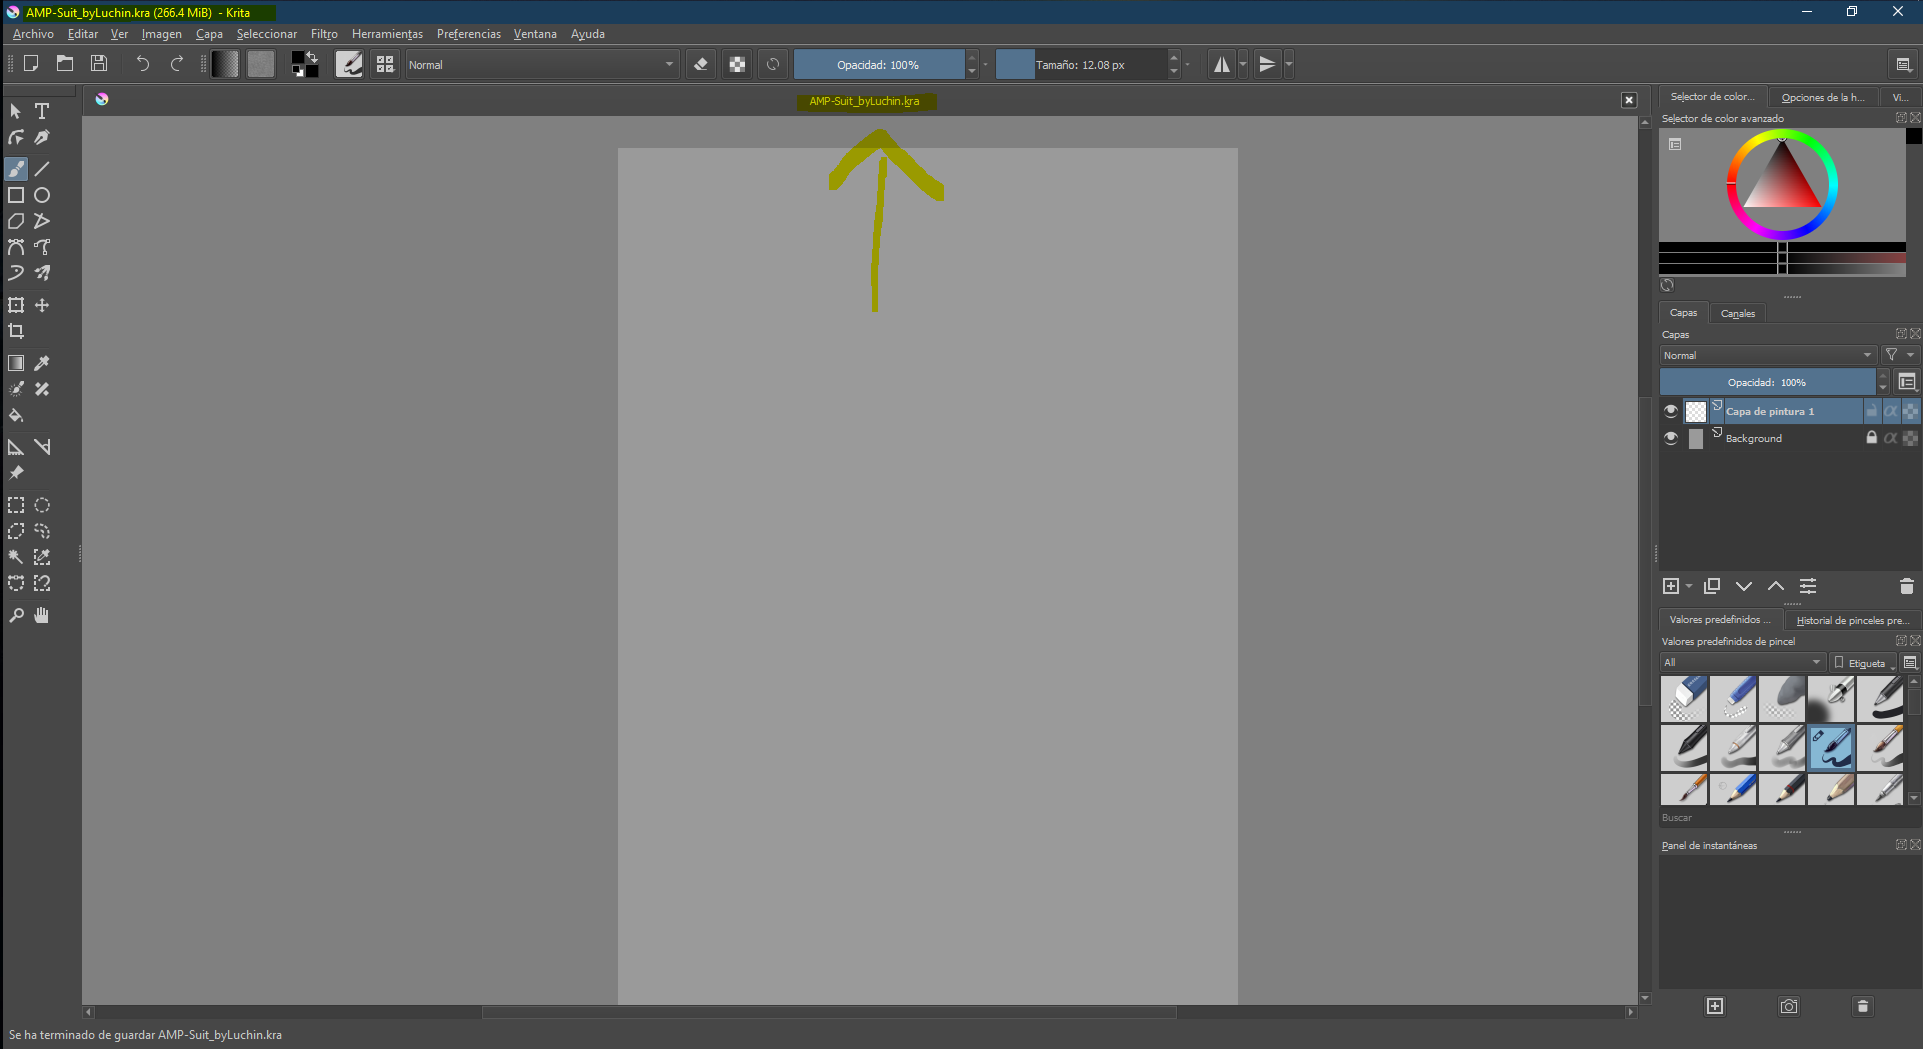
Picture 23.1. To save your file, go to the file menu and then save as. We click. And save it in the place you like on your pc.
 Picture 23.2.
 When we see that what it says inside [File name] it means that the file is already saved correctly.
Shortcuts that I suggest some are very similar as I mentioned before to those of Photoshop:
- B : is for Brush.
- G : is for making gradients.
- Ctrl + T : Transform tool.
- Supr : To delete something.
- Ctrl + Z : Reappear or Undo.
- Ctrl + Shift + A : To unselect, something after using the "Contour selection tool".
- Shift + Space : Rotation in a controlled manner the canvas.
- Ctrl + Shift : Zoom
But if you like and want to create your own shortcuts.
I create this shortcut to make it more useful and faster for me:
-L is for contour selection
I will show you how to do this configuration to create my shortcut "L".
You can do it by following the three images below and create your own shortcuts.
Picture 24.0. Go to the preferences menu. Then to configure krita.
 Picture 24.1
 A window will appear as I show you in the image below.
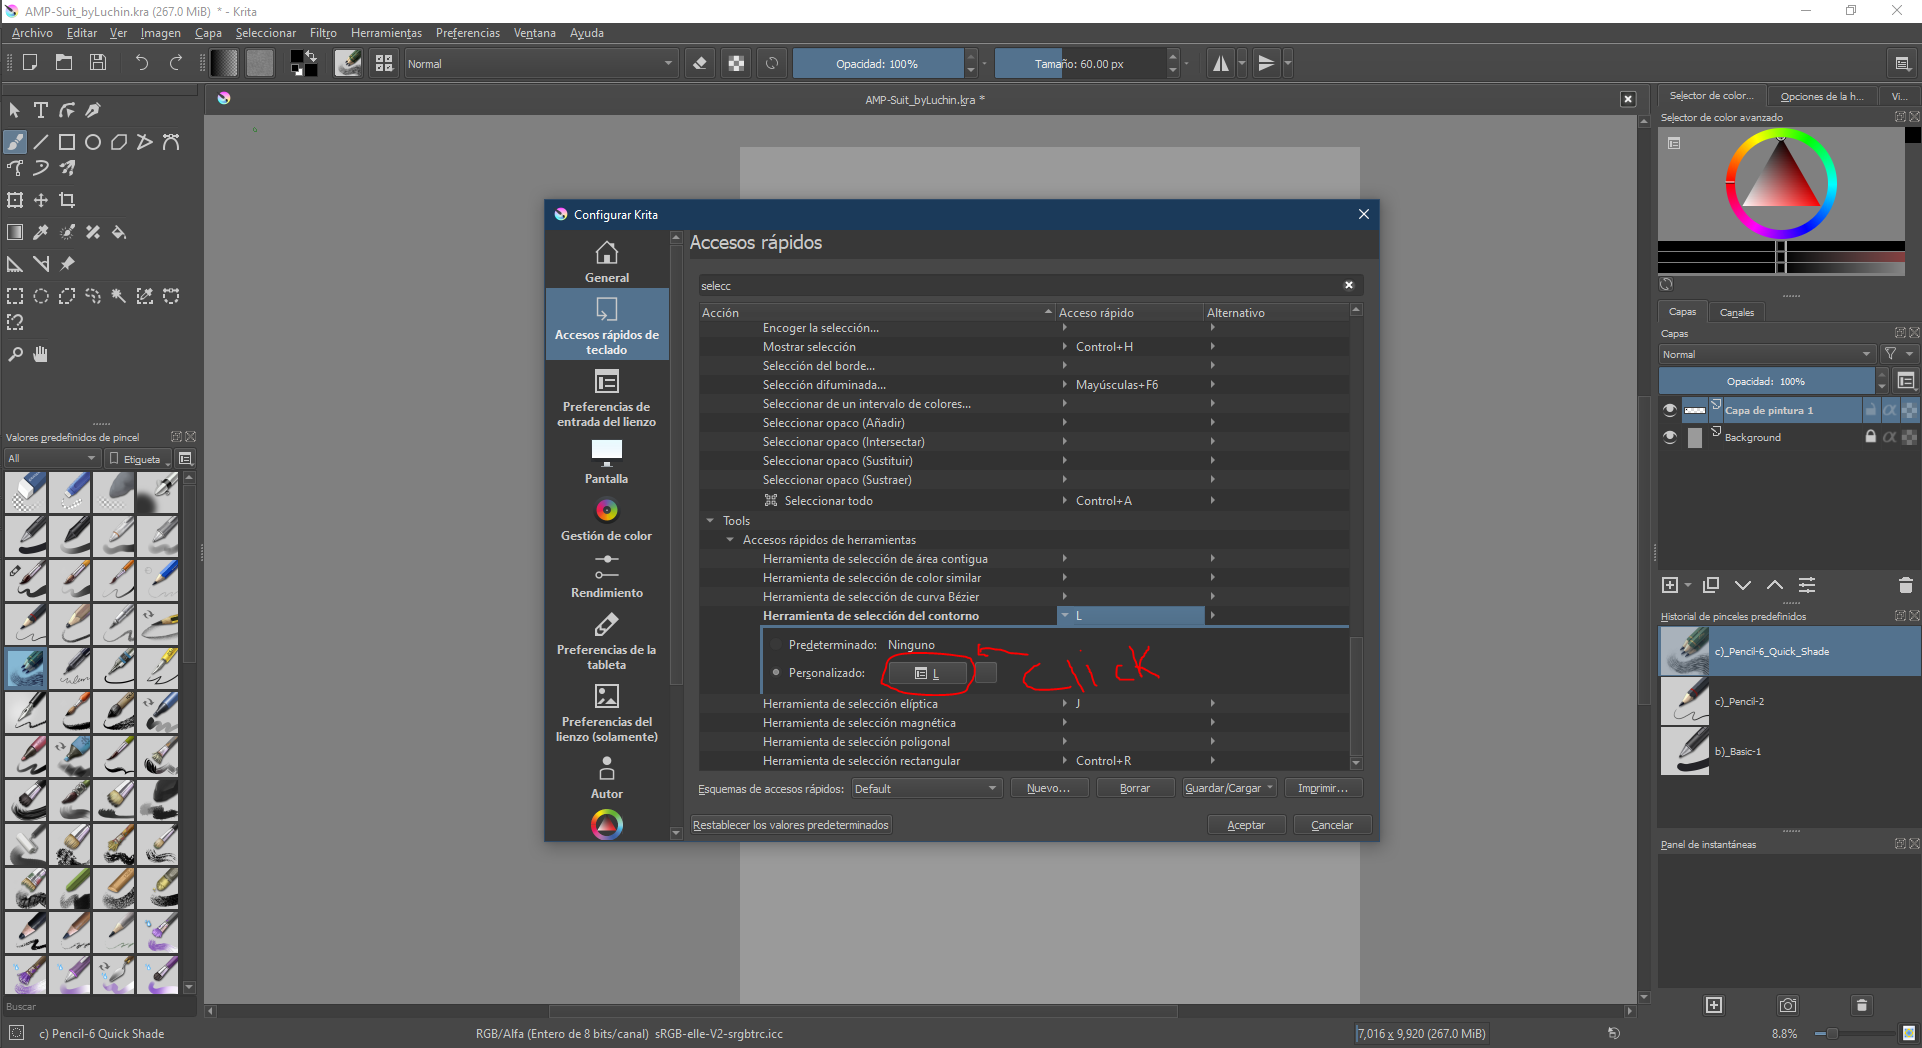
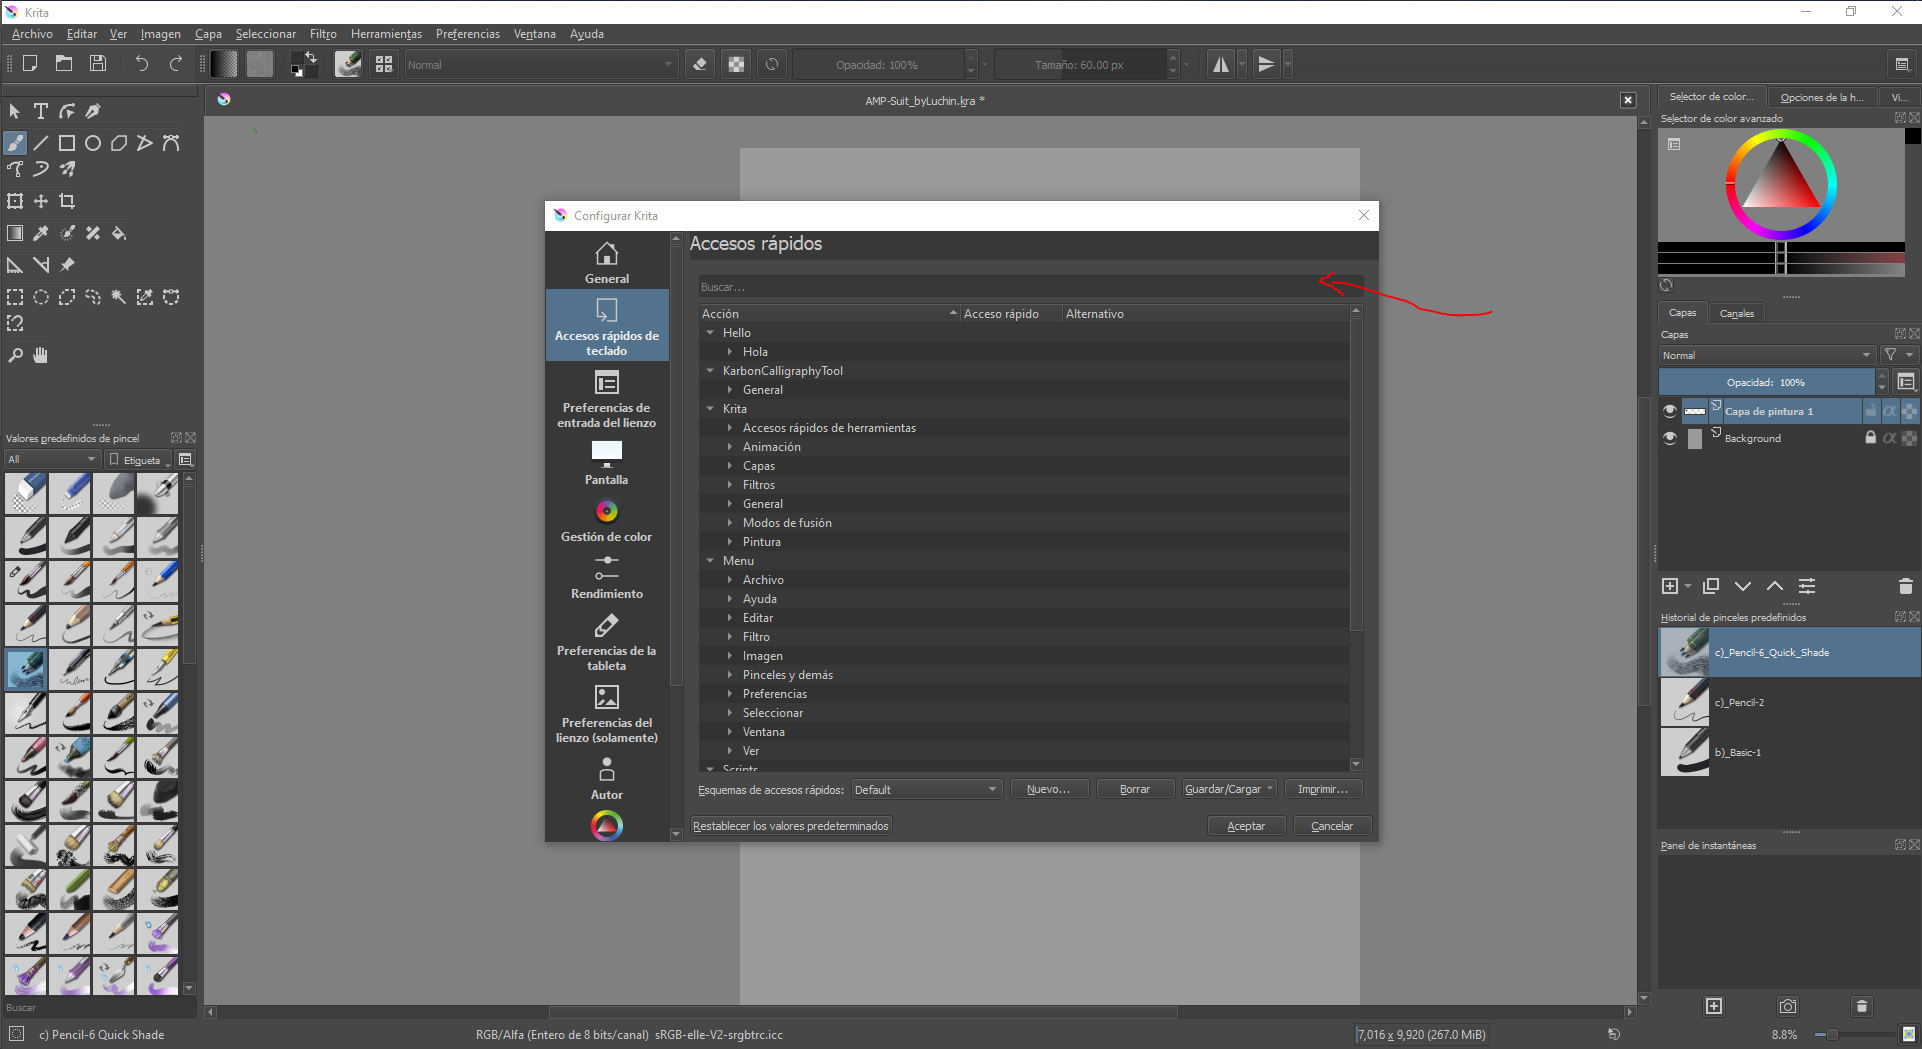 Picture 24.2
 Where I mark you with the red arrow "1", write "Select".
Then scroll down to "2". Next look for the Tools section "3". Finally we click on the white arrow "4", I see "L" because I already have it set.
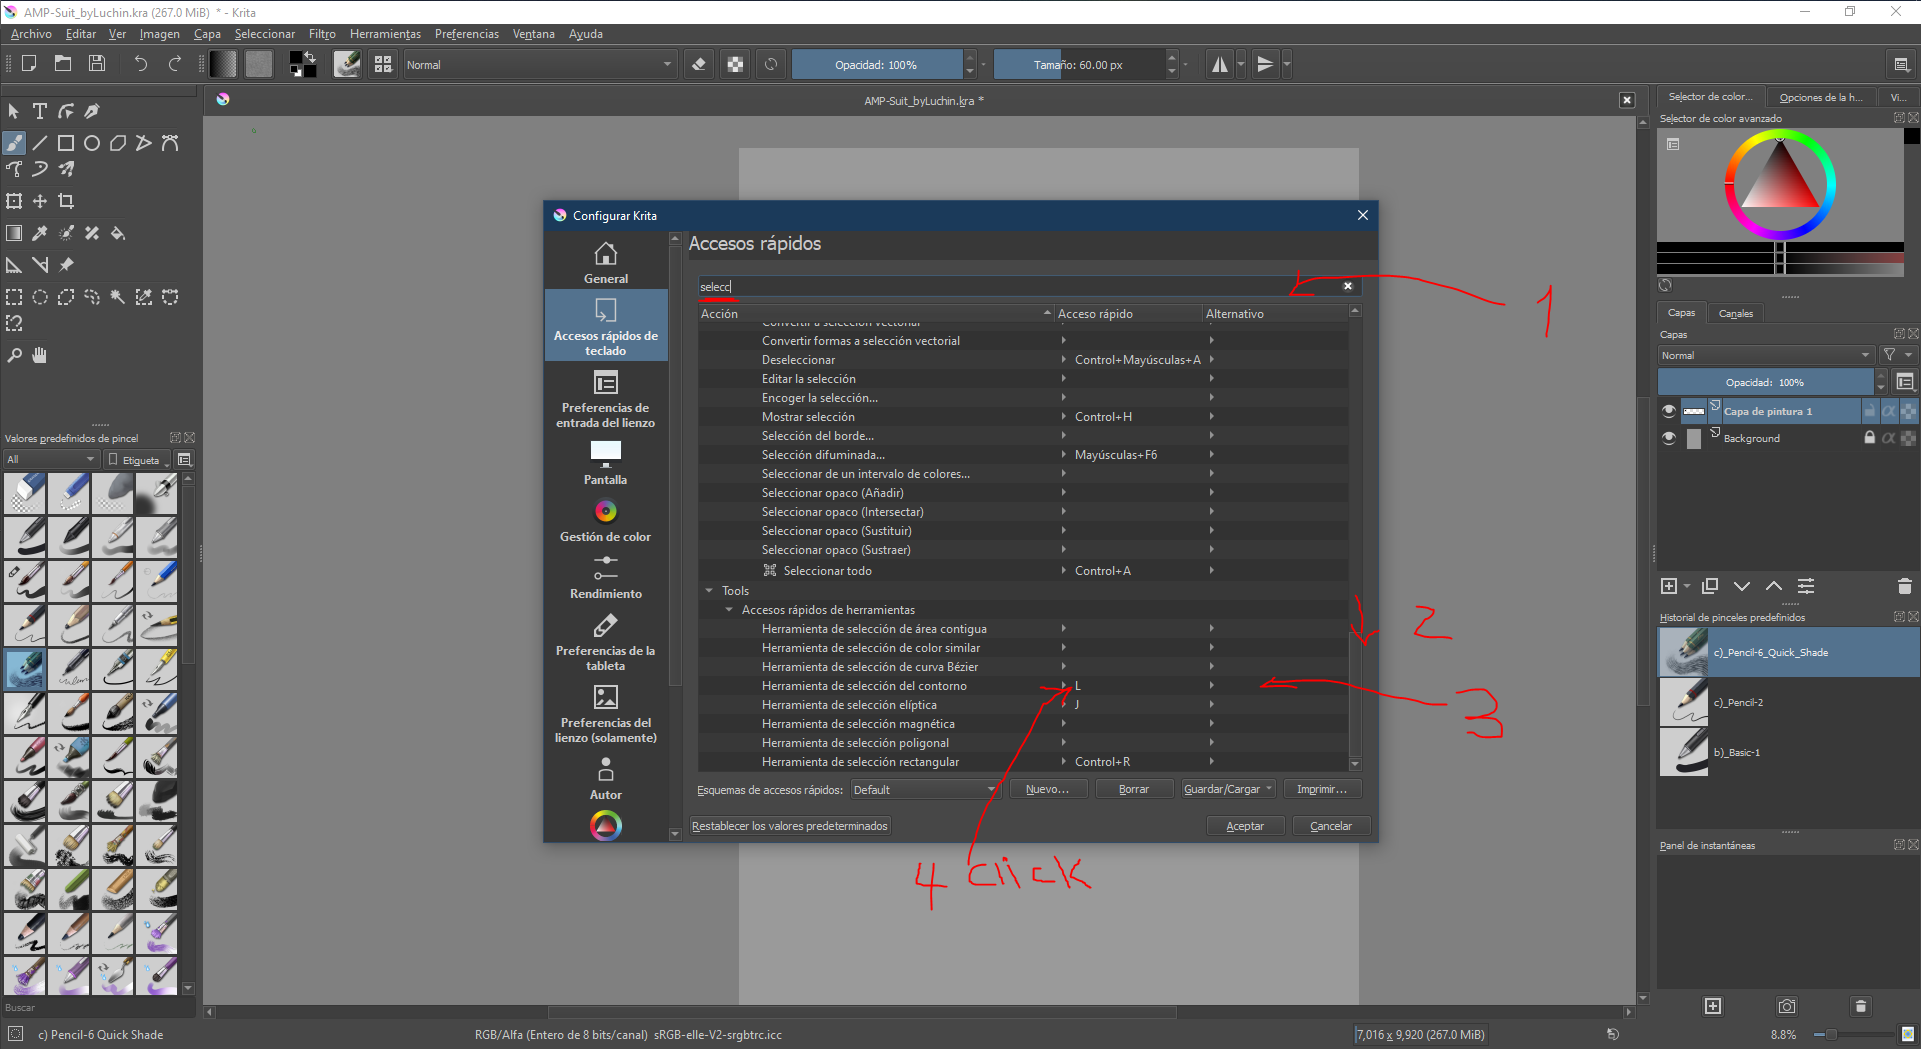 Picture 24.3.
 Something like this will appear, here where I mark them, click and then choose the key you want.
 Now we are ready to begin.
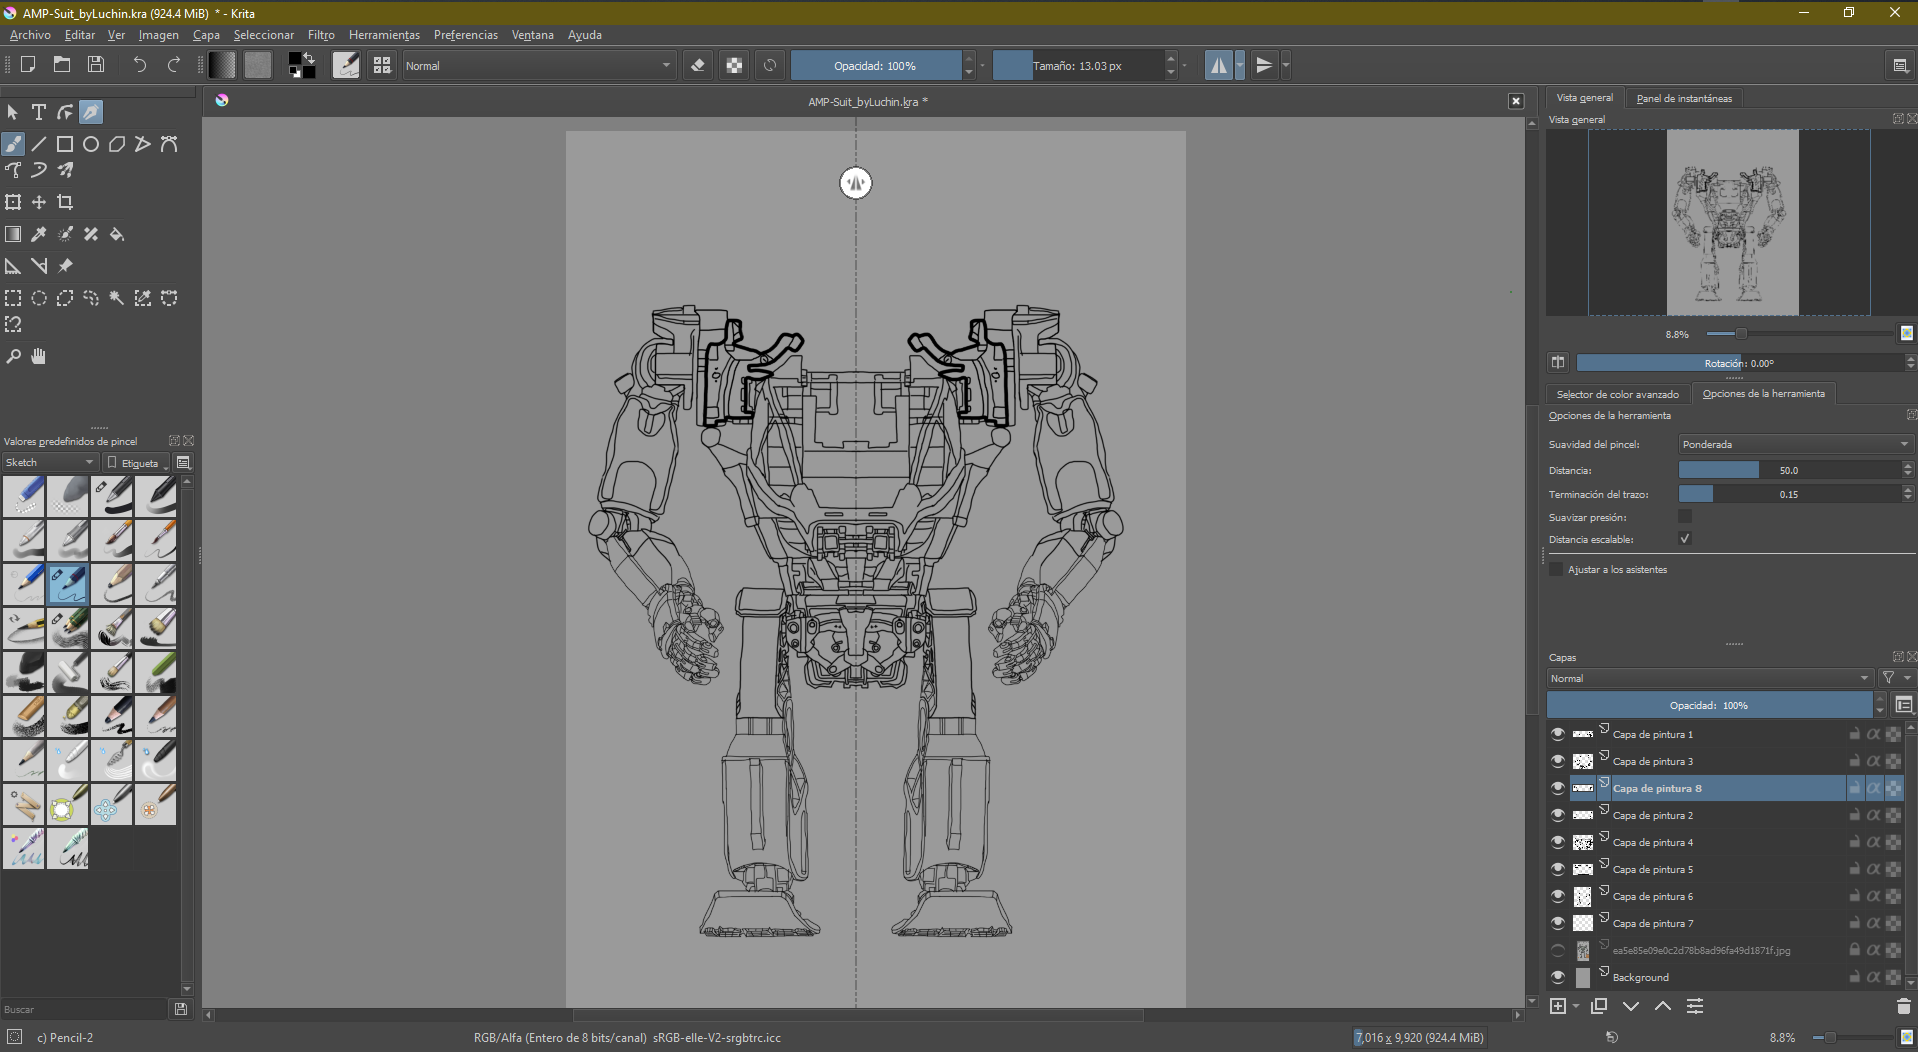
Now I will try to recreate the
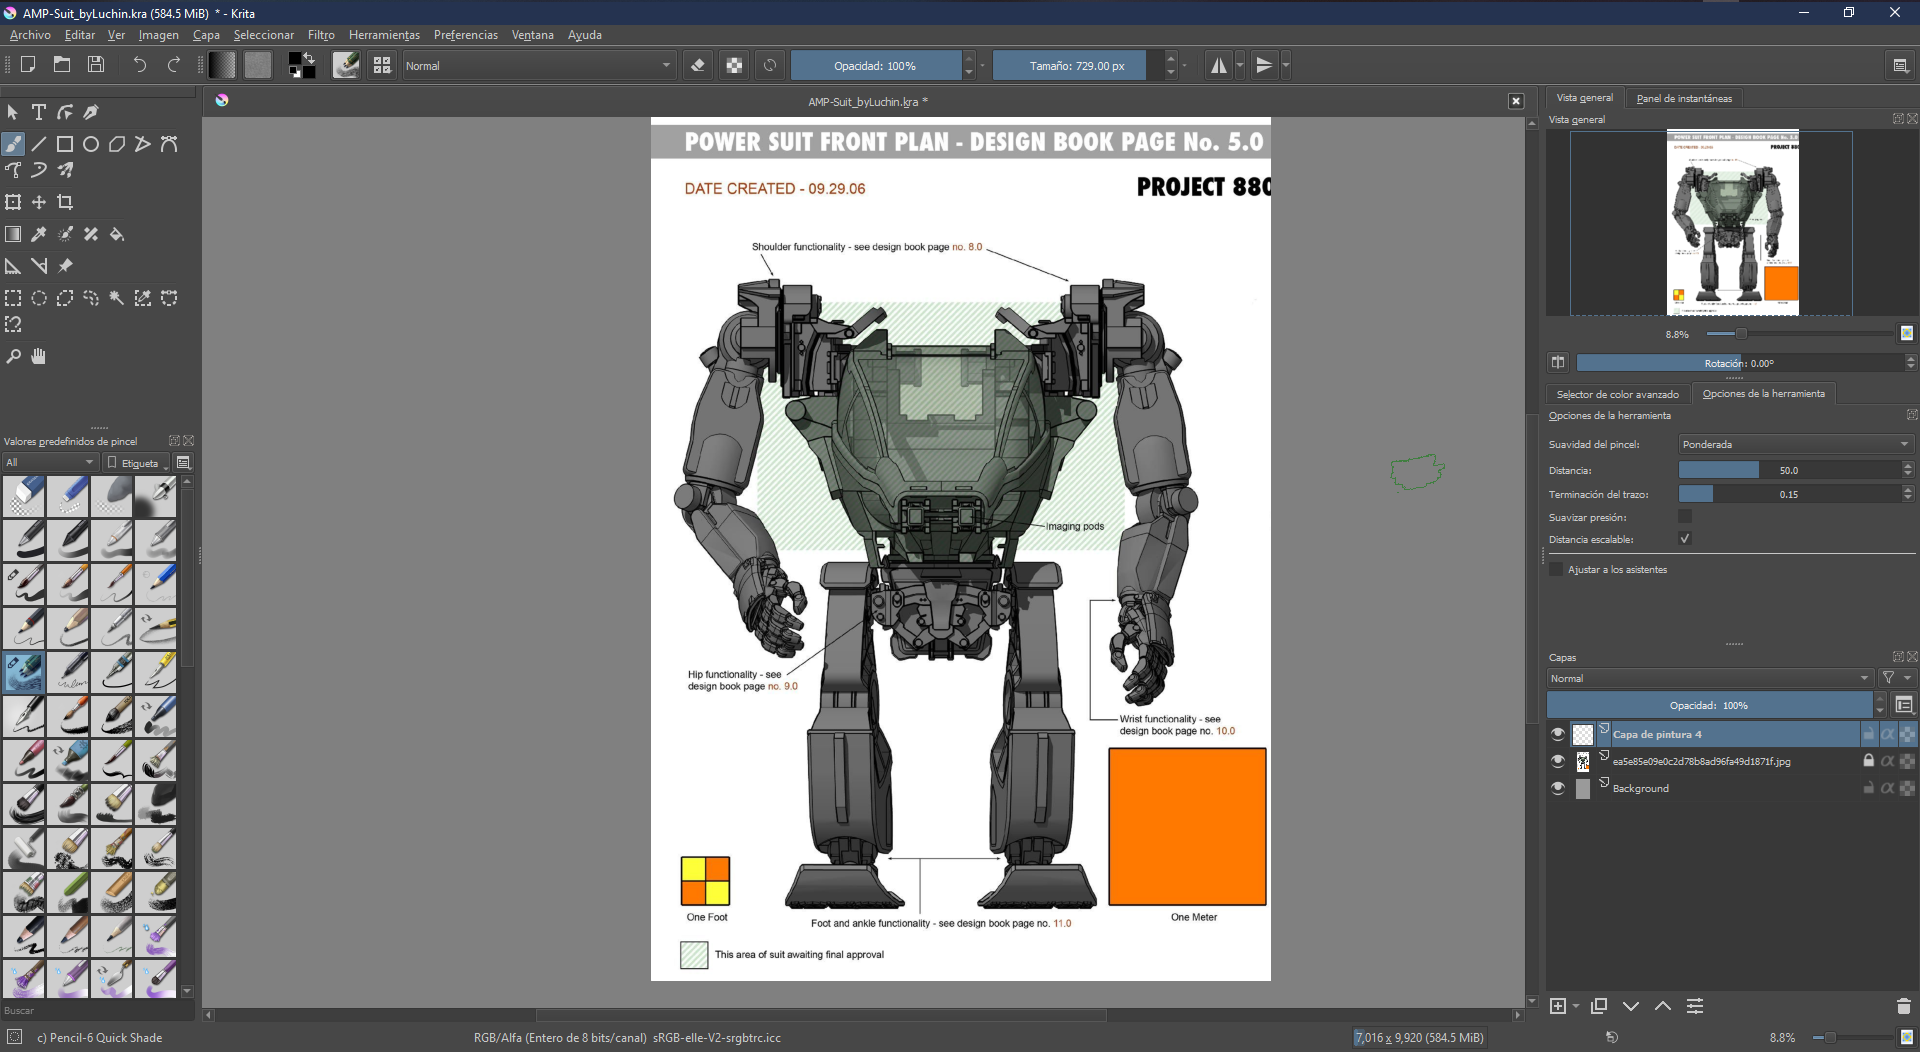
exosuit "AMP Suite" from the movie Avatar by James Cameron for do this I search some image on google and import to Krita. The image i search you in the file section at the end of this page.
STEP 1. Create New File.
Picture 25.0 I create a New file and Import the image and try to and I try to put it on the canvas.
 Picture 25.1.
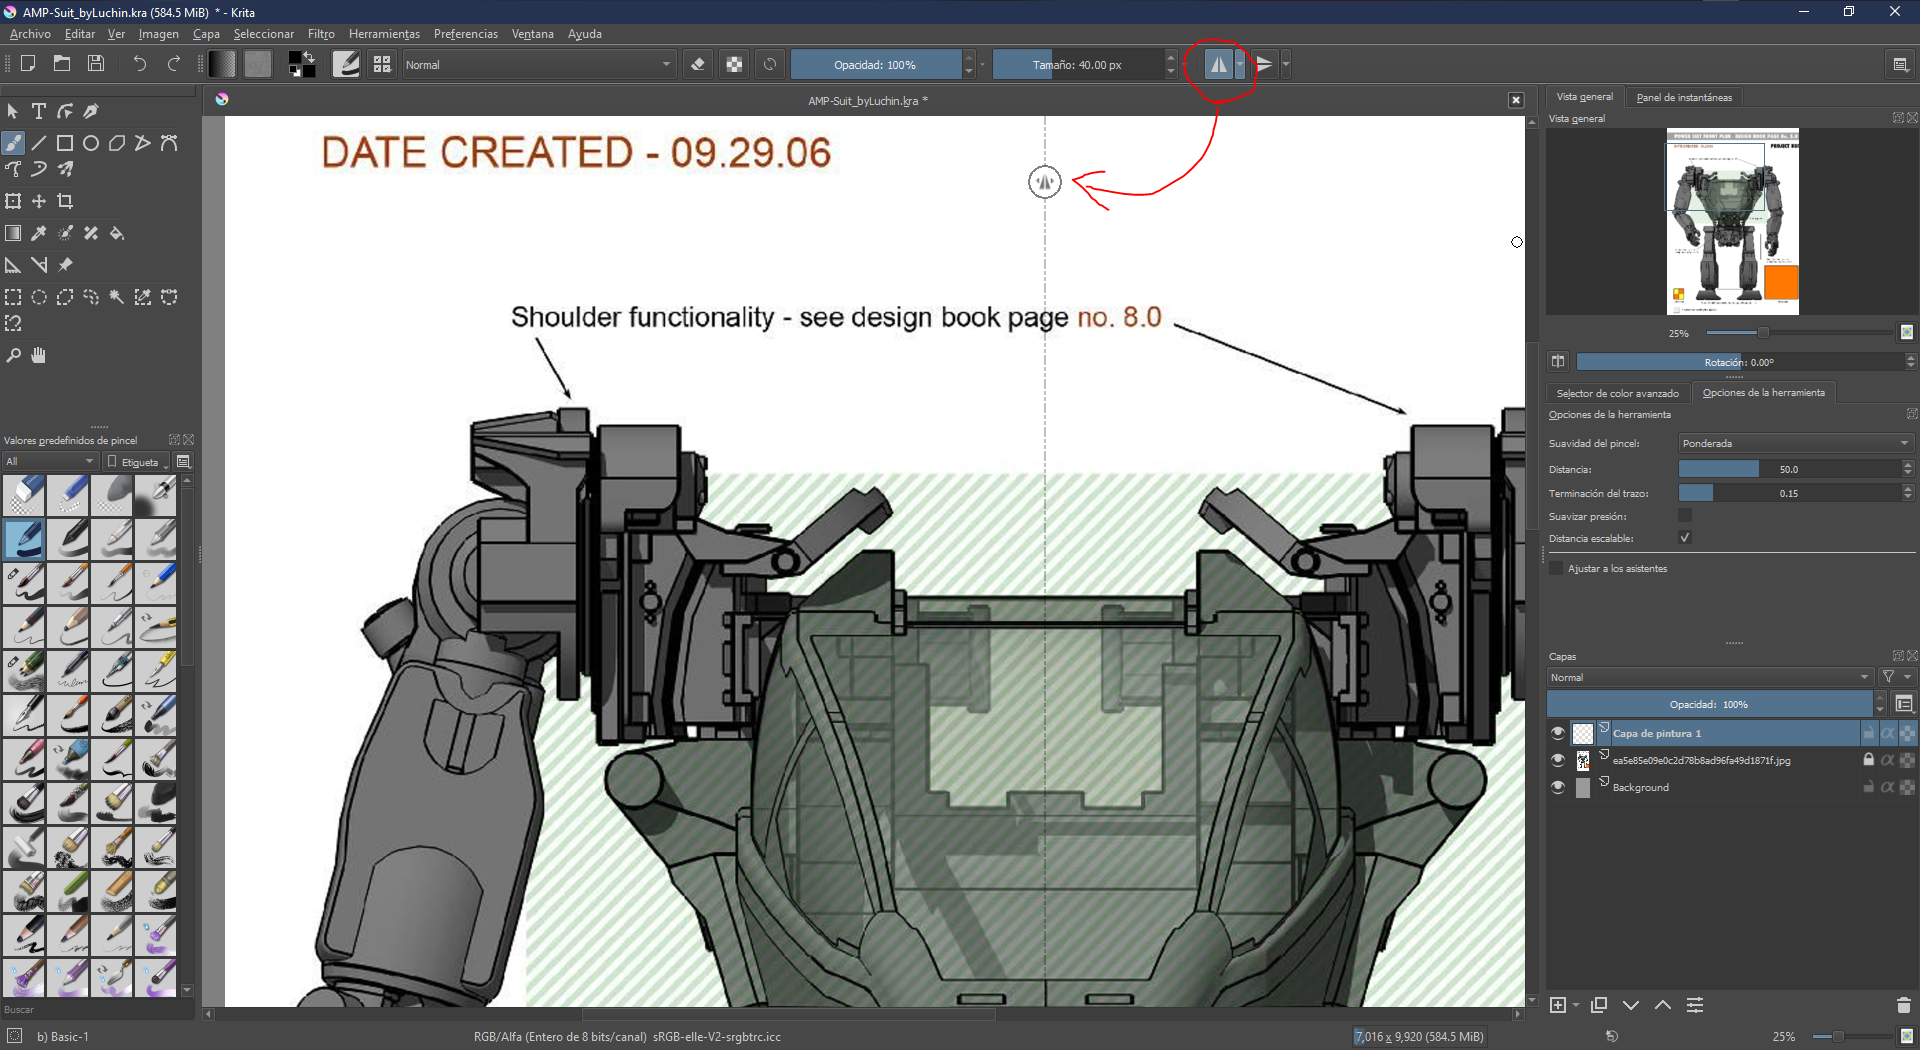
 Then I click on this icon, call Mirror. This icon is most popular in 3d softwares. It's great that Krita has this too. This allows me to draw one side and it will be made exactly the same as the other side.
 STEP 2.
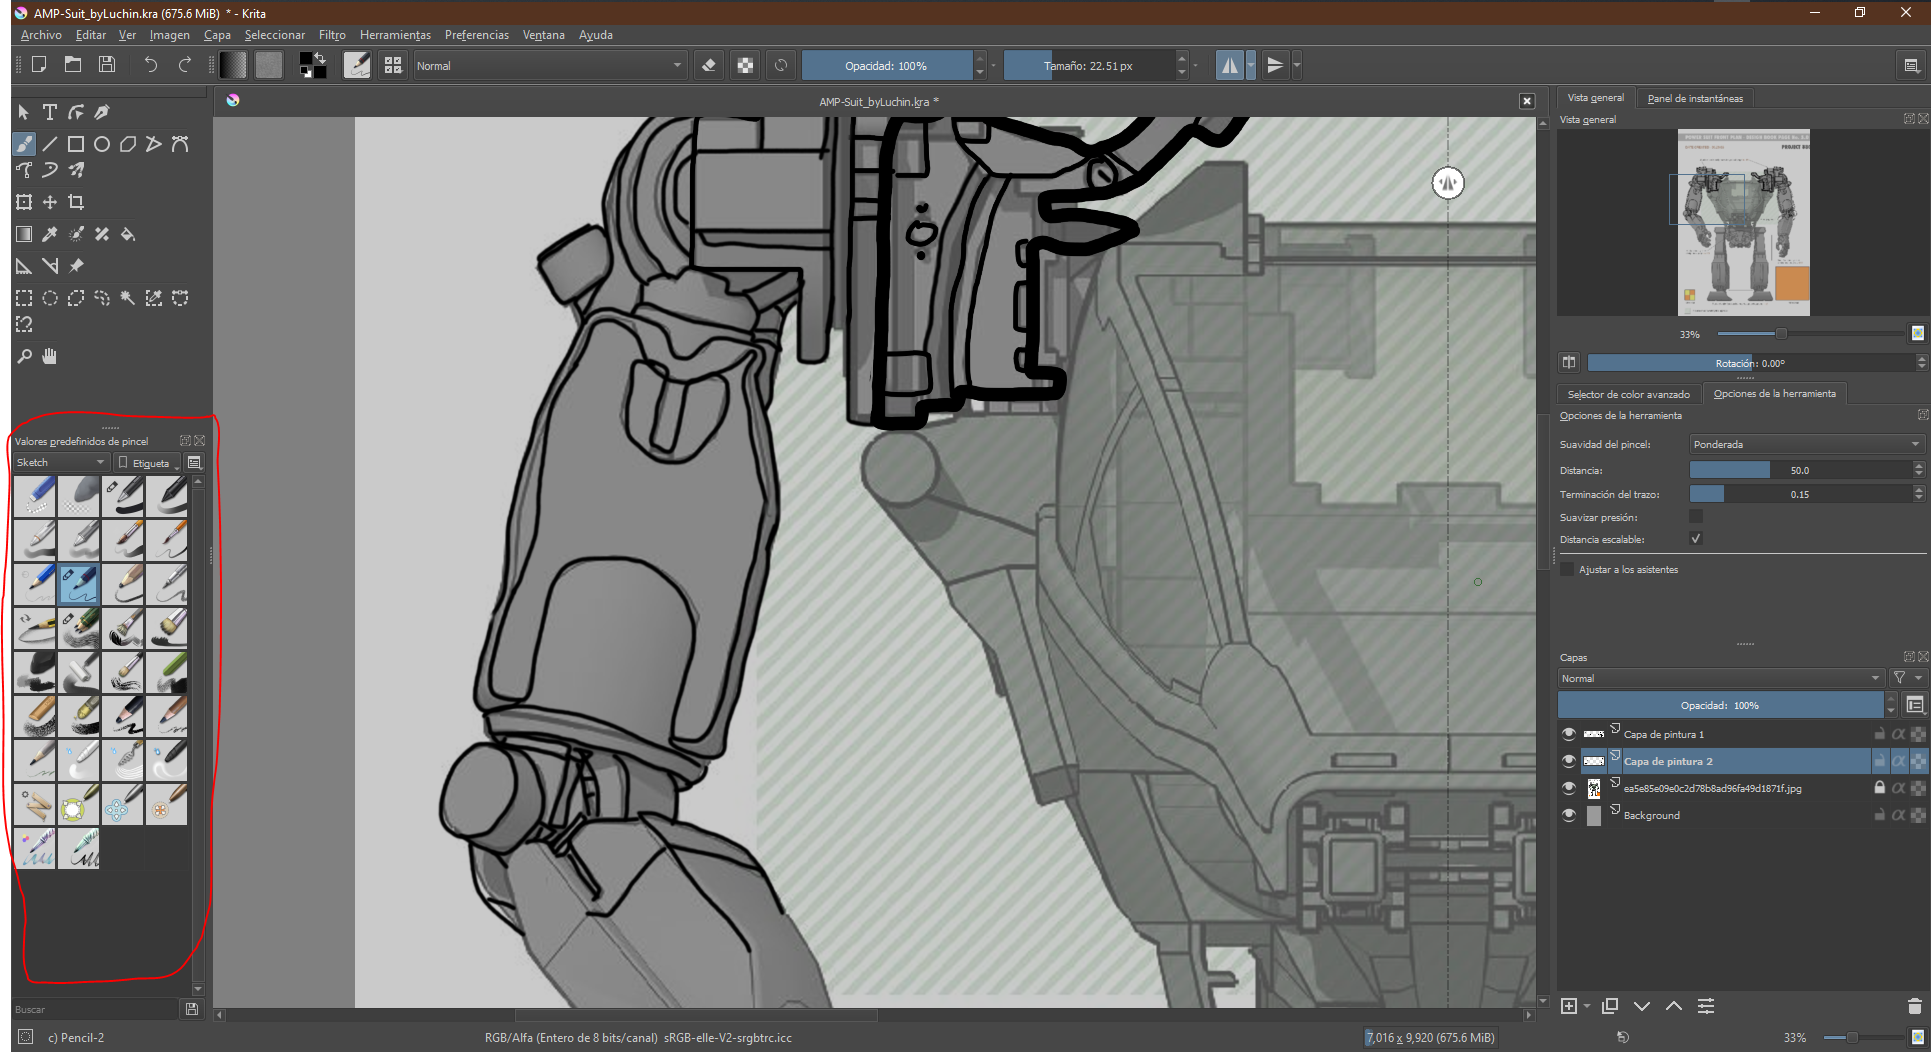
 Time to draw and paint.
Picture 25.2. Then I started to draw the silhouette using the pencils that Krita has predefined.
 Picture 25.3.
 So I finished the draw for the entire Amp Suit, thanks to the mirror tool I found it very fast and easy to finish. Then I passed to painted.
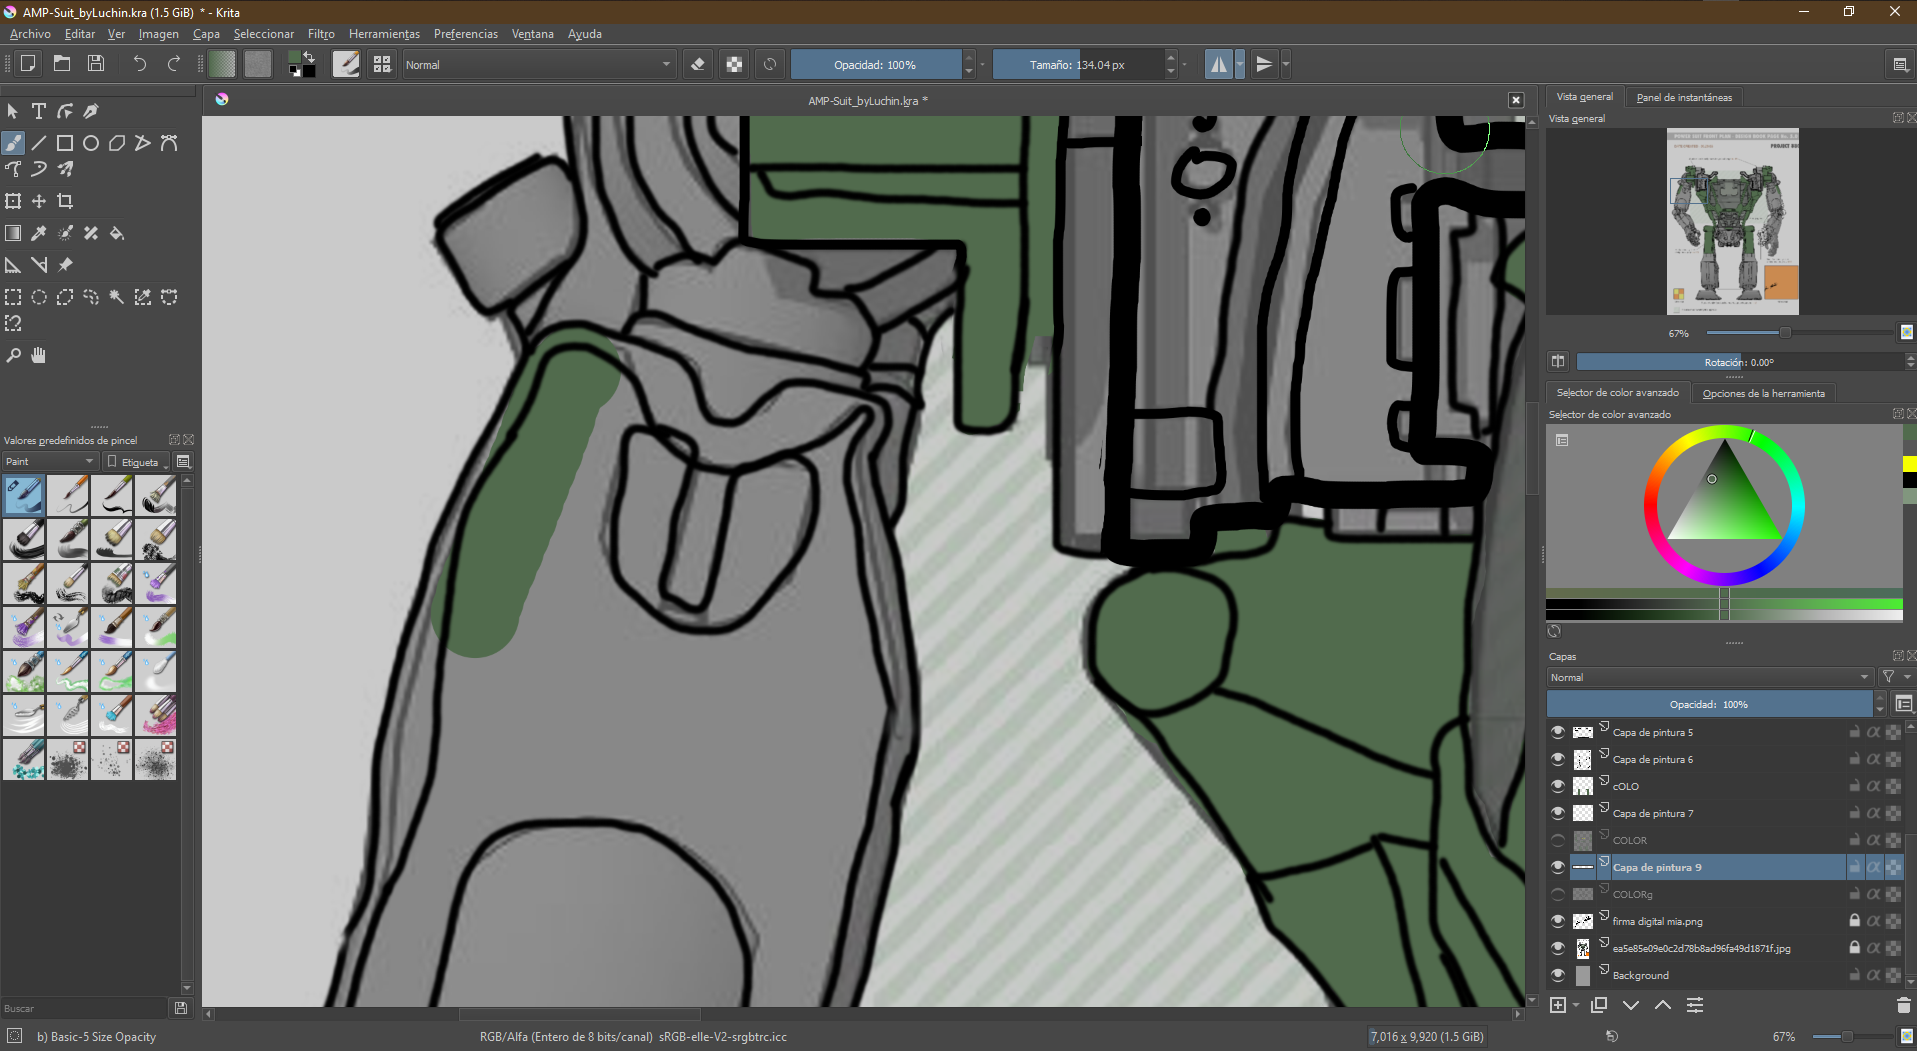
 Picture 25.4.
 This part was the fastest since it is only to create a new layer and paint on it as if it were a coloring book.I enjoy this step.
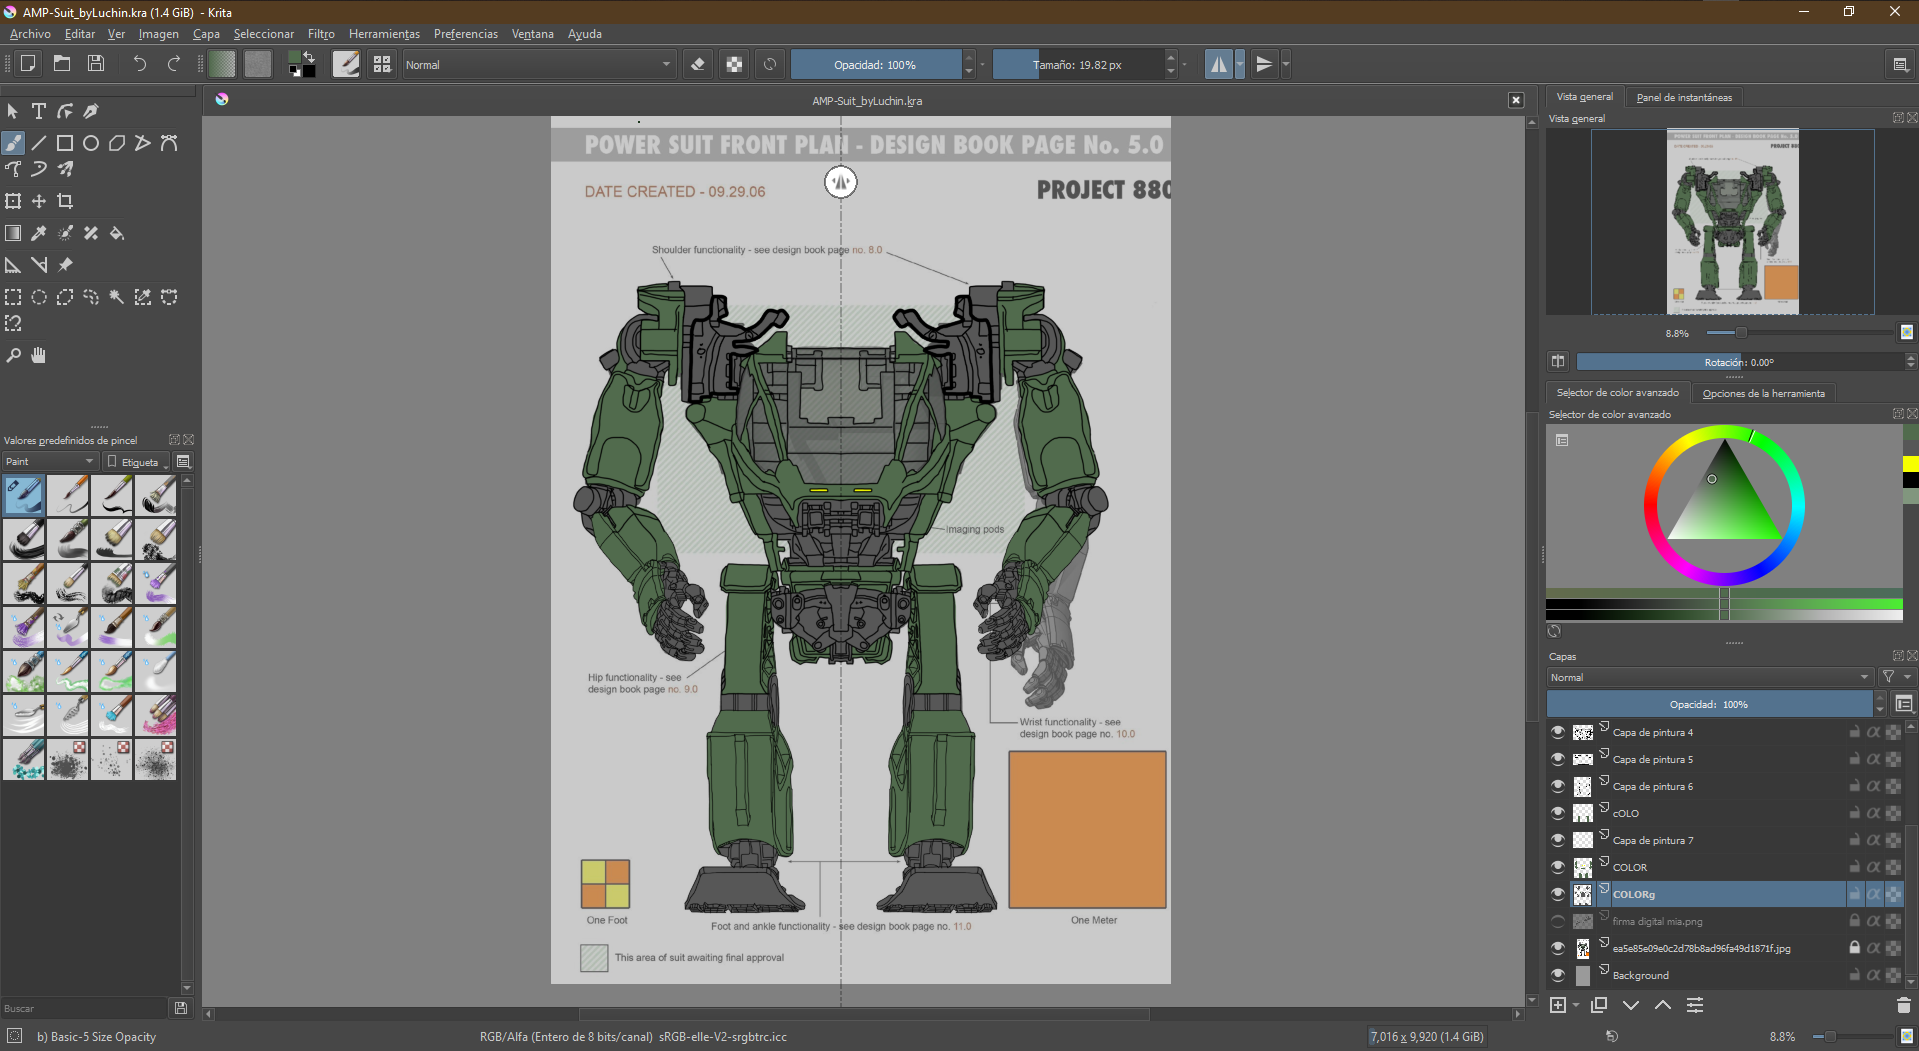
 Picture 25.5
 So, here I show you my final finish of my AMP Suit Robot Drawing and Painting.
 STEP 3.
 Finish and final view.
Picture 26.0. It looks good right! I am proud of the result! So now I will go on to signed.
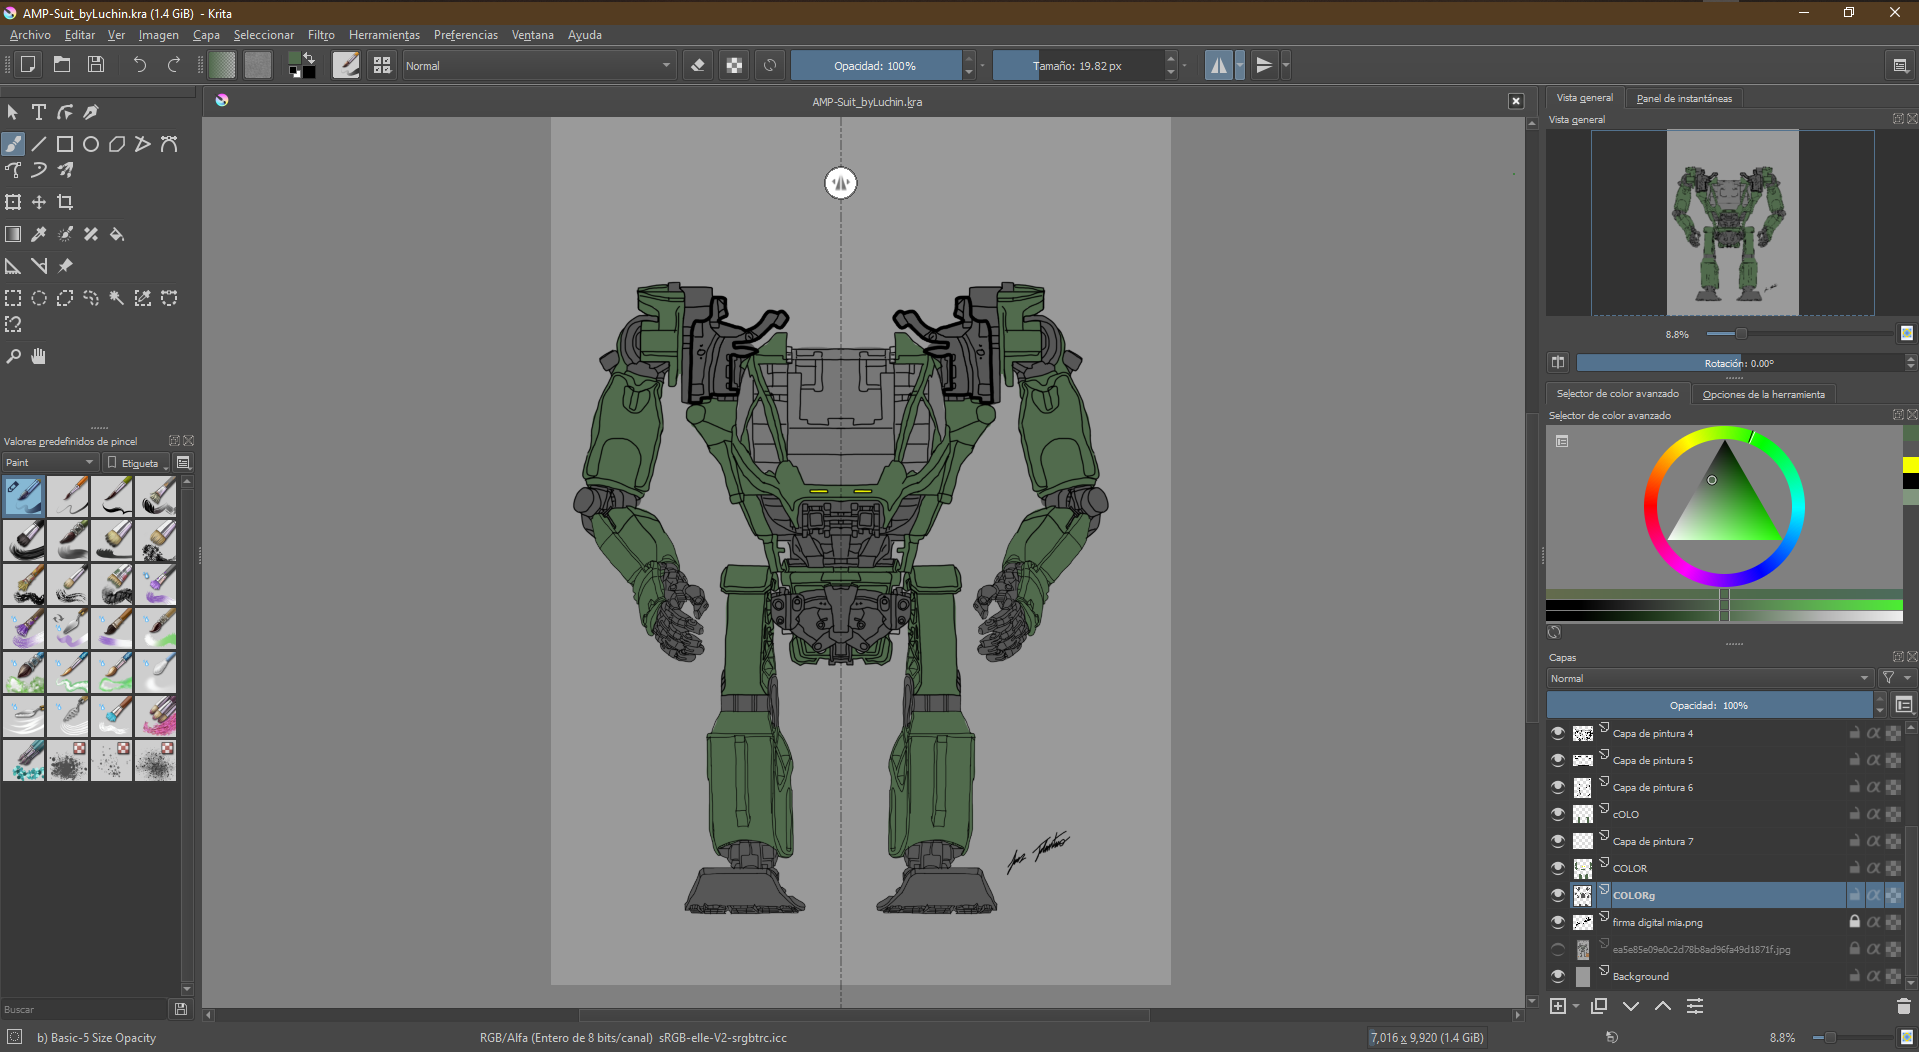 Picture 26.1.
 And this is my Draw publish!.
Some Extra
So, I decided to do a little more, I decided to recreate one of my previous designs, in case I could use my design for my final project. The design that I will recreate is called "Holo Glasses", these glasses are a complement to a system to communicate by Holograms via wifi with other people, this system that I created is called "HoloCam".
STEP 1. Open my design image in
Krita
Picture Ex-1.0. I place the image of my design as centered as possible, so that it is easy for me to draw it and then I block this layer.
 STEP 2.
 Draw and paint my design.
Picture Ex-2.0. I started drawing my design using the pencils that Krita has by default.
 Picture Ex-2.1.
 I finish my draw. Then I passed to painted.
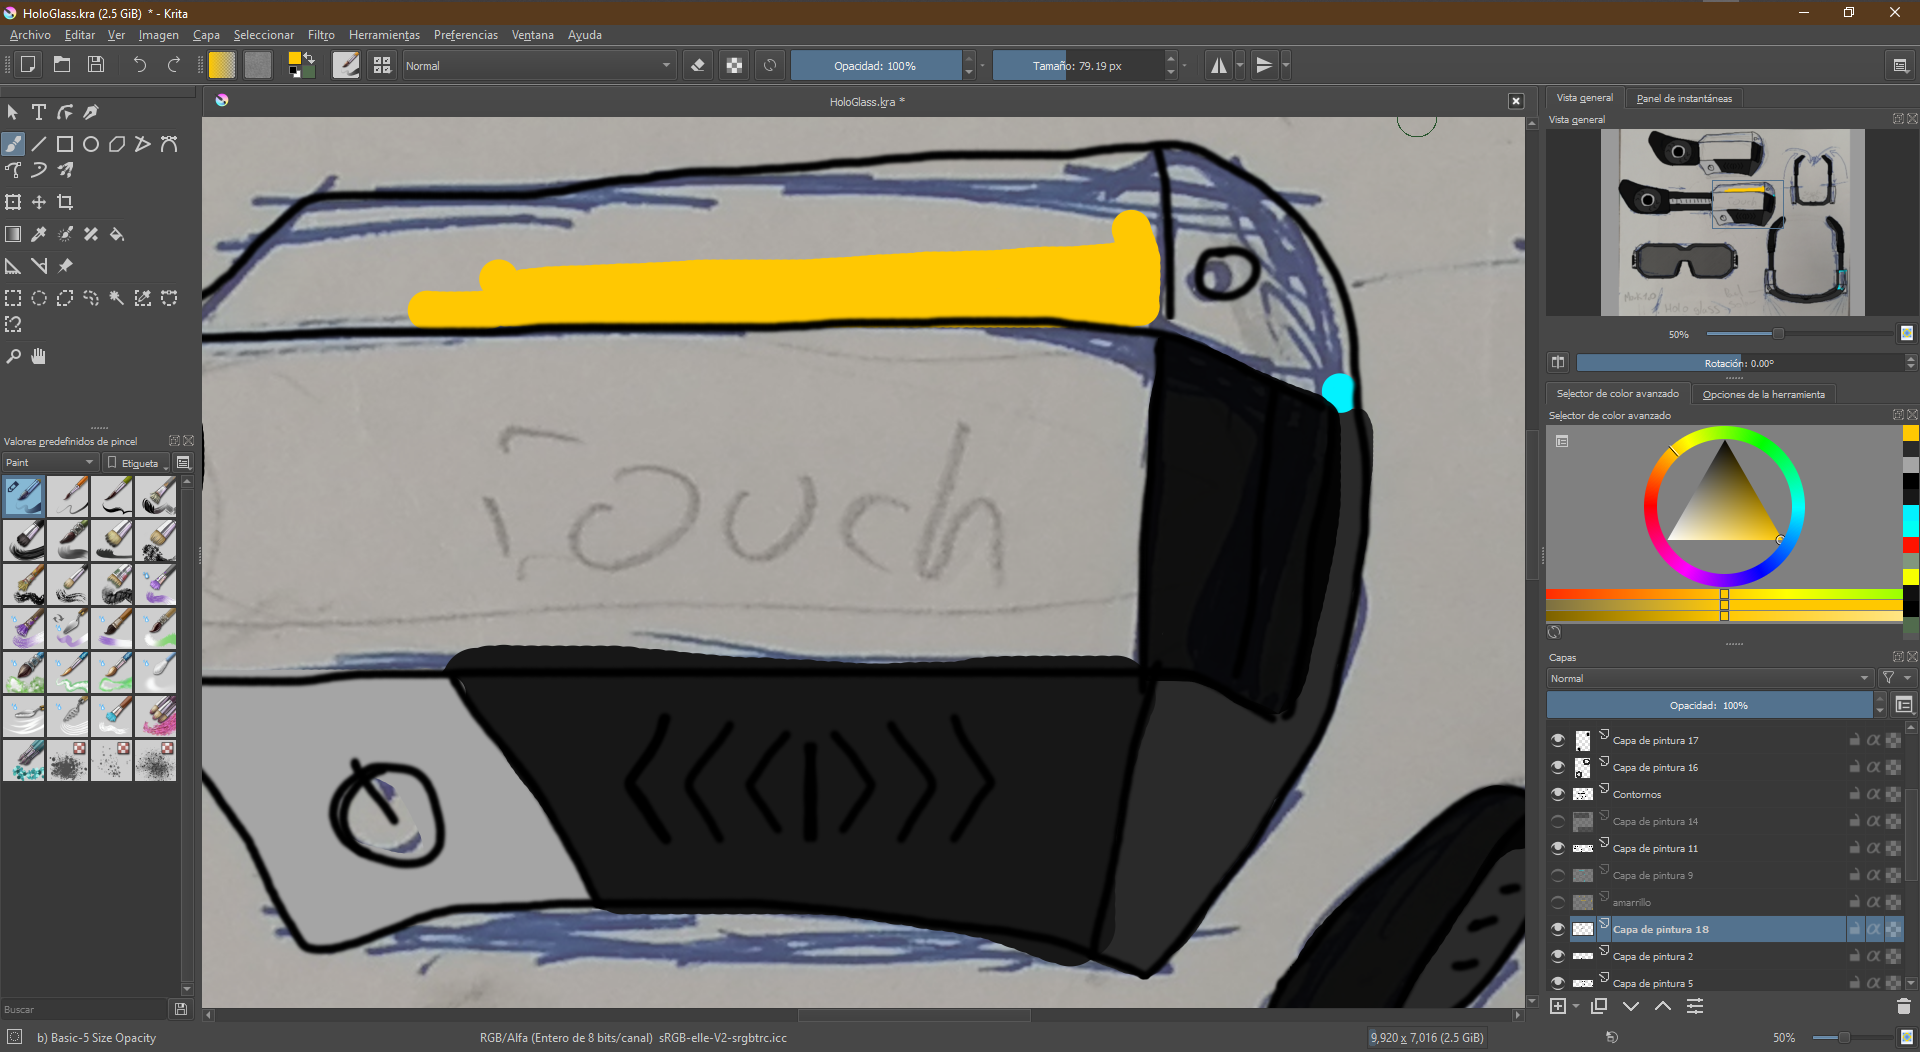
 Picture Ex-2.2.
 I started painting my draw of Hologlasses using the brushes that Krita has by default.
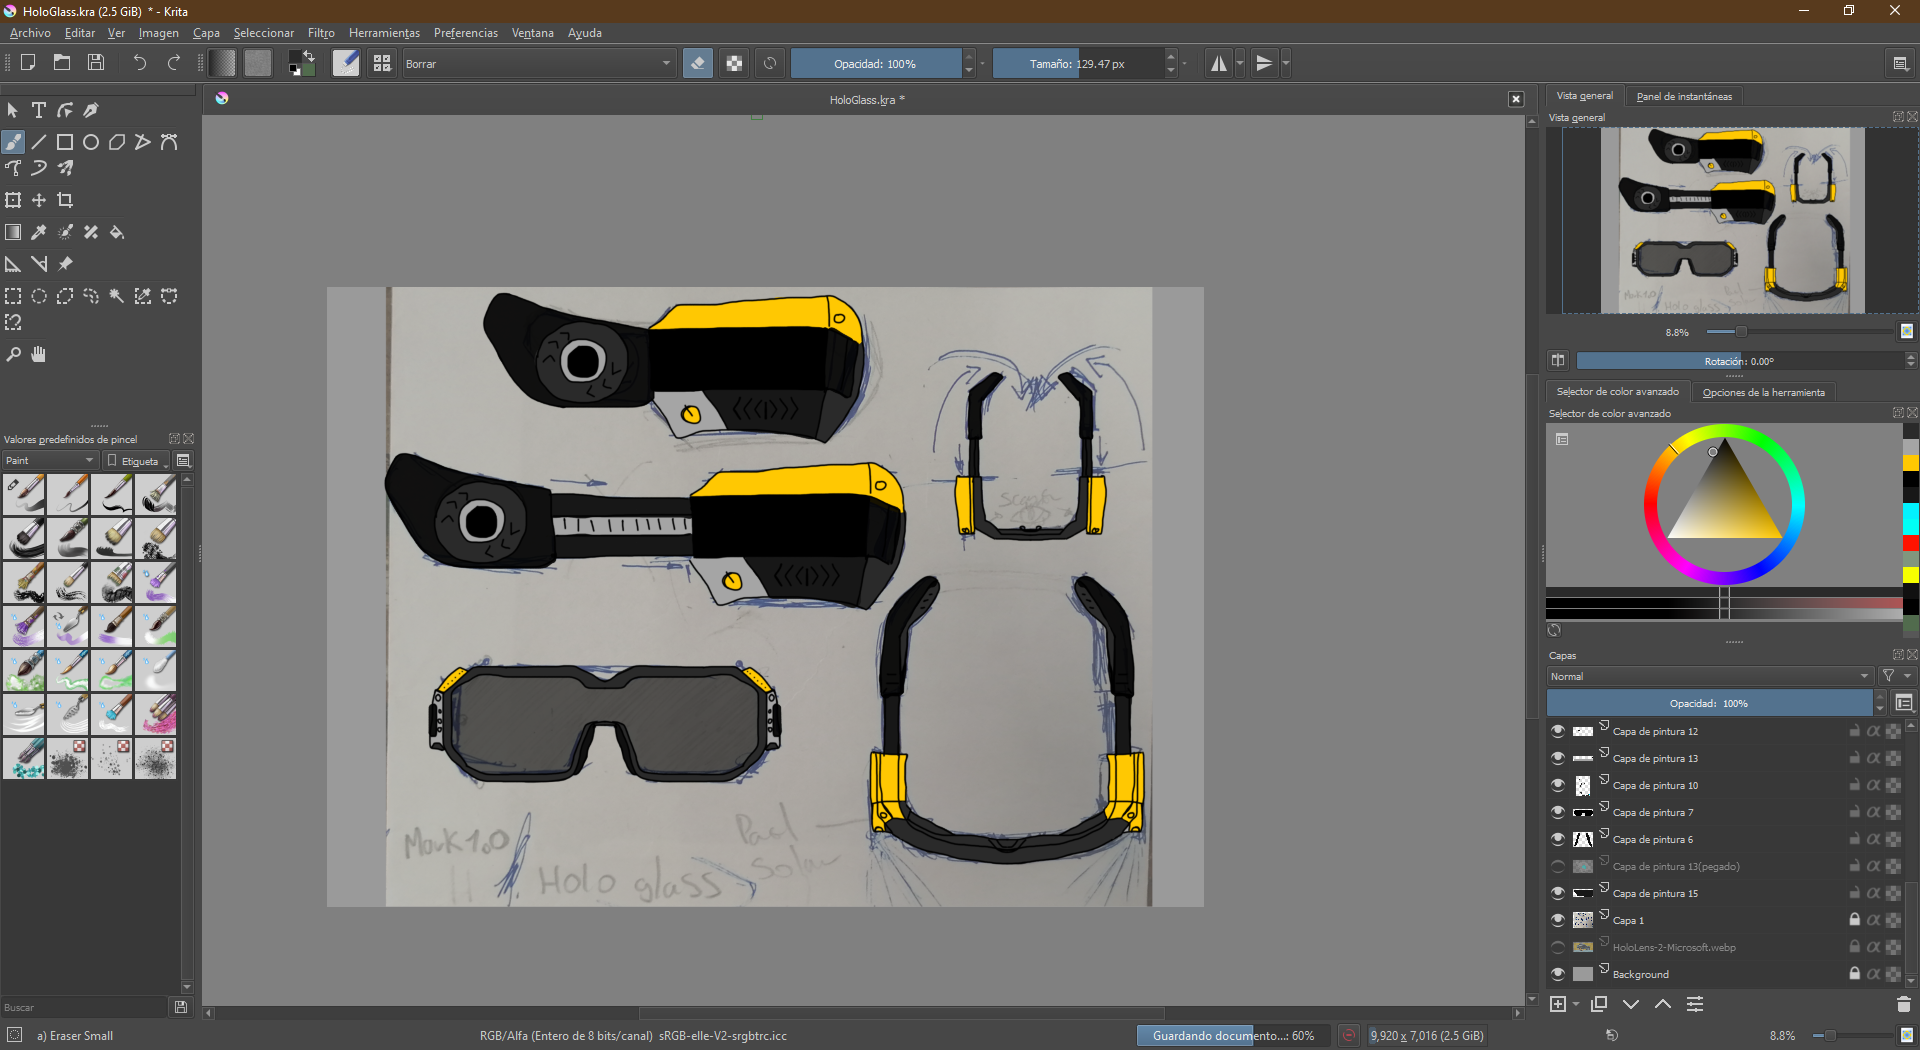
 Picture Ex-2.3.
 I finish the paint my draw. Then I passed to published.
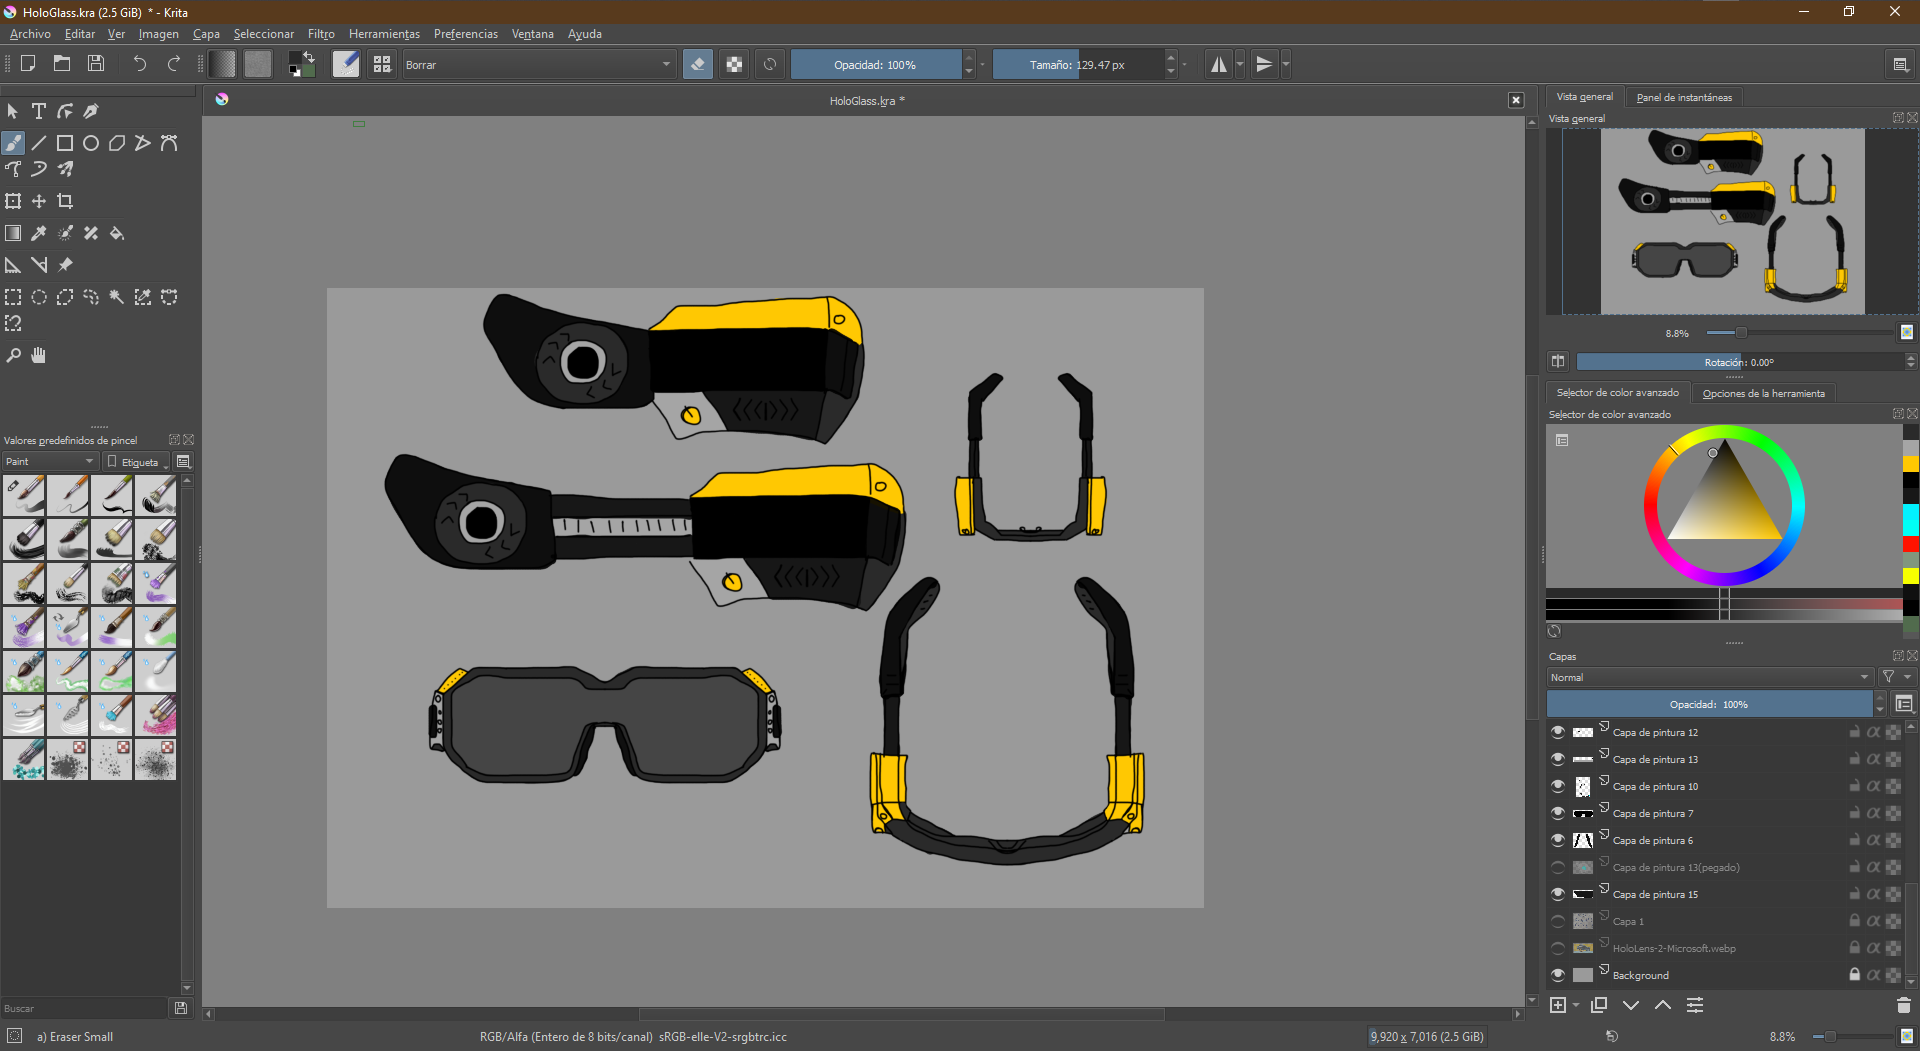
 Picture Ex-3.0.
 It looks good right! I am proud of the result! So now I will go on to signed.
 Picture Ex-3.1
 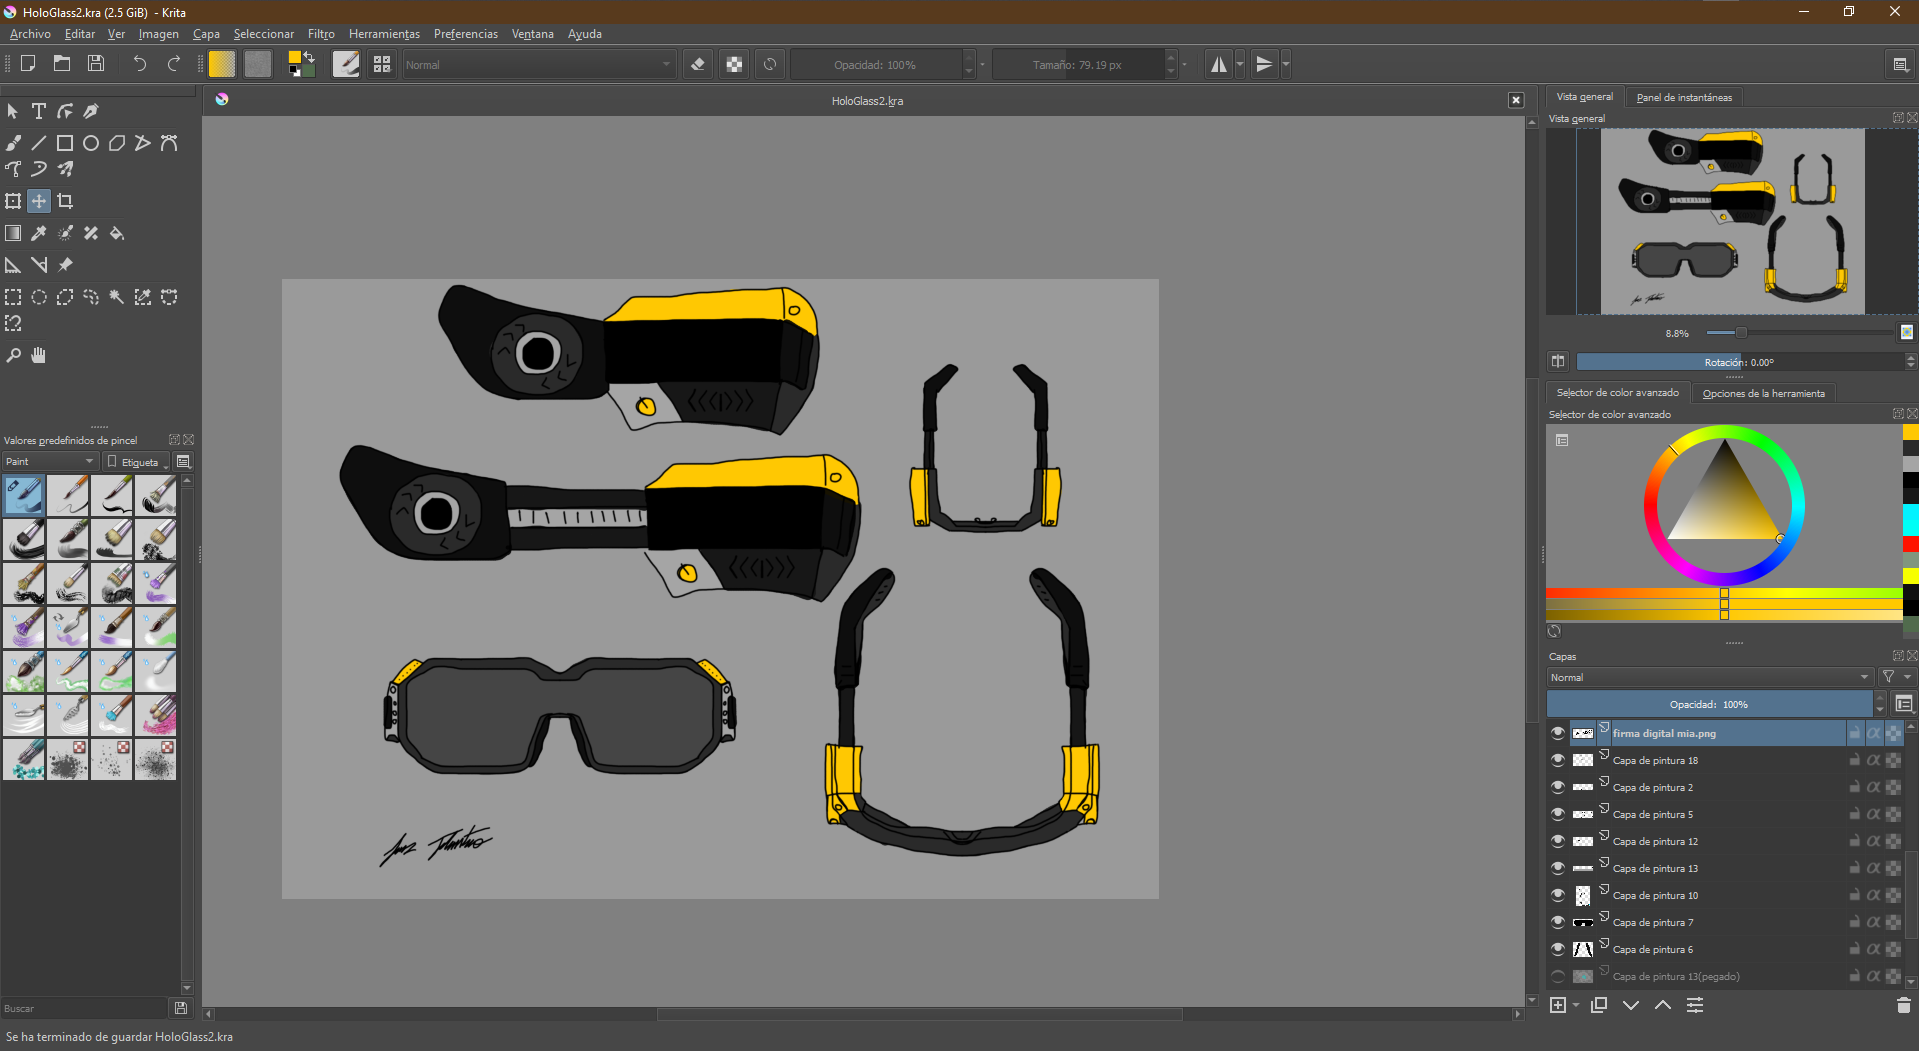 STEP 3.
 Finish and final view
Picture Ex-4.0.
========== learned/conclusions ==========
This assignment, to be honest, I had to do many times because I did not understand its purpose but in the end, I understood, this assignment will serve other students who are looking for a reference or a guide to complete the assignments both this and those to come.
It was a little less difficult for me because I had to do everything as if it were an easy-to-understand tutorial. But I think that he succeeds in achieving it, and it also served me as an experience in the realization of tutorials. I hope one day to get my tutorials channel maybe hahaha. only if force allows it!
=============== FILES ===============