This week I worked in molding and casting. For me this is my most anticipated task because I dreamed of doing this several times, therefore I am going to enjoy it and have a lot of fun. I just hope I don't make a mess.
Group assignment: Review the safety data sheets for each of your molding and casting materials, then make and compare test casts with each of them
Individual assignment: Design a mold around the stock and tooling that you’ll be using, mill it (rough cut + (at least) three-axis finish cut), and use it to cast parts.
Research - Data Sheet
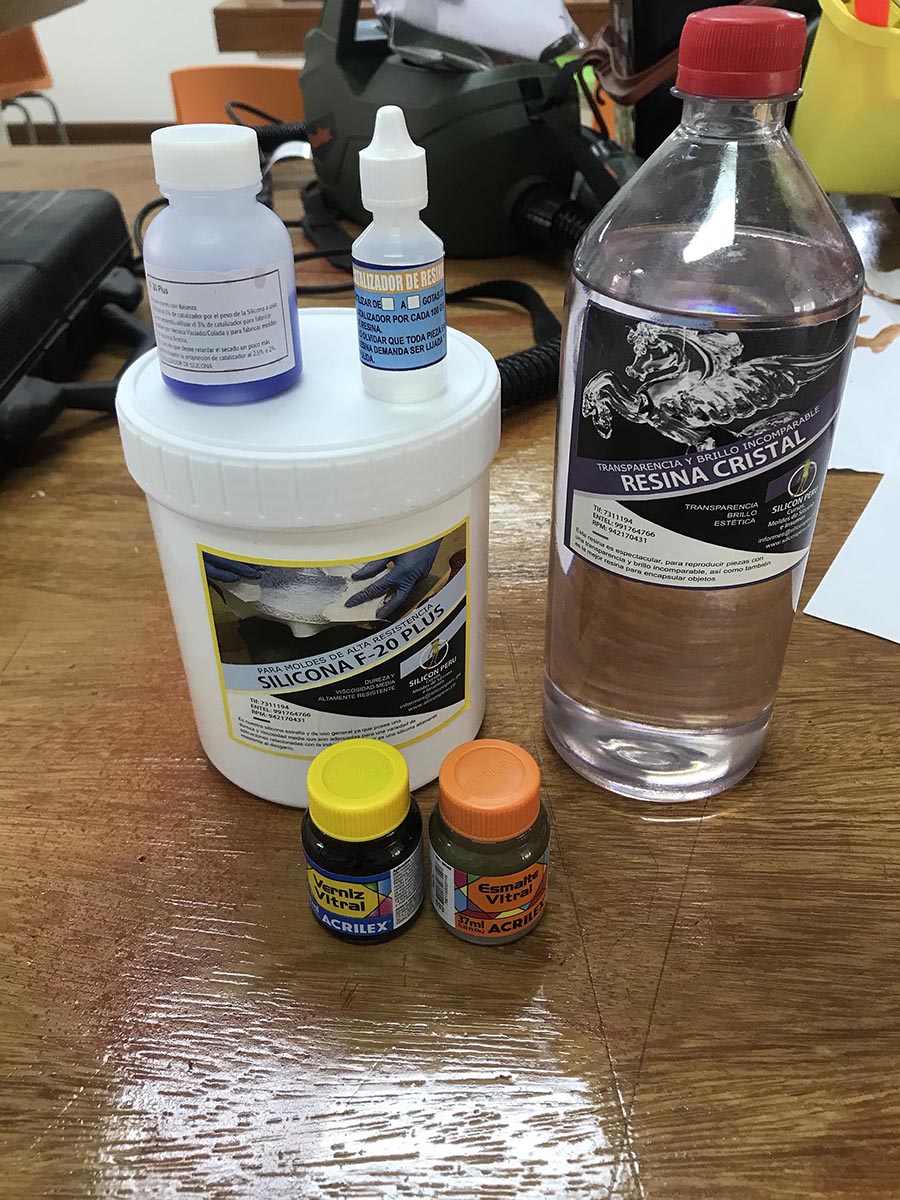
In The FabLab UCAL we are going to use the following molding/casting materials.
MATERIALS FOR MOLDING AND CASTING:
Machinable WAX Block - Silicone RTV - Resin
We both (my partner Manuel and me) worked with the same materials but Manuel did a different model.
Single-Task
======= Design a Positive Mold ==============
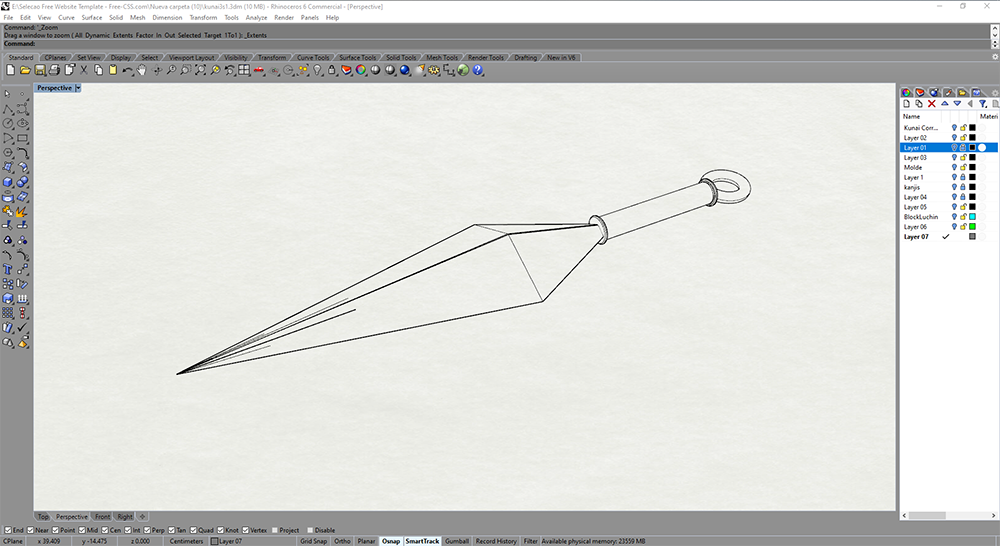
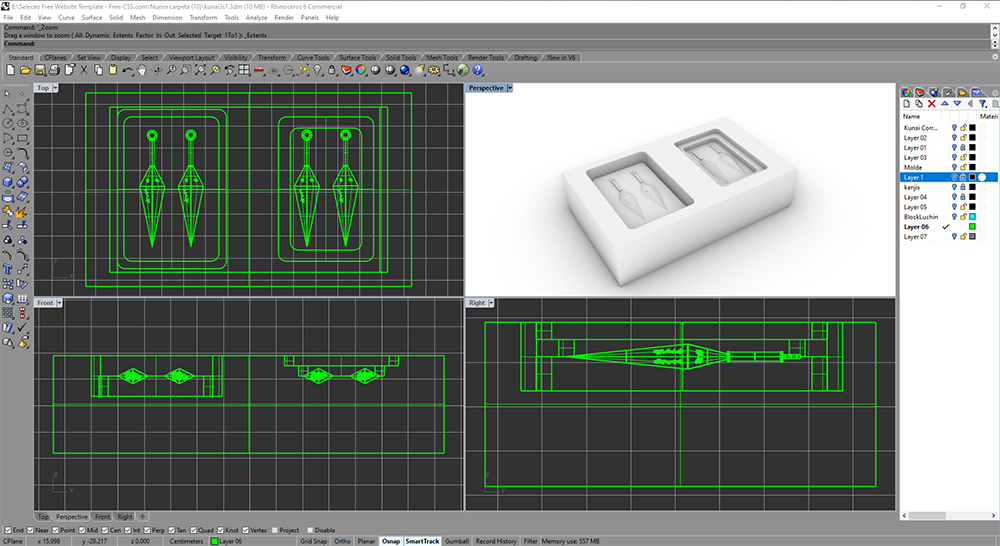
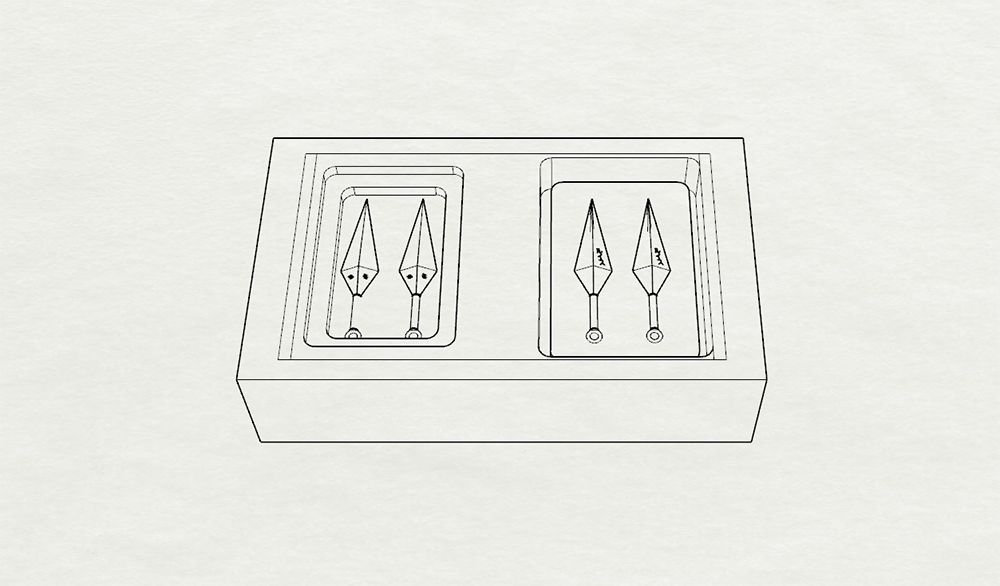
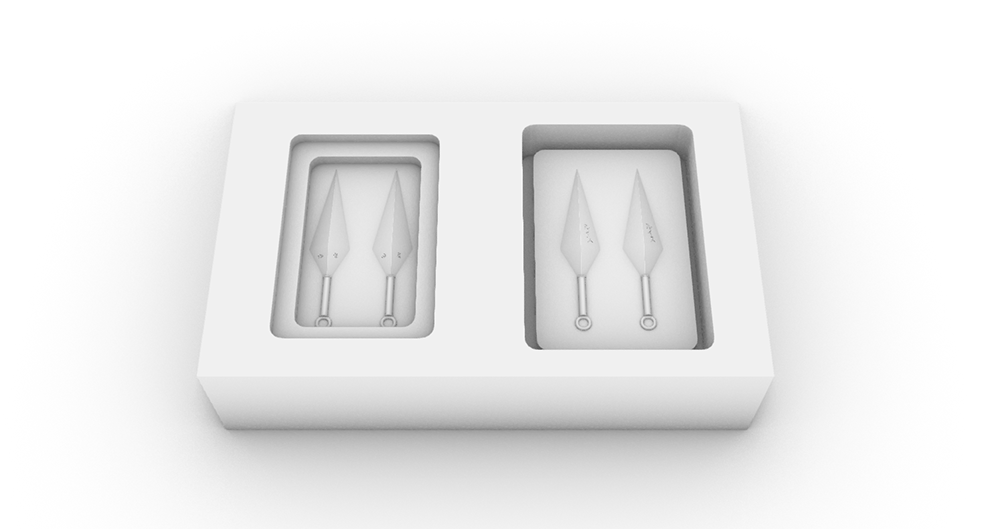
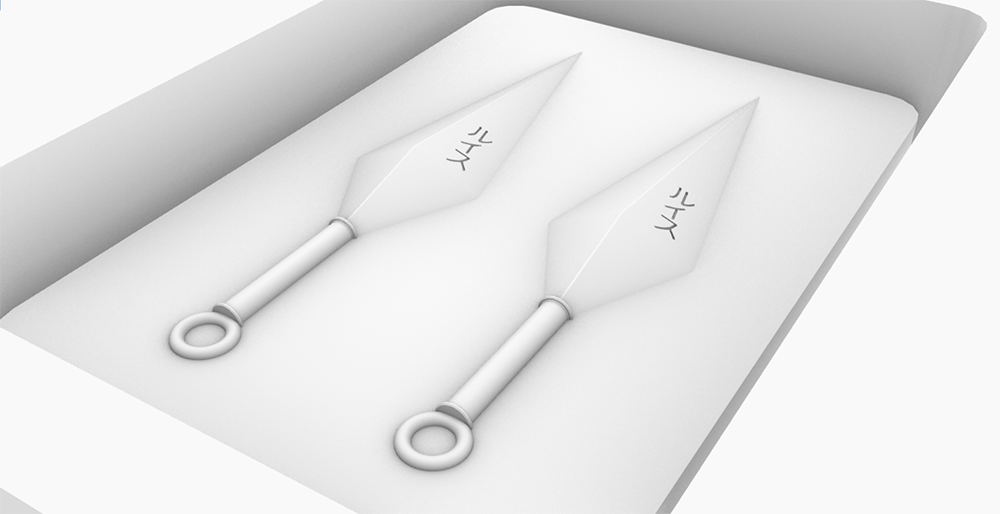
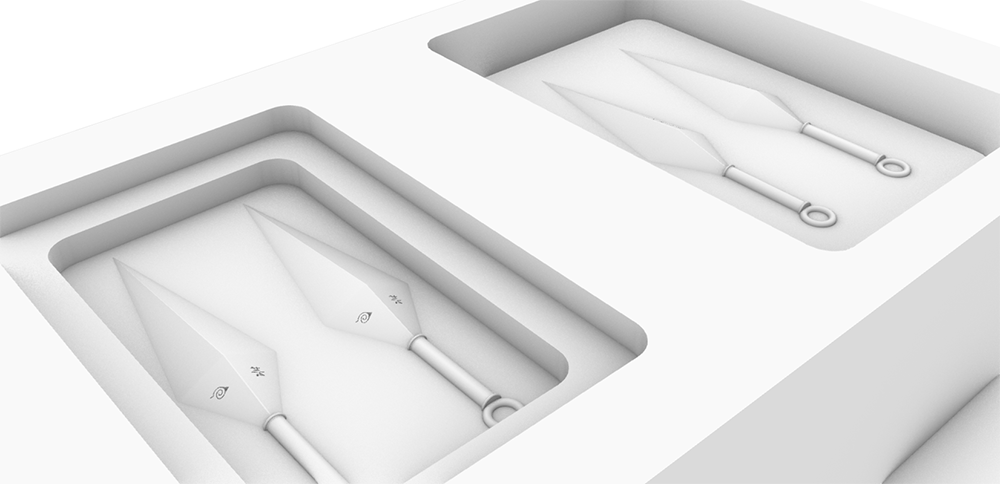
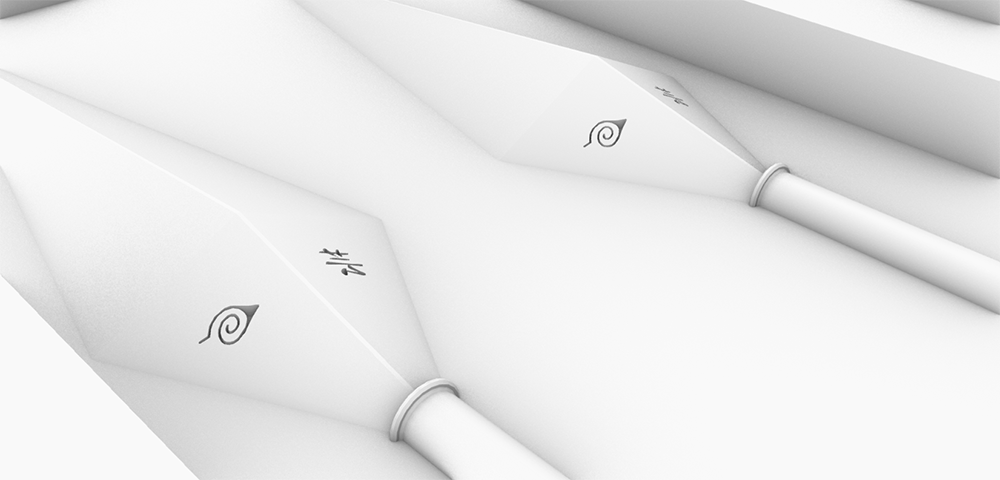
In the first case, I think about doing something big but my instructor tells me that Luis you have to do something small, I was sad but in that, I have an idea, I think and the idea of making a Kunai, a Japanese weapon, occurs to me, as I like Japanese culture and anime Naruto I thought why not make me a kunai with some symbols engraved on it.
TRIAL 1. I designed in the sofware Rhinoceros my kunai. Picture 86. Picture 86.
TRIAL 2. When I finish my Kunai mold my instructor and me knows my Kunai design doesn’t fit the requirements because it is difficult quiet impossible to print because is to small. So I decide to do a different design, I thing and have an Idea why not do a Shuriken. So I start all of the begin. below are my steps of my process
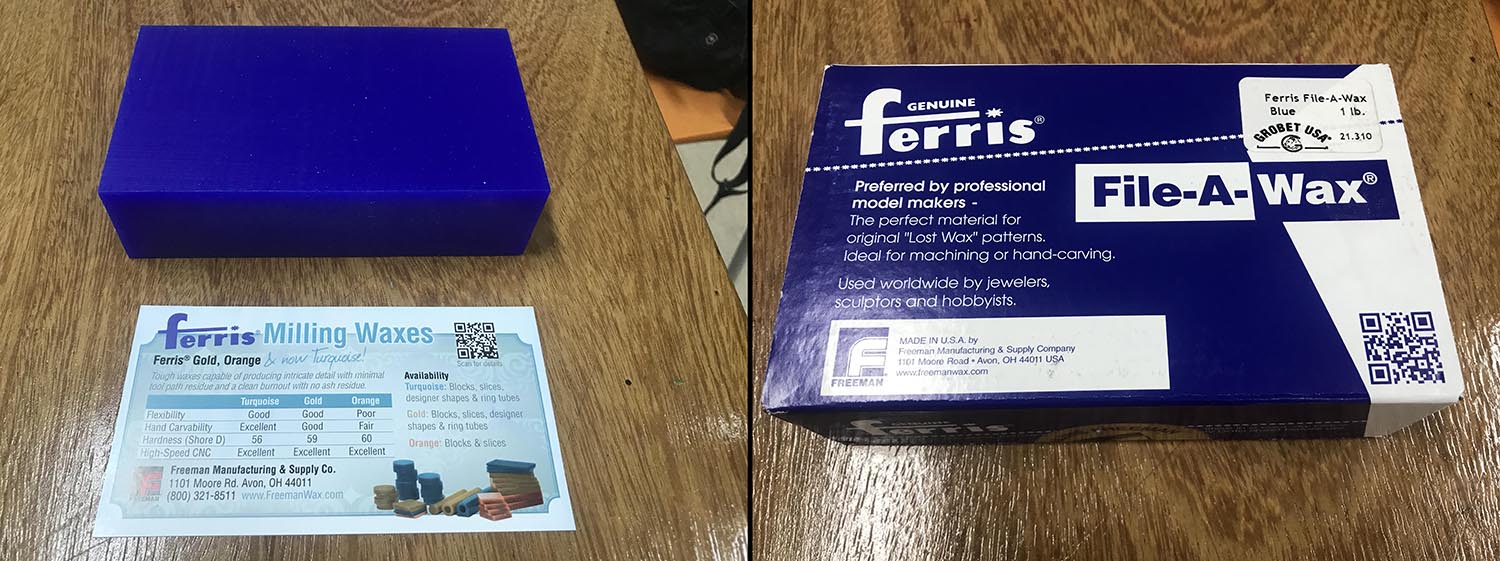
STEP 2. The Wax that is going to be used to create the matrix for the mold.
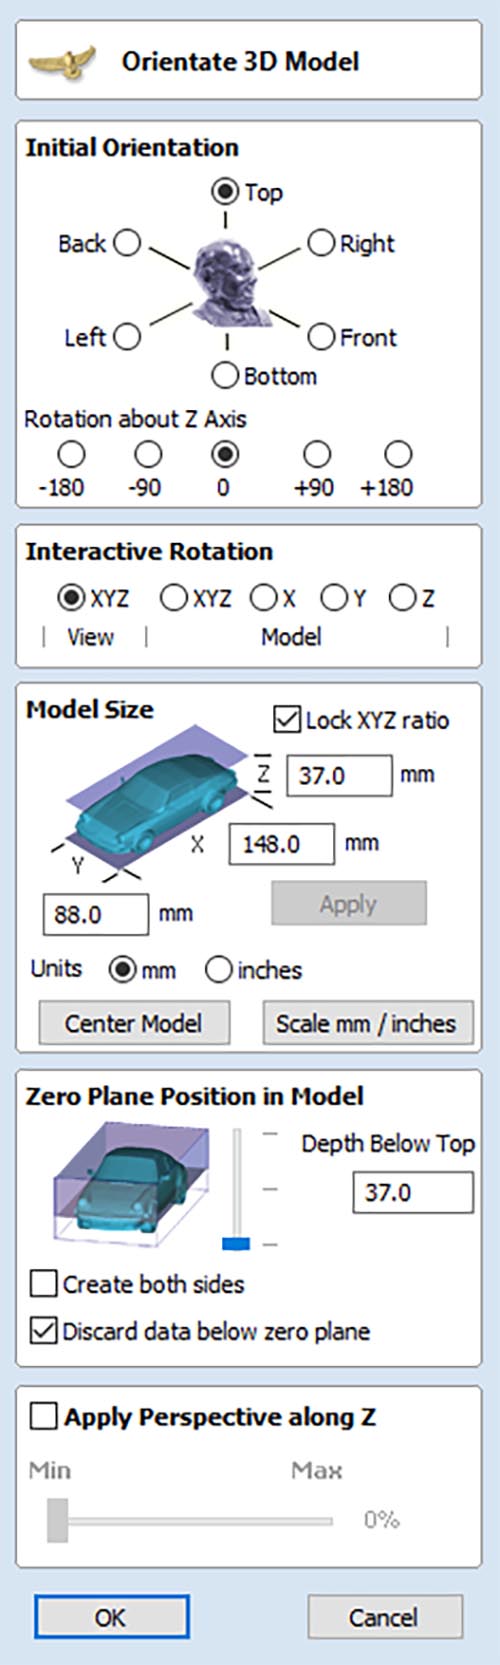
Measurements: 148mm height x 88mm width x 37mm height
MACHINABLE WAX CHARACTERISTICS:
-Appearance: Solid blue
-Melting point: 240°F
-Softening point: 157°F
-Flash point: from 465°F to 575°F
-Hardness: 53 (Shore “D” Scale)
-Dimensions: 148mm x 88mm x 37mm height
FEATURES:
-Non-abrasive
-User-friendly
-Self-releasing/self-sealing
-Able to be glued
-Self-lubricating
-Wide variety of sizes
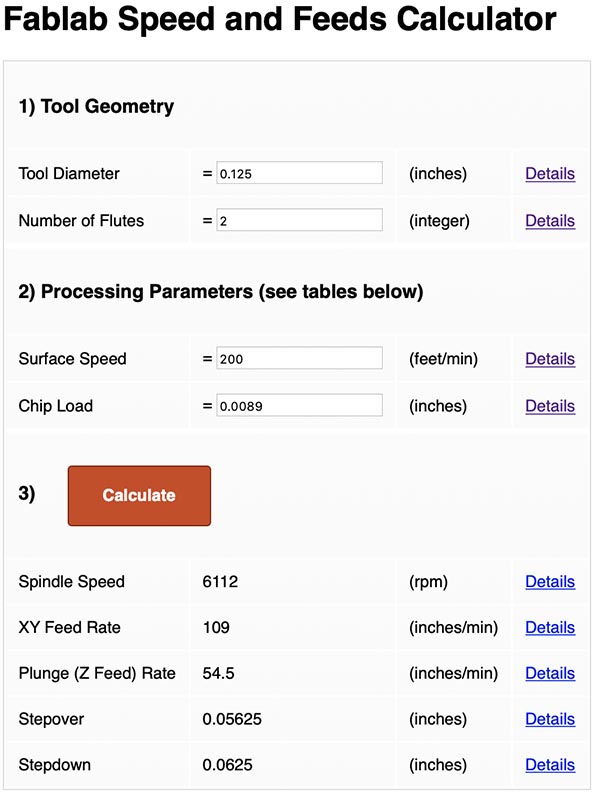
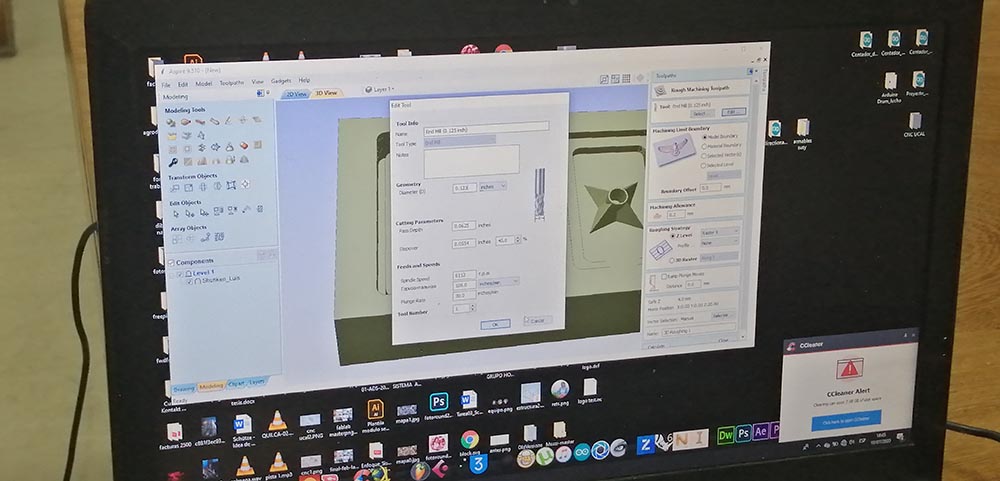
STEP 3.SETTING PARAMETERS in Aspire 9
Picture 86.1.For the configuration of the parameters to mill the wax we use Aspire9 software. Picture 86.1.Adding the dimensions of the wax Picture 86.1. Then we open the STL file of the Bullet design.
Picture 86.1. We choose the First mill for roughing and the corresponding parameters after finding the parameters using the web.
STEP 5. Here the Matrix finished to obtain the mold, YEAH!. My mold are ready to the Silicone RTV step.
STEP 6.Making my Mold-Silicone from the WAX-mold
I used 100g or Silicon F-20 and pour 2g of the catalizer.
I worked on the extractor hood in the chemistry lab at the school where my partner works.
Because of the VOC 19 my colleague very kindly proposed to go to work in his laboratory at the Villa Caritas school since there he has a mini FabLab called MakerSpace.
I stir the mixture.
I pour it into the wax
Finally, I have to wait about 6 hours until it dries completely. But I have a problem, my silicone does not dry. do not believe me but I confused something very silly, I do not know why I thought that 2g = 2drops in Spanish 2gotas of catalyzer, I confused the g with drops instead of grams. the solution was that I had to make a new mixture and this time it did count 2 grams of catalyzer.
First I was clean my mold and again pour the new silicone and wait 6hours more.
After the 6 hours more, Here how the mold appears.
I prepare the silicones mixture according to the chart above. I did it the fume hood of the Chemistry Lab of the school due to safety concerns.
The CASTING:
-RTV SILICONE Mold
Chemicals
Quantity
.RtV Silicone
100 grams
.Catalyzer
2 grams
-Epoxy Resin Object
Chemicals
Quantity
.Epoxy Resin
20 Grams
.Colorant
20 Drops
.Catalyzer
20 Drops
STEP 6.Introduce the resin into the mold of silicone
I used a 20ml syringe to introduce the resin into the mould because the hole is very thin. At the beginning is seems to work but not at all due to some part without resin covering.
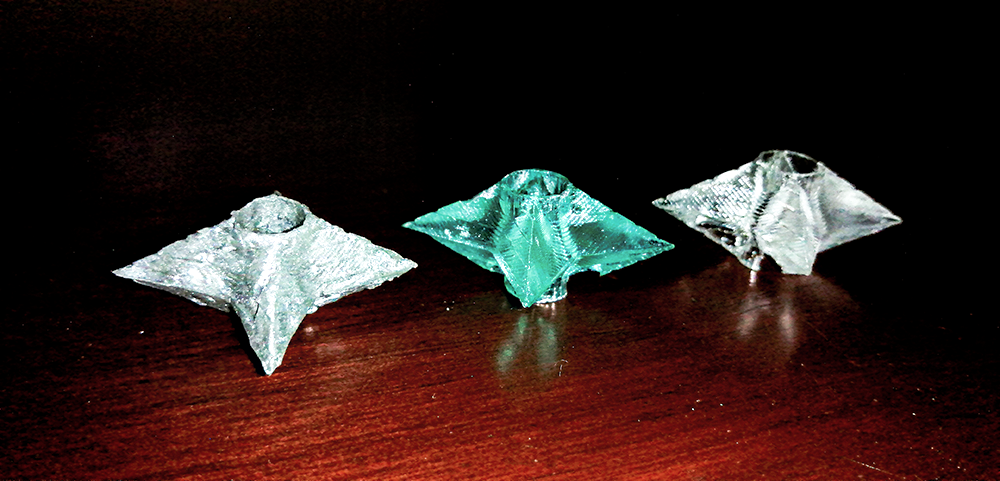
I wait for three hours to check my casting. First trial with the colorant gray, looks good but not enough because one side was holes because when i pull the resin into the silicone mold some bubbles of oxigen introduce too.
So I desied do and other resin mold, in this case I used without colorand.
After pour the resin into the mold, I had leftover some resin in my glass. So I think why not do a decorate objet. So I put a dissected fish into the leftover resin. But the fish fload over the resin so I push it gently until it is dipped into the resin.
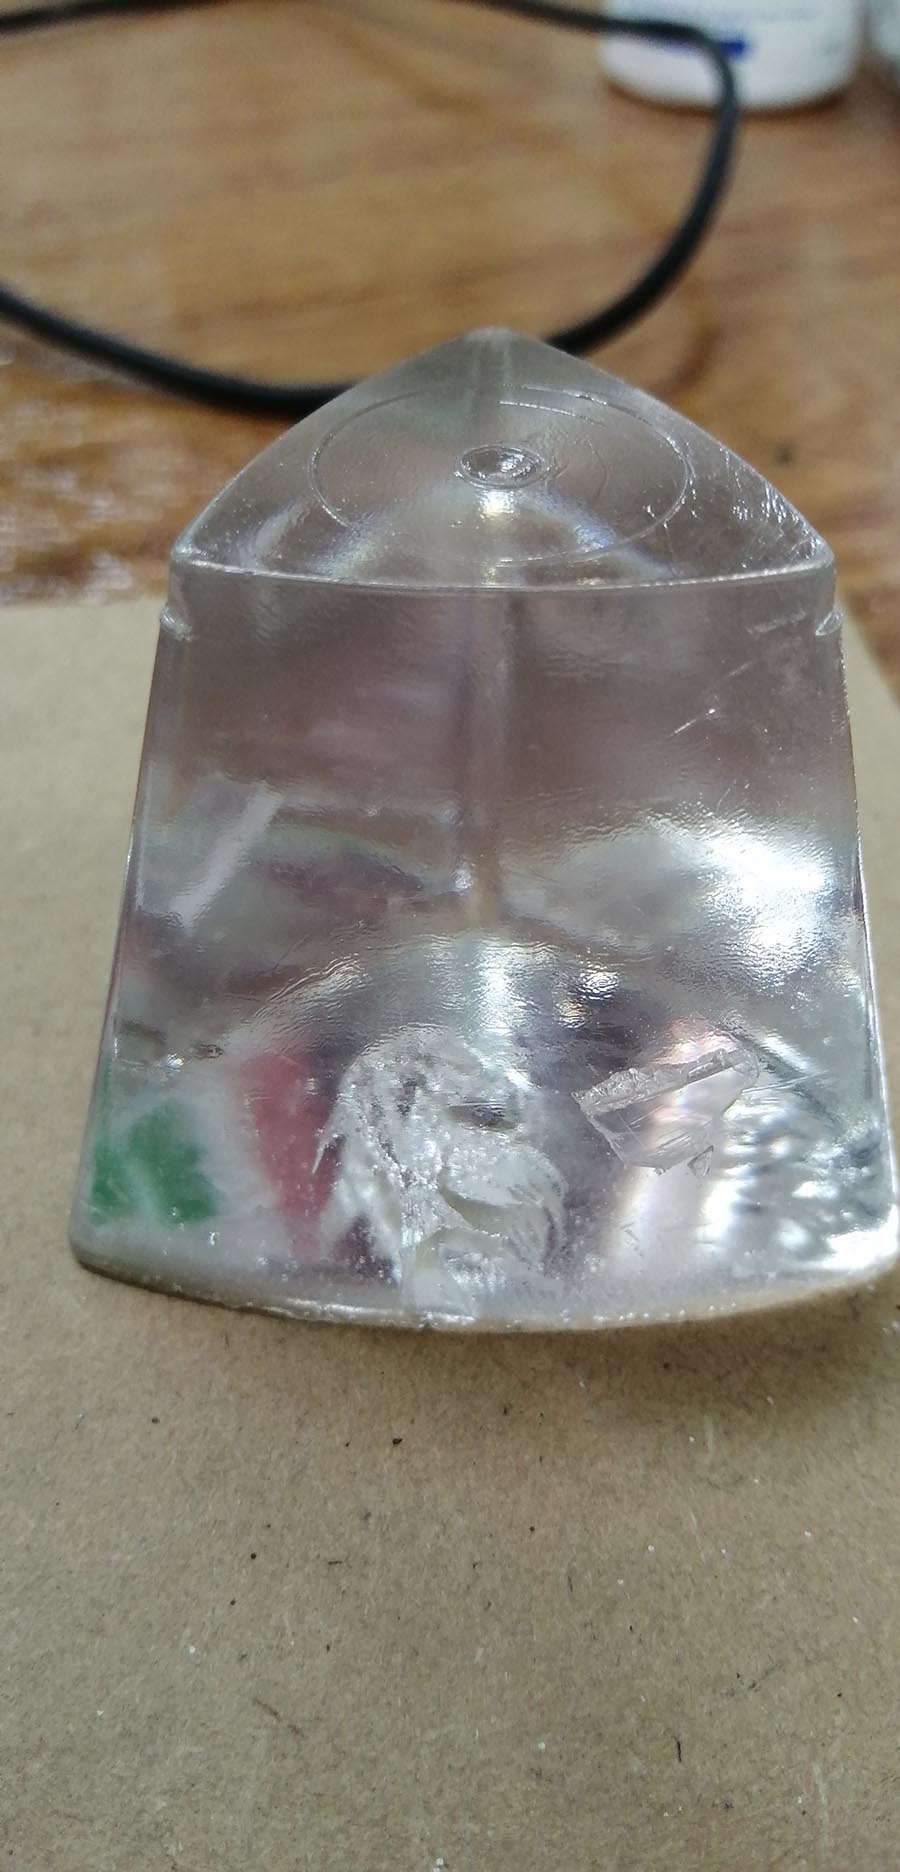
So I desied do and other resin mold, this was my third mold. In this case I used blue colorand.
After pouring the resin into the mold, I had a bit of resin left in my container, but it had dried very quickly, so I broke the container to remove the resin block.
As I had leftover the resin that went wrong the first time, I decided to put it to good use, so I decided to reuse it, I added more catalyst and I poured it into another container and finally I placed my resin block. And this was the result.
Without the container
STEP 7.Final view of the all shiurikens I made.
========== learned/conclusions ==========
This was my most desired assignment. since I had seen many videos on youtubes about this and it seemed great but I did not dare, when I saw that I was going to turn this on it was great.
I learned how to make the mold in negative and that to make an object in resin, you need to make a wax modle of the silicone mold and then that mold mold will serve you to make your object in resin and the cool thing is that you can paint them so you can add dyes with resin so that it comes out of colors.


.png)
.png)
.png)
.png)
.png)
.png)
.jpg)
.jpg)
.jpg)
.jpg)
.jpg)
.jpg)
.jpg)
.jpg)
.jpg)
.jpg)
.jpg)
.jpg)
.jpg)
.jpg)
.jpg)
.jpg)

.jpg)
.jpg)
.jpg)
.jpg)
.jpg)
.jpg)
.jpg)
.jpg)
.jpg)
.jpg)
.jpg)
.jpg)
.jpg)
.jpg)
.jpg)
.jpg)
.jpg)
.jpg)
.jpg)
.jpg)
.jpg)
.jpg)
.jpg)
.jpg)
.jpg)
.jpg)
.jpg)
.jpg)
.jpg)
.jpg)
.jpg)
.jpg)
.jpg)
.jpg)
.jpg)
.jpg)
.jpg)
.jpg)
.jpg)
.jpg)
.jpg)