Problem And Solution
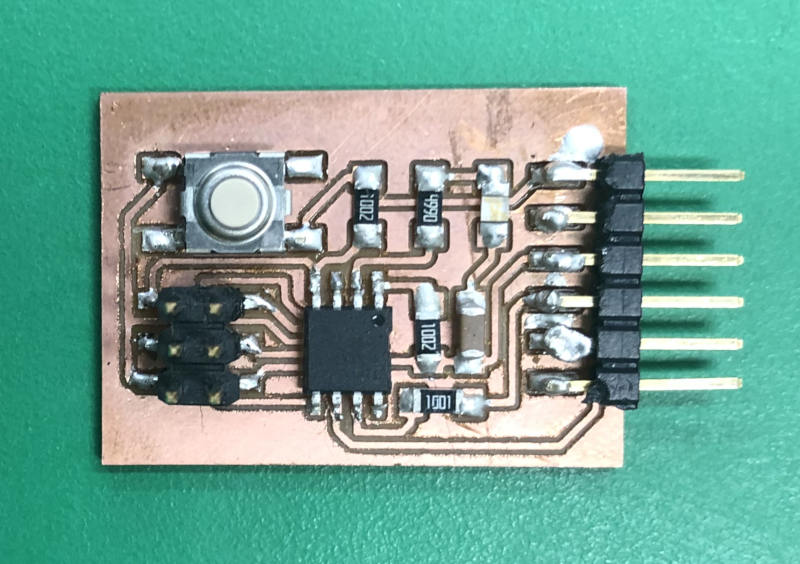
I found a problem with the board I made while I was working on the week8 workshop. It was a problem with a button connection, both when the button was pressed and when it was not pressed, the current was flowing to the pin. My instructor suggested a solution.
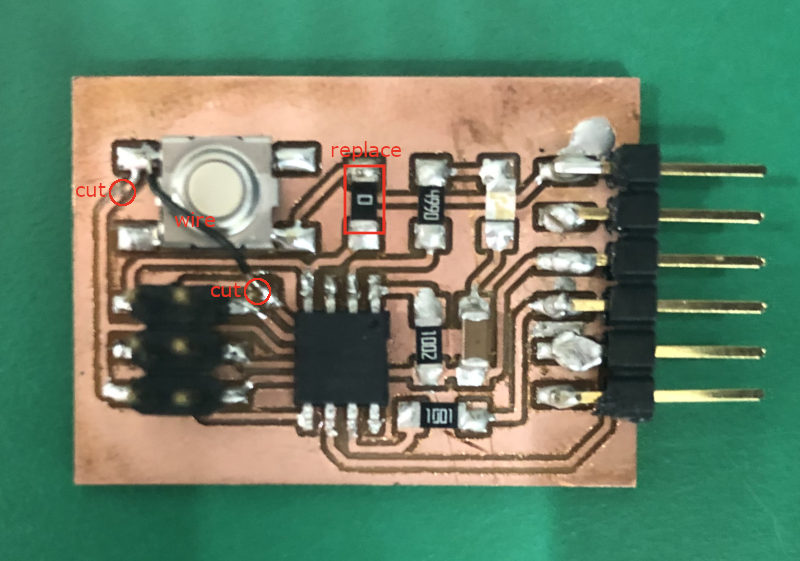
- Look for "internal pull-up resistors" on ATtiny datasheet. And make sure that the pin connected to the button has it.

- If the pin has it, Replace the resistor connected with the button with a jumper.
- Then cut the voltage supply line connected to the pin and button with wire.
And it worked normally when the code related to the button was inserted. As a result, I should use INPUT_PULLUP to use button on my board to use internal pull-up resistors.
Q. If I use the "internal pull-up resistor, Why no voltage supply required?
Because the vcc is connected to the microcontroller itself.
Q. What is the difference between these three ways?
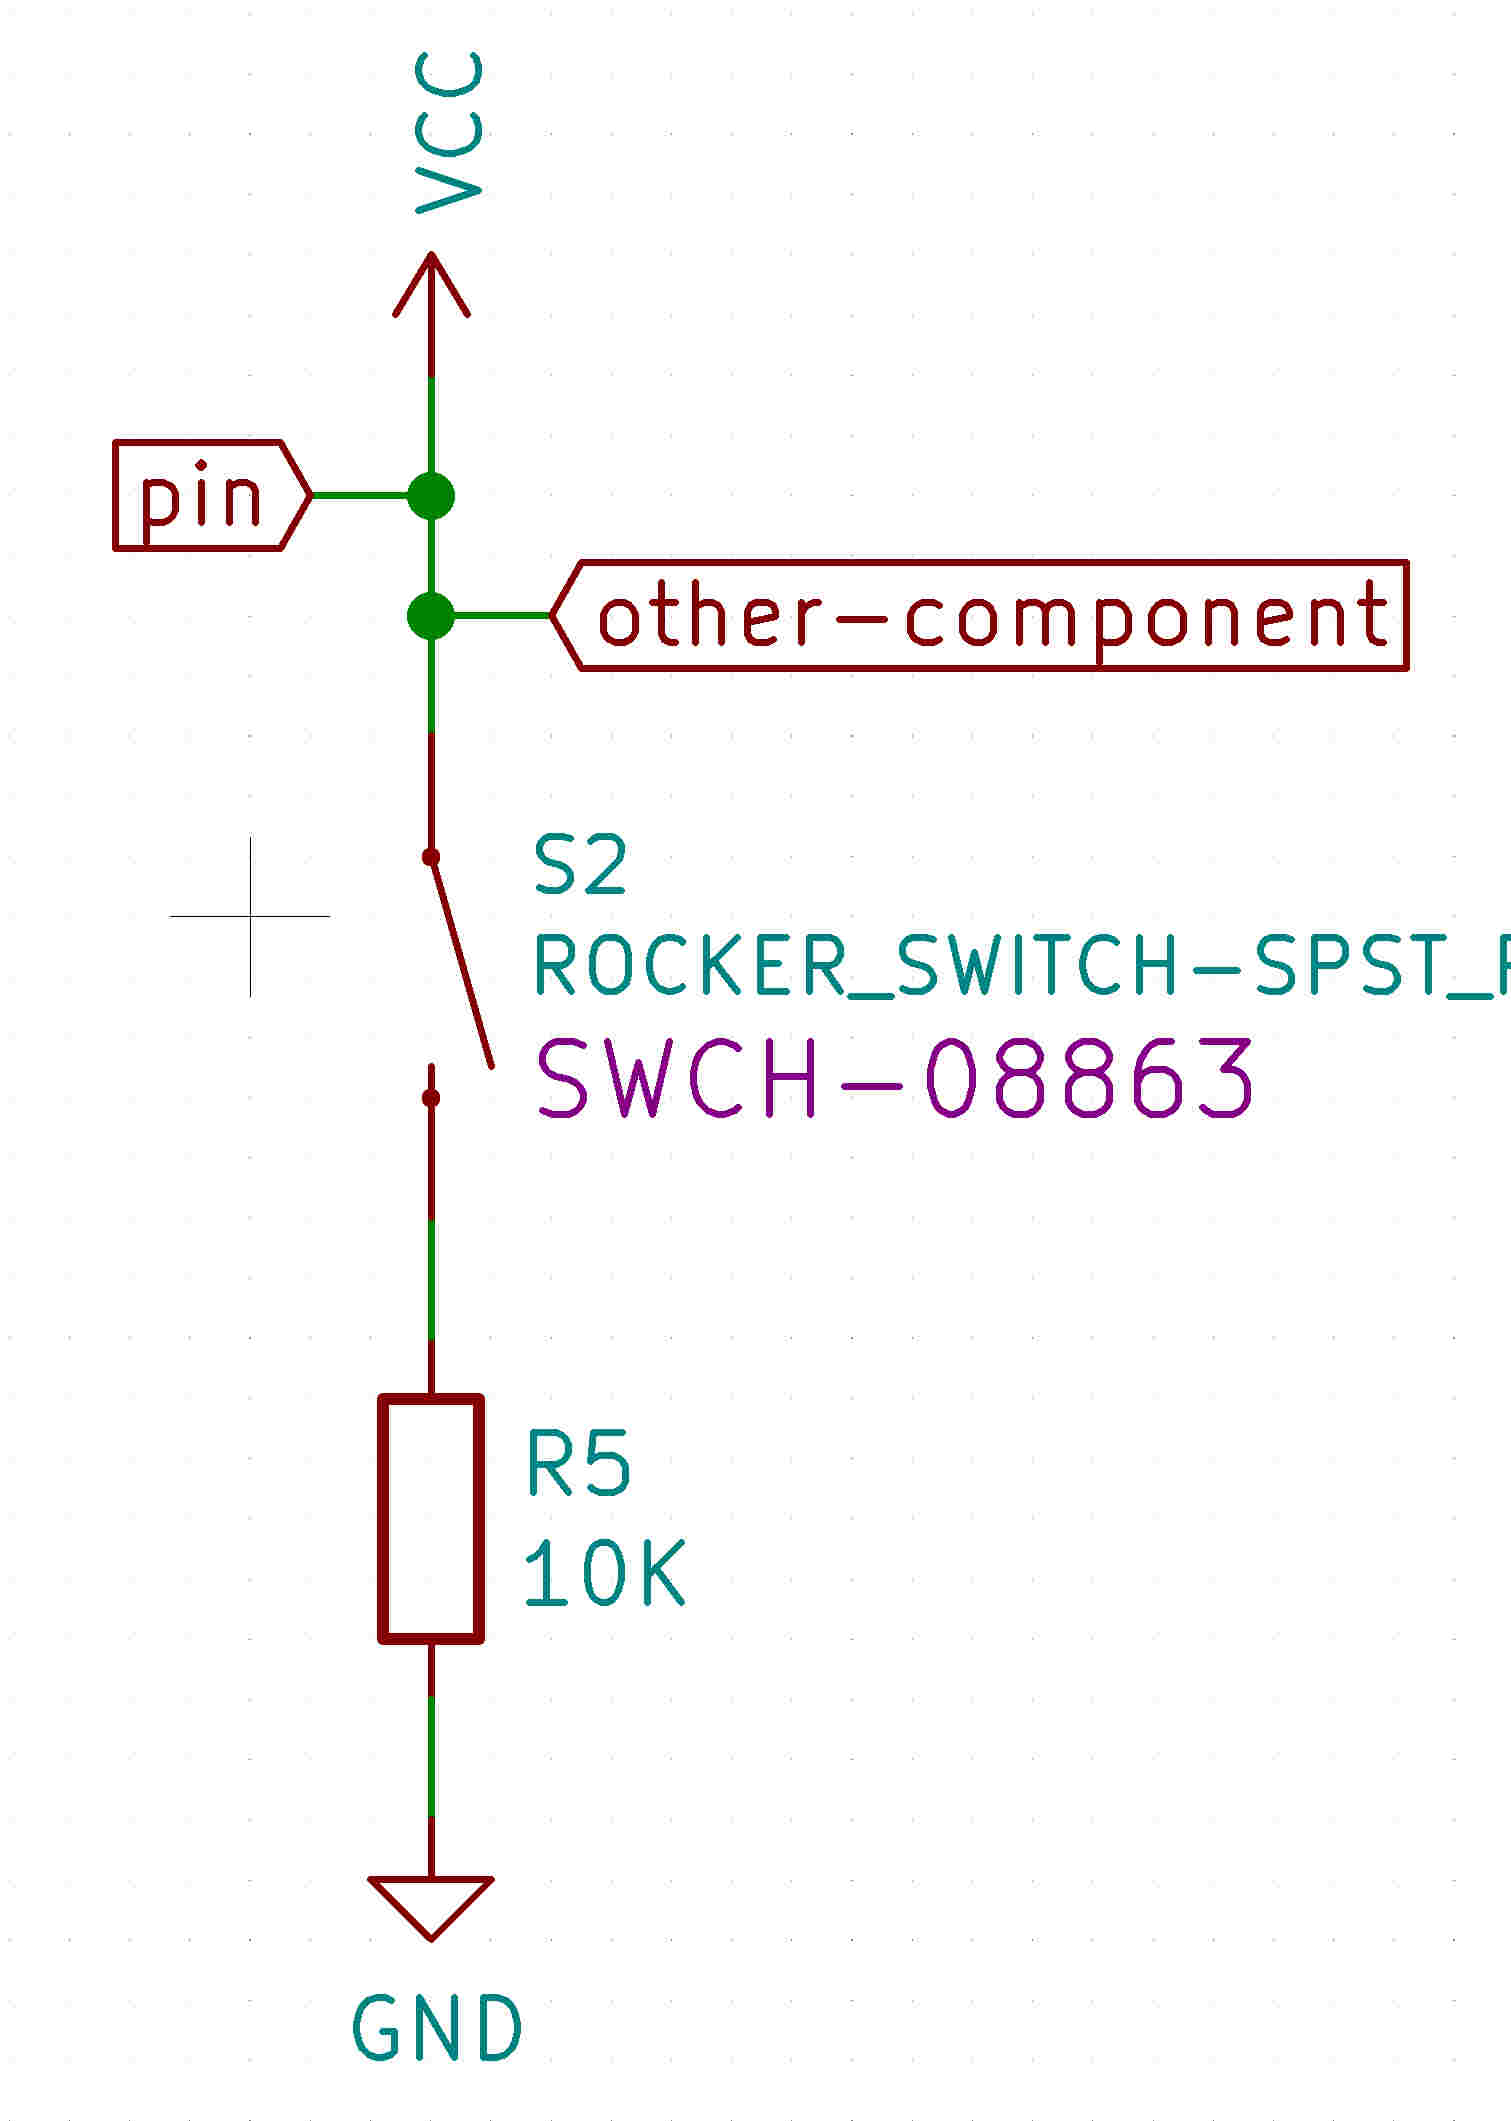
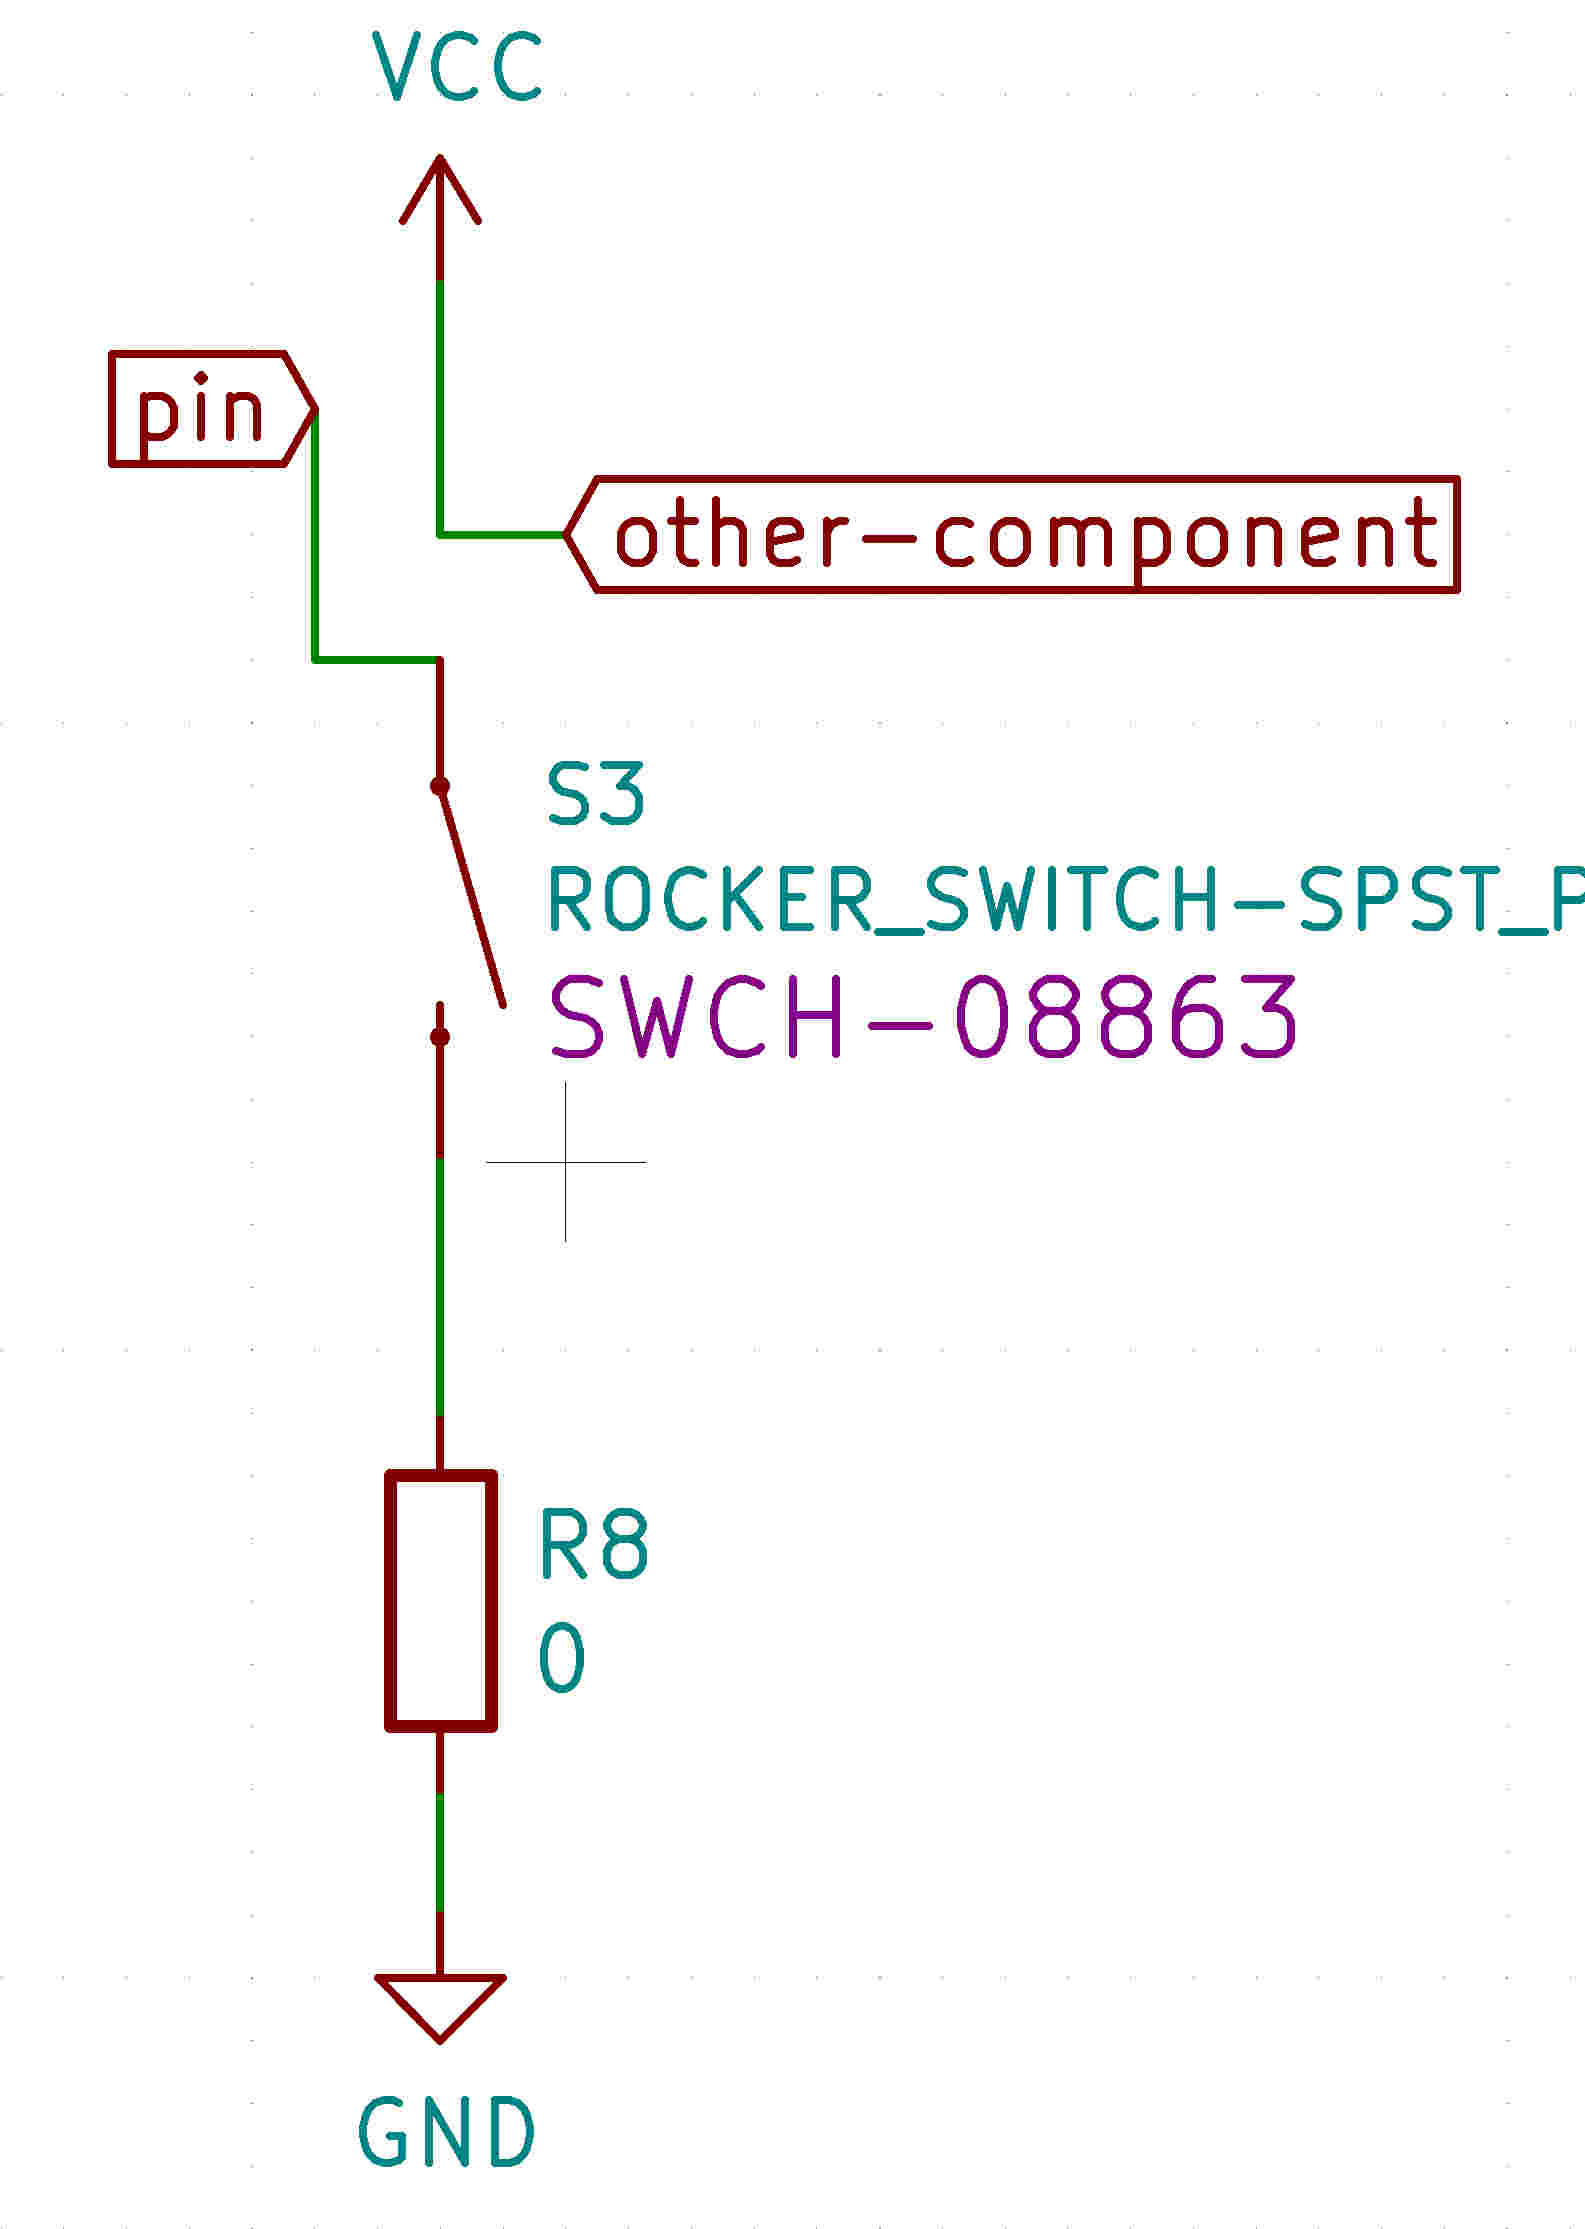
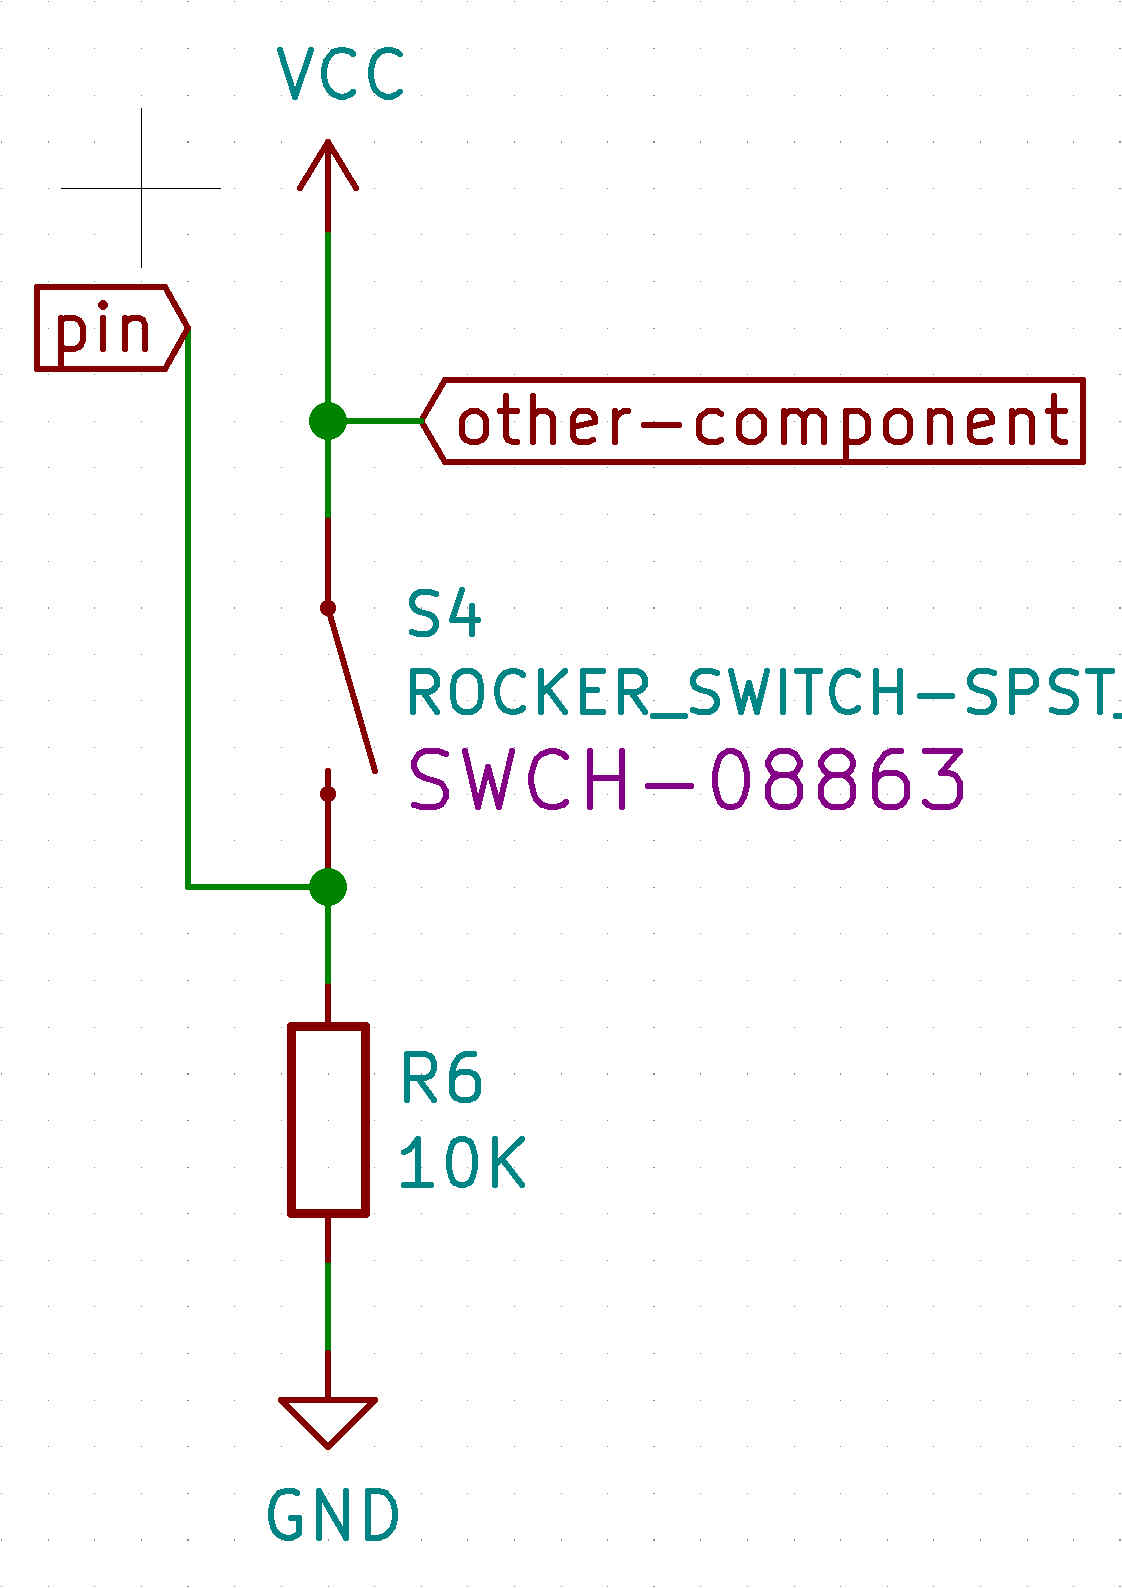
1) If we need the high state as default and want to change the state to Low by some external interaction we can use the Pull-up resistor like the second image below. And The opposite is Pull-down resistor like the third image below. Pull-up is more common.
2) To prevent floating where pin cannot be sure to be high and low, a pull-up or pull-down resistor will ensure that the pin is in either a high or low state, while also using a low amount of current.
3) Also, As direct connection eventually increase current flow just like the short circuit and could damage the sensitive logic circuit which is not advisable. To control the current flow, we need those pull-down or pull up resistors.
4) The internal pull-up resistor like the first image below is a function that has a micro-controller in place to simplify the circuit because it cannot contain all the components required in the circuit.
(The other component is intended to express the situation in my circuit diagram, so you don't care.)

Embedded Program
I did the blink test and button test because there were only blue led and button on the board I made. I coded in C language and aduino. Then used the Arduino program to enter the Arduino code and used the PlatformIO IDE and Terminal to enter the C language code.
Arduino
- Needed to download ATtinyCore to code the board using ISP Board. I followed the 20 and 21 steps of the programming process at the electronics production week document.
- Used the blink and button file in the aduino Examples.
- And Clicked upload button.
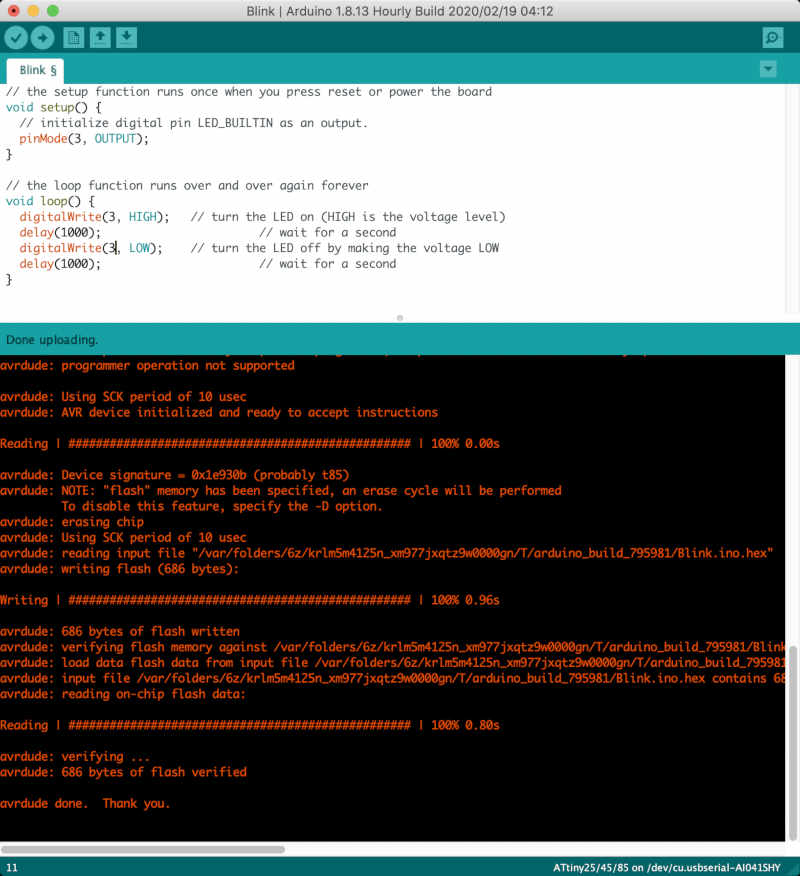
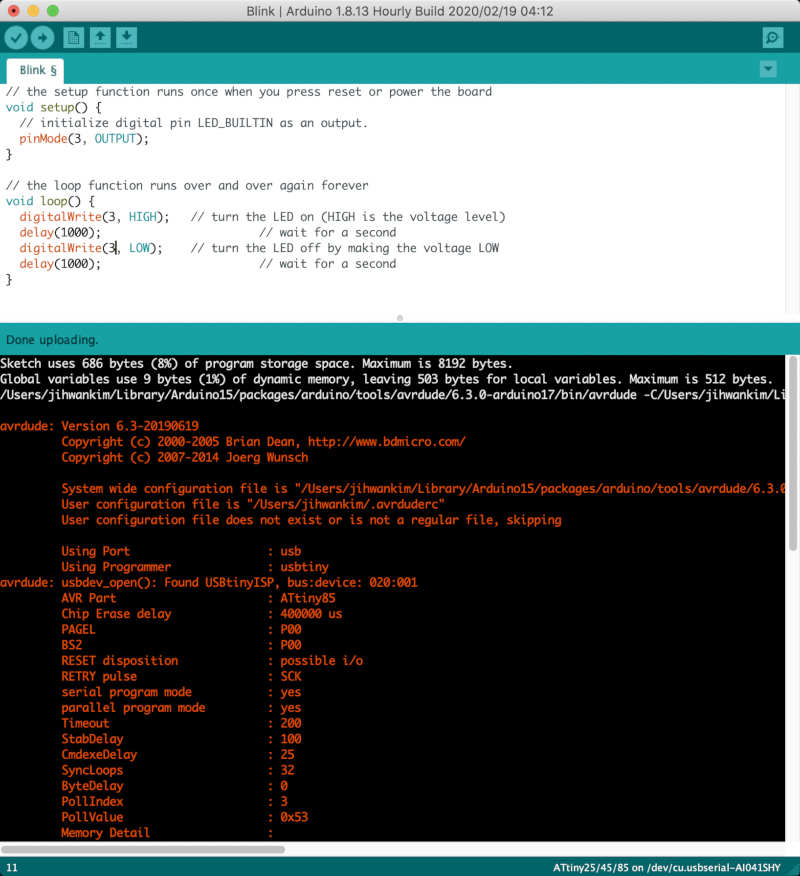
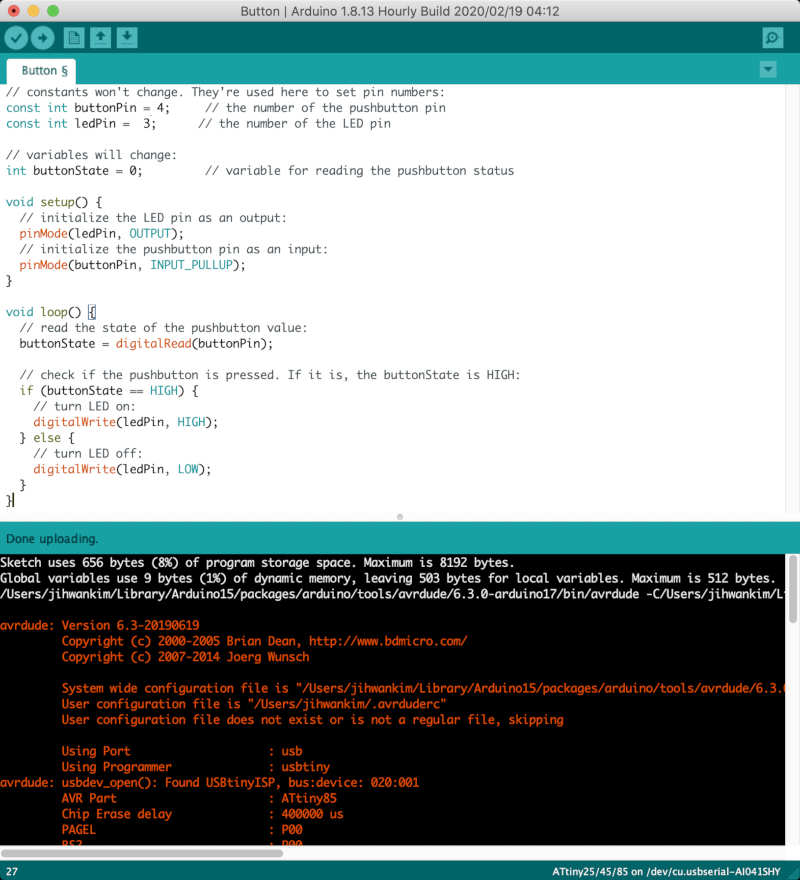
- I modified the blink code to fit my board. I added code to make the button act like a switch, and modified the
void setuppart topinMode(buttonPin, INPUT_PULLUP);to fit the internal pull-up resistor connected to the button.// constants won't change. They're used here to set pin numbers: const int buttonPin = 4; // the number of the pushbutton pin const int ledPin = 3; // the number of the LED pin // variables will change // variable for reading the pushbutton status int buttonState = 0; void setup() { pinMode(ledPin, OUTPUT); // for internal pull-up resistor pinMode(buttonPin, INPUT_PULLUP); } void loop() { // read the state of the pushbutton value: buttonState = digitalRead(buttonPin); // check if the pushbutton is pressed. If it is, the buttonState is HIGH: if(buttonState == HIGH) { // turn LED on: digitalWrite(ledPin, HIGH); } else { // turn LED off: digitalWrite(ledPin, LOW); } }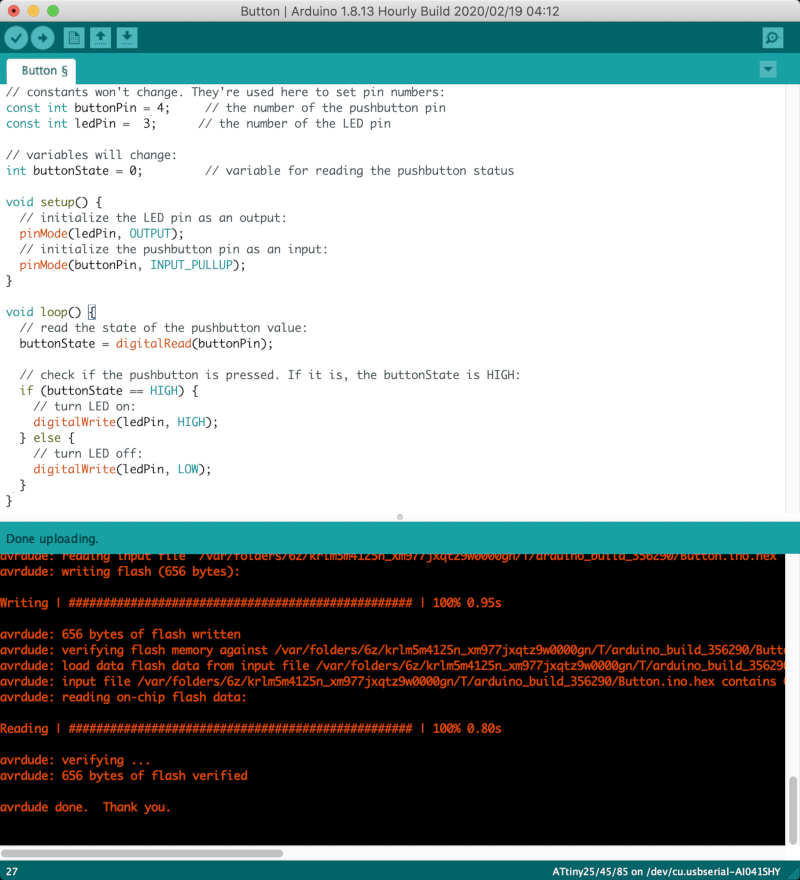
PlatformIO IDE
- Downloaded PlatformIO IDE in Visual Studio Code.
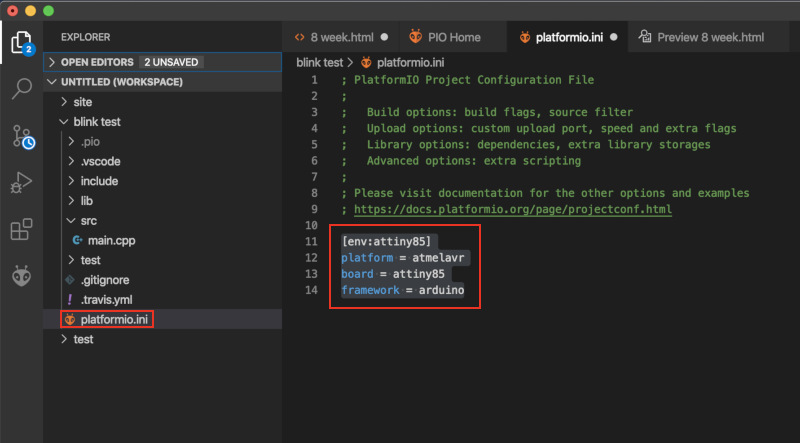
- Clicked New Project in PlatformIO IDE home.
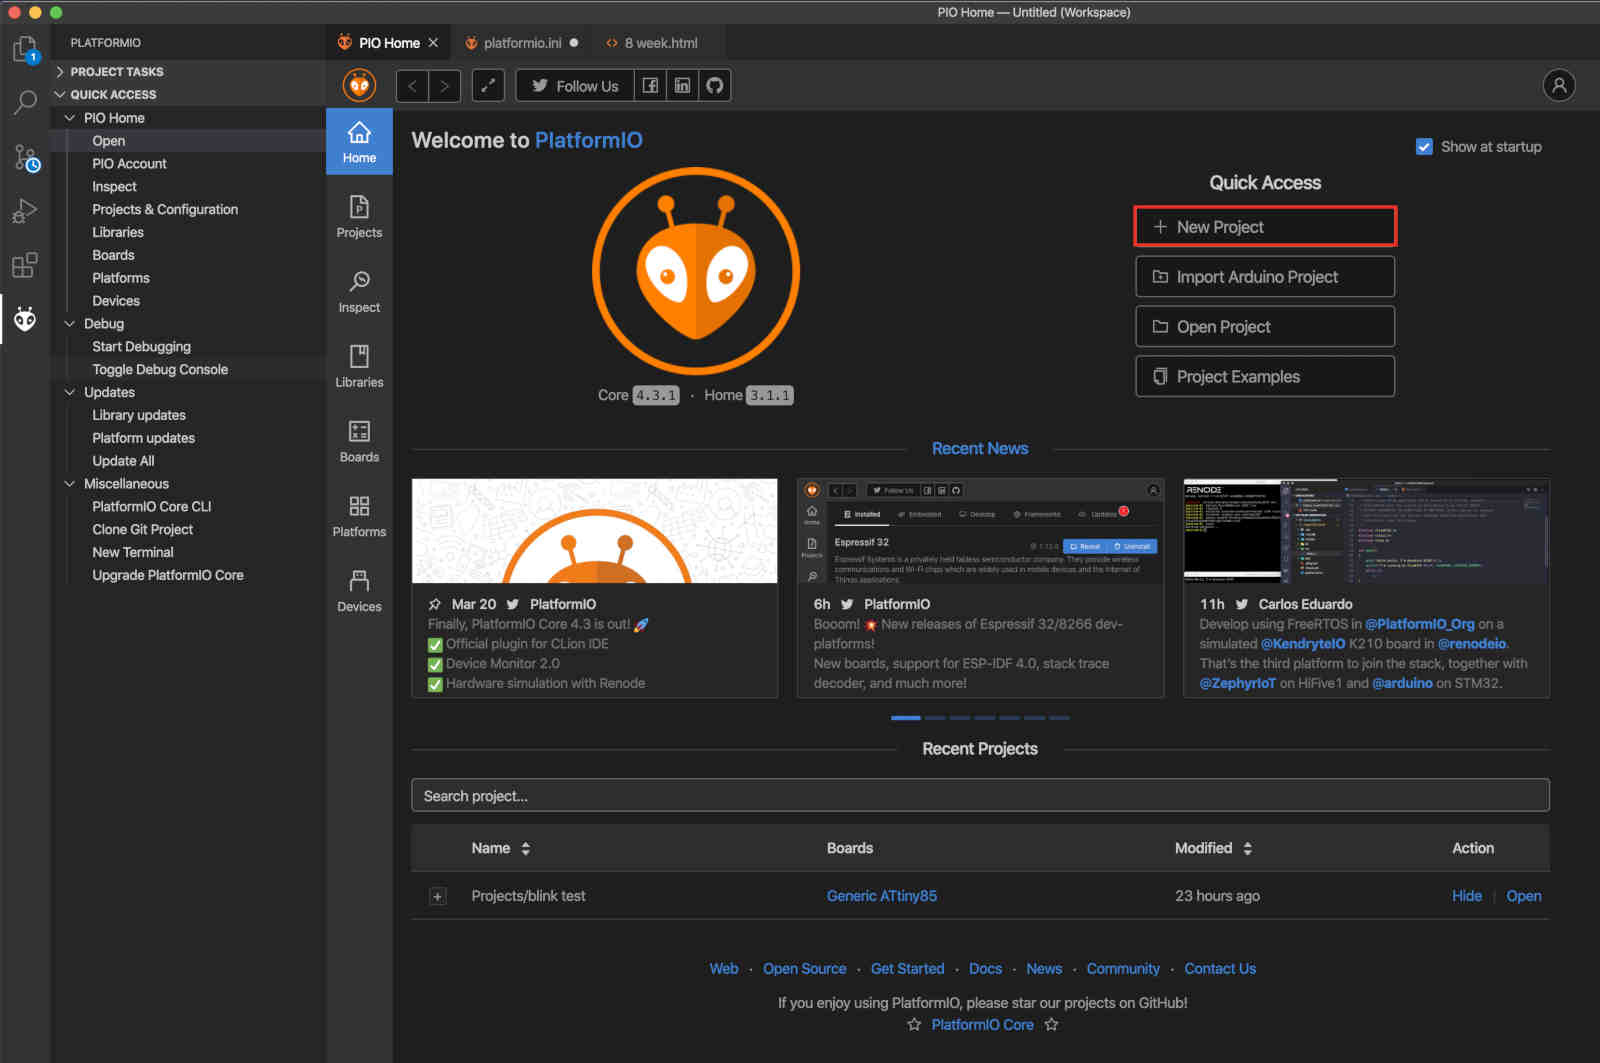
- Selected board and Created project.

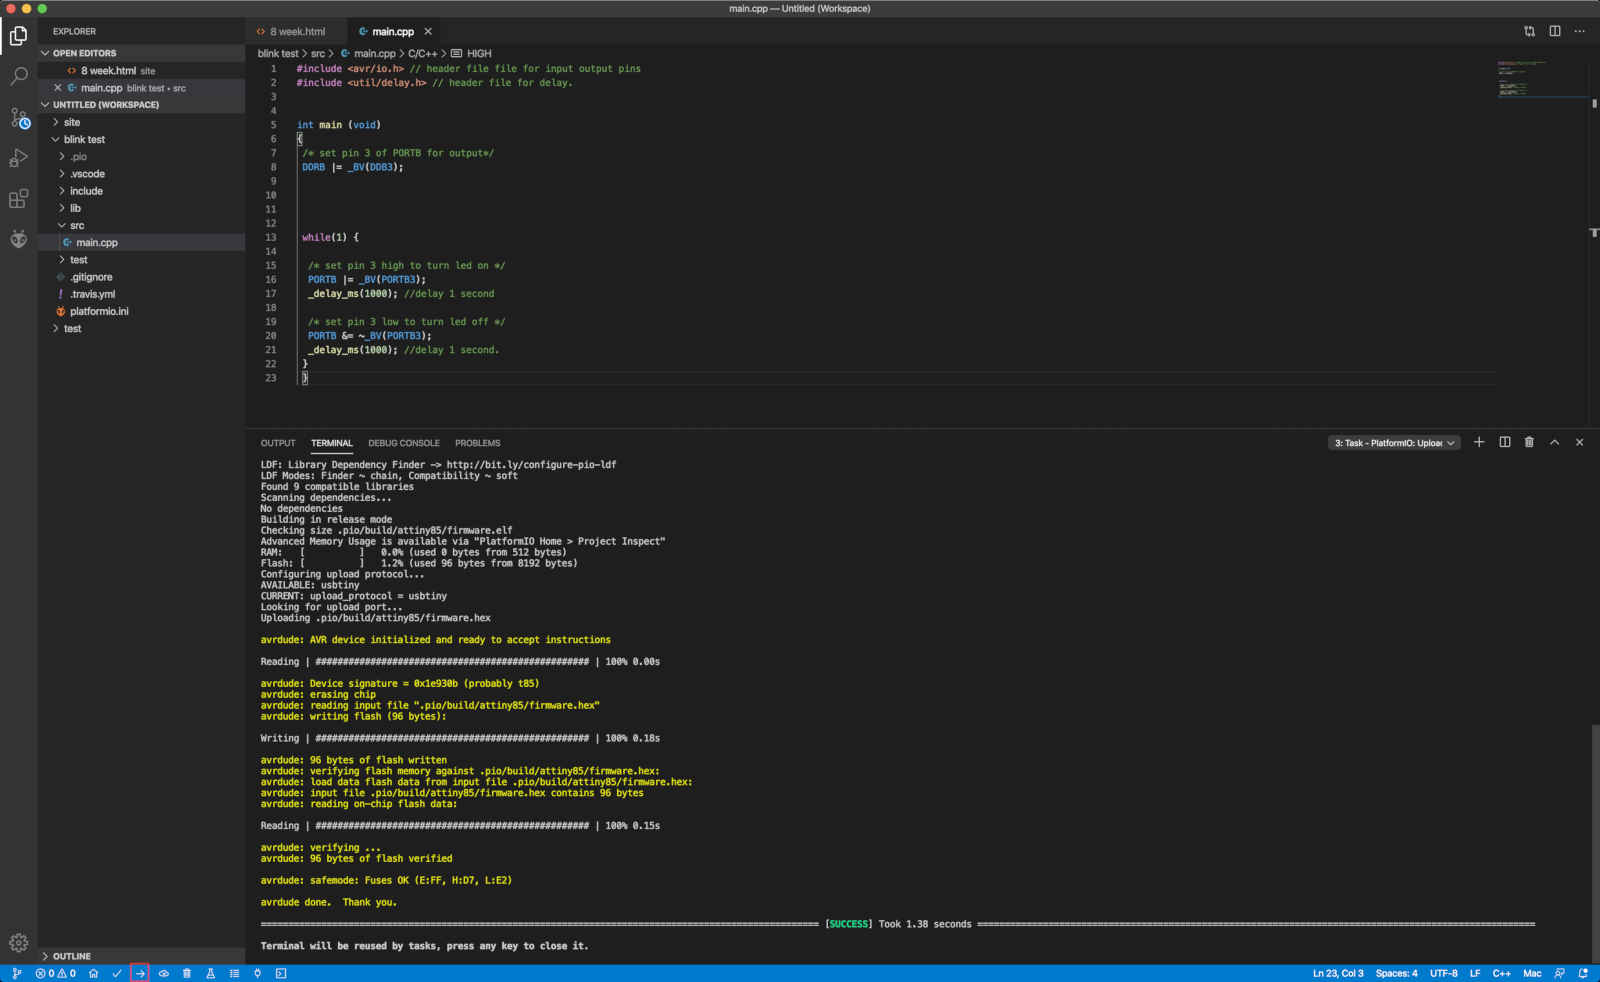
- In src(source), Clicked main.cpp and put the code. (The code I put in is from this site. You can download the code at the end of Step 2 in site.)
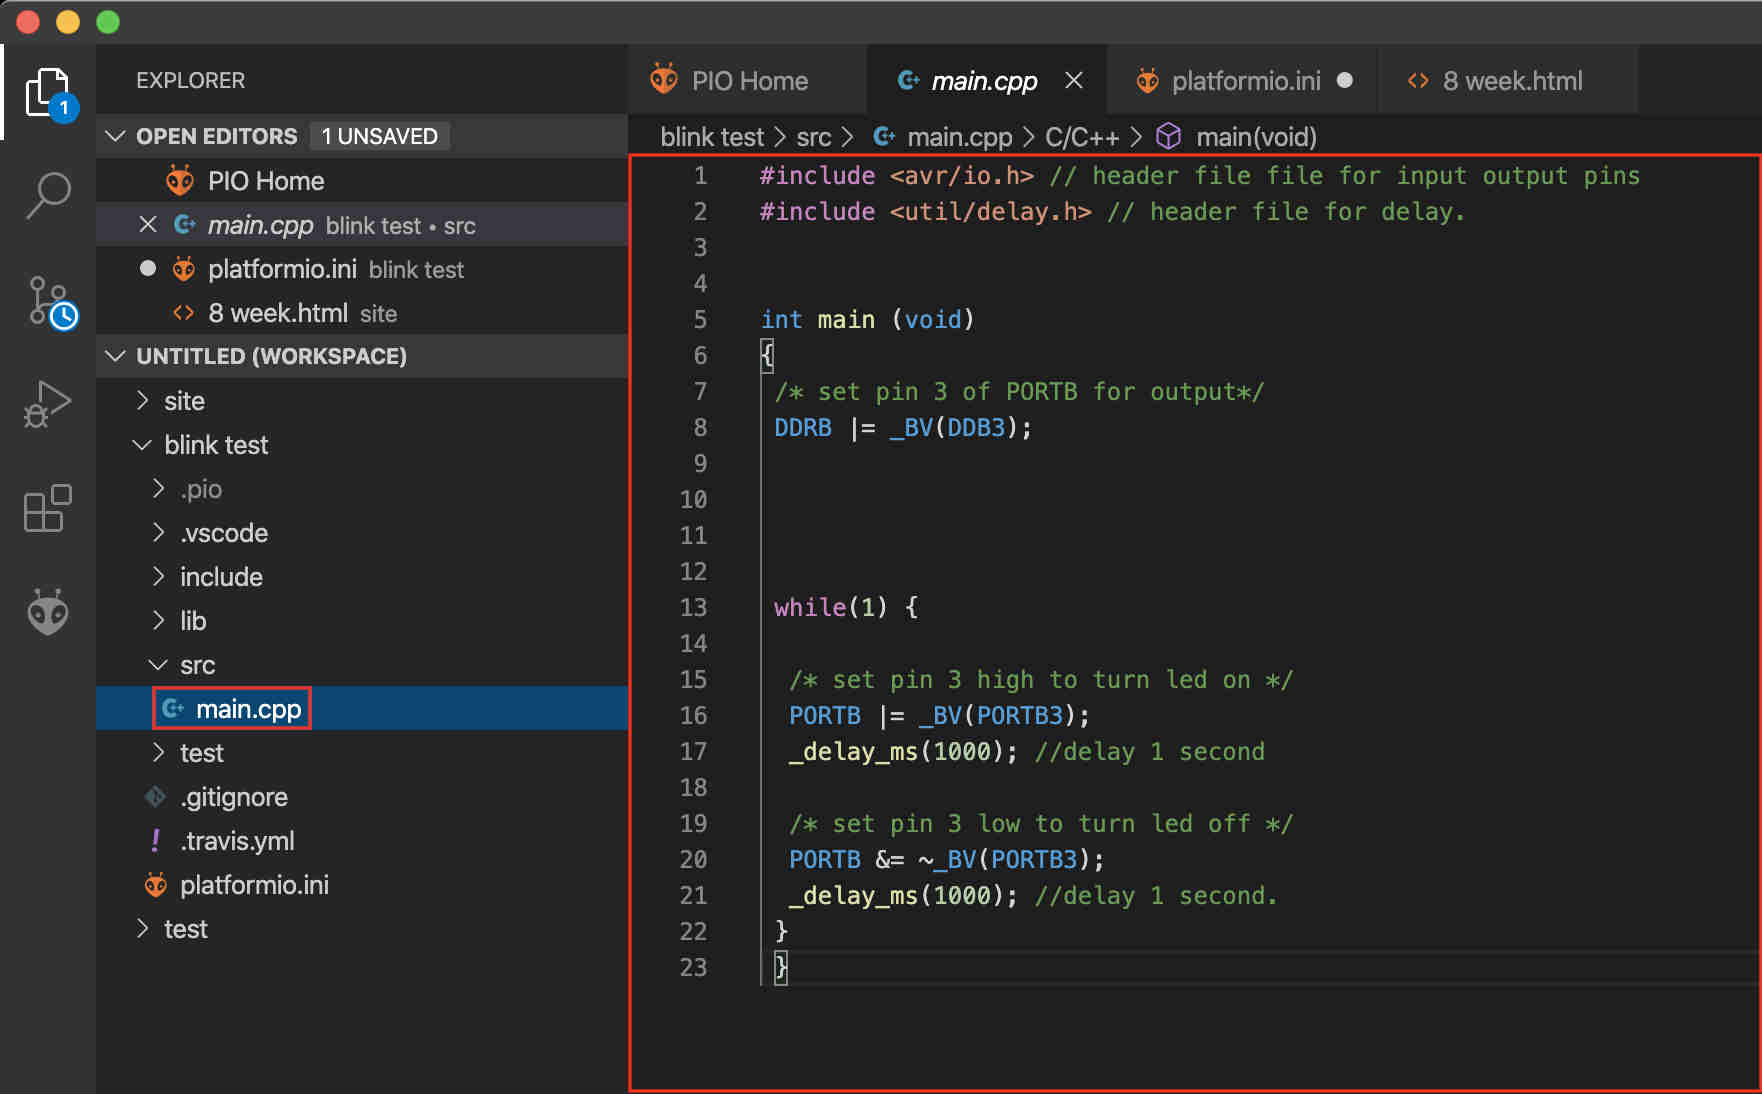
The code I modified and used
#include <avr/io.h> // header file file for input output pins #include <util/delay.h> // header file for delay. int main (void) { /* set pin 3 of PORTB for output*/ DDRB |= _BV(DDB3); while(1) { /* set pin 3 high to turn led on */ PORTB |= _BV(PORTB3); _delay_ms(1000); //delay 1 second /* set pin 3 low to turn led off */ PORTB &= ~_BV(PORTB3); _delay_ms(1000); //delay 1 second. } } - Clicked the upload button located below to upload it.
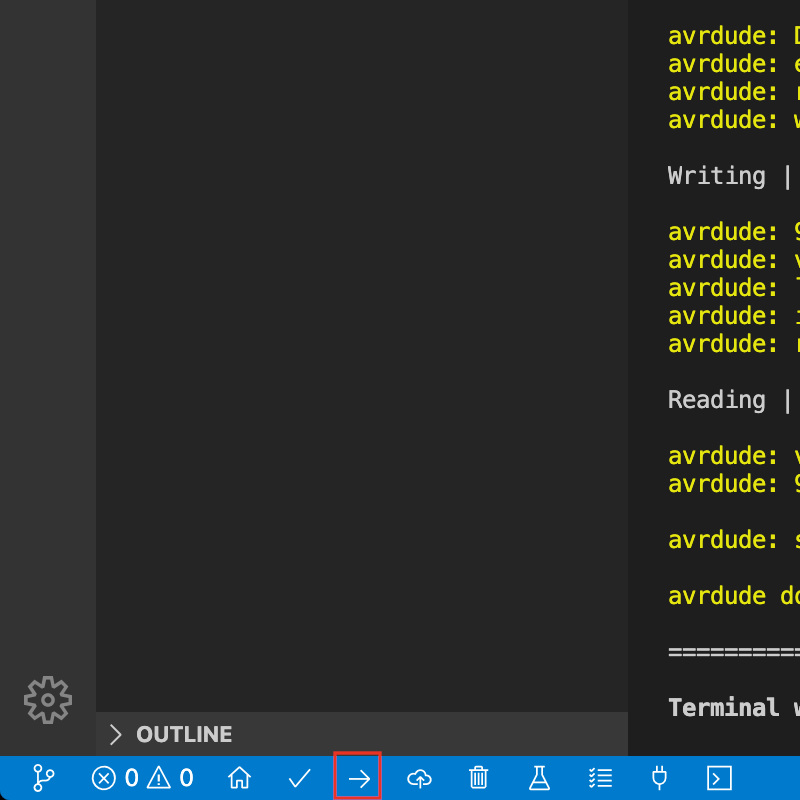
- Done.
Reference
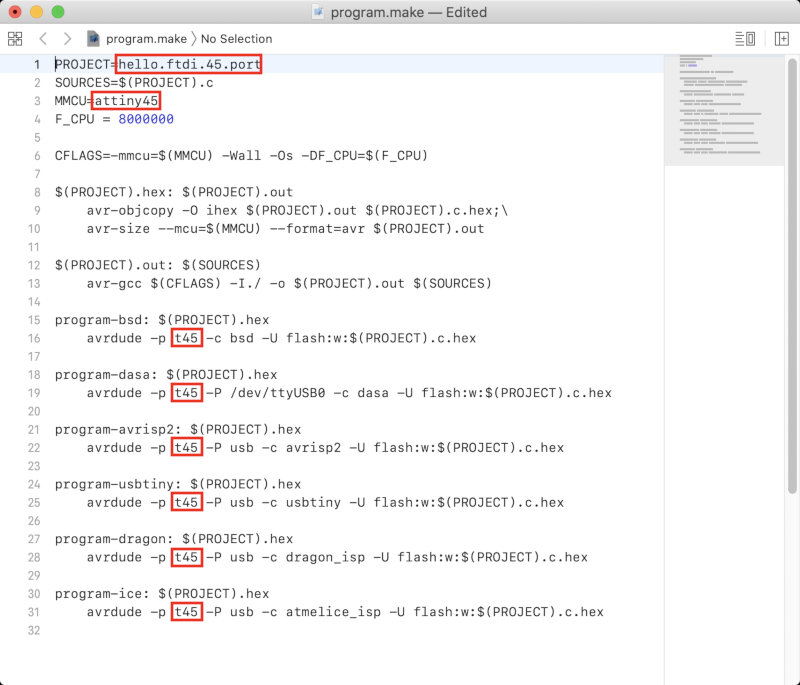
1) If you want to use other programer. (Not usbtiny, because default setting is usbtiny.) You can change programer with this site.
2) Obtain the code you want from the site above and replace it with the content of the highlighted red line.
Terminal
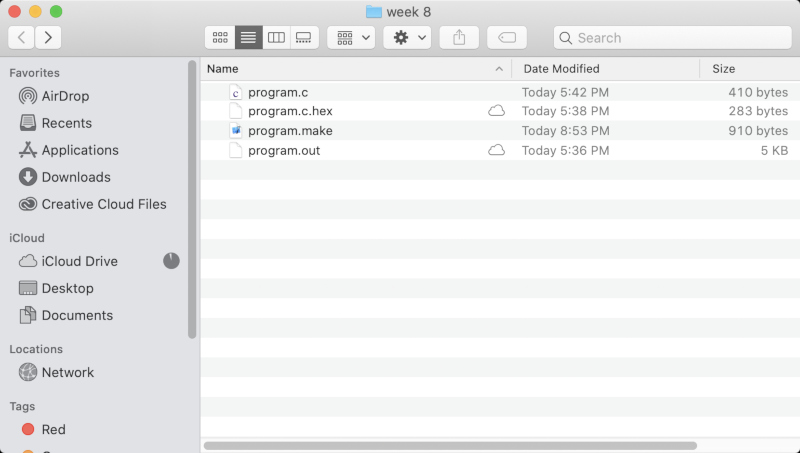
- First, Coded in text file and saved as .c file. (This code is the same as the one I put in the platformio-ide.)

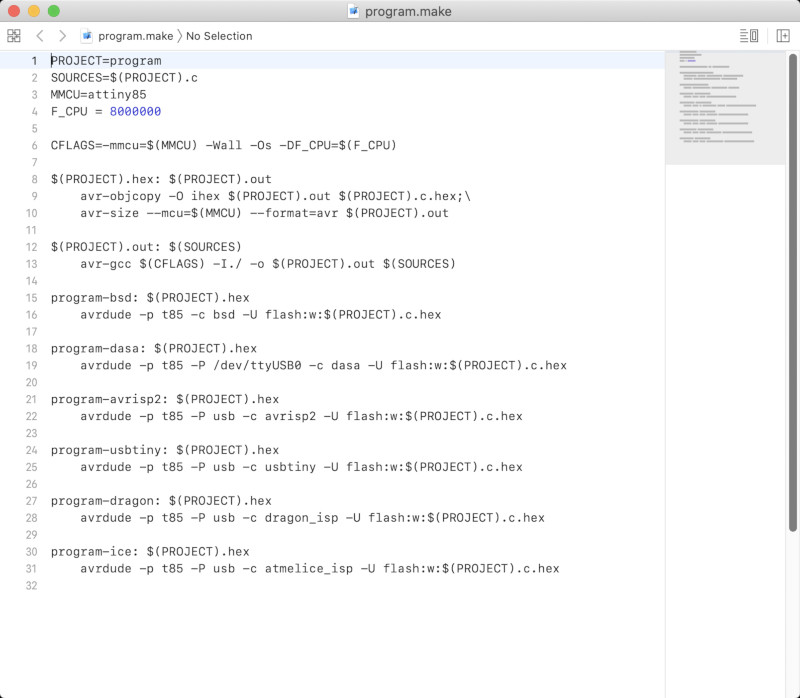
- And needed to get .make file to convert .c file to .hex file. It can be copied in here.
- Changed content in make file. (PROJECT, MMCU, kind of t-)
- Opened terminal and entered the folder where the .c file was located.
- Typed
make --makefile [name of .make file] - program-[kind of programer]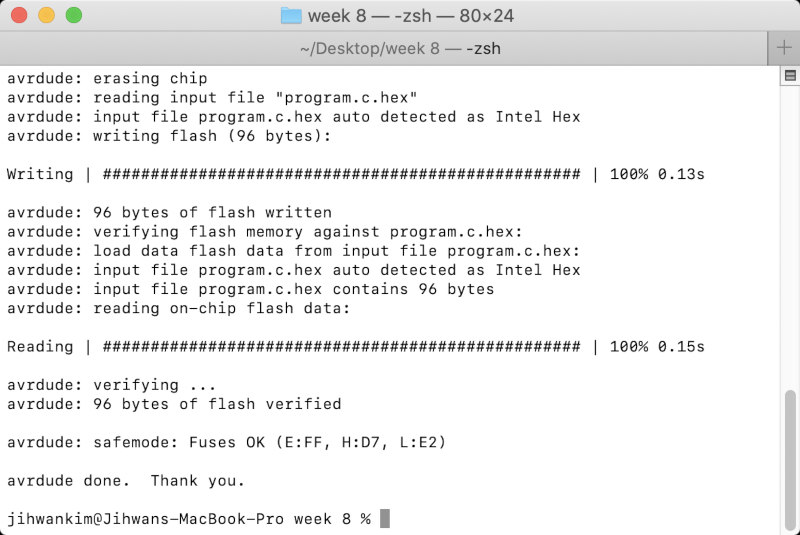
- Then, .hex file related to .c file was generated and code was entered.