Interface Languages
First of all, the interface language that I am interested in was as follows.

Node-RED
Installation
- Opened Terminal.
- First, Downloaded Node.js.
brew install node
- On MacOS, from a terminal window, type: (The npm is a node package manager, and if you download the node, it is downloaded together.)
npm install node-red
- But Node-RED wasn't downloaded and I re-typed as below.
npm install -g node-red
- The download was finished and I could check if it was down to
node -vandnpm -vand the version.
Start Node-RED
- In terminal, Typed
node-red. and Copied sever address(for example,http://127.0.0.1:1880). And accessed the Node-RED editor by pointing my browser
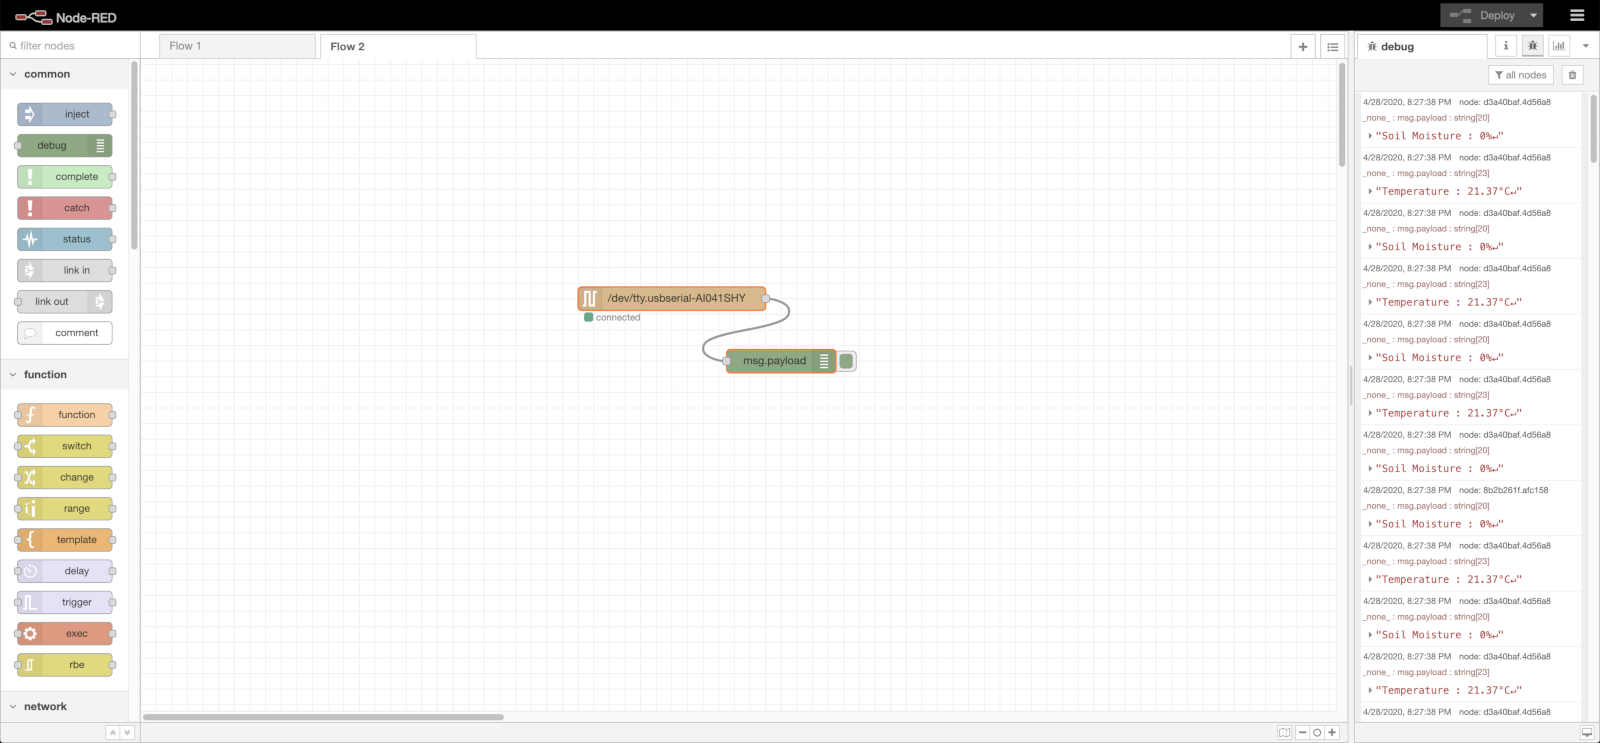
- To use serial and interfaces, Pressed the menu button on the upper right, pressed the
Manage palettebutton, and installednode-red-node-serialportandnode-red-dashboardfrom the install.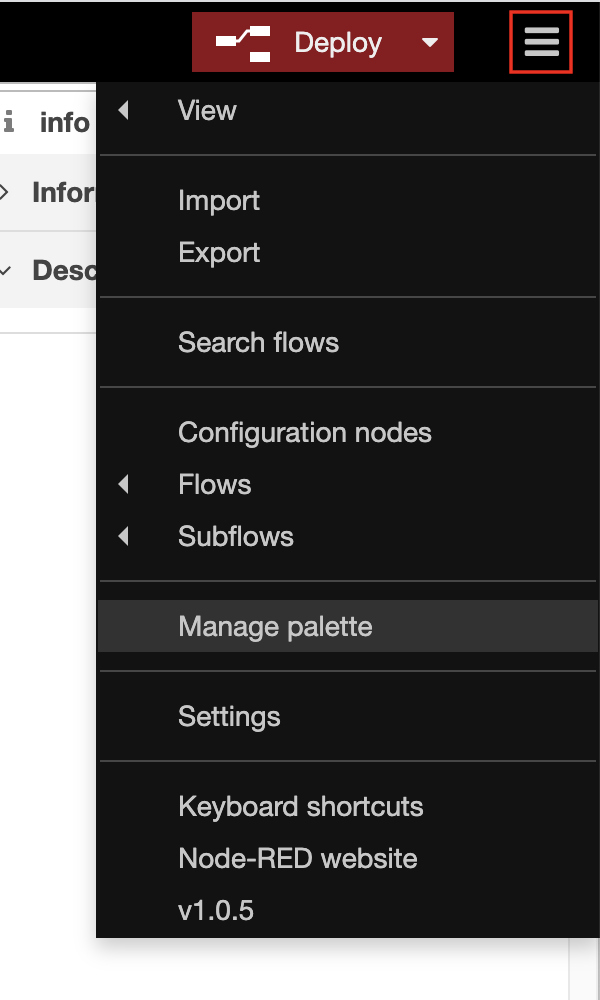
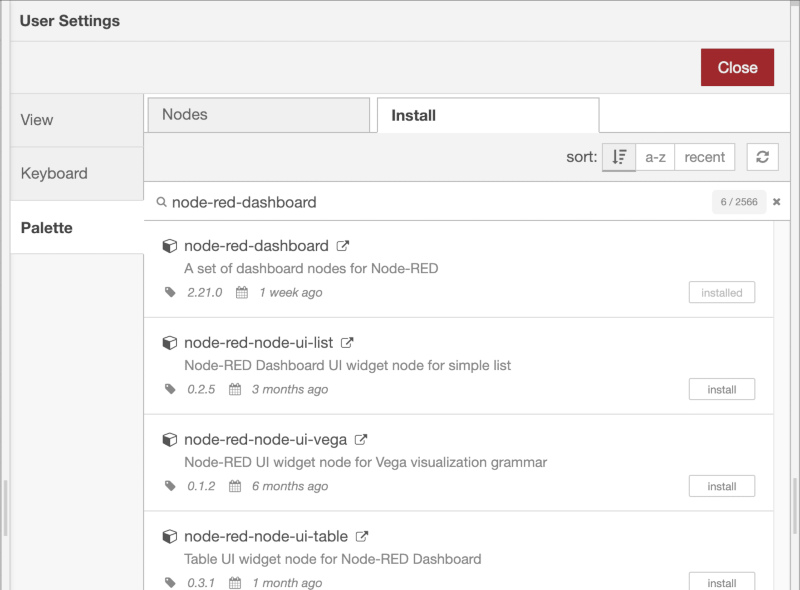
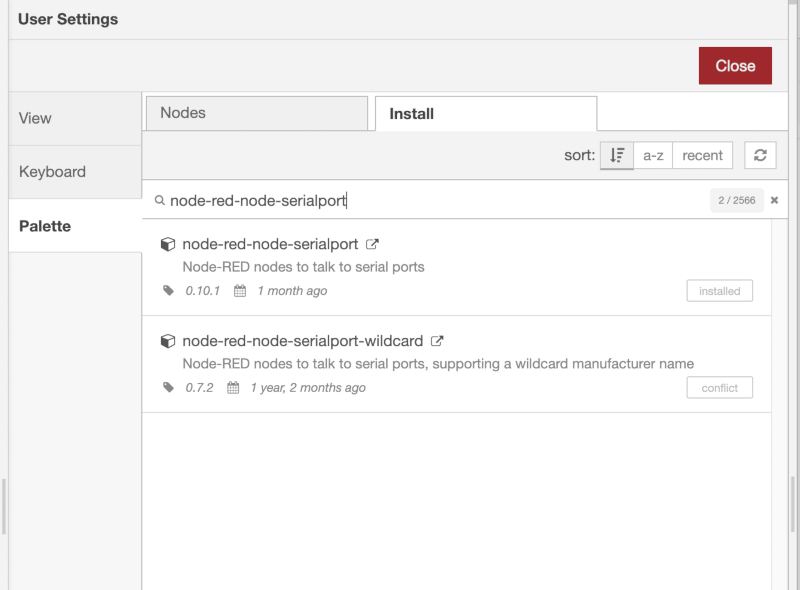
- And reloaded page. Then, the serial items and the Dashboard section were created on the left side.
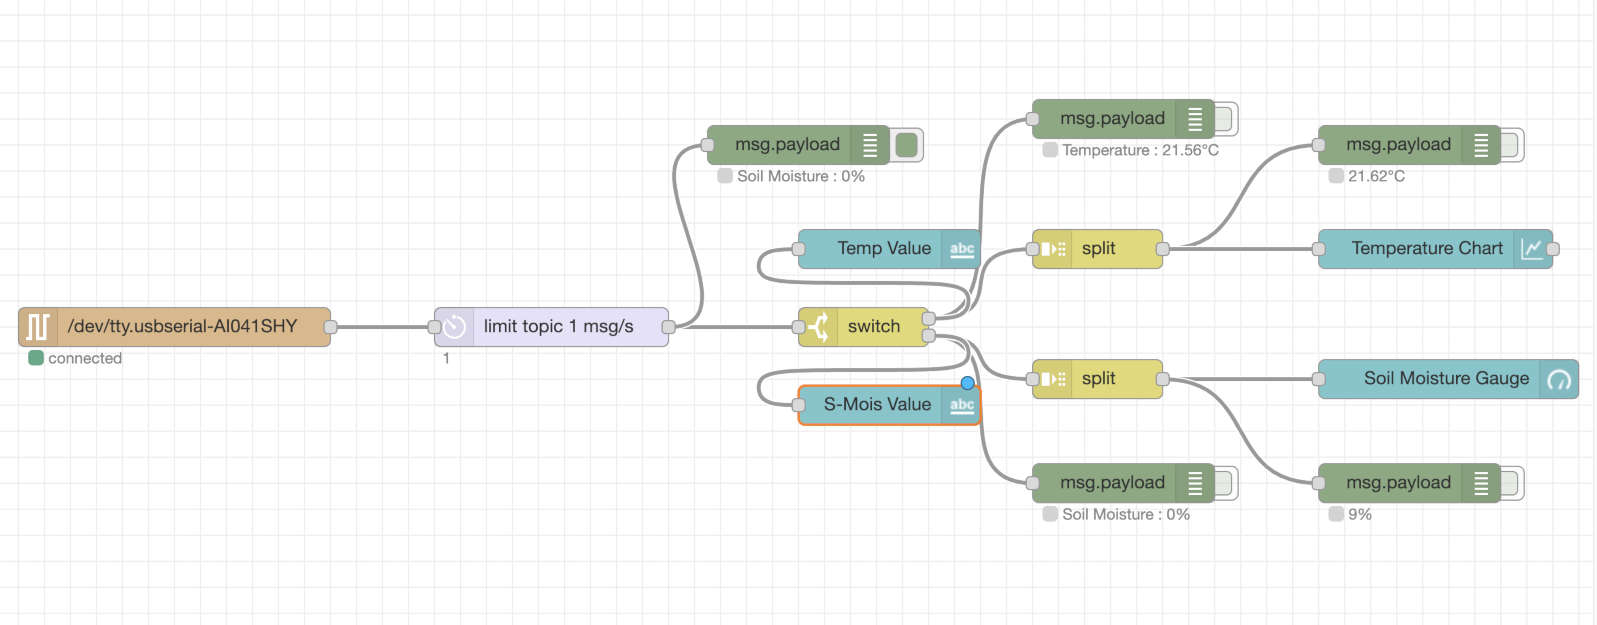
- I decided to create an interface using a board made in input device week.
- In Node-RED editor, To use the serial port on my board , I had to connect my board and turn on Arduino to select
Tools - Port : " ". - Drag and drop
network - serial inandcommon - debugon the left side, then connect them.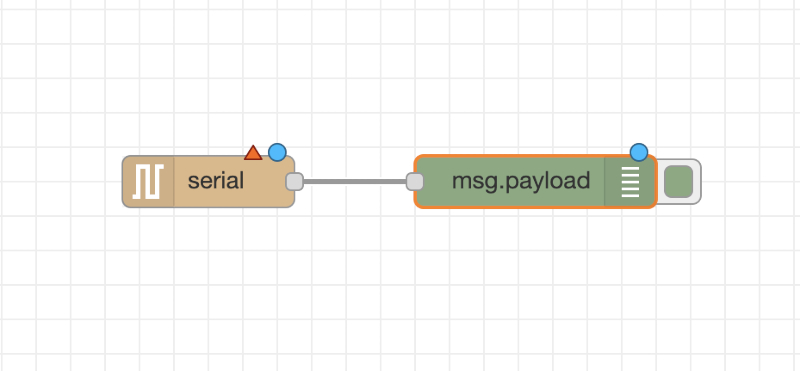
- Then double click on
serial into select port and set it up according to the code inside.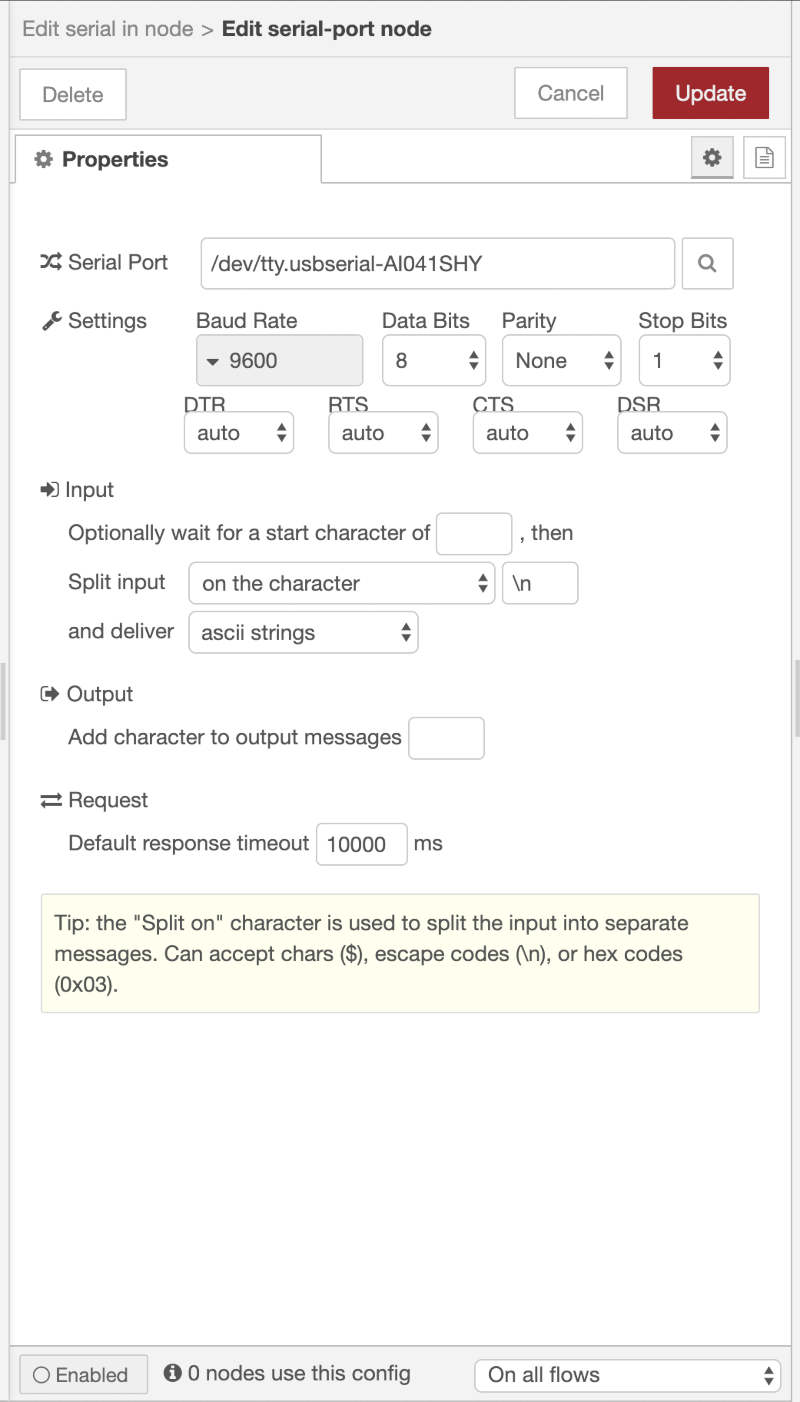
- Then press the
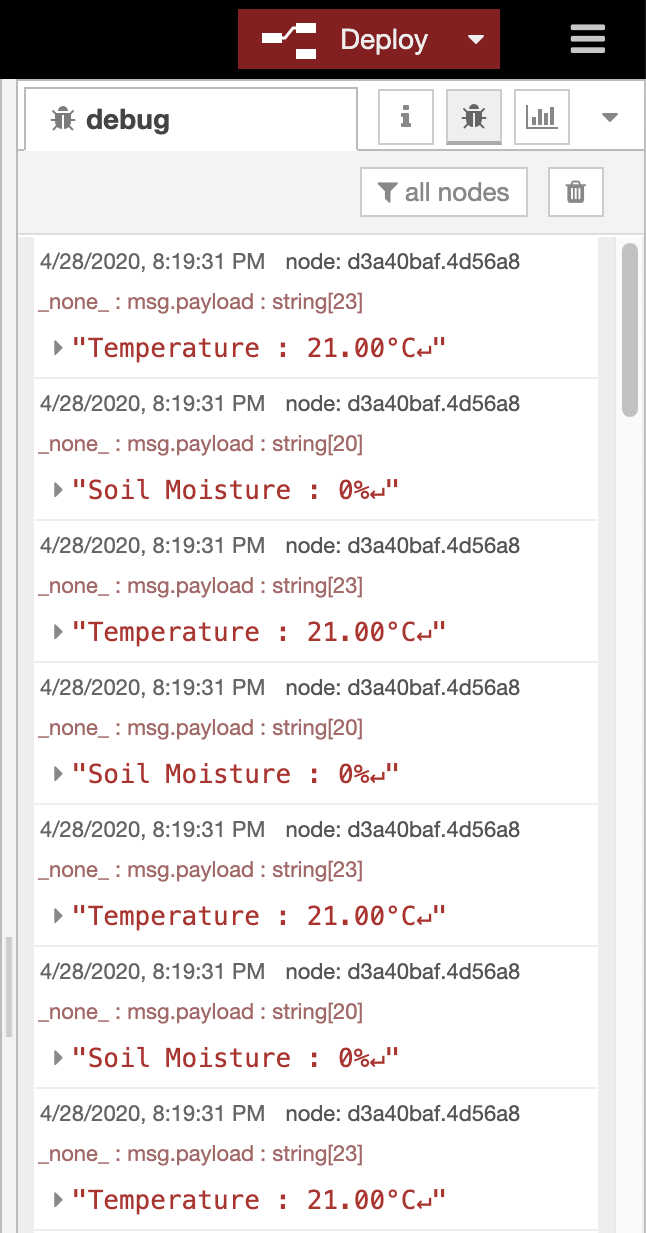
Deploybutton. - In Arduino, If my board was programmed well and the serial monitor printed the message well, the message on the debug page will also be displayed well as follows.
Result
I designed the interface of the board that I made in the input devices week.
My Interface

Operation Video
How To Use Node Fuction
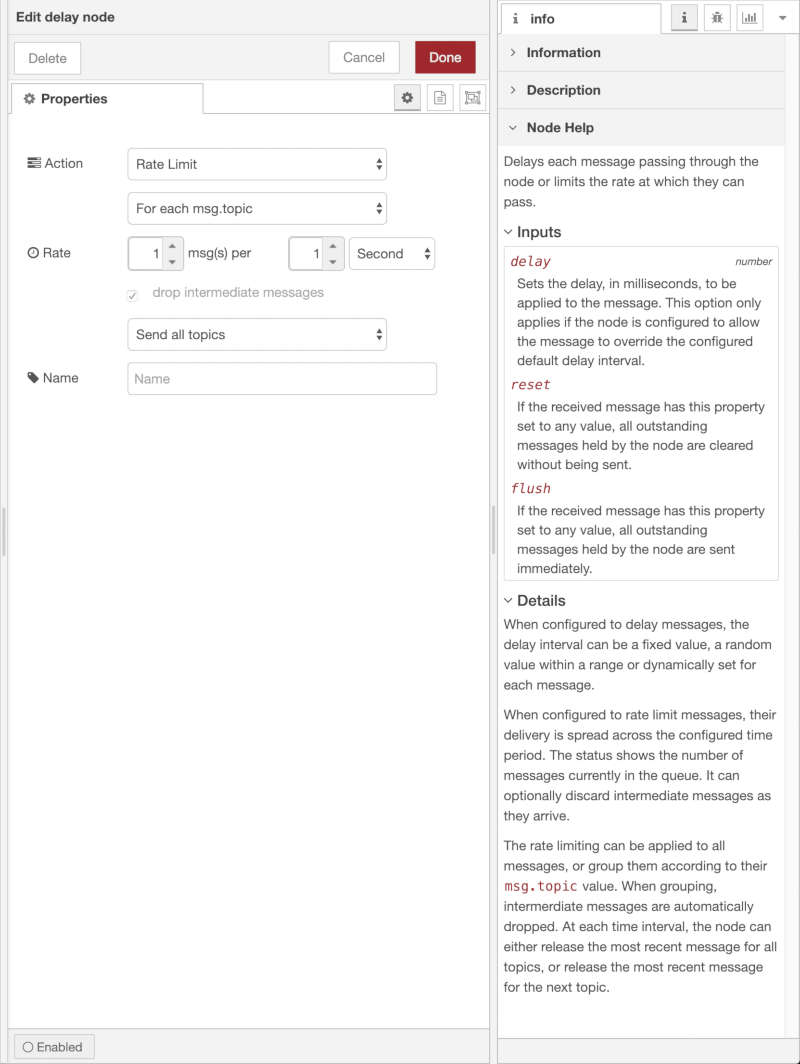
fuction - delayI didn't put the
Delayfunction in my input board's Arduino code. The reason was that the code for reading sensors accounted for 99 percent of the mcu memory. So I put thedelayfunction in the Node-RED.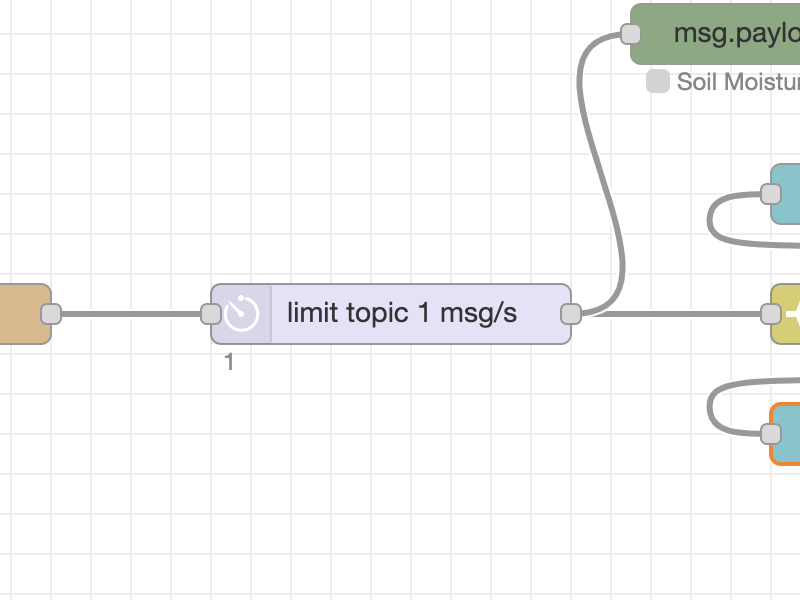
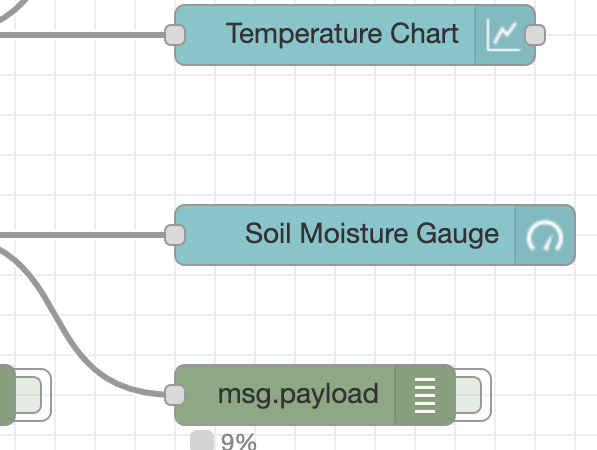
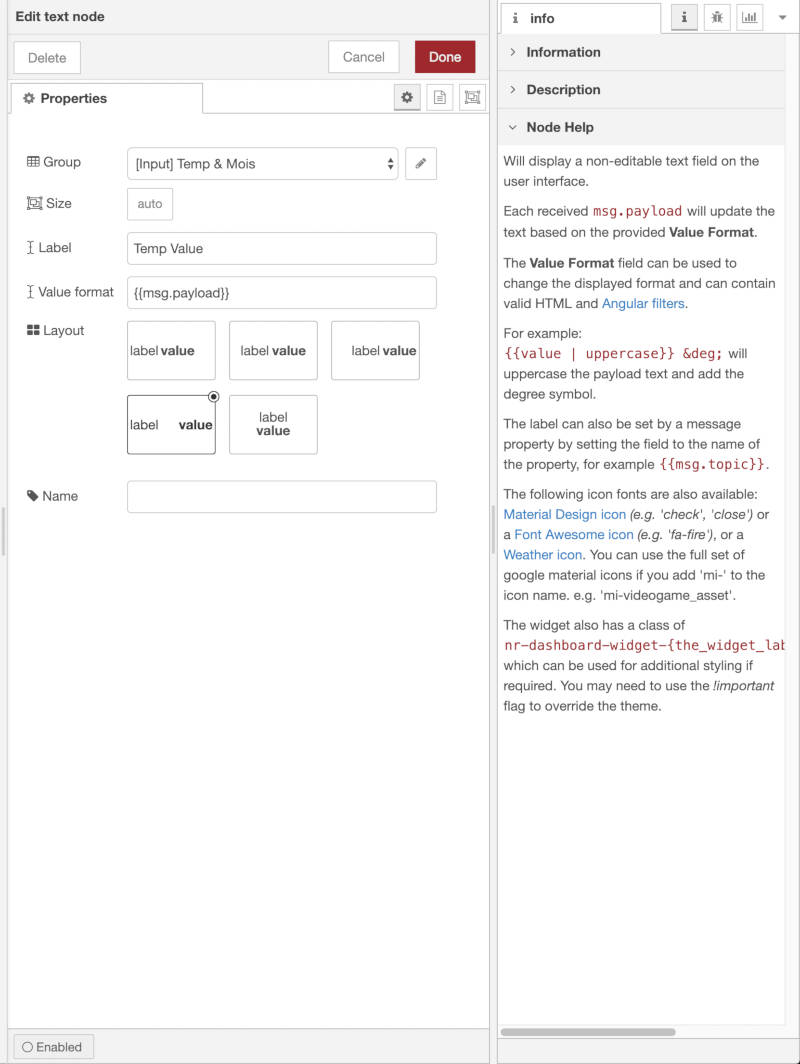
dashboard - textThe
textfunction was used to verify that the value in the debug is well-printed on the interface screen.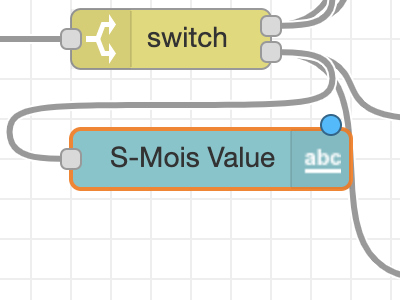
fuction - switchI received two kinds of messages from my board: Temperature and Soil Moisture. And I had to separate the messages into each debug node and print them out through the interface.
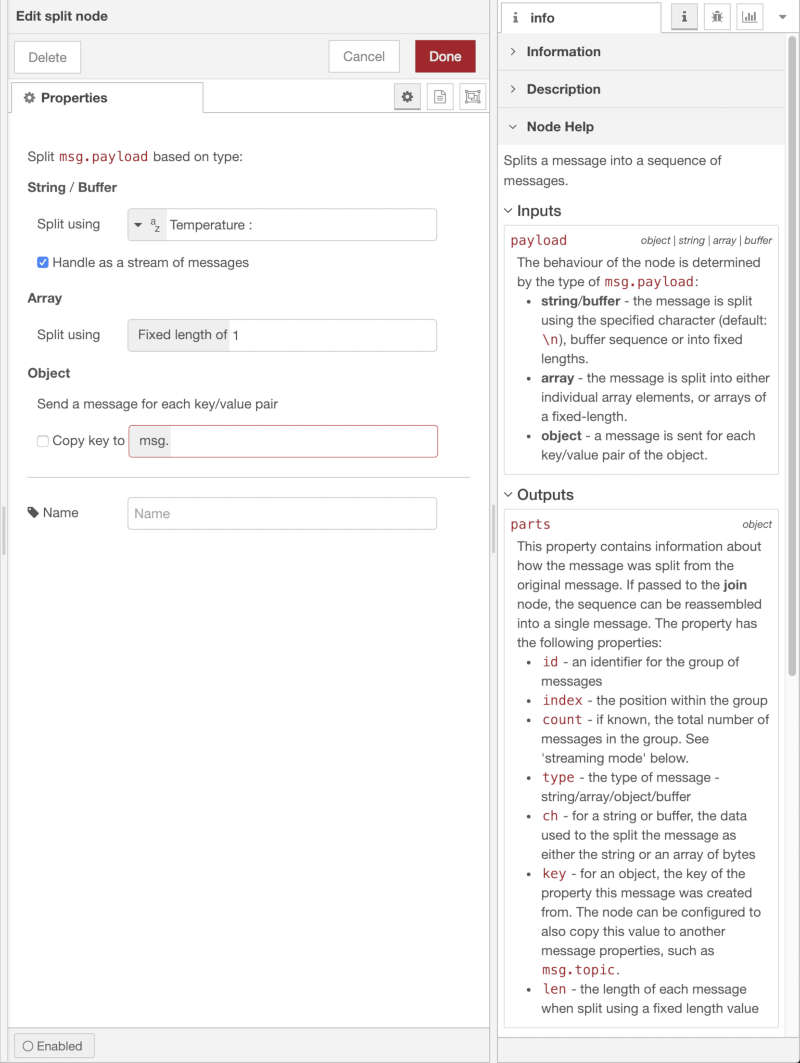
sequence - splitplayed the role.
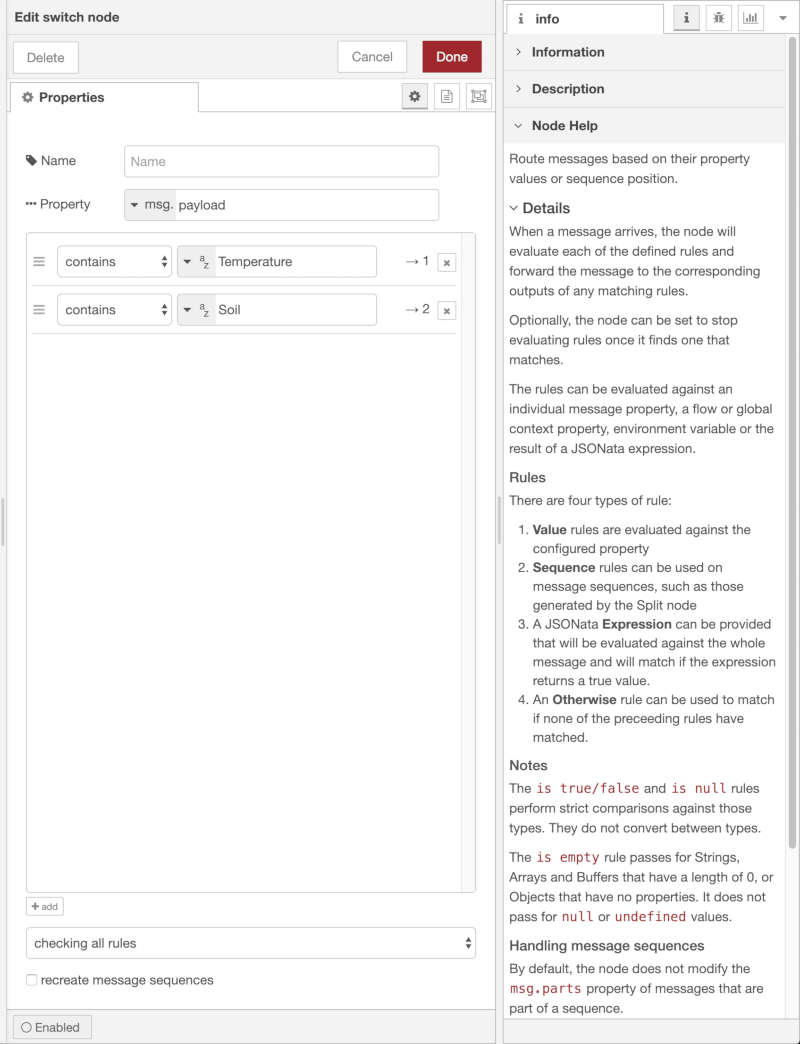
sequence - splitThe serial message from my board contained "Temperature : " or "Soil Moisture : ". And I only needed figures for the
chartorguage. So I usedsplitfunction to separate the figures.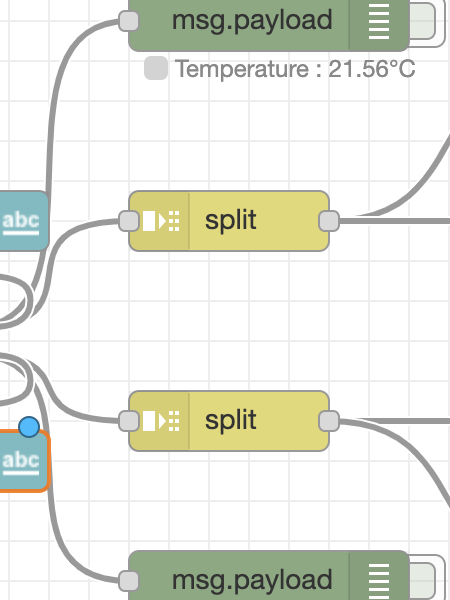
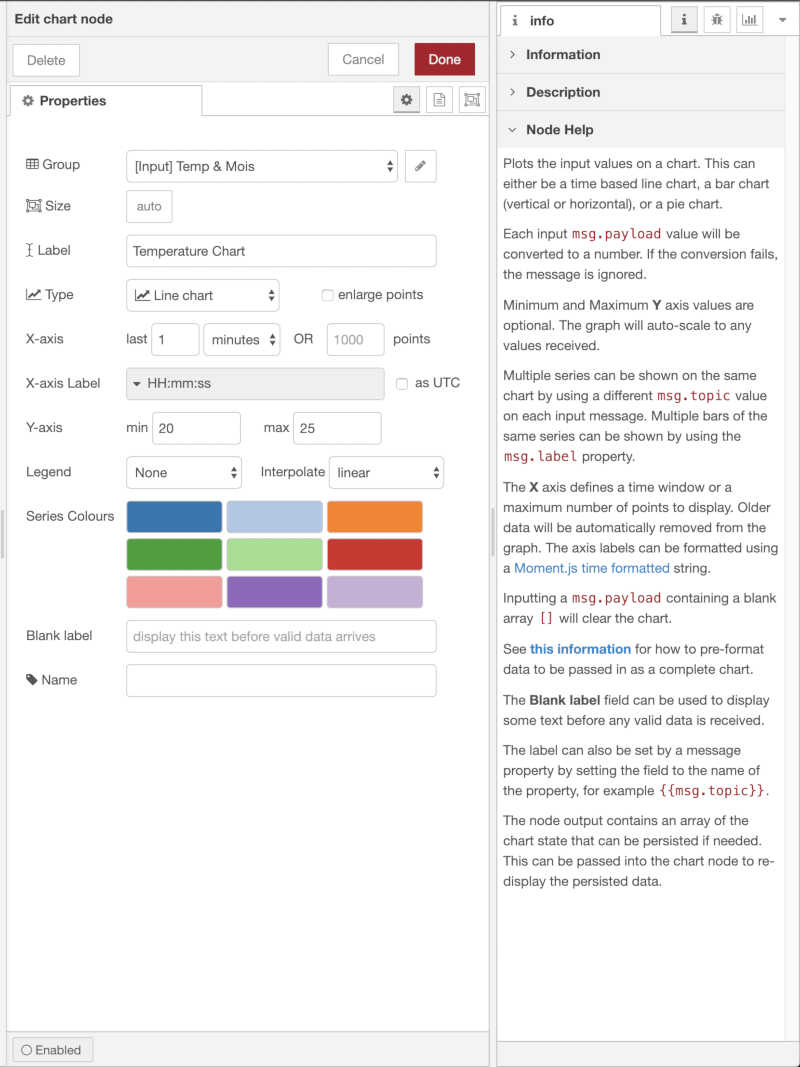
dashboard - chart
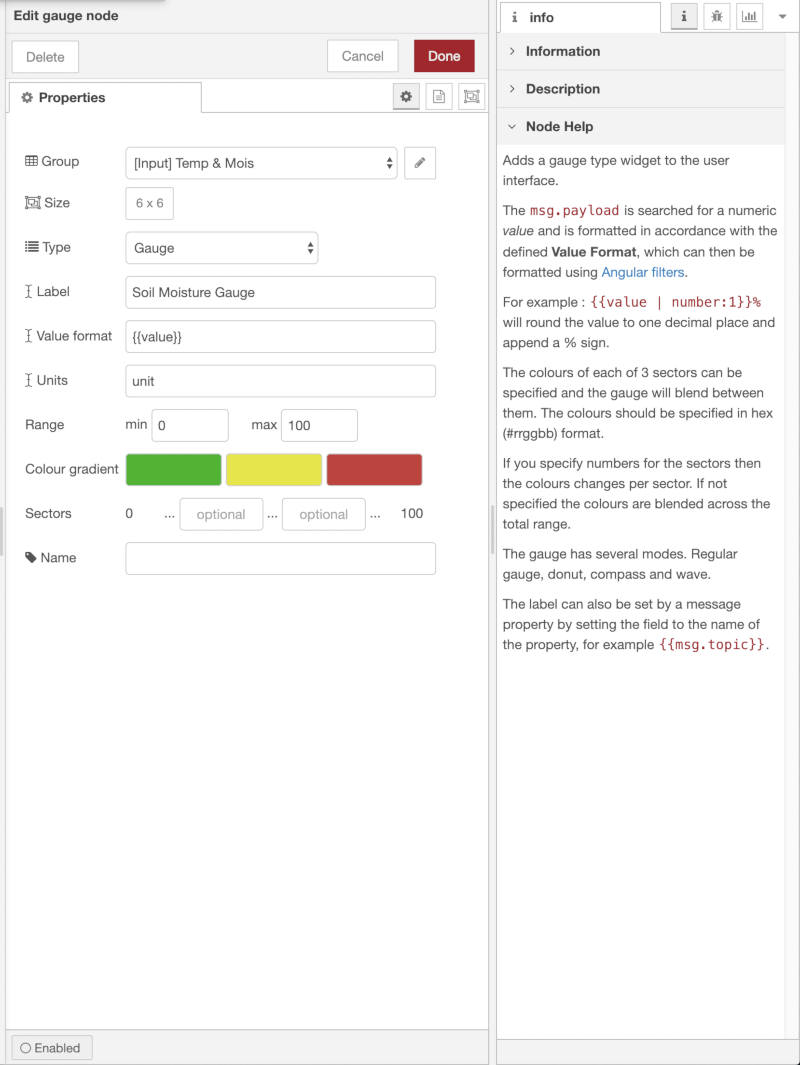
dashboard - gauge