Electronics Production
Choice Template & Verify Components
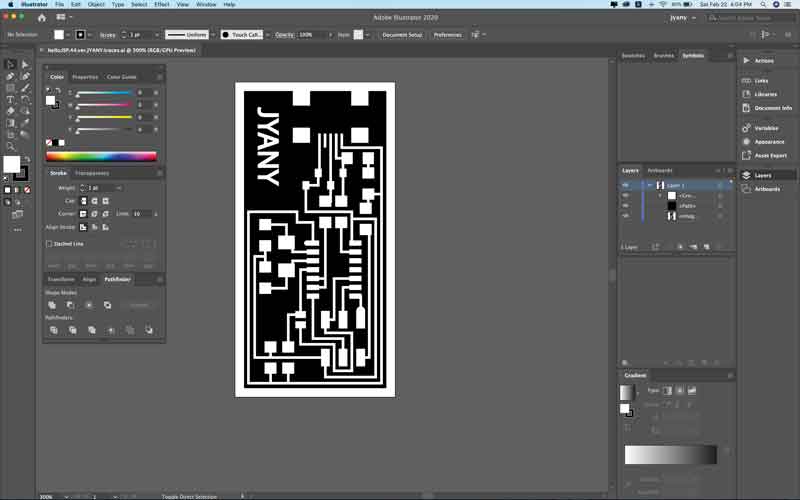
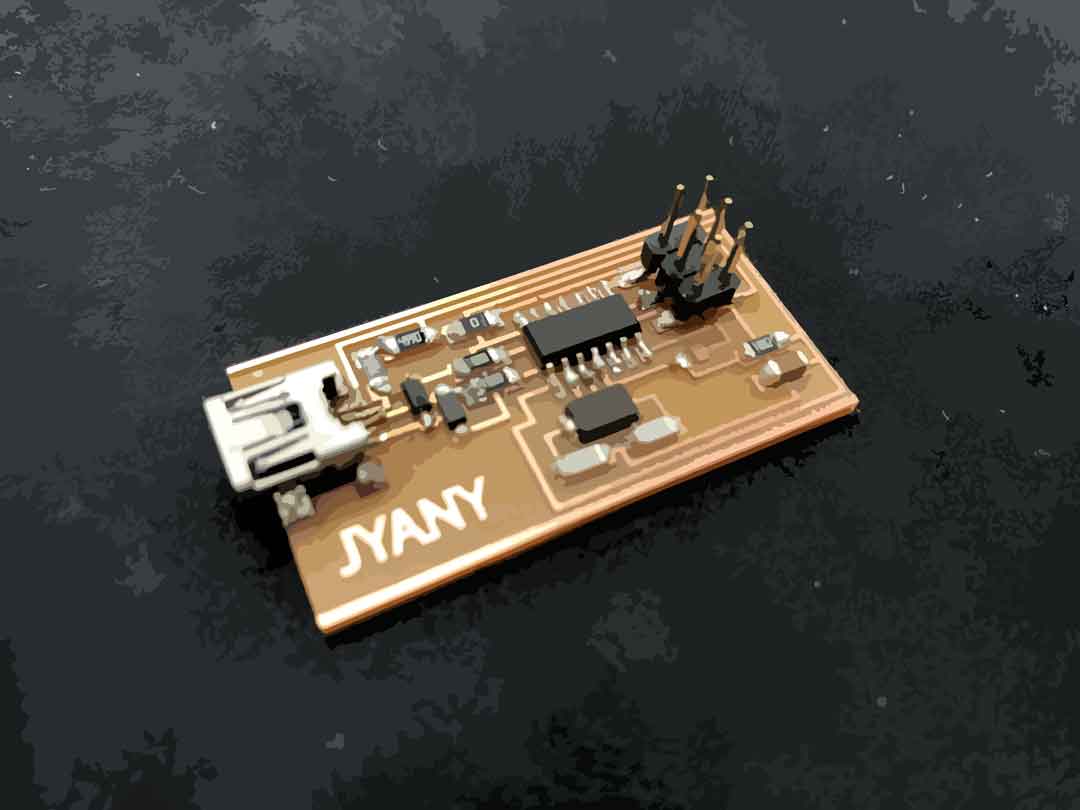
- First, I chose Neil's FabISP and downloaded .png files.
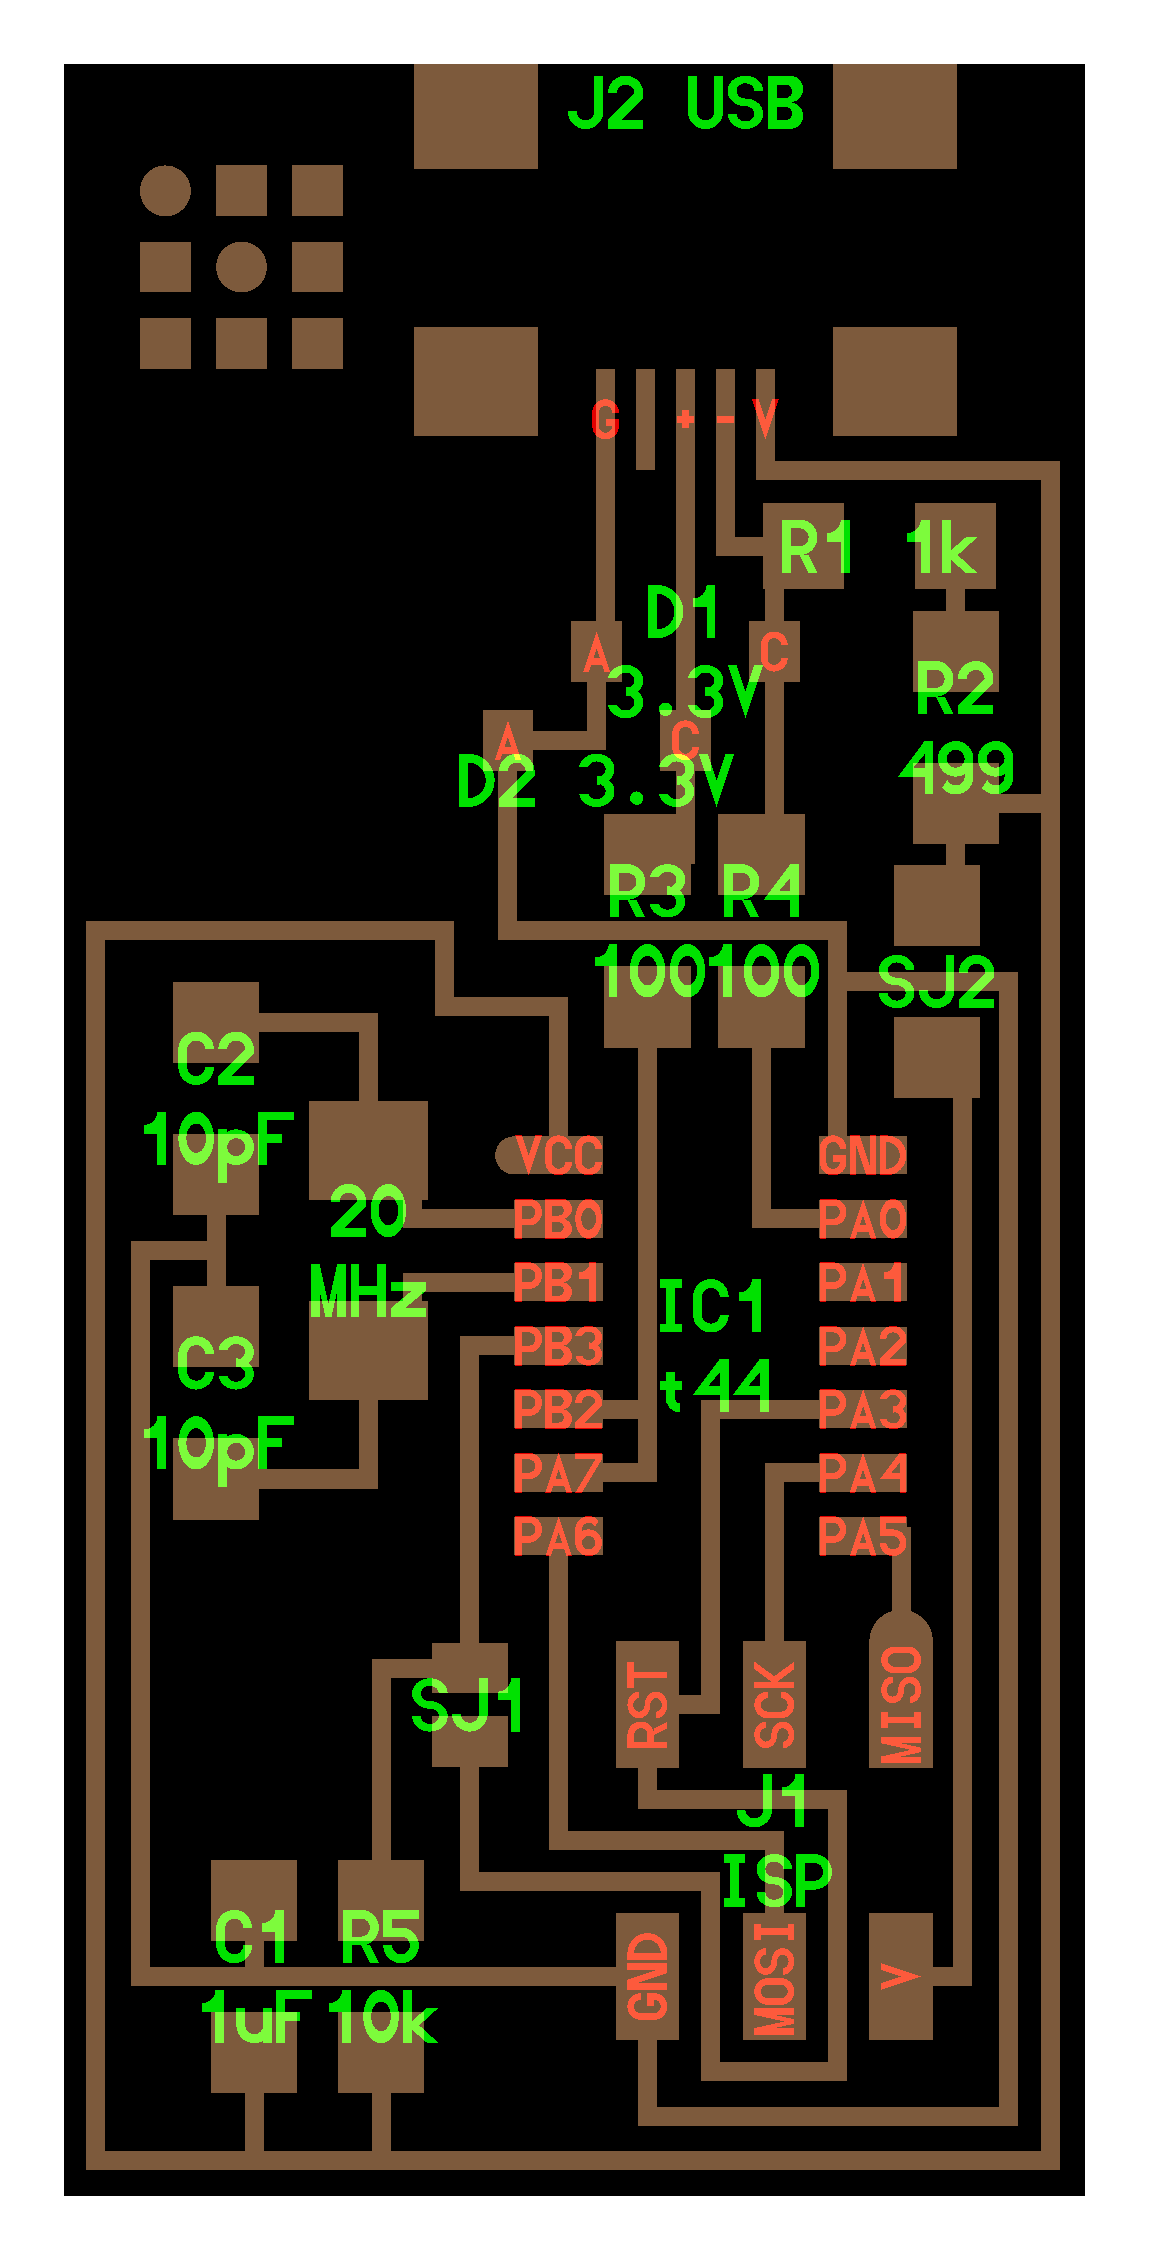
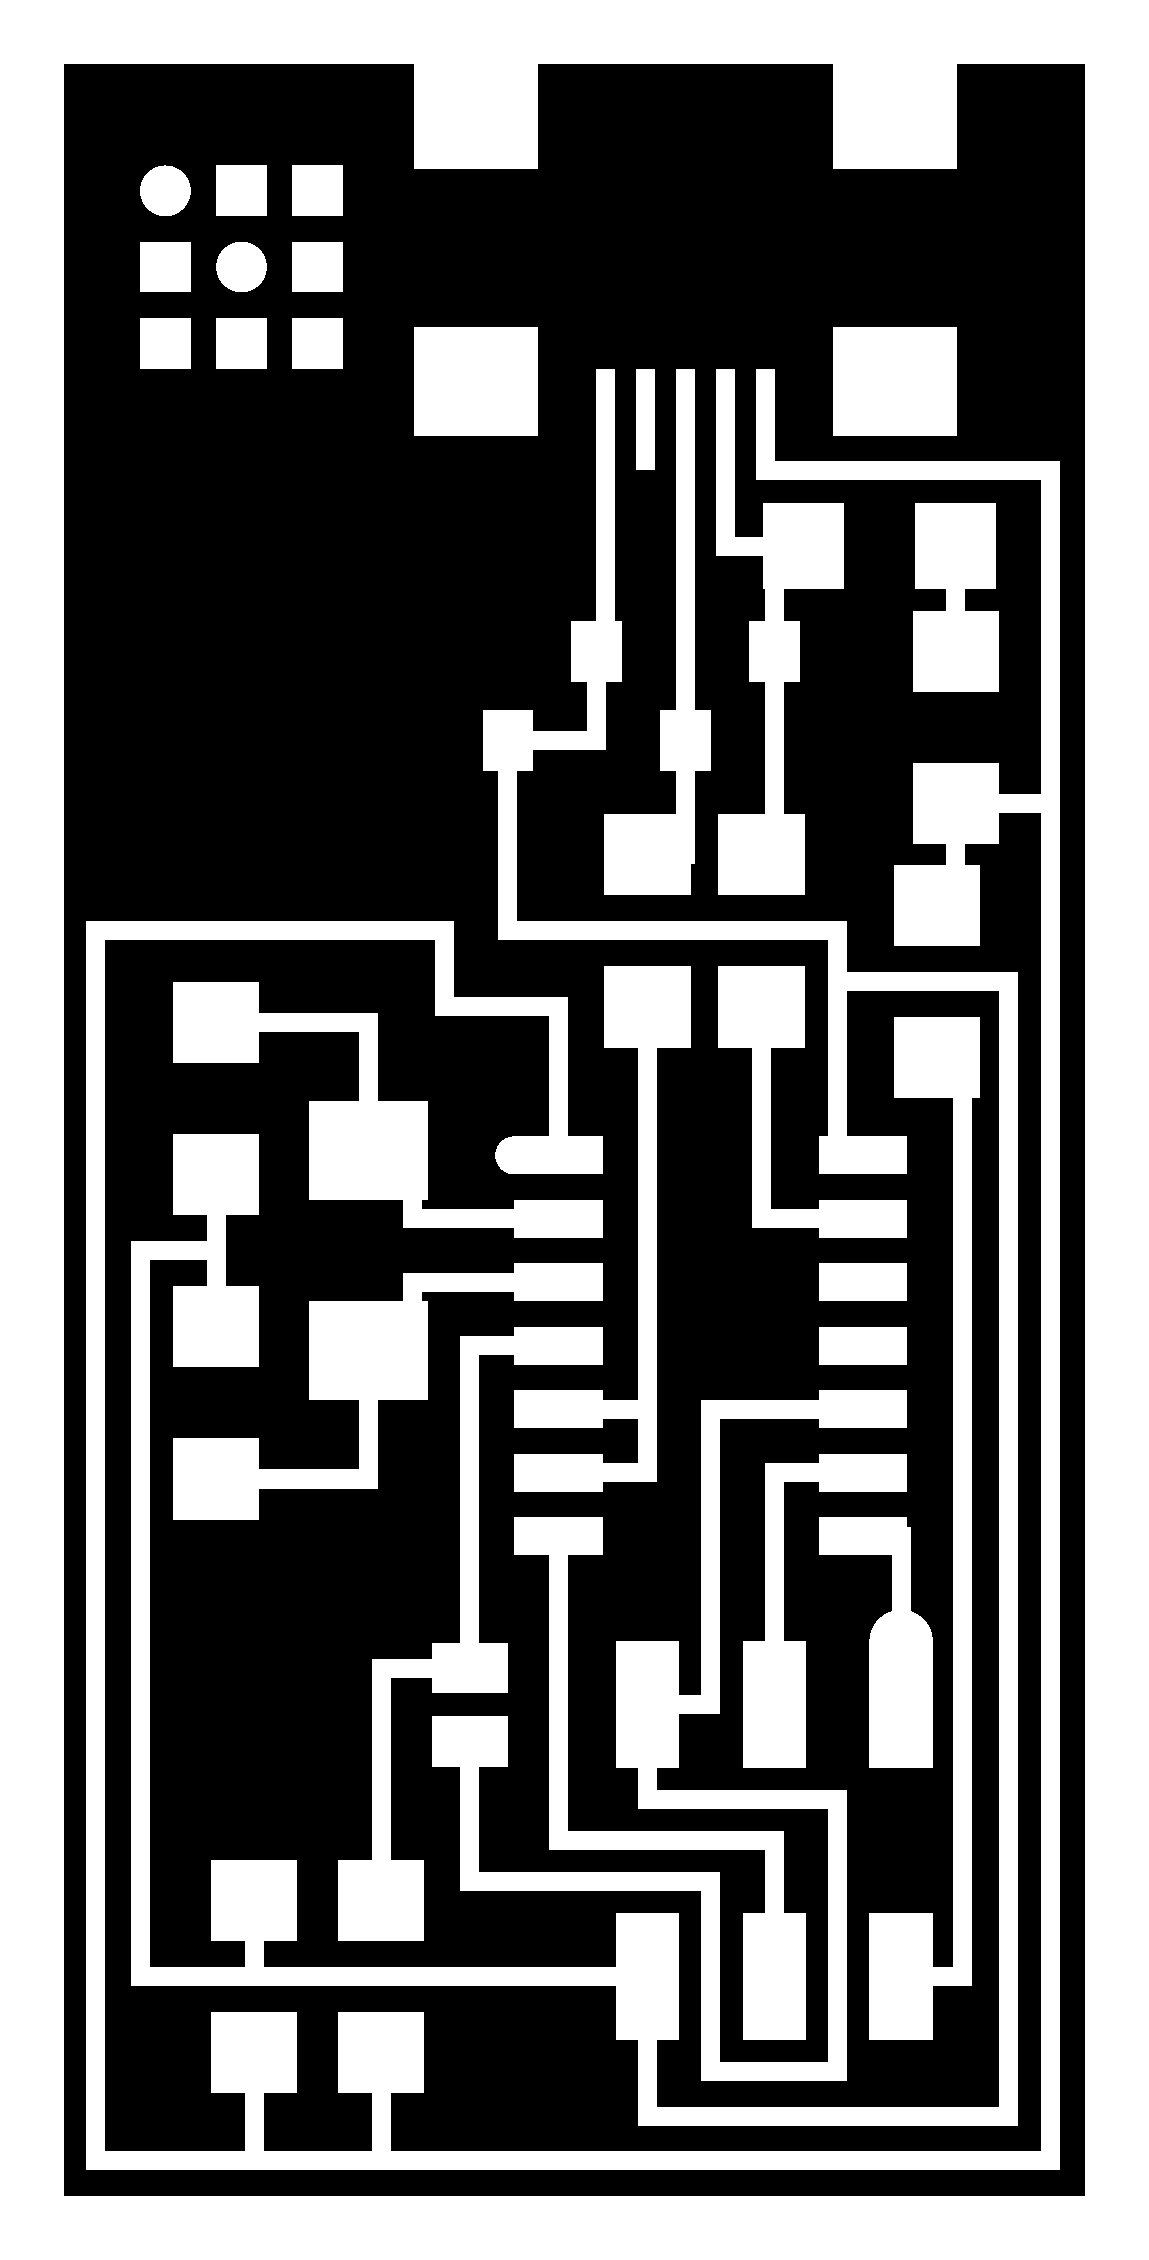

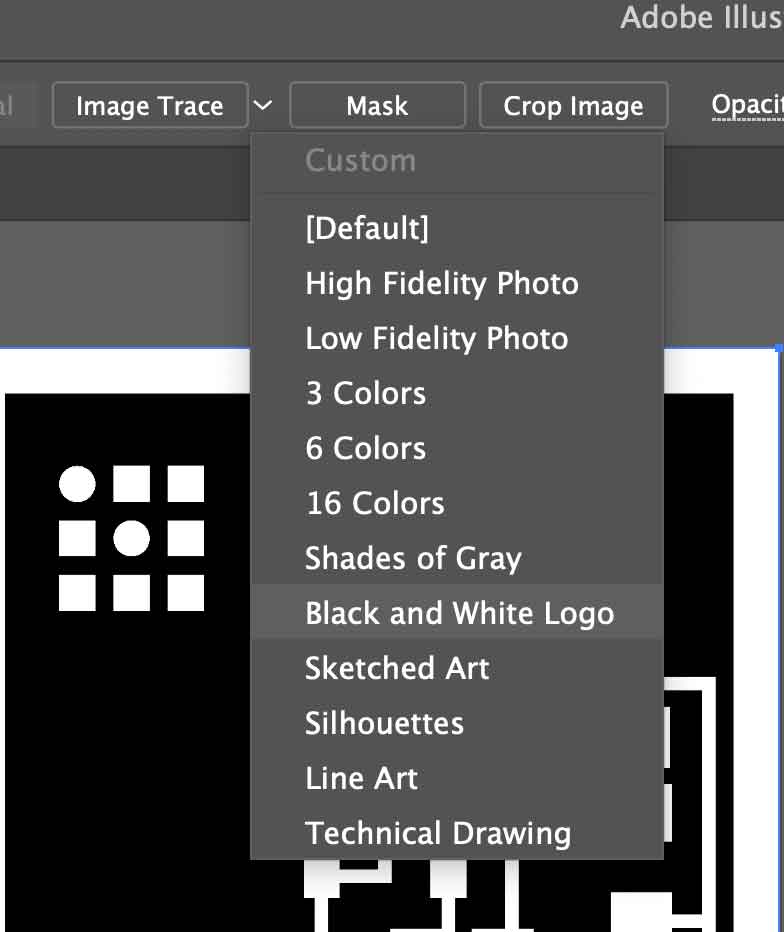
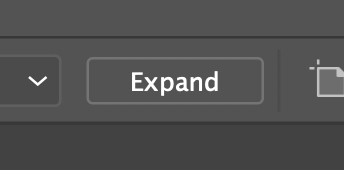
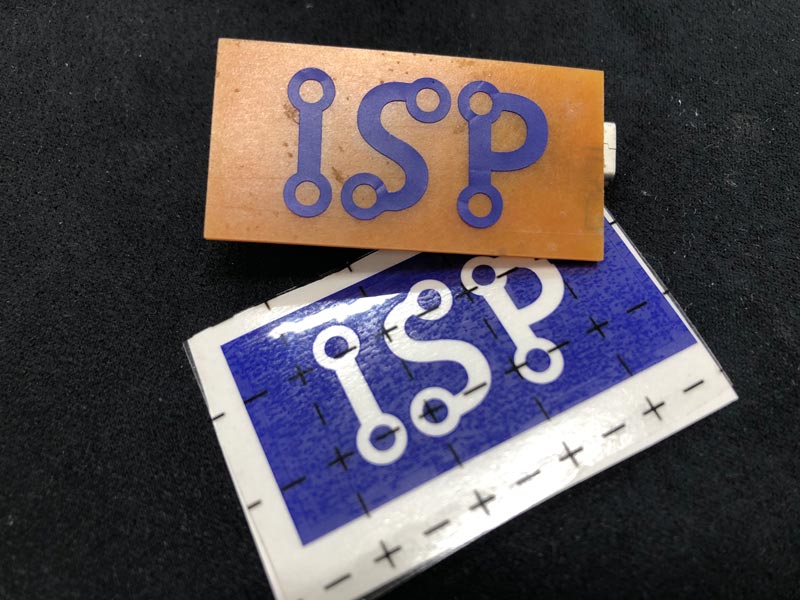
- Modified png files to illustrator. removed the logo, added my nickname and saved files as svg. (jpg files image trace - expand - exclude the white parts - unite images)
Because the Bantam doesn't identify the png file, I had to convert png to one of the extensions the machine could identify.

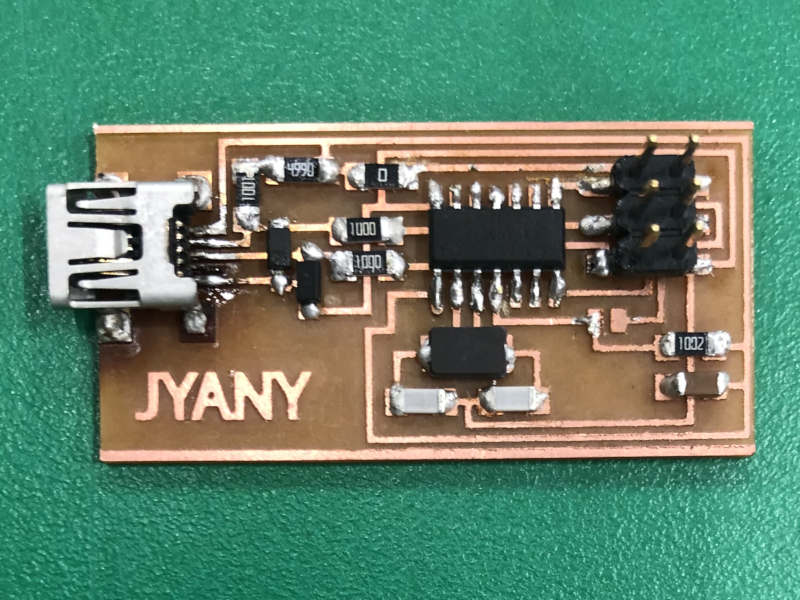
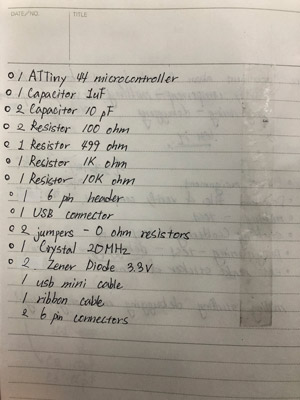
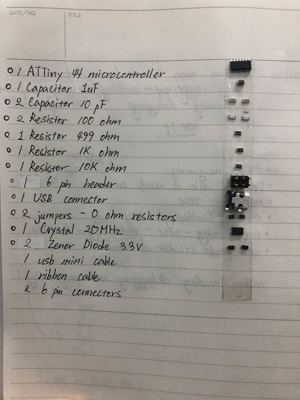
- Verified the components of Neil's FabISP.
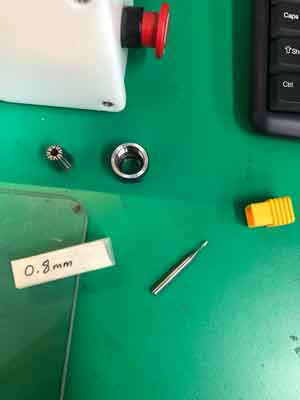
- Wrote down the name and amount of components that are needed to solder. After attaching a double-sided tape to my note, found the components and put them on the note.
Milling
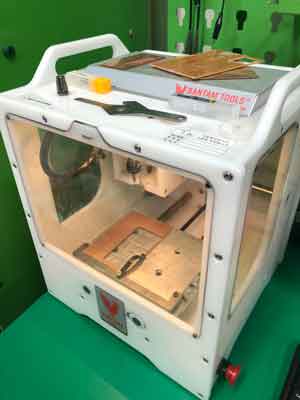
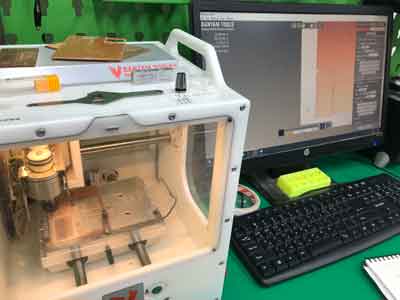
- Turned on Bantam tools machine.
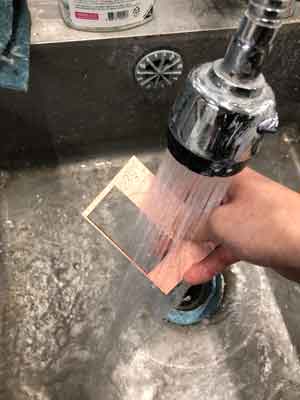
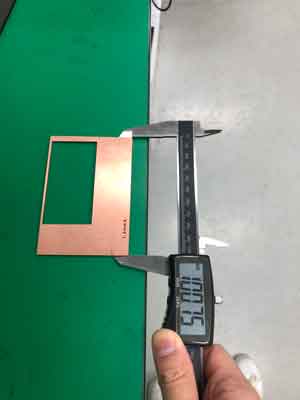
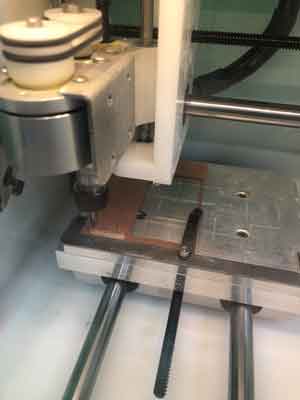
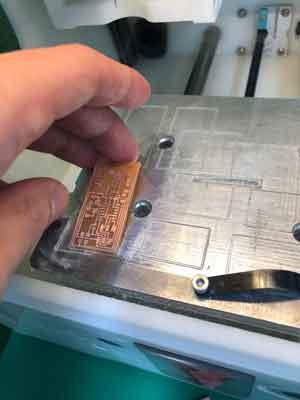
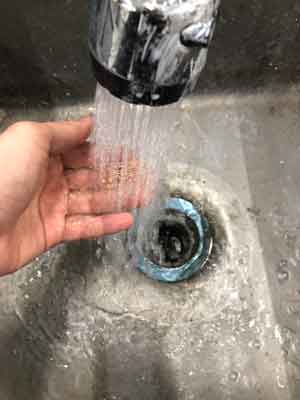
- Washed a copper board with water and measured the board.
- Removed the windows.
- Pressed the loading button to place the work surface in front of it.


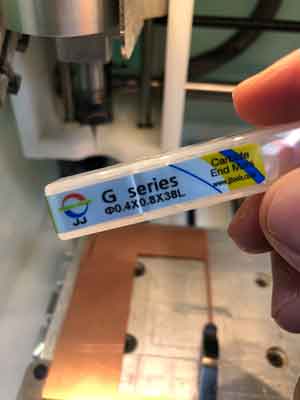
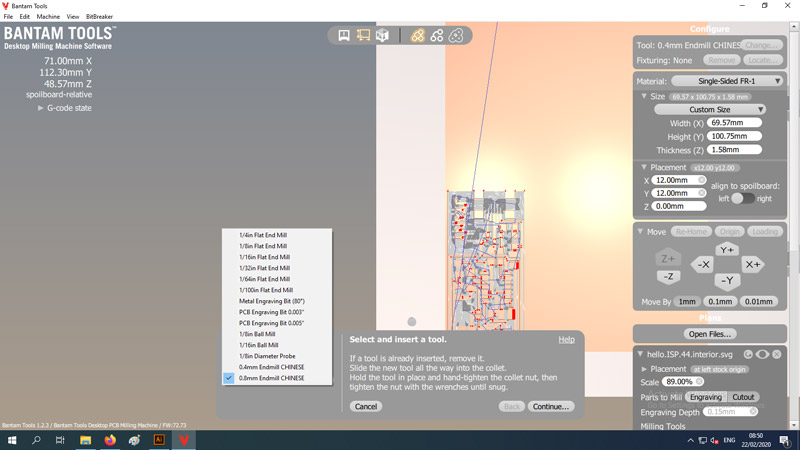
- Set the Bantam tools machine. (put copper board and changeed the end mill to 0.4mm)
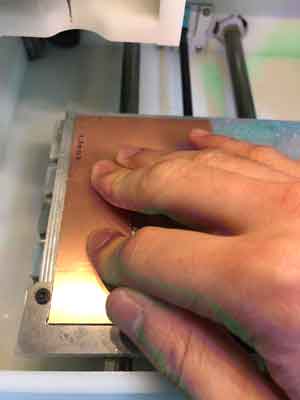
- Closed the windows
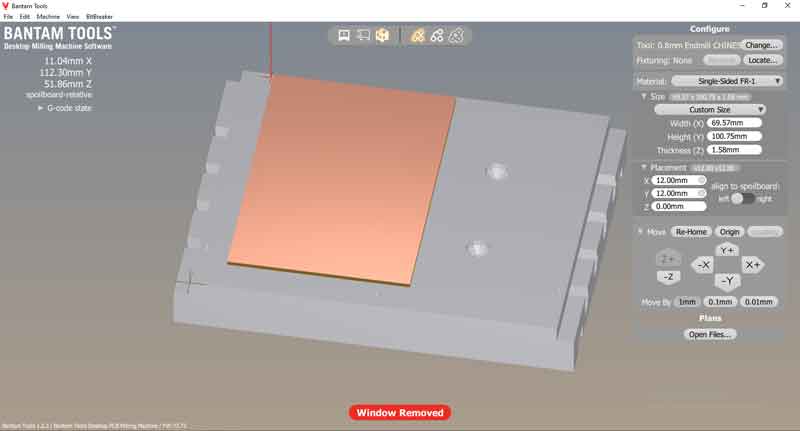
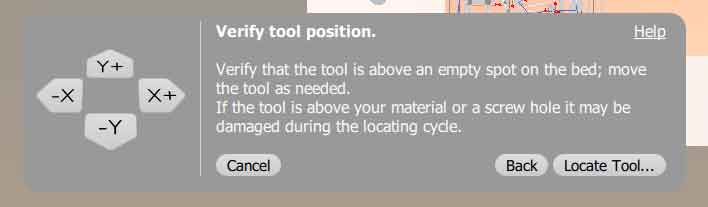
- Set the Bantam tools program options about tool, material and size. When change tool setting, the machine verified tool location. (measure the height of the milling tool.)
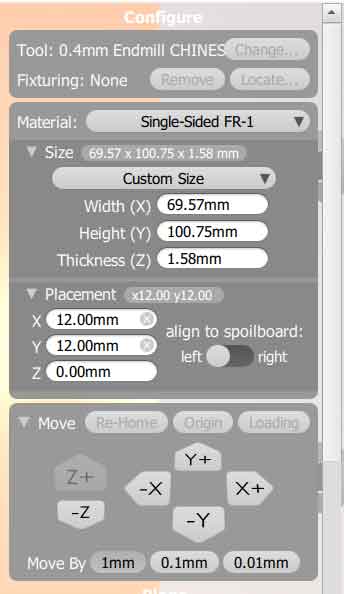
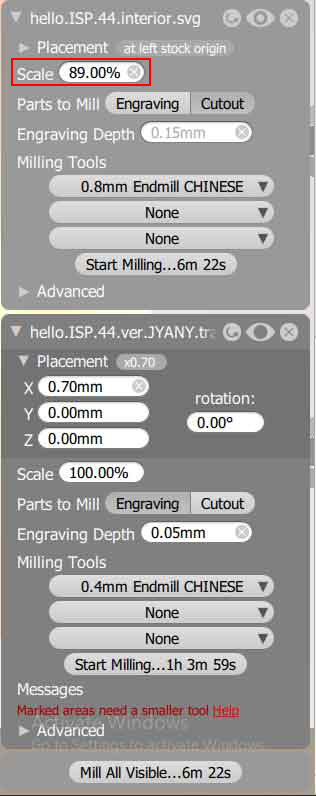
- Open files and set files options. (placement, scale, parts to mill, engraving depth, milling tools)


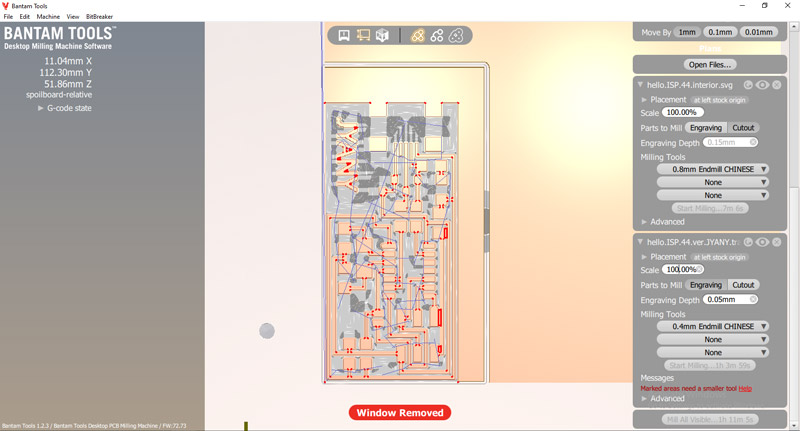
- Started program.
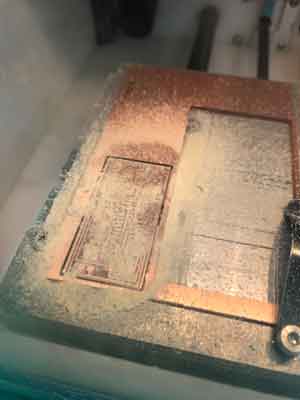
- When the engraving process ended, Removed the windows.
- Pressed the loading button to place the work surface in front of it.
- Cleaned the dust on the work surface with vacuum cleaner.
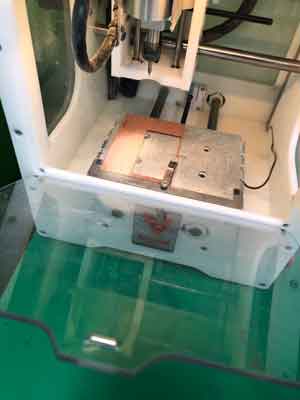
- Change the end mill to 0.8mm. To cut the outline, had to replace it with an end mill for cutting purposes. FYI, It doesn't need detailed work to cut, so use a thicker end-mill to speed up the work.
- Close the window.
- Set the Bantam tools program options about tool. (from 0.4mm to 0.8mm) And Cut line was bigger than I thought. So scaled the interior.svg file to 89%.
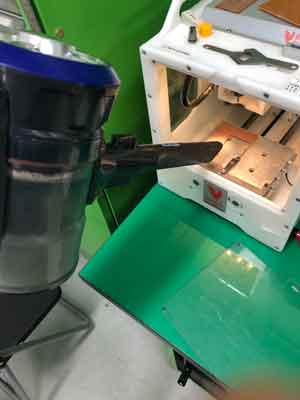
- Started cutout.
- When finished cutout process, cleaned dust and took off copper board.
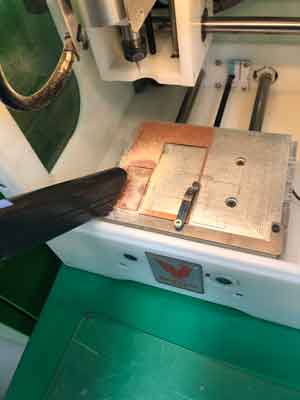
- Made sure it's cut well and turn off machine.
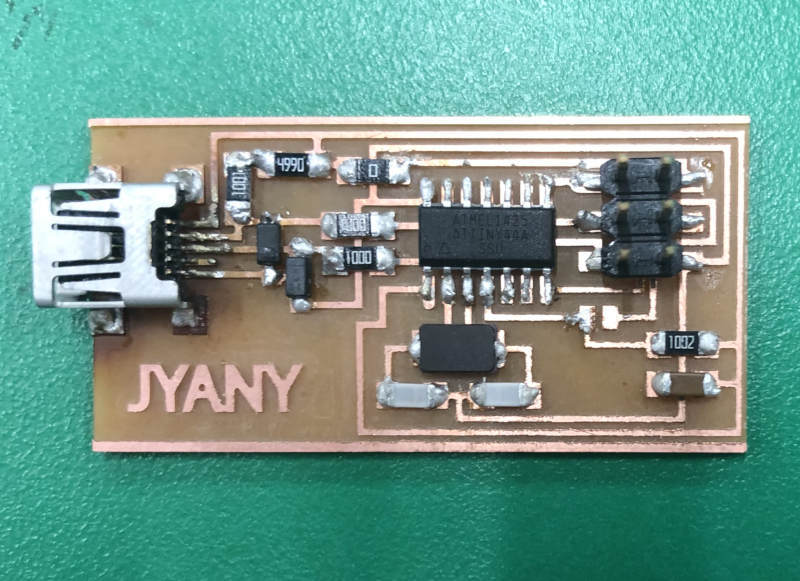
- Washed the copper board with water.
Stuffing (Soldering)
- Prepared soldering.
- Brought components, circuit board(I made), and tin-lead.
- Wore protective glasses.
- Wet the sponge with water.
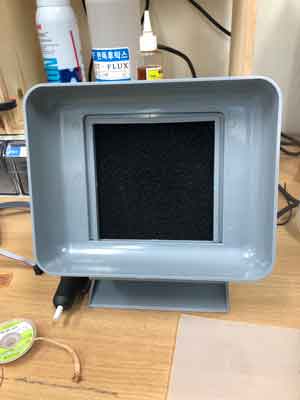
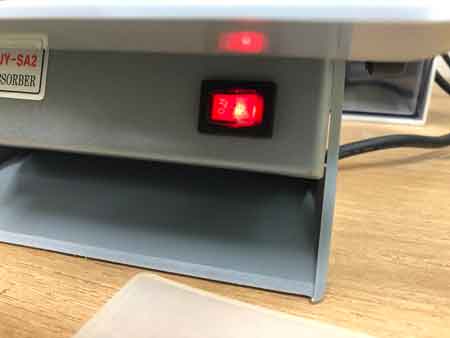
- Turned on filter machine, Soldering Iron.
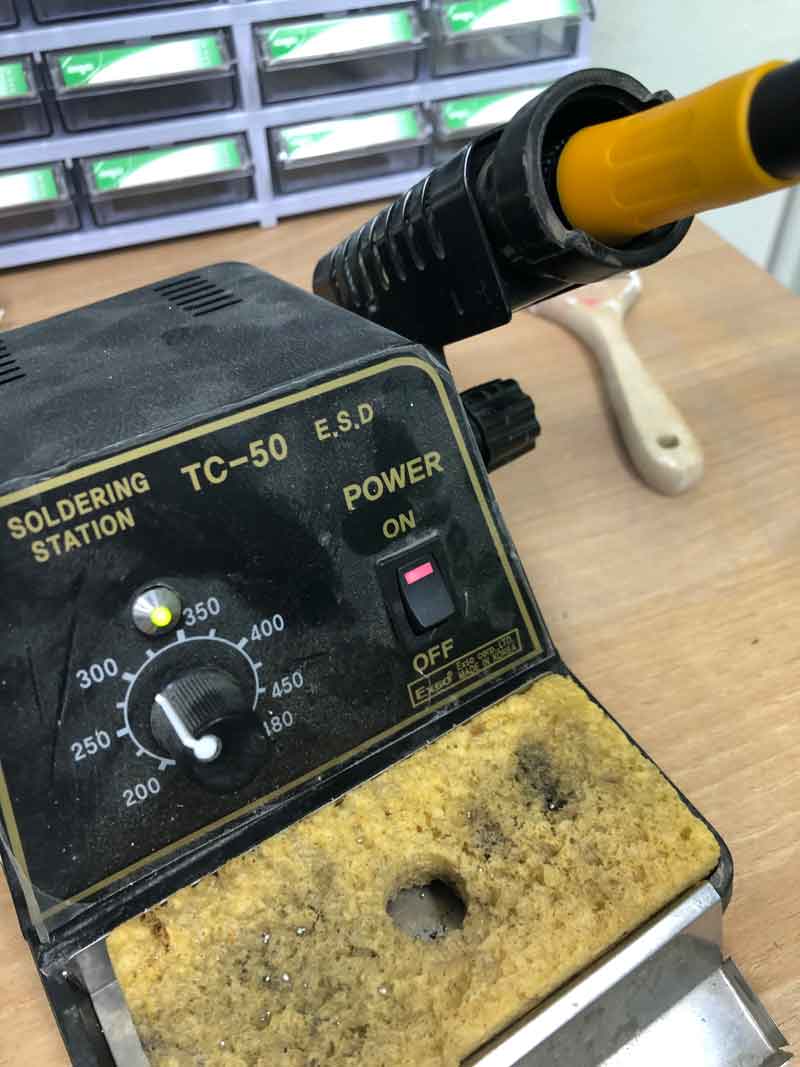
- Started soldering.
How to do Soldering
1) First, Melt lead in one of the places where electronic component is to be.
2) Melt the lead again with a soldering iron and attach the component to it.
3) Melt a little bit of lead in the soldering iron and add where the part and the lead are connected.
4) Melt lead in the soldering iron and place it in the area to be connected.
5) I followed this process that my instructor taught me. So I was able to make my first solder not bad.
- Ended soldering.

- I didn't use test equipment in this week, I could have used it to find the problem. Share the method here.
Debugging
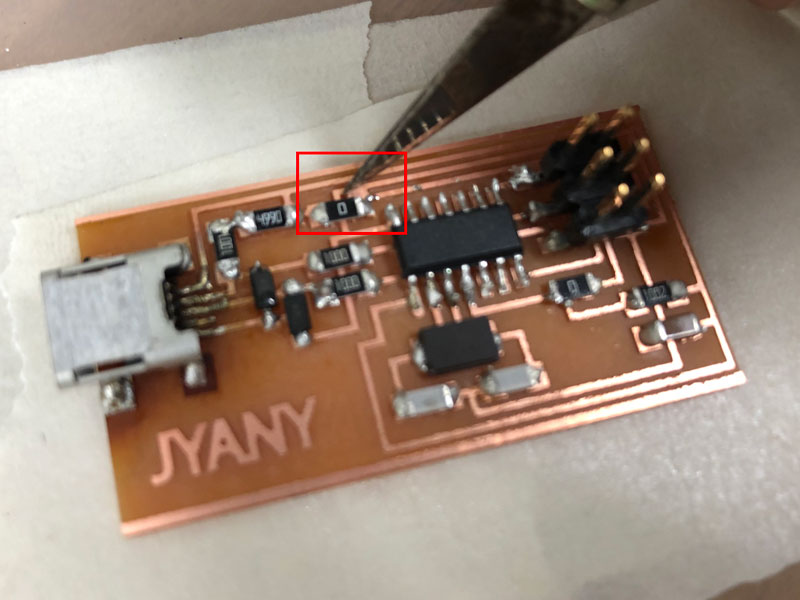
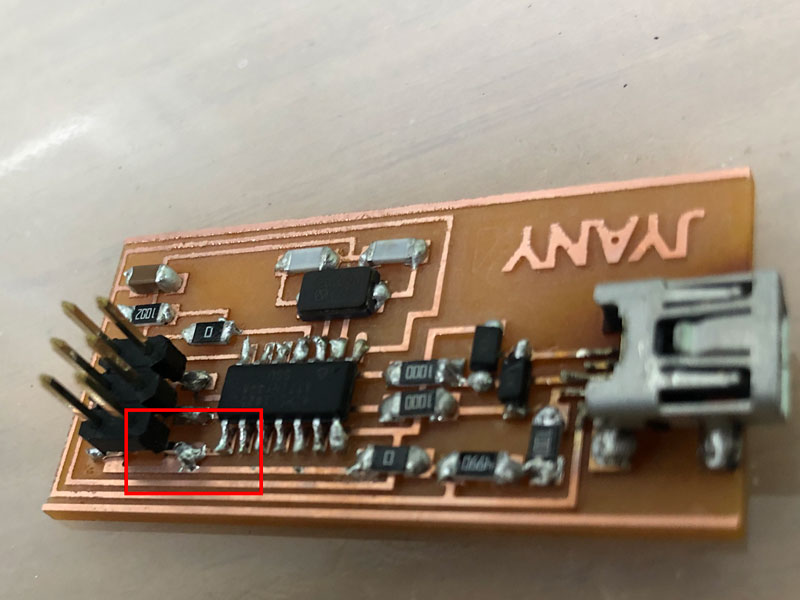
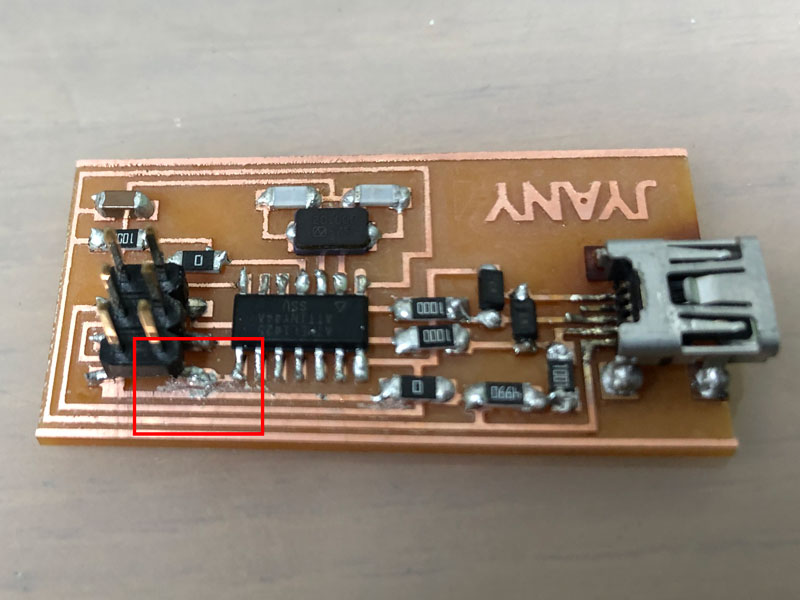
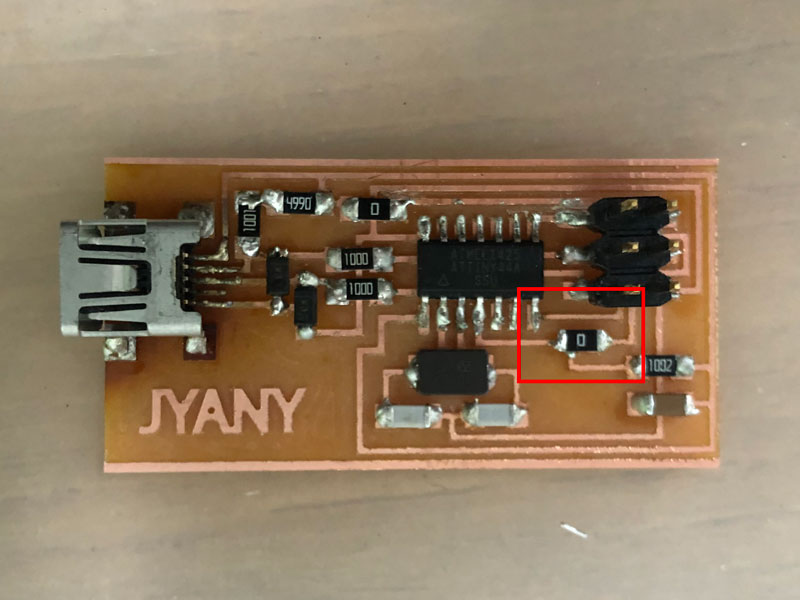
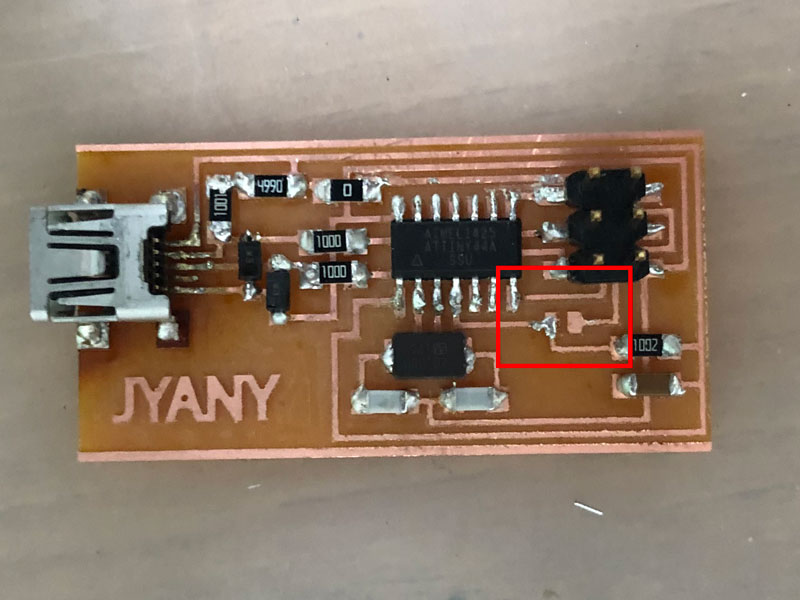
When my instructor told me, I noticed that I had a problem. That was engraving is not perfectly complete. So, I dug out copper and then I checked with Multimeter.
Programming
- Followed this tutorial process click here
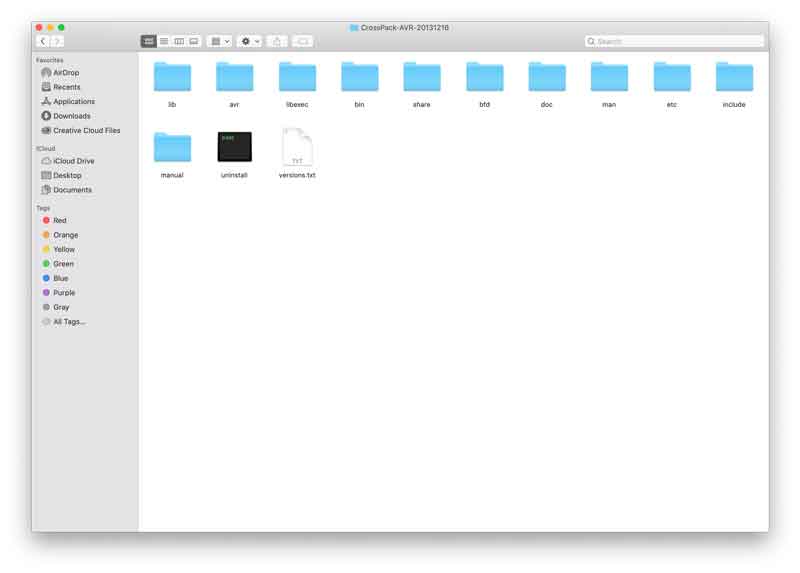
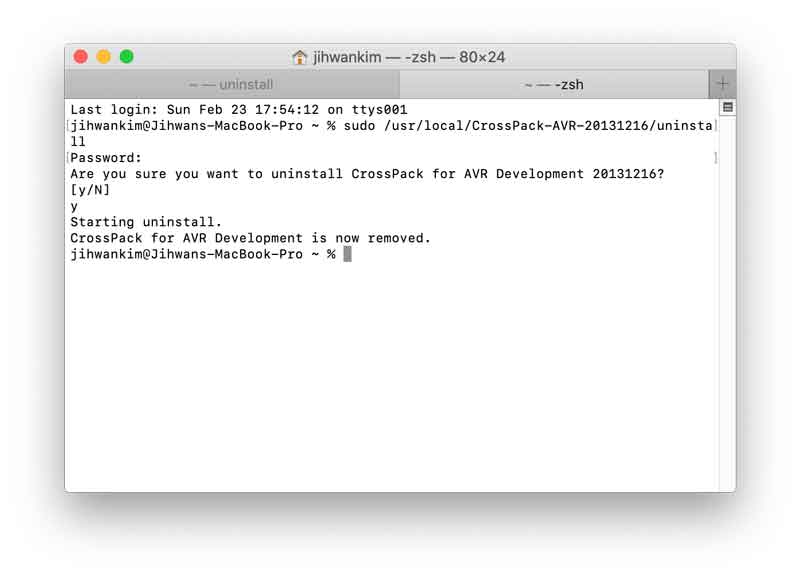
- Downloaded the latest version of CrossPack.
- Downloaded XCode from the Apple App store.
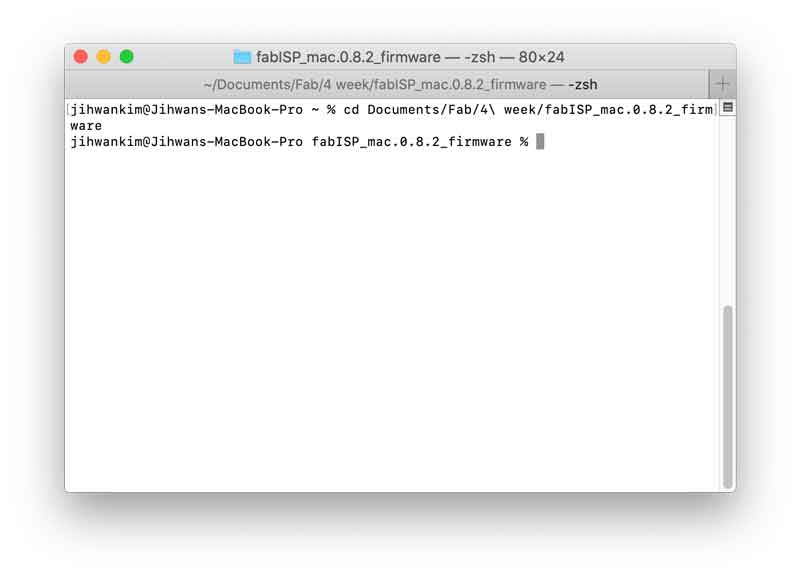
- Opened terminal.
- Entered into the firmware file.
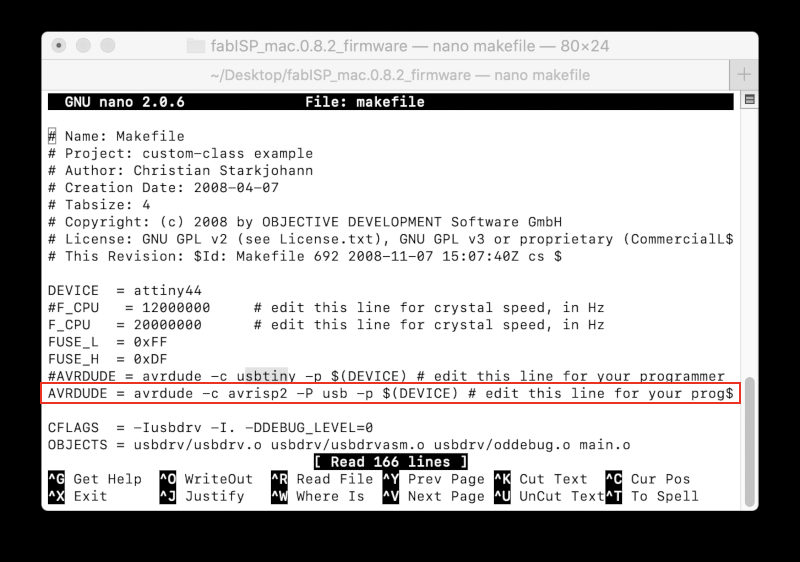
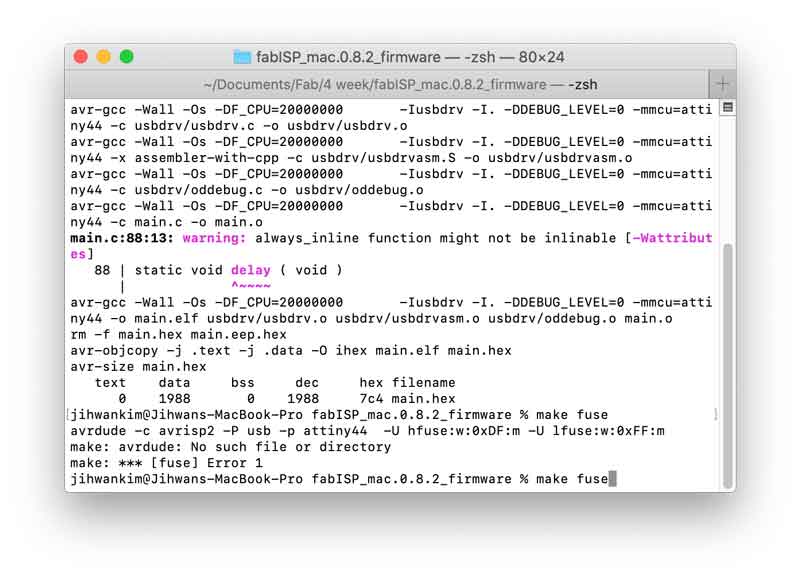
- Texted 'nano makefile' in terminal. (Success - But there was no need to revise it. Because the basic setting was appropriate. I used AVRISP as programmer and programmed on isp board. Later, I had to change that option to the upper thing when I prgrammed on friends ISP using my ISP as programmer.)
- Texted 'make clean' (Fail - I had a problem, Xcode not found. So I ran the Xcode installer.)
- Again Texted 'make clean'. (Success)
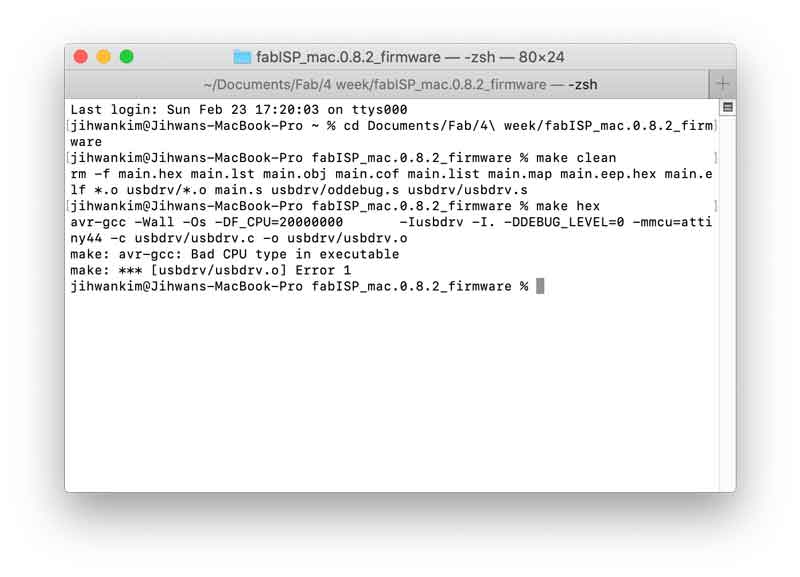
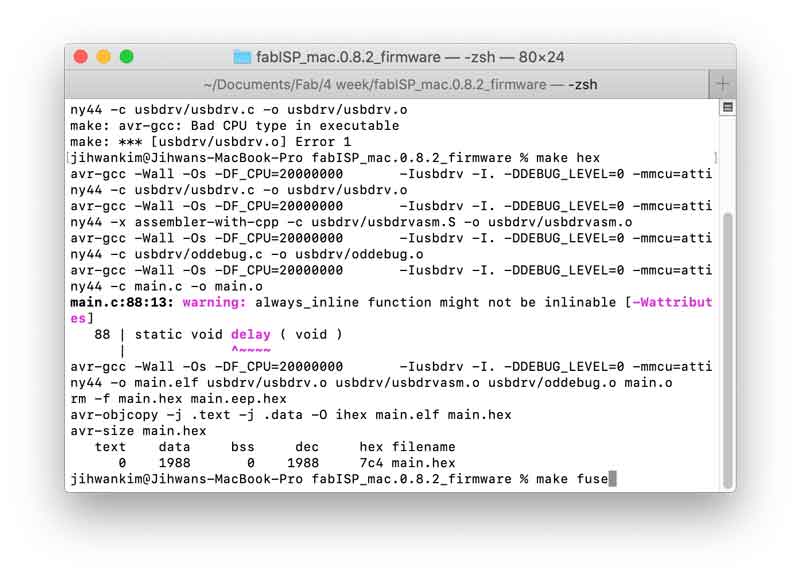
- Texted 'make hex' (Fail - Problem was CrossPack was not configured. I opened CrossPack to complete the installation.)
- Again Texted 'make clean' (Fail - Same problem. And opened new window and go ahead same process.)
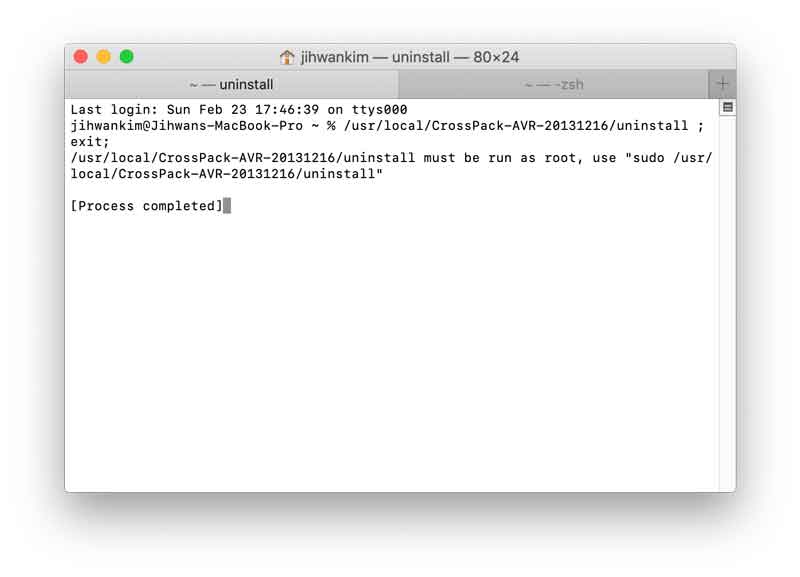
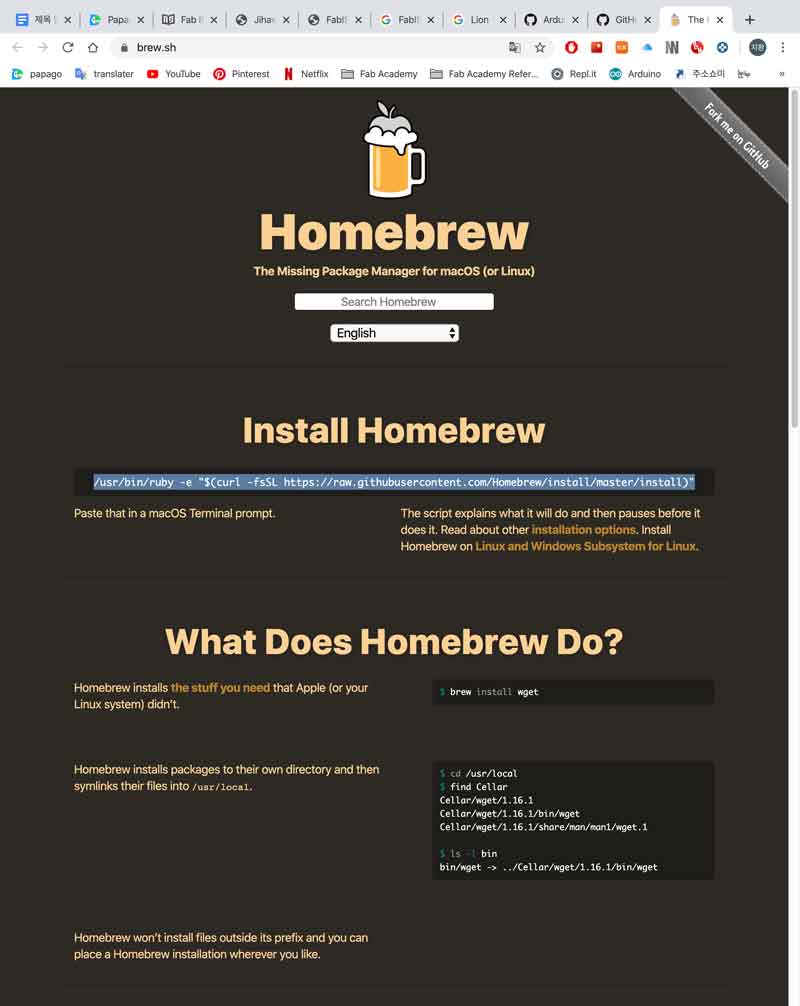
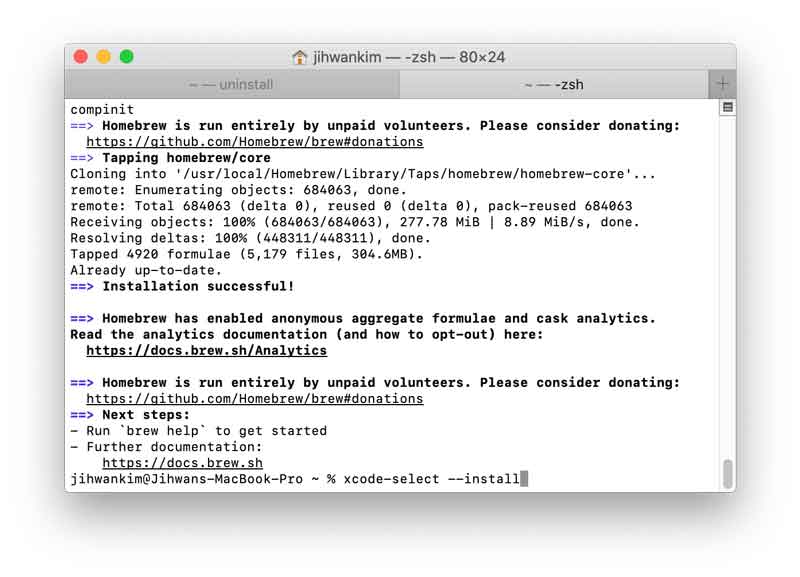
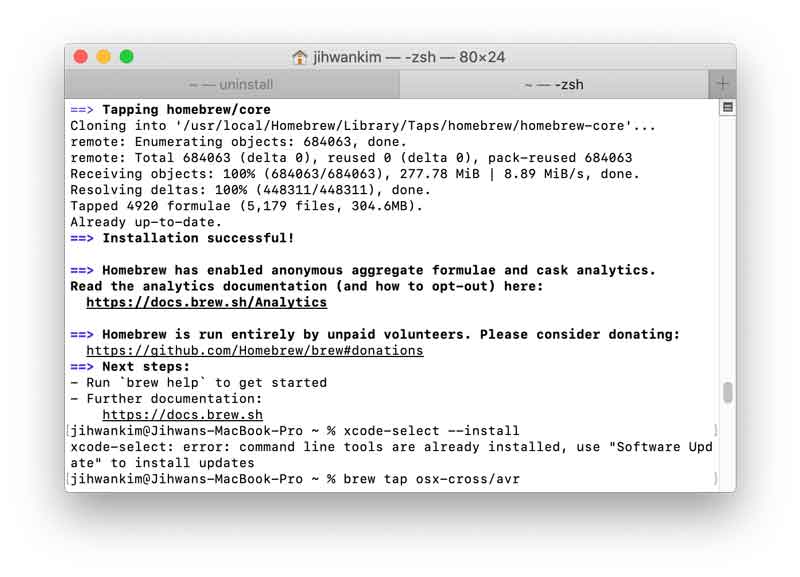
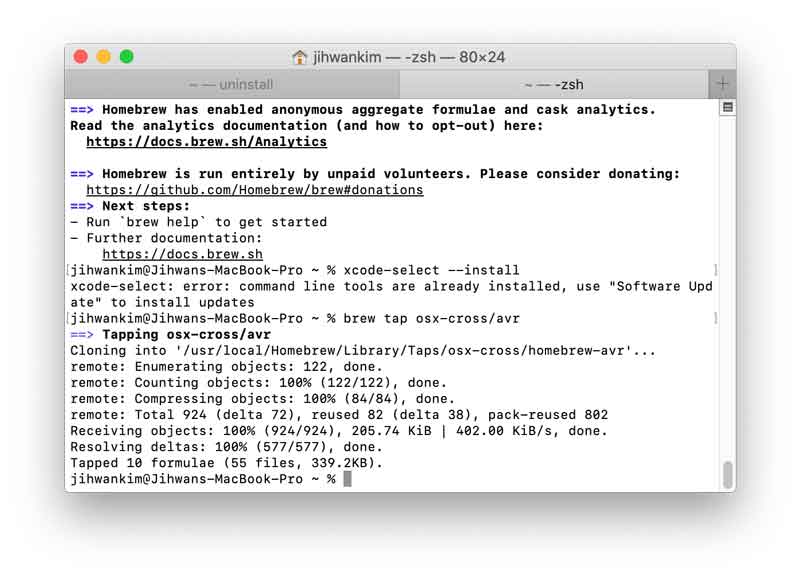
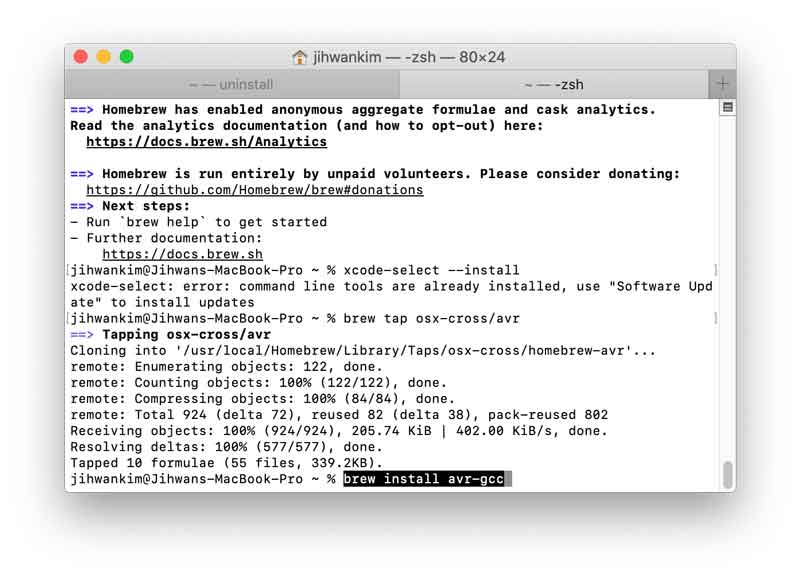
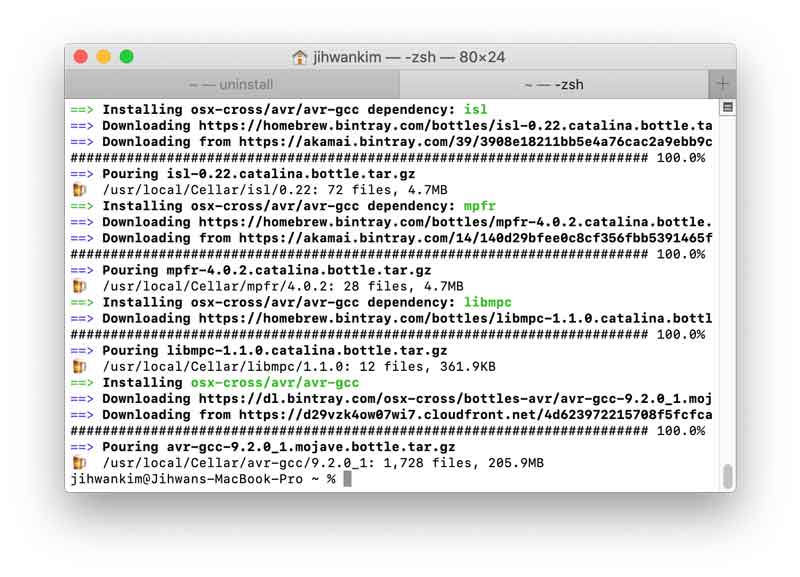
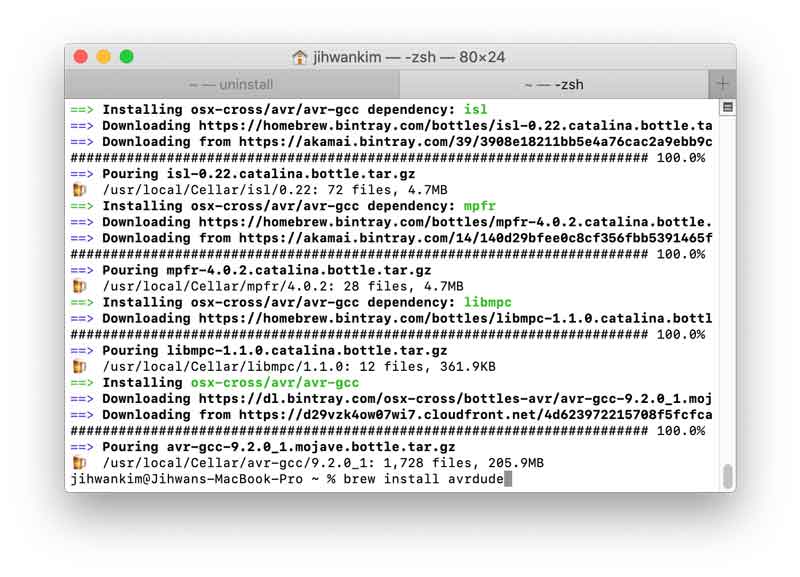
- Again ran this process. (Fail - Another problem happened. Terminal showed the message 'avr-gcc : Bad CPU type in executable'. So, I removed old version CrossPack than my mac and searched Latest version. Searched google 'osx 10.15.3 avr-gcc'. and then I found hombrew-avr. I pasted install code in a macOS new terminal tab.)
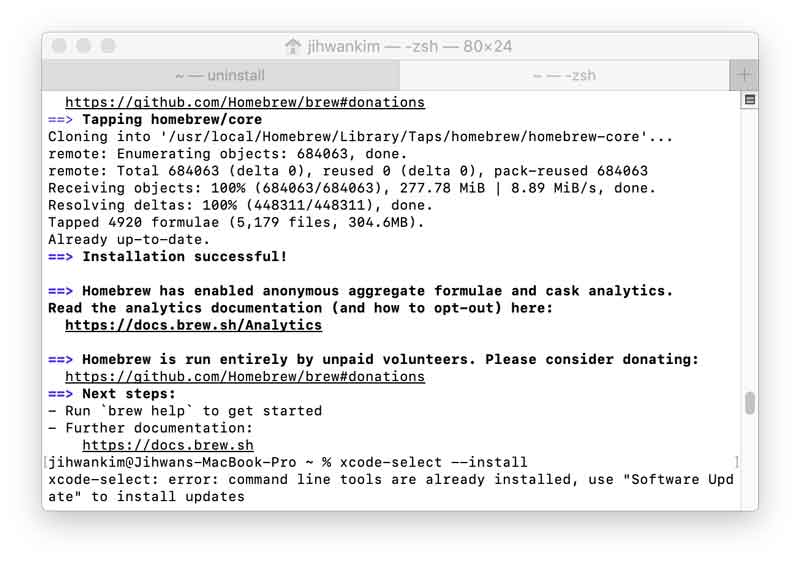
- Next, Followed the Installing homebrew-avr formulae process.

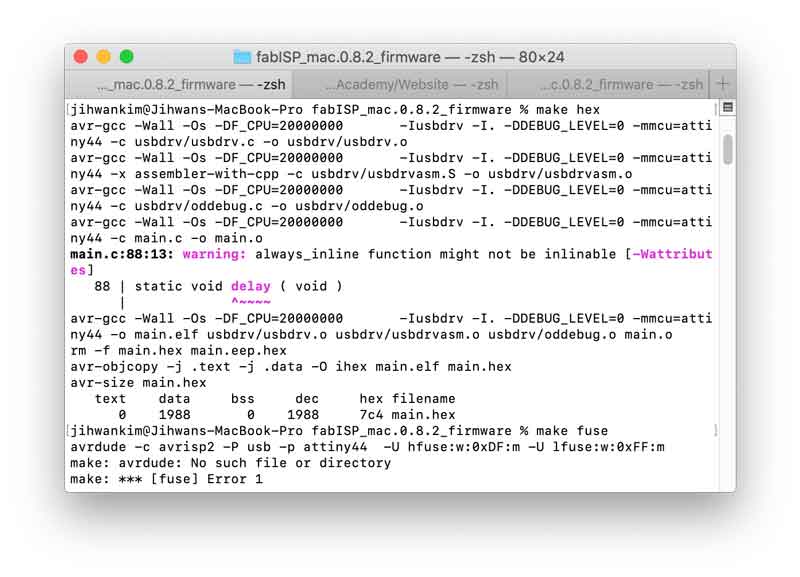
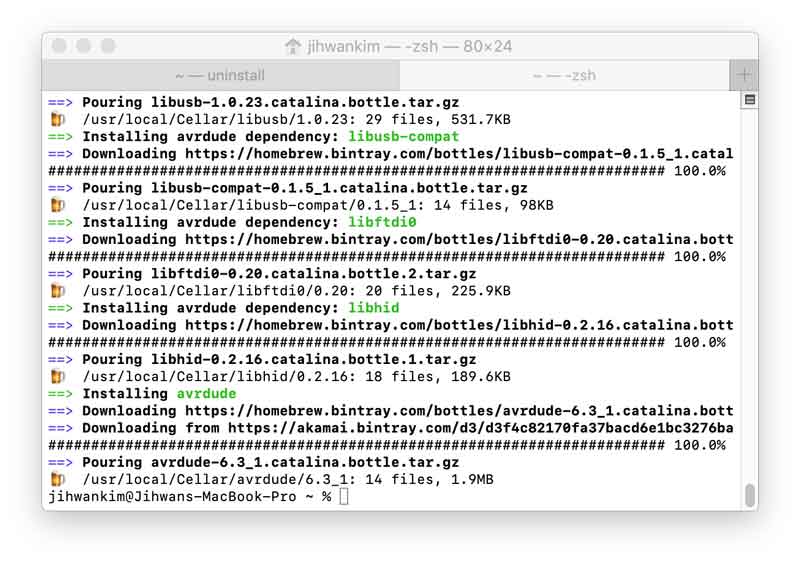
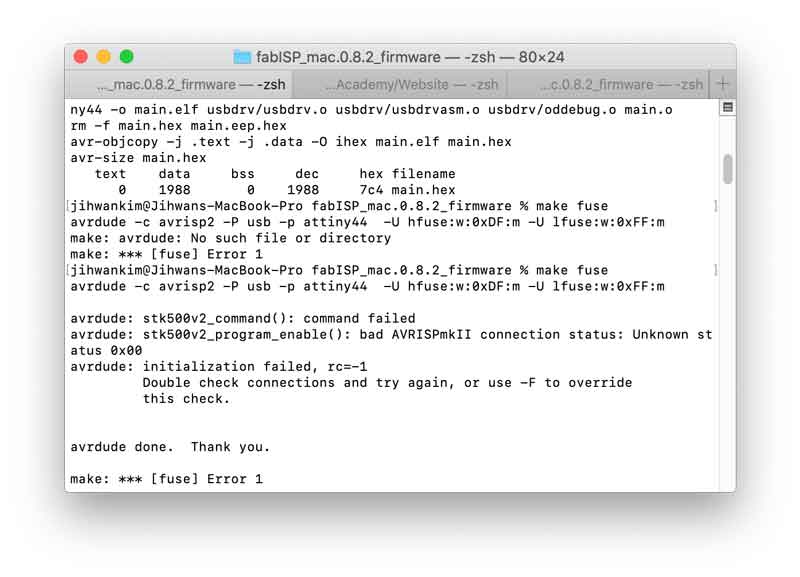
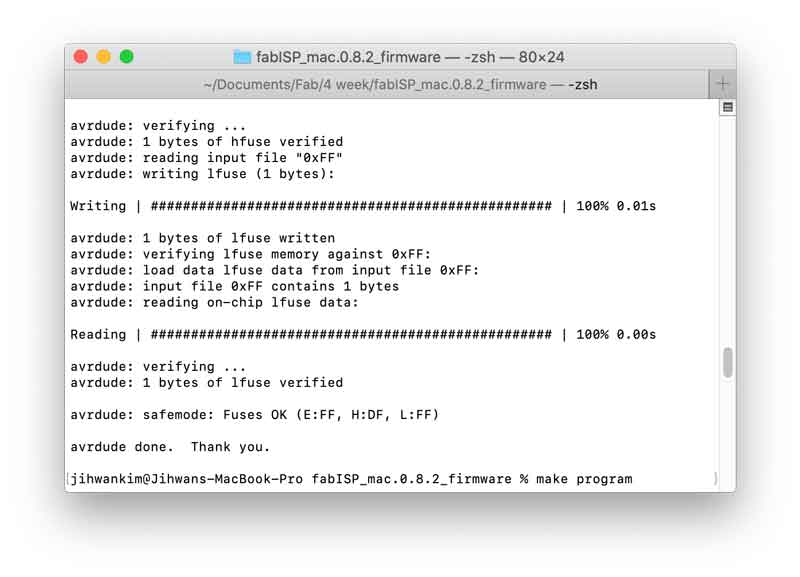
- And Texted 'make fuse' in the first Terminal tab. (Fail - Avrdude not installed. I Texted 'brew install avrdude' in the new terminal tab.)
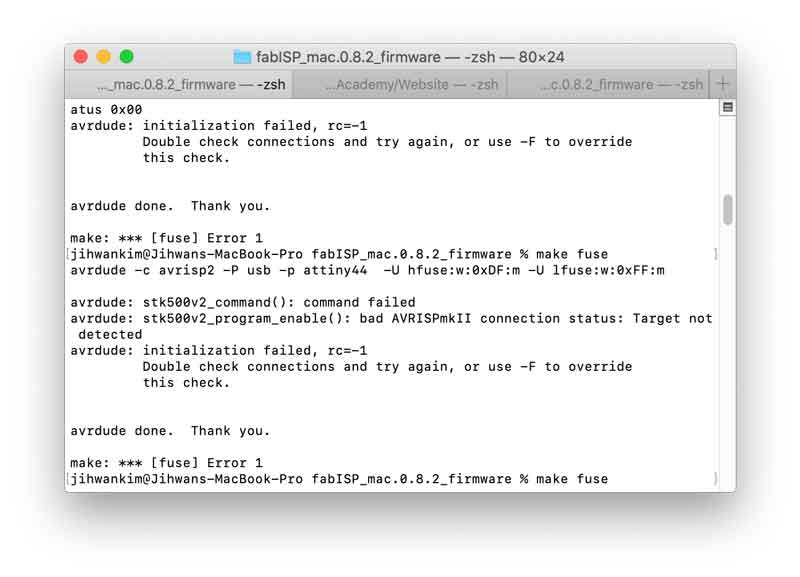
- Texted 'make fuse' again. (Fail - After tried other circuit board, Found out the problem was on my circuit board. My circuit board wasn't completely engraved. So, I dug out copper and then I checked with Multimeter.)
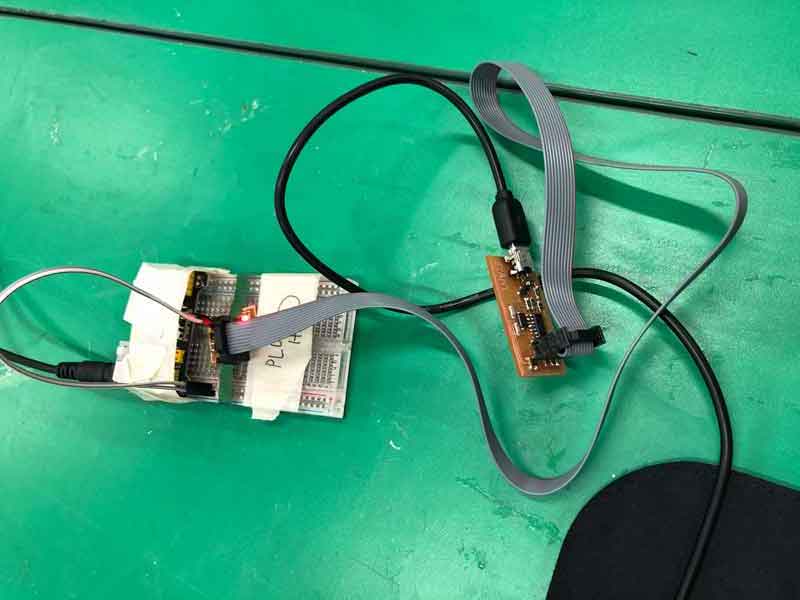
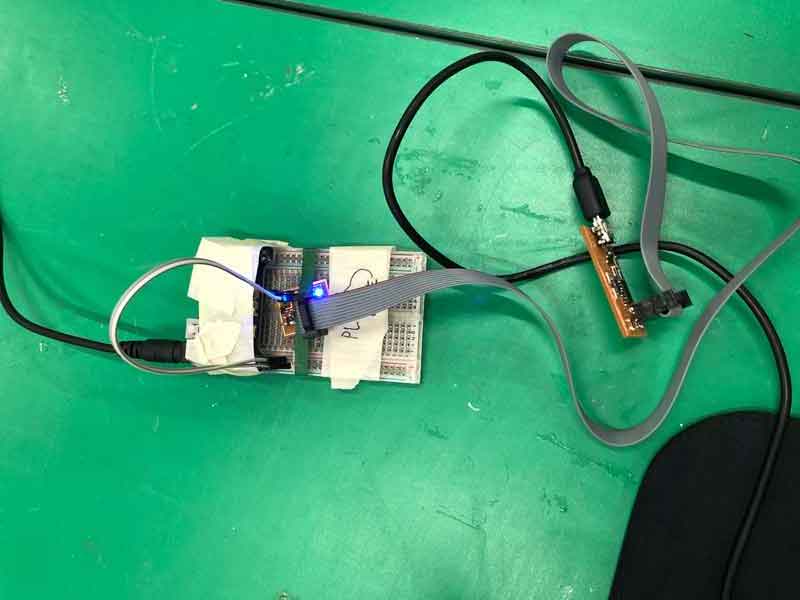
Changed my circuit board to instructor's circuit board. I tested my toolchain by programming "instructor's circuit board" that I knew was working.
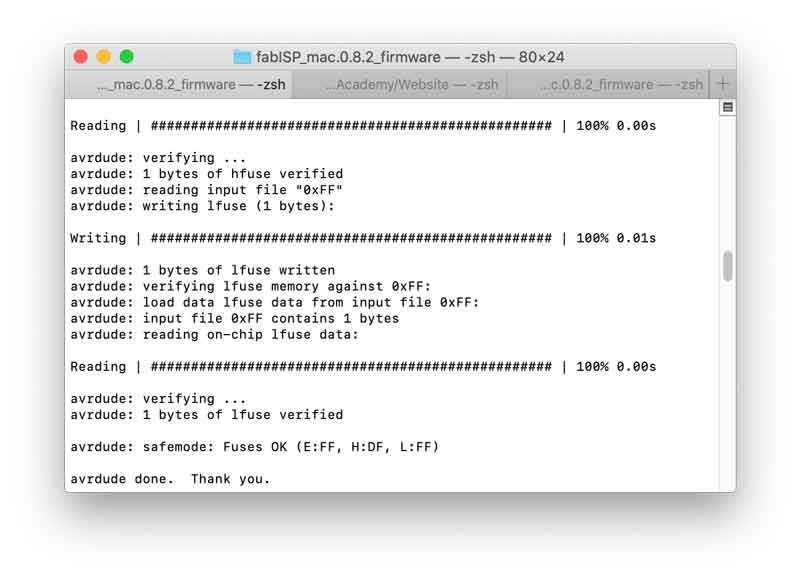
Repaired my circuit board.
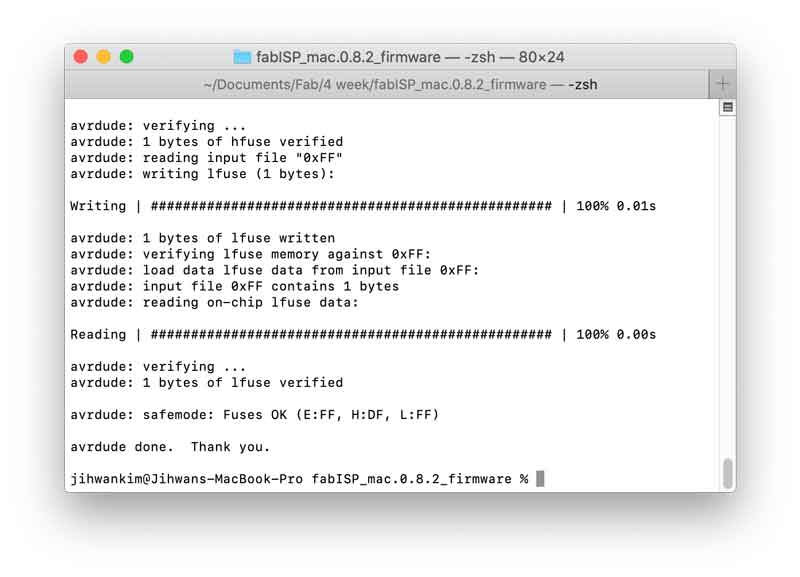
- So I had done this process that I did until 'make fuse'. (Success)
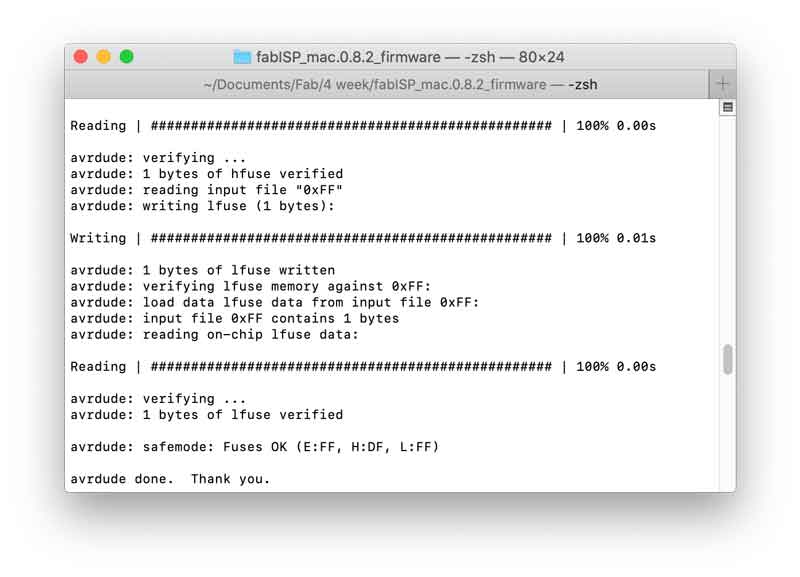
- Texted 'make program' (Success)
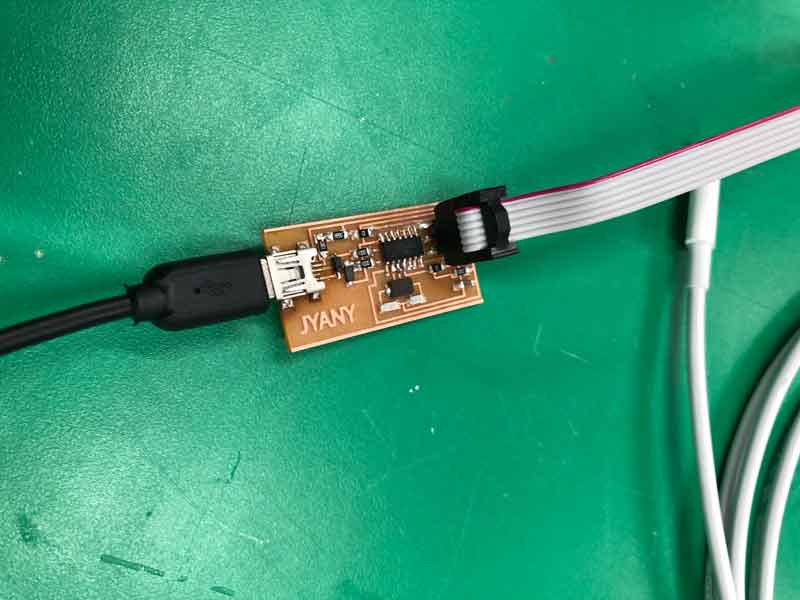
- Removed jumper of my circuit board and connected my mac
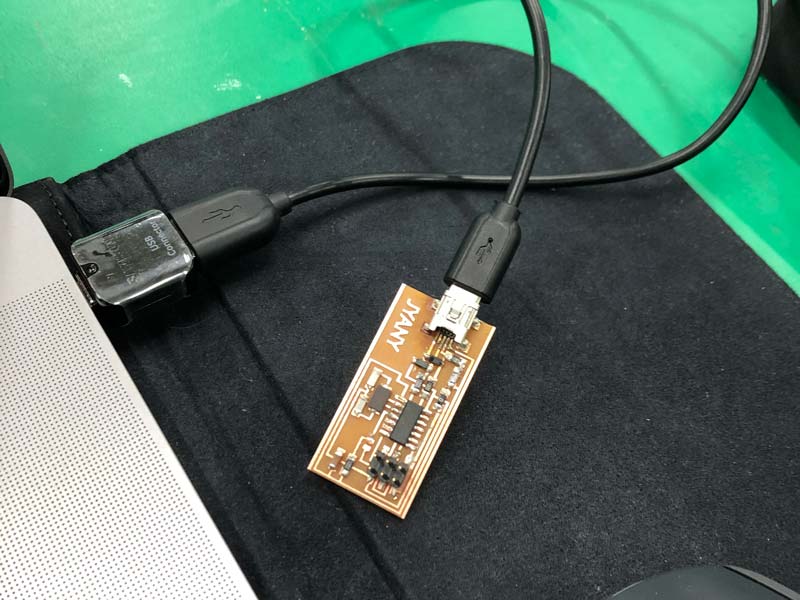
- And then I opened Arduino to test my ISP by programming another board.
- Tools - Port - select my circuit board.
- Download the ATTinyCore in website that my instructor sent me. (Because I needed to test my ISP board from the Arduino IDE.)
- Click 'Installation' in the ATTinyCore github site. and Followed 'Boards Manager Installation' process.
- Tools - Board - select ATtiny25/45/85
- Tools - Chip - select ATtiny45
- Tools - Programmer - select USBtinyISP
- Arduino - click upload (Success - It meant my circuit board connected completely with my mac.)
- File - Examples - 01.Basics - Blink / Changed 'LED_BUILTIN' to '2' in Arduino. (Finished - I succeed to change the red light in subboard to blue light.)
Etc
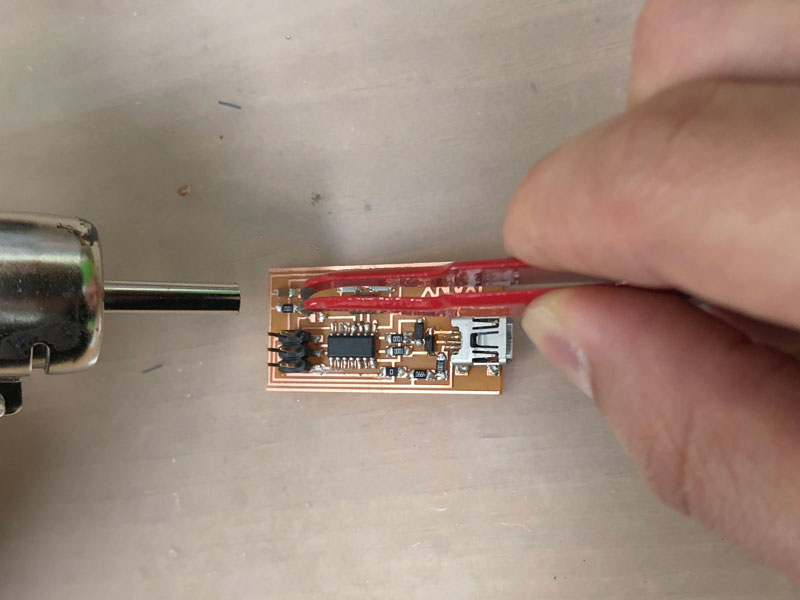
(03.09) My ISP baord had a problem in week 6. So I repair my ISP board by more soldering.
Before
After