14. Networking and communications
Group assingment
Link for the group assignment
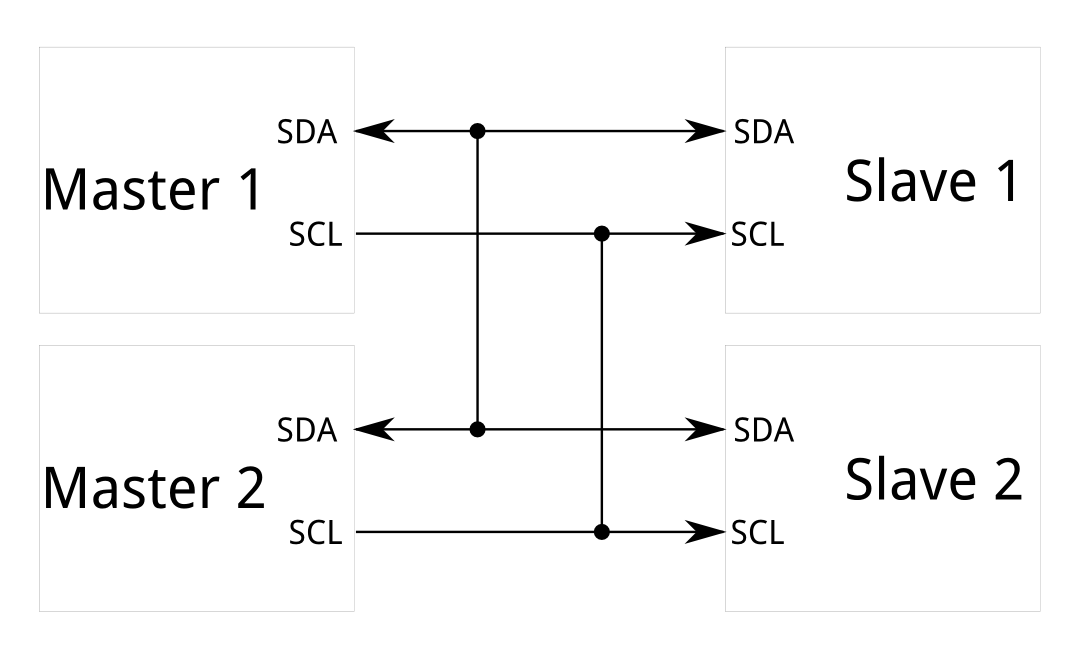
I2C I-squared-C
I²C is a multi-master, multi-slave, serial computer bus. It supports several slaves (eg 100+) allowing one transmission per time between the master and one slave. The transmission is not full duplex.
This week I decided to expirement with I2C and to implement a communication system based on reading the digital output of a pin from another controller.
as first board I will use the comercial Arduino uno as I2C master and it will control the other boards. For the other boards I made two identical boards with Attiny85 processor.
Here are the main features of this little board:
-
uses the Attiny85 microcontroller
-
has one more vcc and gnd pins
-
has an LED as output device
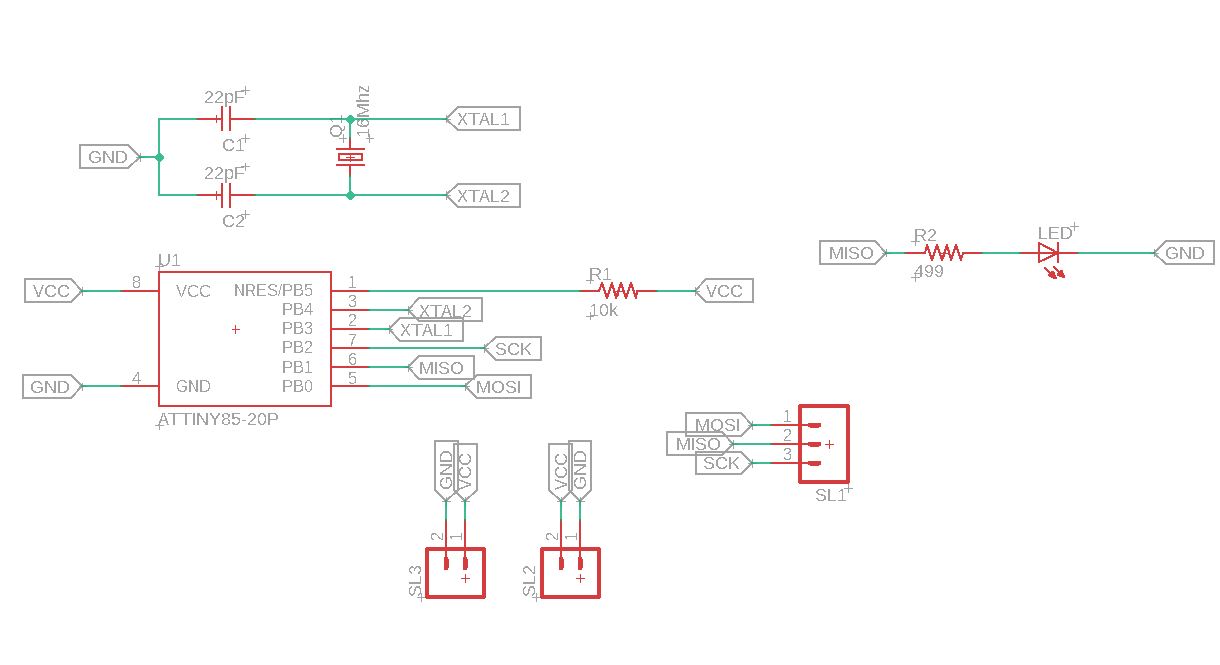
Mini Boards
Schematic
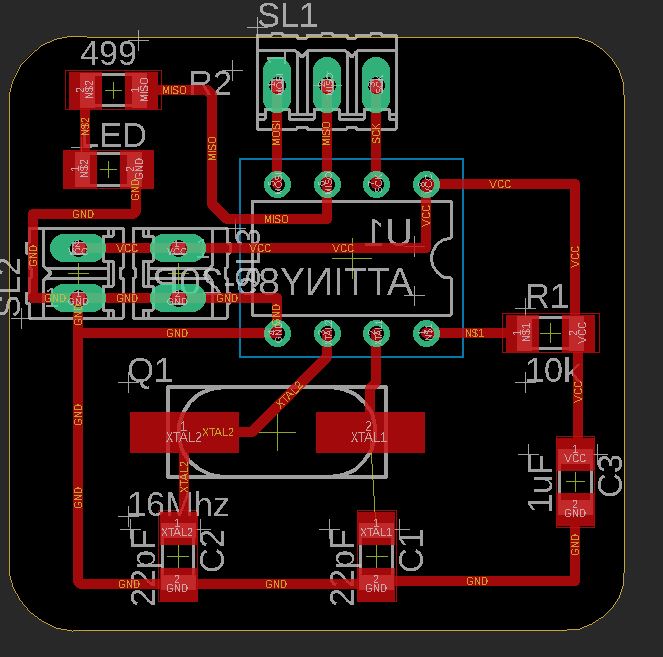
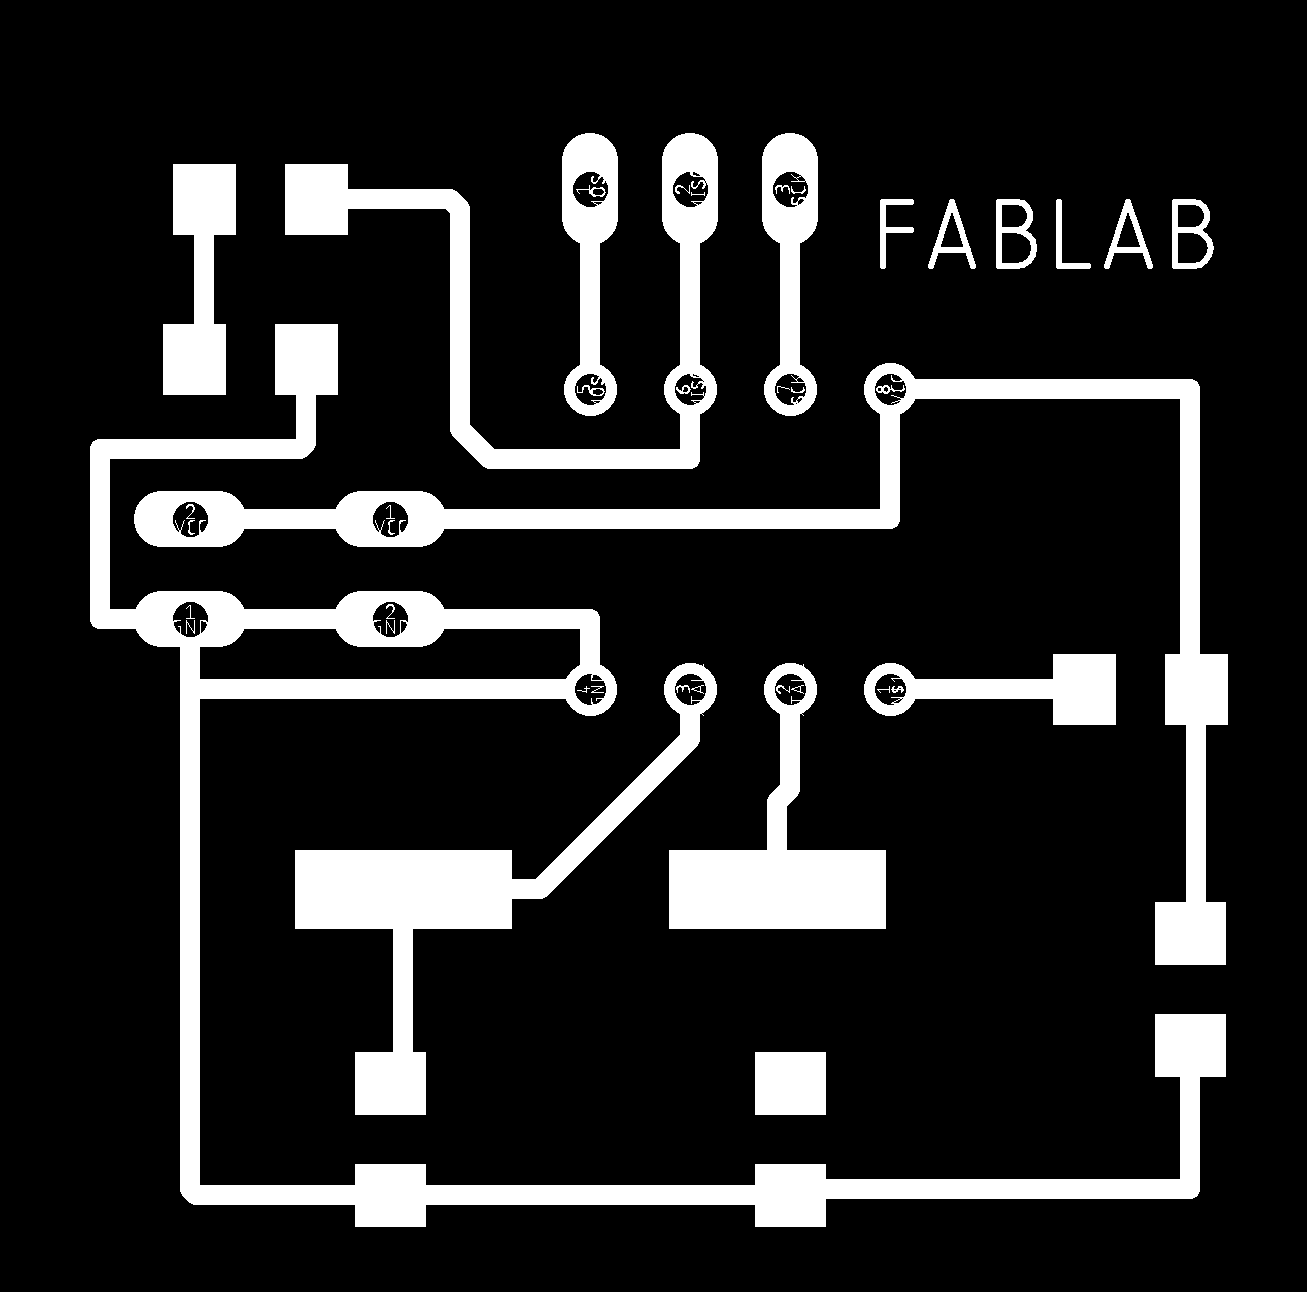
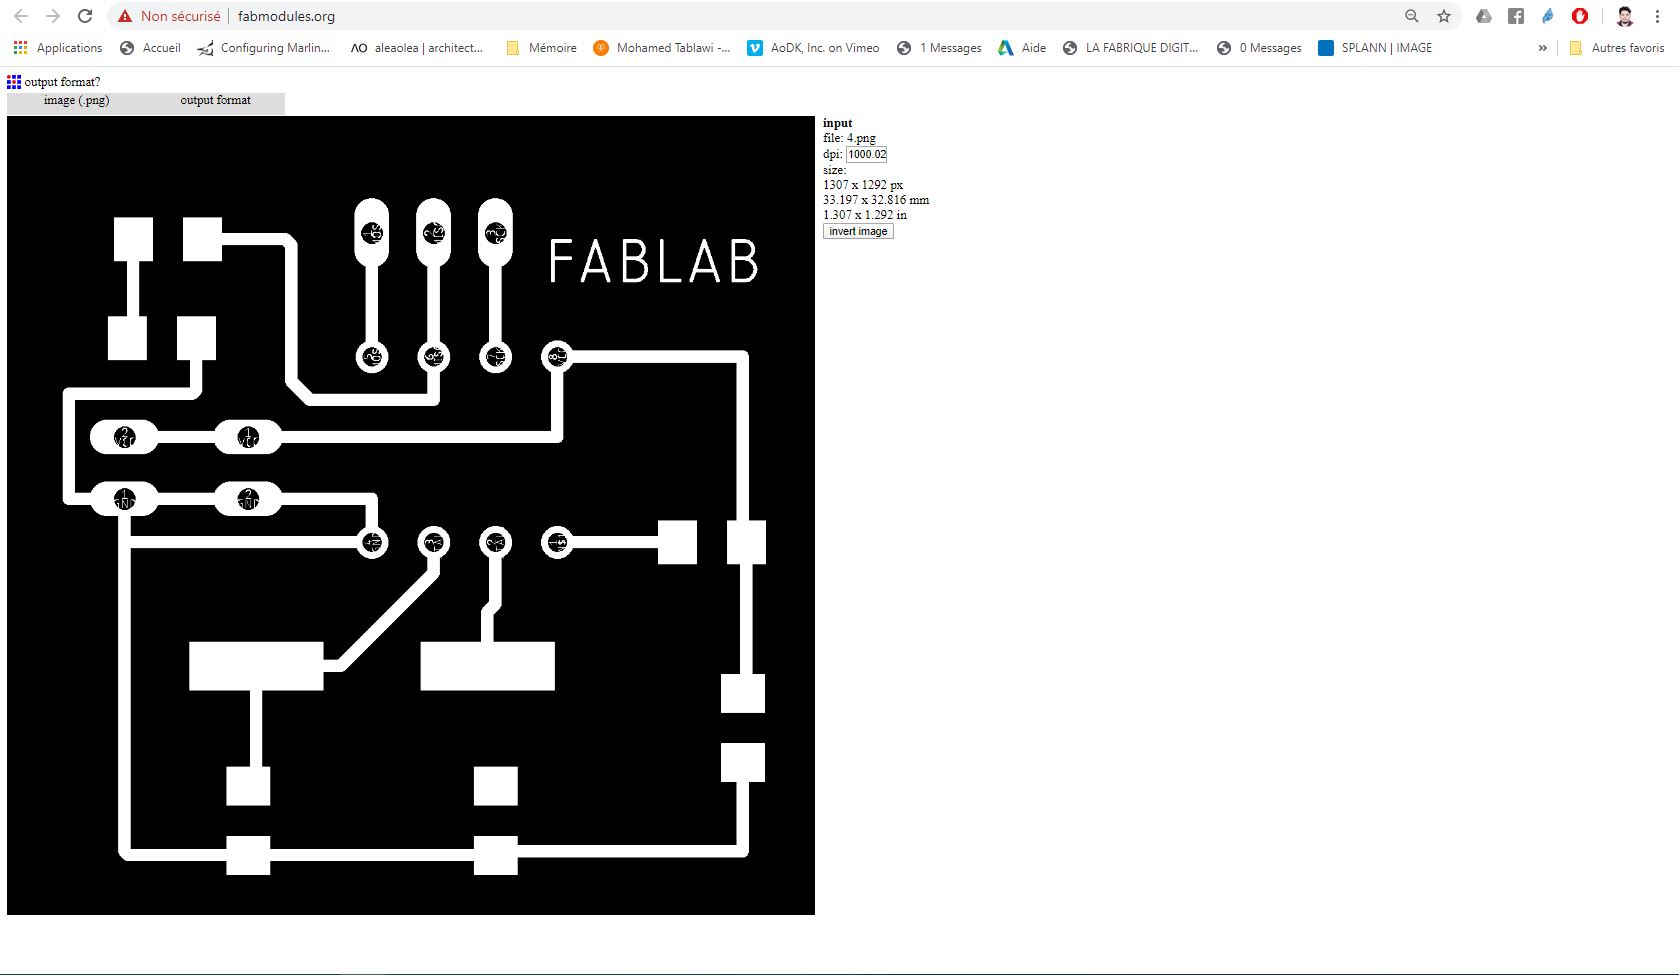
Board Layout
The three pins are MISO, MOSI and SCK for programming:
As every week assignement I used again out local installation of the (FabModules)[http://fabmodules.org/] with our CNC in the fablab.
TBC…
Arduino Test
Because we still don ‘t have access to the lab I tested the I2C communication system with two Arduinos Mega as master and Uno as slave. I followed the tutorial MasterWriter in the arduino website.
Hardware Required
- 2 Arduino or Genuino Boards
- hook-up wires
Circuit
Connect pin 5 (the clock, or SCL, pin) and pin 4 (the data, or SDA, pin) on the master Arduino to their counterparts on the slave board. Make sure that both boards share a common ground. In order to enable serial communication, the slave Arduino must be connected to your computer via USB.
If powering the boards independently is an issue, connect the 5V output of the Master to the VIN pin on the slave.
Code
Code For Master Sender (Arduino Mega) :
#include <Wire.h>
#define PAYLOAD "i2c data #"

int counter;

void setup()
{

  Wire.begin(); // join i2c bus (address optional for master)
  counter = 0;

}

void loop()
{

  Wire.beginTransmission(99); // transmit to device #99
  Wire.write("This is the payload: ");
  Wire.write(PAYLOAD);
  Wire.write(counter);
  Wire.endTransmission();    // stop transmitting

  counter++;
  delay(500);

}
Code For Slave receiver (Arduino Uno) :
#include <Wire.h>

void setup()
{
  Wire.begin(99);                // join i2c bus with address #4
  Wire.onReceive(newRequest); // register event
  Serial.begin(4800);           // start serial for output
}

void loop()
{
  delay(100);
}

// function that executes whenever data is received from master
// this function is registered as an event, see setup()
void newRequest(int howMany)
{
  while(1 < Wire.available()) // loop through all but the last
  {
    char c = Wire.read(); // receive byte as a character
    Serial.print(c);         // print the character
  }
  int x = Wire.read();    // receive byte as an integer
  Serial.println(x);         // print the integer
}
Video
Attiny modification
As the Attiny microcontroller have really limited resources is not possible to directly use the Wire.h Arduino library to use I2C. Instead I found the tutorial about I2C (master and slave) on the ATtiny85 which uses the TinyWire Slave Library and the TinyWire Master Library. As is written in the tutorial, for masters having different frequency you need to modifiy the header of the library, but is not explained how. So I just used the TinyWire Slave library on one of the boards and used the Wire.h to implement on the arduino.
Here is the code for the master:
//code of the master
#include<Wire.h>

bool byteSend;

void setup() {

Wire.begin();
pinMode(13,OUTPUT);

byteSend = false;

}

void loop() {

Wire.beginTransmission(55);

if(!byteSend){

  Wire.write(100);
  byteSend = true;
  digitalWrite(13,LOW);

}else
if(byteSend){

  Wire.write(200);
  byteSend = false;
  digitalWrite(13,HIGH);

}

Wire.endTransmission();

delay(1000);


}
Here is the code of the slave:
//code of the Attiny85 slave
#include<TinyWireS.h>

byte bufferByte;

void setup() {

TinyWireS.begin(55);
pinMode(1,OUTPUT);
digitalWrite(1,LOW);

}

void loop() {

if(TinyWireS.available() > 0){

   bufferByte = TinyWireS.receive();

   if(bufferByte == 100){
    digitalWrite(1,HIGH);
   }else
  if(bufferByte == 200){

    digitalWrite(1,LOW);


  }

  }

}
Download links: Board File, Schematic File