10. Molding and casting
This week is about molding and casting.
- Group Assignment:
Review the safety data sheets for each of your molding and casting materials, then make and compare test casts with each of them.
Link for the group assignment
- Individual Assignment:
Design a 3D mold around the stock and tooling that you’ll be using, machine it, and use it to cast parts from it.
Design Concept
This week I wanted to test something simple, One part mold because this was my first time in molding and casting.
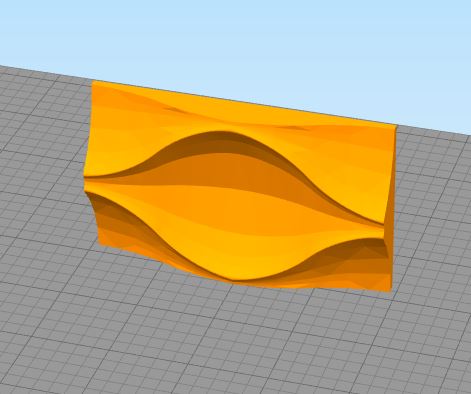
It was dificult to cjse a model as a refrece to make the mold and make a copy from rsin or any othr material so with some help from my brother, I chose a seashel patttern for architecture structer.
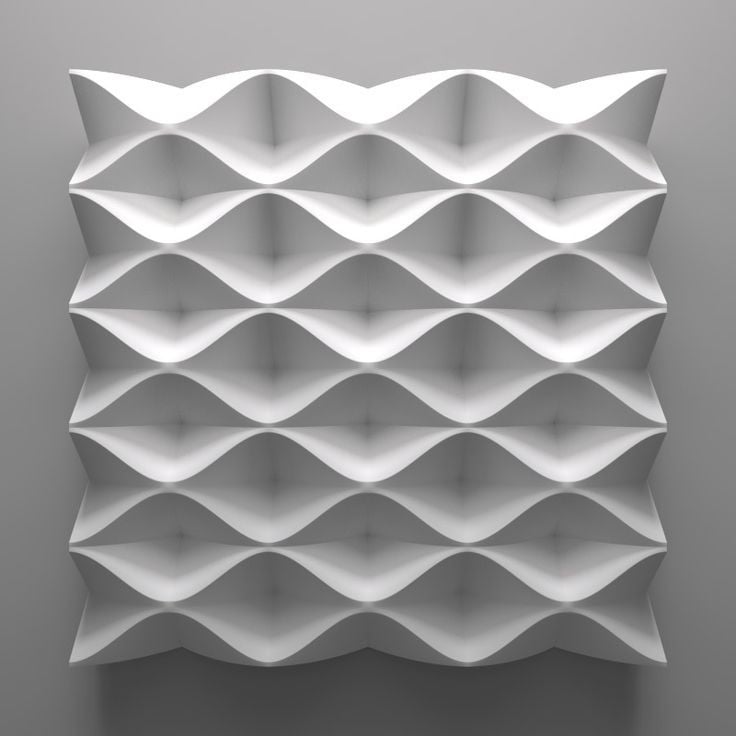
Based on this image I chose one shape to modle in 2D than transform it to 3D.
3D Modeling
Using Solidworks I’ve obtained its real 3D model. I exported the STEP file to use Fusion 360 manufacturing tool to generate the g-code for the CNC.
Download Files: STEP File ; Solidworks File
Materials
For this week I used 3 essential materials for the 3-Steps mould and casting
-
Polystyrene FOAM® density 30 Kg/m3
-
ZA 22 MOULD : RTV silicon rubber –> DataSheet
-
Resine/ Choclate / Cement …
Datasheet for the silicone:
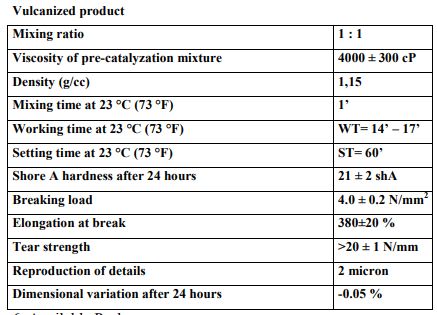
Regarding the safety use of these materials I’ve readed the following Safety datasheet:
- ZA 22 MOULD : The safety data sheets are available at Zhermack SpA. The preparation is not to be considered hazardous in accordance with directive 88/379/CEE and subsequent amendments.
3D Printing
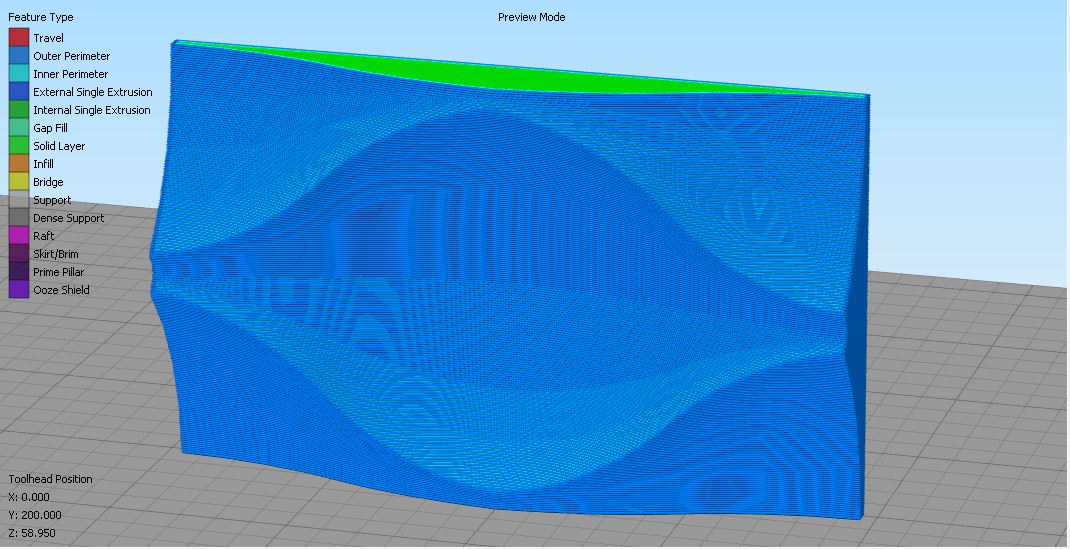
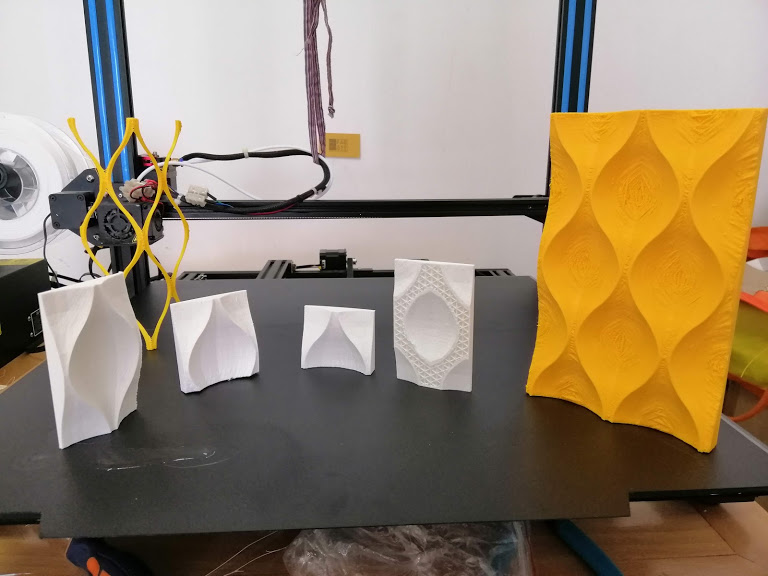
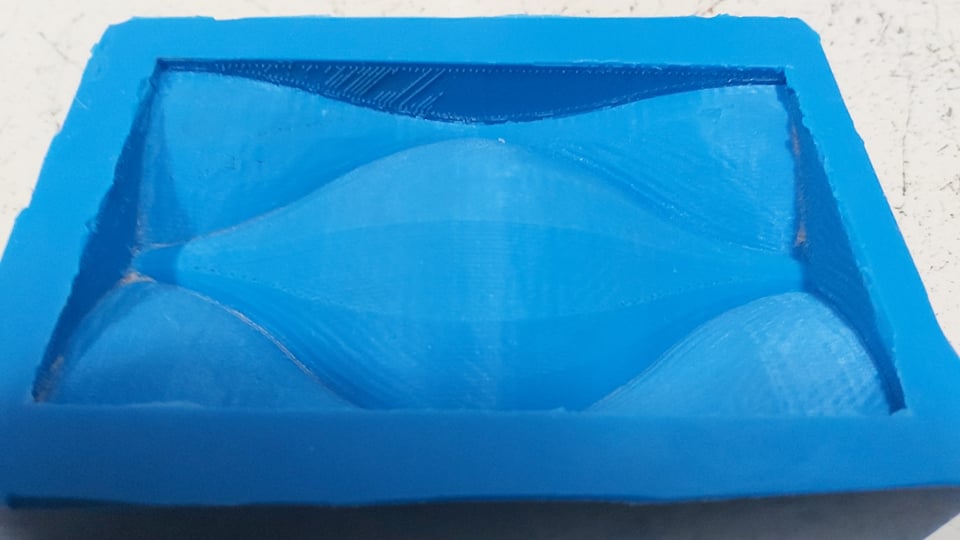
Because it was my first time in molding and casting so I wanted to test the model result using 3D printing at home before going to Fabkab for CNC machining.
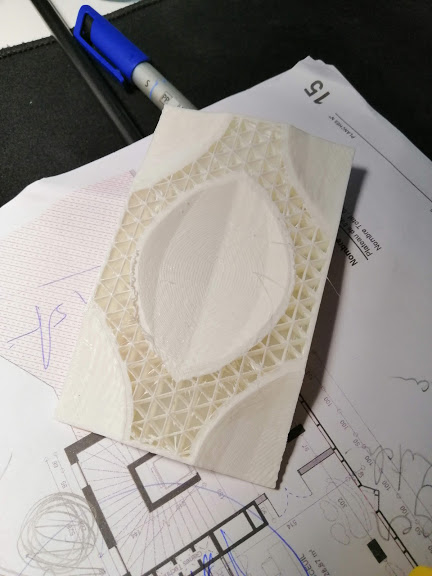
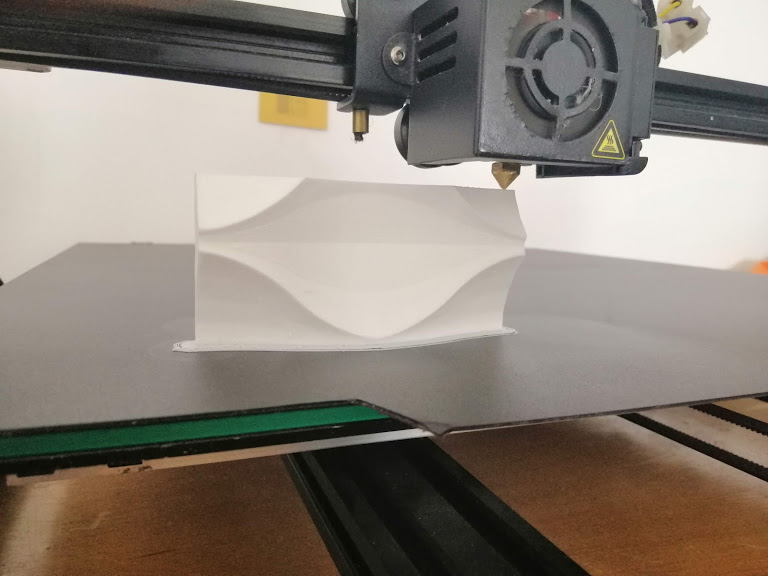
I printed the model in two diffrent orientations because i figured out a huge quality diffrence in the print that could affect the mold quality after.

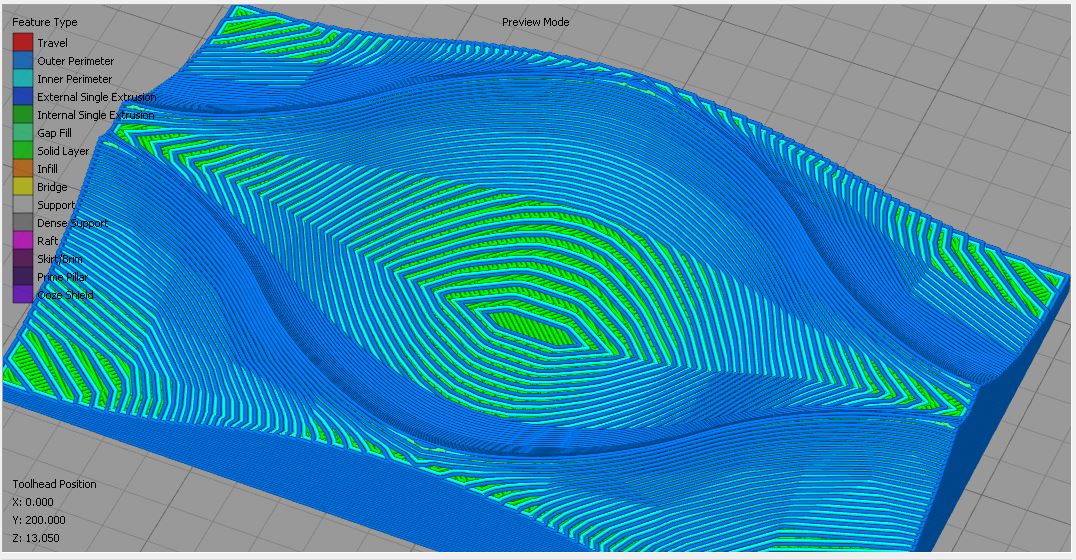
In the previous image we can see that the inside curve is not smooth and good at all and as shown in the simulation images and the result image it was like rough machining.This issue will affect the mold quality and of course the copy quality and precision.
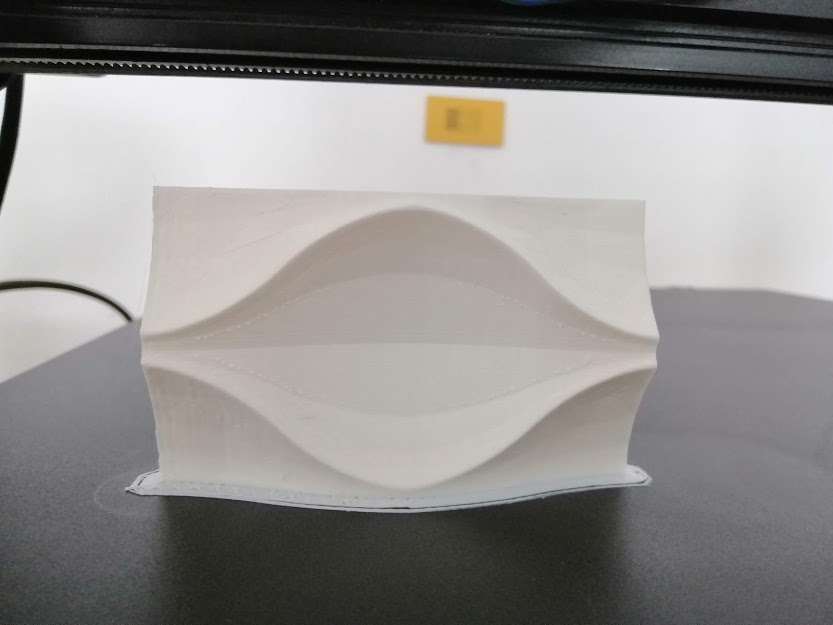
Here we can observe a good part quality netter than the first orientaion.
### Molding
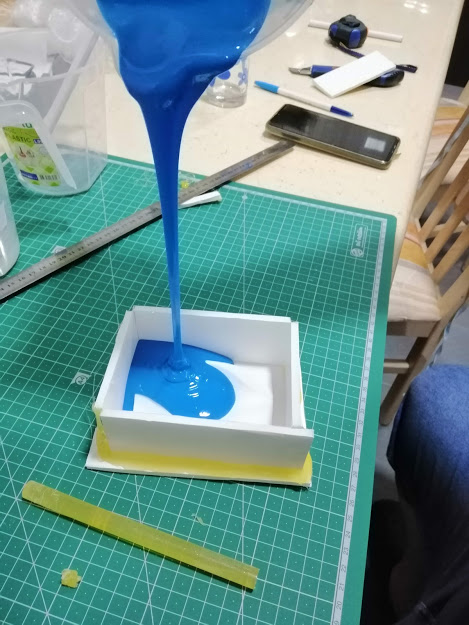
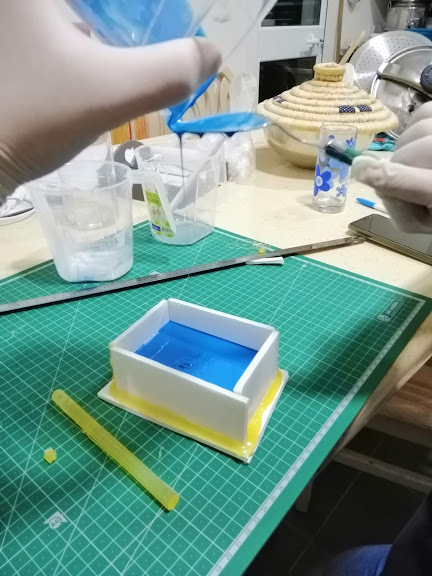
According to Silicone rubber data sheet mix the rubber with the same amount of catalyzer in weight and remember that it has 60min maximum pot life. Than pour the composite in the 3D printed positive mold to generate the technical silicon mould.
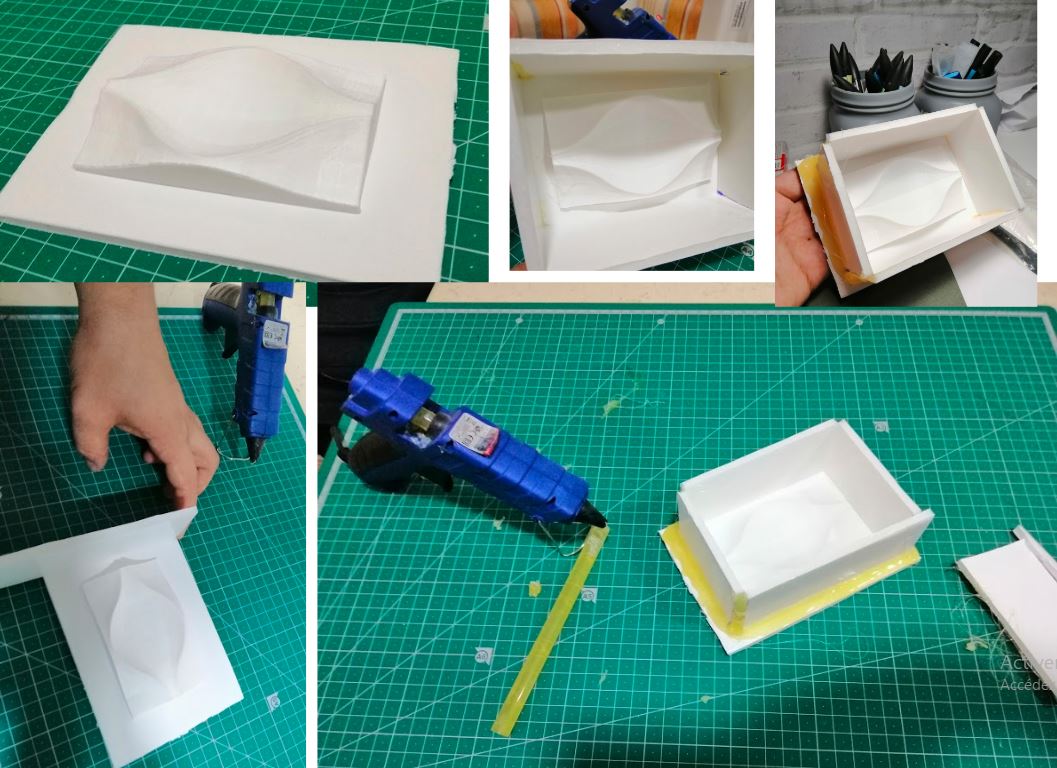
For the 3D printed mold I used some composite paper as shells and limits for the mold. frst, I fixed the 3d printed part to the bottom using hot glue to make sure that it will not move. tha Following an ofsset from the part i attached the shells also using hot glue as limits for the mold.
After calculating the volume I mixed 80ml of silicone with 80ml of catalyser till the two components be homogenized.
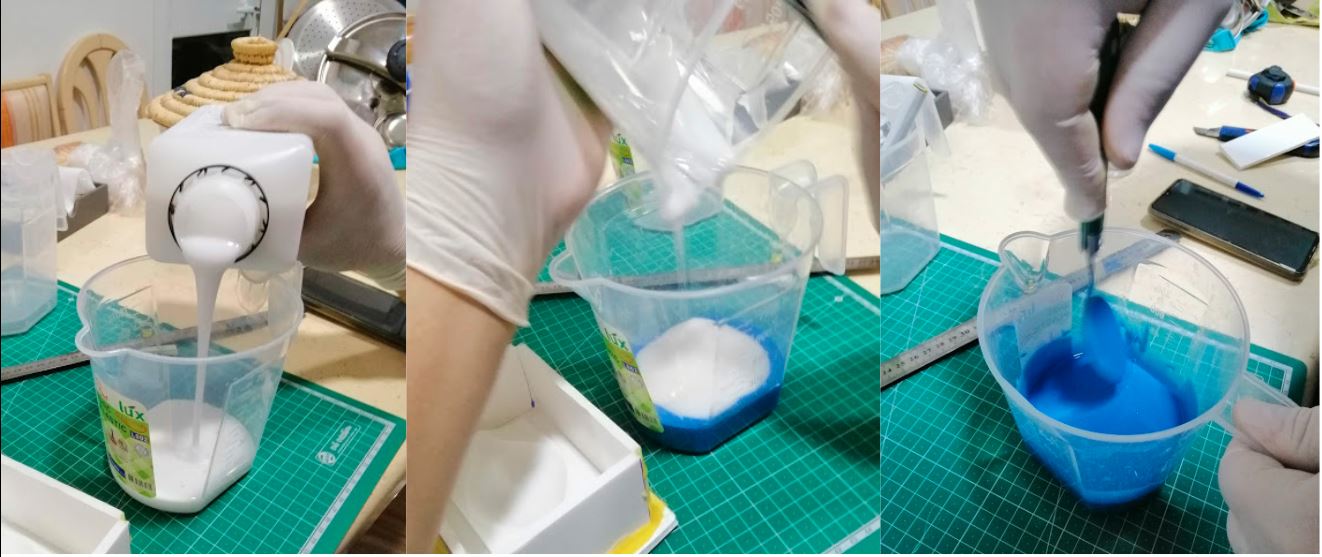
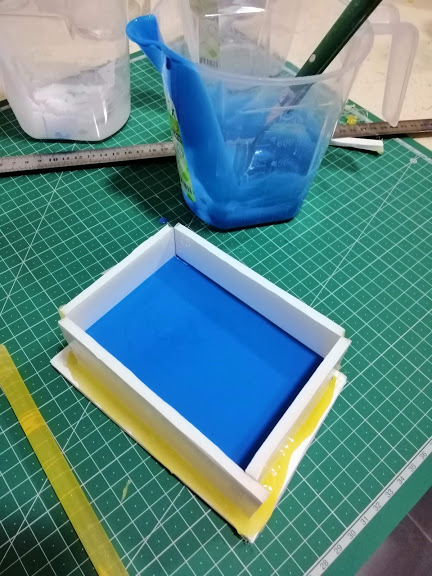
Once the product is mixed it is poured, preferably 30cm above the recipient into the mould. The working time is approximately WT= 14 min - 17 min. It is advised to vacuum the mixture to prevent air pockets.
The setting time or cure time (time the silicone needs to vulcanize) is about ST at 23°C 60 min start counting from the mixing process.
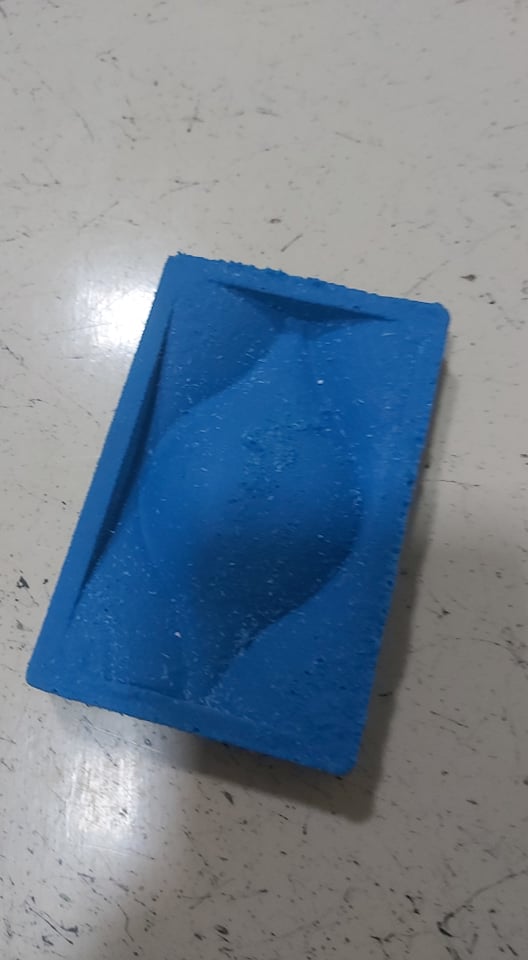
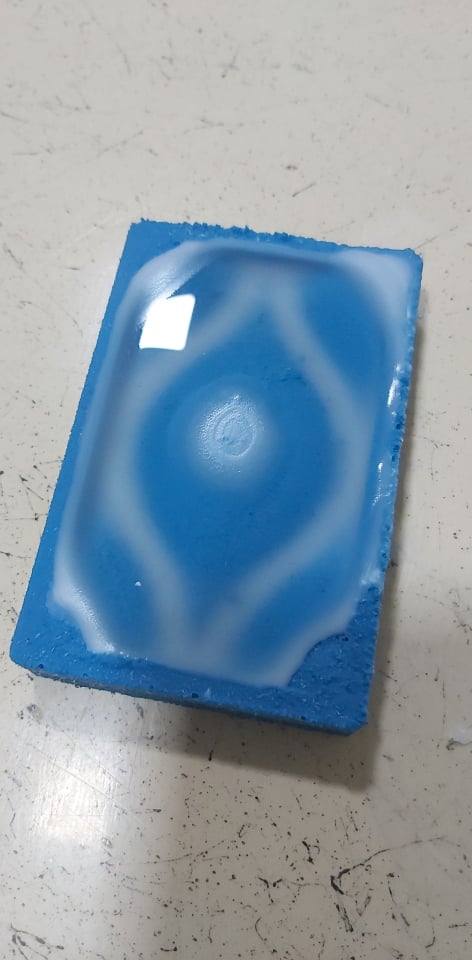
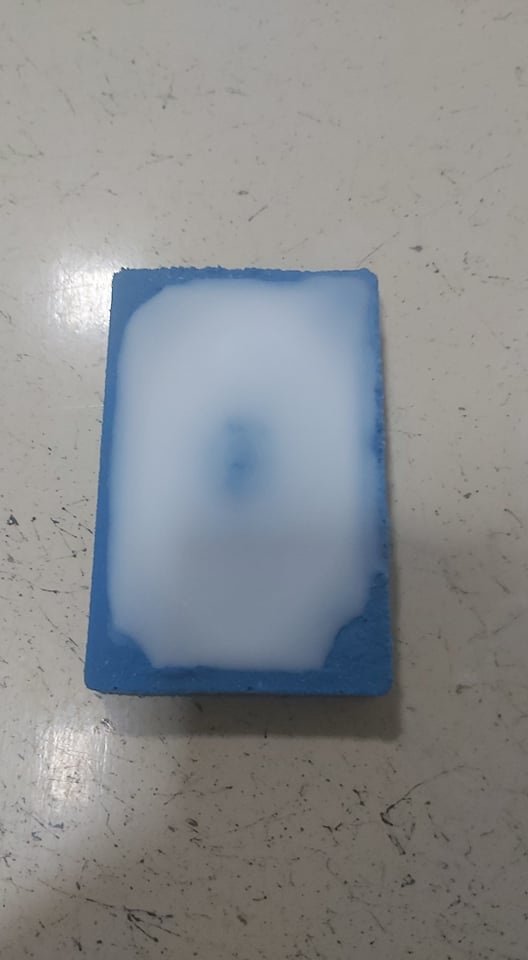
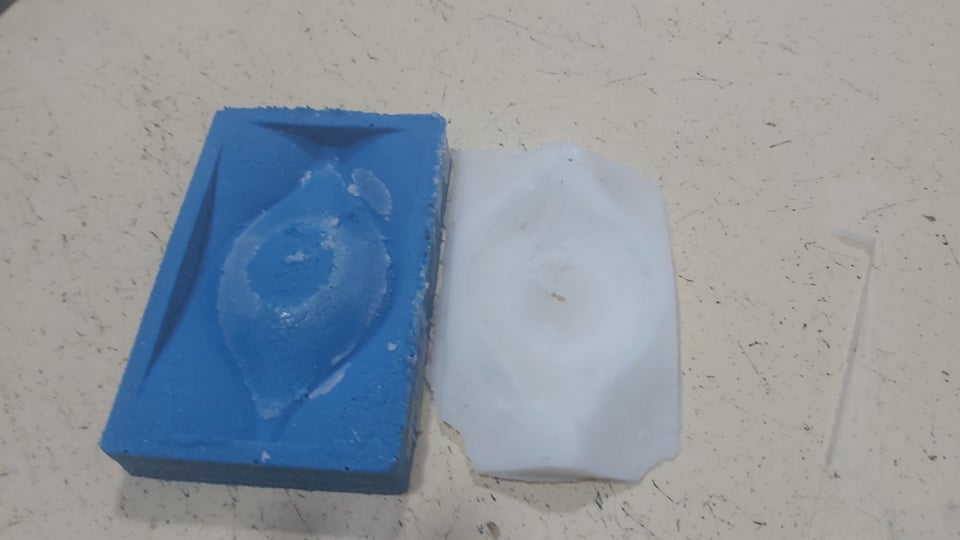
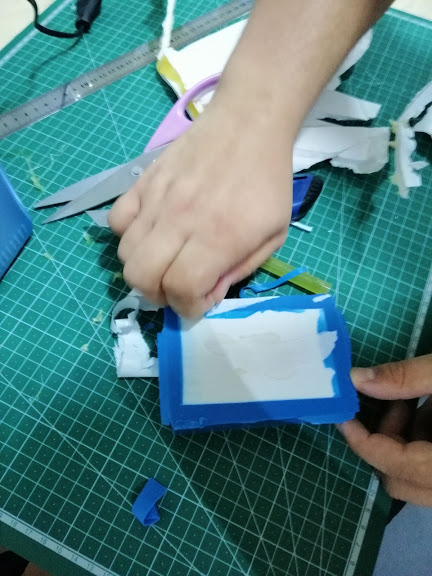
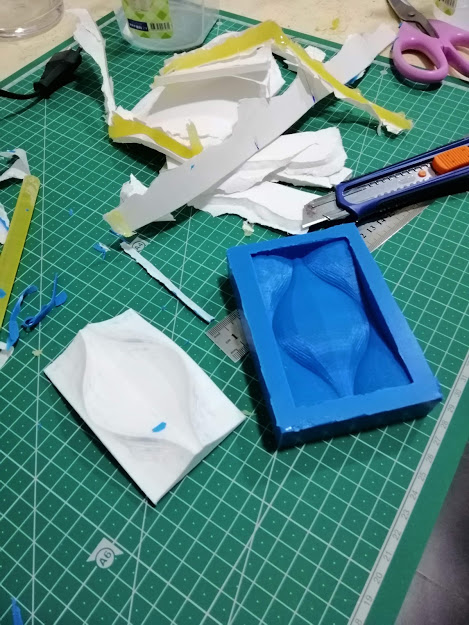
De-Molding
After 60 minutes, we can start de-molding by cutting the paper composite.

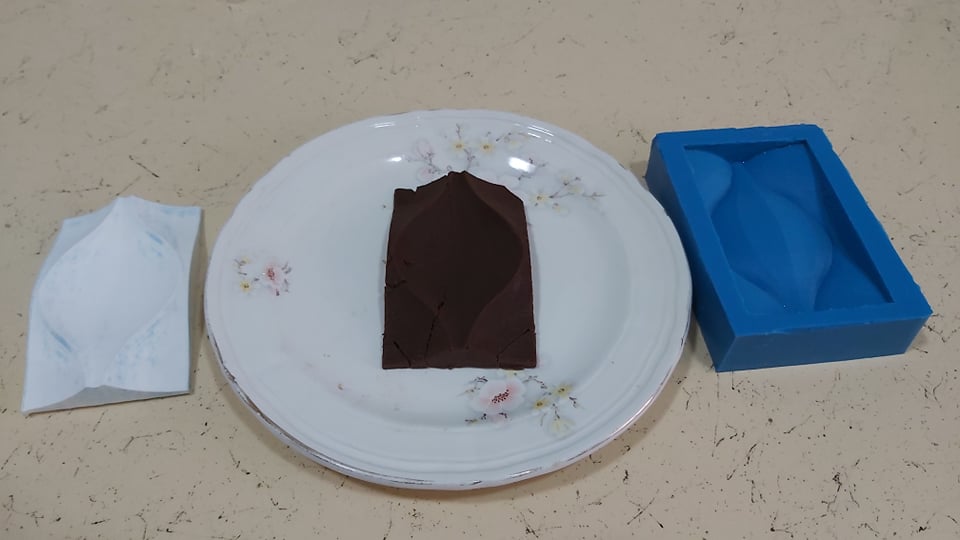
Chocolate Copy

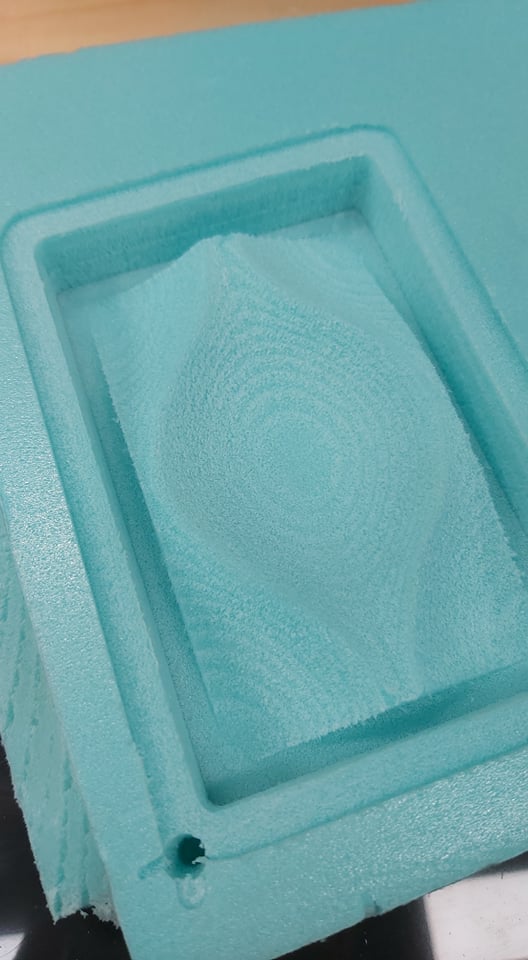
Machining
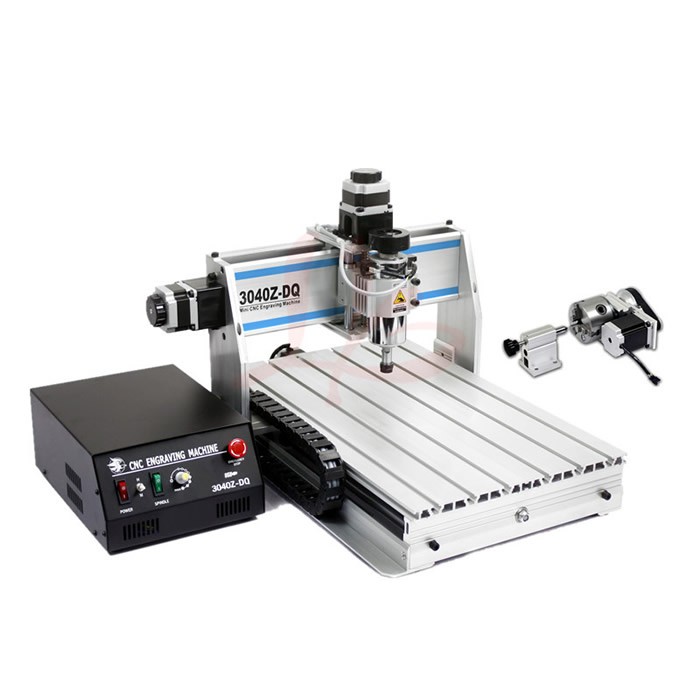
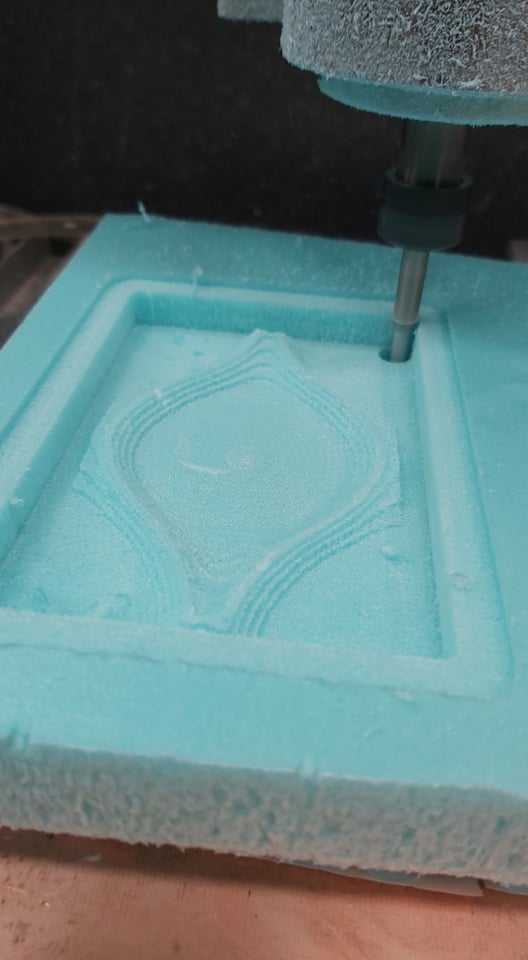
For CNC machining (3D milling), I used as usual Fusion 360 manufacturing to generate the tool path and then the g-code. and used a small cnc which is 3040 cnc router
I am using 40mmm thickness Foam to mill in two steps usisng of course 2 diffrent tools
-
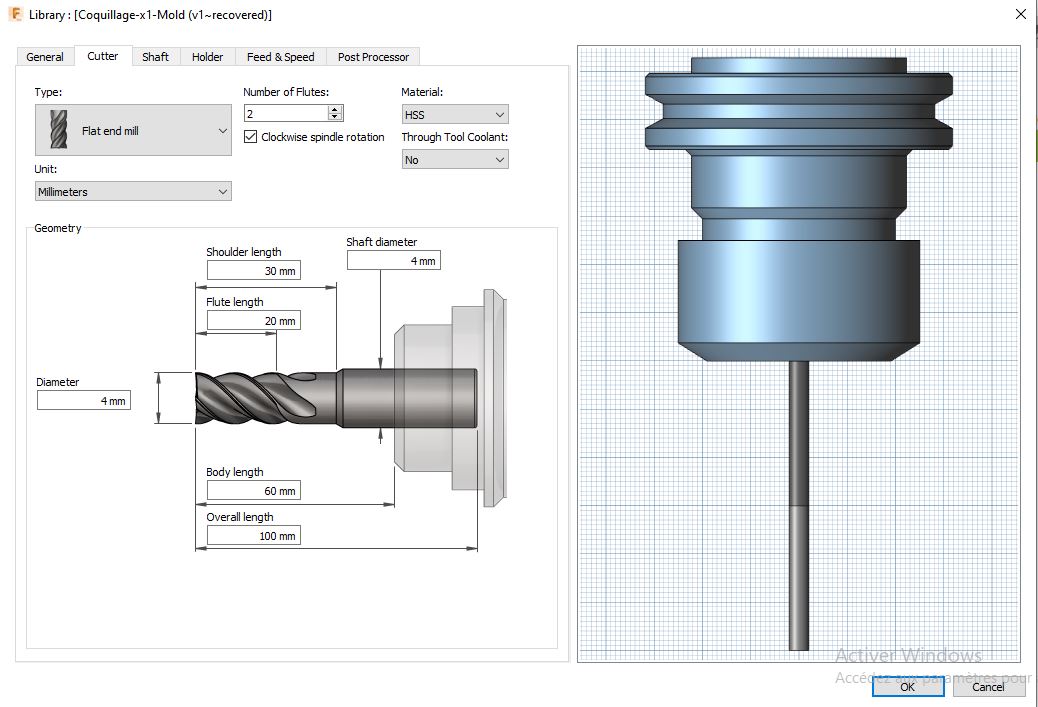
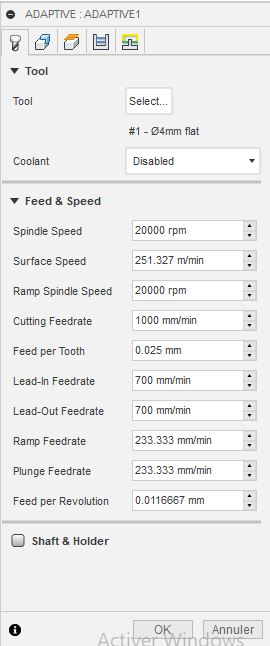
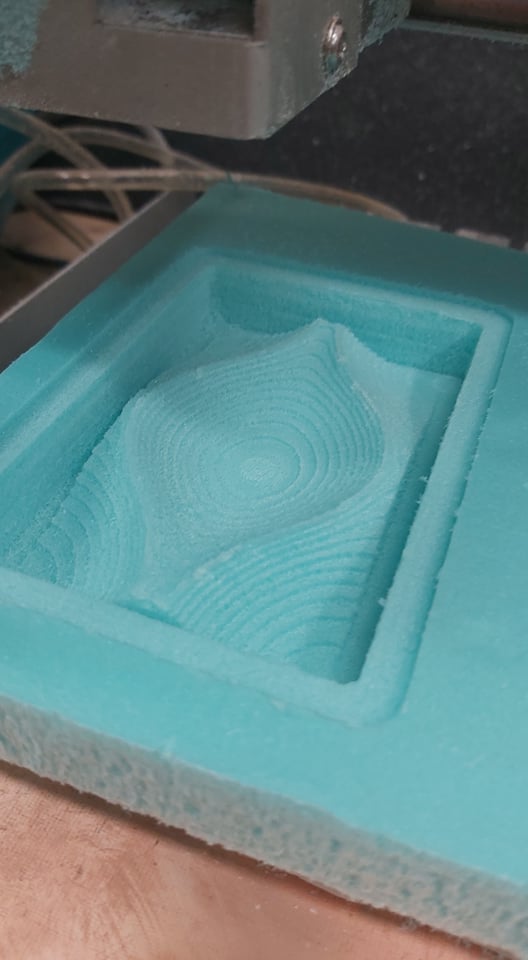
Step 1: Roughing Job I am using for that a Flat endmill, 2 flutes, diameter 4mm and 100mm long for rough job. Adaptative Clearence
-
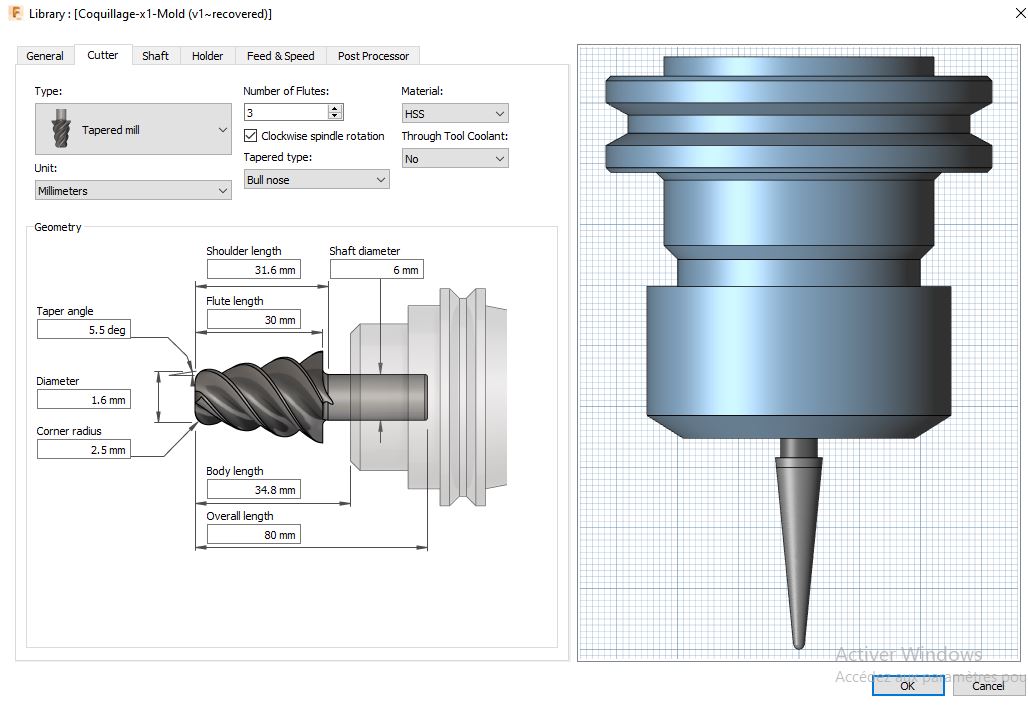
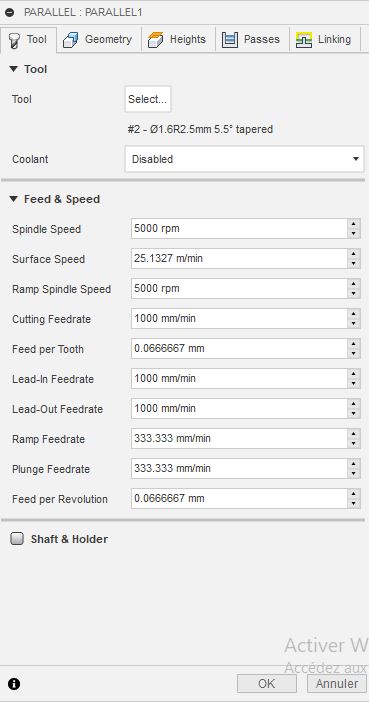
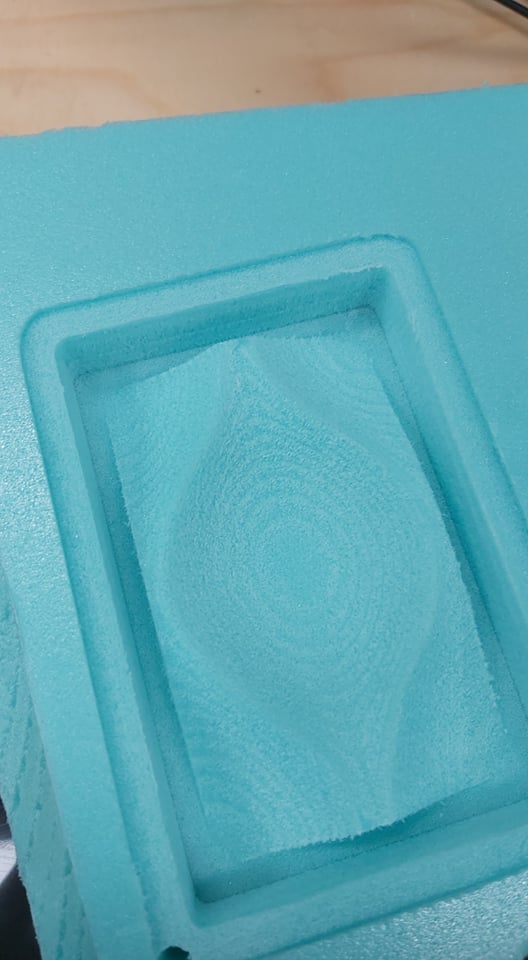
Step 2: Finishing Job I am using for this process a Trapred endmill with 1.6mm the round end and 6m shaft diameter. Parallel finishing strategy
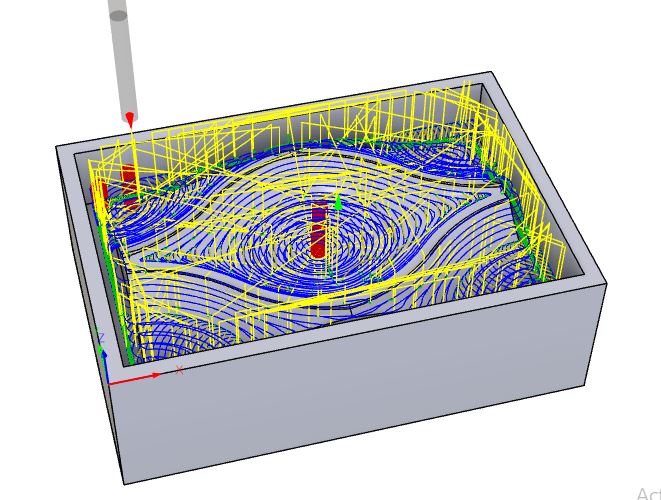
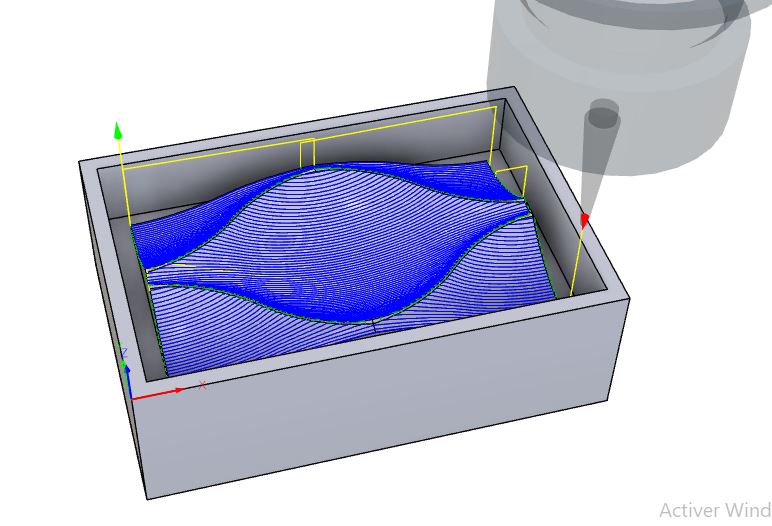
Simulation
Machining
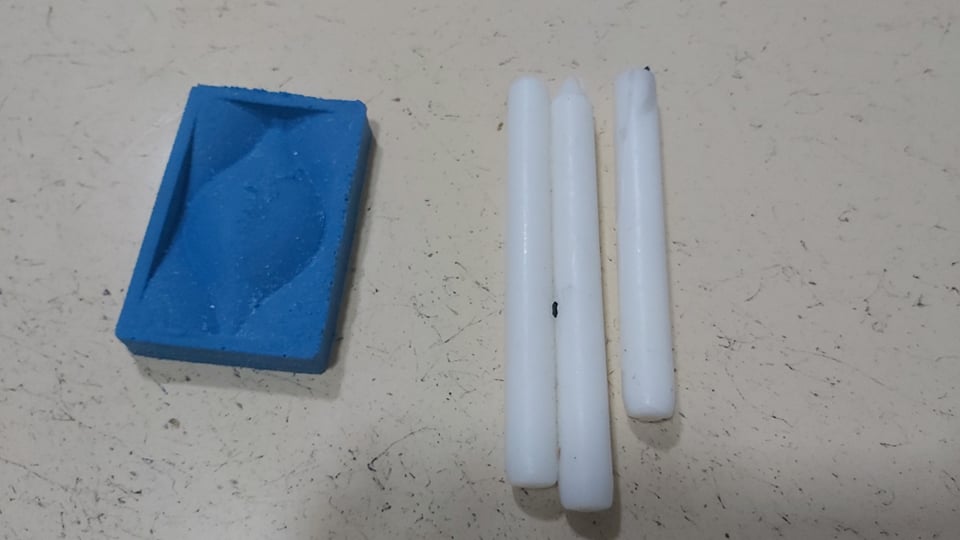
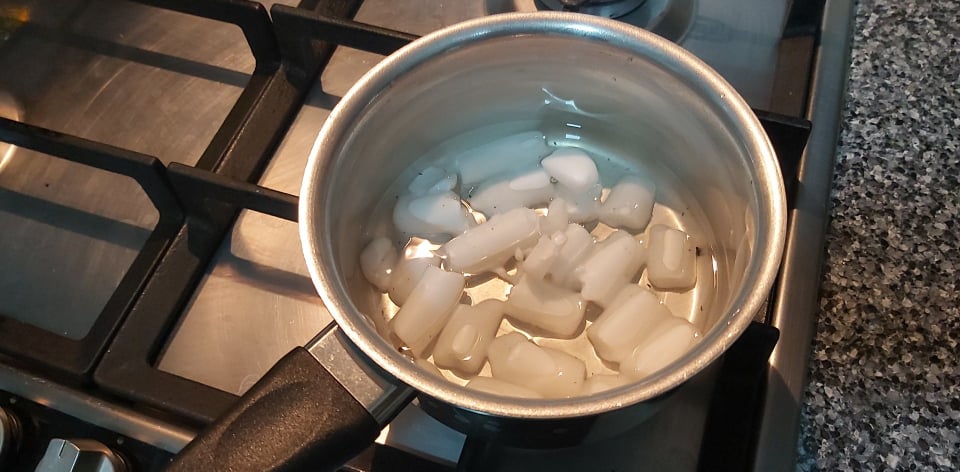
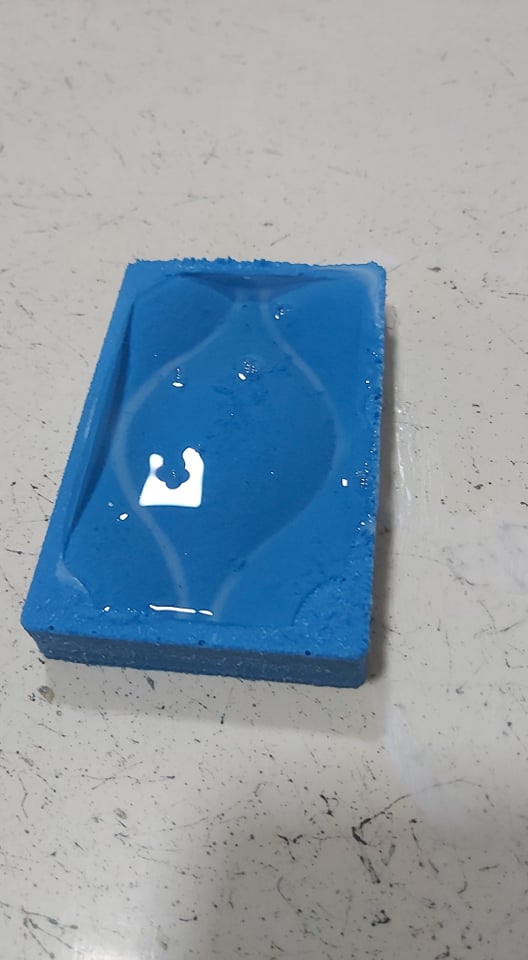
The same process as the 3d printing for the silicone making and for the casting i used some candles.
here is the result: