MakerSpace - Manufacturing
MakerSpace has been developed using standard Fab Lab equipment and technique. The machine was developped during FabAcademy as final project.
To manufacture MakerSpace we will need:
-
Laser cutting
-
CNC milling
-
3D printing
and many other standar mechanical machines
Laser cutting
Frame
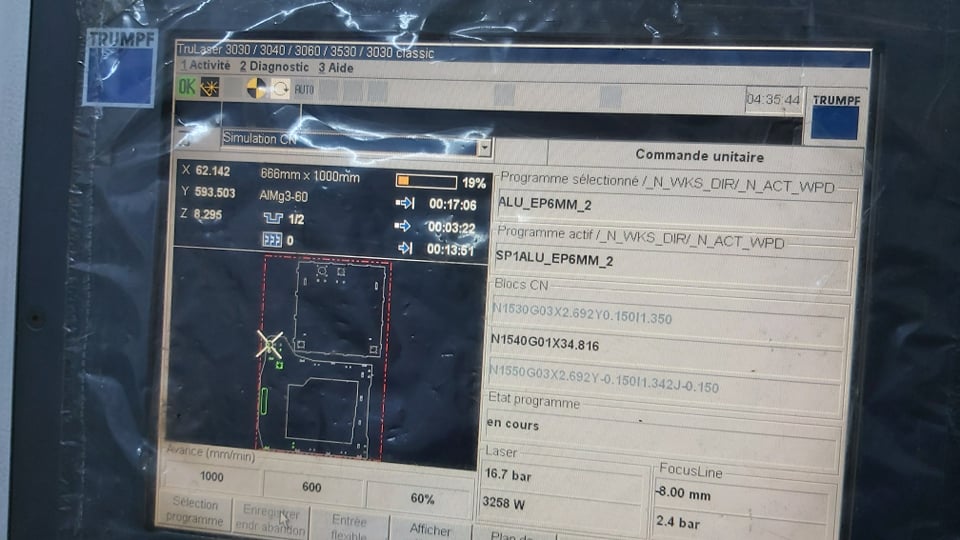
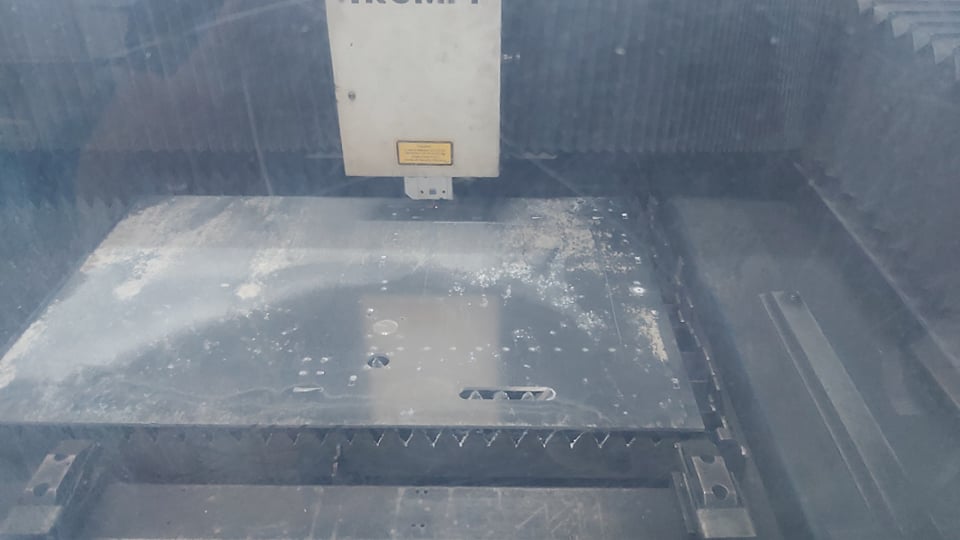
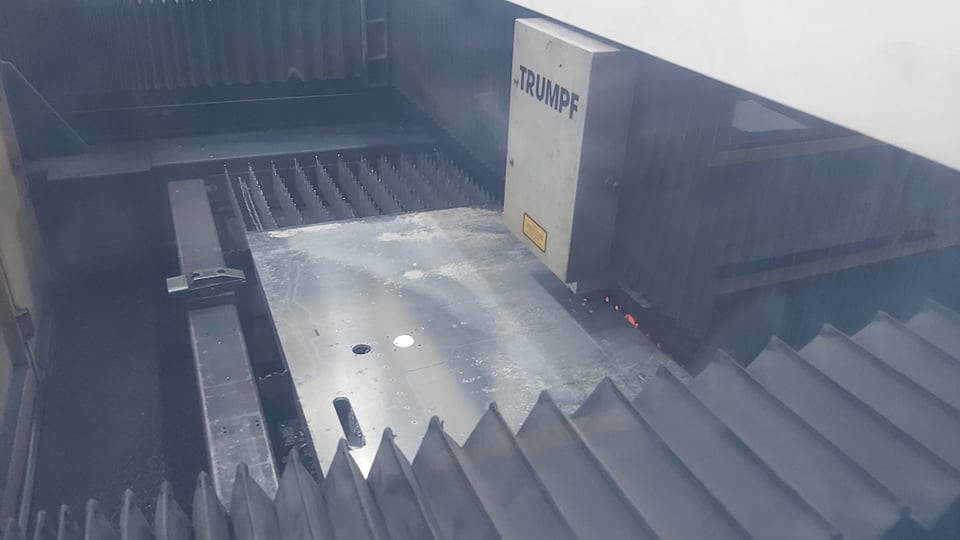
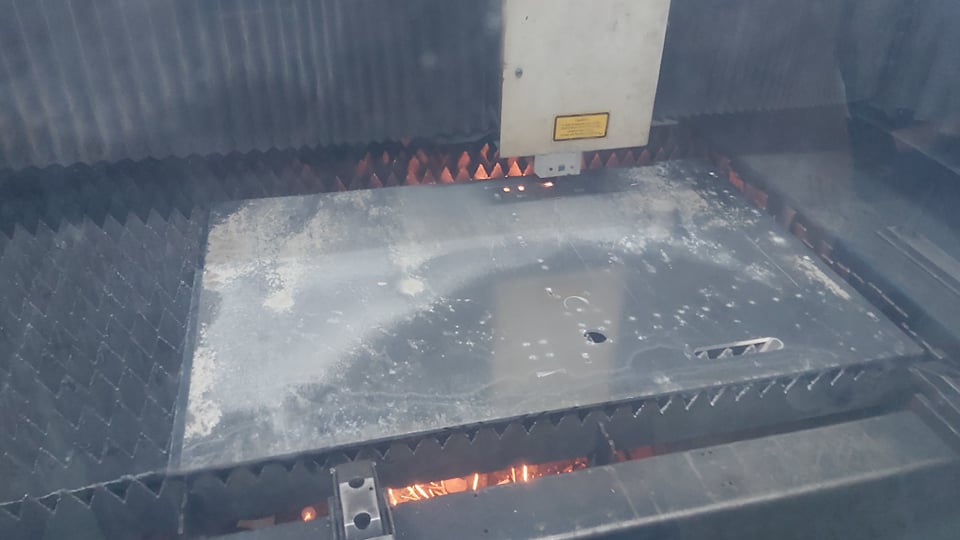
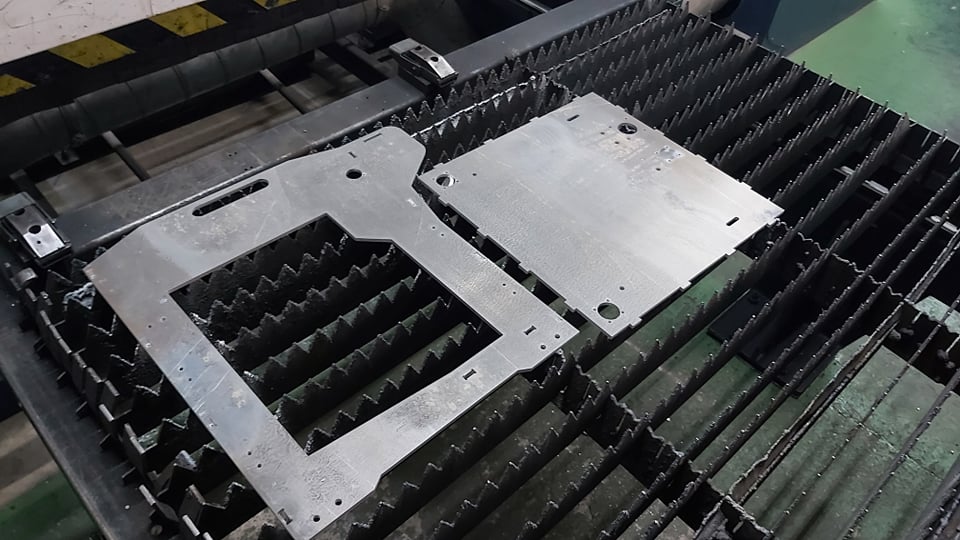
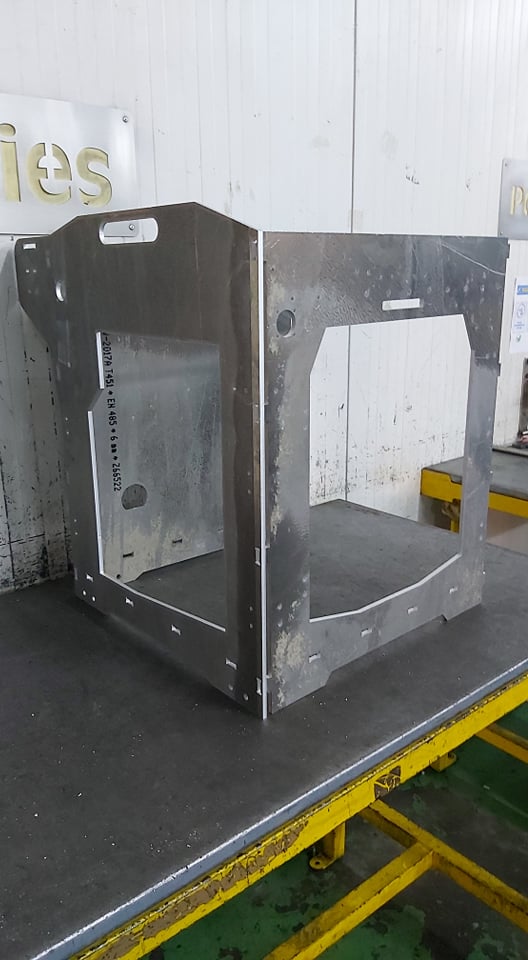
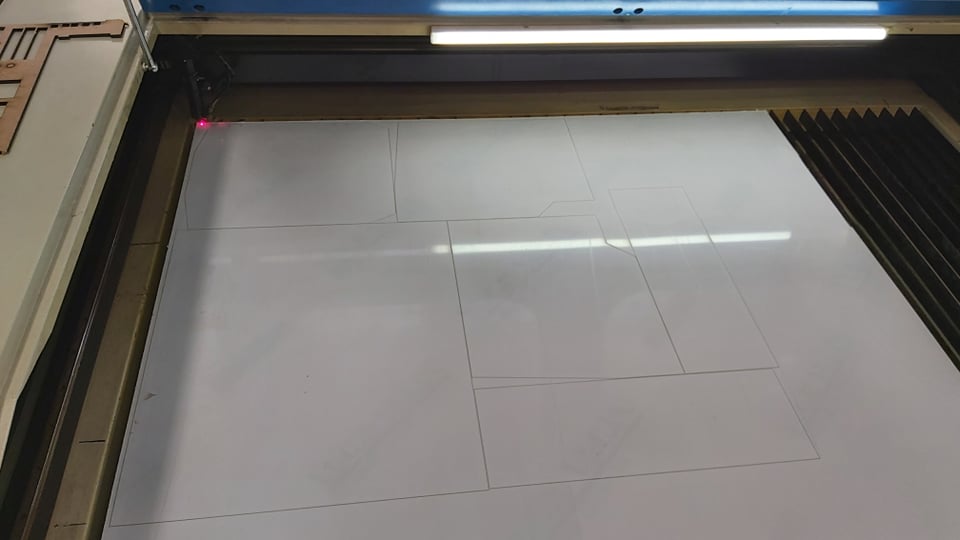
I used laser cutting to manufacture the aluminium frame. I have 3 aluminium sheets 6mm thickness to cut. we don’t have a big laser machine for metal in our fablab, so I went to company to make it using Trumphh laser machine : Trulaser 3030. It’s a very powerfull machine able to cut 15mm thickness stainless steel sheet very fast.

Steps for frame laser cutting
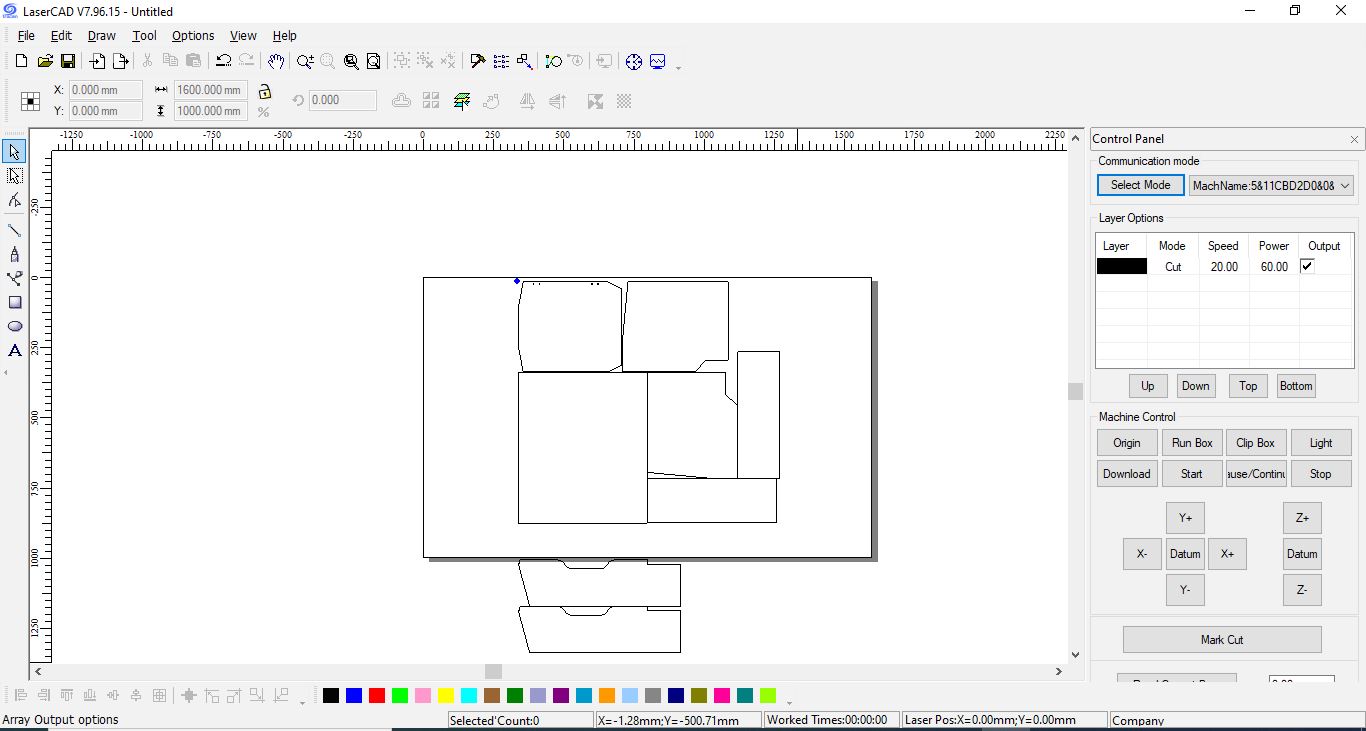
First I exported from solidworks the dxf file for each side of the machine and then i used DeepNest an open source software for nesting to gain material time and surface.

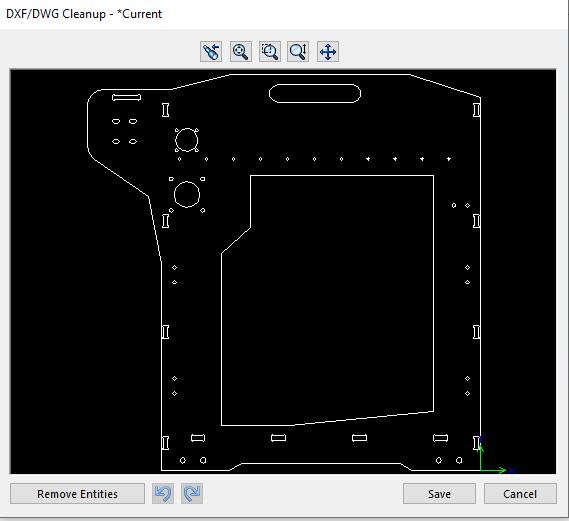
Open Deepnest and import all the dxf files, add the sheet dimensions and how many sheet you have then press start nesting.
As a result, deepnest give a dxf file for each sheet


At this step, we can generate the g code file using the machine software and strat cutting

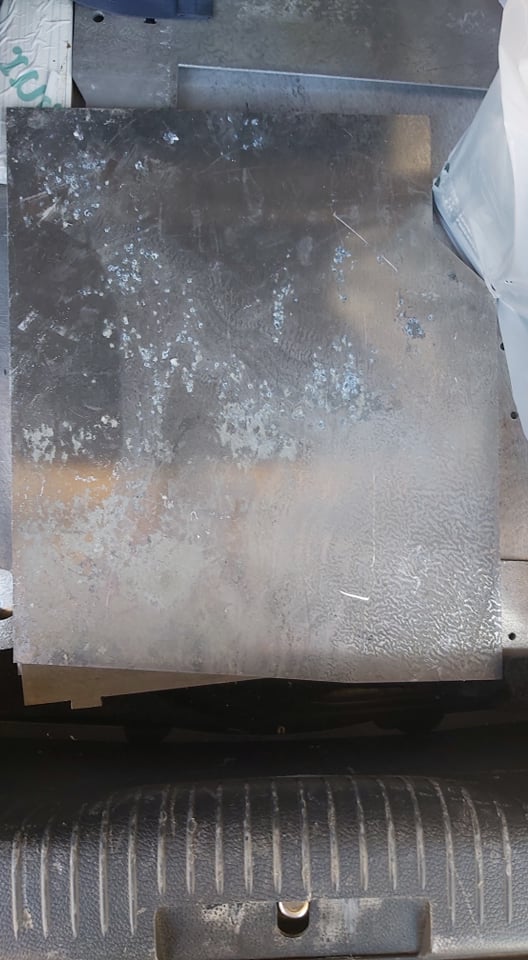
Sanding & polishing alminium
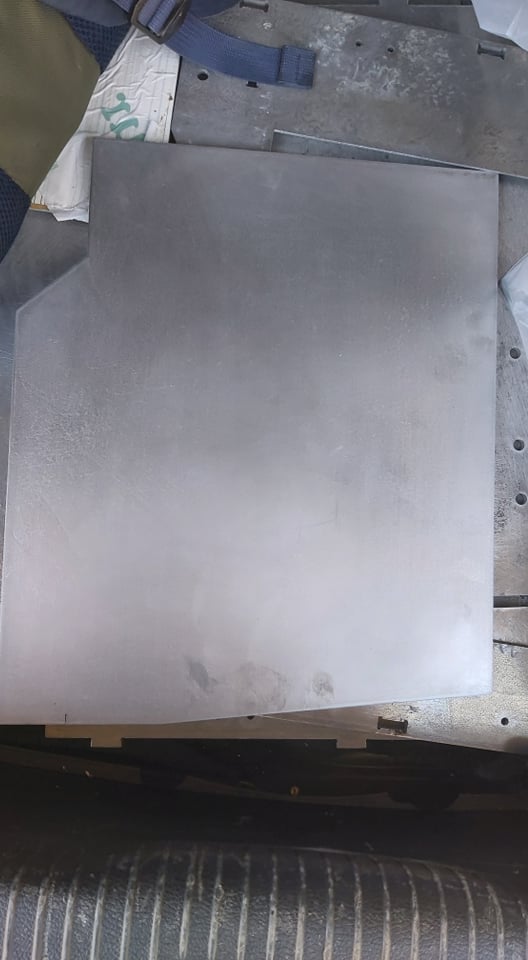
I didn’t find a good quality aluminium stock because of Covid 19 there is no other choice, So I used a sanding machine and a polishing machine in our fablab to make the surface smoother and shinner. I used diffrent sanding papers sizes (120, 400, 600, 800, 1000, 1200) for this job and some water as lubrificant.
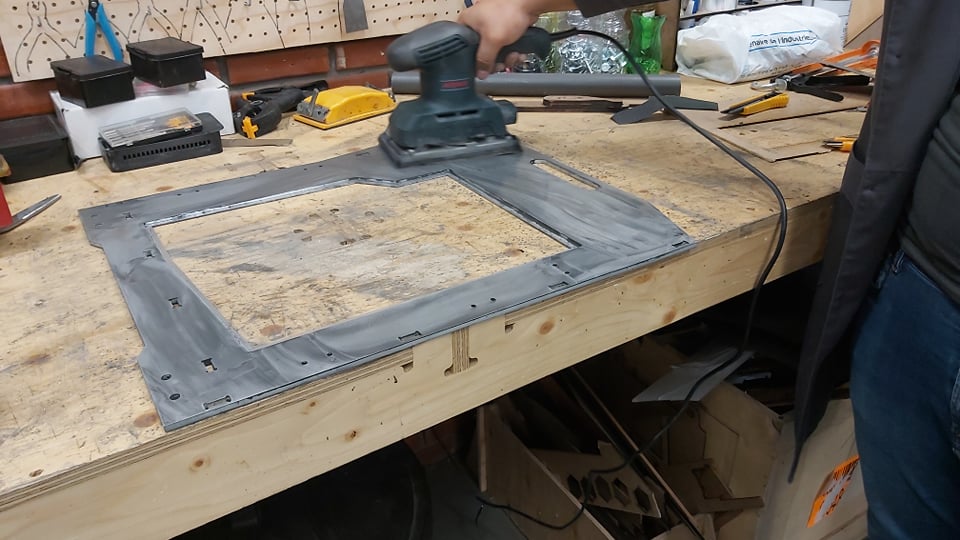

Before:
After:
Protection Frame & Enclouser
I also used laser cutting to make the protection frame and enclouser from 4mm plexiglass I did the same steps to have the dxf file then deepnest to optimise the surface and strat cutting using our fablab laser cutter.

CNC milling
CNC milling is a very important phase in MakerSpace manufacturing. I used milling for the tool holder made from POM, some milling on the frame sides and some other aluminium profiles supports.
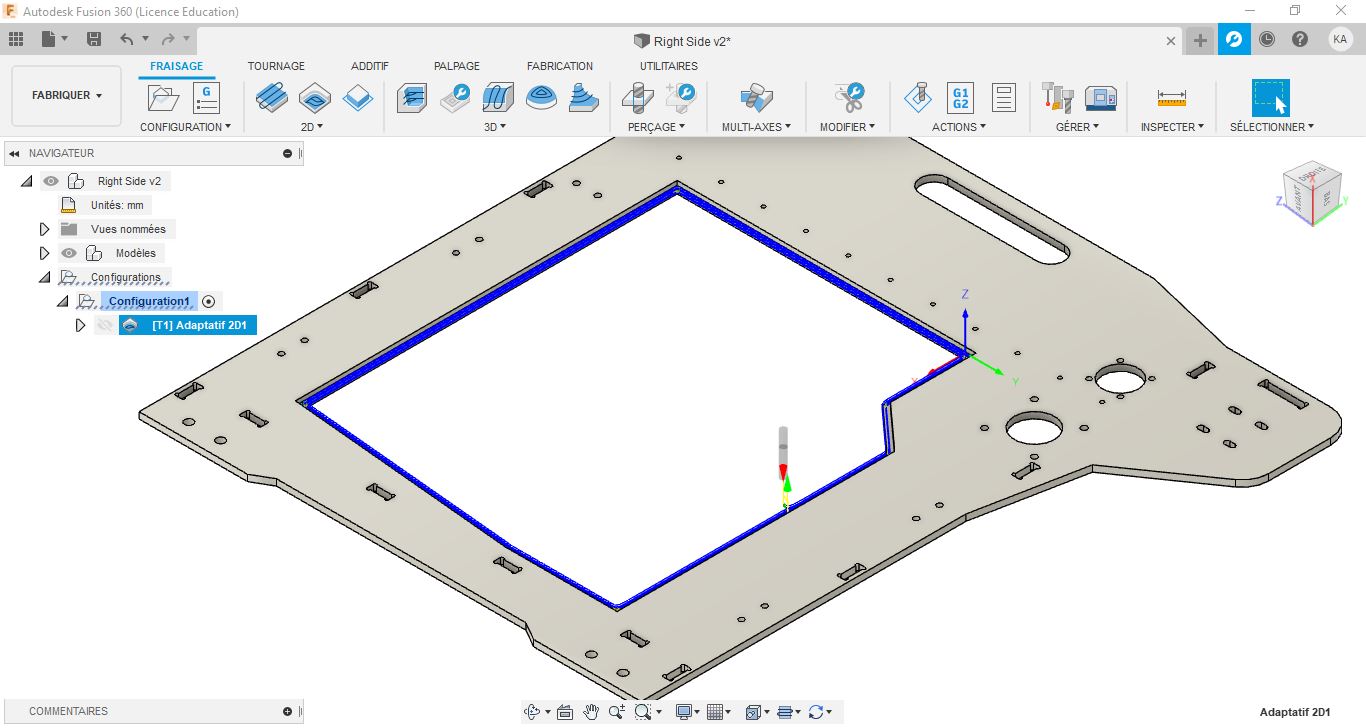
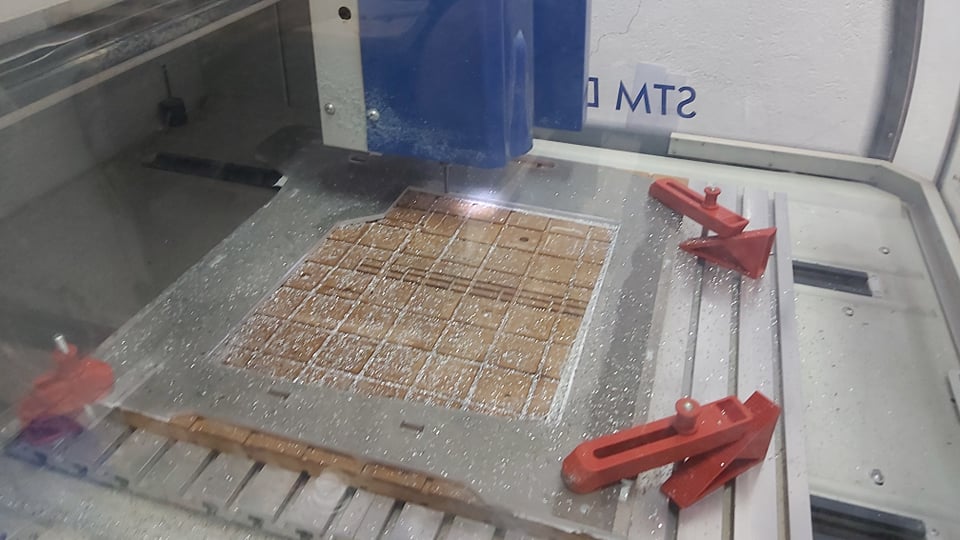
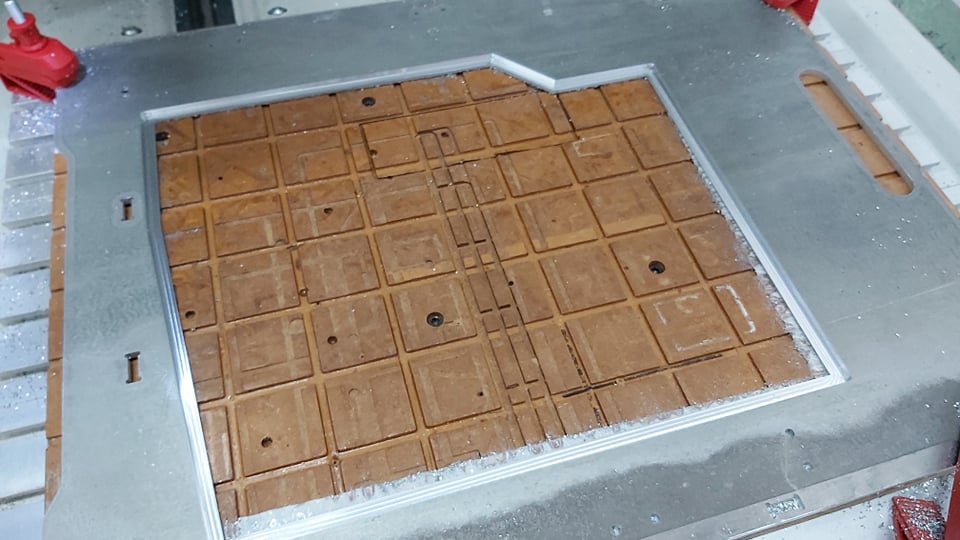
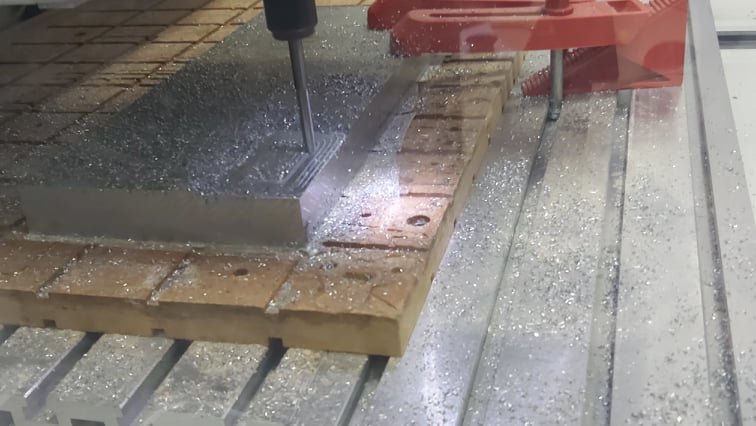
Milling frame sides
I am milling the frame sides to make a spae for the plexiglass protection window. I milled the aluminium using fusion 360 like in the previous assaignment Make Something Big.

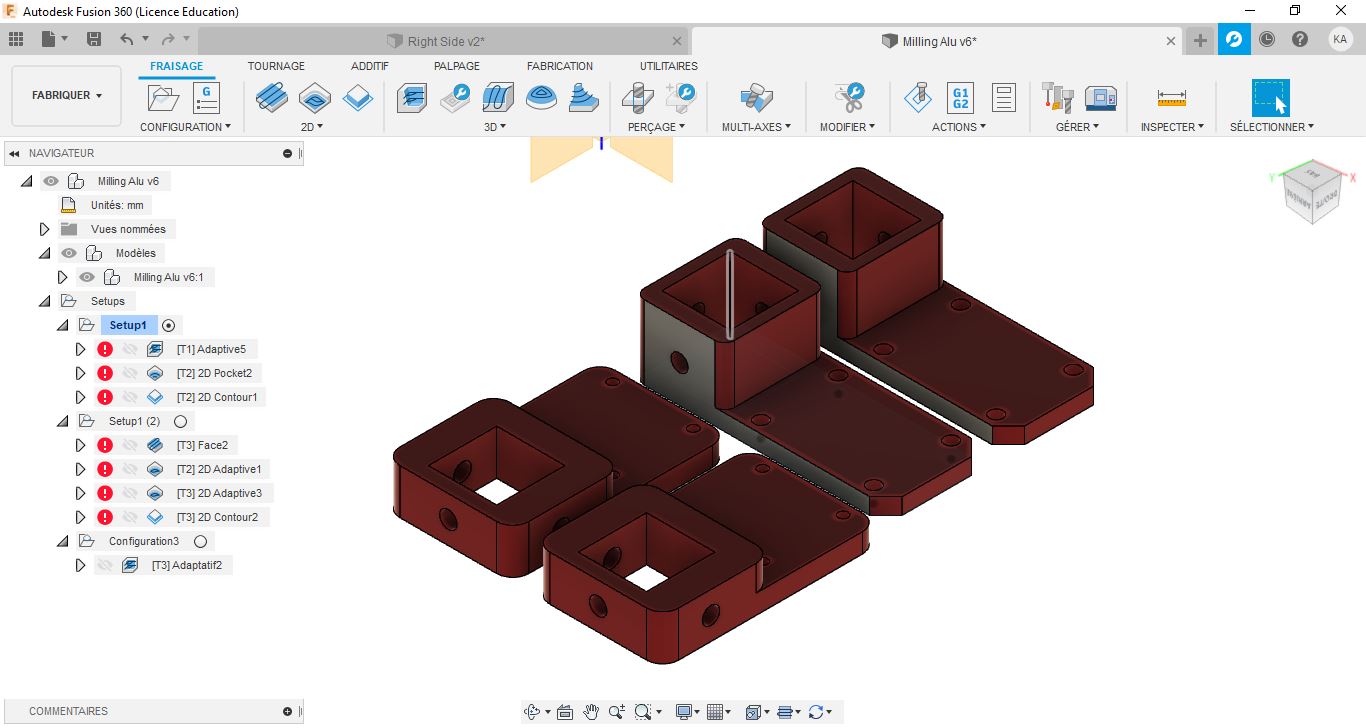
Supports Milling
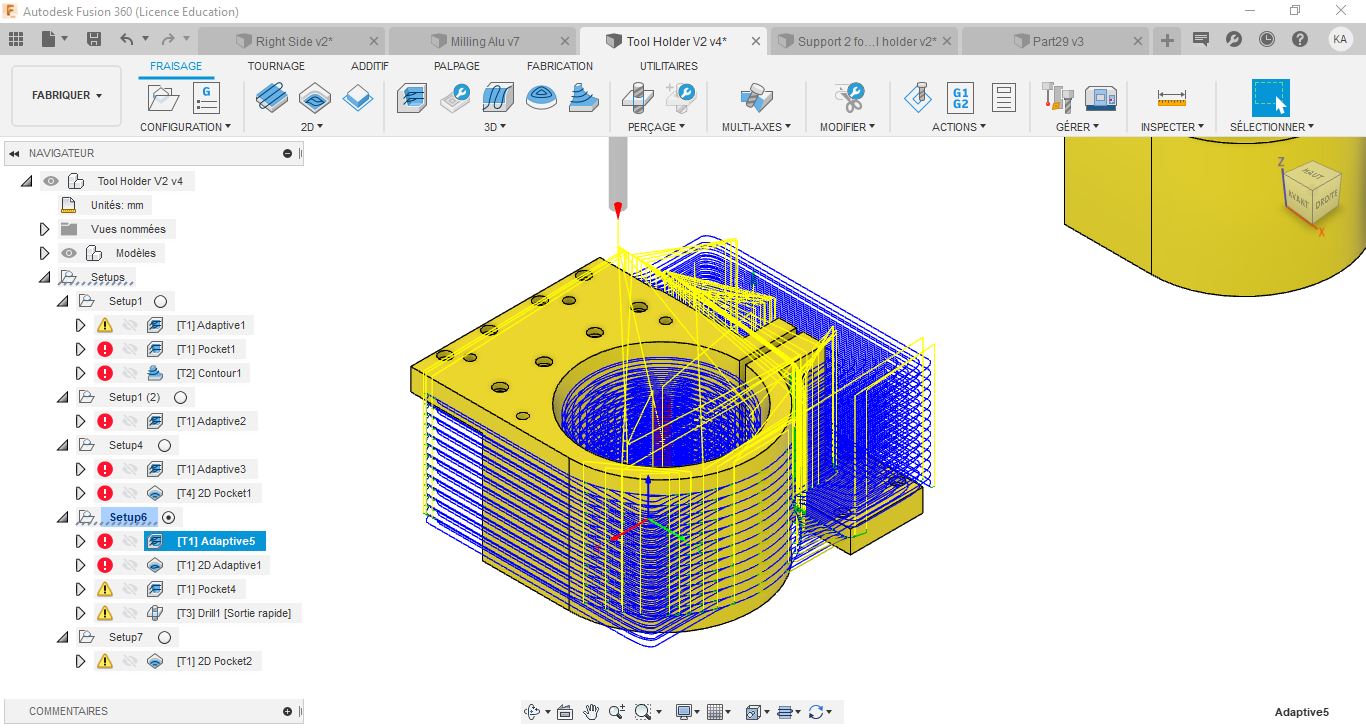
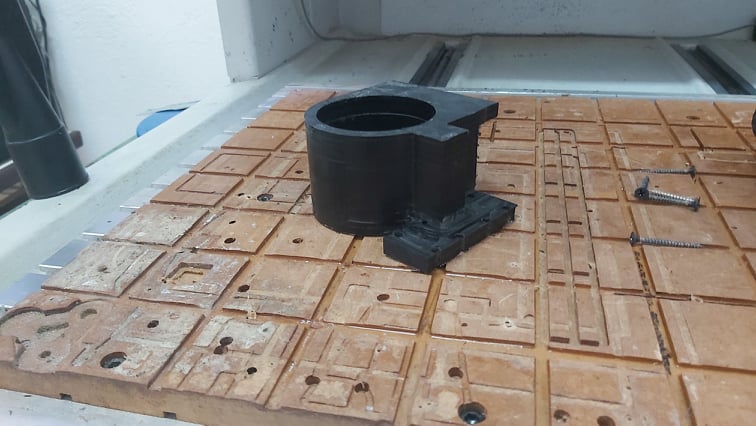
Tool Holder Milling
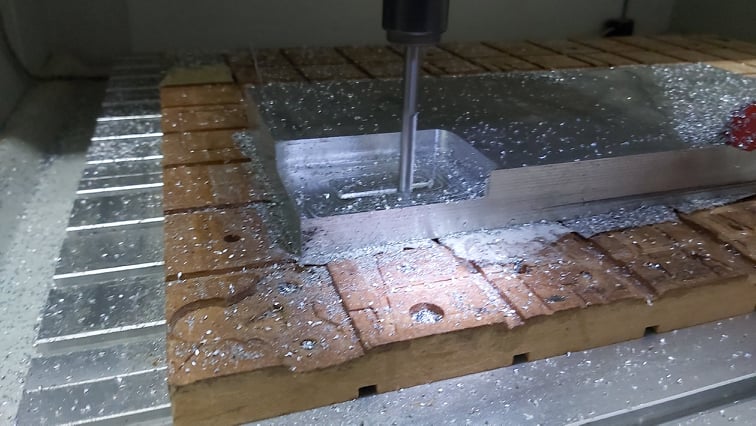
The tool holder is the most complex part to mill. It will be milled in two phases, one phase from the top and another from the bottom.

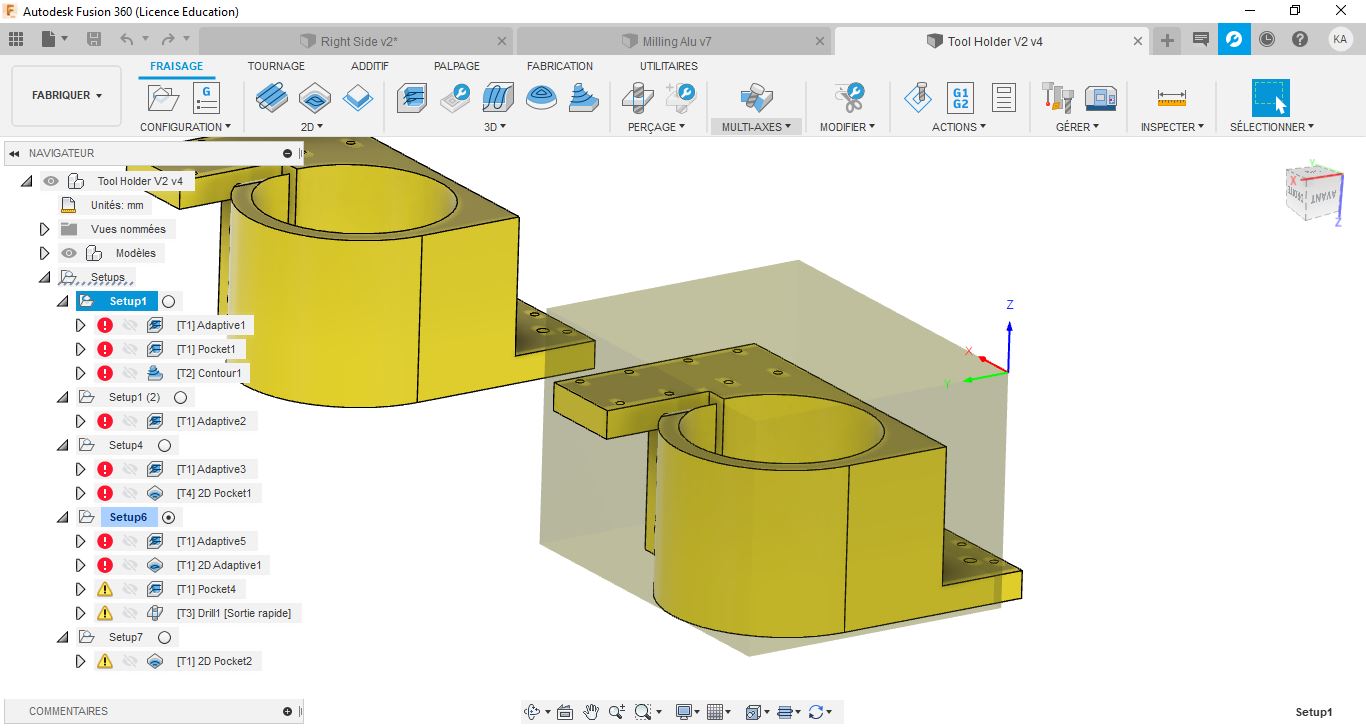

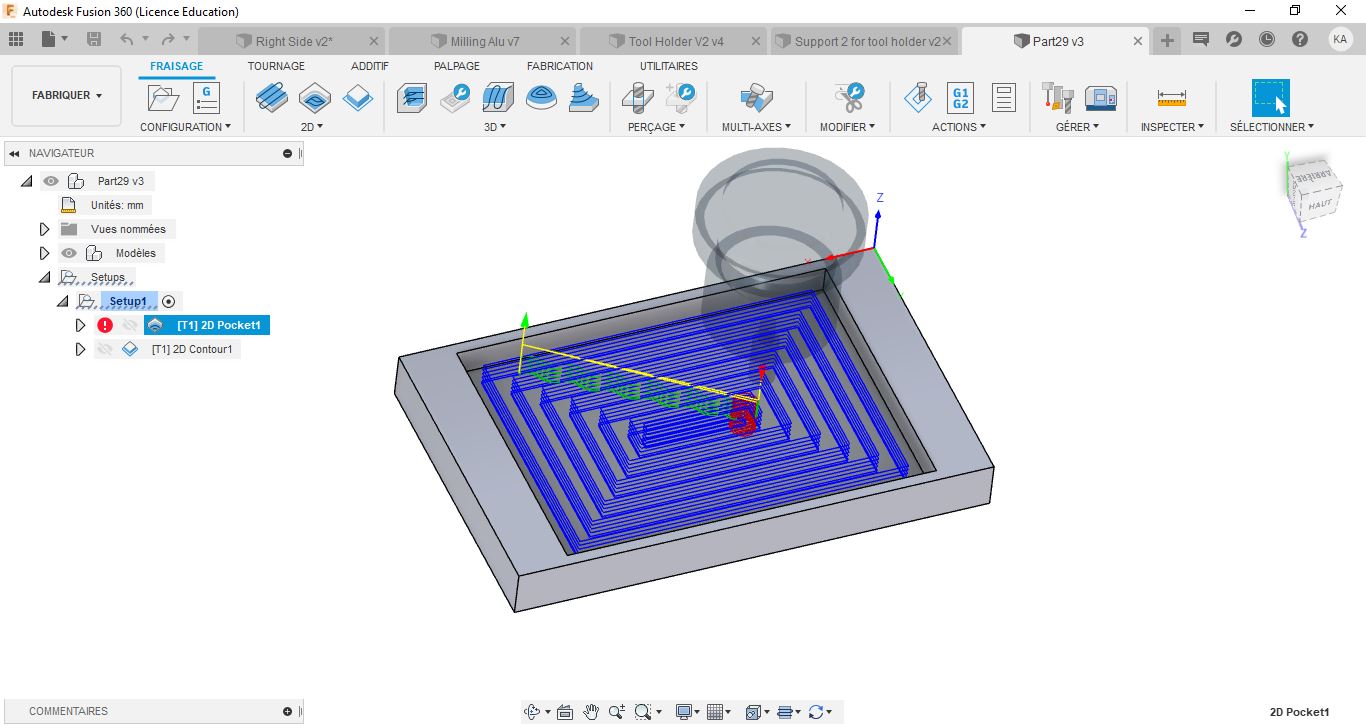
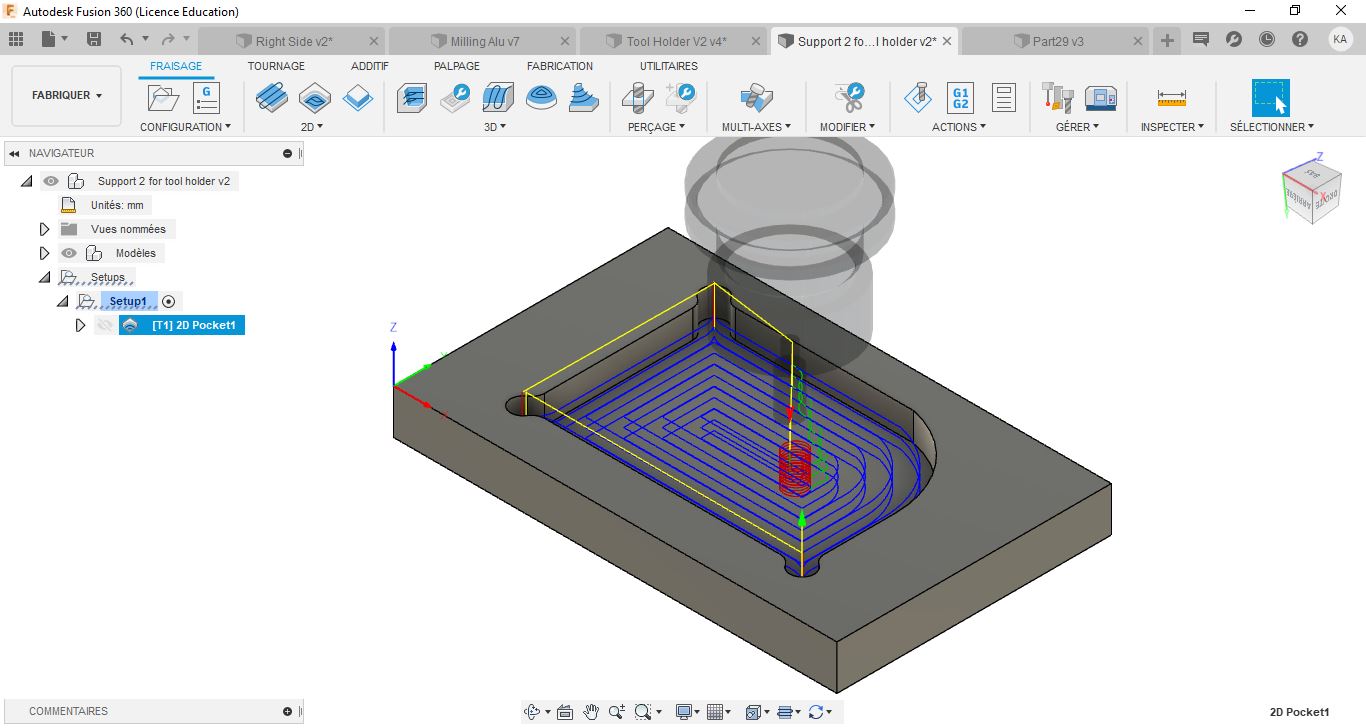
Before milling the POM stock I milled first a support piece made from MDF which will guarentee the position of the stock, all that is due to the difficulty to fic the POM stock using double tape. The support is a 16mm Mdf thickness and I did a pocket milling to fit the stock and with super glue and double tape i fixed the POM stock to the support. All this is done o give the Stock the ability to resist to milling forces.
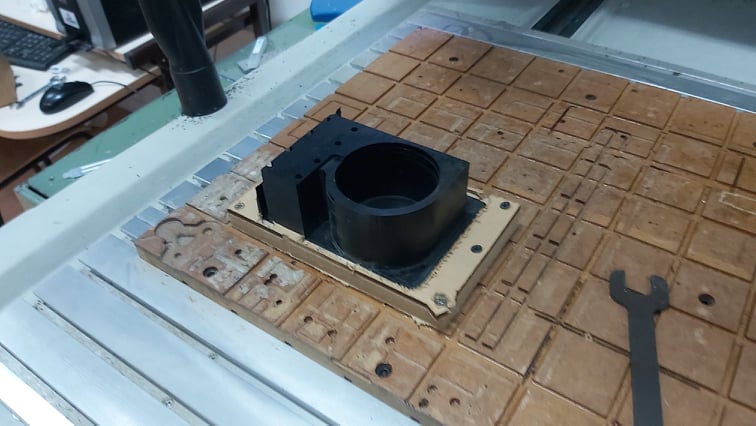
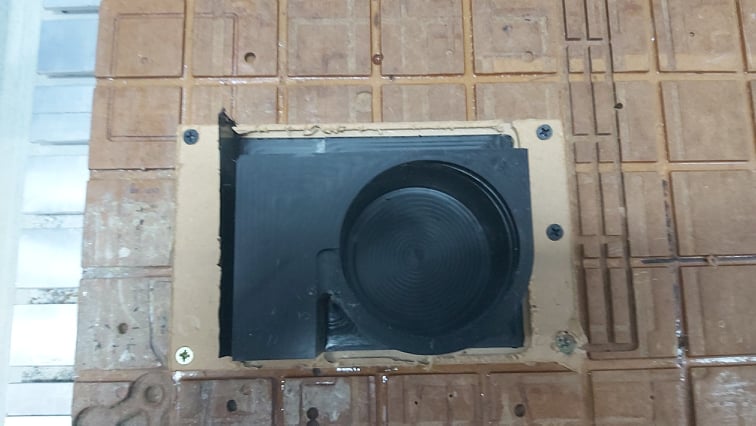
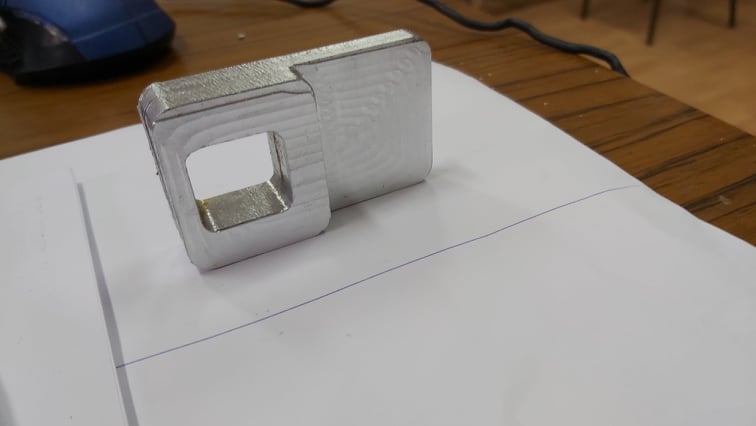
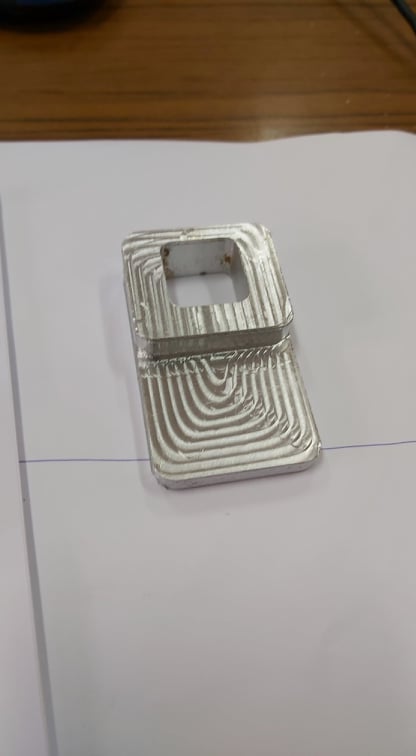
After this phase I flipped the part and strat milling the other phase.
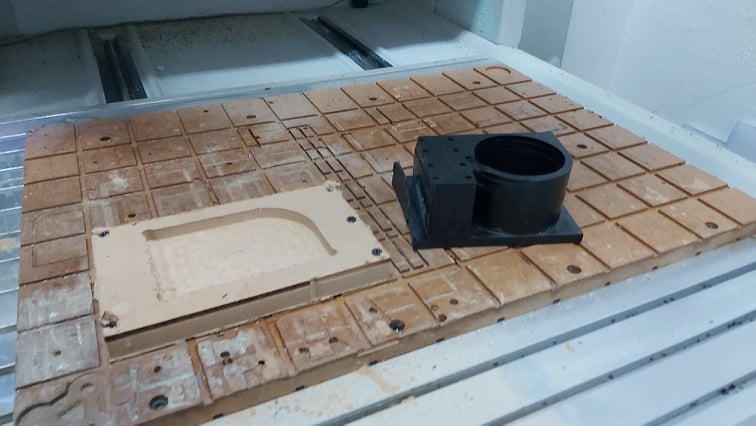
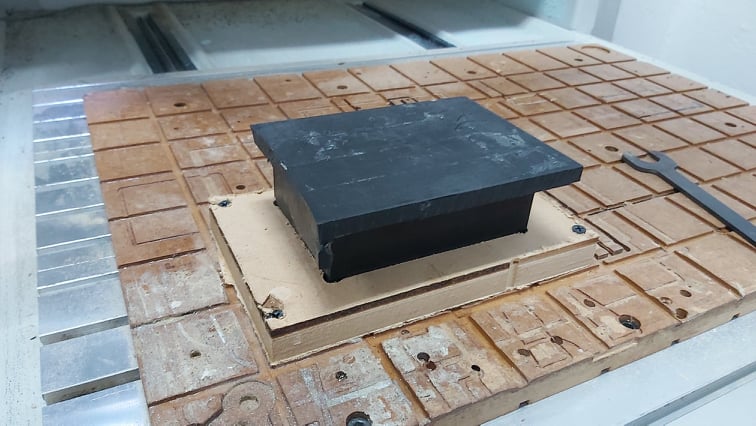
Result:


After the cnc milling phase, I started the drilling phase but manually. First step is to cut a mask using 3mm MDF and then start drilling.
The final phase is to make the threads using manual thresing tool and it has a good result on the POM.