Additive and Substractive Manufacturing
During the sixth session dated February 20 2019, the objective is to learn how to 3D print a personal design, and learn how to 3D Scan an object.
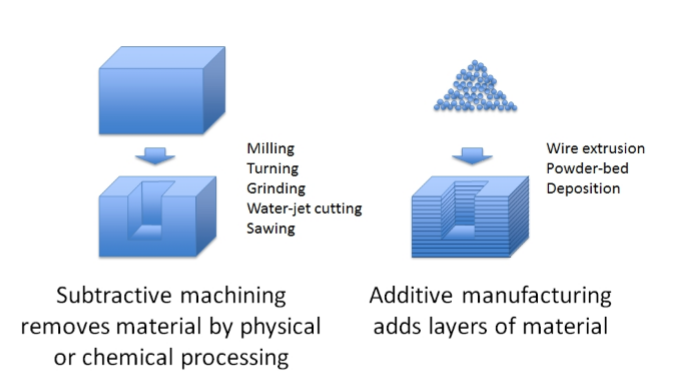
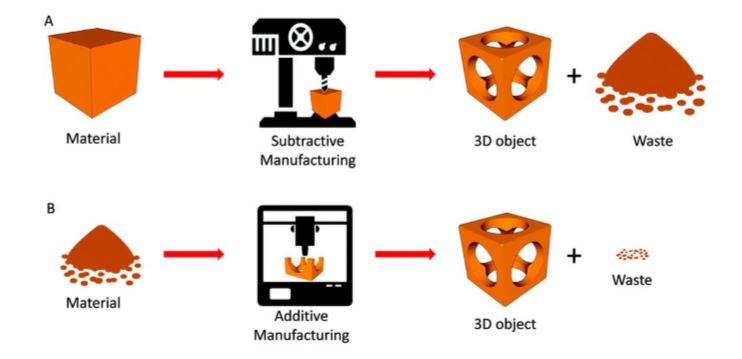
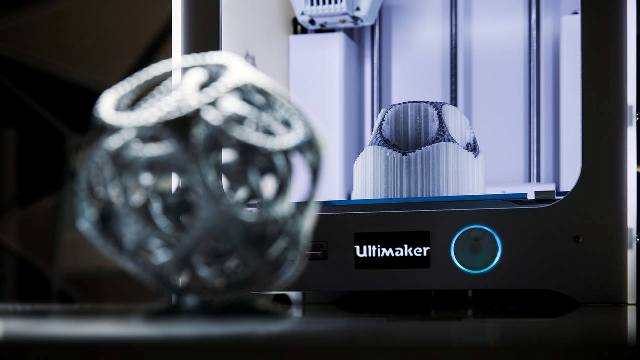
Also known as 3D Printing, refers to a range of layerupon-layer manufacturing technologies, used to synthesize a three-dimensional object both for prototyping and manufacturing purposes. The process involves the successive forming of material layers under computer control, allowing complex components to be manufactured.
Additive and Substractive Manufacturing
Precision/Orverhang Test:
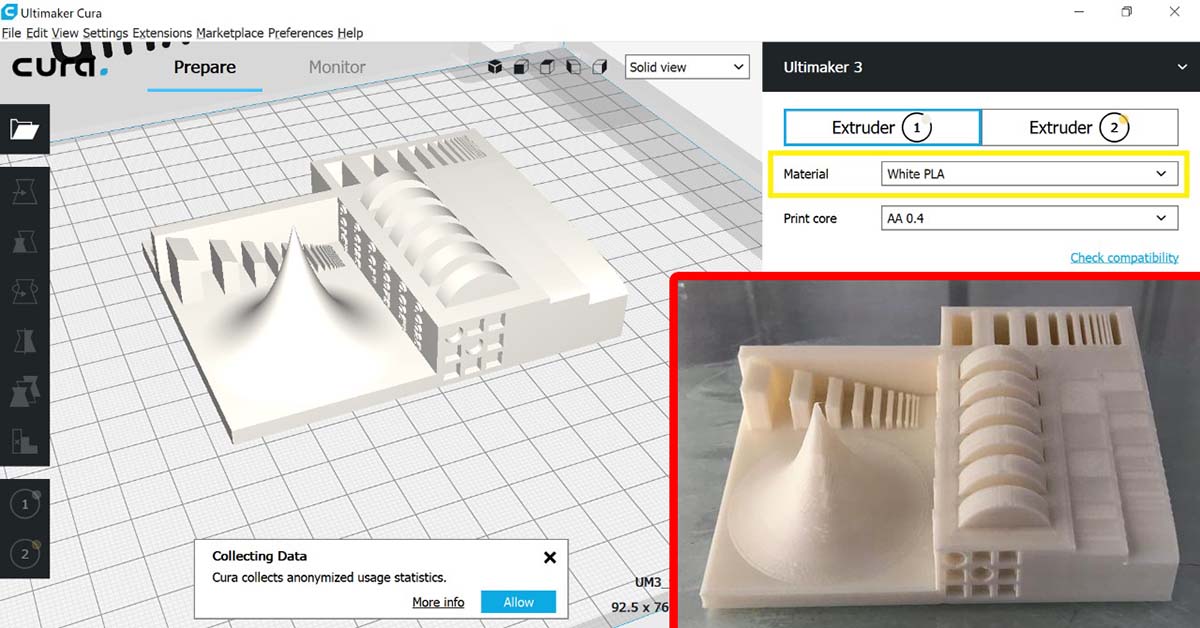
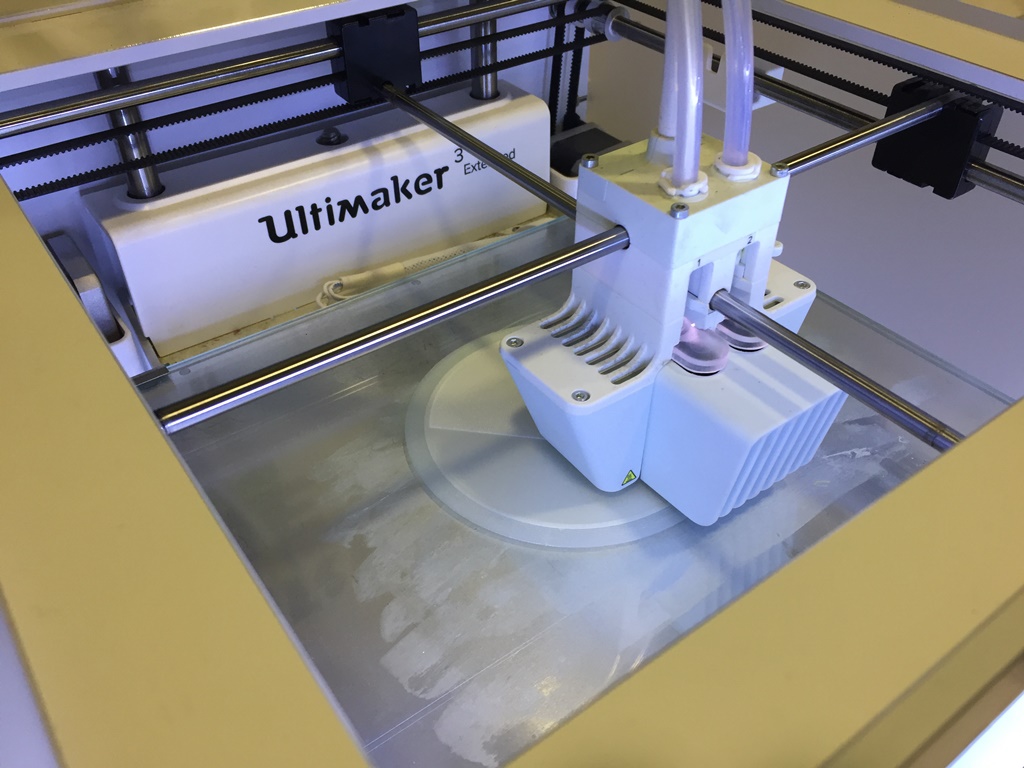
We performed a "Precision/Orverhang" test on the "Ultimaker 3" 3D printer by using the Cura slicer software.
The Precision/Orverhang test was downloaded from thingiverse.
The settings used are the preset standard settings for a normal quality print with PLA filament:
The test features moving hinges of varying tolerances ranging from 0.38mm up to 0.635mm. It also features thin walls and wells ranging down to 0.016mm.
The settings used are the same used for the previous test with PLA filament.
.JPG)
.JPG)
.JPG)
.JPG)
.JPG)
.JPG)
.JPG)
Tolerance/Precision Test 2: Another "Tolerance/Precision" test was performed on the "Ultimaker 3" Extended 3D printer and Cura slicer. It just took 40 min to print and gave very accurate result.

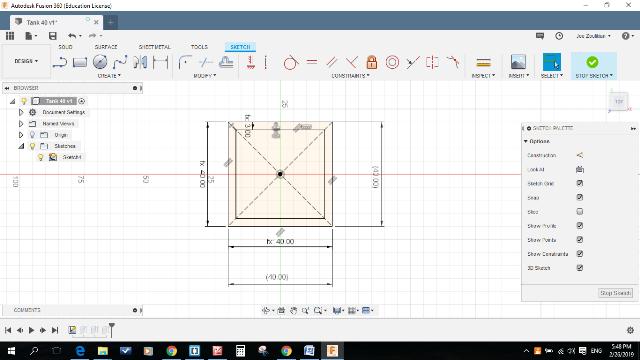
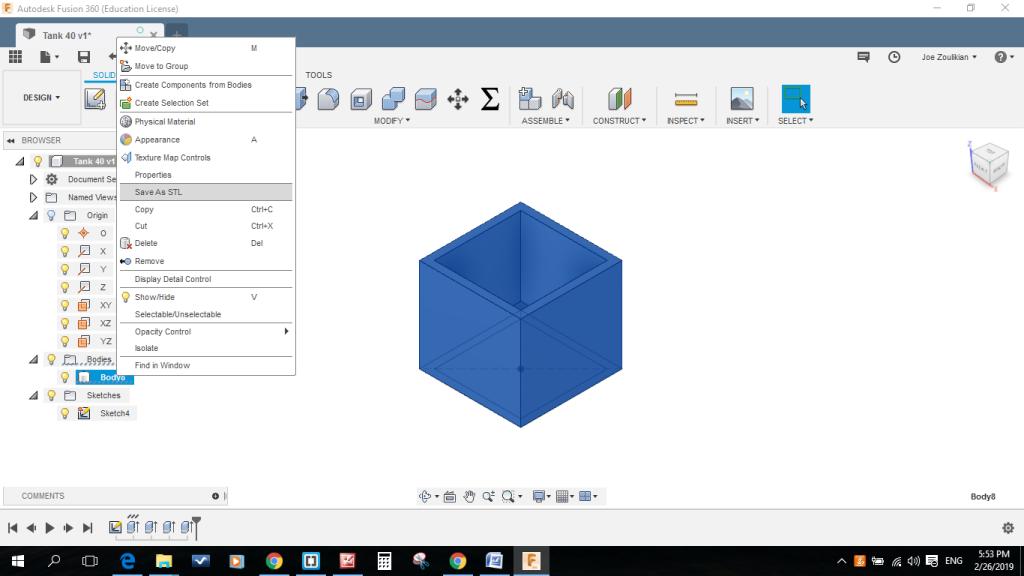
Before 3D printing my final project that represents the tank that must collect the water generated by the "Dehumidifier", I tested if the PLA is waterproof by drawing a 40 x 40 x 30 mm box in Fusion 360 and printing it on the "Ultimaker 3" by saving it in .stl file.
.JPG)
.JPG)
.JPG)
.JPG)
.JPG)
.JPG)
.JPG)
.JPG)
.JPG)
.JPG)
.JPG)
.JPG)
After filling the tank with water I putted it in another plate in order to test in we have some leakage. I took a first picture and after 24 hours I took a second one as shown below, I didn't notice any leakage.
.JPG)
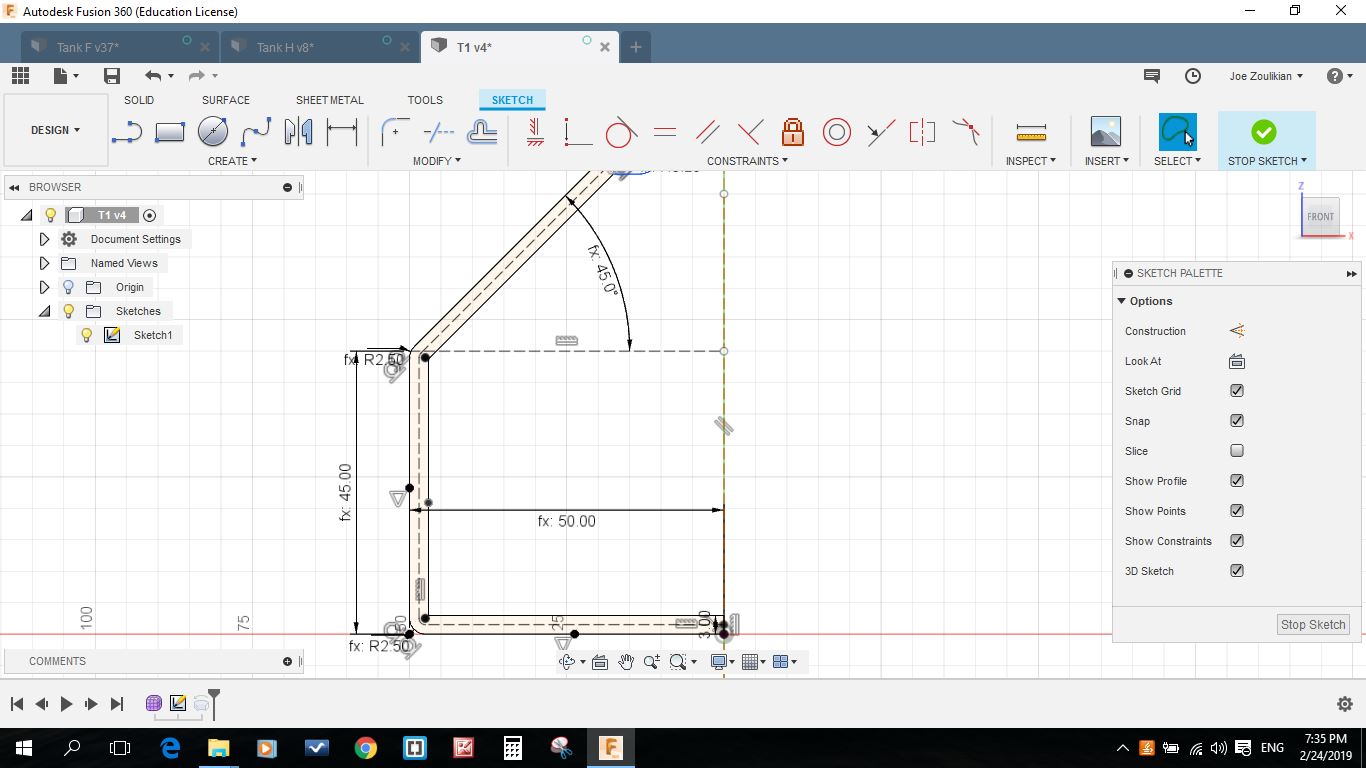
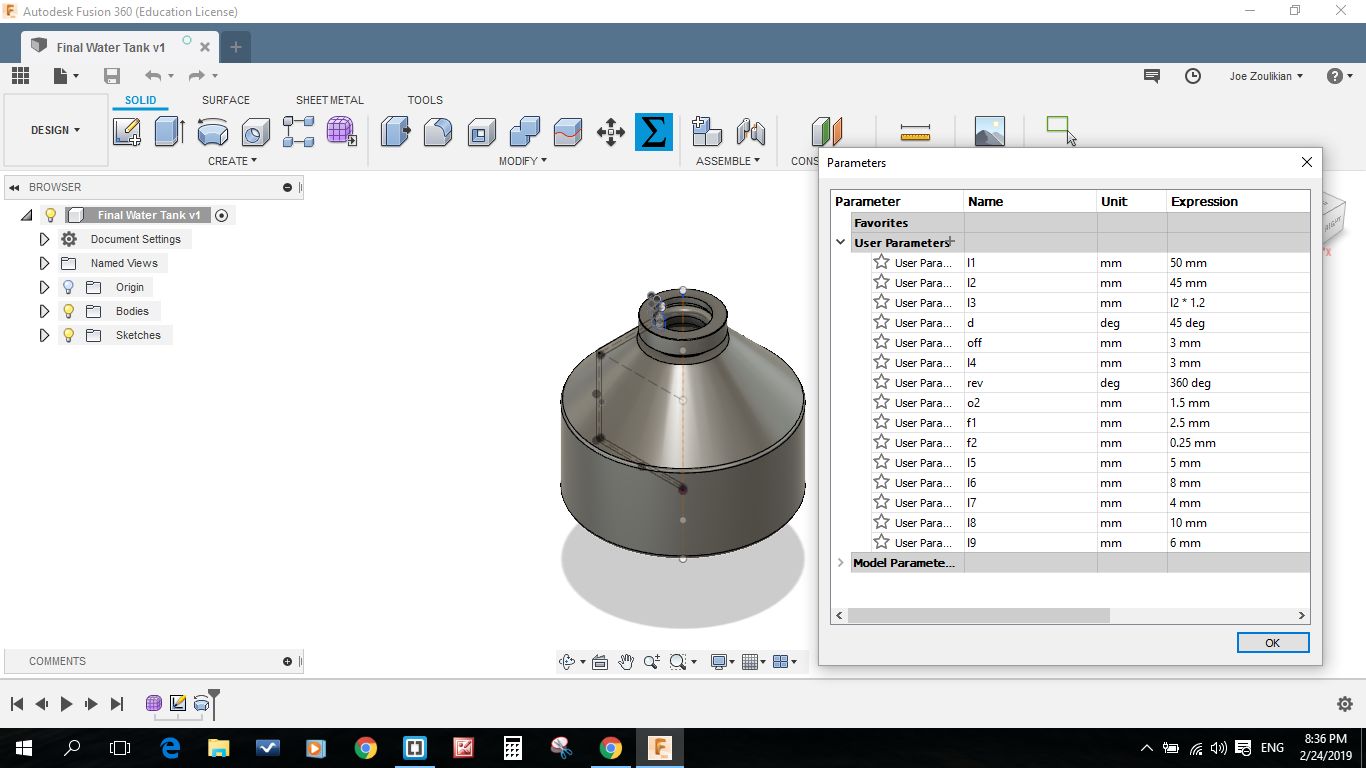
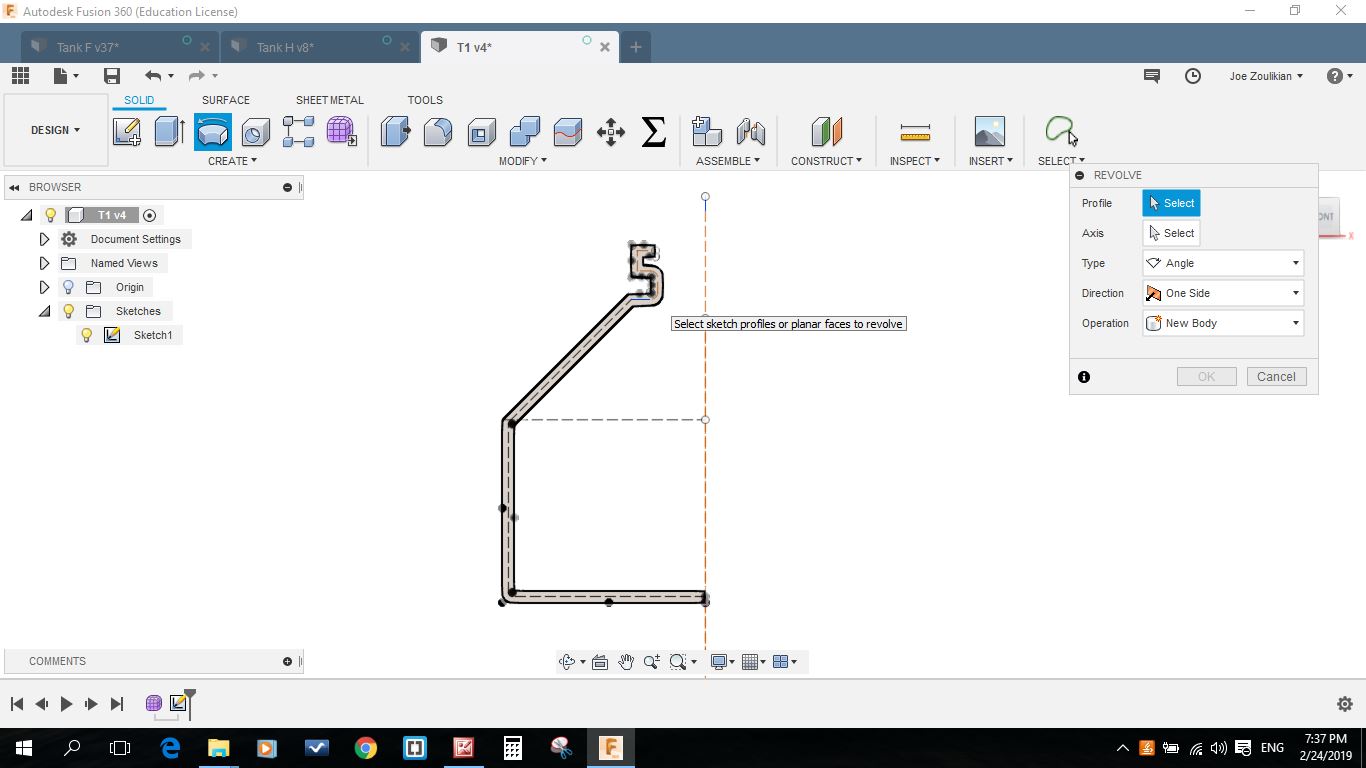
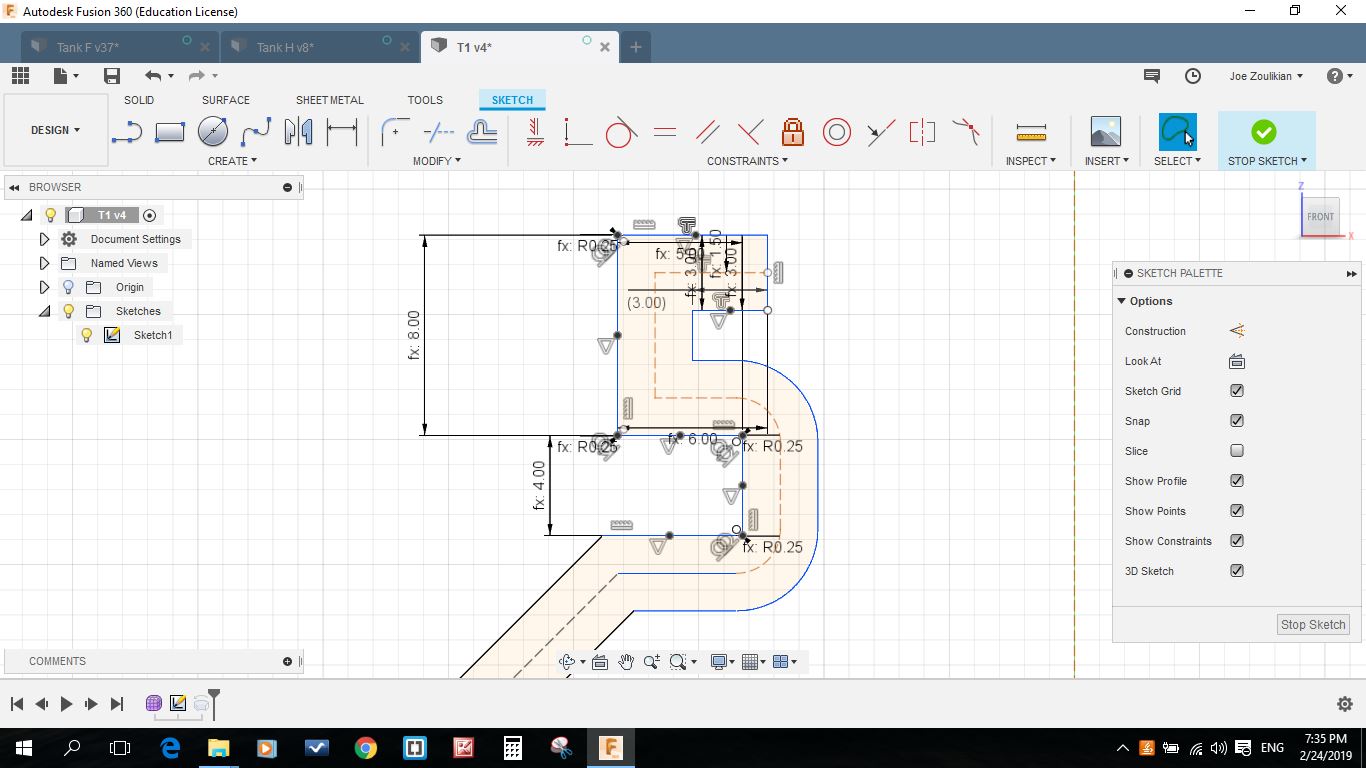
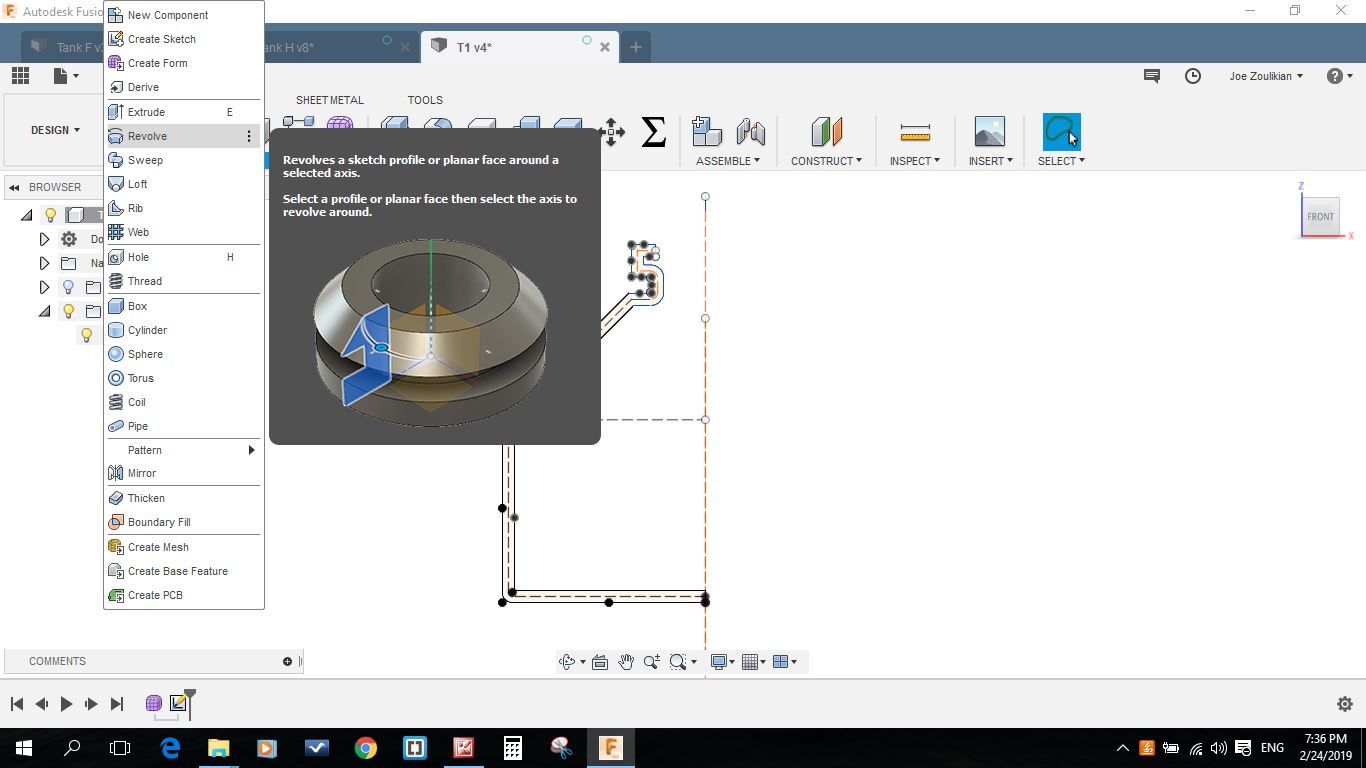
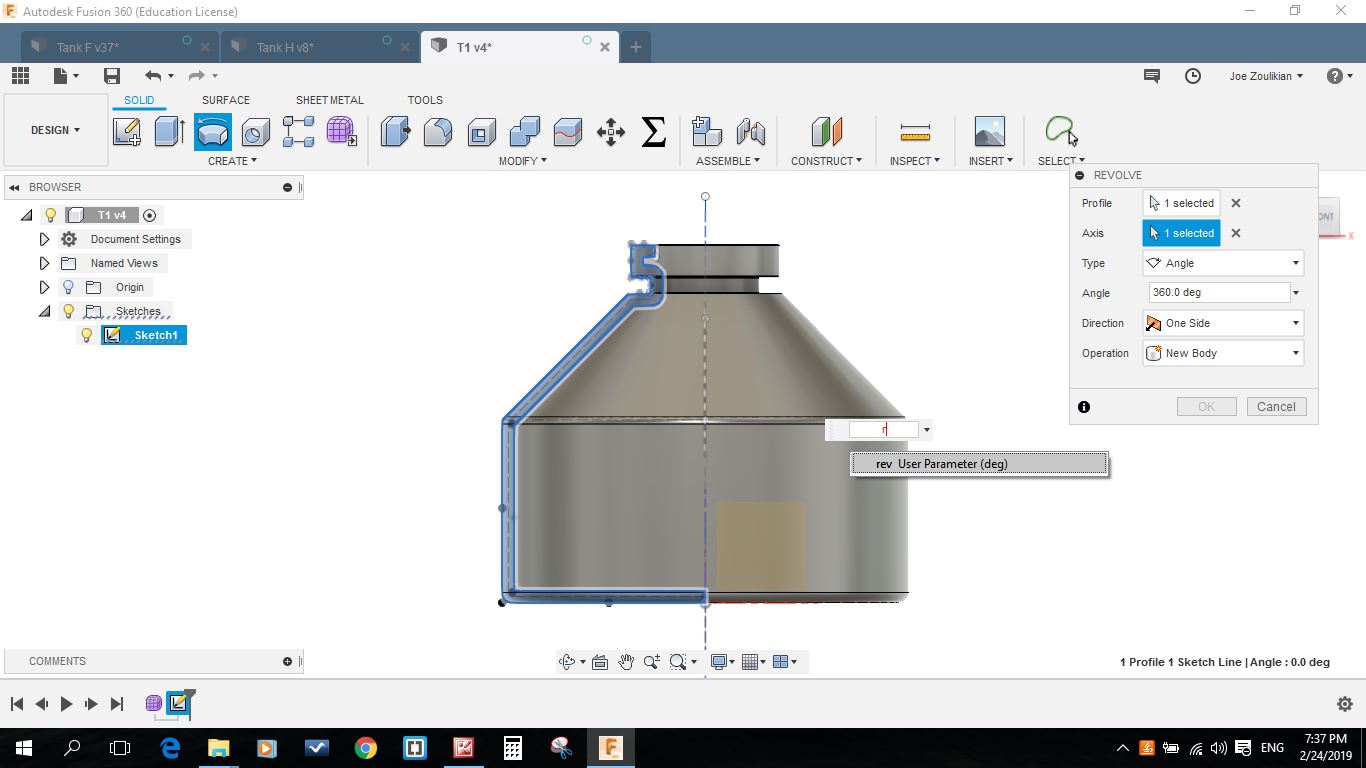
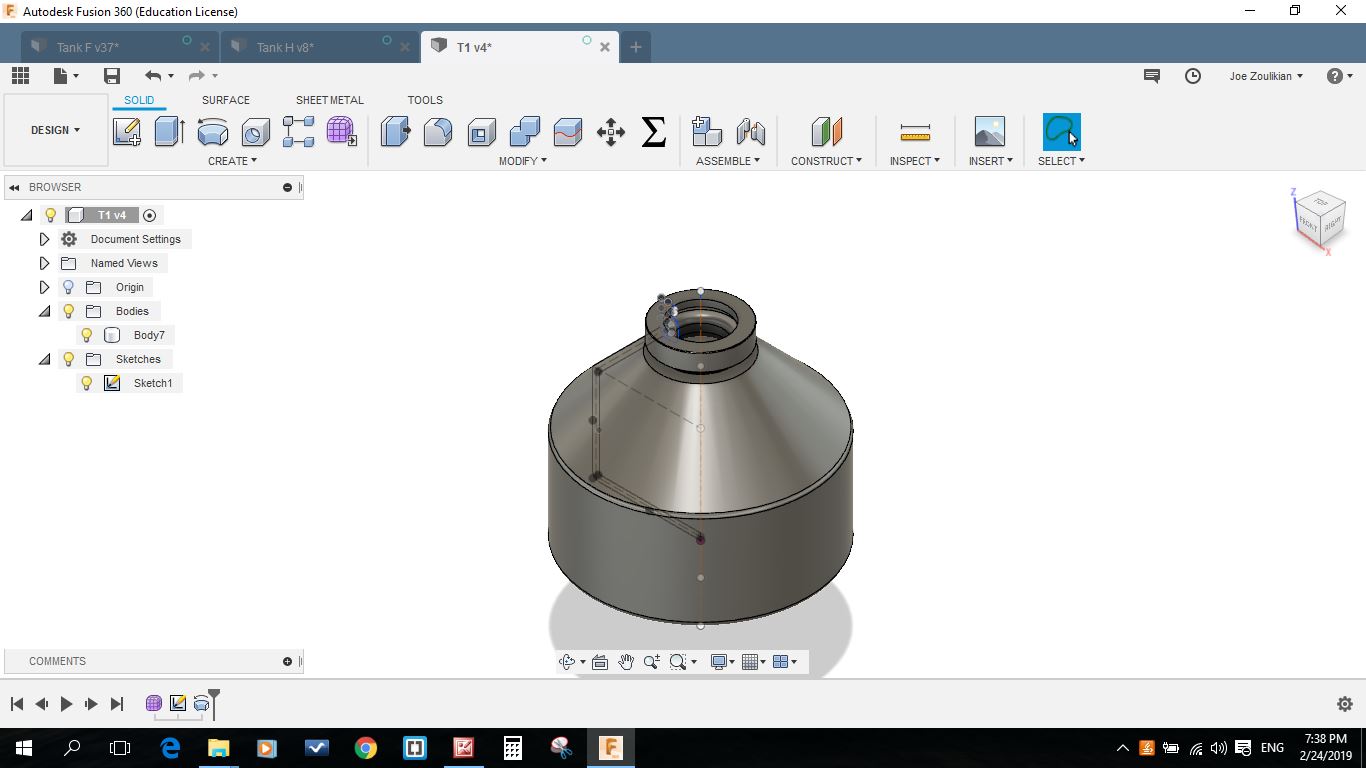
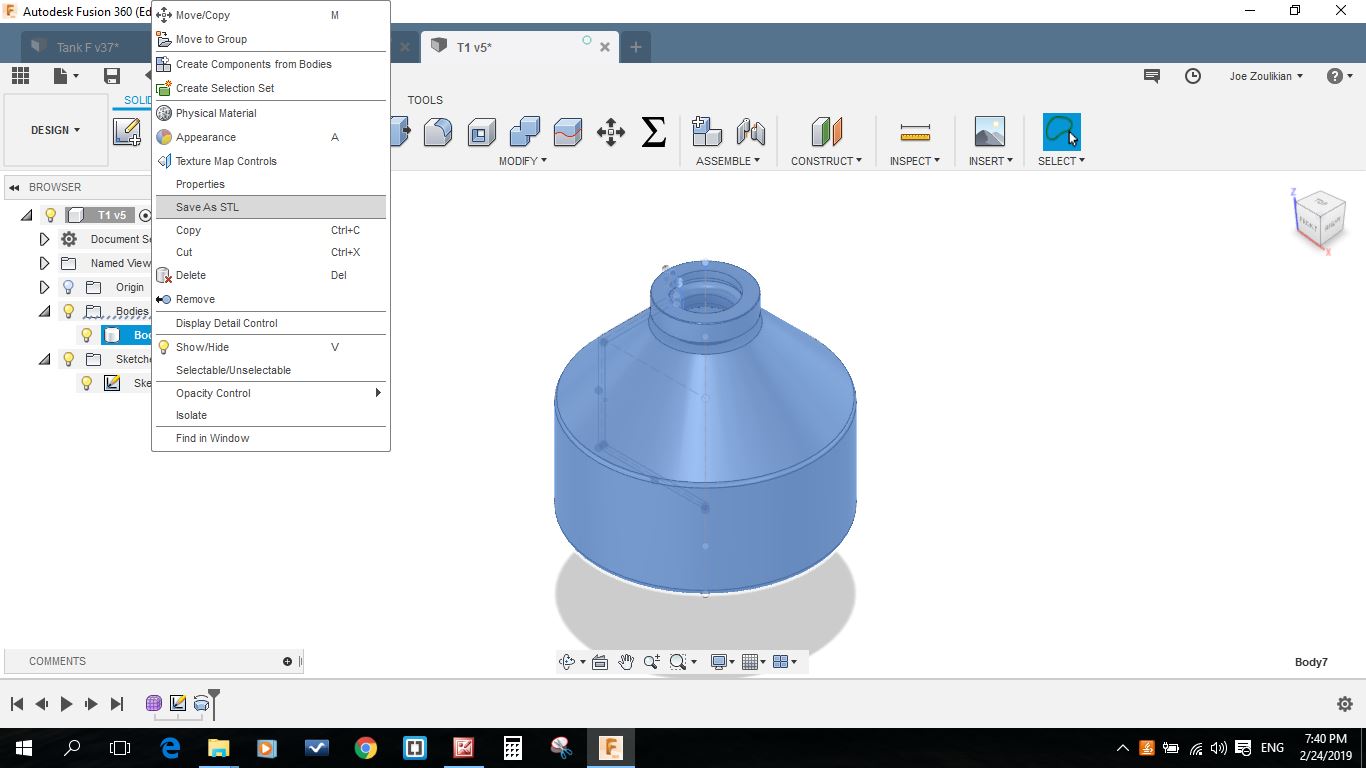
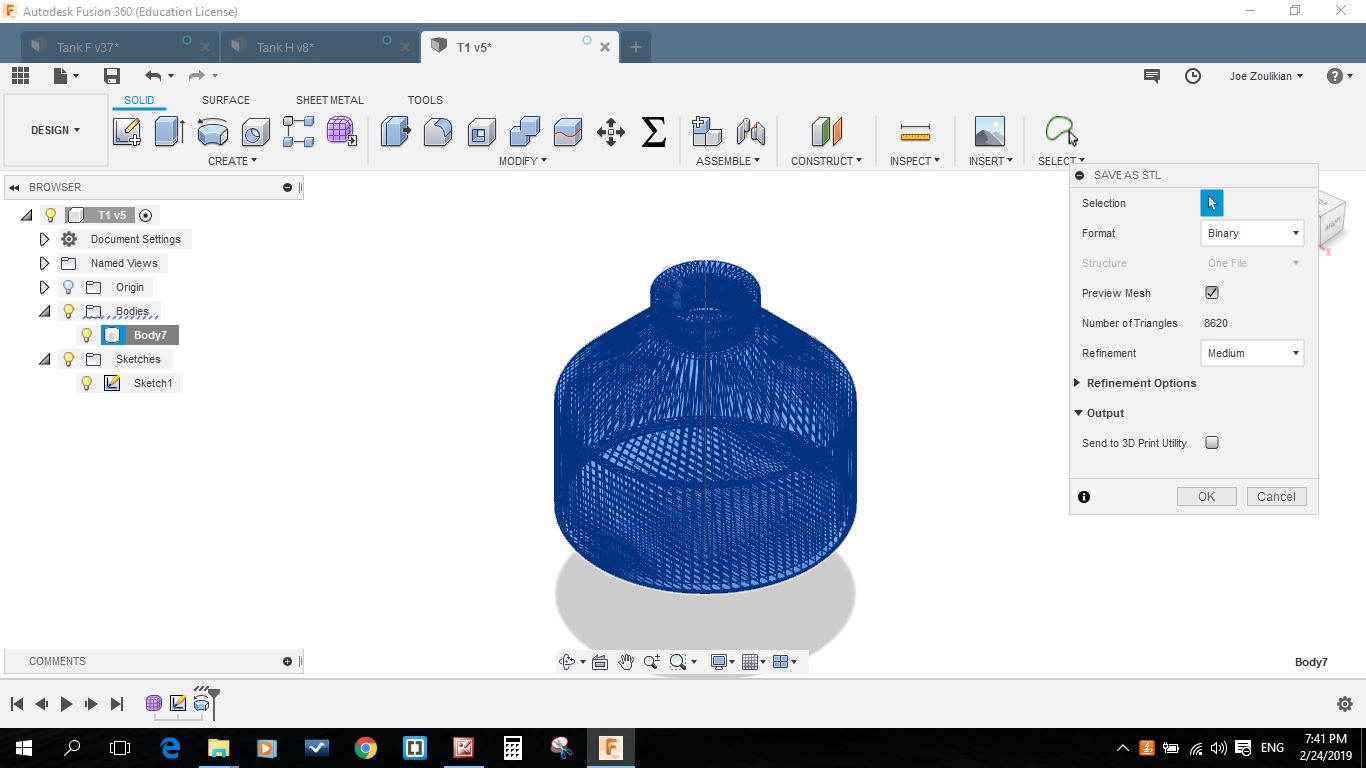
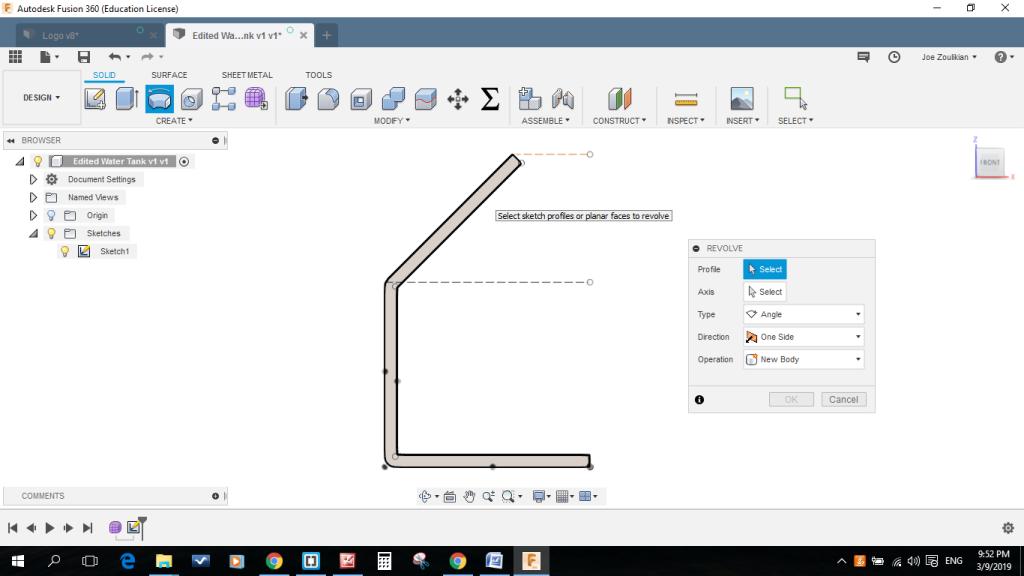
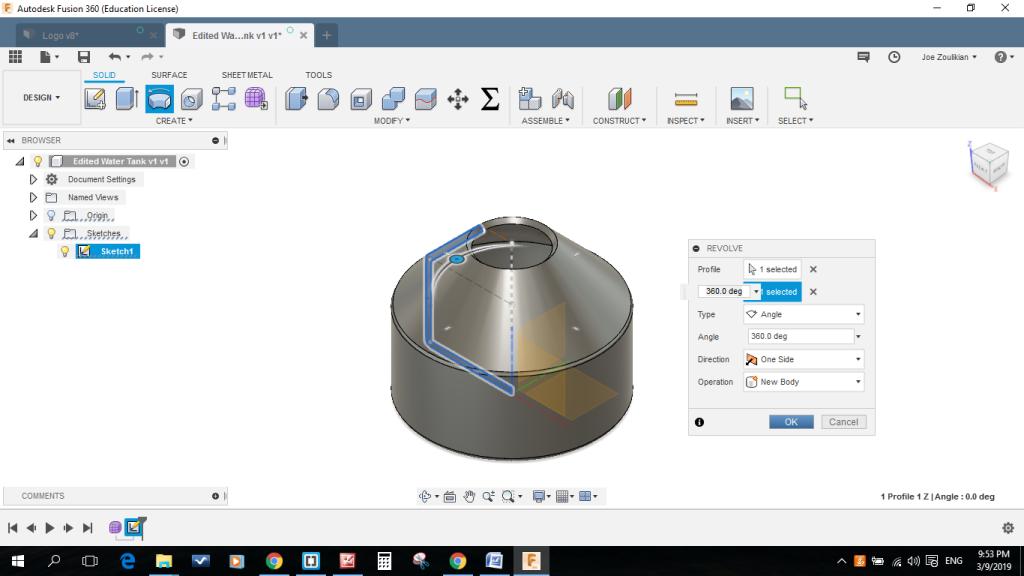
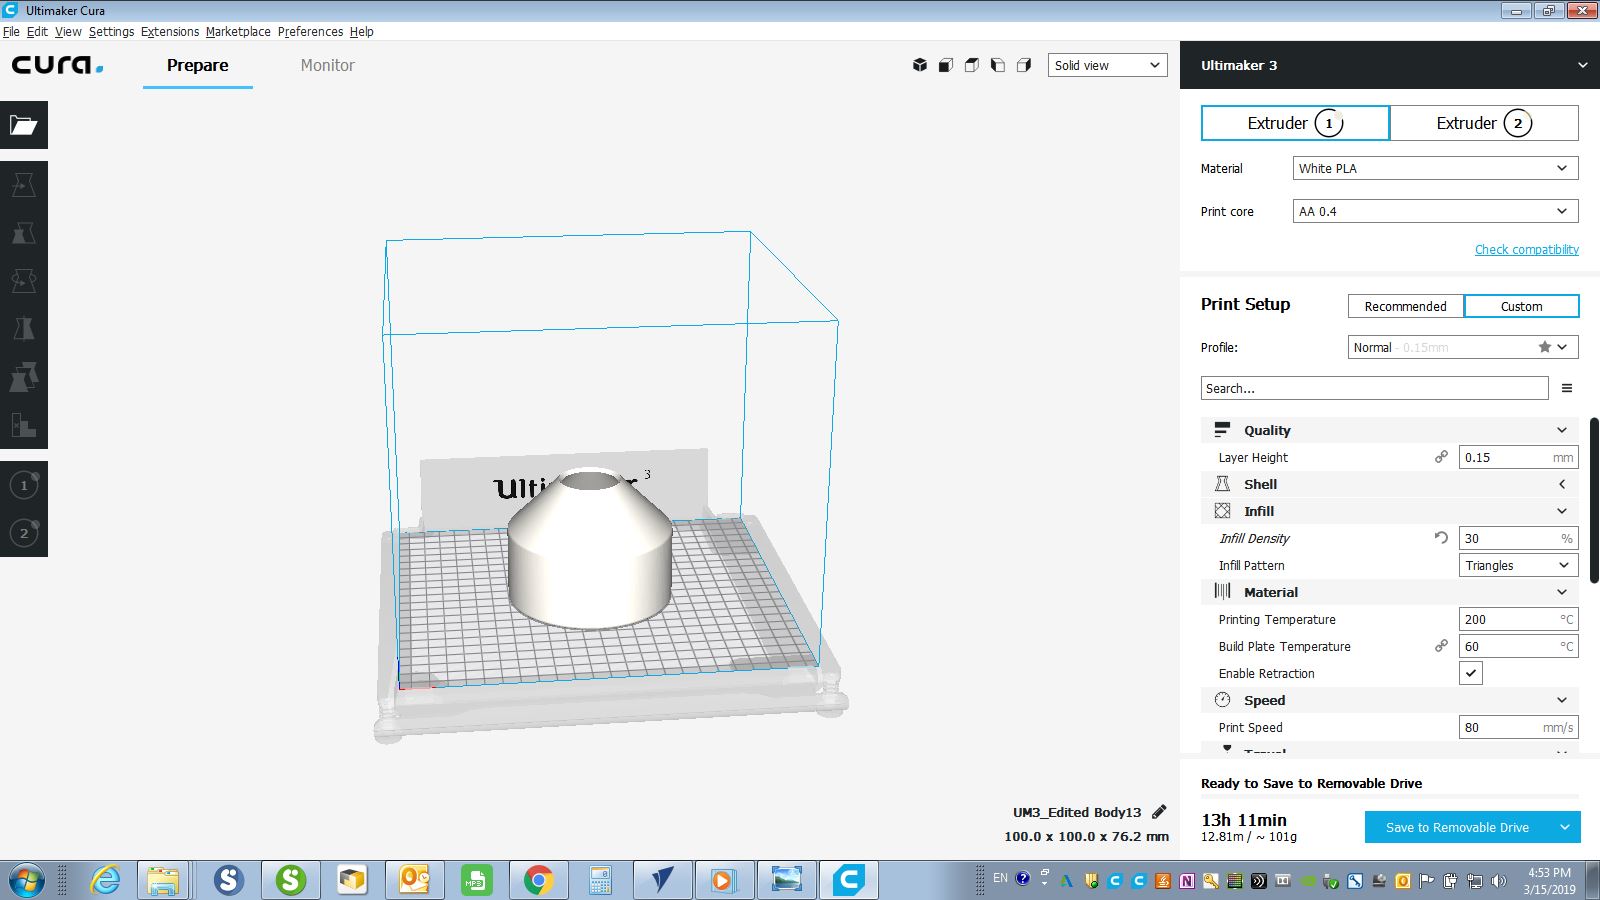
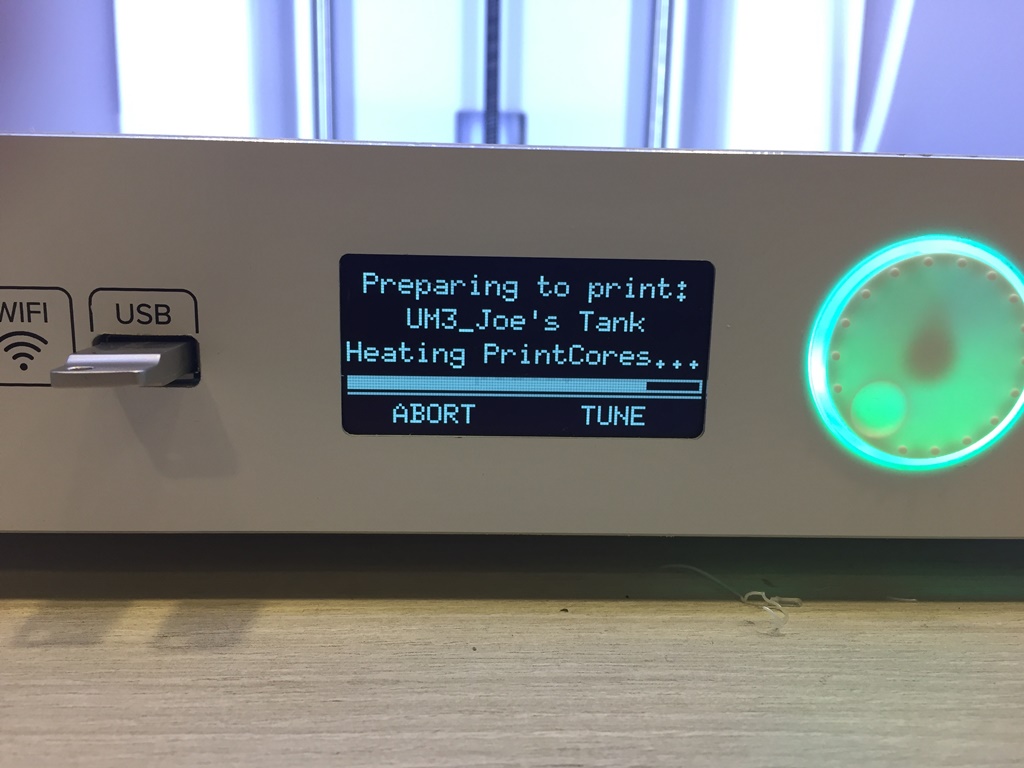
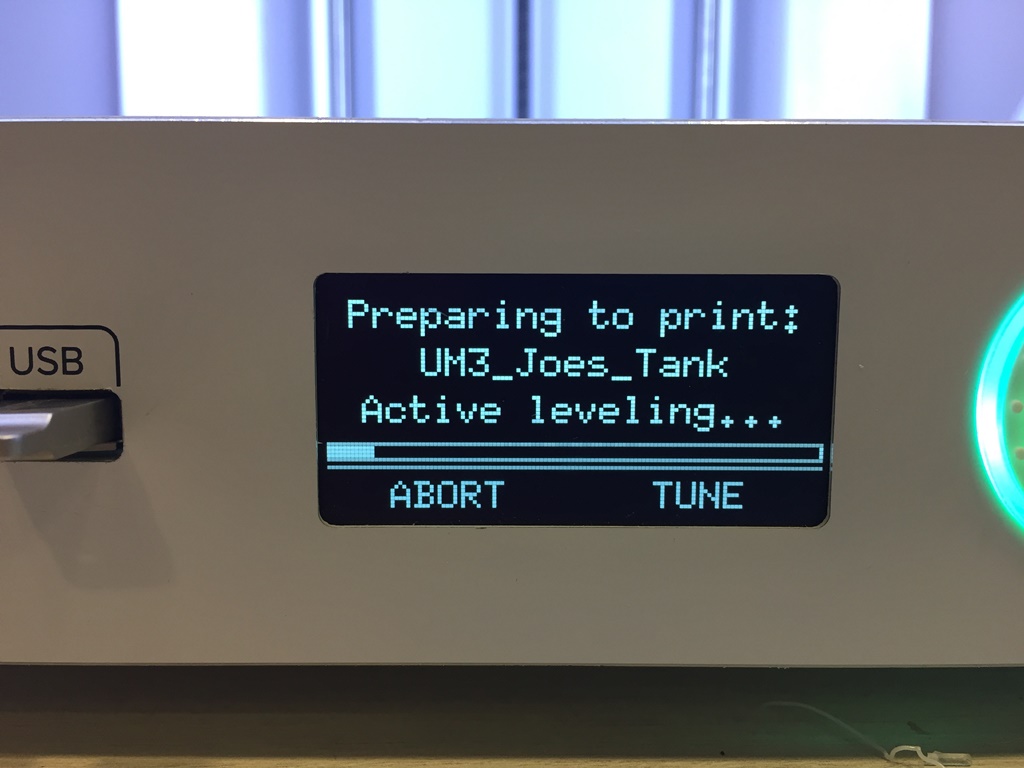
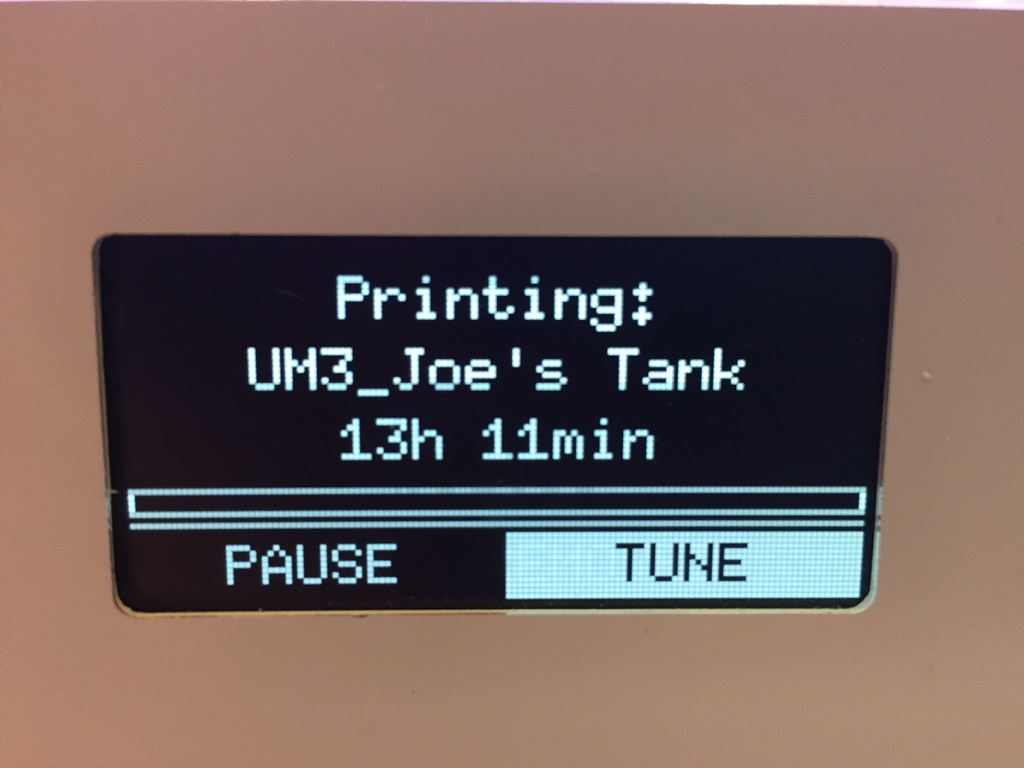
After testing the PLA and being sure that I will not have a leakage, by using Fusion 360 I designed the tank that could not be made subtractively neither on a CNC Lathe nor on a CNC Milling machine because of its hallow inner surface and thin outer surface. My plan is to use the PVA as a secondary support material that eliminates the issues of same material support and can be dissolved without a trace in a matter of hours by simply putting the 3D printed form in a water tank. The outer dimensions of the tank are 100 x 77 mm. The more we want our model to be smooth and high-quality the more we must minimize the layer height (0.06mm) and other constrains like the infill density if we need a hard model.
.JPG)
.JPG)
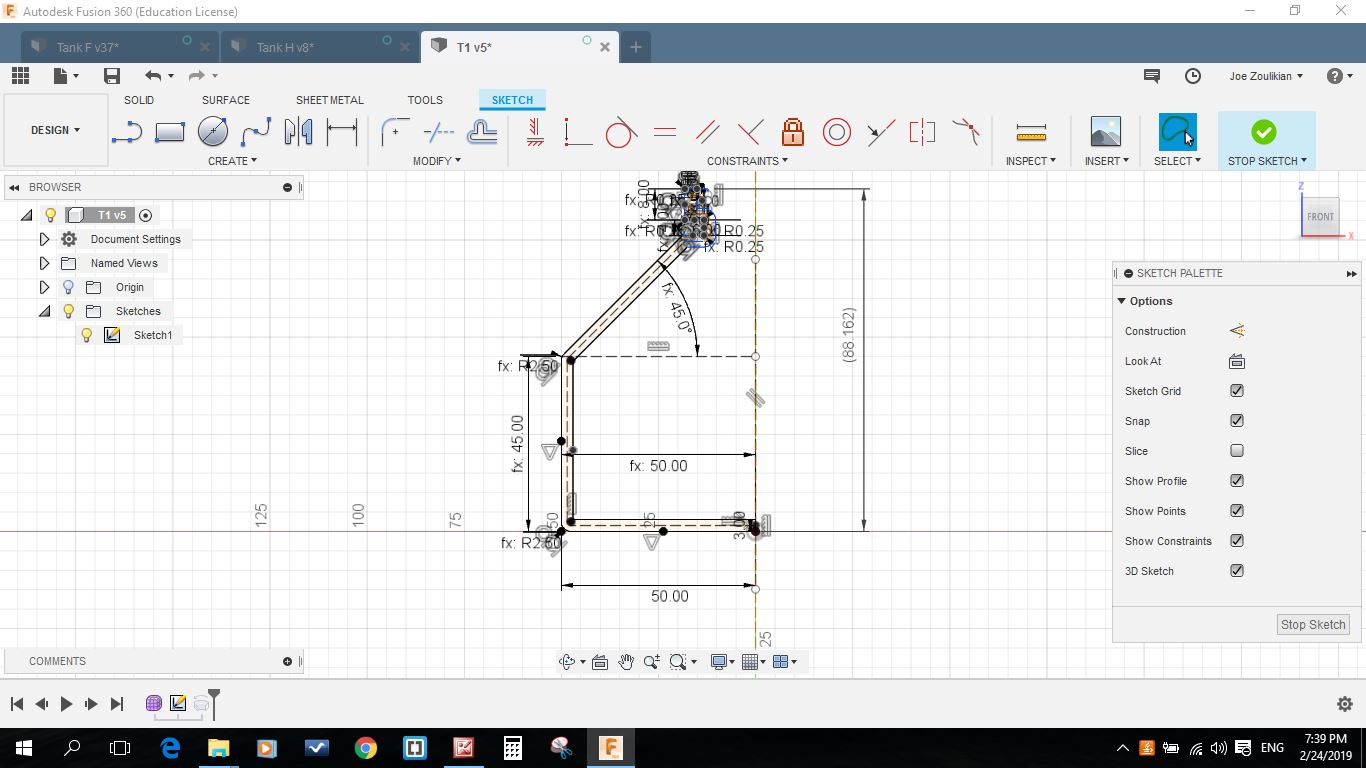
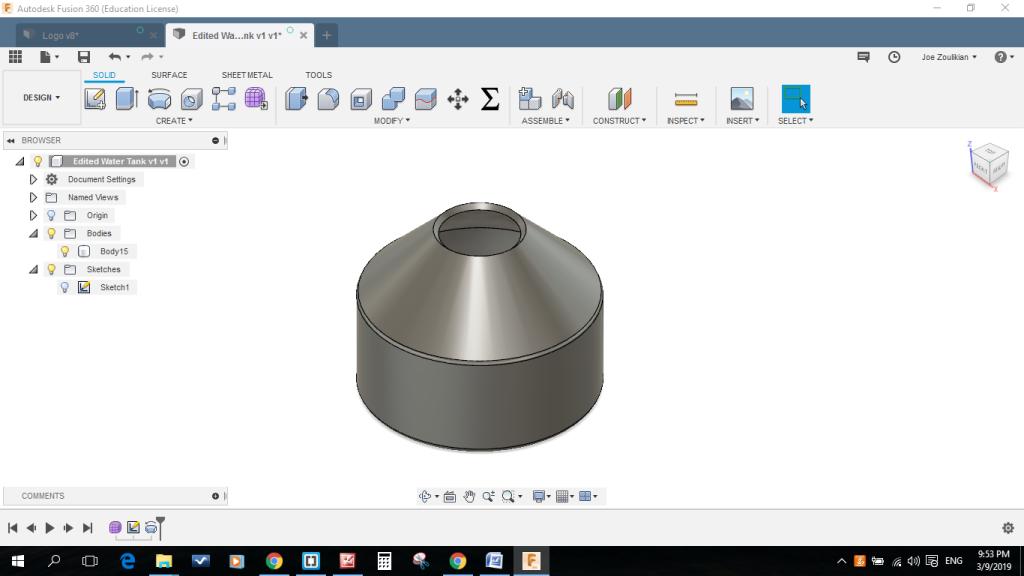
Unfortunately after printing my model and testing it I faced a leakage problem due to the PVA. I was obliged to redesign my model to eliminate the need of using PVA as support material.
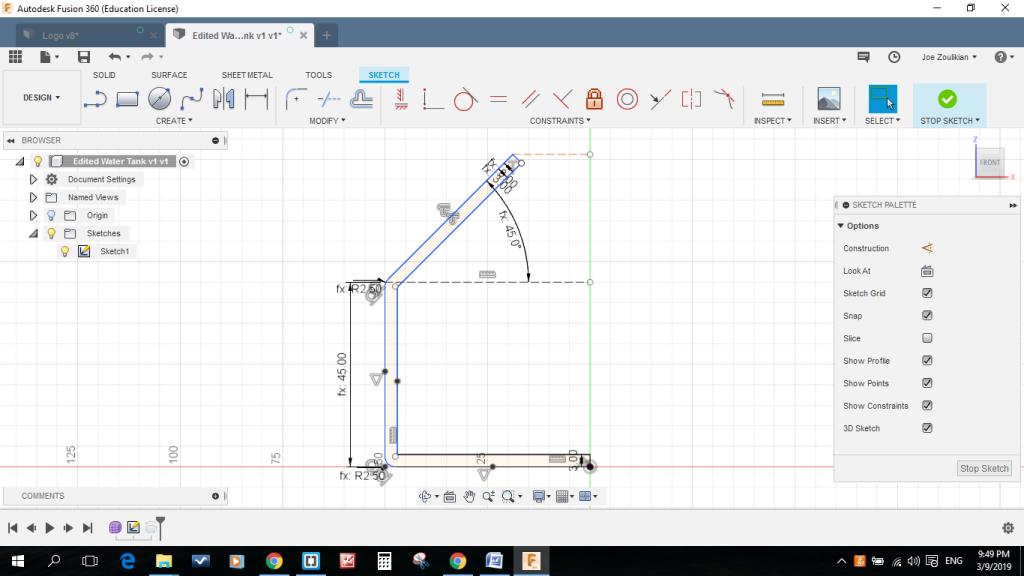
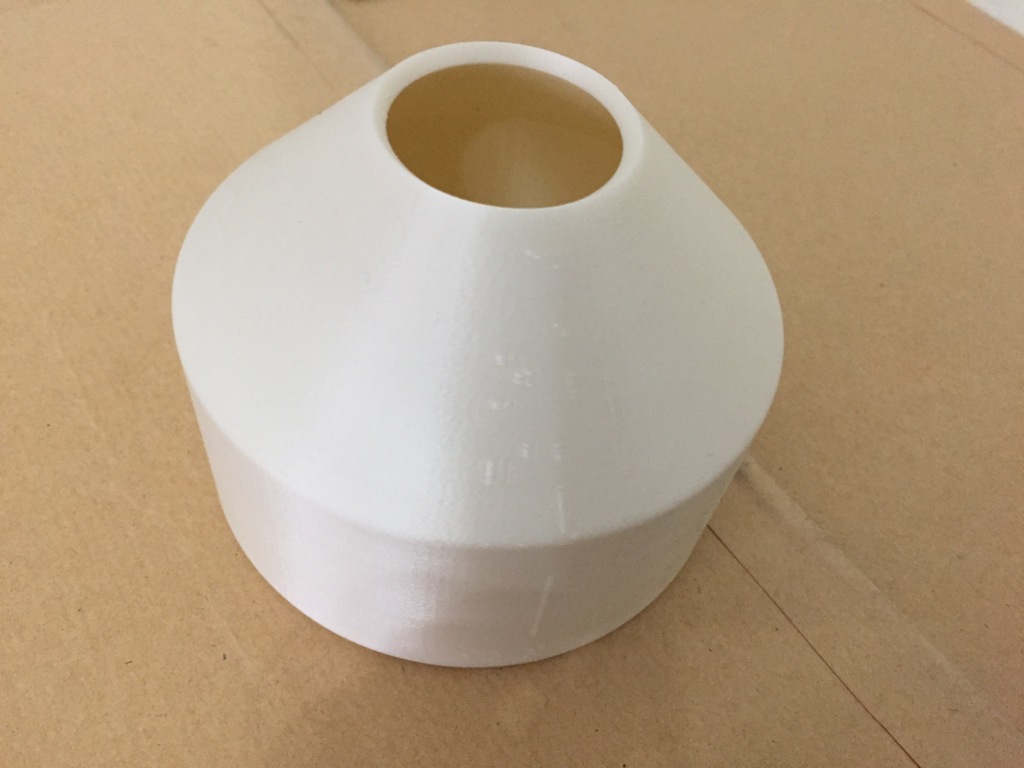
My part could not be manufactured substractively because its opening is too small and it must have a big inner cavity.
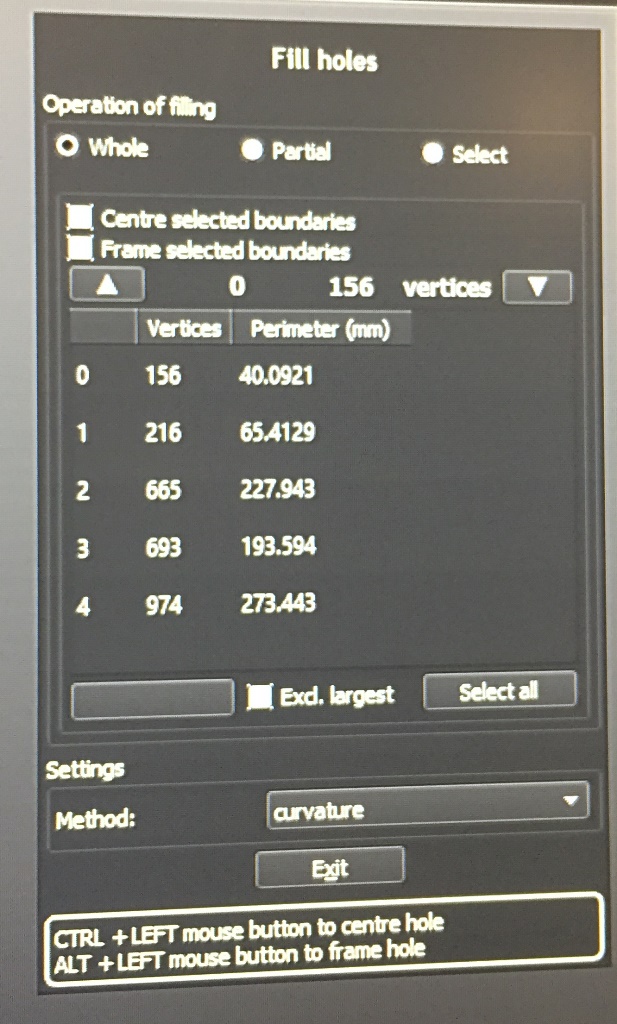
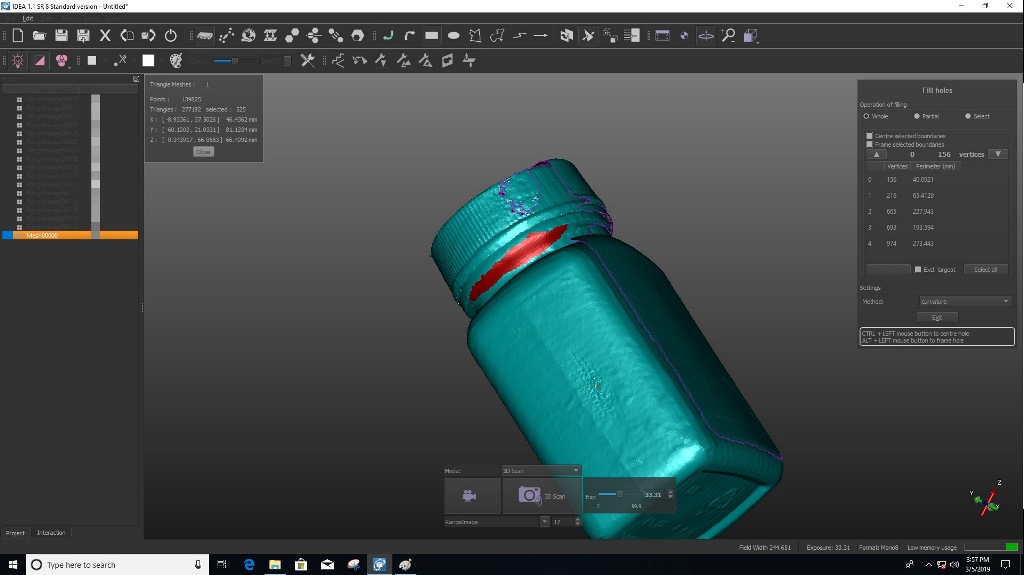
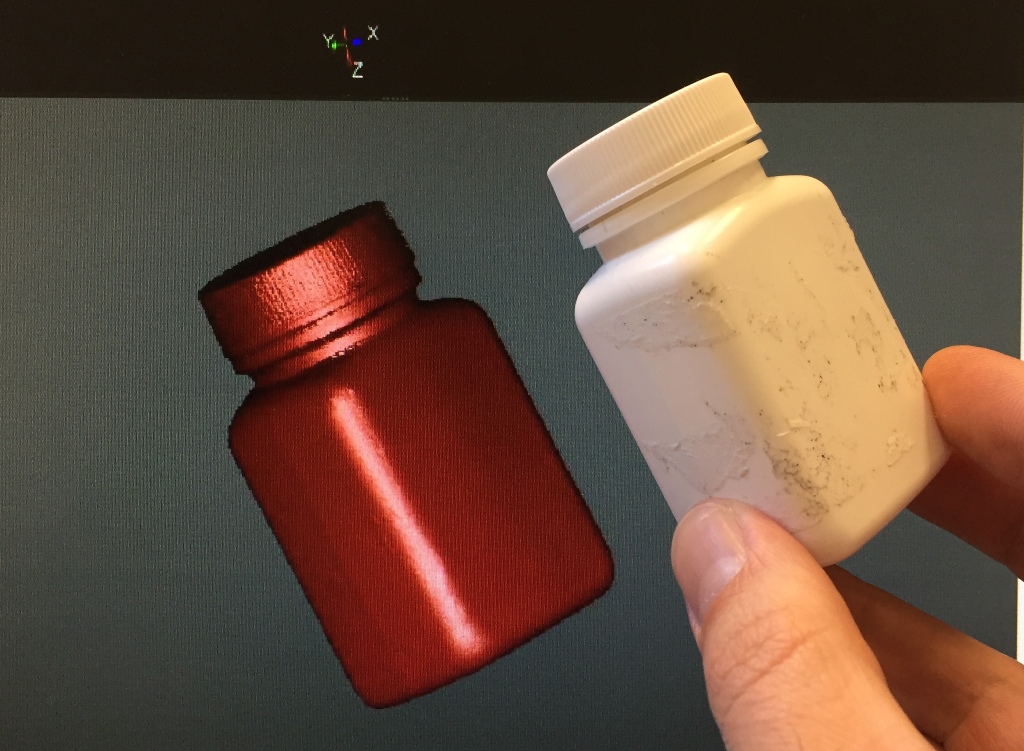
I took pictures from different angles of the same object using the special scanner software "IDEA" that acquires 3d images through the scans and processes the obtained data until the 3D object is completely reproduced. With "IDEA" we can manage Scan in a Box to scan whatever comes to our mind.
After taking several pictures, I recombined these photos into one mesh. In the last picture we can see the scanned and the real samll bottle.
.JPG)
.JPG)
.JPG)
.JPG)
.JPG)
Test Water Tank in Fusion 360
Water Tank in Fusion 360
Edited Water Tank in Fusion 360
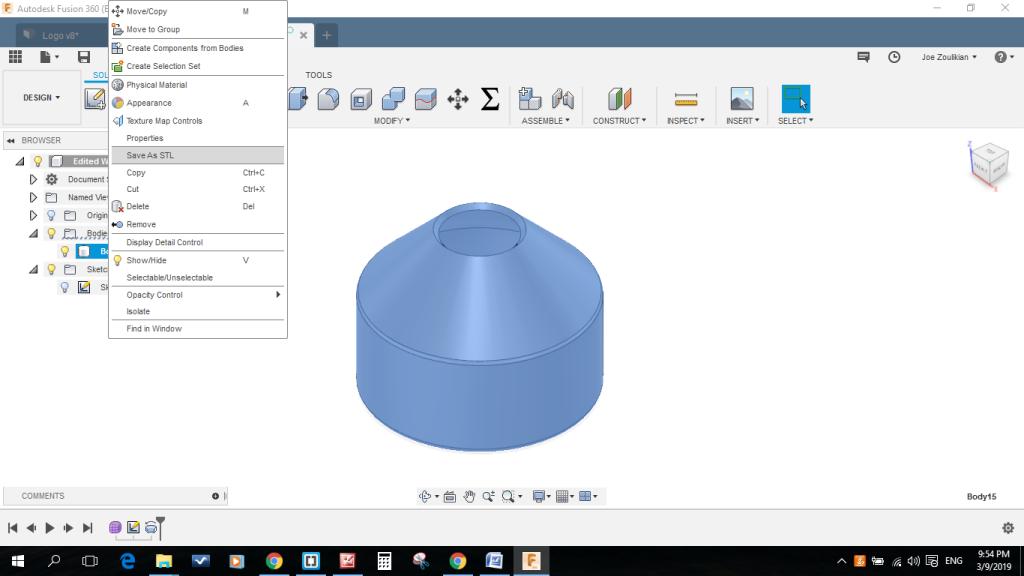
STL file of the edited Water Tank

This work is licensed under a Creative Commons Attribution 4.0 International License.