Week 13: Applications and Implications
During the thirteen session dated on April 10 2019, I was introduced to the different "Applications and Implications."
The assignment is to propose a final project masterpiece that integrates the range of units covered,
answering:
- What will it do?
The Dehumidifier is an electrical appliance which reduces and maintains the level of humidity in the air by extracting water from the air. The Dehumidifier will be mounted in the back side of to the "Ultimaker-3" 3D Printer and will cover the PLA and PVA filaments and will keep them in a "Humidity" level adapted to the manufacturer specifications below 50 percent using the "Peltier" kit.
- Who's done what beforehand?
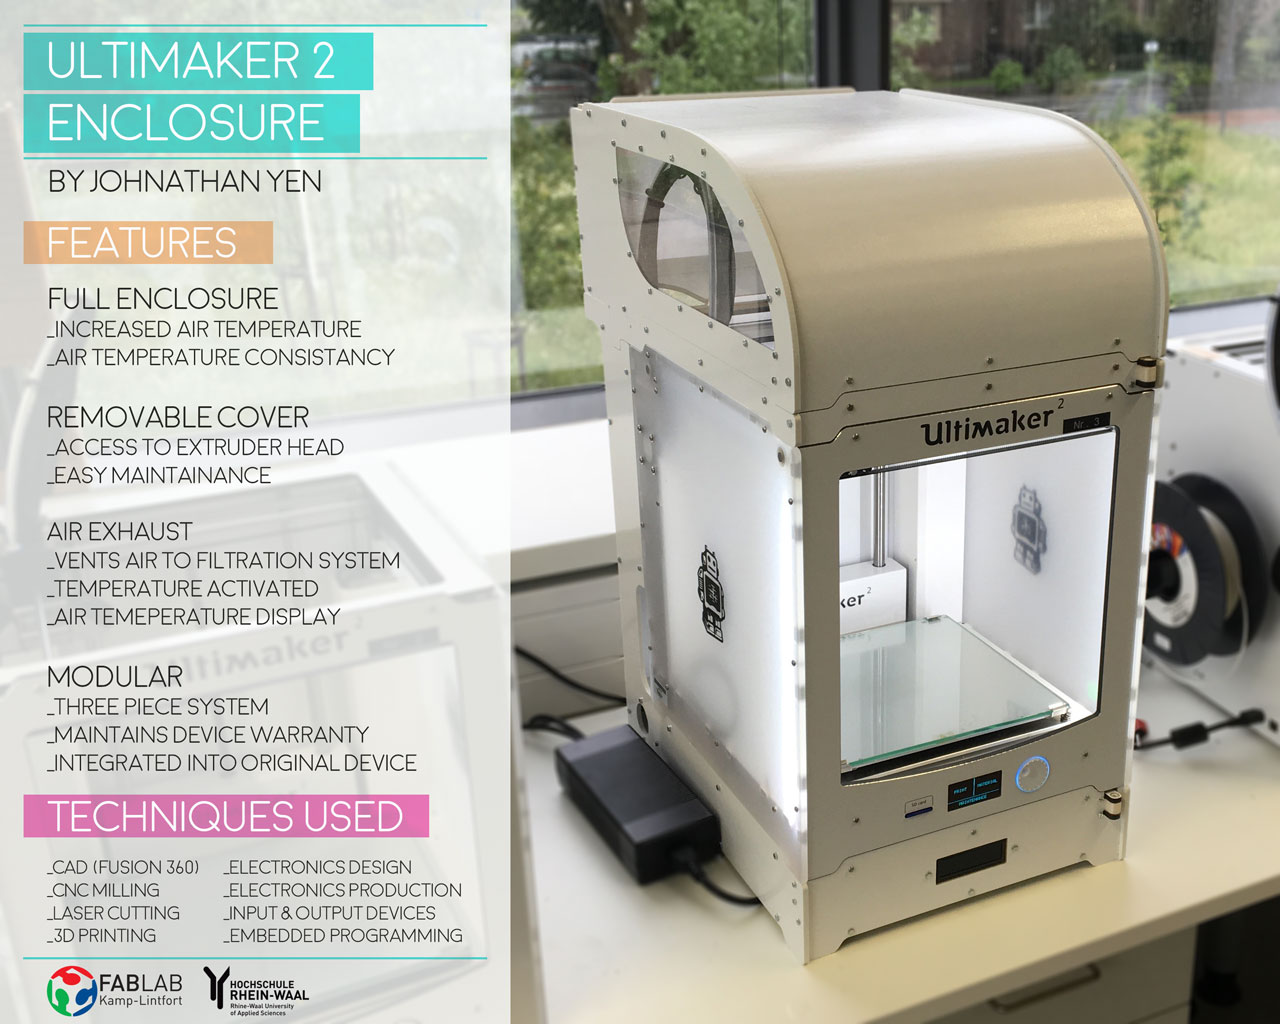
 Mr. Johnathan Yen from FabLab Kamp-Lintfort, designed and prepared in 2016 a proper enclosure setup for the "Ultimaker-2s" 3D printer, it is mainly used to increase the temperature of the filament not to decrease the ambiant humidity. He had troubles printing ABS due to warping, and he wanted to install some sort of exhaust system. So it was very interesting to him doing something that provided him challenges, while fulfilling a need for their lab.


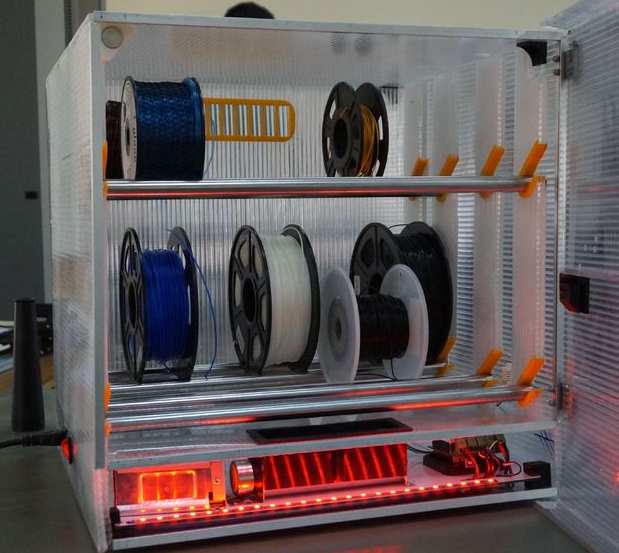
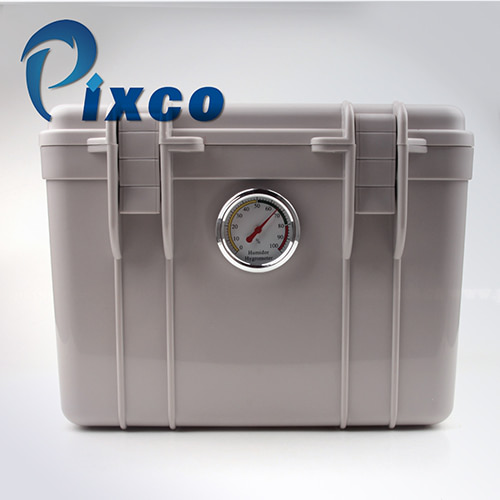
 The above enclosures are being used to keep the Humidity of the filament below 50%, but they are not completely connected or annexed to the "Ultimaker 3".
- What will you design?
I designed:
- The box outer shape and walls dimensions according to the "Ultimaker-3" dimensions,
- How to assemble and attached the "Dehumidifier" to the "Ultimaker-3",
- And 3D printed the tank that will collect the water generated by the "Dehumidifier",
- The PCB board by respecting the different wiring of the inputs and outputs sensors.
- What materials and components will be used?
- MDF as a box material,
- PLA to 3D print the water tank,
- "Peltier" complete kit,
- Steel hinges,
- Humidity sensor DHT22,
- LCD I2C display,
- Relays, and other components,
- PCB board.
- Where will come from?
The MDF from local provider, same for the electronic components.
I was obliged to order the "Peltier" from outside Lebanon because it was not available in the market.
- How much will they cost?
|
|
| Item name |
Quantity |
Unit Price |
Total Price |
| Acrylic 6mm |
1 |
50 $ |
50 $ |
| PLA |
1 |
25 $
| 25 $
|
| DHT-22 |
1 |
8 $ |
8 $ |
| LCD Green Light 16 x 2 |
1 |
3 $ |
3 $ |
| I2C |
1 |
3 $
| 3 $
|
| 1 channel relay Module with optocopler |
1 |
3 $
| 3 $
|
| "Peltier Kit" |
1 |
22 $ |
22 $ |
| ATMEGA328P-PU: |
1 |
4 $
| 4 $
|
| DIP 3 color led module |
1 |
1.5 $
| 1.5 $
|
| Power Supply: 12V 15Amps |
1 |
13 $
| 13 $
|
| Voltage Regulator 7805 + Heat Sink |
1 |
2 $
| 2 $
|
| Fan 40 x 40mm |
1 |
3 $
| 3 $
|
| Other Components |
1 |
20 $
| 20 $
|
| Total |
|
| 157.5 $
|
Reference for the Components pricing Pulsr.
- What parts and systems will be made?
It is a combination of a wood box cutted on the CNC machine, a water tank 3D printed on the "Ultimaker-3", electronic components mentioned above and I assembled a "Peltier kit".
- What processes will be used?
I will choose the type of "Thermoelectric dehumidifiers" for my project that uses a "Peltier" heat pump to cool a surface and condense water vapor from the air.
The design is simpler and has the benefit of being quieter compared to a dehumidifier with a mechanical compressor.
Thermoelectric cooling uses the Peltier effect to create a heat flux between the junction of two different types of materials. A Peltier cooler, heater, or thermoelectric heat pump is a solid-state active heat pump which transfers heat from one side of the device to the other, with consumption of electrical energy, depending on the direction of the current. Such an instrument is also called a Peltier device, Peltier heat pump, solid state refrigerator, or thermoelectric cooler (TEC).
- What questions need to be answered?
Our lab is located few meters away from the Mediterranean Sea, because of that we are facing a humidity problem in conserving and using the PVA.
That is why I am planning to design and manufacture a "Dehumidifier" to keep the "PVA" in an environment having a 50% humidity. This Dehumidifier can be used by all the "Ultimaker-3" customers who are facing humidity problem in storing their PVA.
- How will it be evaluated?
It will be evaluated by:
- Solving the humidity problem,
- Being able to use the PVA water dissoluble material on the Ultimaker-3,
- Being able to 3D print complex shape models that needs some non-permanent support fixing materials,
The Humidity sensor DHT-22 will read the humidity level inside the box and it will be displayed on the LCD screen, when the Dehumidifier is on we will be able at all time to track the Humidity level and verify the functionality of our project.
- Schedule:
- First week of May: My first draft of the PCB should be ready and tested,
- Second week of May: Assemble and test the "Peltier" kit to check its efficiency and functionality,
- Third week of May: Connect the "Peltier" to the PCB and mount them on a box,
- Fourth week of May: Perform a second test,
- Last week of May: Perform a third test using a new enclosure,
- First week of June: Redesign and cut the new acrylic enclosure, assemble and attach it to the "Ultimaker 3", check the full functionality of the system, arrange the wiring, 3D print and assemble the funnel.
- Second week of June: Prepare the poster and video.
- My project incorporate:
- 2D and 3D design,
- additive and subtractive fabrication processes,
- electronics design and production,
- microcontroller interfacing and programming,
- system integration and packaging,
- Where possible, I should make rather than buy the parts of my project,
I purchased the "Peltier" kit because its the main part and it cannot be manufactured at the "Fab Lab".
I used the below raw materials:
- MDF,
- electronic components,
- input sensors,
- output sensors,
- PLA for the 3D printer.
- As you have noticed above, my project is containing separate mechanical and electronics parts independently operable and joined together and commended by a software.
In my opinion, it is a very practical project that was made due to an urgent need.
In addition, its realization required a mastery of all the technologies learned and practiced in the previous weeks and chapters.

This work is licensed under a Creative Commons Attribution 4.0 International License.


