During the seventeen's session dated May 15 2019, the group assignment is to actuate and automate our machine, and document the group project and our individual contribution.
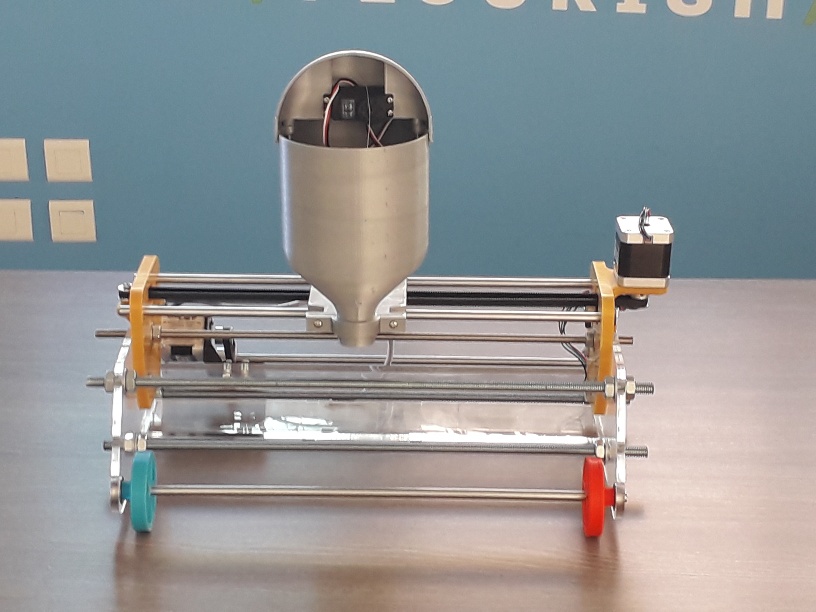
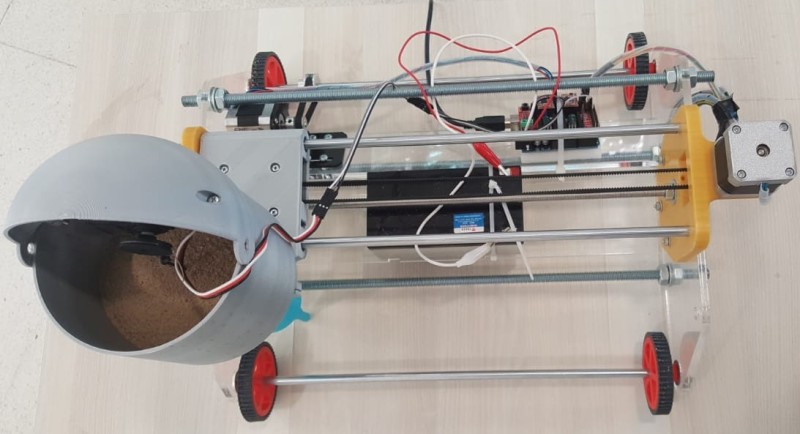
In reference to week 15 "Mechanical Design" our group project is a Sand Plotter that will draw figures with sand in a street, in a floor or any other flat surfaces limited to 40cm in width and unlimited in length.
In order to commend the stepper motor:
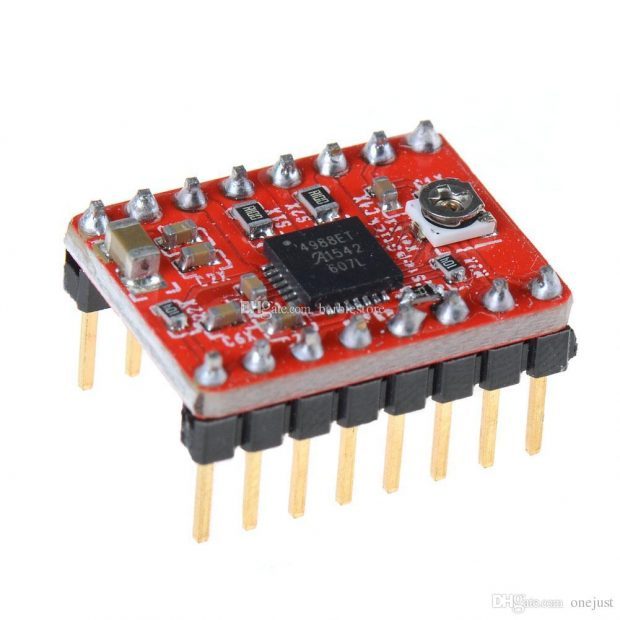
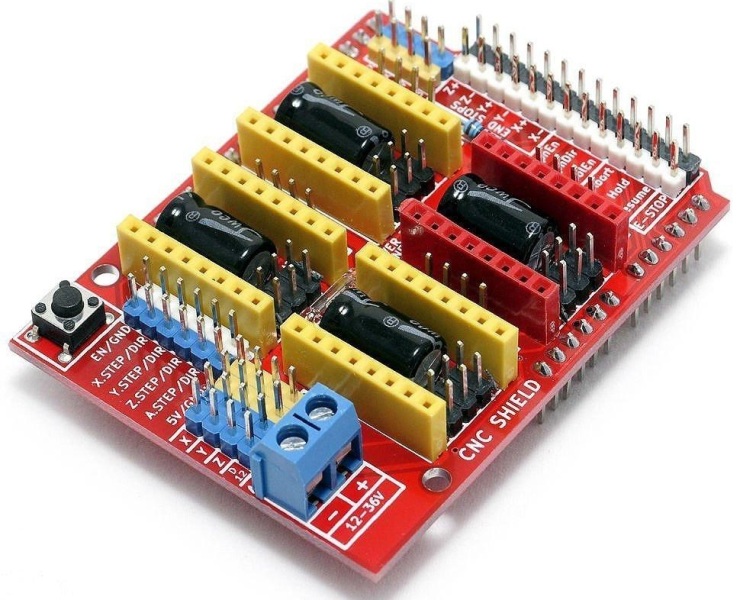
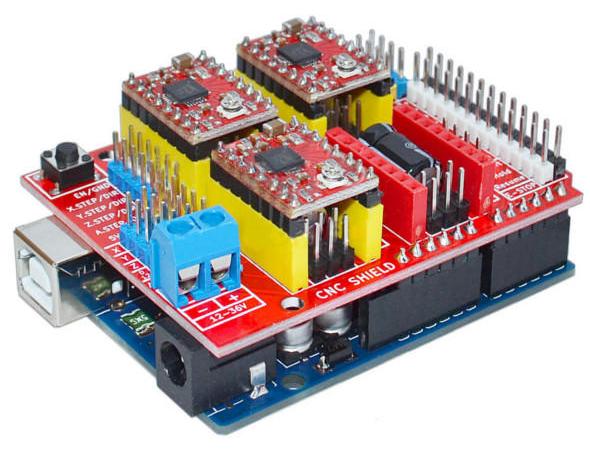
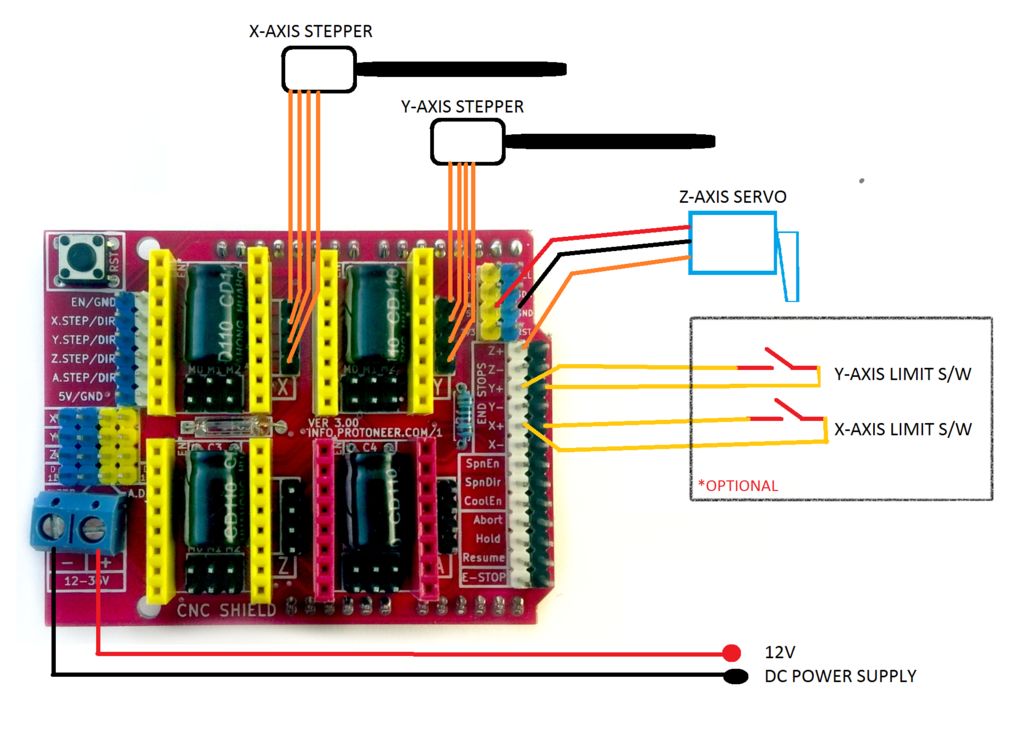
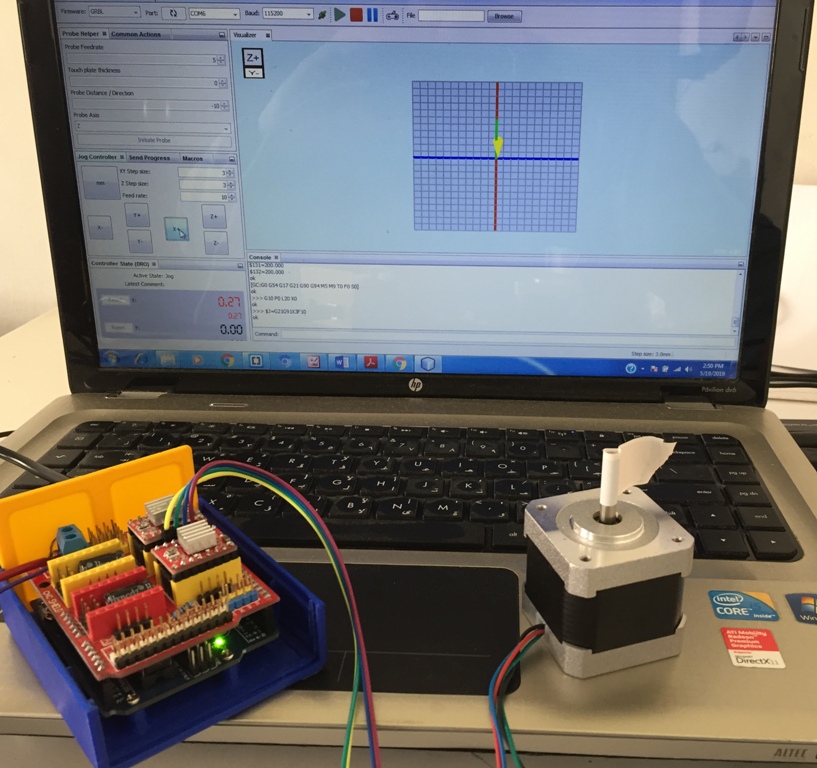
I connected the CNC Shield (equipped with X and Y Stepper driver type A4988) to the Arduino Uno board.
I connected the stepper motors Nema 17 to the X and Y drivers and the limit switch for the Y-Axis according to the below wiring.
Red,
Blue,
Green,
Black.
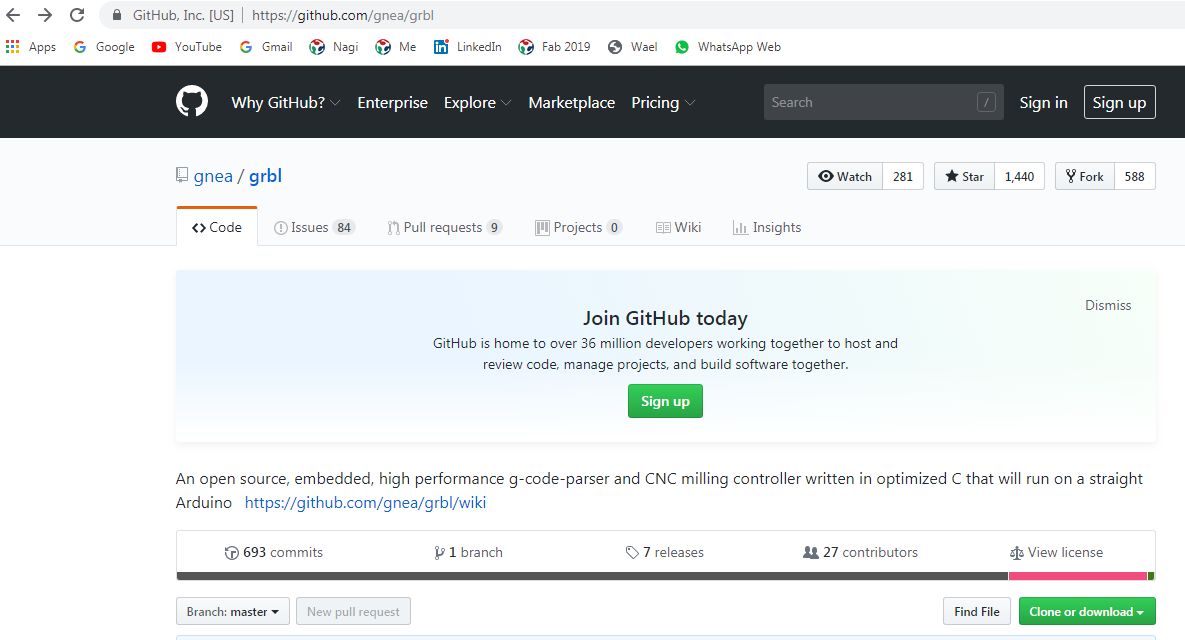
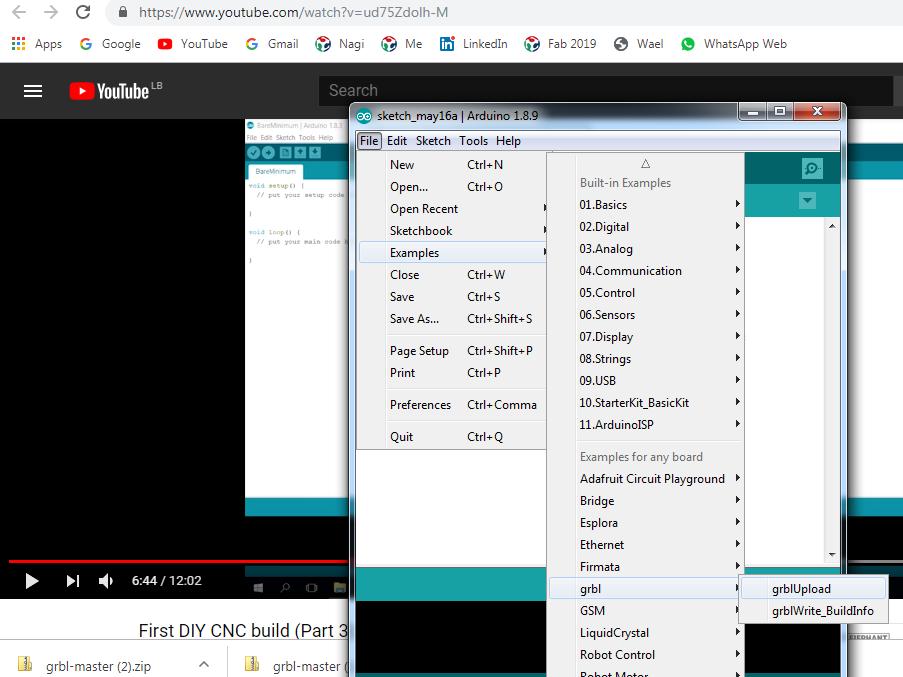
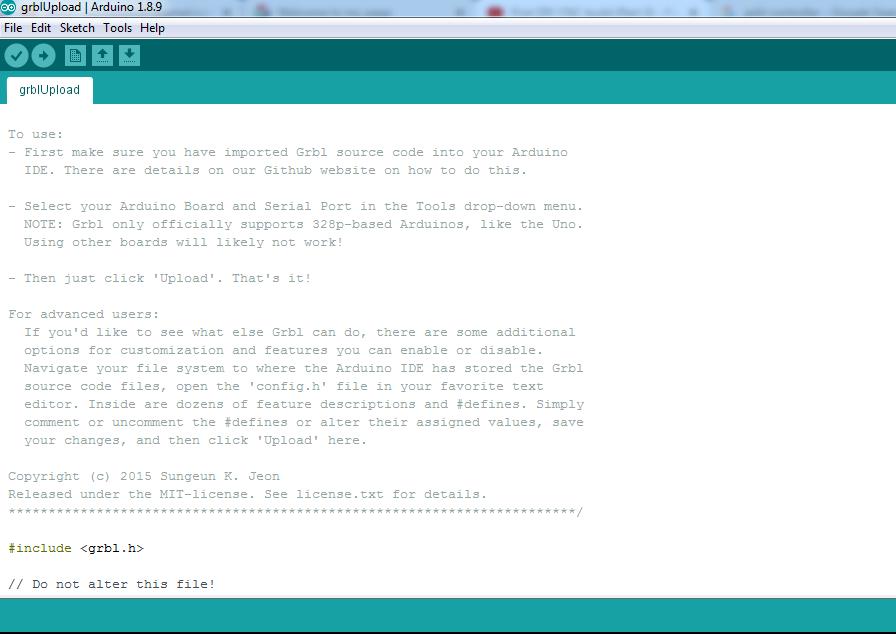
I downloaded the GRBL zip file and added the grbl folder into to the main library of Arduino, then I tested the example.
The GRBL open source firmware runs on an Arduino Uno and turns G-code commands into stepper signals. The GRBL and the CNC shield are simple and effective ways to control a 2 or 3 Axis machine or any kind of robotics projects.
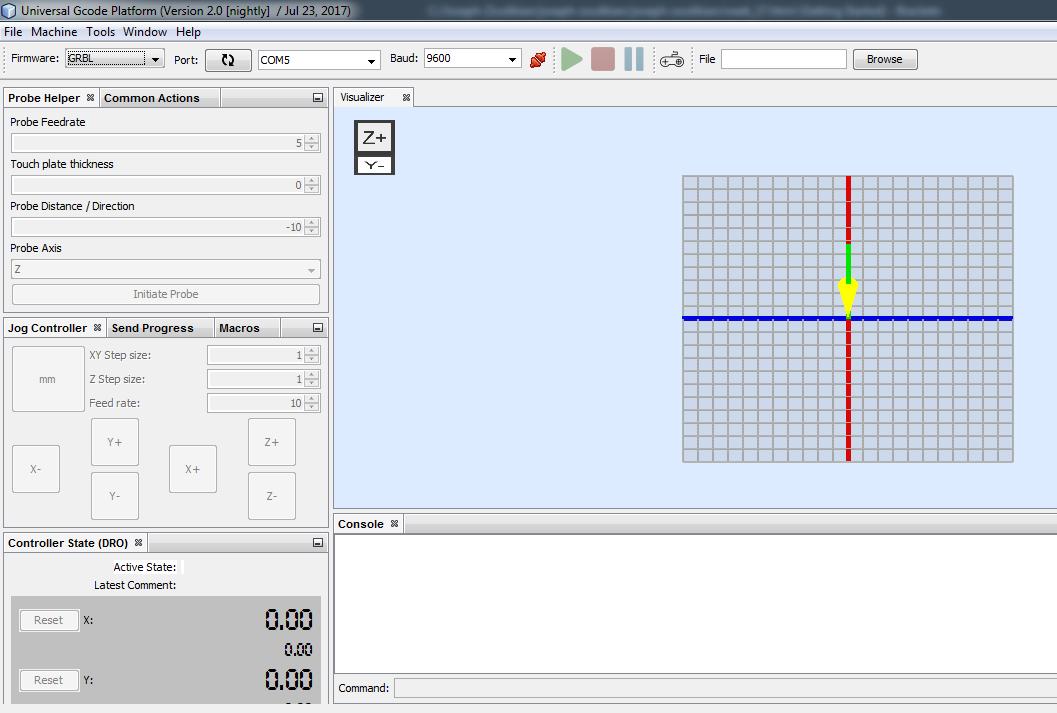
I downloaded The Universal Gcode Sender which is a Java based GRBL compatible cross platform G-Code sender.
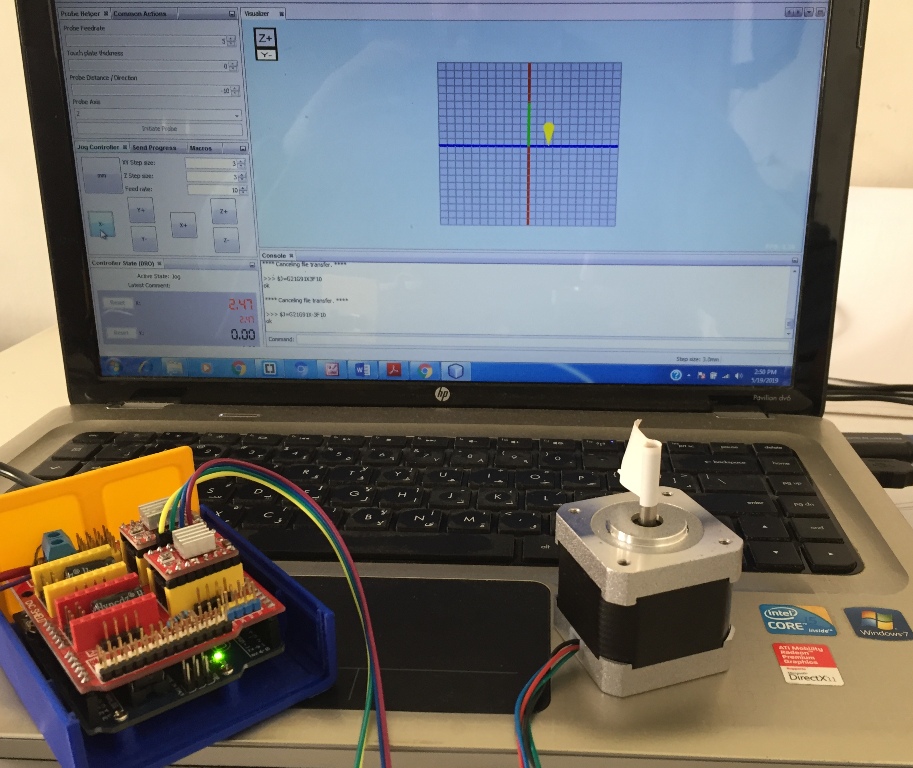
I connected the Arduino Uno, then I pressed the refresh button, the software automatically adapted the Port number. I set the Baud Rate to 115200. Then I clicked on Connect.
As you can mention in the above picture in the Console Section we have numbers and the X+ X- Y+ Y- Z+ Z- are active now.
From now one, I can control the X and Y stepper motors connected to shield board. When I click X+ or X- the stepper motor attached to X terminal will turn in forward or reverse direction.
Actuate and Automate:
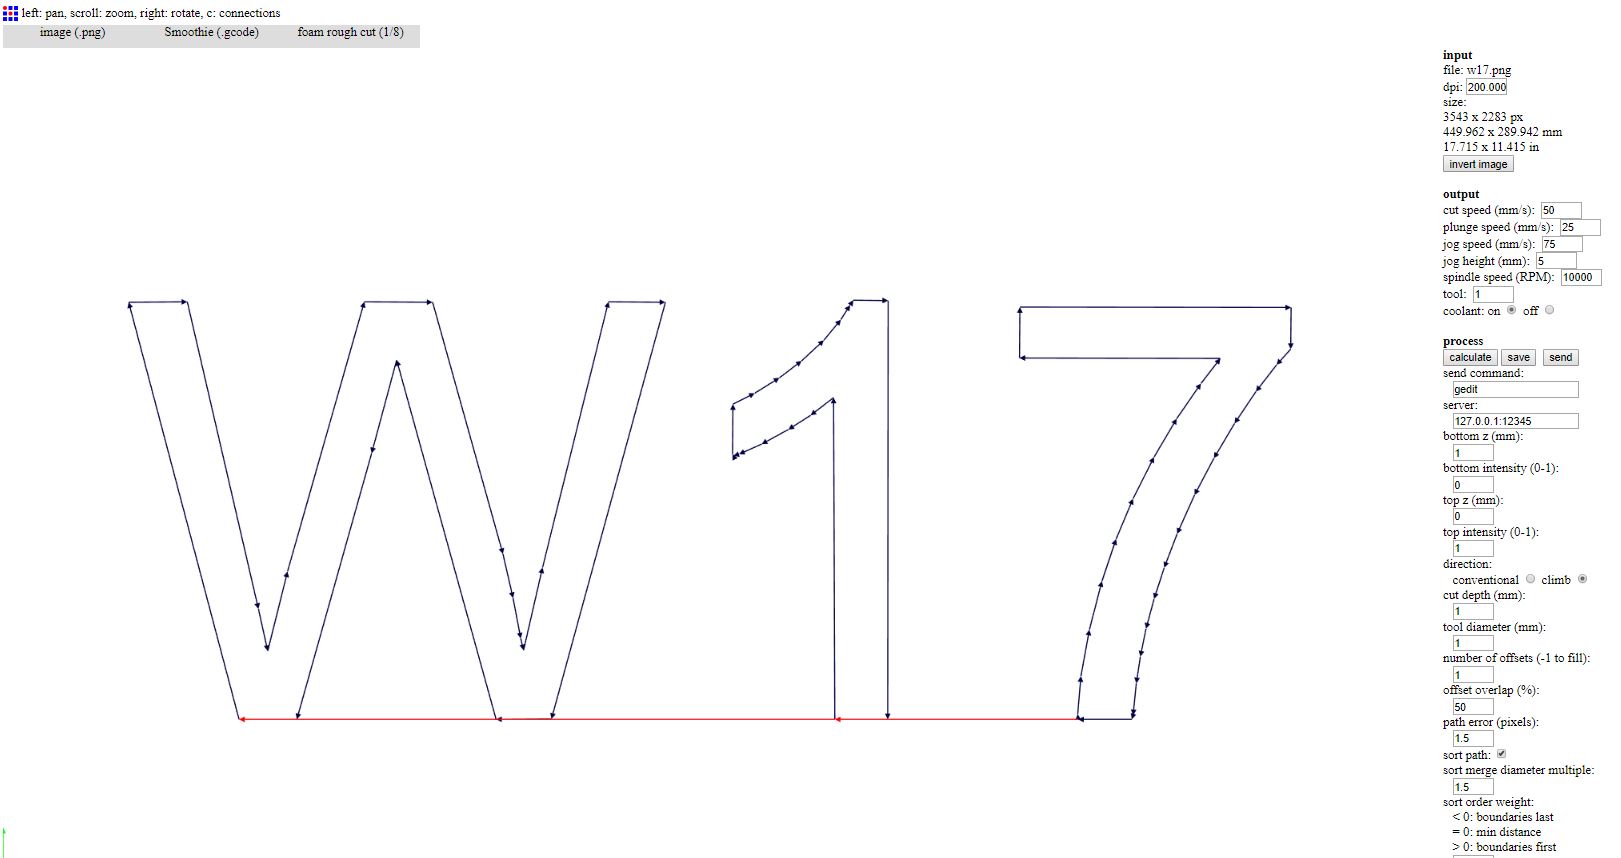
After each team members learned and practiced the CNC shield-Arduino connection and how to control and operate a stepper and a servo motor, we worked by group to finalize the control settings and generate a "W17" toolpaths specific gcode.
We connected the CNC Shield and started by doing our group assignment.
Connection:
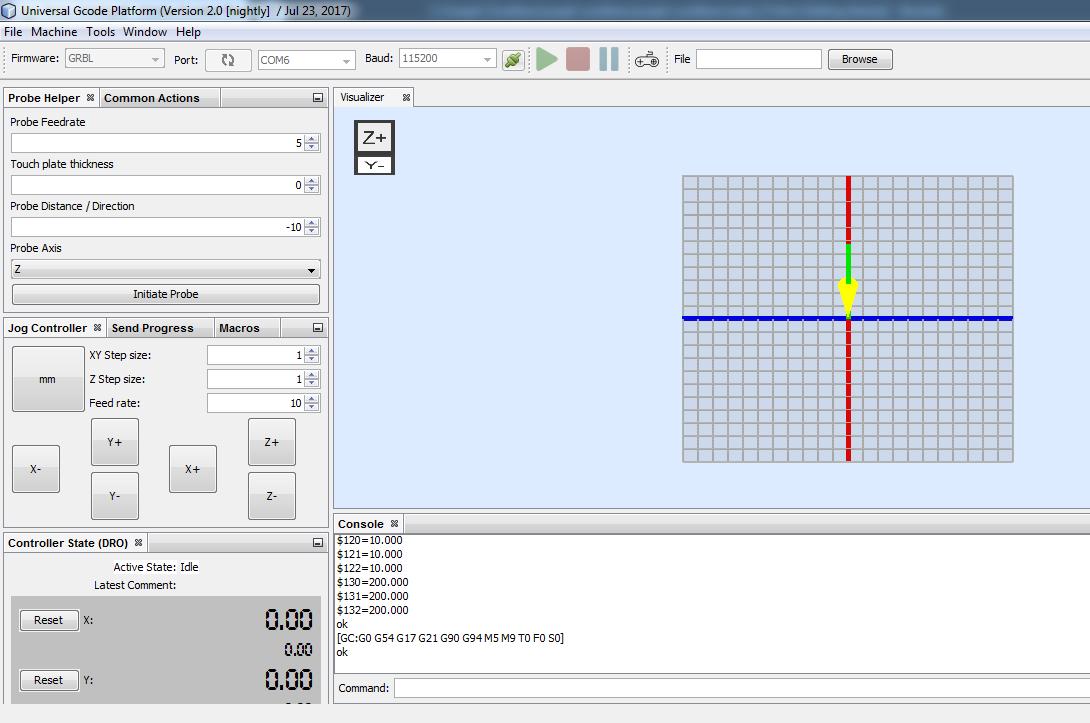
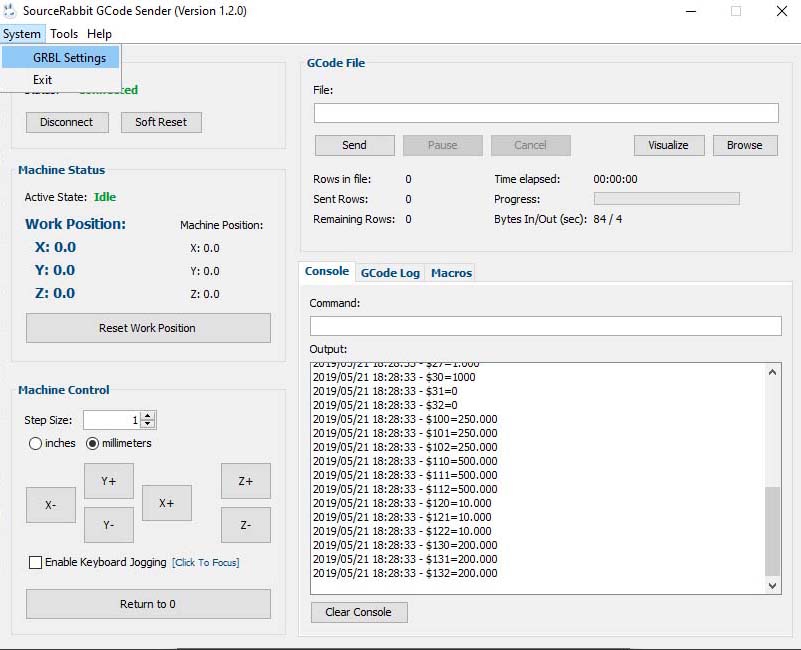
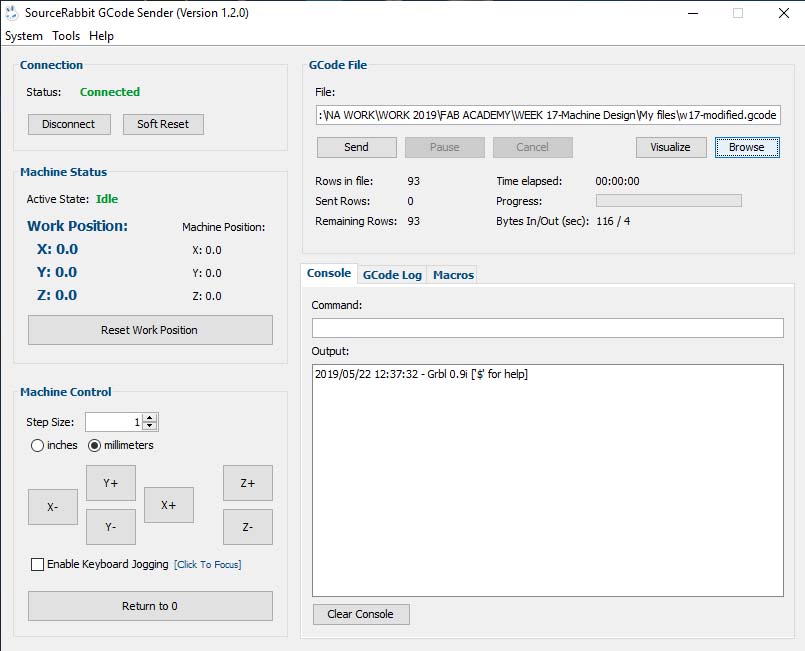
My friends preferred to install and use the Source Rabbit gcode sender. So we connected to the COM3 and selected 115200 as Baud rate in order to connect to Arduino.
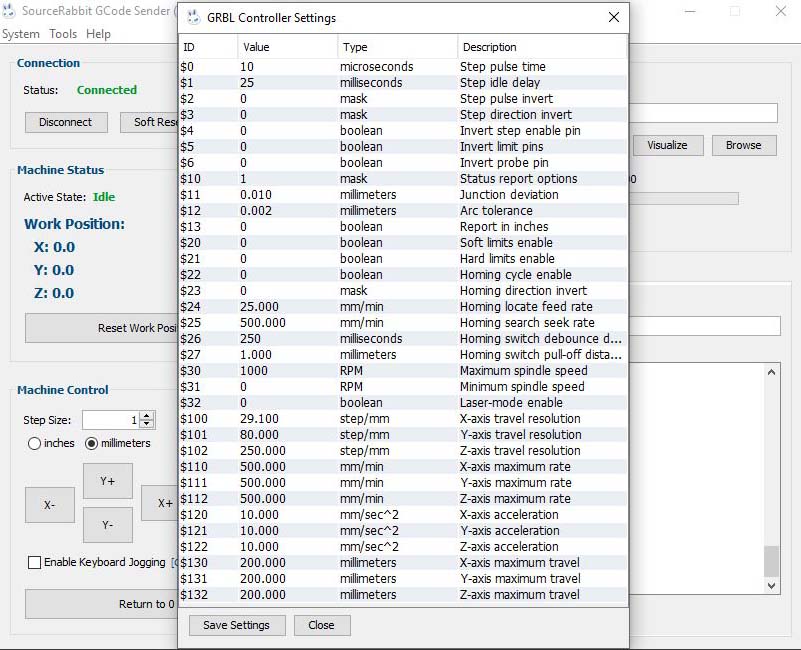
Then we configured the grbl settings to match our machine gears and dimensions.
X-axis resolution =29.1
Y-axis resolution = 80.
After that, we connected the 2 stepper motors on the X & Y axis and the servo motor on pin 11 (Signal on the Z+ End Stop).
Generating the GCode
We used the fabmodules to generate the gcode with the below settings.
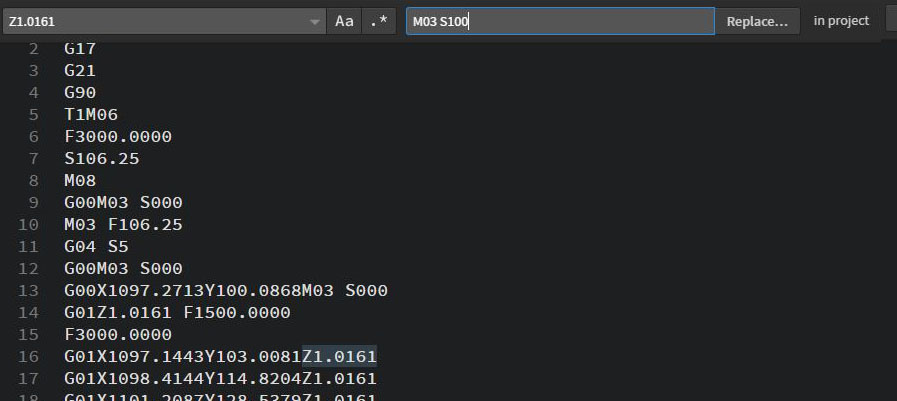
We modified the below gcode on brackets in order to control the servo.
Z5.000 will be replaced by M03 S000 to rotate the servo up and close the sand nozzle,
Z1.0161 will be replaced by M03 S100 to rotate the servo down and open the sand nozzle,
Sending the GCode
We connected the board through Source Rabbit Gcode Sender, loaded the modified gcode and pressed send.
Final videos
Future development Plans:
As a future development our project can be used to redraw some lines on the football, tennis or any other playground by doing some adjustments like changing the wheels and the container content like clay or other materials.