Week 10: Molding and Casting
During the ten session dated March 20 2019, I was introduced to the 3 basic types of molds as well as the design limitations.
- Simple one part mold for models with a flat back and no undercuts,
- Flexible block mold for 3D models with undercuts,
- Two part mold for models with challenging shapes and undercuts.
How complicated the model is determines the kind of mold technique that must be used to successfully cast the object.
The group assignment is to review the safety data sheets for each of our molding and casting materials, then make and compare test casts with each of them.
The individual assignment is to design a 3D mold around the stock and tooling that we will be using, mill it, and use it to cast parts.
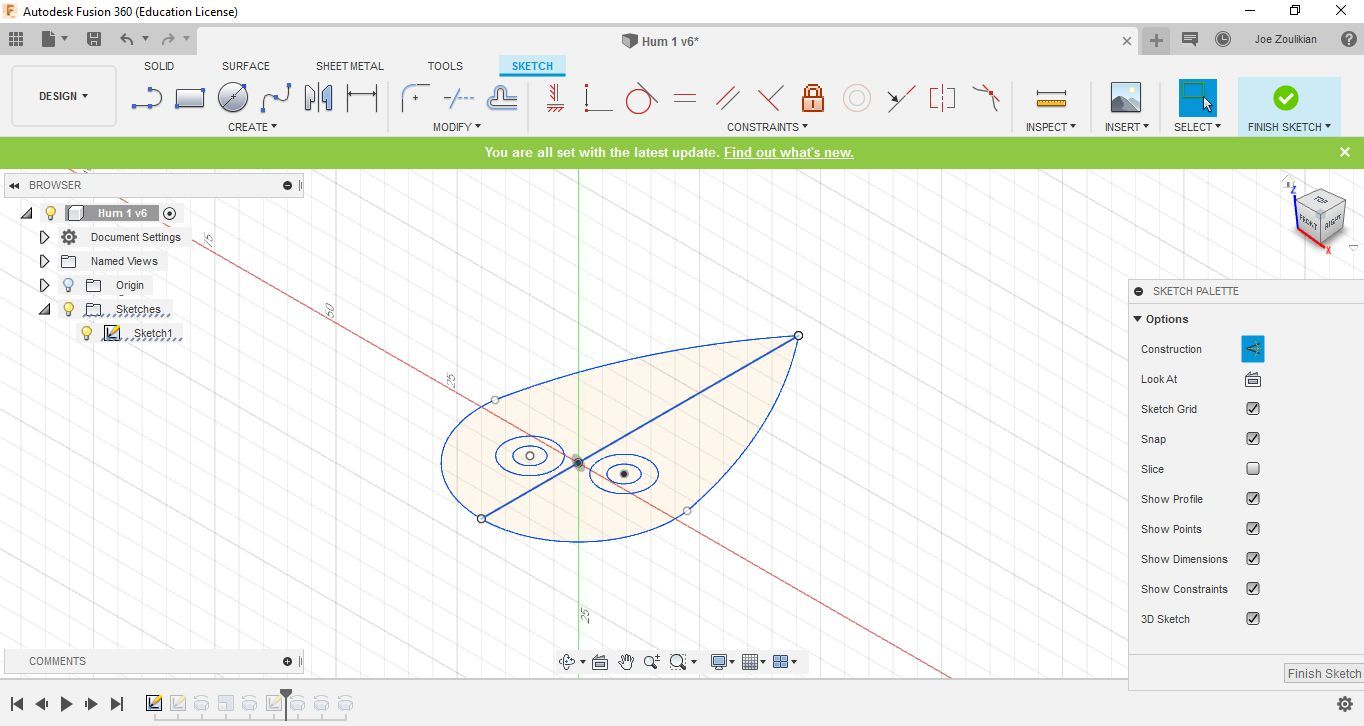
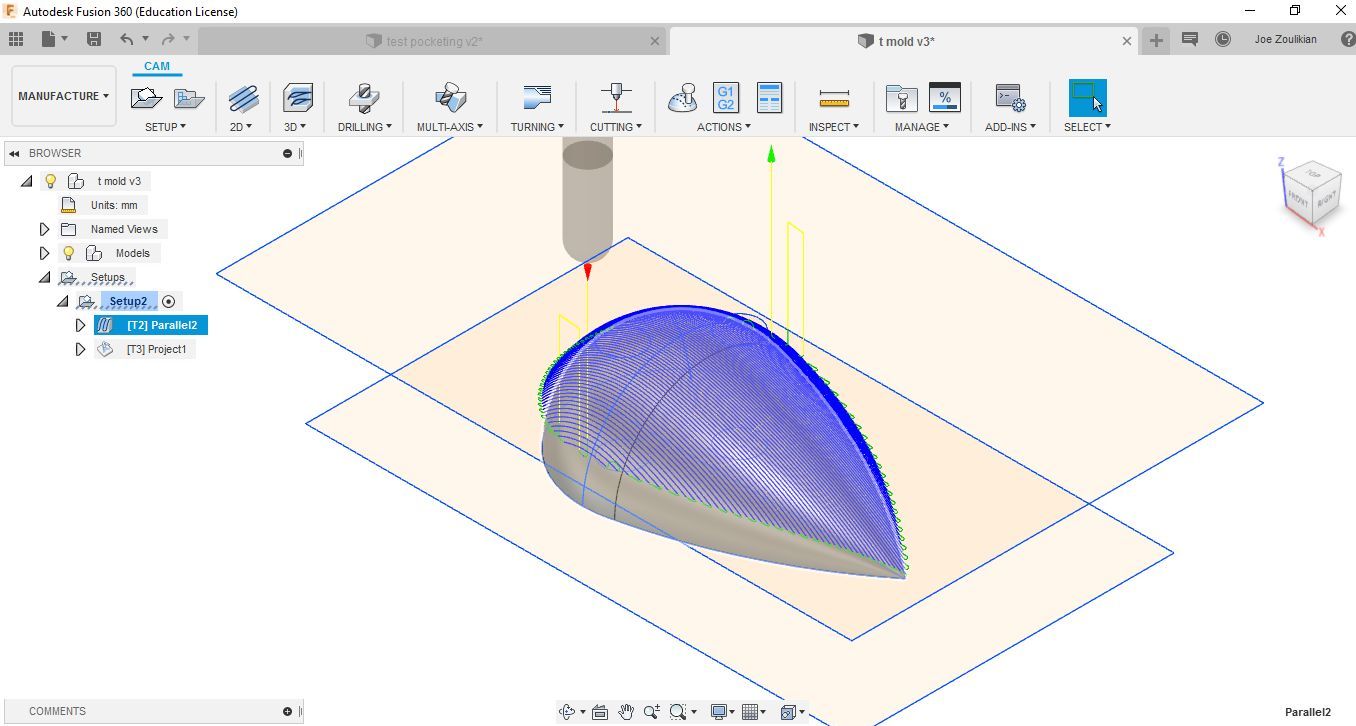
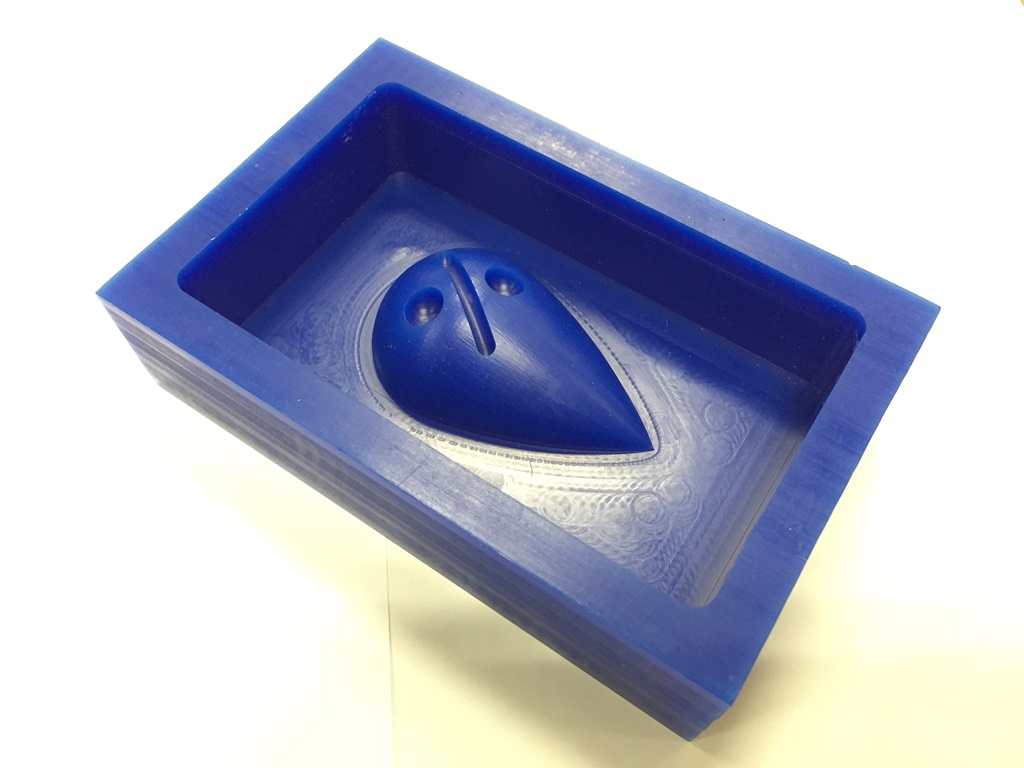
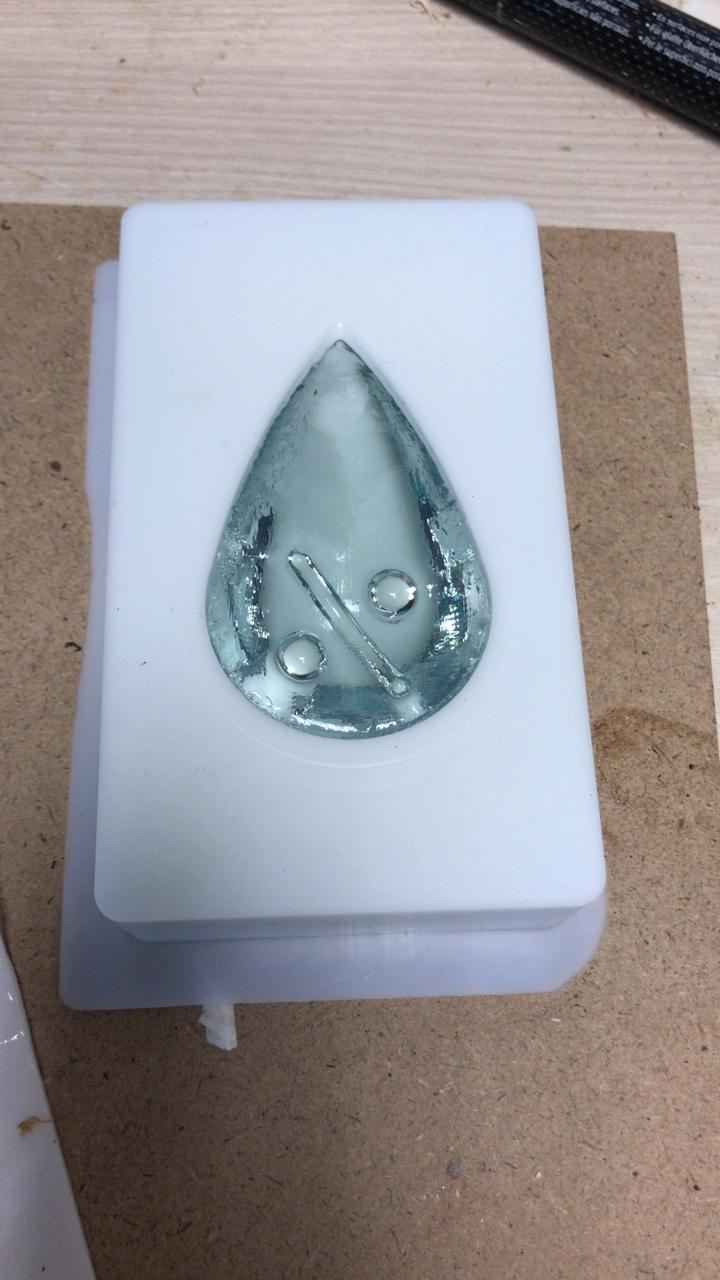
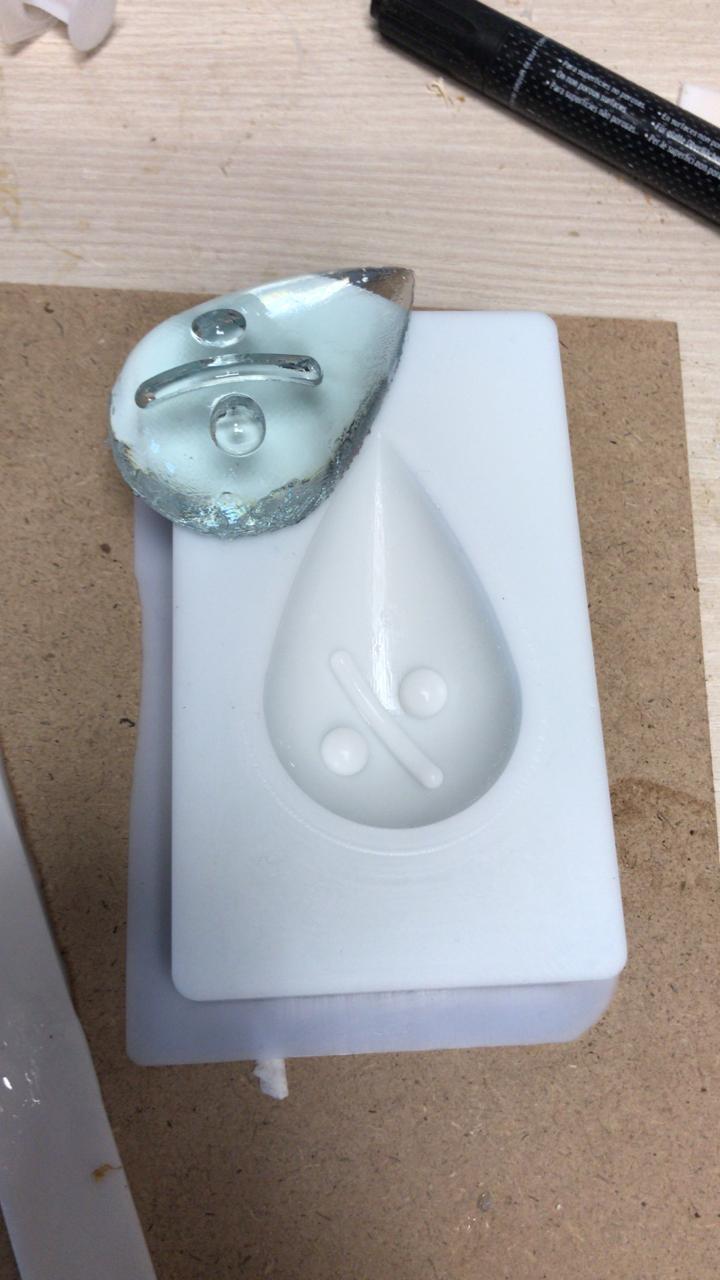
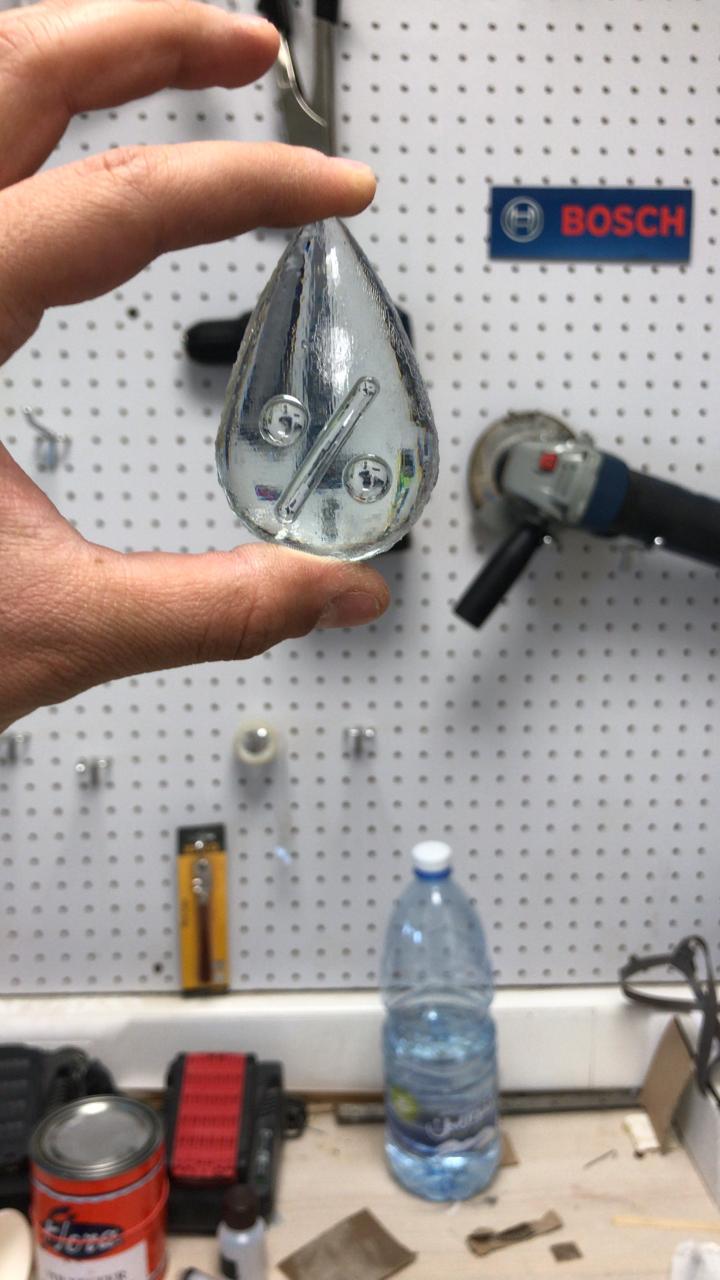
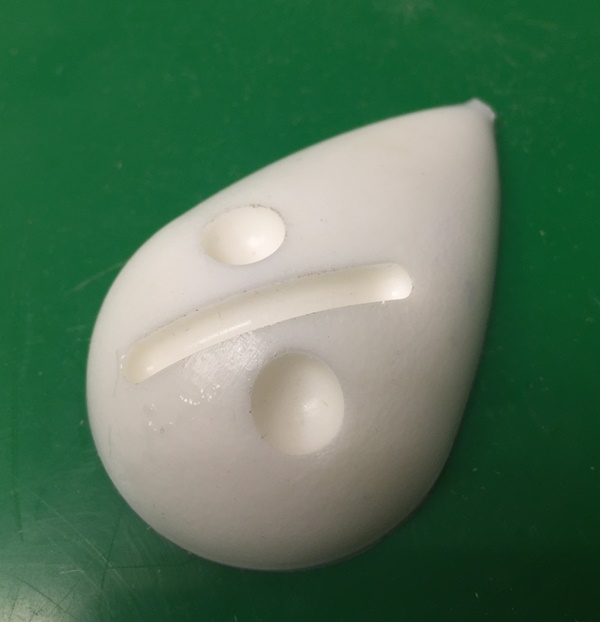
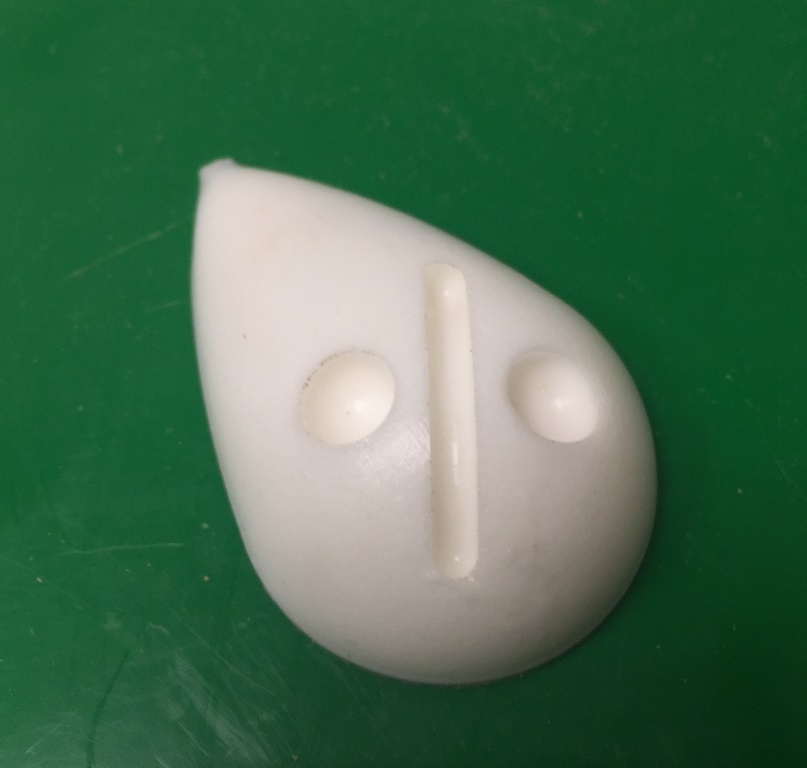
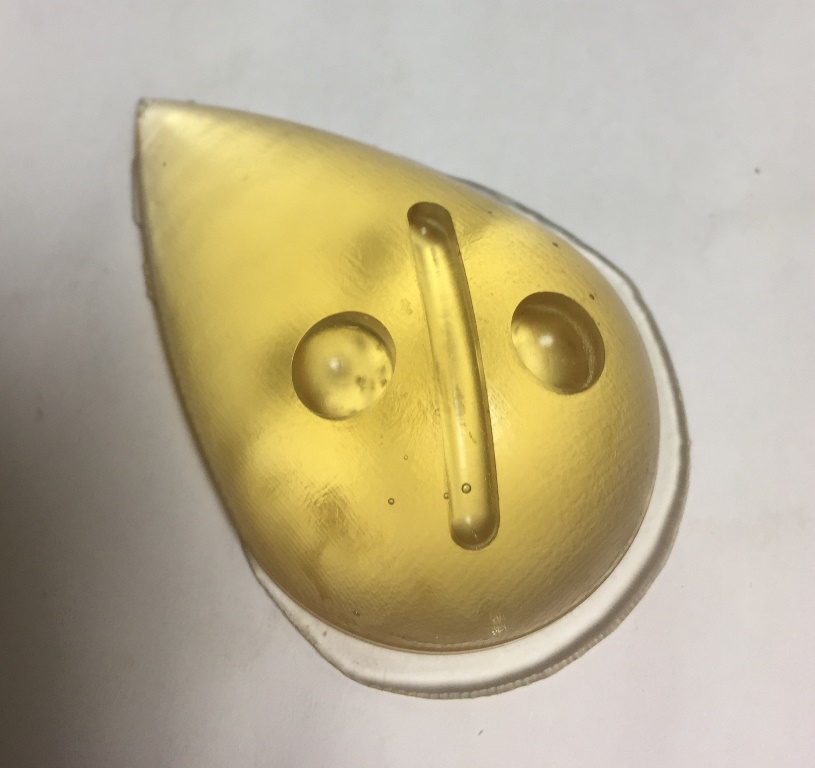
I will design and manufacture the mold of the "Humidity logo" in 3D, and then I will cast it. For this purpose, I started to get familiar with the Manufacturing functions and steps of "Fusion 360", in order to generate the specific G and M codes.
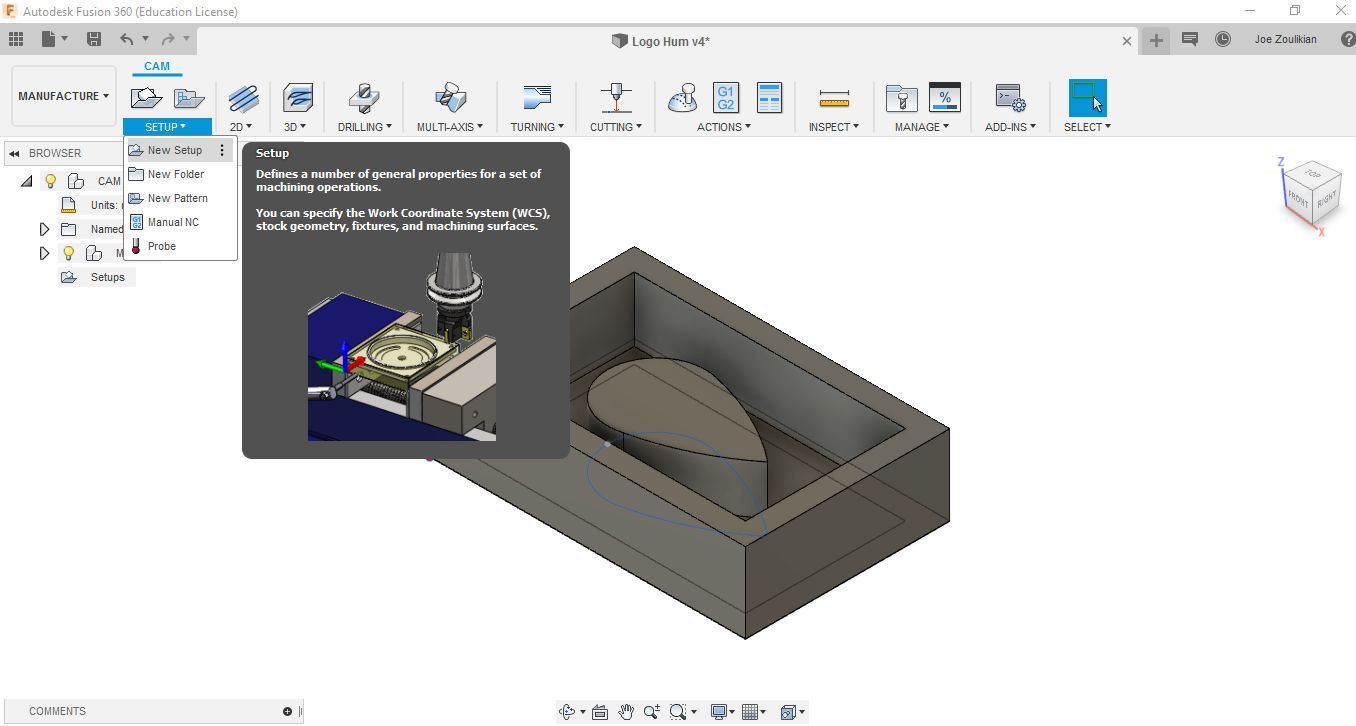
Manufacturing function in "Fusion 360":
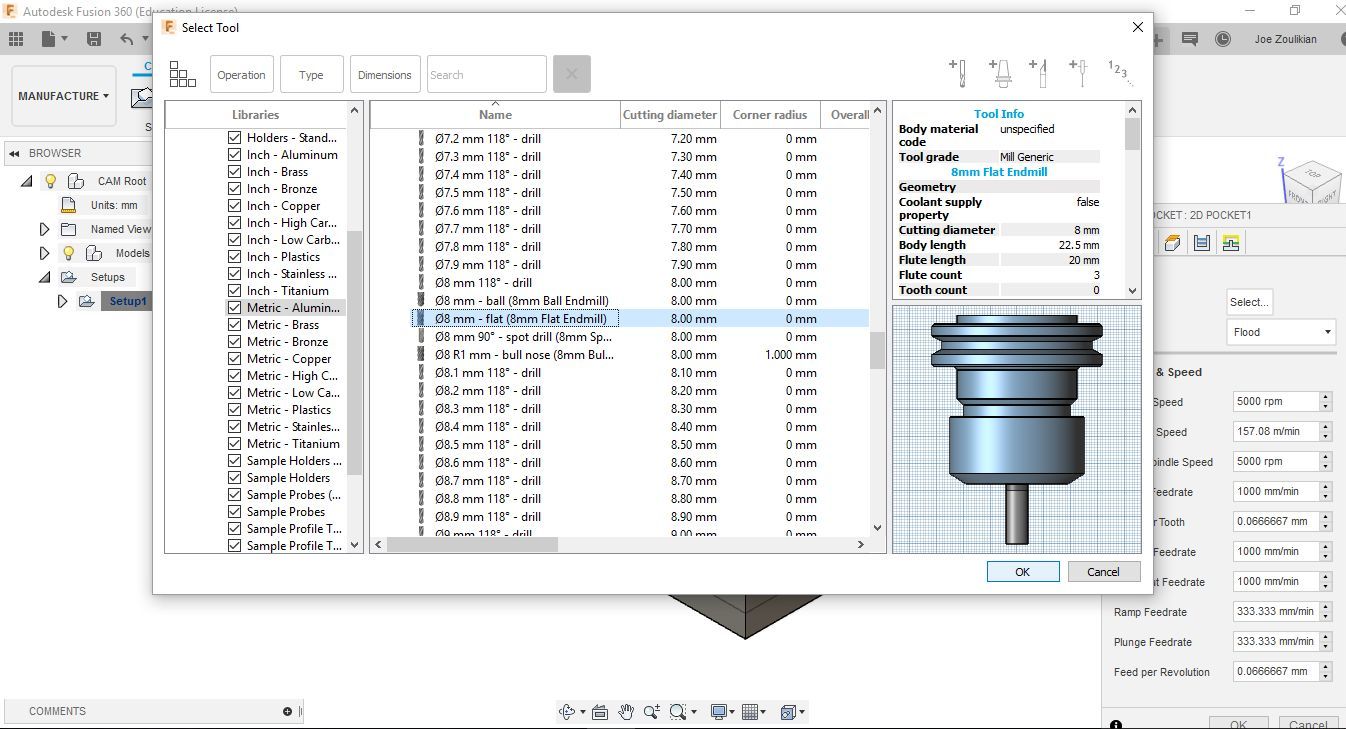
I started to draw a 50 x 50 mm square, and inside it another square of 25 x 25 mm. Then I used the 2D pocket function to remove the material of inside the small square by using an 8mm Flat End Mill.

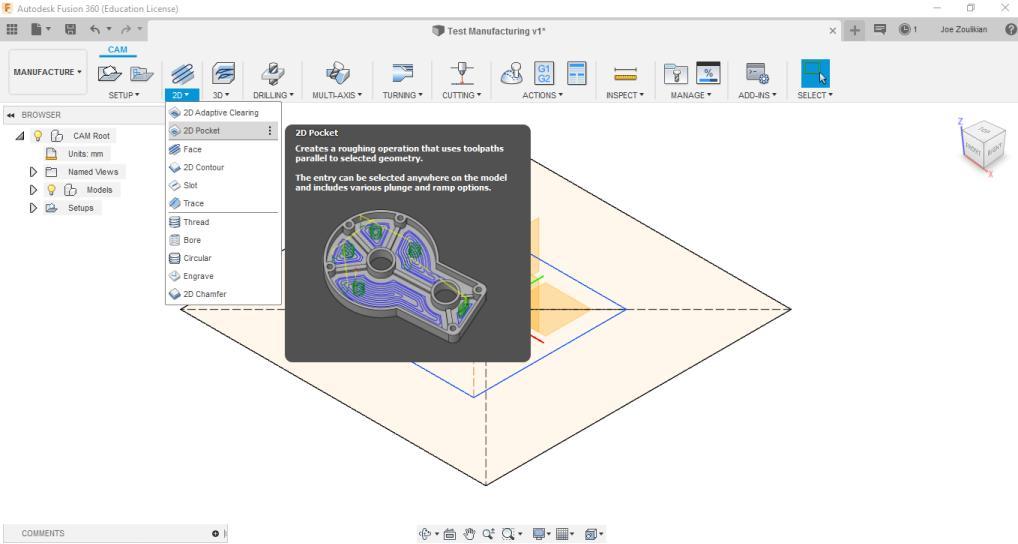
2D Machining:
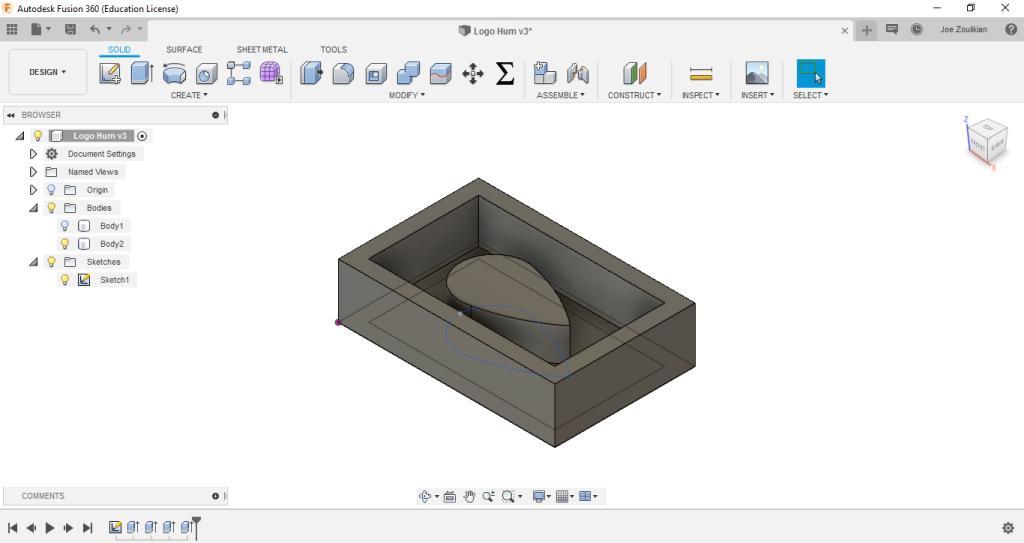
The blocks dimensions are: 142 x 92 x 36 mm.
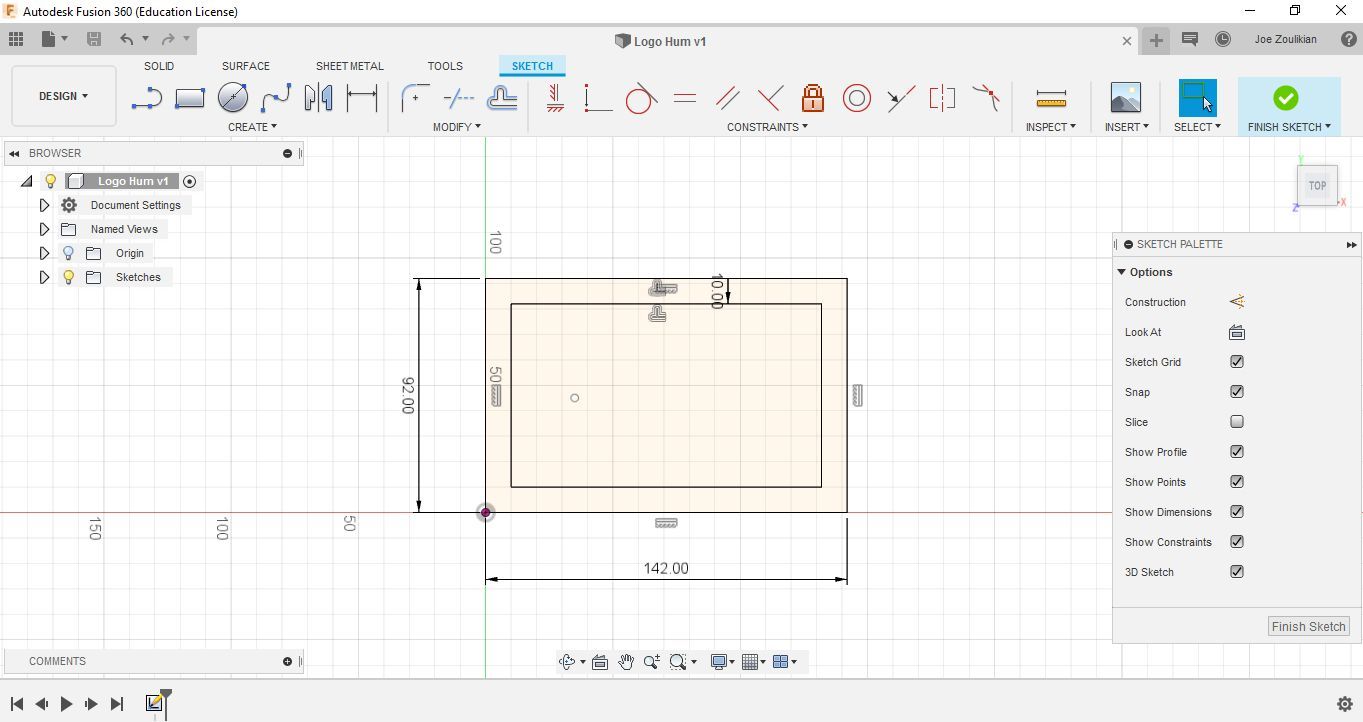
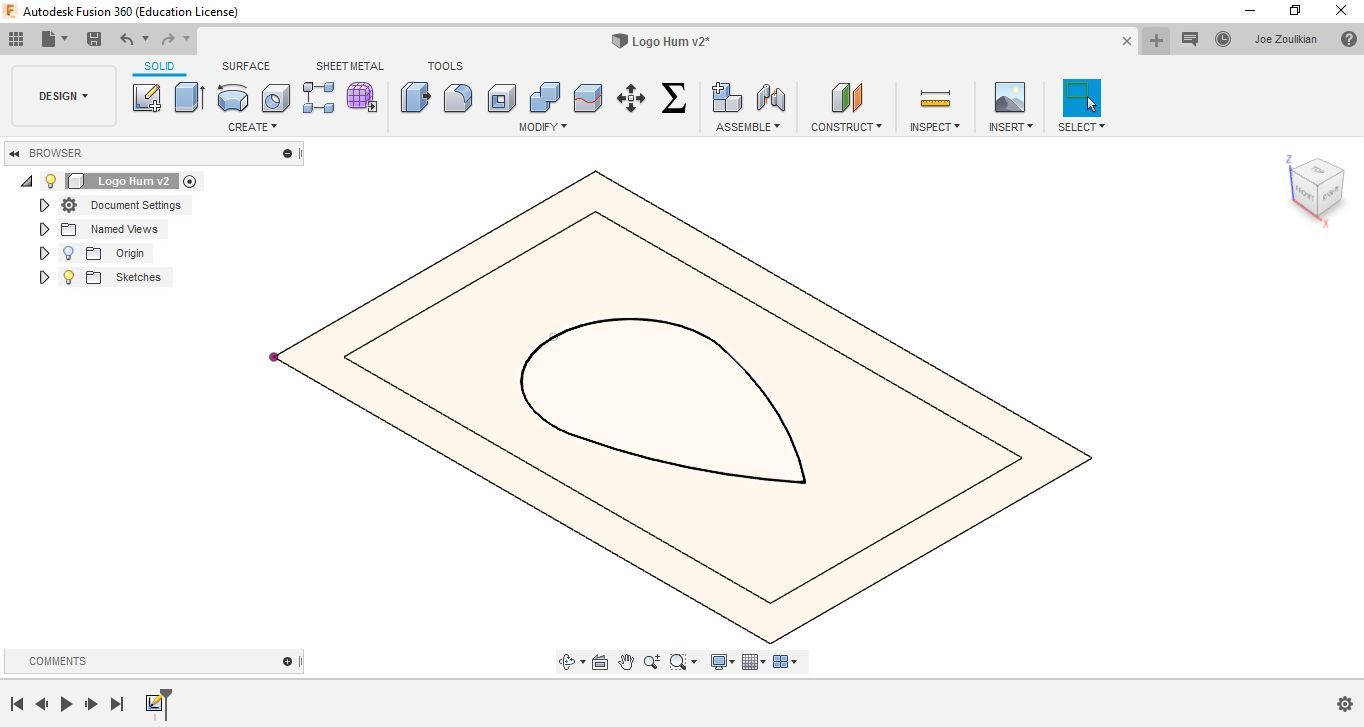
I extruded the 2D rectangle 36mm, and the 2D logo 29mm.

In the Setup section:
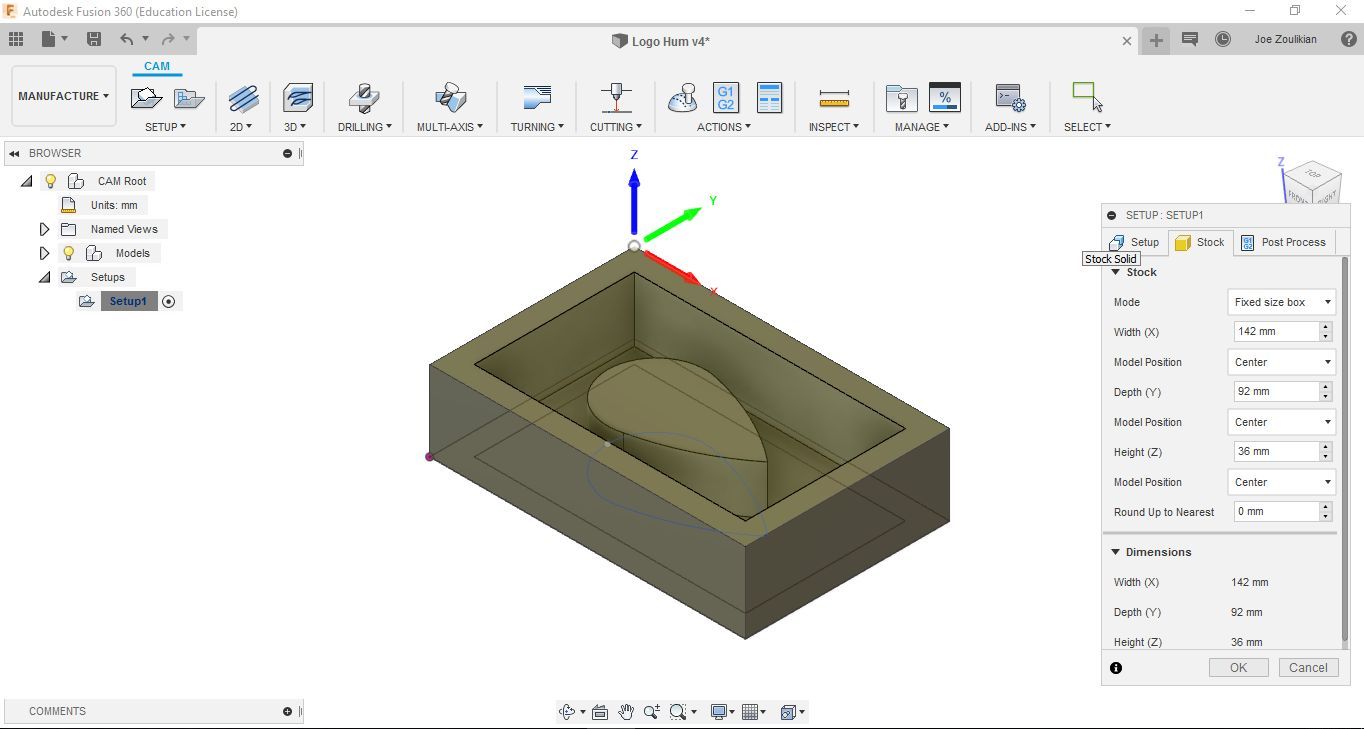
I arranged the X and Y "Orientation".
I selected "Fixed Size Box" and entered the dimensions: 142 x 92 x 36.
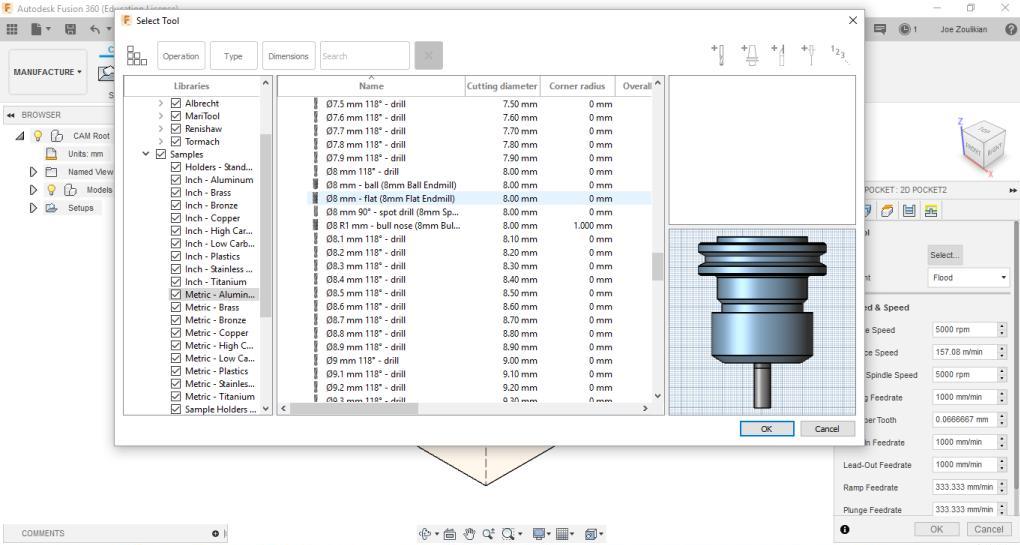
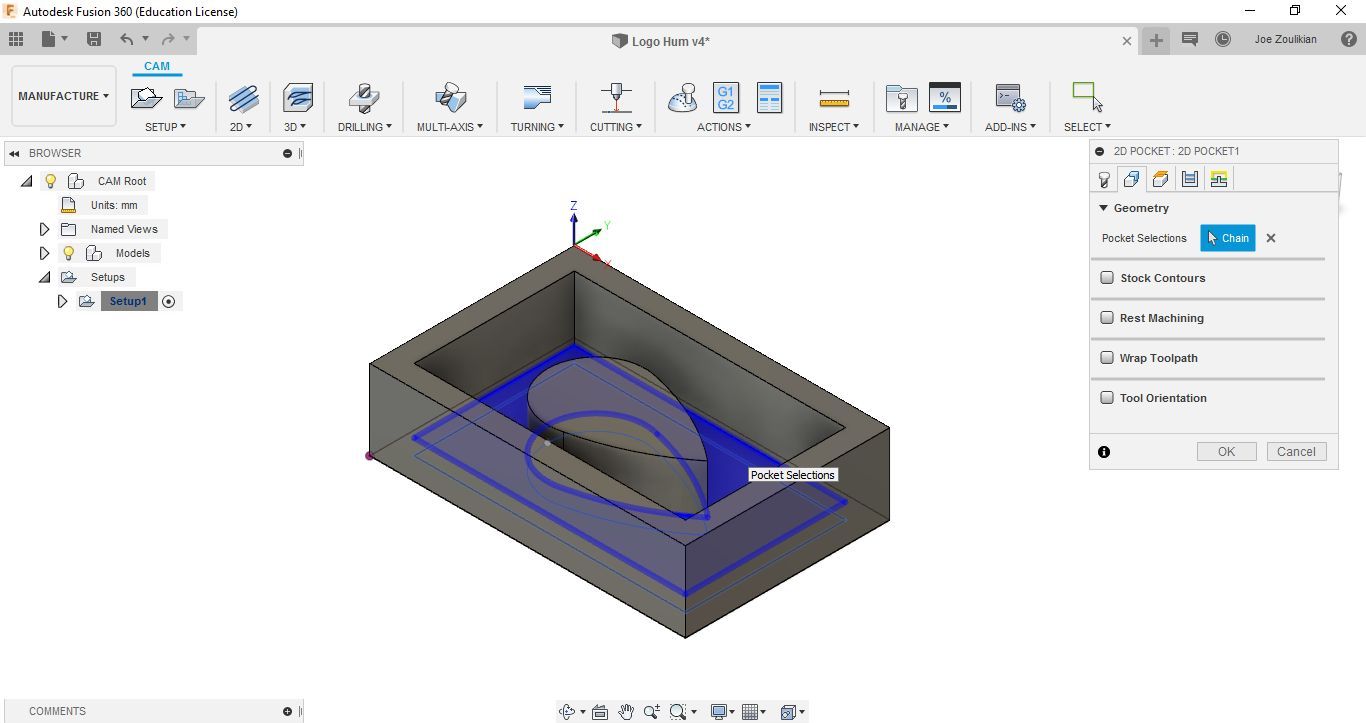
For the 2D machining: I used 2D
- 2D Pocket,
- 8mm Flat End Mill,
- Spindle Speed: 9000 RPM,
- Feedrate: 1500 MMPM,
- 3mm depth cut to reach 29mm,
- Remaining stock is 7mm in the bottom.
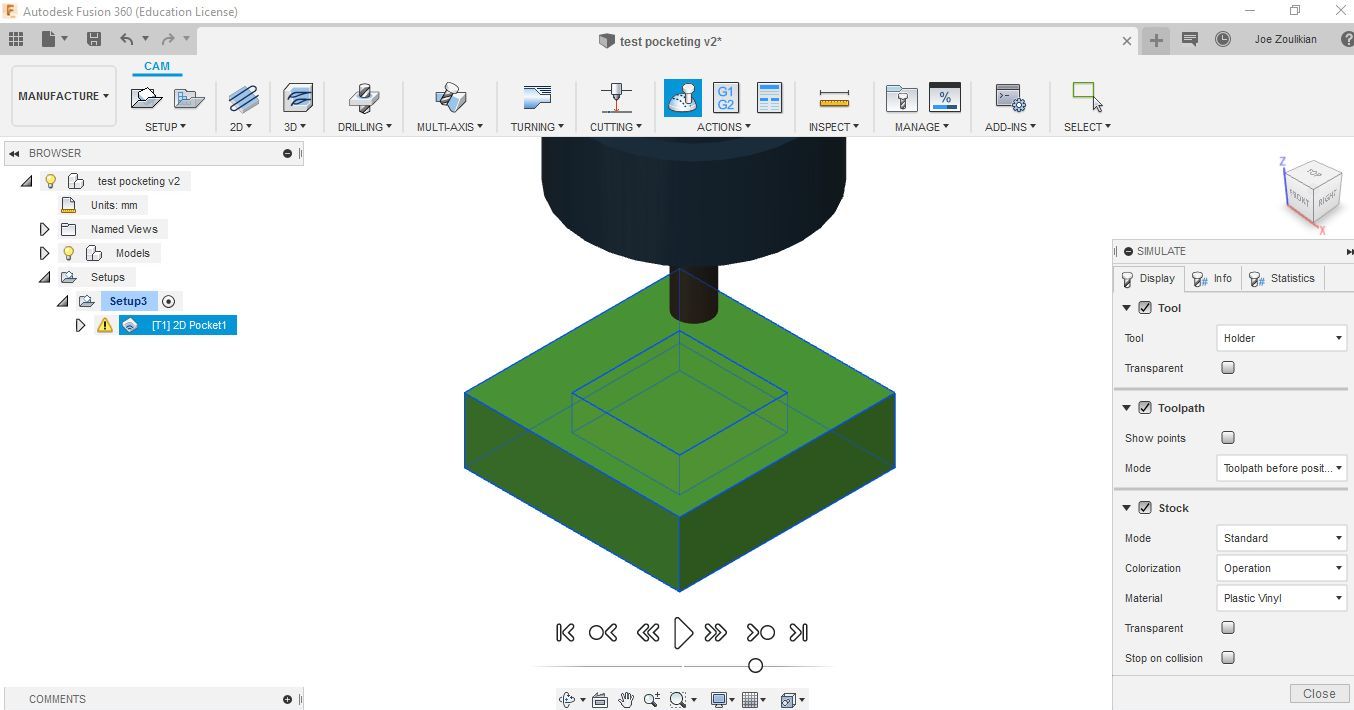
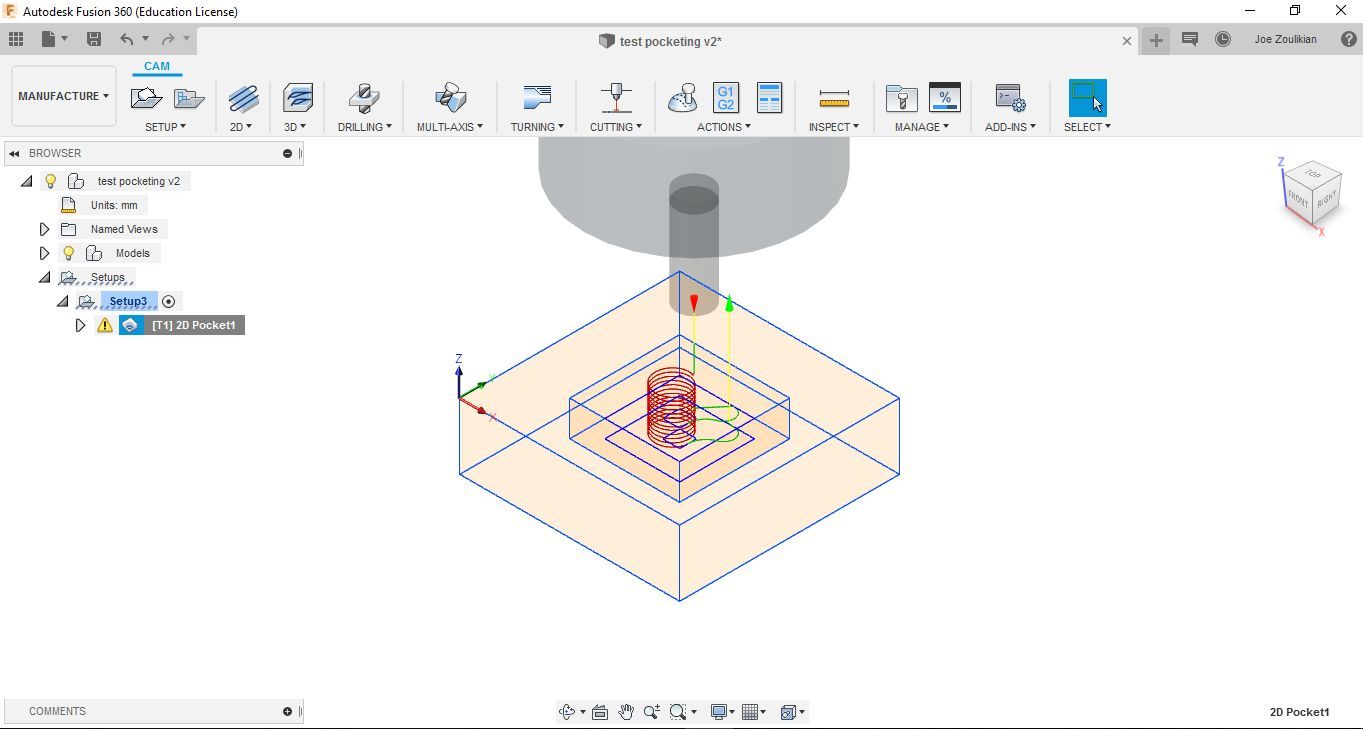
In Geometry: I selected the pocket contour to be machined. Then I hit ok to visualize the primary tool path.
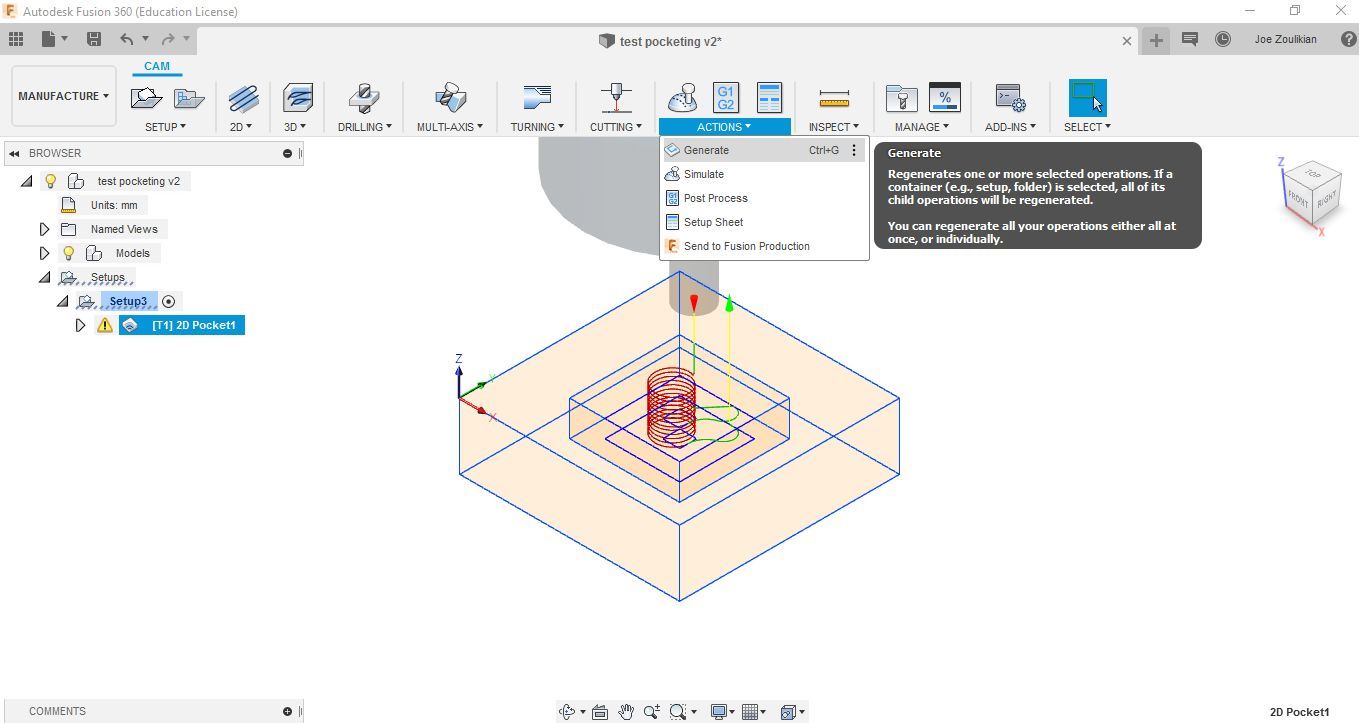
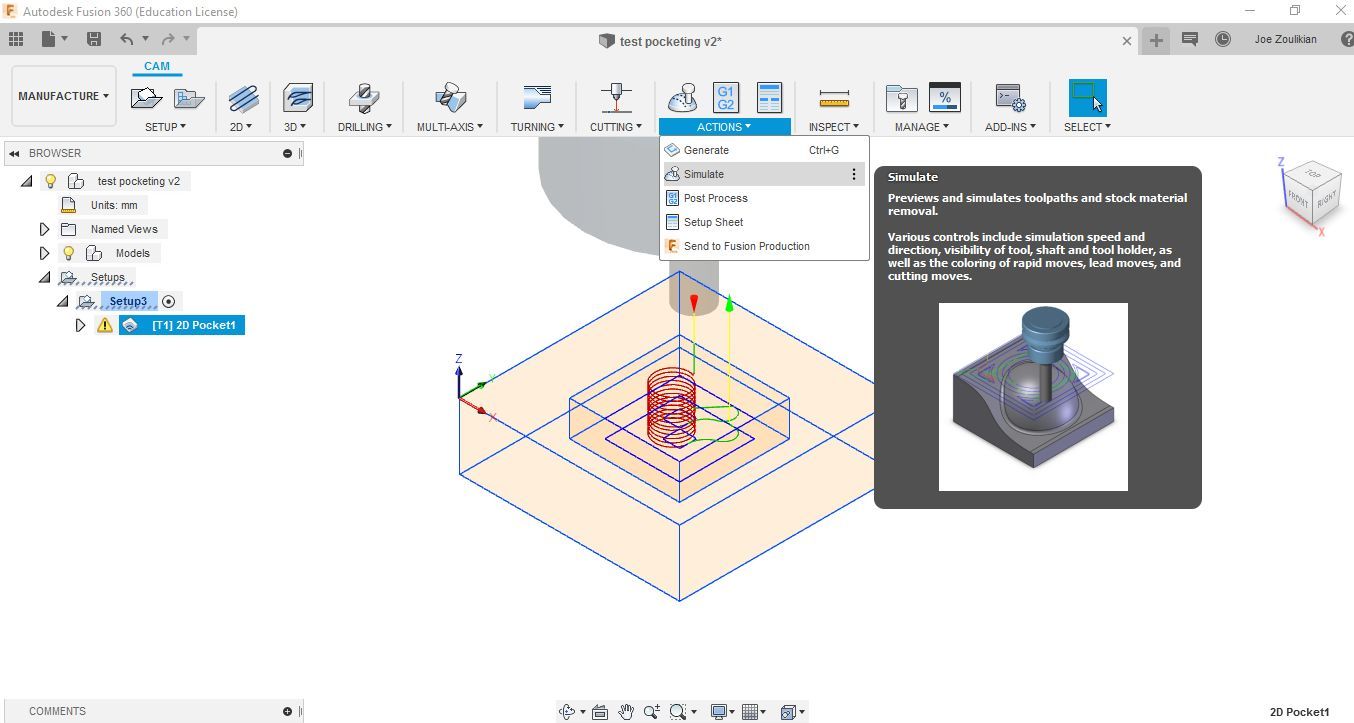
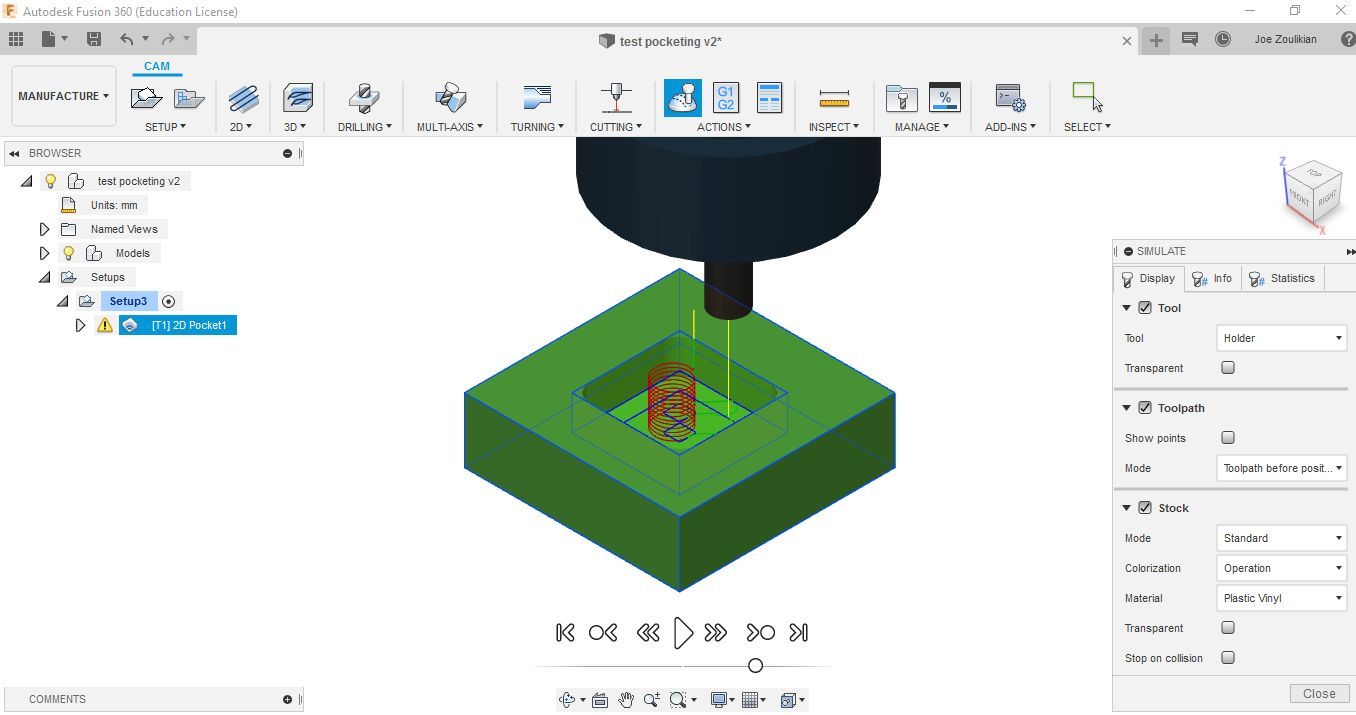
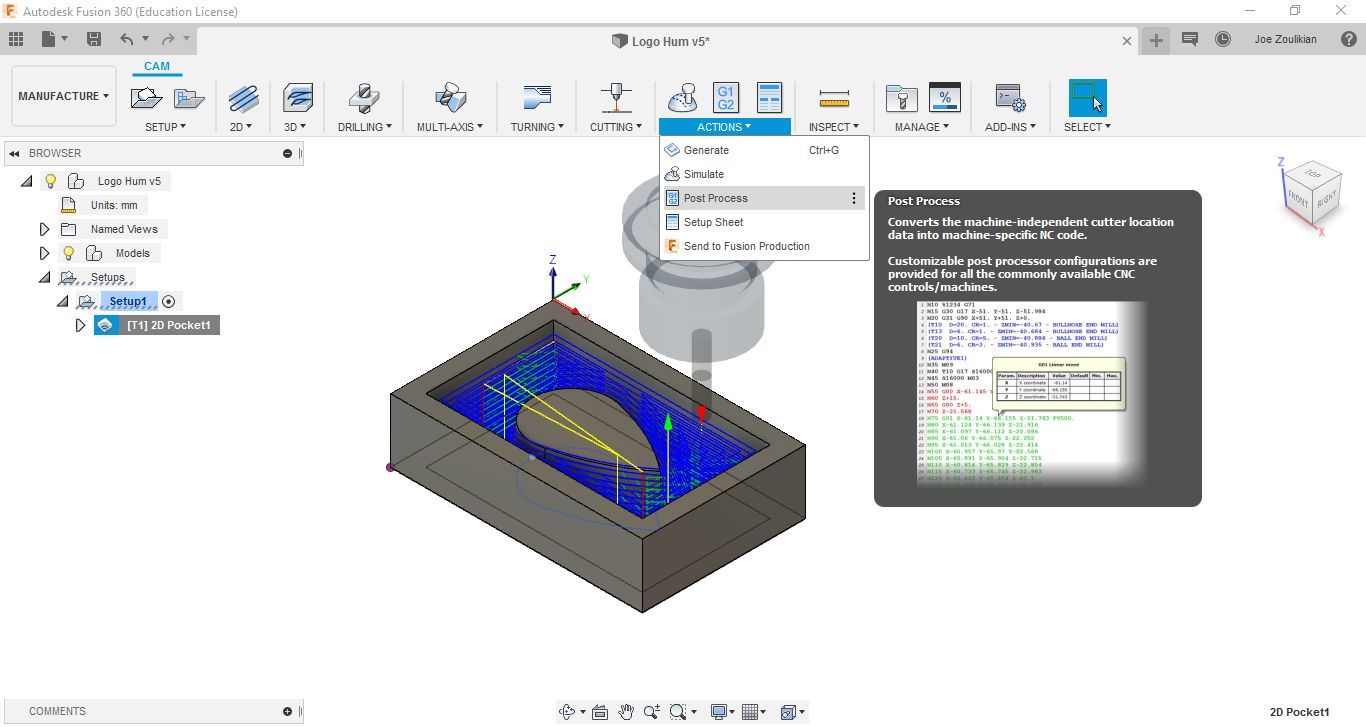
I used Actions "Generate" to visualize the toolpath, then Actions "Simulate" to run a simulation of the machining process.
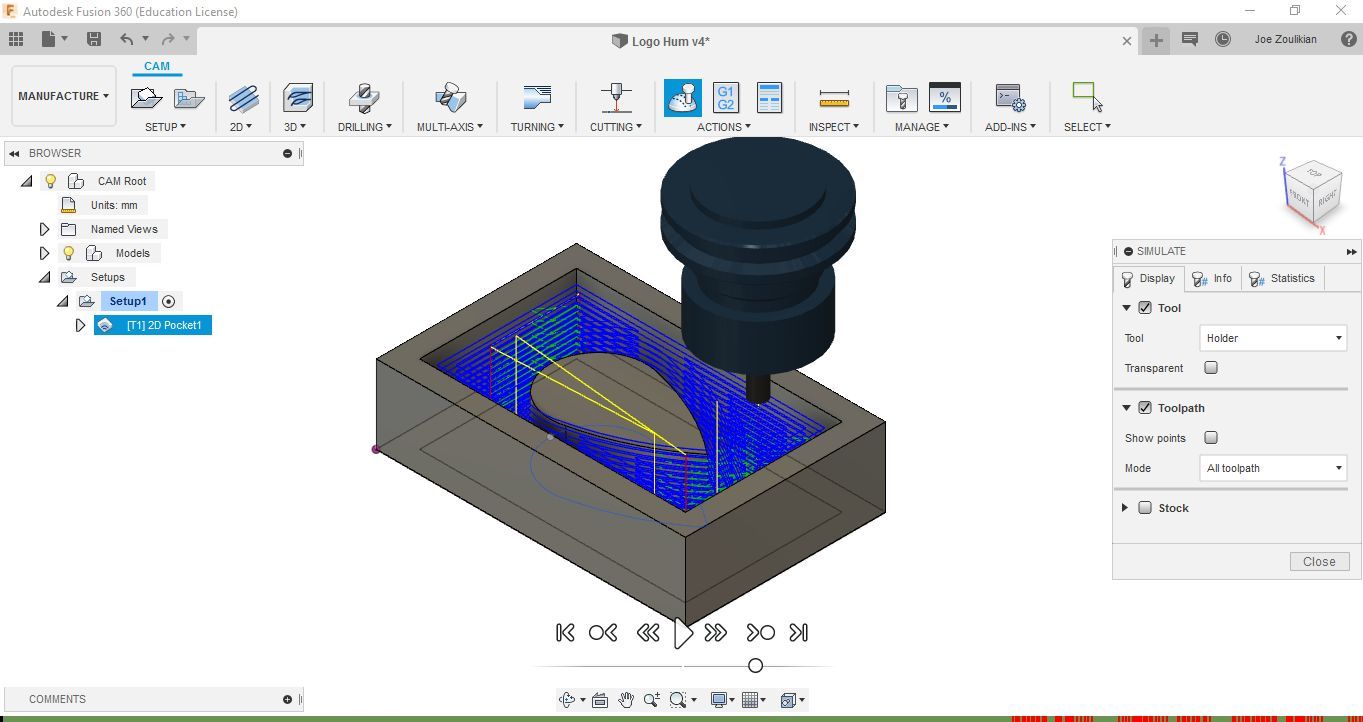
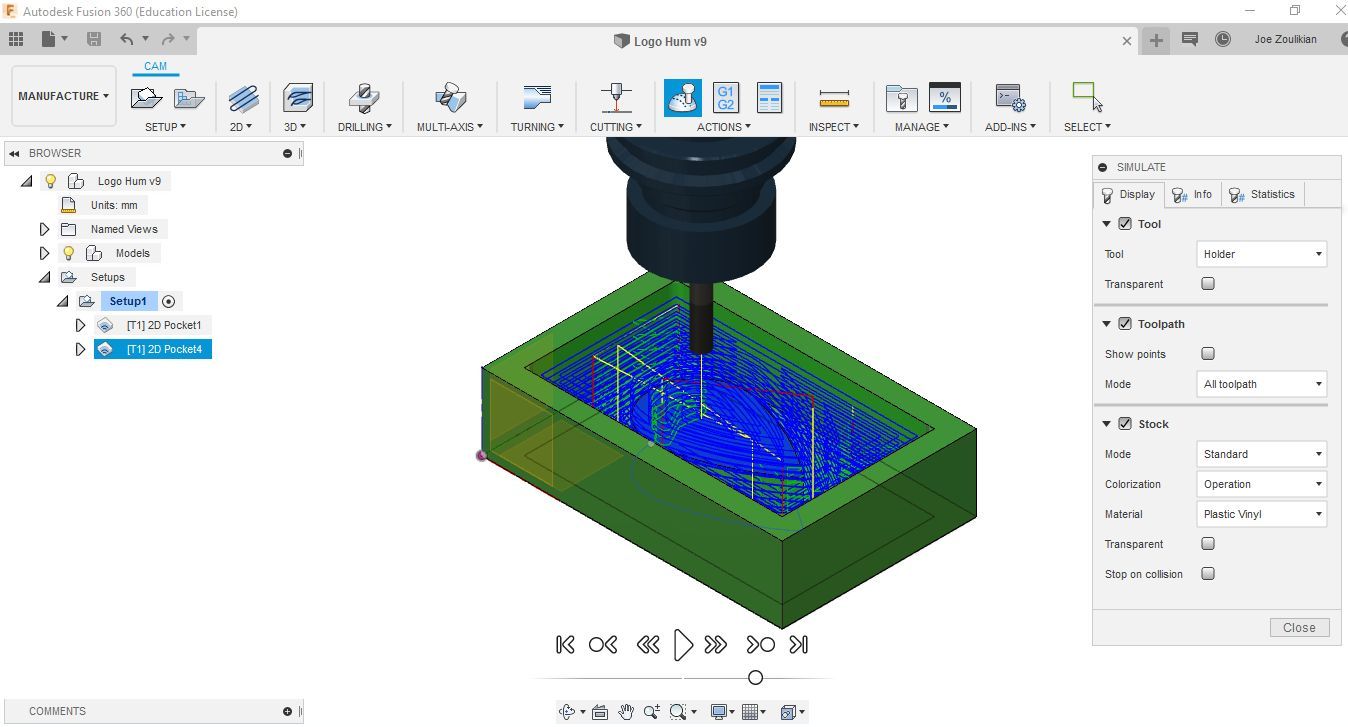
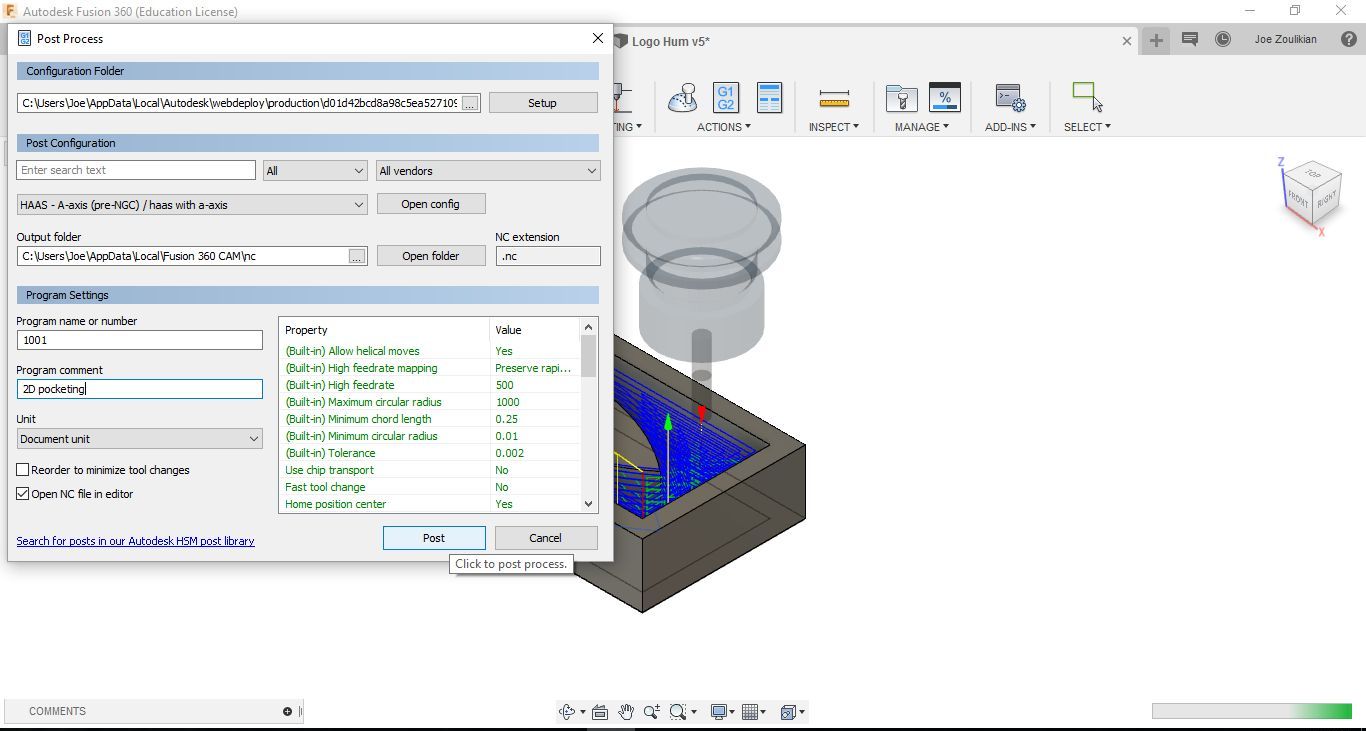
I selected "Actions" then "Post Process" to Generate the G and M Codes.
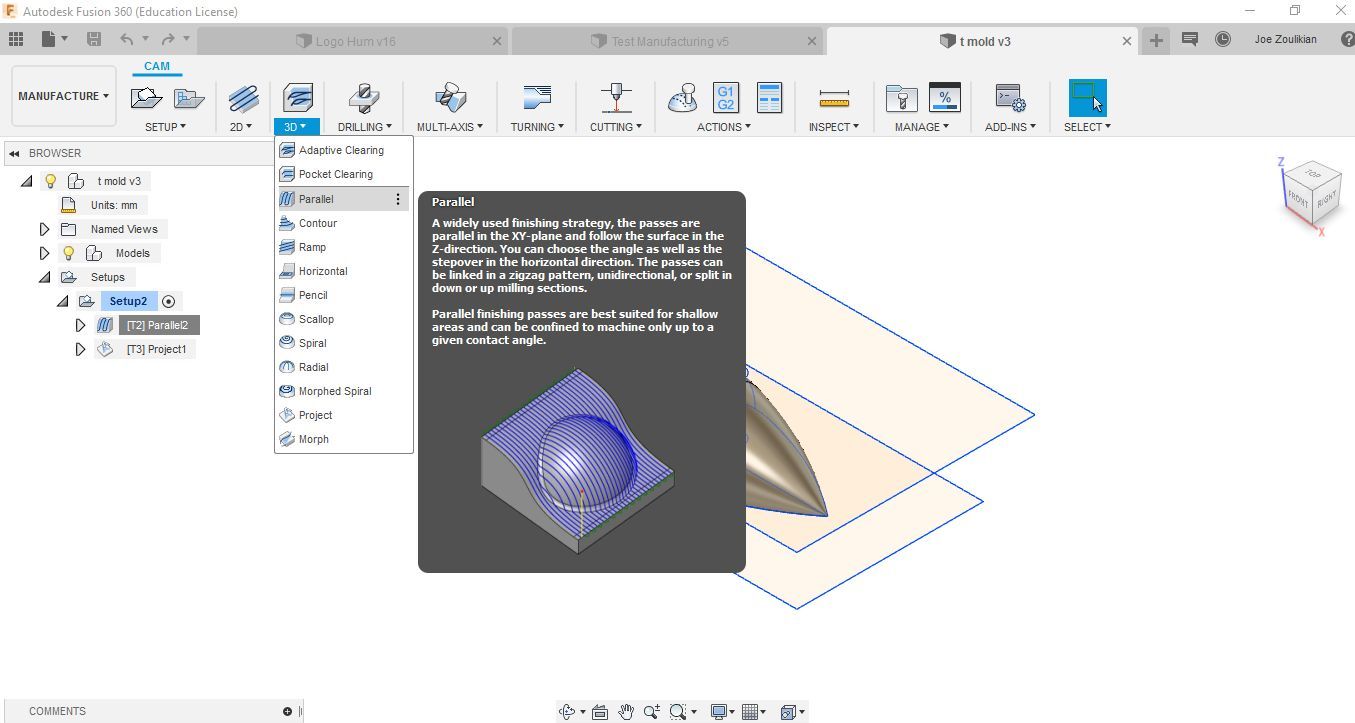
3D Machining:
I used: 3D
- Parallel function,
- 8mm Ball End Mill,
- Spindle Speed: 9500 RPM,
- Feedrate: 1500 MMPM,
- 0.5mm as increment distance in stepover.
I used: Drilling:
- drill function,
- 8mm BEM,
- Spindle Speed: 9500 RPM,
- Feedrate: 500 MMPM,
- Depth of cut 6mm,
I used: 3D:
- Project function,
- 4mm BEM,
- Spindle Speed 9500 RPM,
- Feedrate 1500 MMPM,
- Depth of cut 4mm.
I selected "Actions" then "Post Process" to Generate the G and M Codes.
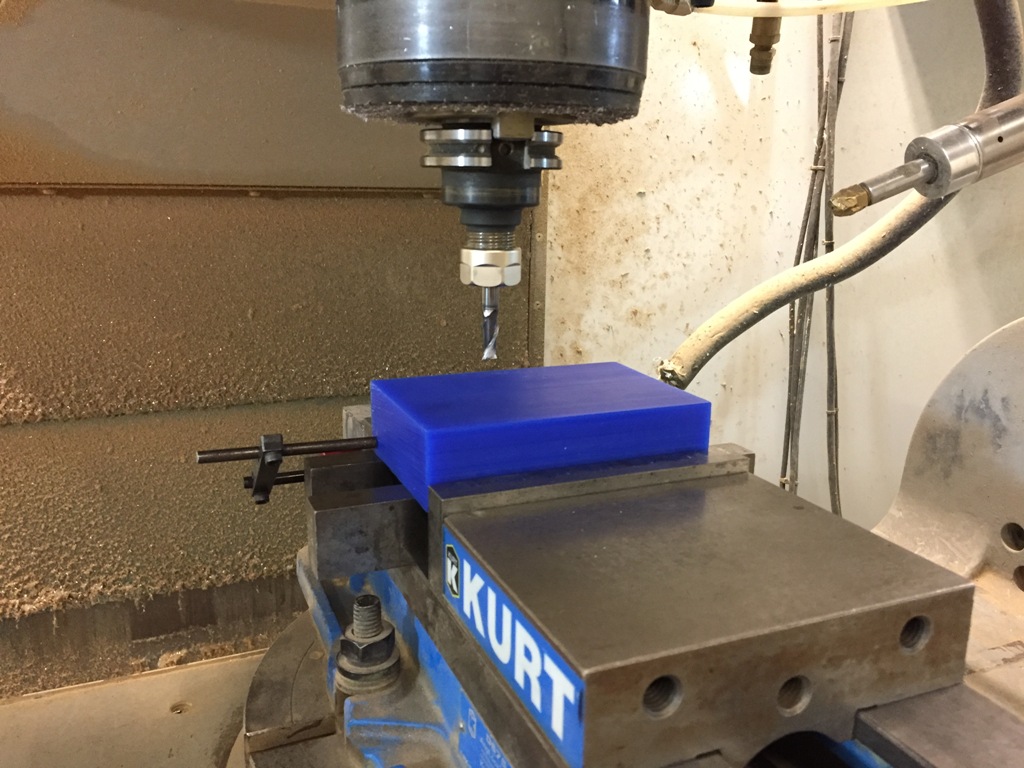
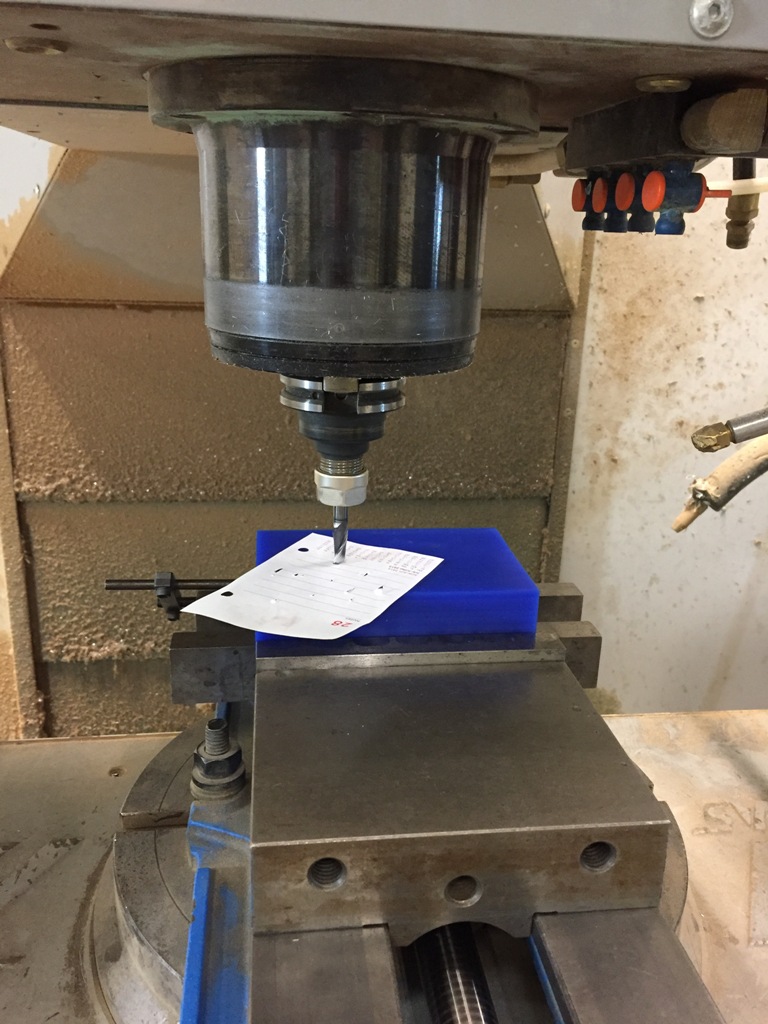
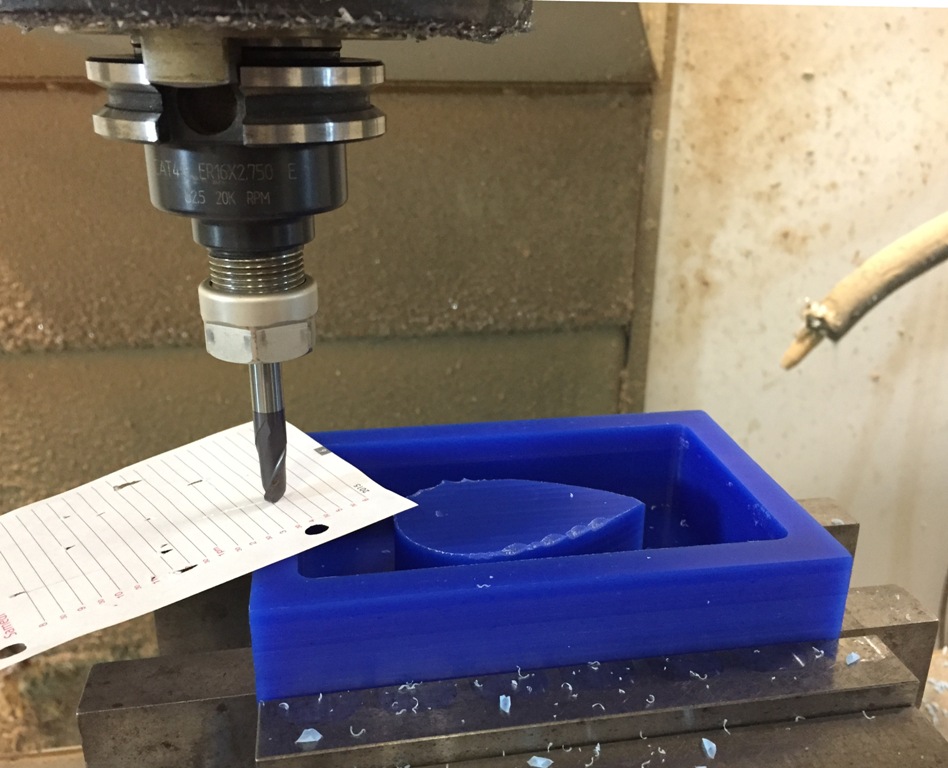
CNC 2D Machining:
I used a HAAS VF-6 CNC Milling machine to manufacture the mold.
I started by zeroying the FEM 8mm, then I machined the 2D
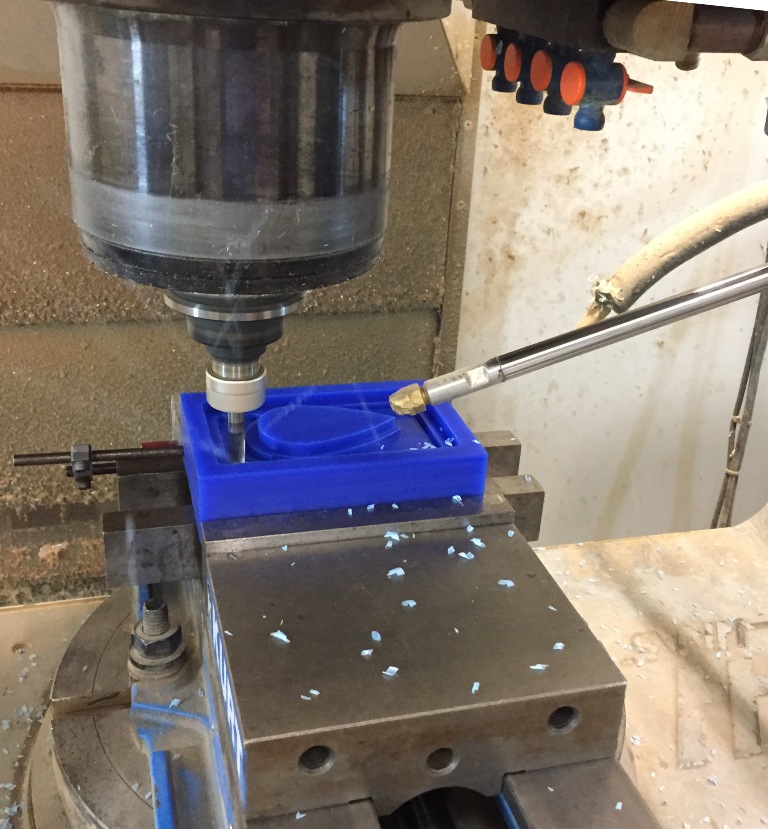
CNC 3D Machining:
I took the BEM 8mm zero offset, then started machining.

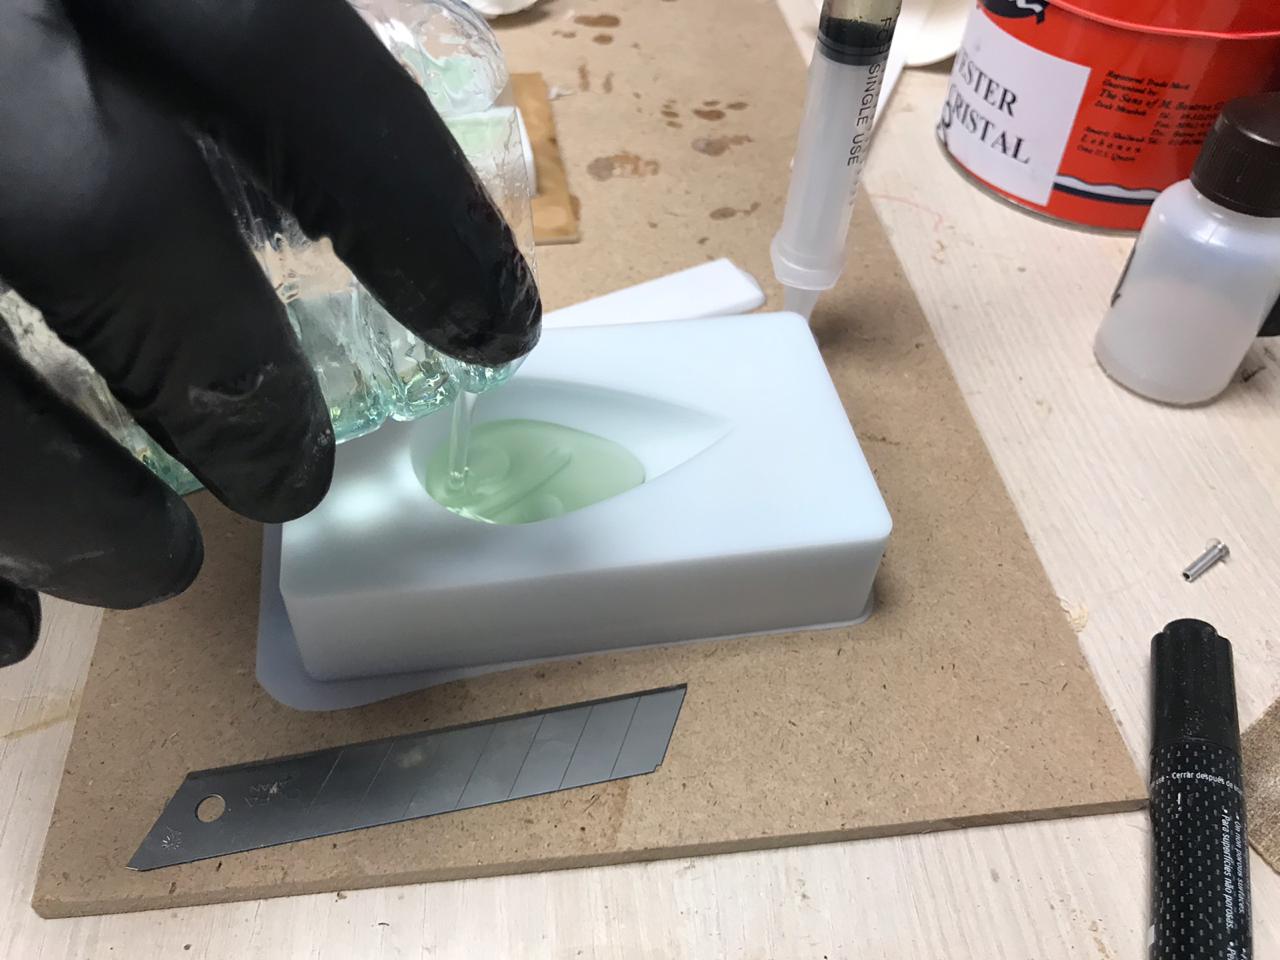
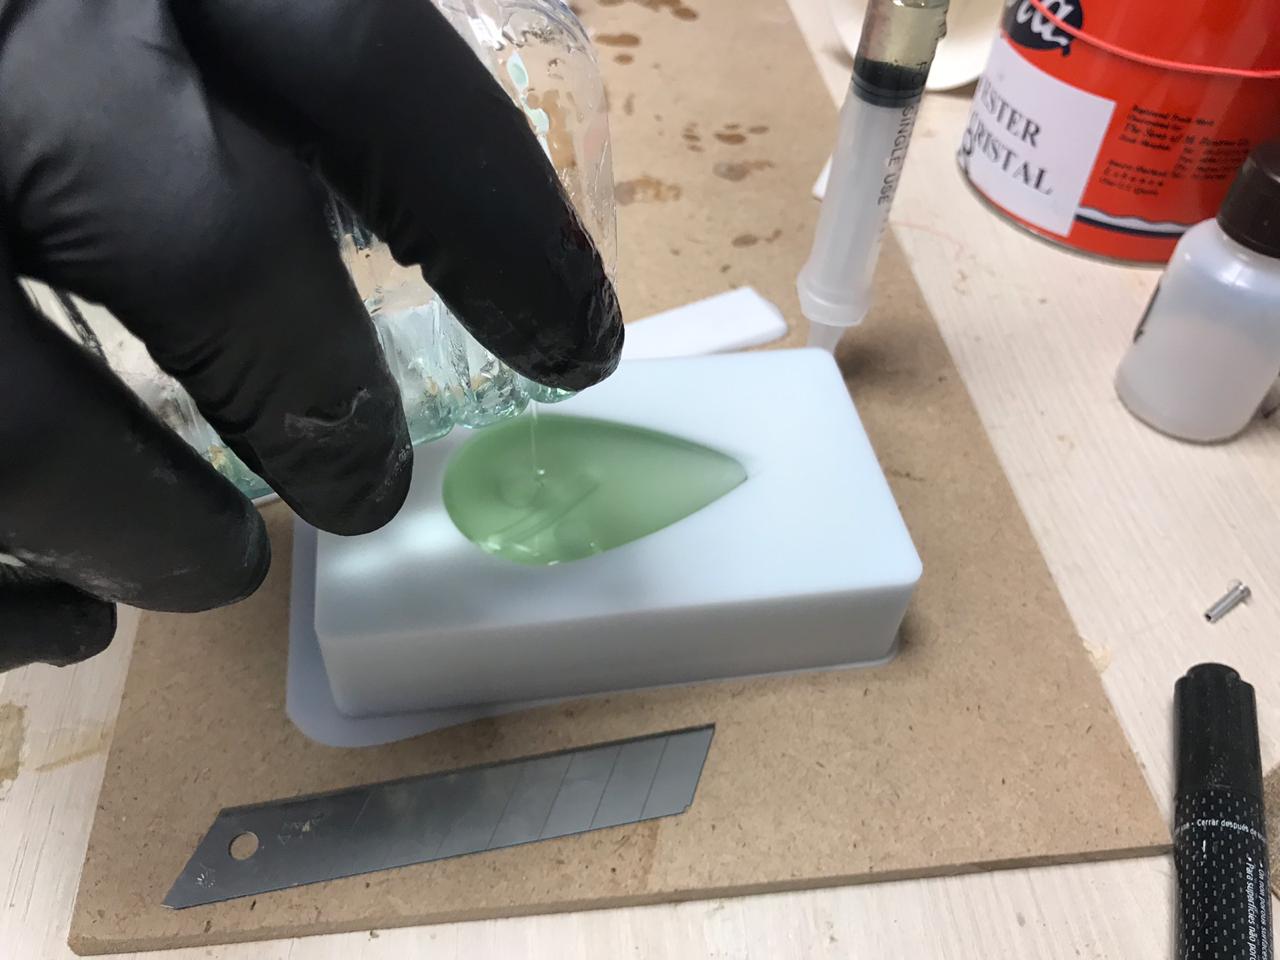
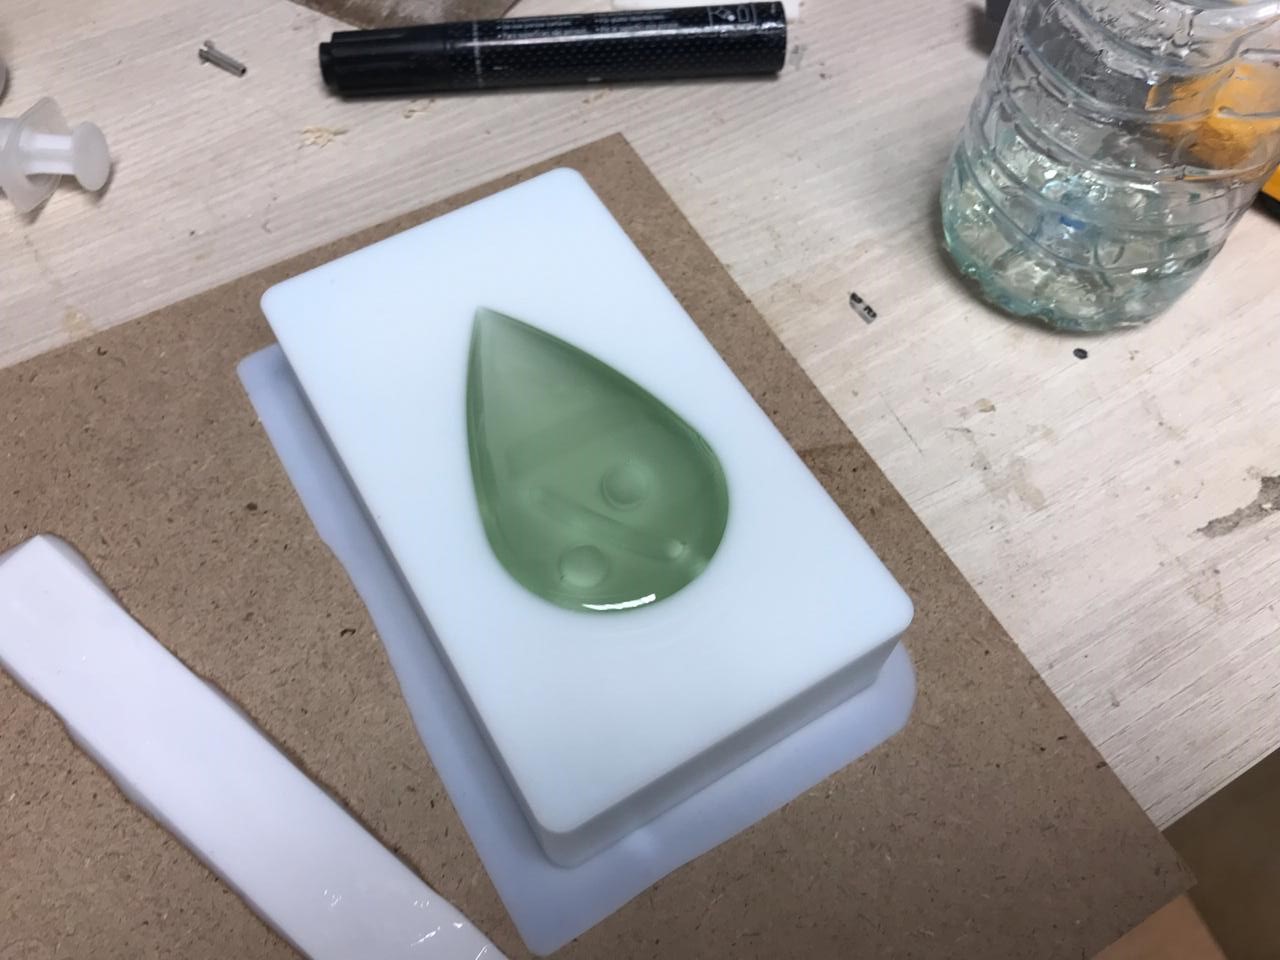
Molding
I used all the materials by respecting the safety rules and regulations:
- Avoid eye and skin contact: as you can see I used specific mask and gloves,
- Not handling contact lenses with product on hands,
- Keeping the containers closed.
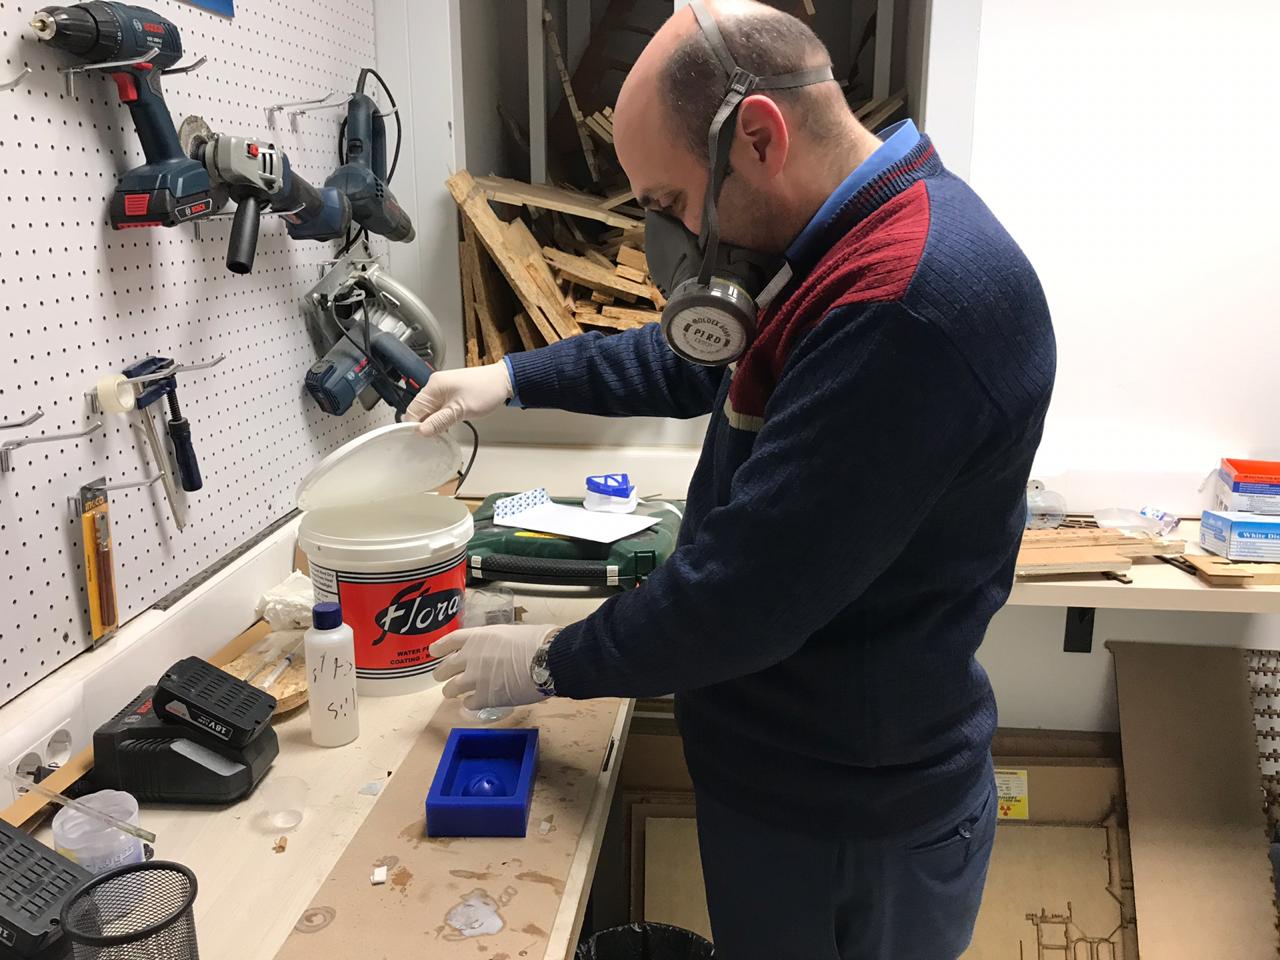
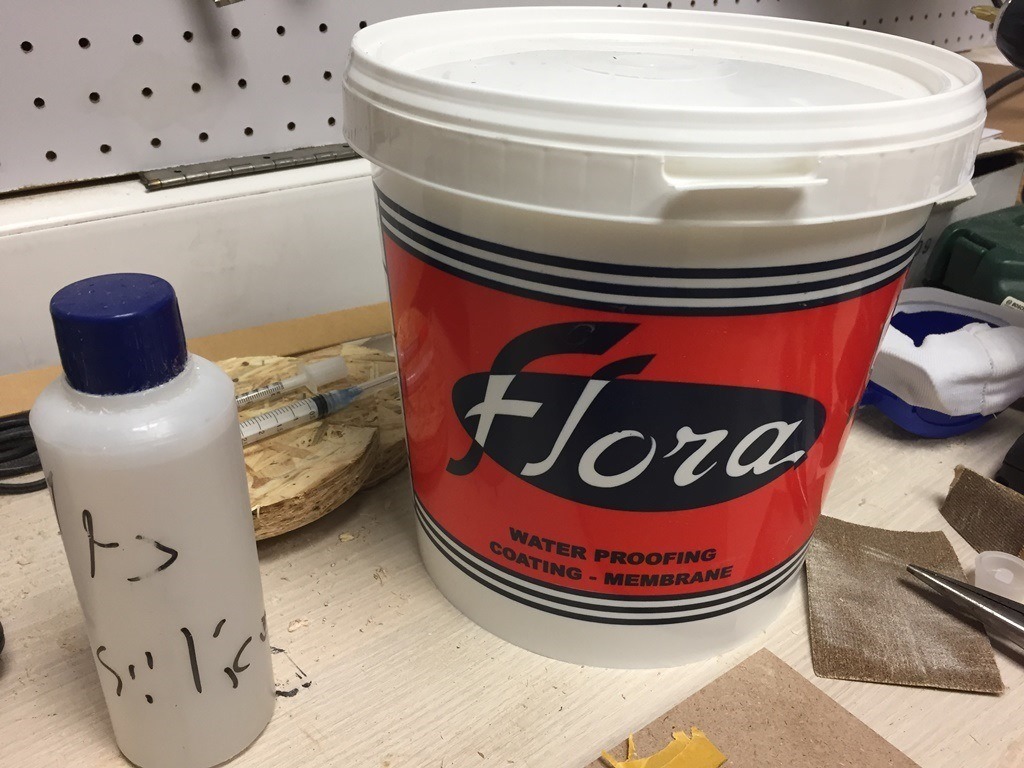
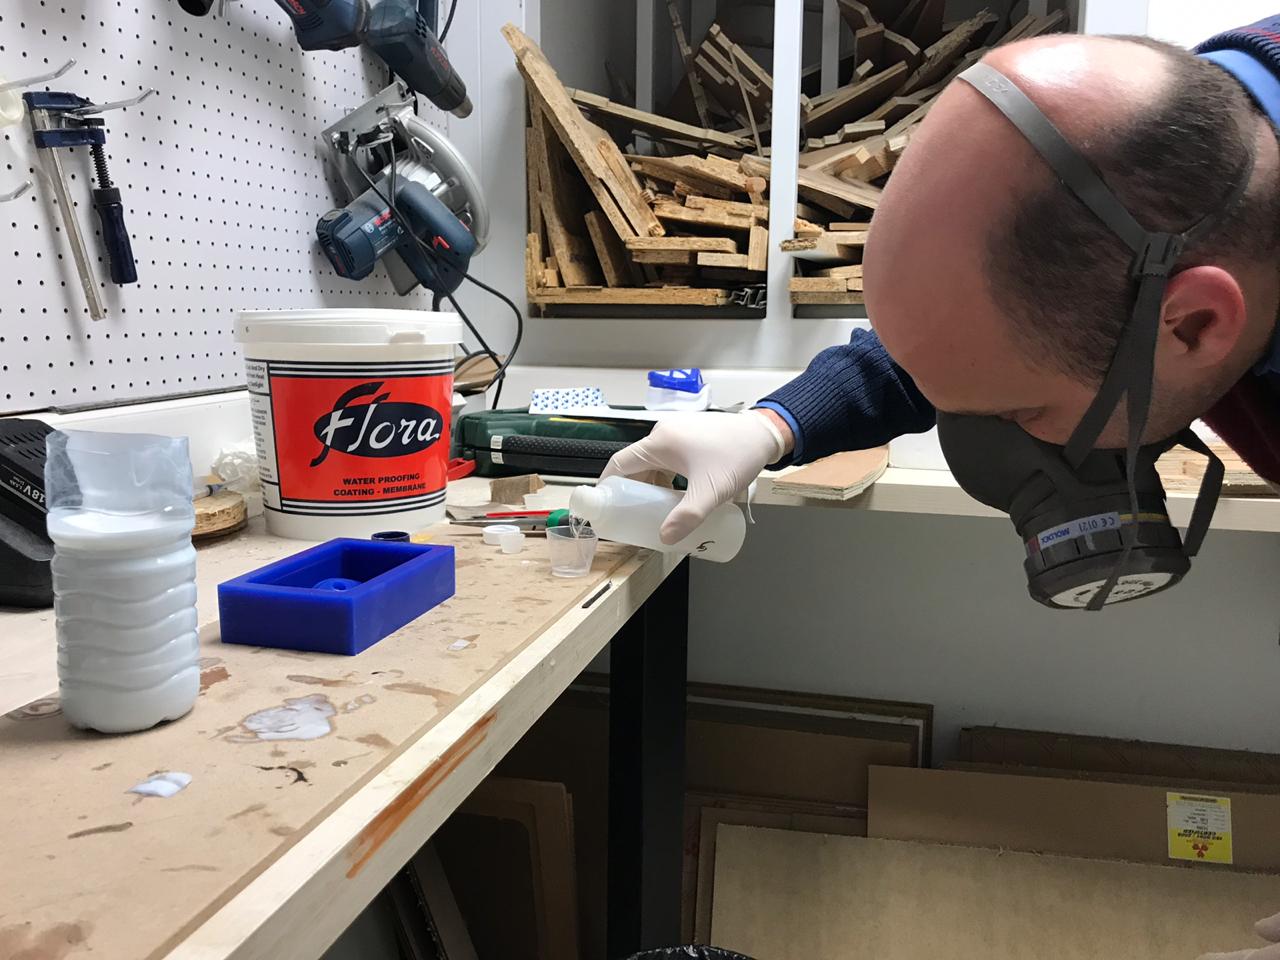
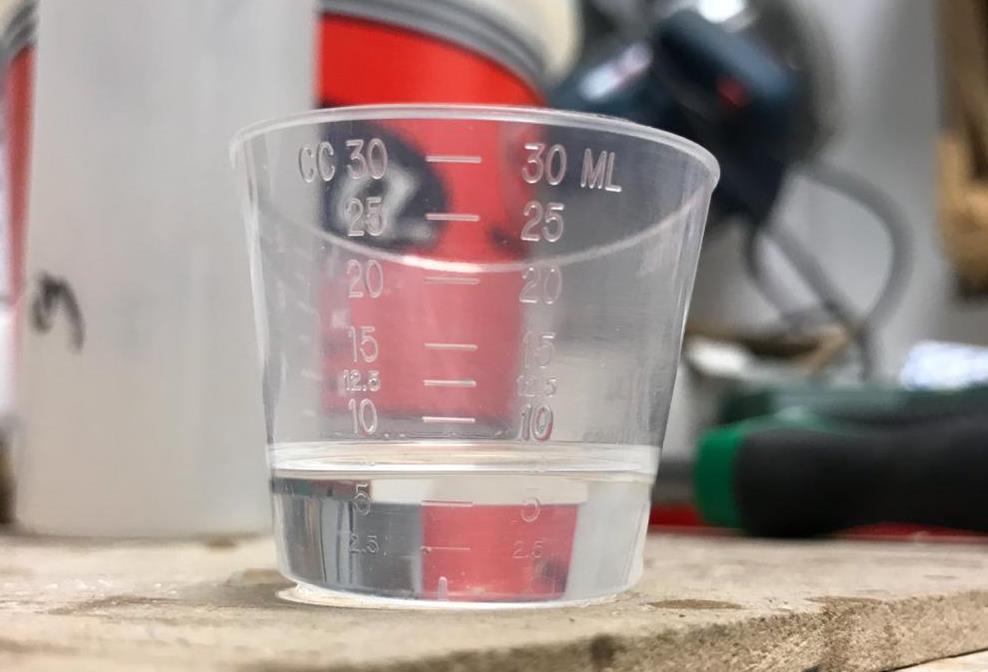
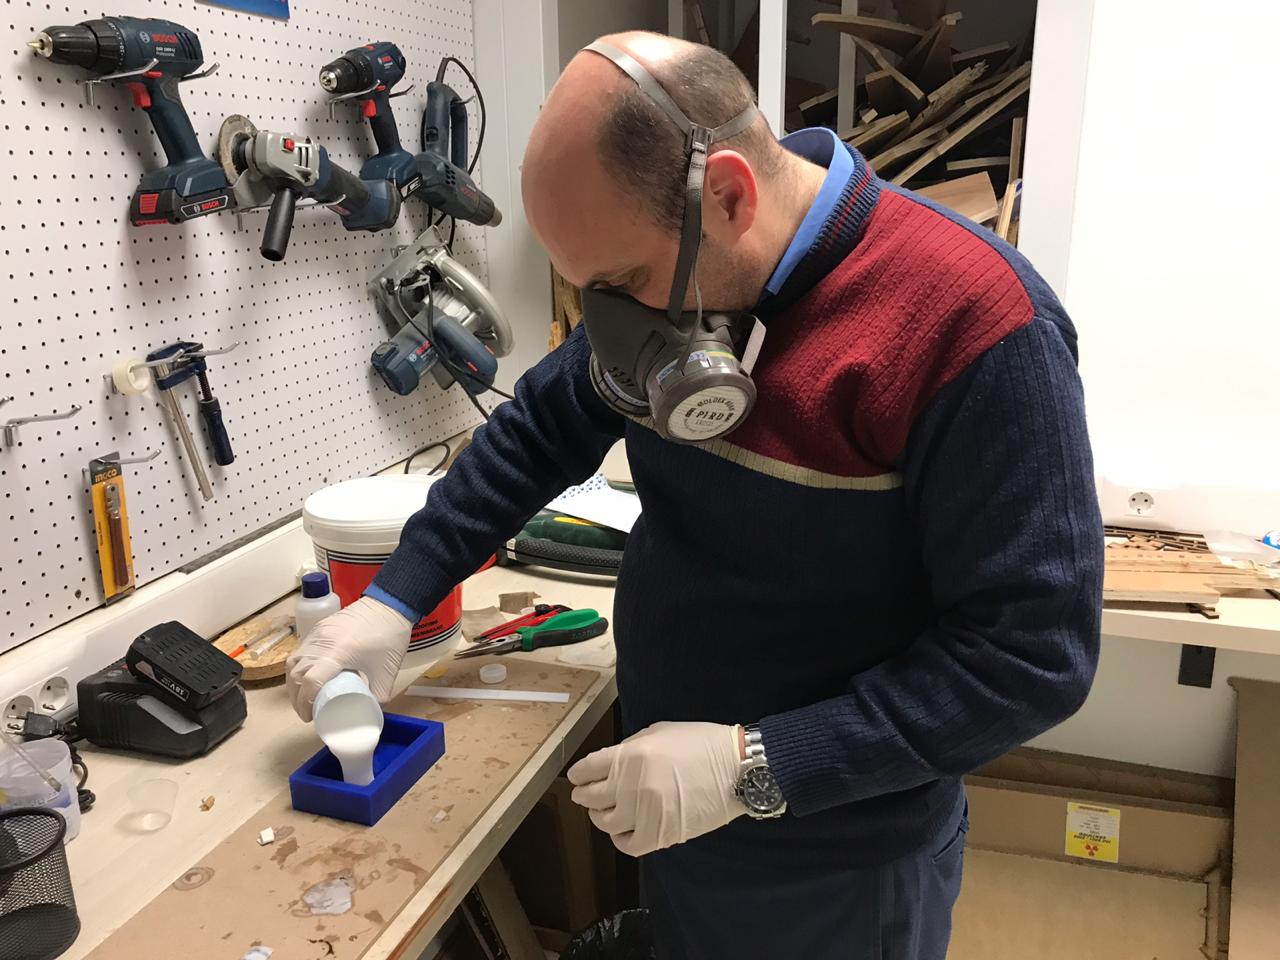

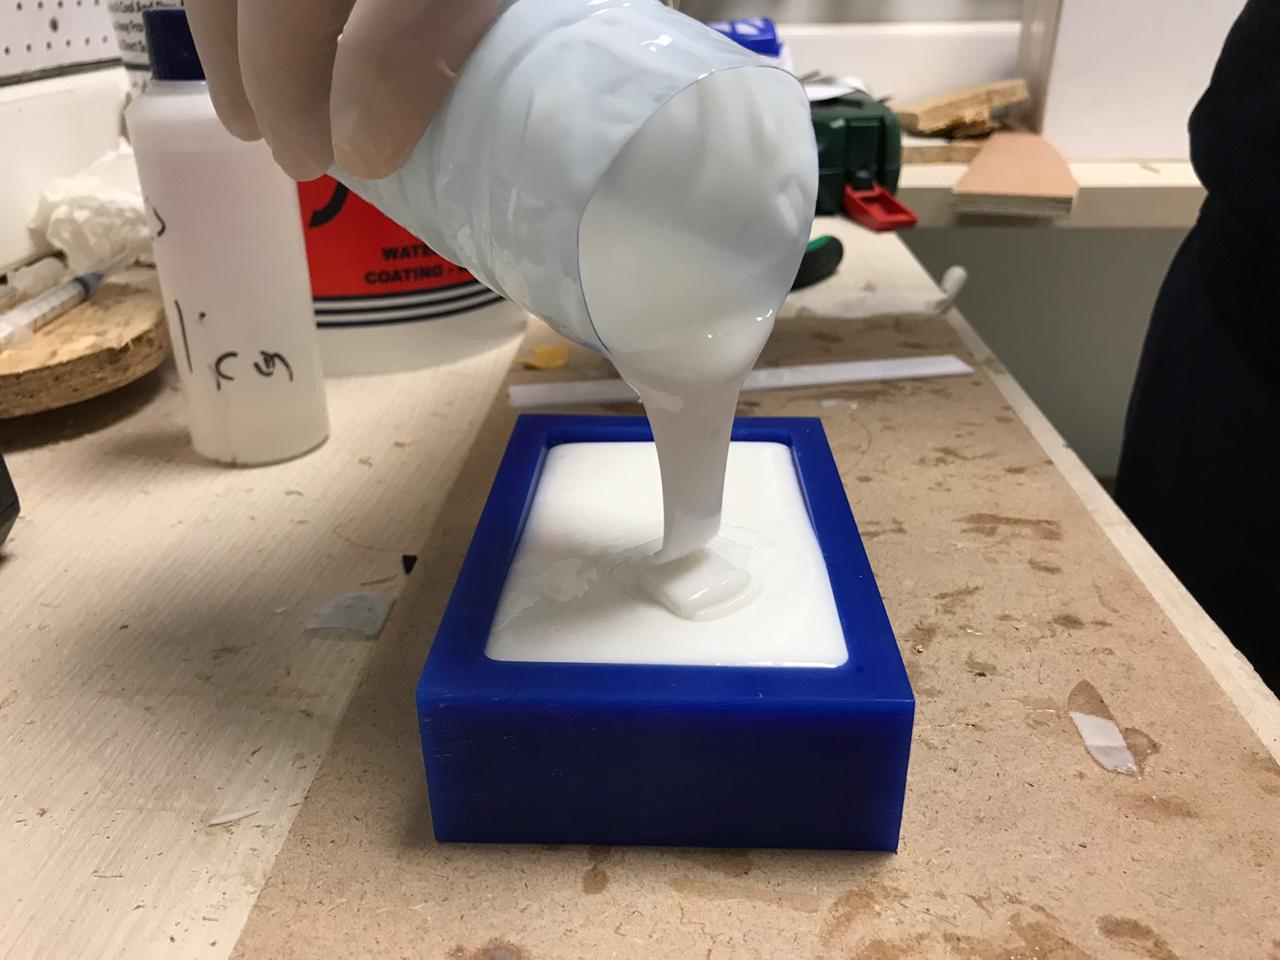
I will use a curing agent and silicon material to perform the first level of the molding process.
The optimal choice was to use the proper rubber described on the mold making professional website having a mix ratio of 10/1 (10 parts Base/1 part Catalyst).
But since we have a limited market in Lebanon we were obliged to use an equivalent tested material having a mix ratio of 10 /1.
.jpg)
Group Assignment:
Test 1 - Testing Various Molding Material:
In order to perform this week's assignment, we tried two different Molding Material and we compared the technical specification and the results.
The following material were available in the lab and were used during this week's assignment:
- Molding Material 1 Alumilite Amazing Mold Rubber
- Molding Material 2 Alumilite - High Strength 2
Concerning Safety, both material had the same safety warnings:
Always use safety products when working with silicone and resin. Always wear gloves, apron, coveralls, boots, chemical goggles.
Mixed High Strength rubber will absorb into porous materials and may stain! Avoid clothing, carpet, upholstery, and any other porous materials which will stain and will not come out. Mold making and casting is best done in a designated area such as a basement, garage, or hobby room with adequate air movement or ventilation. Cover any surfaces including floors with plastic sheeting, or plywood to prevent damage from spilled resin. To clean up unmixed or still liquid material, use rubbing alcohol on a rag or paper towel to quickly clean and remove. In some instances, such as spills on non-porous surfaces, it's easier to clean up silicone after it's allowed to cure. Then simply peel away and discard.
The following are the safety warning for both material:
- Keep out of reach of children,
- Avoid eye and skin contact,
- In case of skin contact, wash with soap and water,
- Use with ventilation. In case of ill effects, remove to fresh air,
- Keep container closed,
- Do not take internally,
- Do not use for food.
A detailed description of the technical data sheet for both materials is described below.
You can download the data sheet for the material from the following links

Material 1 - Amazing Mold Rubber:
The following is a summary of the data sheet of the Amazing Mold Rubber:
- Color: Pink
- Mix Ratio: 10:1 by WEIGHT
- Open Time: 20-30 mins
- Demold Time: 2-4 hours
- Mixed Viscosity (cps.): 15,000
- Specific Gravity: 1.15
- Shore A Hardness 25
- Linear Shrink (%) .3
- Tensile Strength (psi) 550
- Elongation 500%
- Temperature Range (F) -67 to 395
- Vacuum Required No
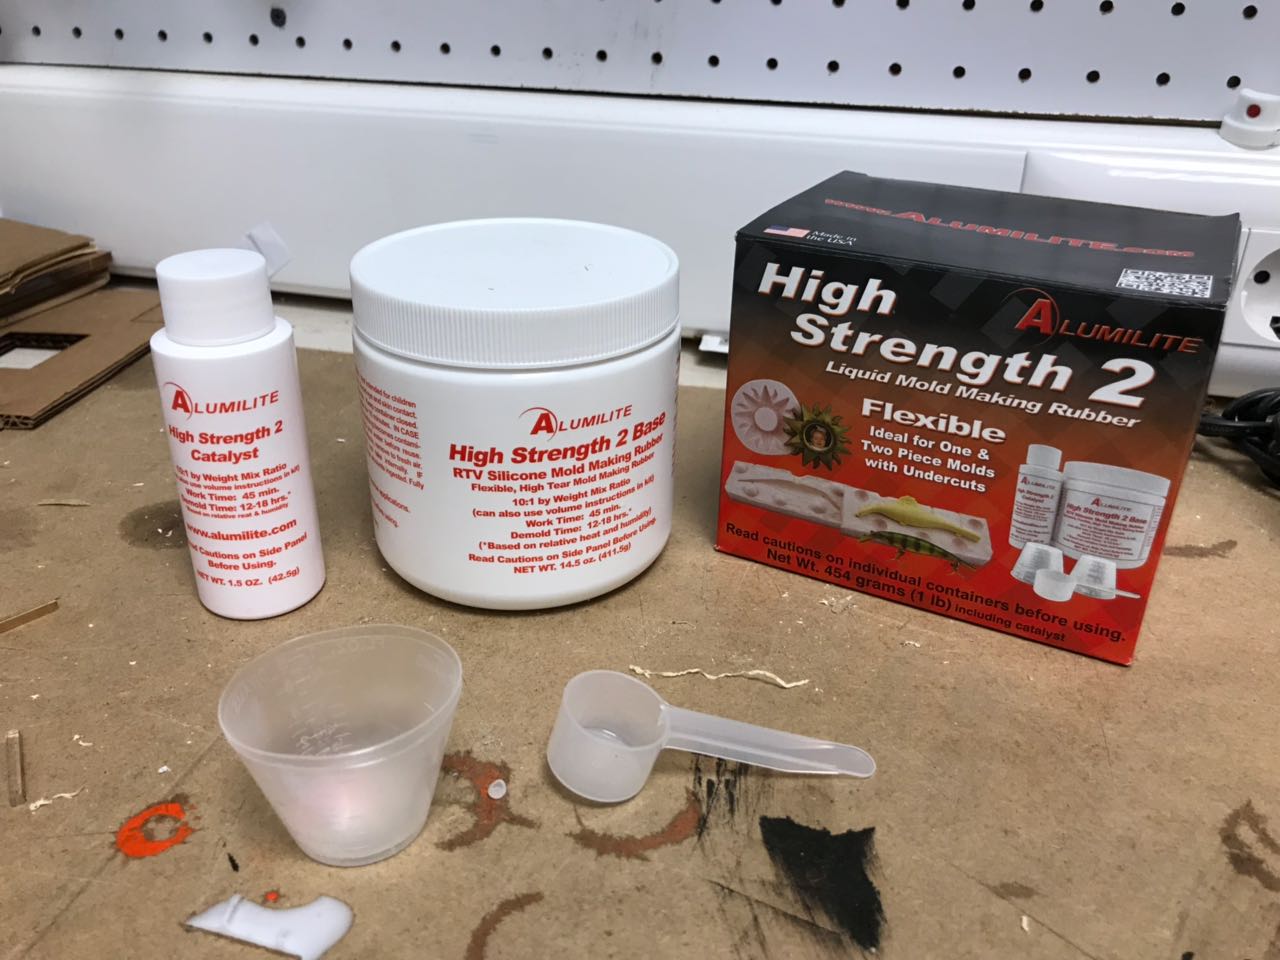
Material 2 - High Strength 2:
The following is a summary of the data sheet of the High Strength 2.
- Color: Pink
- Mix Ratio: 10:1 by WEIGHT
- Open Time: 45 mins
- Demold Time: 12-18 hours
- Mixed Viscosity (cps.): 18,000
- Specific Gravity: 1.15
- Shore A Hardness 25
- Linear Shrink (%) .3
- Tensile Strength (psi) 550
- Elongation 500%
- Temperature Range (F) -67 to 395
- Vacuum Required No
We can notice that this material takes more time to cure than material 1. However, both have almost the same final result which is a high tear strength rubber material.
Test 2 - Testing Various Casting Material:
In order to perform this week's assignment, we tried many types of casting material and we compared the technical specification and the results.
The following material were available in the lab and were used during this week's assignment:
- Casting Material 1 Alumilite - Amazing Casting Resin - White,
- Casting Material 2 Alumilite - Amazing Clear Cast,
- Casting Material 3 Aristocrat - Liquid Glass,
- Casting Material 4 PolyPol - 1003,
- Coloring Material Alumilite Coloring Dyes, Various Colors.
Concerning Safety, all material had the same safety warnings:
Always use safety products when working with resin. Always wear gloves, apron, coveralls, boots, chemical goggles.
Hardener contains a polyamine curing agent. Polymer should be used only by adults or under close supervision by an adult. KEEP OUT OF REACH OF CHILDREN.
The following are the safety warning for all material:
- Fatal or harmful if swallowed,
- Keep out of reach of children,
- Avoid eye and skin contact: In case of eye contact, flush with water for ten minutes and seek prompt medical attention,
- In case of skin contact: wash with soap and water. Resin and hardener are skin irritants and may cause allergic reaction,
- AVOID INHALATION Use in well ventilated areas. In case of ill effects, remove to fresh air,
- Keep container closed,
- Do not take internally,
- Do not use for food.
A detailed description of the technical data sheet for both materials is described below.
You can download the data sheet for the material from the following links:
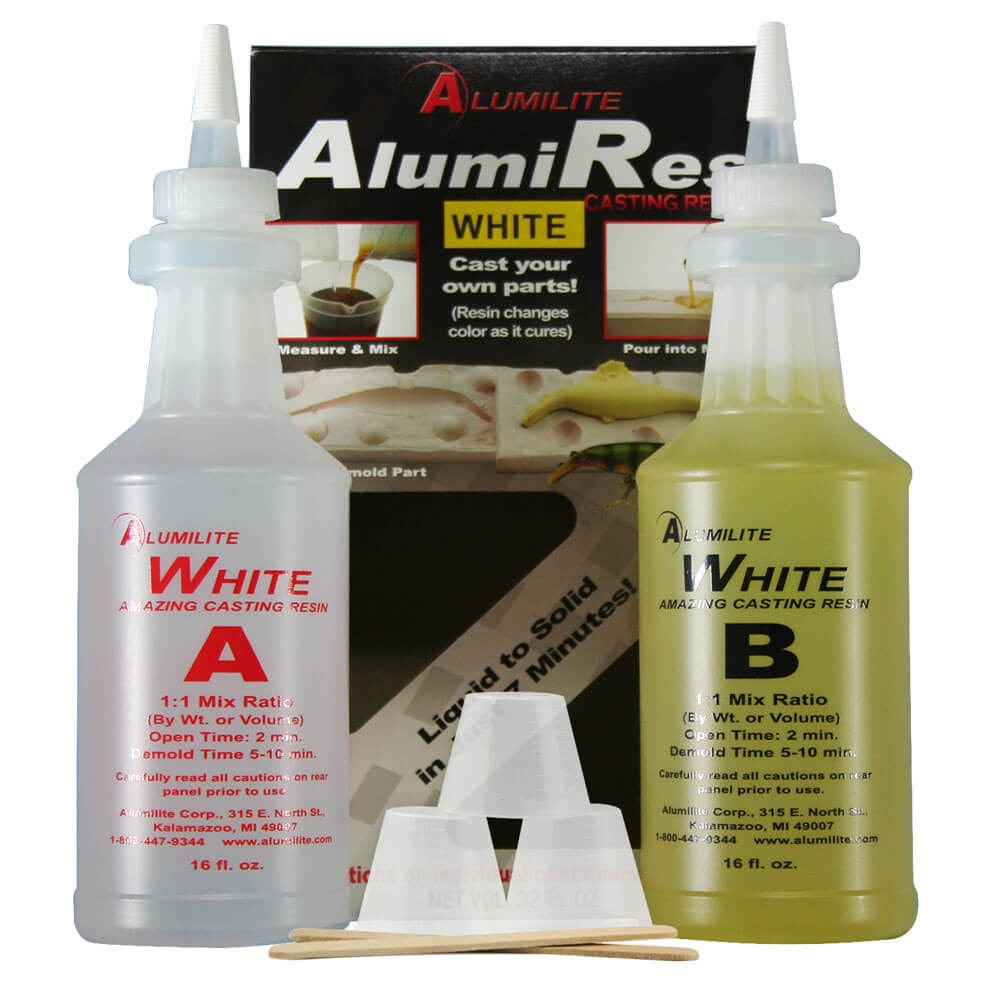
Material 1 - Alumilite - Amazing Casting Resin - White:
The following is a summary of the data sheet of the Amazing Casting Resin White:
- Color White
- Mixed Viscosity (cps.): 90
- Hardness Shore D: 72
- Specific Gravity: 1.05
- Shrinkage (in/in): 0.006
- Tensile Strength (psi): 4500
- Elongation: 10%
- Heat Deflection (Degrees F) 185
- Izod Impact (lb/in): 0.40
- Compression (psi): 6,000
The following are General Properties for the material:
- Color "A": Clear
- Color "B": Translucent yellow
- Mix Ratio: 1:1 by WEIGHT or Volume
- Open Time: 2.5-3 min
- Demold Time: 5-15 min
- Full Cure Schedule: 72 Hours
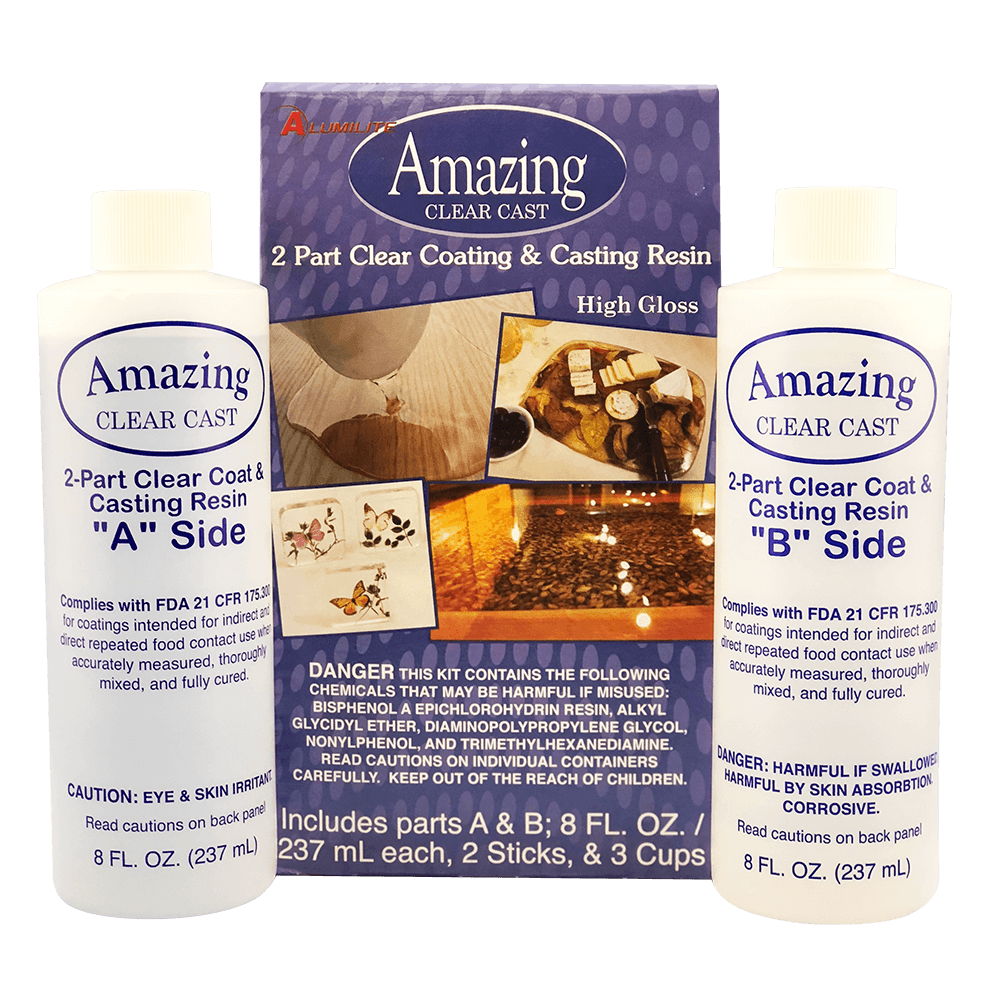
Material 2 - Alumilite - Amazing Clear Cast:
The following is a summary of the data sheet of the Amazing Clear Cast:
- Color: Clear
- Mixed Viscosity (cps.): 2,600
- Hardness Shore D: 80
- Specific Gravity: 1.08
- Shrinkage (in/in): 0.003
- Tensile Strength (psi): 8,000
- Elongation: 1-3%
- Heat Deflection (Degrees F) N/A
- Izod Impact (lb/in): 2.26
- Compression (psi): 27,000
The following are General Properties for the material:
- Color "A": Translucent Blue
- Color "B": Clear
- Mix Ratio: 1:1 by WEIGHT or Volume
- Open Time: 45-60 min
- Demold Time: 18-24 min
- Full Cure Schedule: 72 Hours
We can notice that this material takes more time to cure than material 1. .
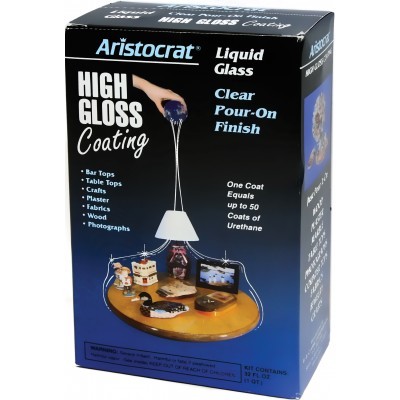
Material 3 - Aristocrat - Liquid Glass:
The following is a summary of the data sheet of the Aristocrat - Liquid Glass:
- Color: Clear(Yellowish)
- Hardness Shore D: 81-83
- Shrinkage (in/in): 0.003
- Tensile Strength (psi): 5,800
- Elongation: 7%
- Izod Impact (lb/in): 0.95
- Compression (psi): 3,500
The following are General Properties for the material:
- Color "A": Translucent Blue
- Color "B": Clear
- Mix Ratio: 1:1 by WEIGHT or Volume
- Open Time: 10-15 min
- Demold Time: 18-24 min
- Full Cure Schedule: 72 Hours
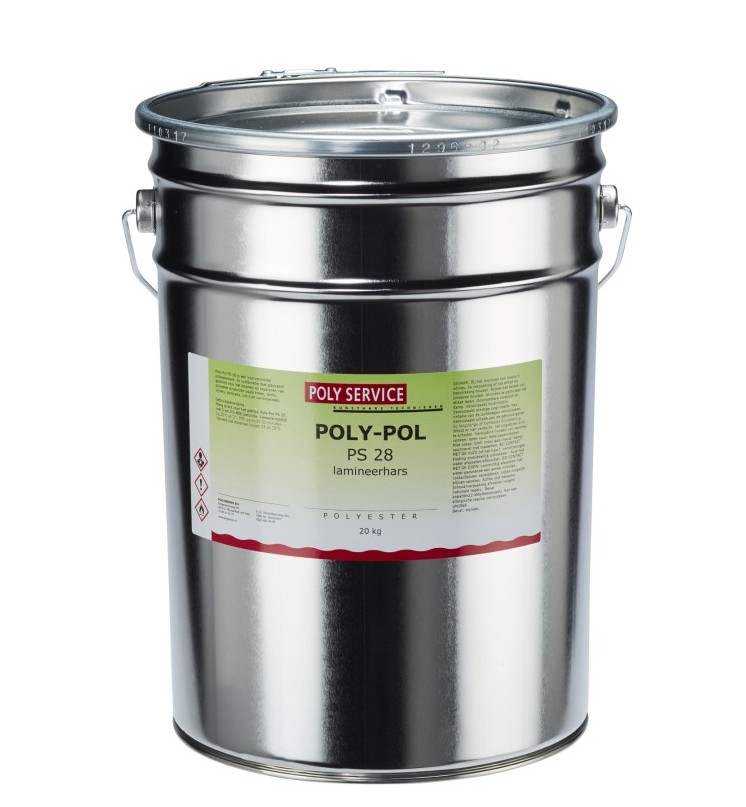
Material - 4 - PolyPol 1003:
The following is a summary of the data sheet of the PolyPol - 1003.
- Color: Bluish Cloudy Viscous Liquid
- Mixed Viscosity (cps.): 600-800
- Specific Gravity: 1.1-1.2
- Tensile Strength (MPa): 60
The following are General Properties for the material.
- Color "A": Translucent Blue
- Color "B": Clear
- Mix Ratio: 3% by Volume
- Open Time: 15-25 min
- Demold Time: 25-35 min
- Full Cure Schedule: 72 Hours

Download files:
Logo;
Mold
The Humidity logo's mold 3D in stl format

This work is licensed under a Creative Commons Attribution 4.0 International License.