Week 5
Assignment - 3D Printing and Scanning
- Group assignment:
- Test the design rules for your 3D printer(s)
- Document your work on the group work page and reflect on your individual page what you learned about characteristics of your printer(s)
- Individual assignment:
- Design, document and 3D print an object (small, few cm3, limited by printer time) that could not be easily made subtractively
- 3D scan an object (and optionally print it)
From Assignment Details.
Group Assignment / Testing Design Rules for your 3D Printer(s)
Reflection
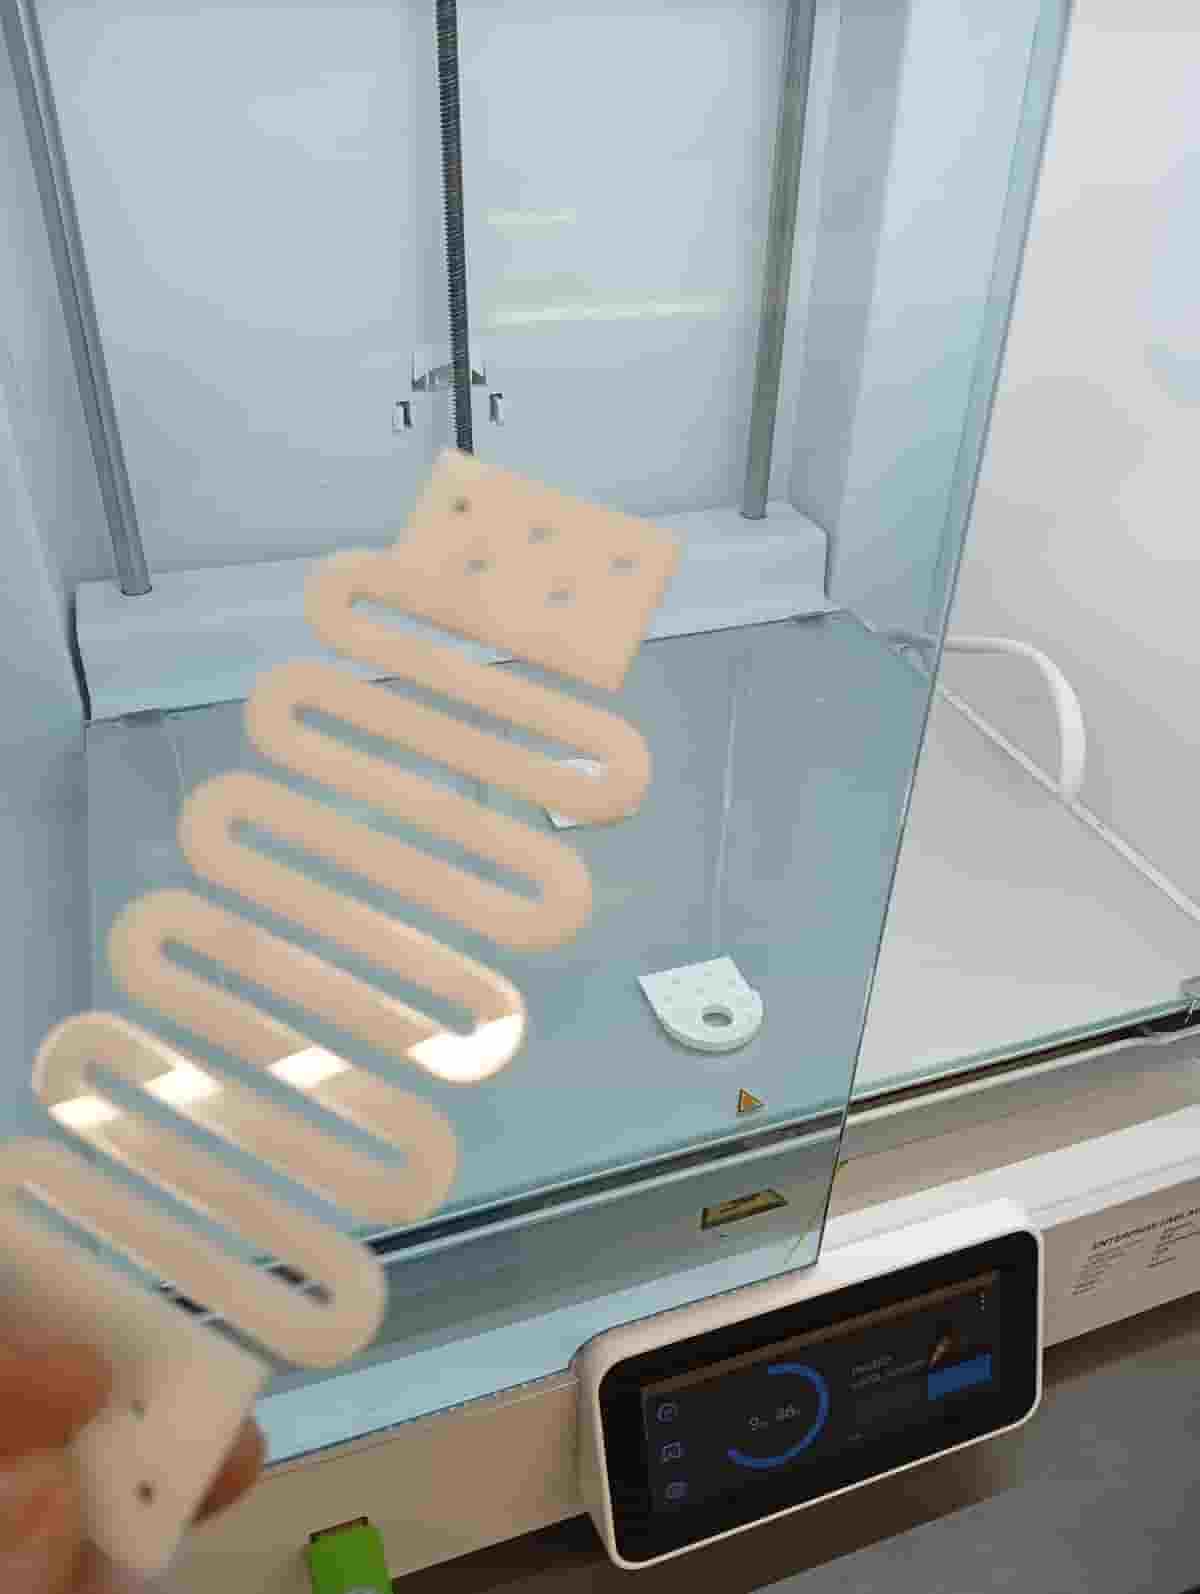
It was useful this week, to do a lot of testing. It was really important to get the embedded inserts to work As well as the bridging, clearances (to compare with the laser cut model and to create the negative volume and cover the insert successfully).
The nozzle caught on the insert and showed the importance of vertical tolerance/layer height consideration.
This week I used Cura (online and offline), and the Ginger slicer. The 3d scan was unsuccessful, will try again.
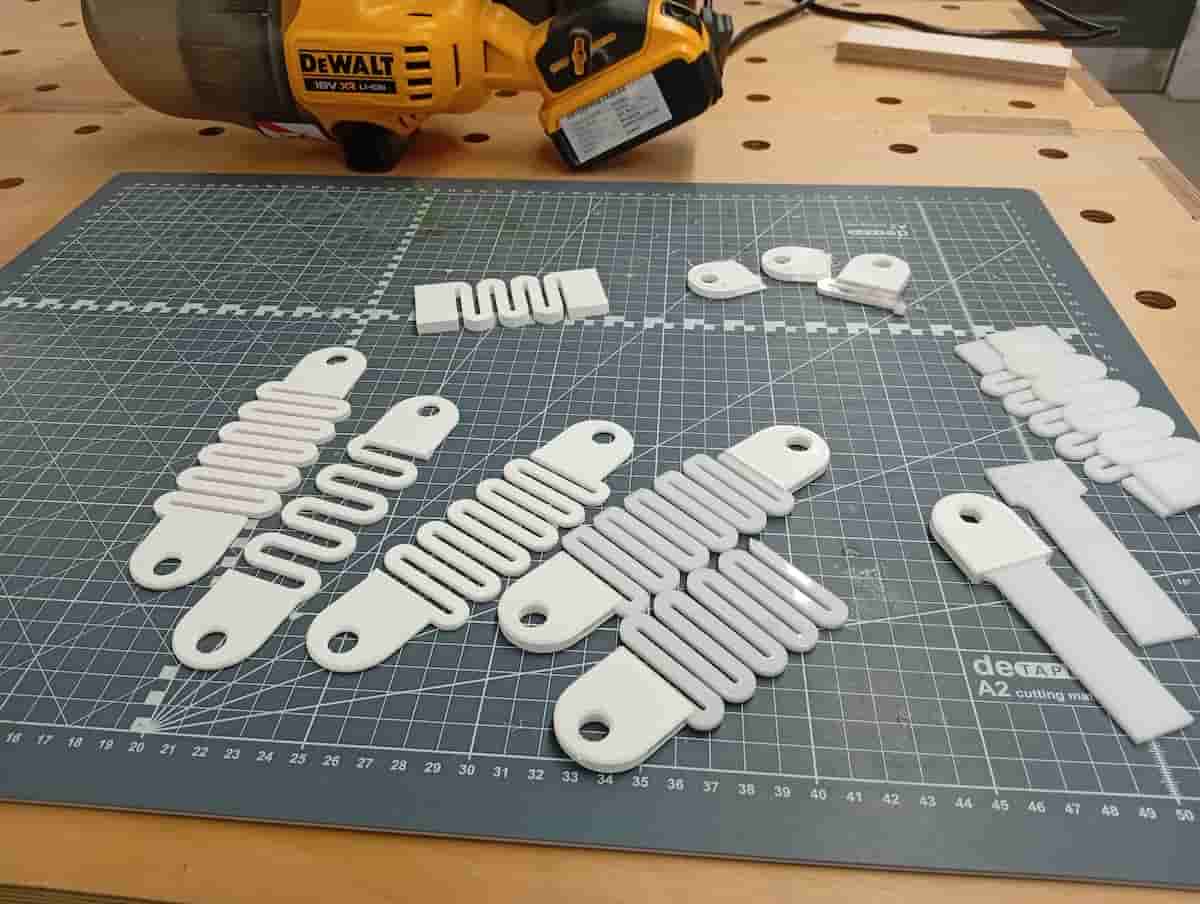
Printing an object that could not be made with a subtractive process.
(See below, print insert versions…)
The Squiggle spring design was something I’ve seen a few places (including Magnus’ Card-a-pult, relevant also to final project, maybe due to paper handling).
Out of curiosity, I tried Cura Digital Factory (their in-browser slicer). I signed up and tried their prepare screen.
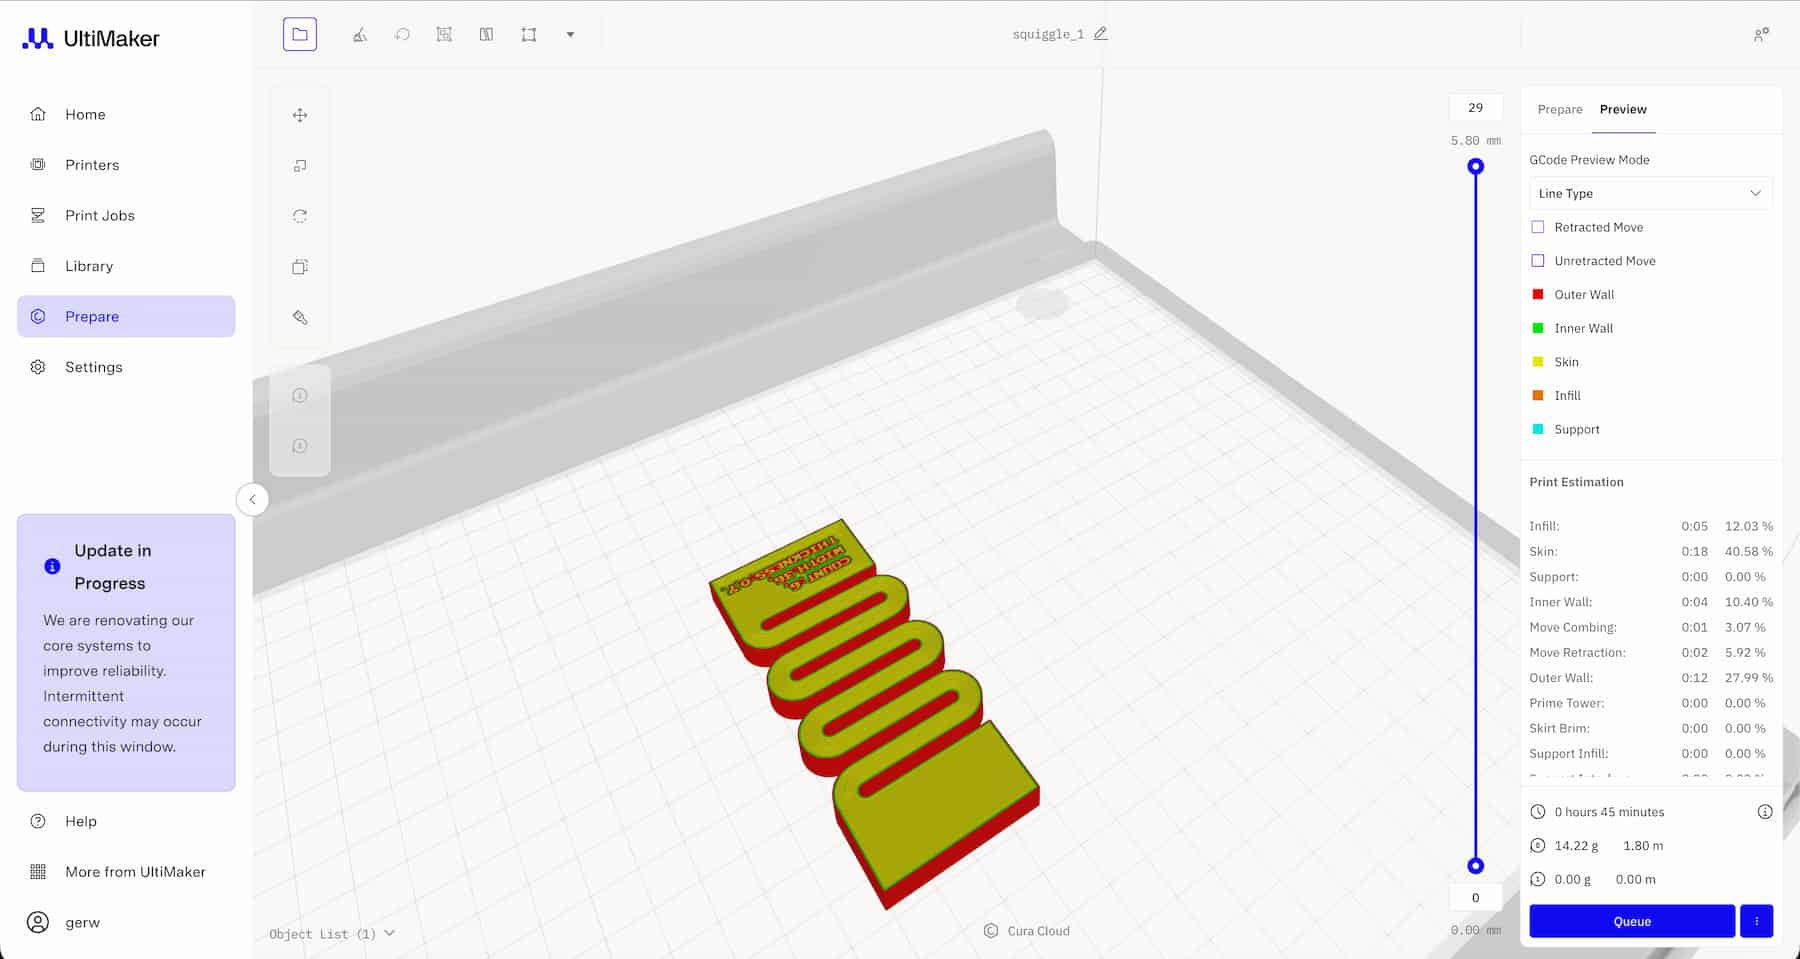
I couldn’t find any way to add a pause in the browser software, so I went to PrusaSlicer, and Cura (downloaded version).
I had a look in the C-Code file. M601 is the layer pause, but there is no M602. Resume is triggered by the user.
;LAYER_CHANGE

;Z:4.6

;HEIGHT:0.2

;BEFORE_LAYER_CHANGE

;M117 Layer 22;

;LAYER:22

G1 E.0952 F1500 ; retract

G92 E0 ; reset extrusion distance

G1 Z4.6 F9000 ; simple layer change

;PAUSE_PRINT

M117 Place acrylic and resume printing

M601

G1 X149.925 Y106.816 ; etc…
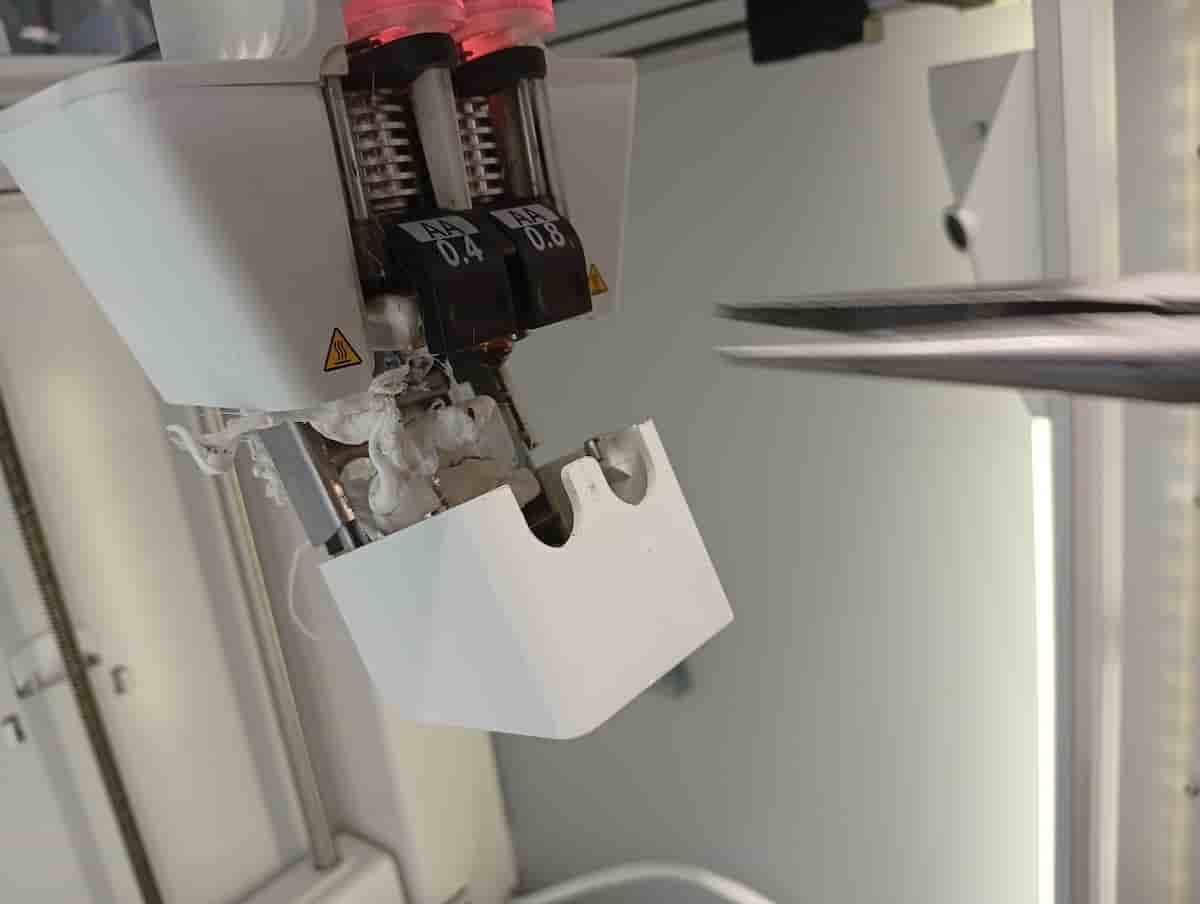
…And when paused, make your insert:
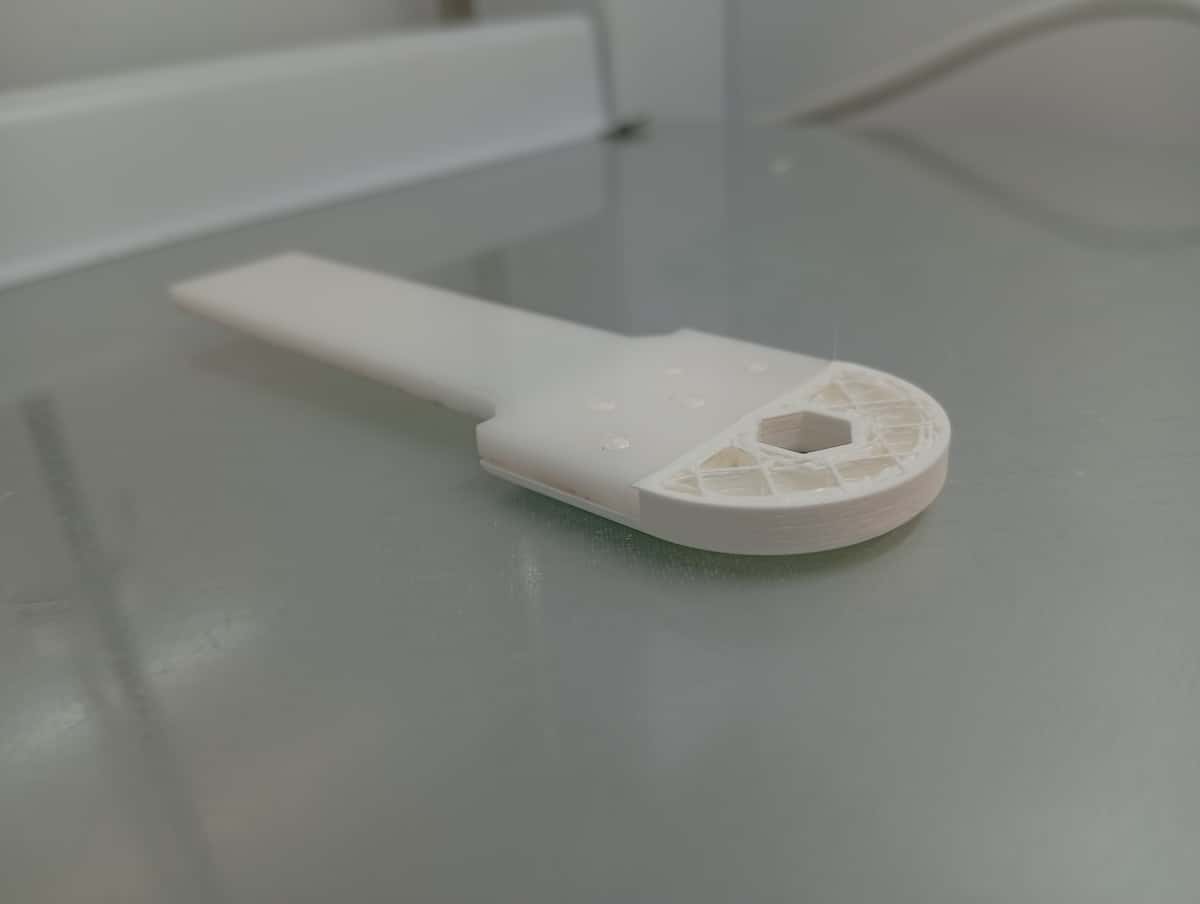
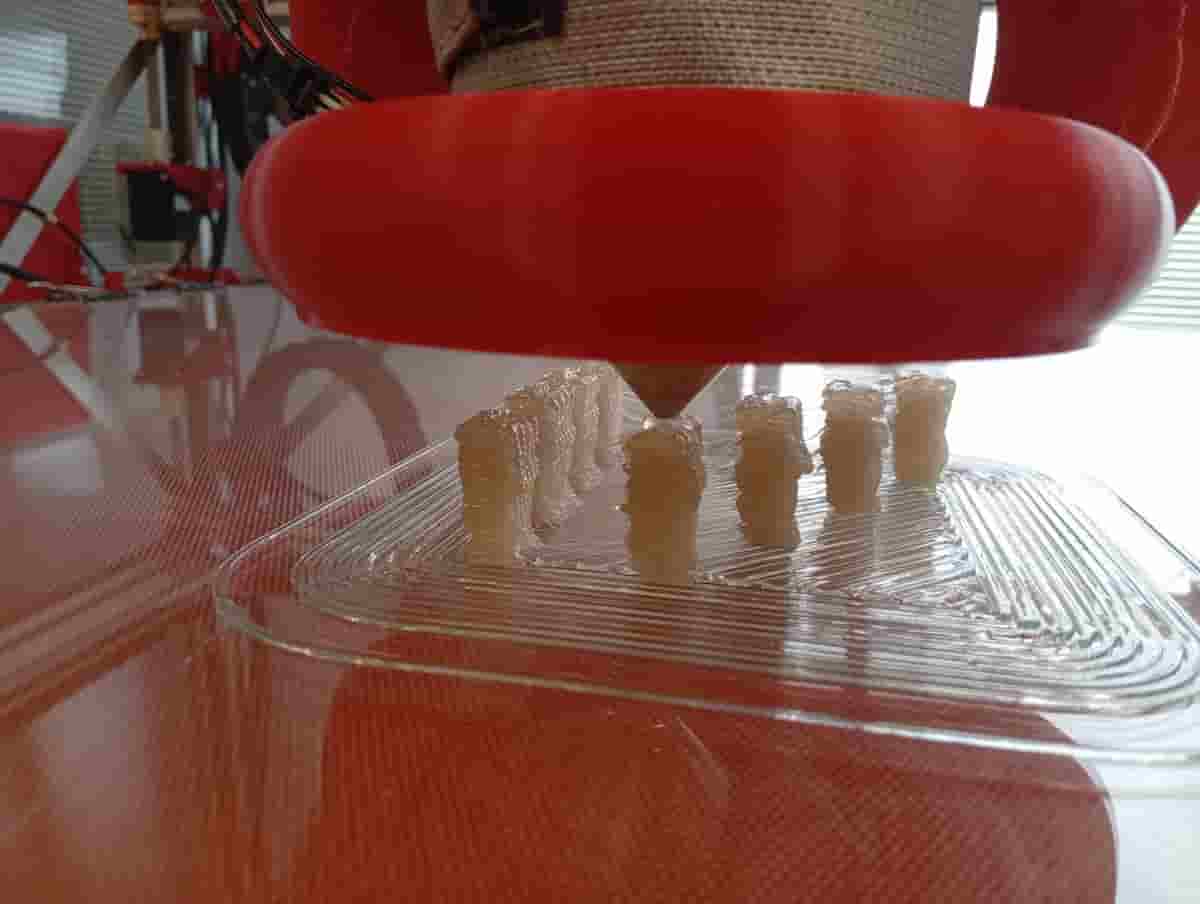
Results of UMS5 Strength Tests
After resuming, filament stuck detected, caused by not enough clearance between the nozzle and the acrylic. This wasn’t my print fortunately:
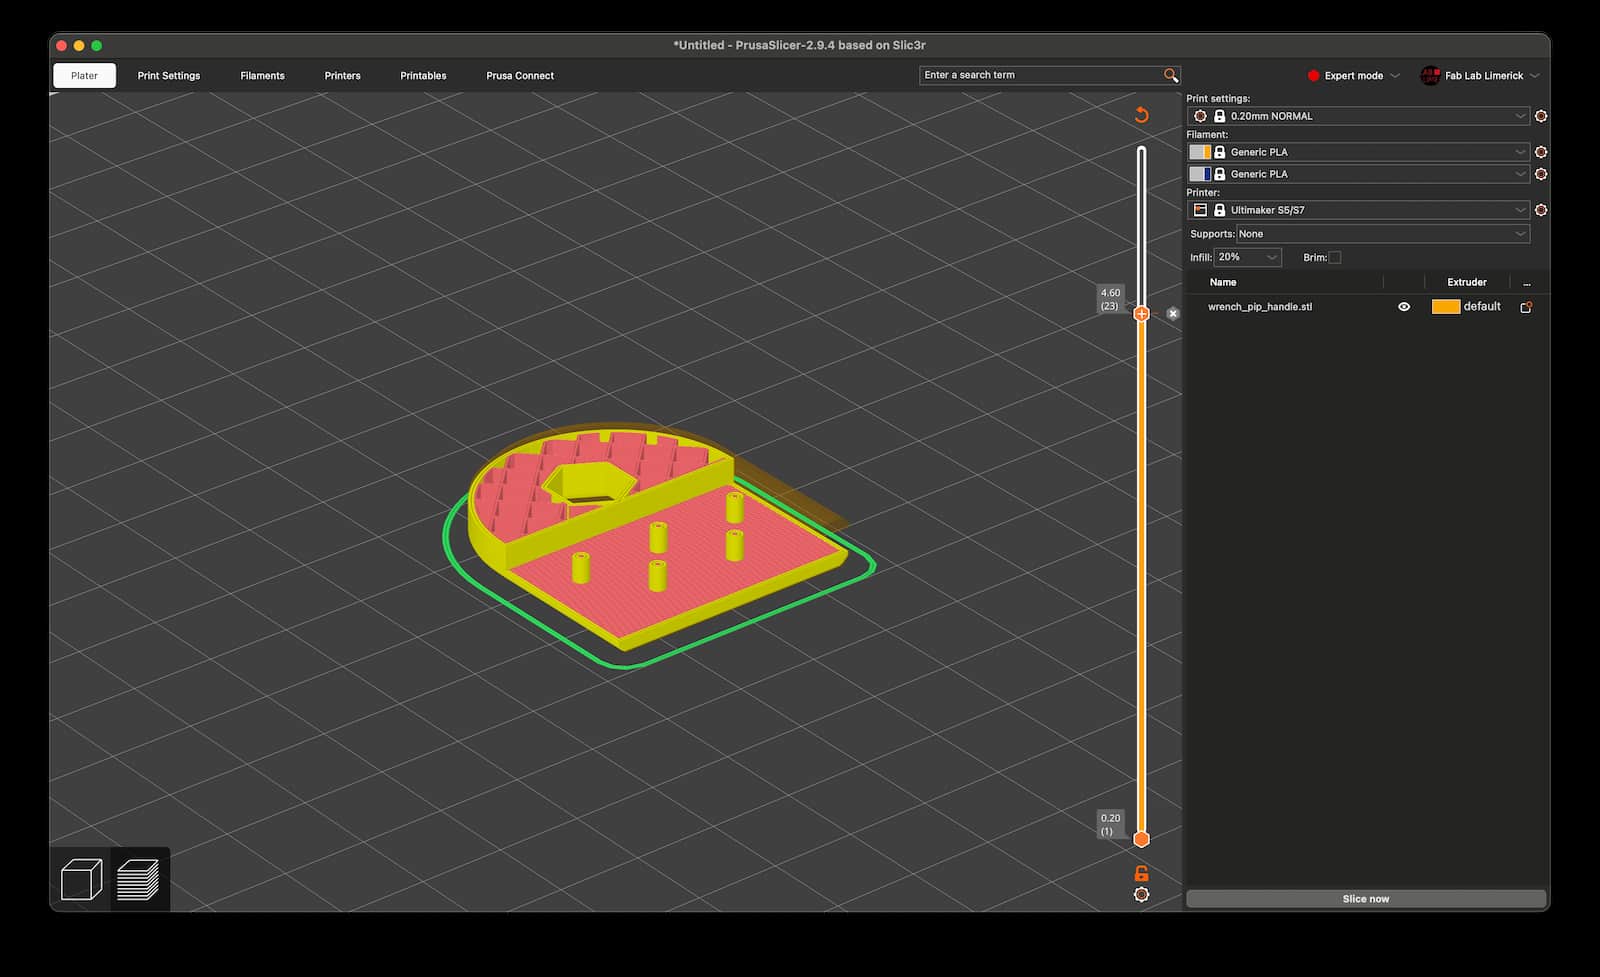
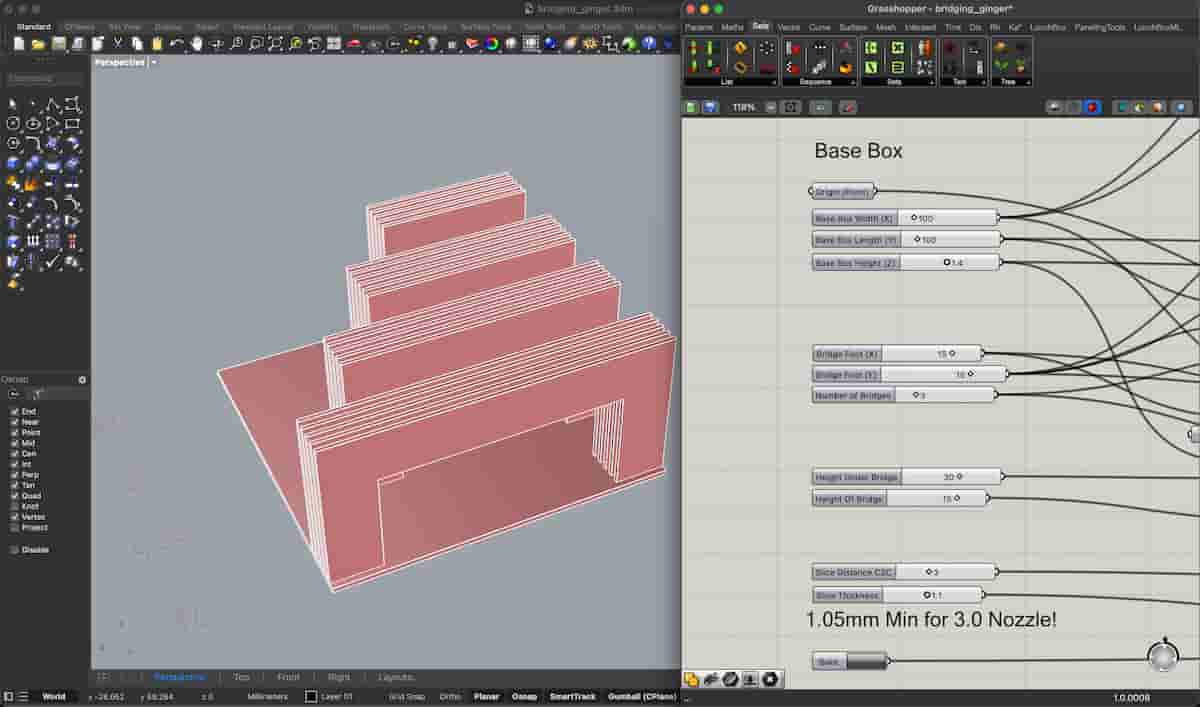
Making Custom Test (Overhang, and Bridging) on the G1
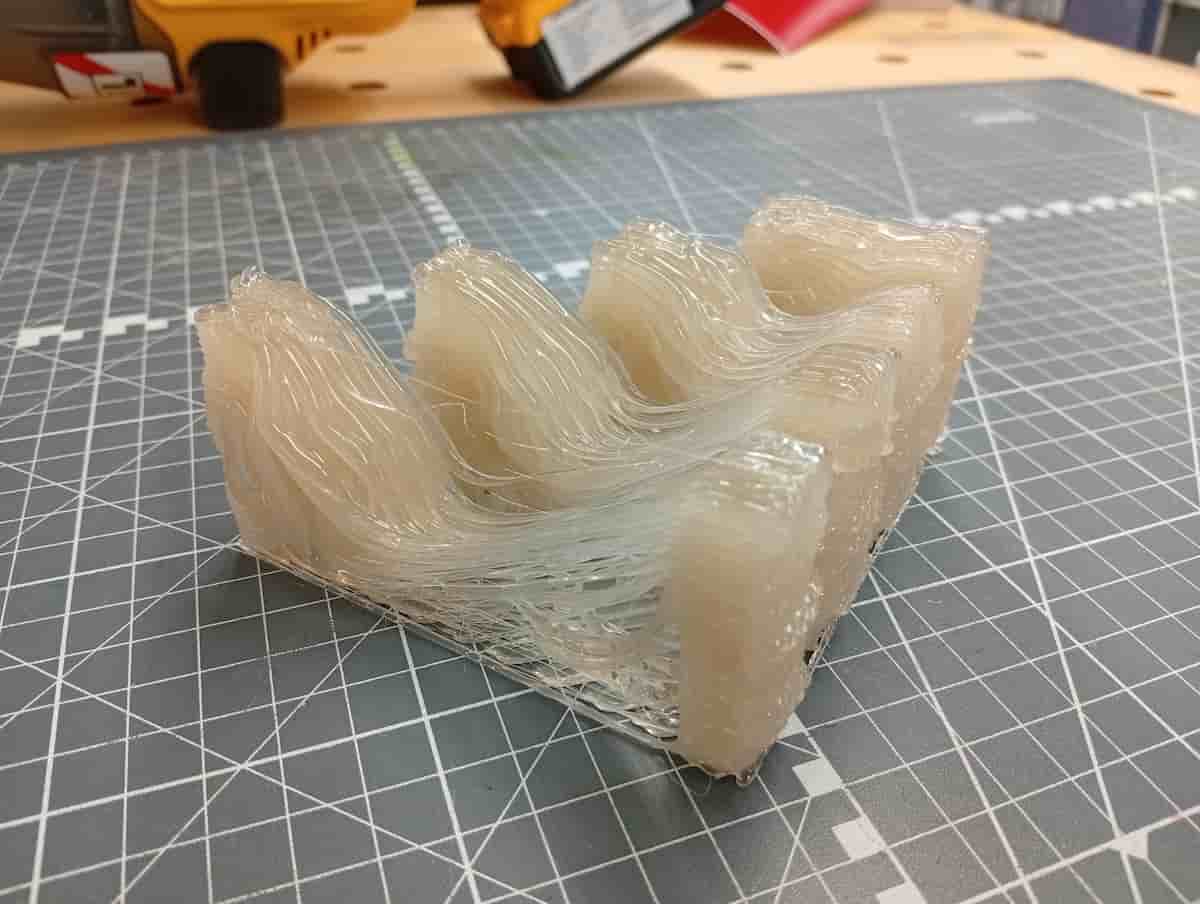
It also tests retraction and stringing.
Scanning
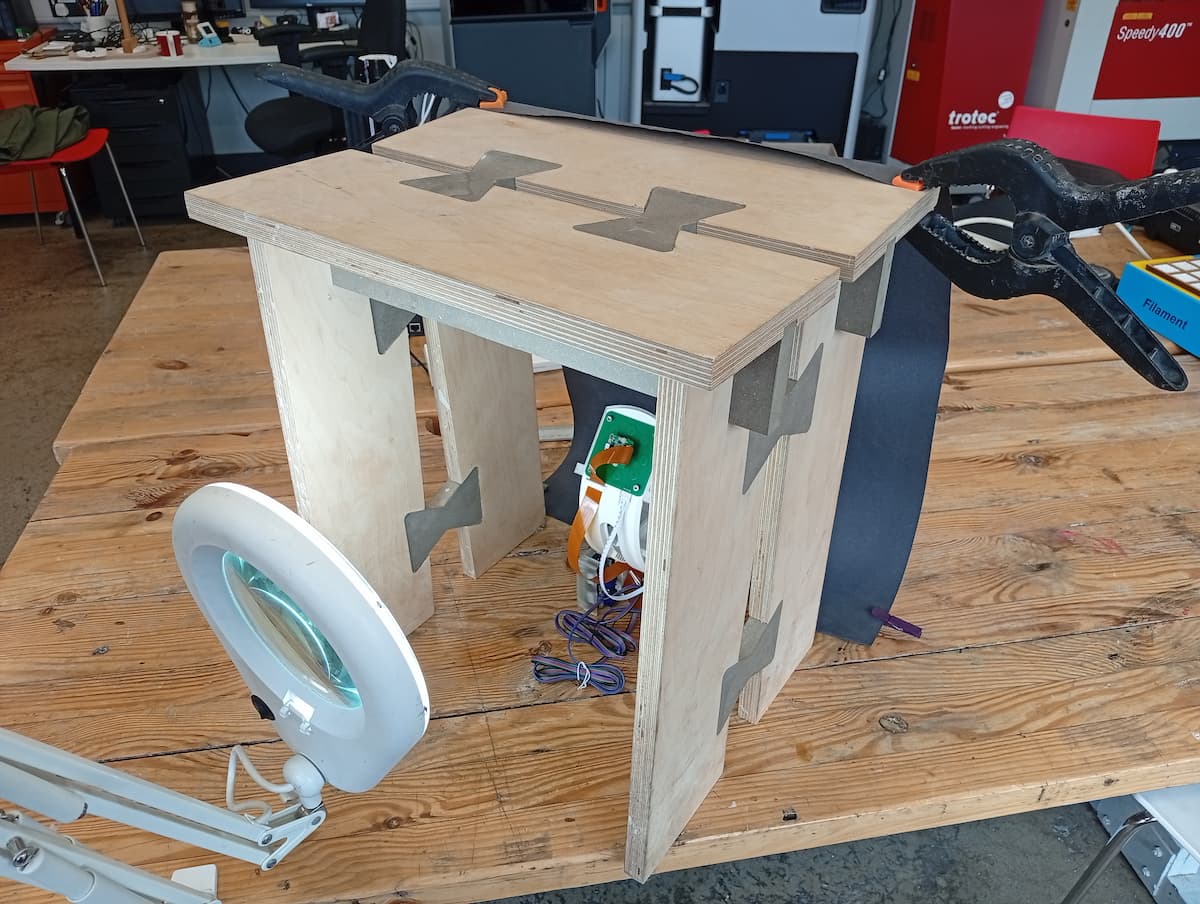
- OpenScan Mini
- Built this week from the kit. Uses a spare Raspberry Pi 3B.
Photogrammetry
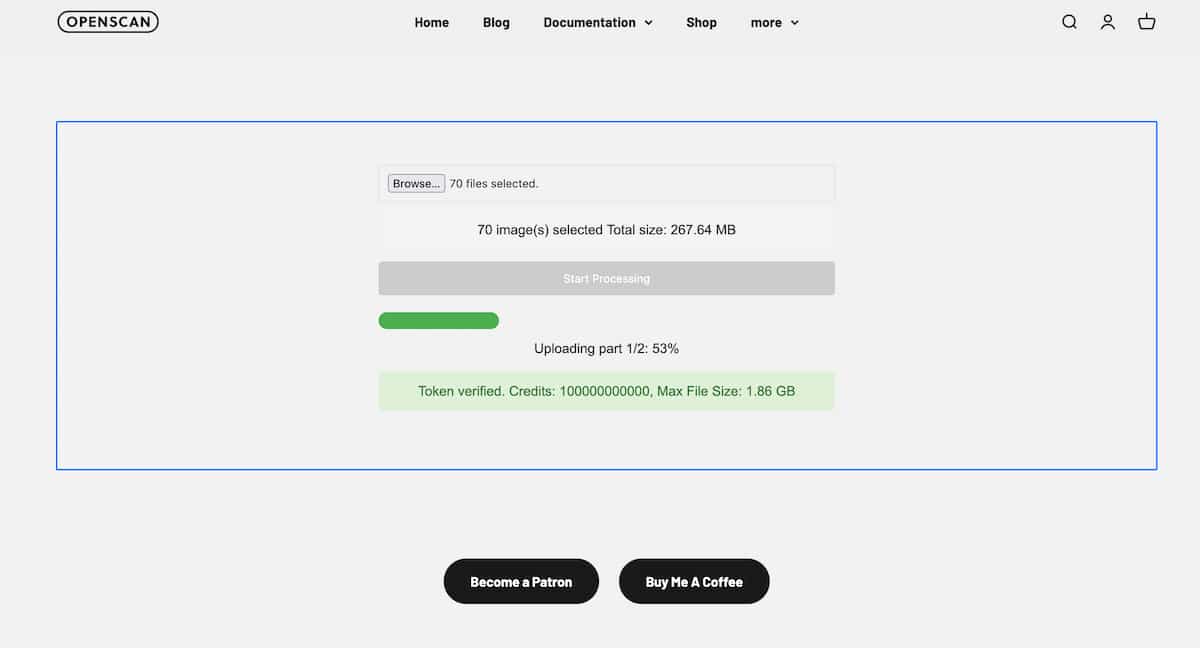
I’m hoping to use OpenScan Cloud (not received a token key yet), a cloud-based Photogrammetry service developed by the same developer. In the meantime, I will use Meshroom or Reality Composer (as documented by Diarmuid Kelly in 2025).
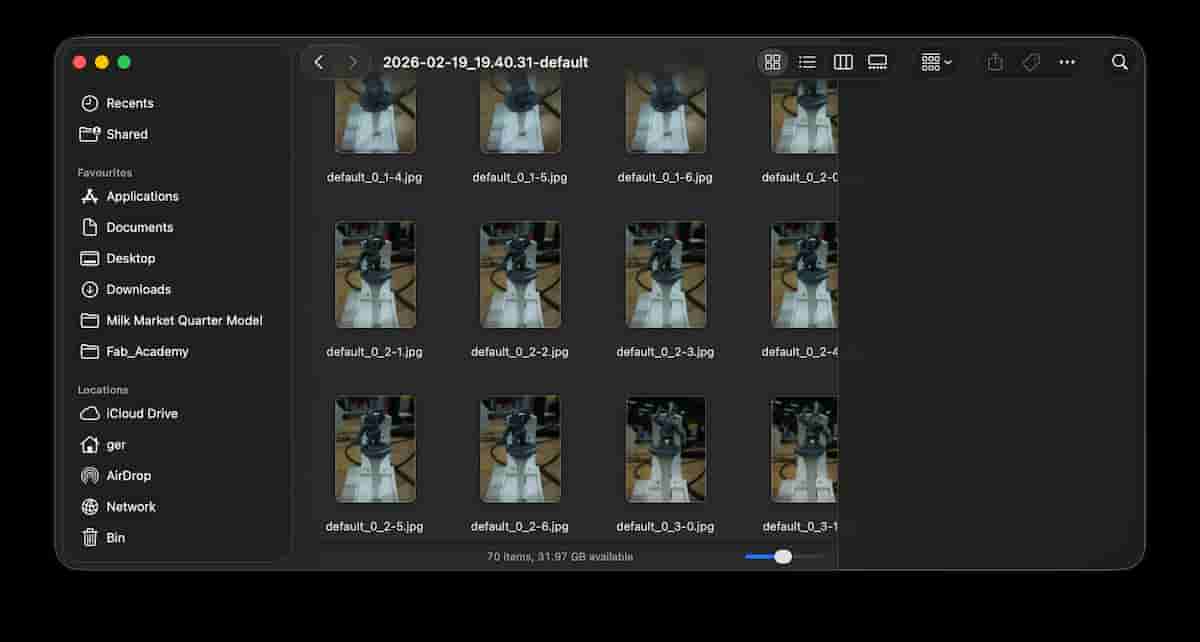
So, at this stage, we have a lot of images :)
This is a web-tool by the developer, which, very generously, allows processing from the OpenScan, for free, on his server:OpenScanCloud Uploader. You receive an email when the process is done, with a download link. There is also a button to do this automatically from the device dashboard.
This is what you get when it doesn’t work out:
Hi,

unfortunately, OpenScanCloud was not able to reconstruct your 3d model.

Make sure, that the object's surface has enough features and See this guide to improve your results: Photogrammetry Basics on Github

In case of further questions or problems feel free to join the discussions on Reddit or Facebook

Best Regards,
[Developer]
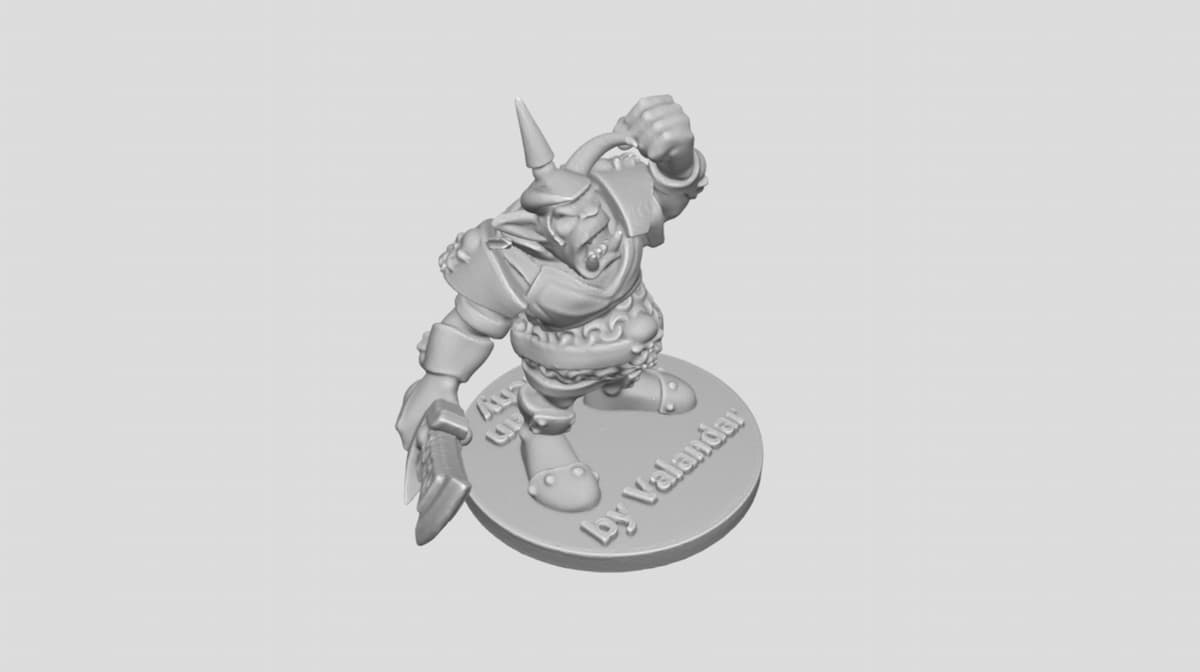
This is the result you should get: Example file on SketchFab
Update: Improved Setup
- added a matt black paper sheet as a background, clipped onto a stool for support
- put a backlight (to be tested, may be too intense)
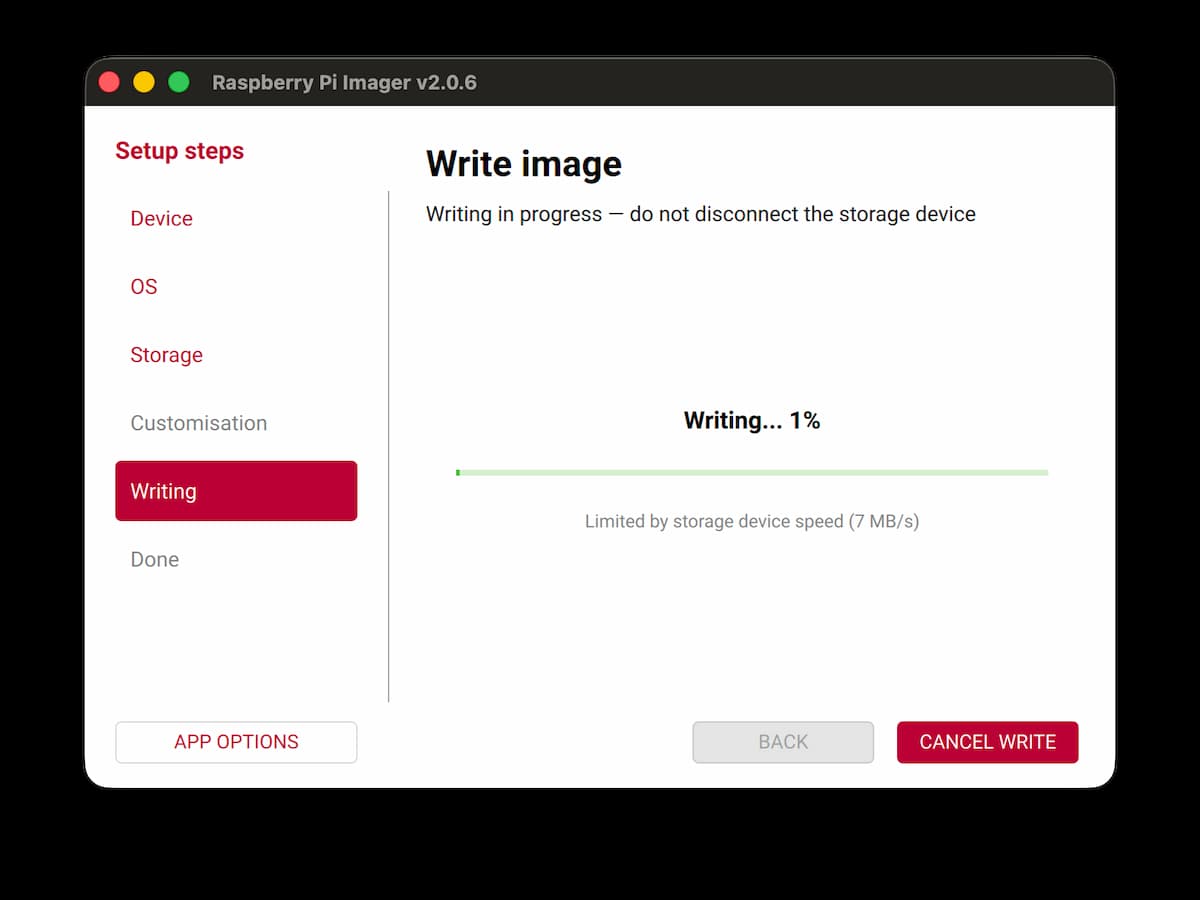
- had to reflash the sd card,
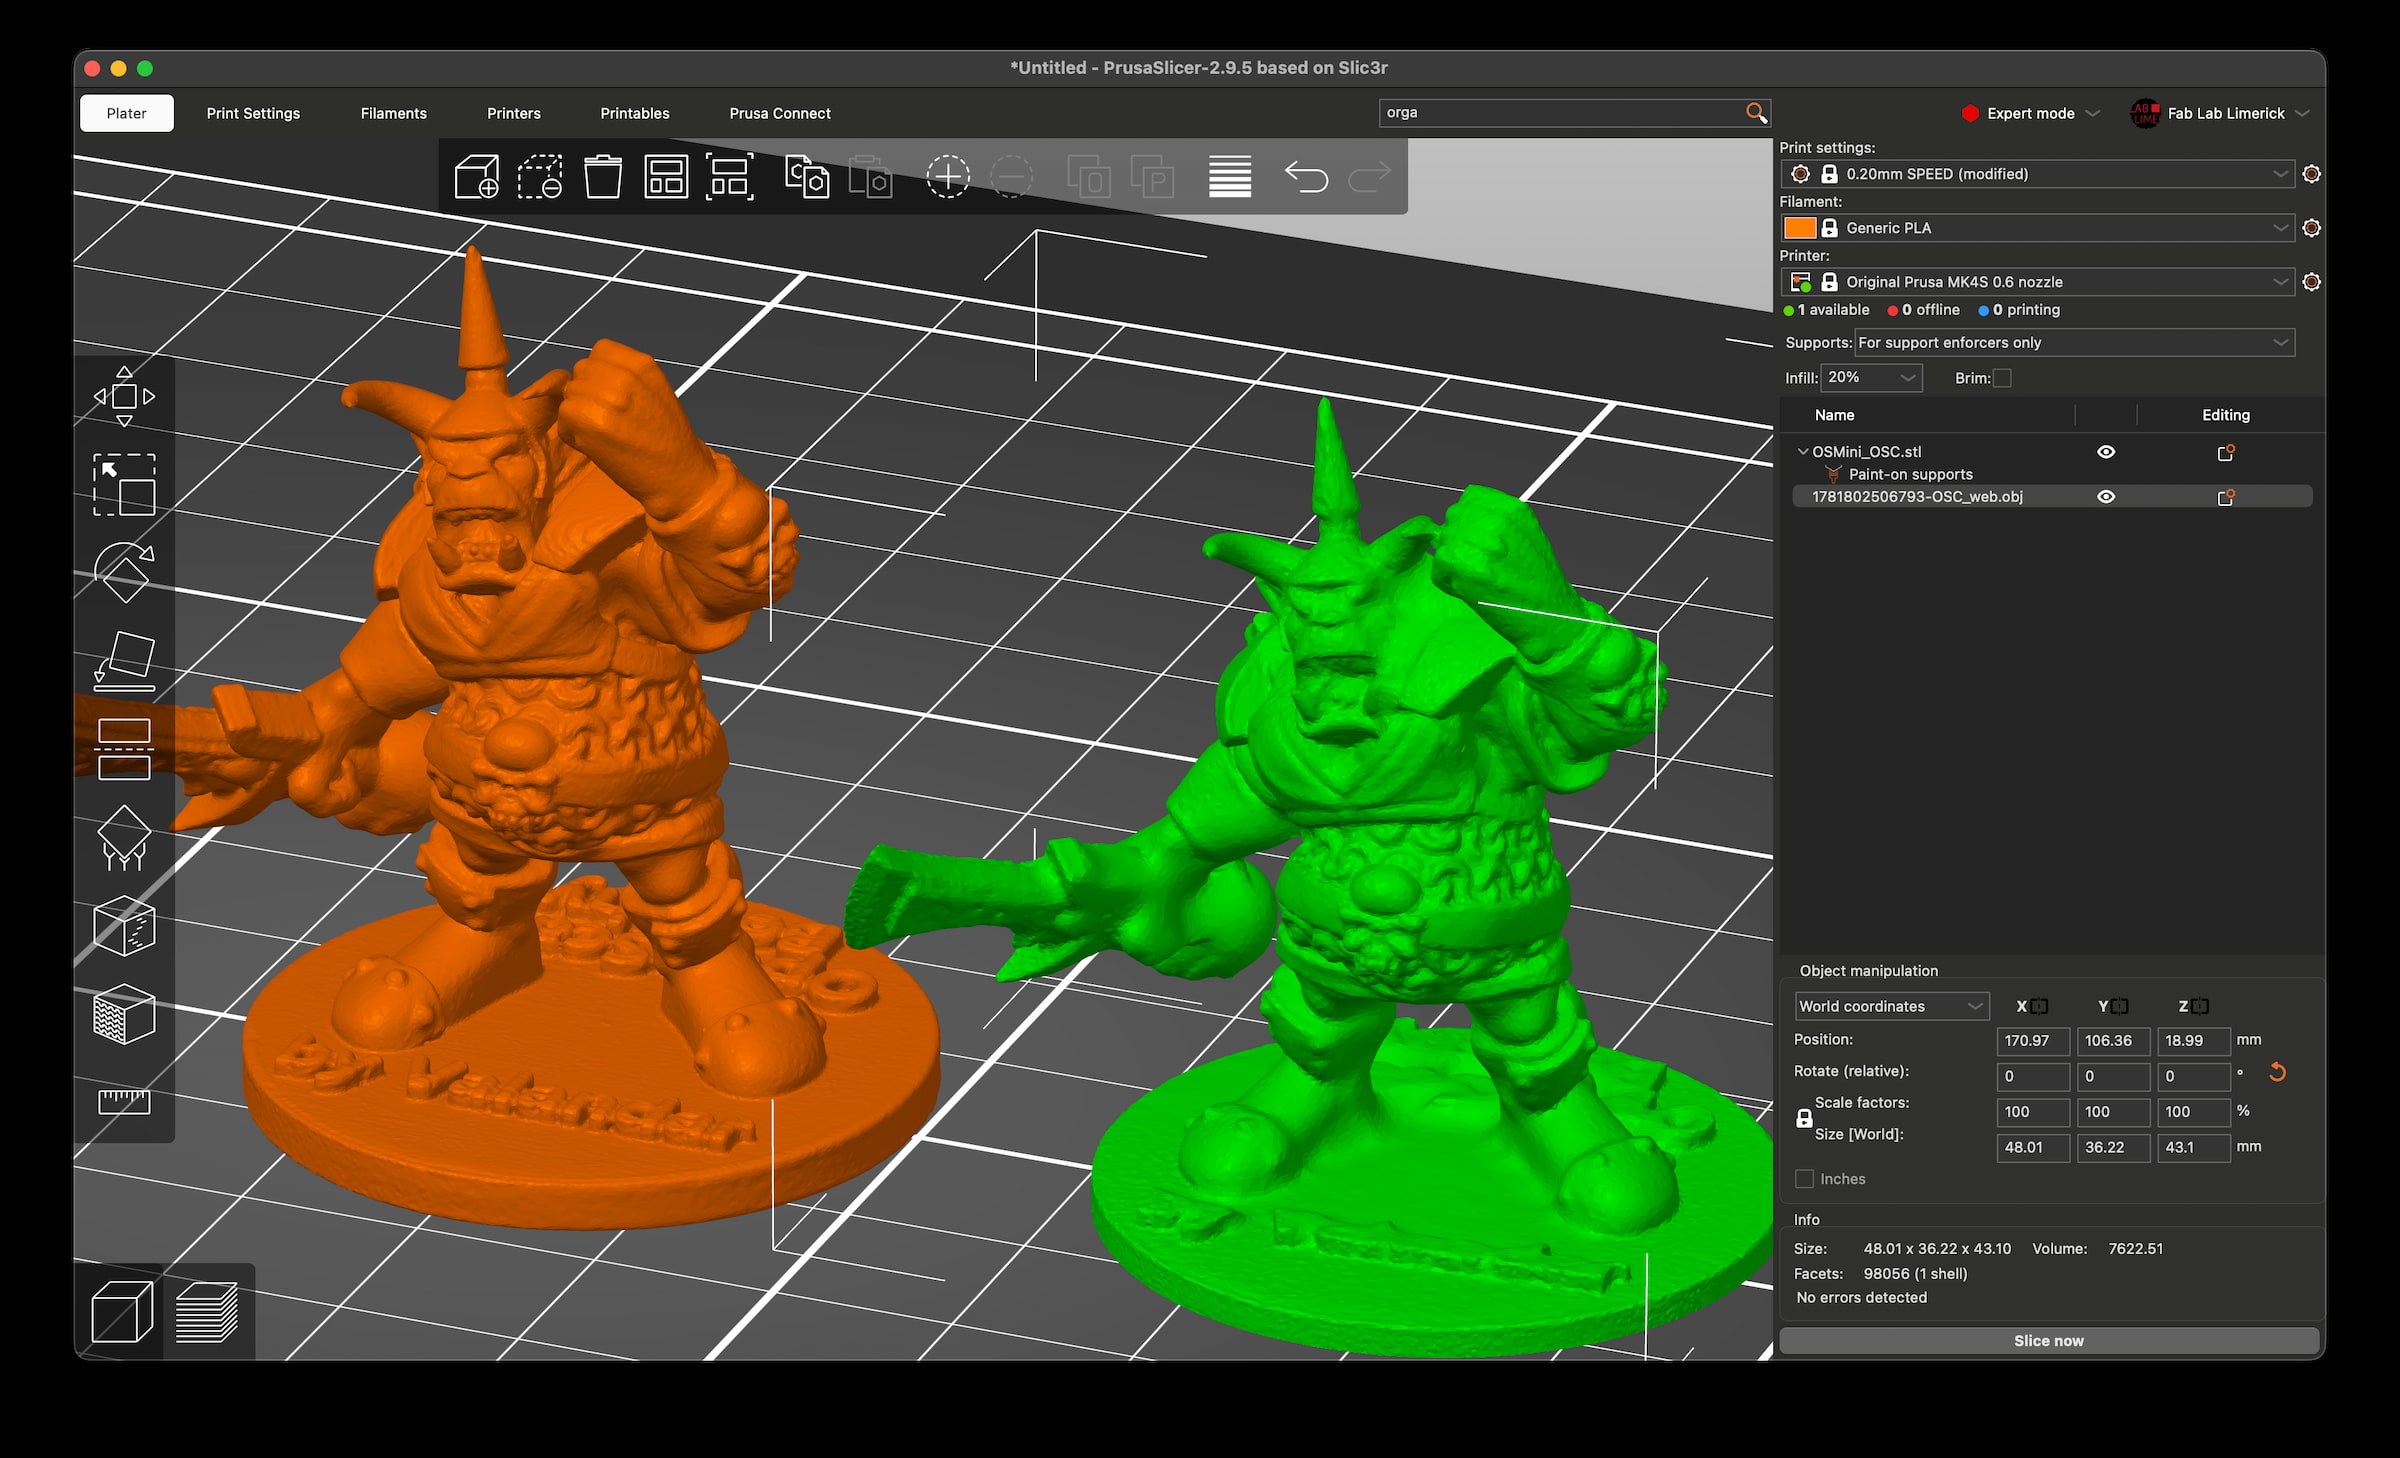
In this photo, my scan is in the green (from a 30 pics/4min scan); orange if the sample from the openscan.eu site:
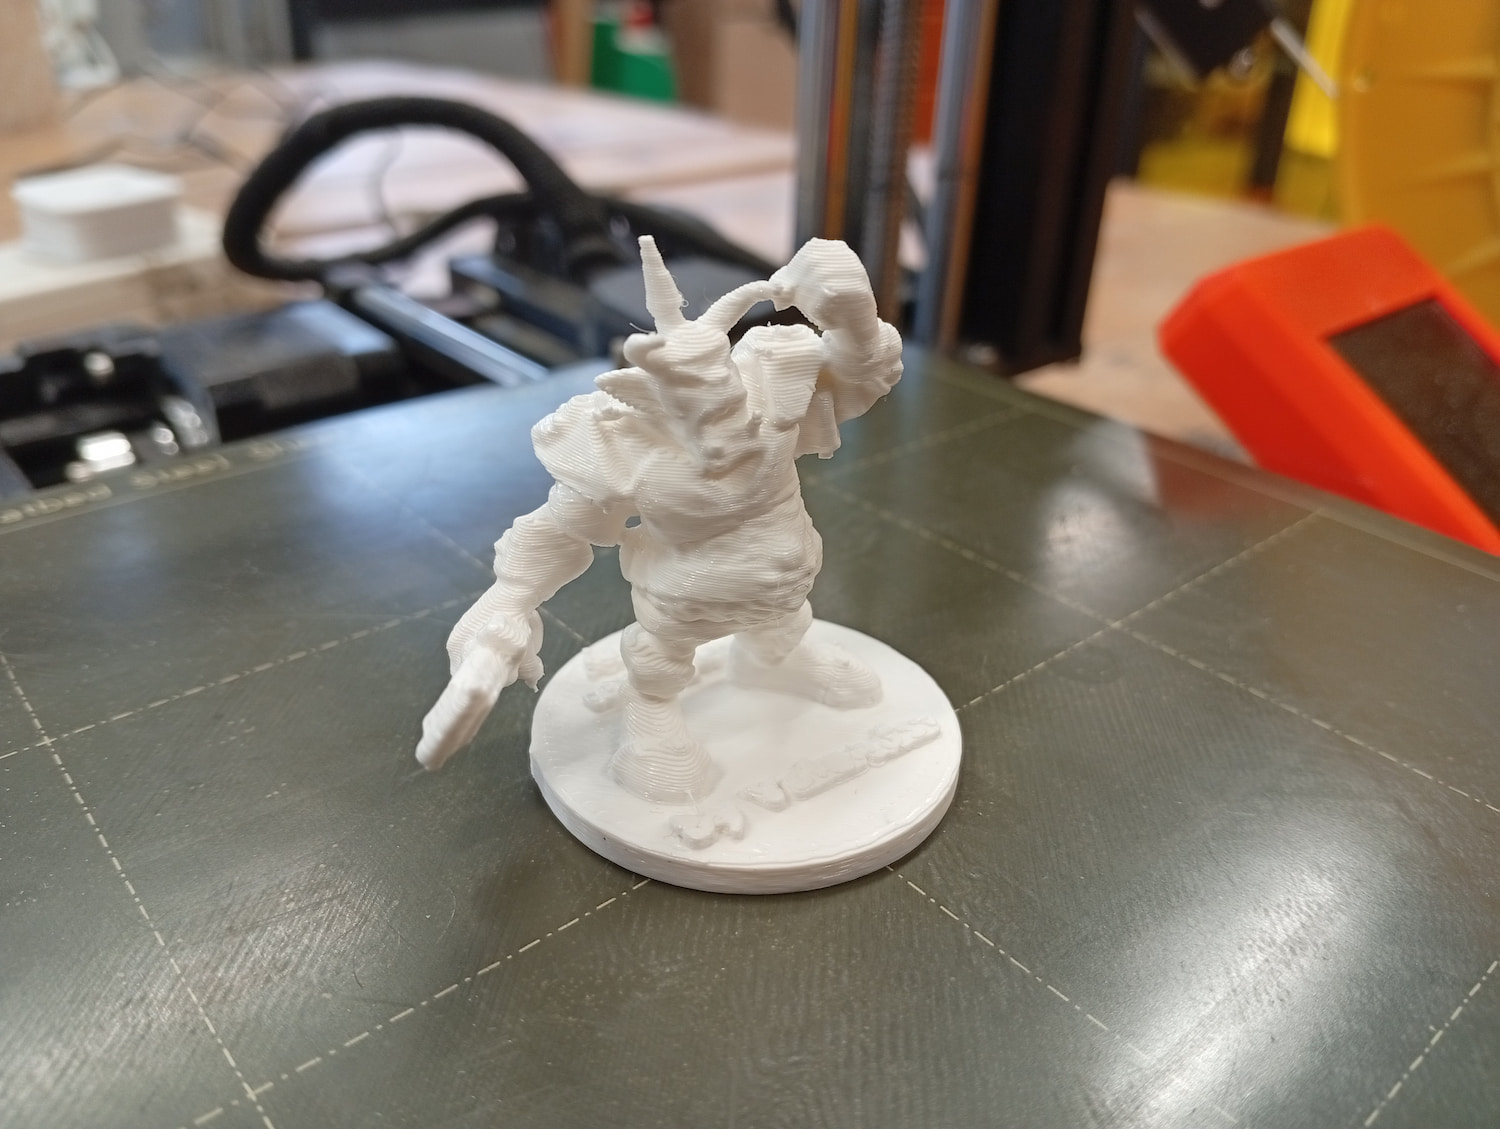
- And, then printed…
Reflection
This process is called photogrammetry. Photogrammetry can also be done on your phone, with apps like RealityScan from Epic Games. Many affordable 3D scanners are also Solid Light scanners. Another technology is LiDAR. It is fantasticly accurate, but (computationally, and otherwise) expensive. It’s useful to compareXXX Write more here
This is a Reddit post, compares some scanning results: * Reddit post, comparing scanners
Files
- All files, (ZIP) (all except 3D scan)
- bridging_ginger.ghx (GHX)
- squiggle_1.stl
- squiggle_2.stl (just the handle part)
- squiggle_2.dxf (DXF), laser cut part
- 1781802506793-OSC_web.obj.zip (3D scan, OBJ)