Version 0.1

This version is still a mostly-manual process. Most of the development here was figuring out the Grasshopper workflow.
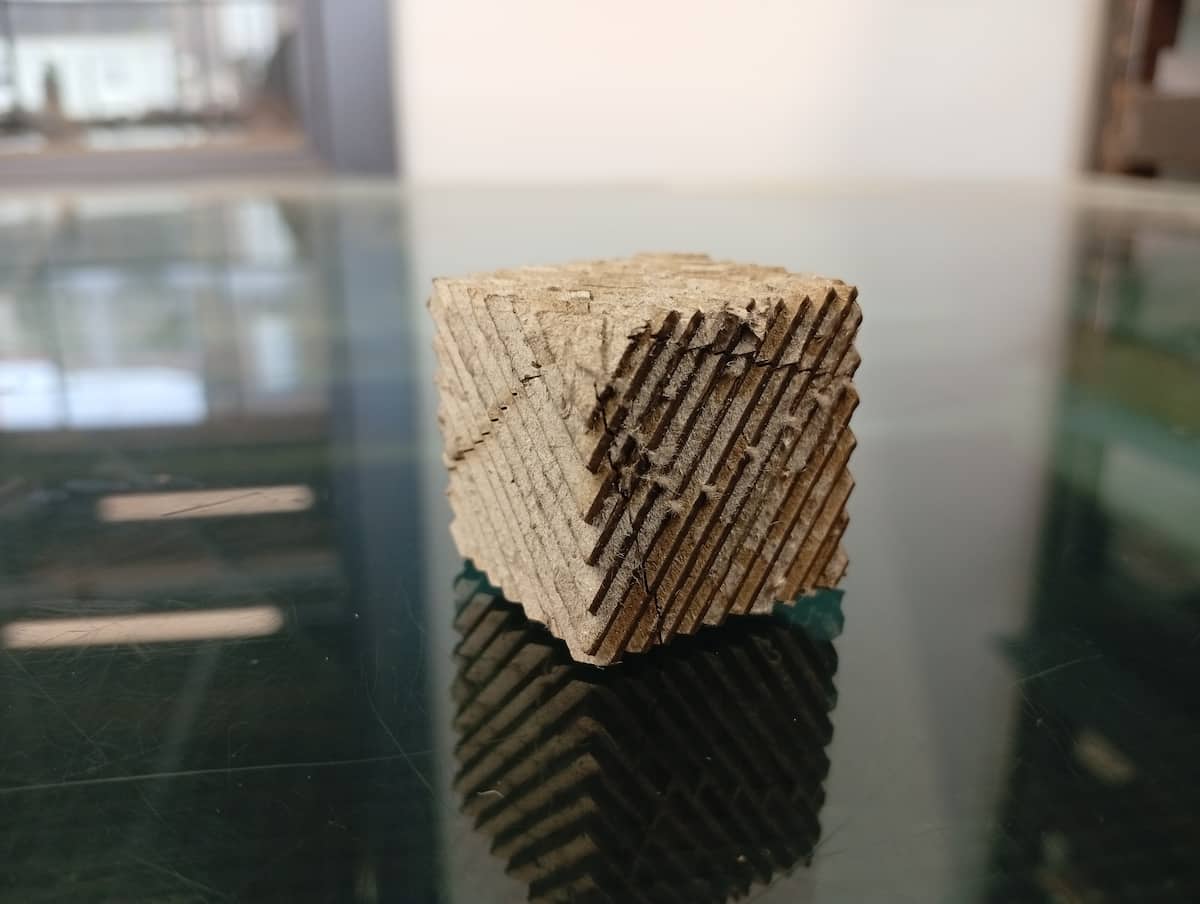
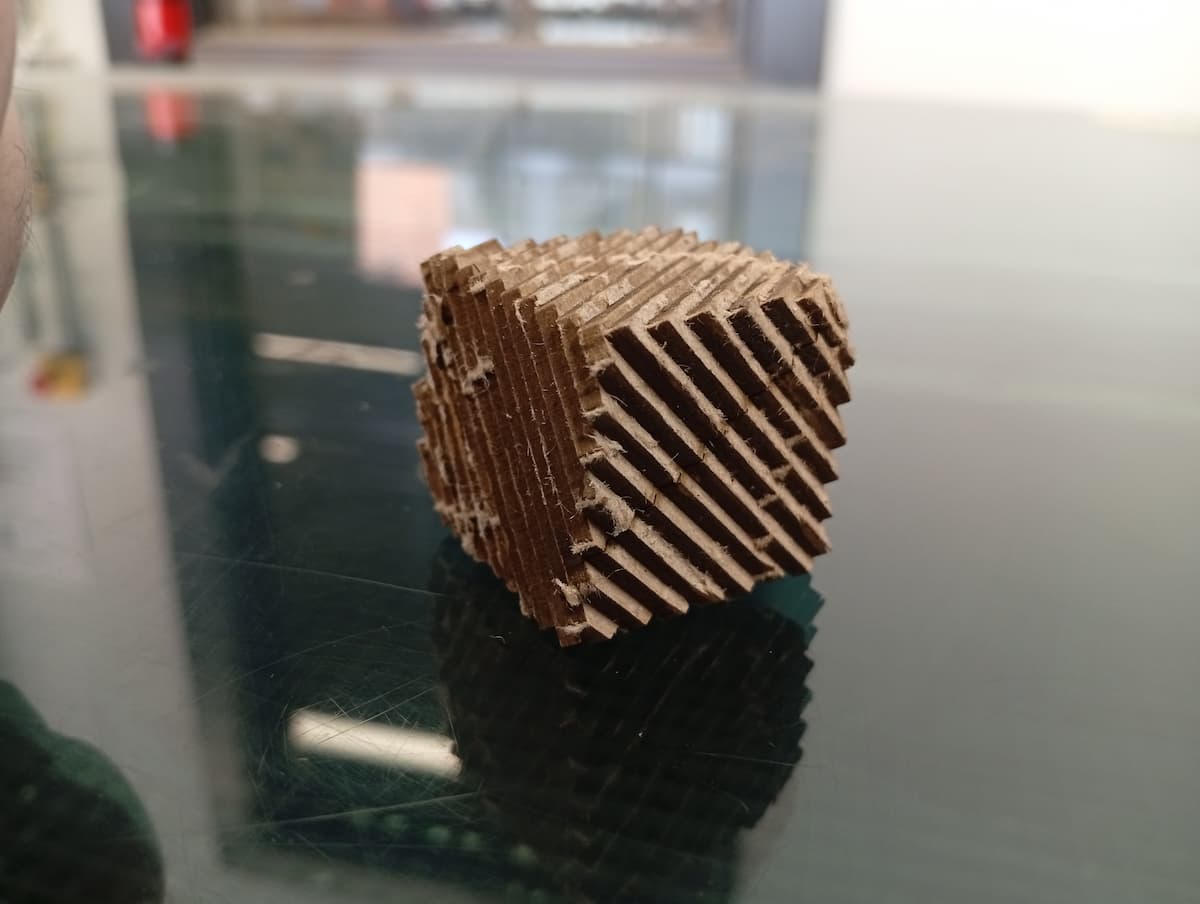
Conclusions
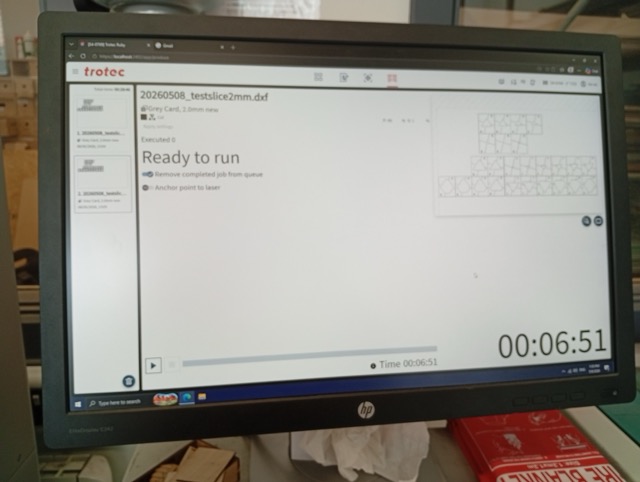
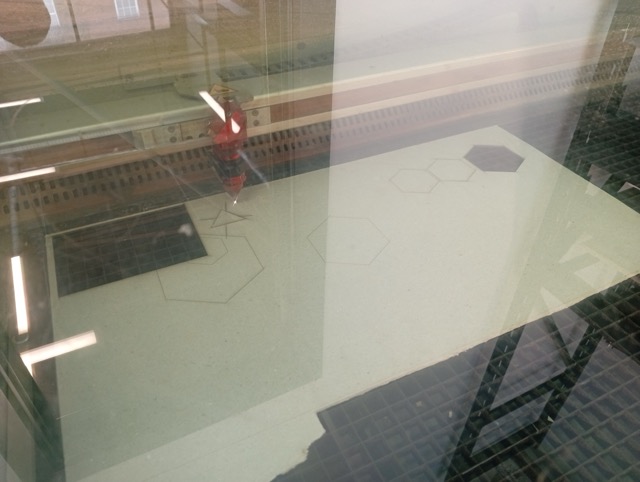
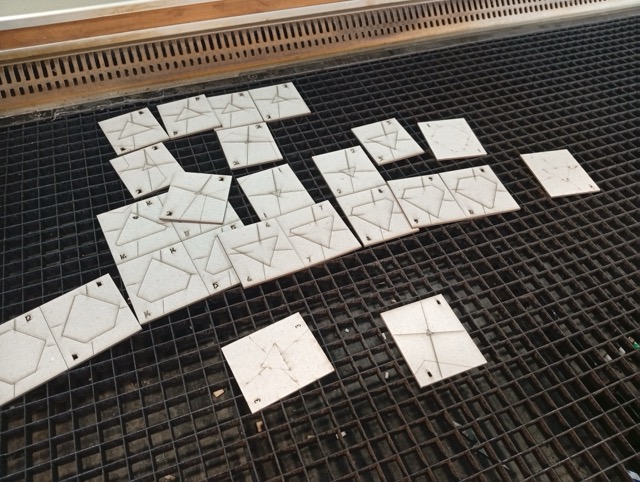
The cube is a simplified model, and 24 x 2mm layers. Laser cutting took about 6 minutes; 24 hours to cure the glue fully (PVA) - I was impatient, left it about 18 hrs; breaking out took 15 mins.
The guy who did the original “paper benchy” post, mentioned in a response, that it took “about 5 months, ~58 hours of actual time”.
- Inconsistent gluing, need a better technique and lighter application. On small layers, waste material was firmer than model, and layers came unstuck twice, during breakout.
- Tab Width was 0.7mm. Got lucky with this, but may try tighter to reduce effect on final object.
- Breaklines didn’t line up, didn’t remove together, harder to remove when under an overhang.
- Ideas for new breaklines: generate from corners, or generate an area to fill with a pattern.
1: Grasshopper Testing
Weekly Assignment is Interface And Application Programming So I decided to pursue the Laser Cutting Application idea. And I think visual coding in grasshopper in discrete steps is probably analog to functions in Application Programming.
Some new Grasshopper Plugins, Grasshopper Player, and OpenNest. (Anemone doesn’t seem to work for Rhino 8 or MacOS unfortunately).
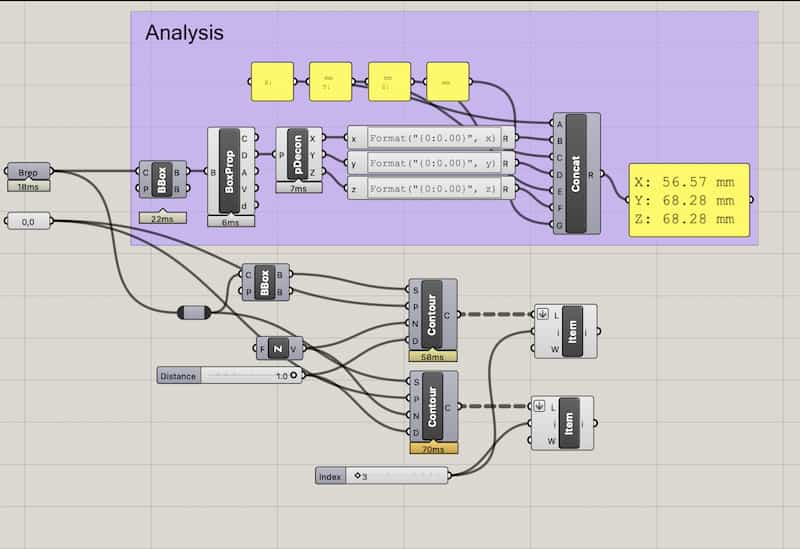
- Input is a BREP or Mesh.
- It should be able to snap to the build plate, read the XYZ dimensions, slice according to your material selection, show a preview and export.
- Output is a series of Curves, for each layer. Maybe single file or multiple. SVG or DXF? Or just Rhino and manually exported.
Files
- paperslicer.ghx (I mistakenly reuploaded over this, so it contains a later version now, but also the scripts described in this section).
2: Grasshopper Scripts
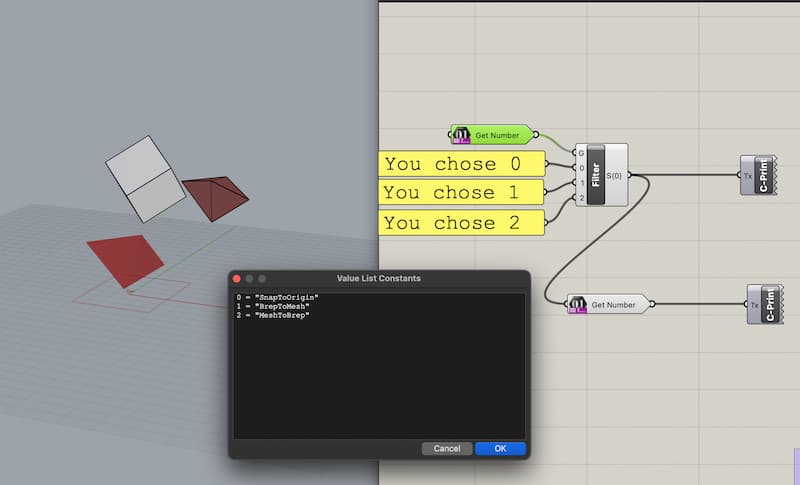
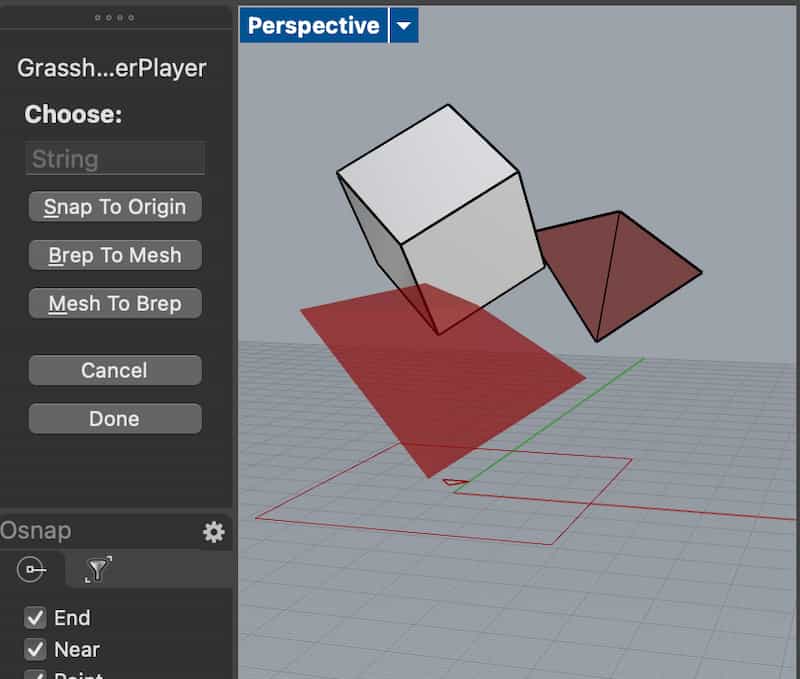
Many of these new techniques I owe to Thomas Jeremy Tait and his blog. I got used to setting the Presets and Prompts as he describes… by failing to make something that lets you choose different commands, like a normal tool. Sure enough, he does say:
Keep in mind that you can only have one “script stream” with contextual inputs and one output per script. In other words, create a separate .gh file for every Grasshopper Player script.
But his guide to making Aliases is very useful.
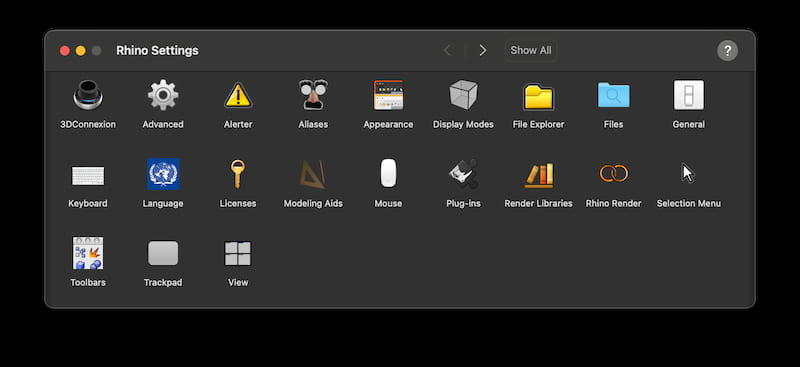
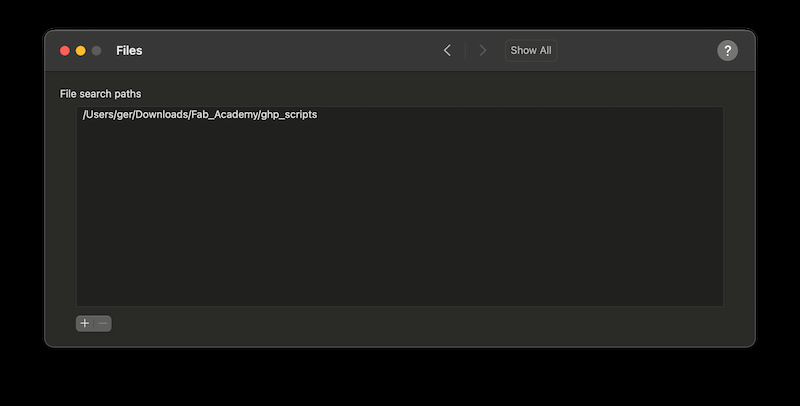
So I did that. First I made a folder called ghp_scripts, and added that to the search(ed) paths, under Options > Files. (Type the command _Options, or go to Rhino 8 > Settings, or the cog in the top menu). Rhino watches this folder, and you can use local paths and define the below aliases(Also in Options).
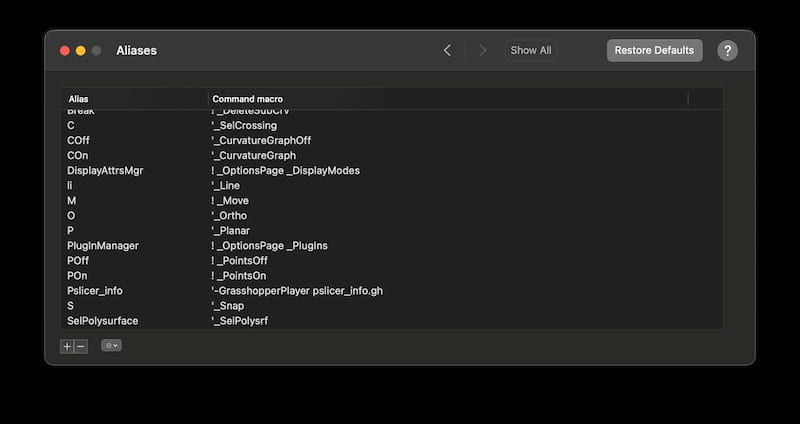
| Alias | Command Macro |
|---|---|
| PS_MoveToOrigin | ‘-GrasshopperPlayer pslicer_movetoorigin.ghx |
| PS_BrepToMesh | ‘-GrasshopperPlayer pslicer_btm.ghx |
| PS_MeshToBrep | ‘-GrasshopperPlayer pslicer_mtb.ghx |
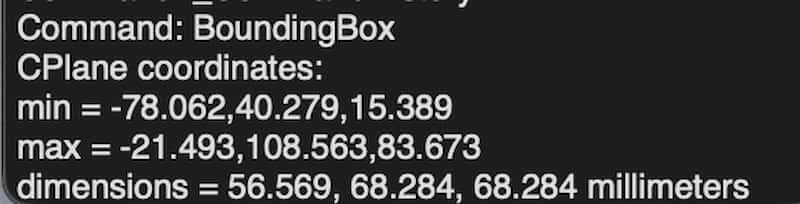
| PS_Info | ‘-GrasshopperPlayer pslicer_info.ghx |
| PS_CheckSize | ‘-GrasshopperPlayer pslicer_checksize.ghx |
| PS_BestFit | ‘-GrasshopperPlayer pslicer_bestfit.ghx |
| PS_Visualise | ‘-GrasshopperPlayer pslicer_visualise.ghx |
| PS_Slice | ‘-GrasshopperPlayer pslicer_slice.ghx |
(be careful copying this text, some browsers replaced the ' with a different symbol which wasn’t interpretted by Rhino!)
Files
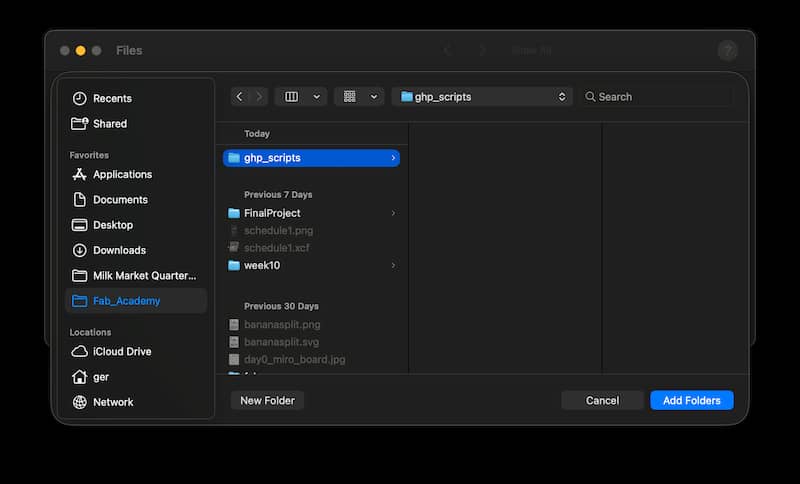
To replicate, download and unzip this folder. Go to Rhino’s Options and Files, click + and choose the file where you extracted it. (Leaving it in your Downloads isn’t an issue, but if you move it, it’ll break and need to be readded). Then add the Aliases, as above.
3: RhinoScript, and other Features
Reading this and this, which cover the more complicated steps to install. RhinoScript itself is based on Visual Basic (extension .RVB), or can execute python (.PY) scripts apparently.
import rhinoscriptsyntax as rs

rs.AddSearchPath("~/Downloads/ghp_scripts/")
rs.AddAlias("PS_MoveToOrigin",  "'-GrasshopperPlayer pslicer_movetoorigin.ghx")
#etc...
I’m putting this aside for now.
Adding More Functions
Added v1.3 script file with PS_Visualise, PS_CheckSize.ghx and PS_BestFit. (updated links above)
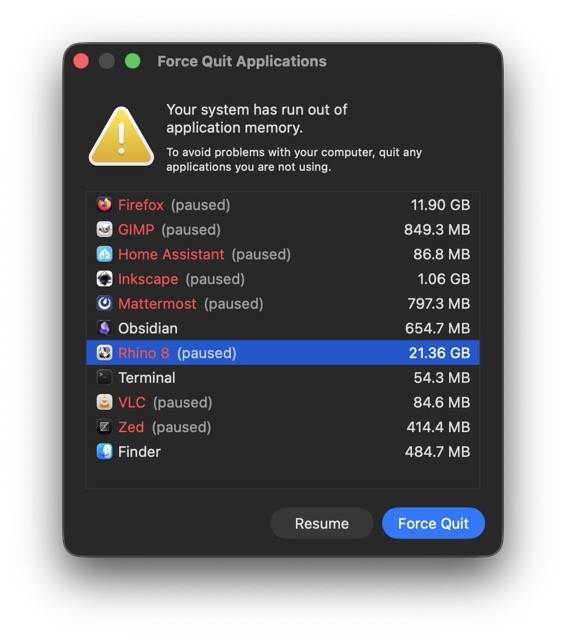
I made a new video (lag is from Rhino/Grasshopper):
OpenNest
- Some nice documentation on OpenNest usage, by Jose Martinez Castro and Dieter van Dortmont at TUDelft
- Reddit comment that helped me with nested shapes
Used _PackageManager to search and install OpenNest.
…
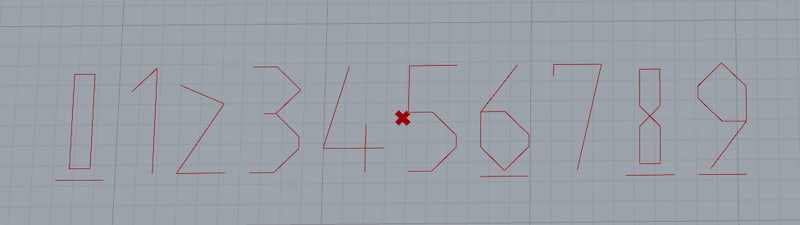
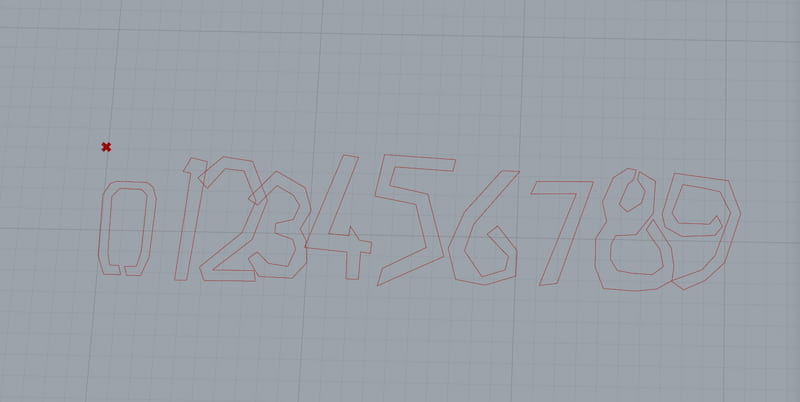
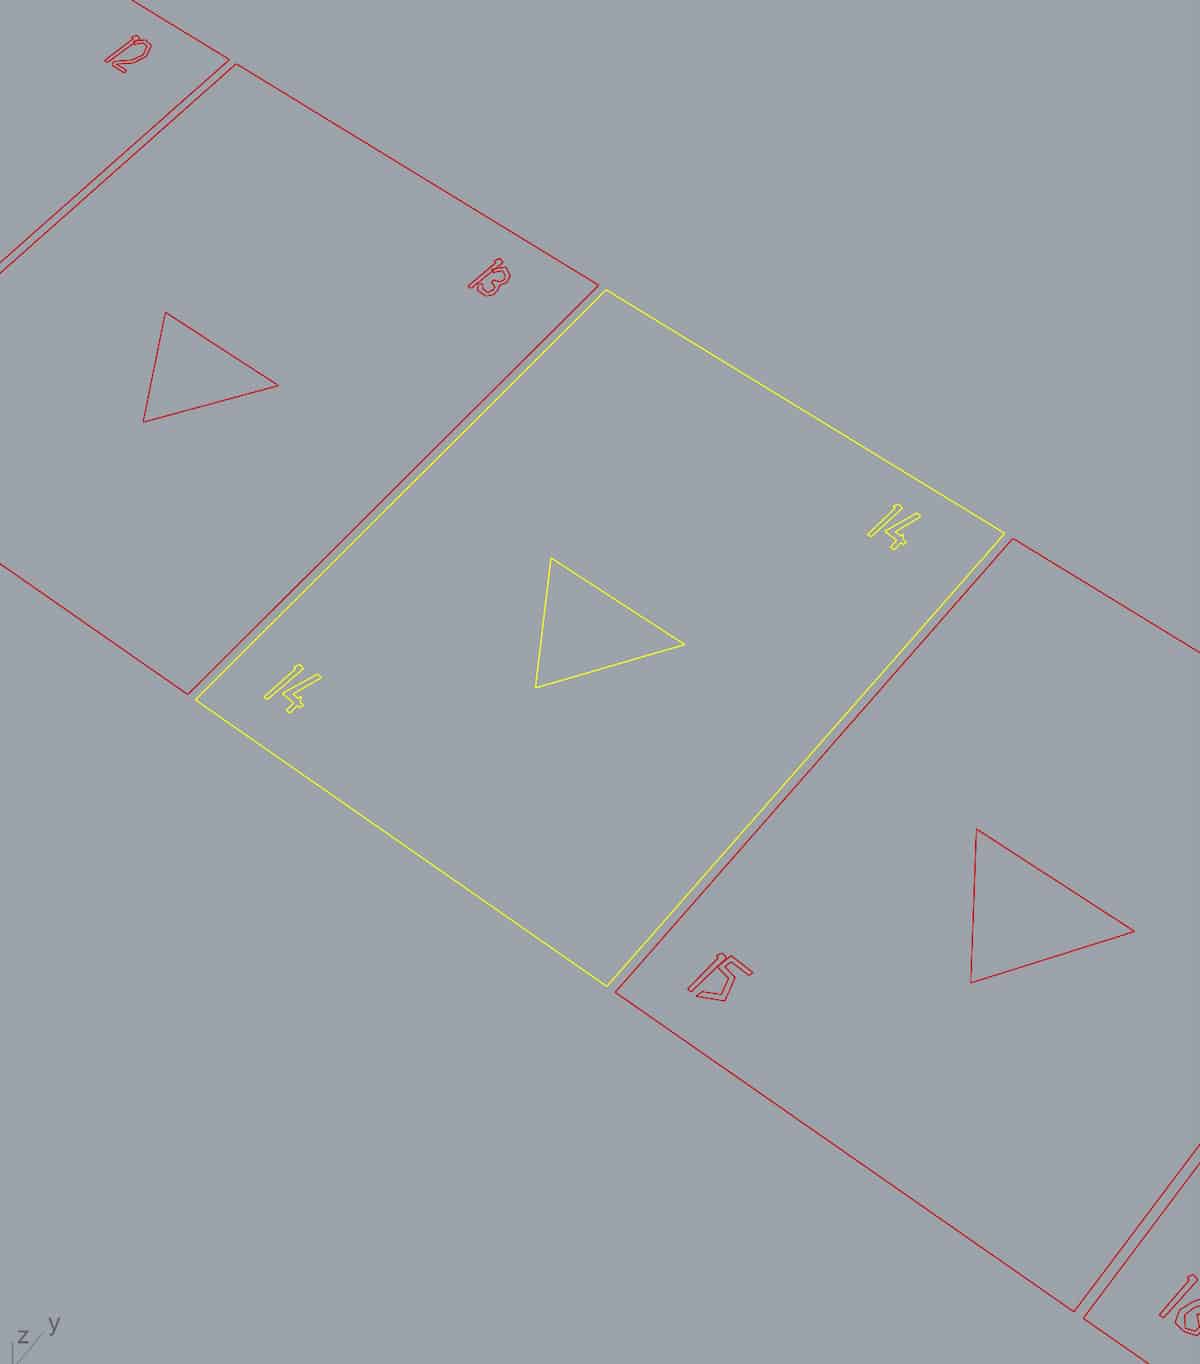
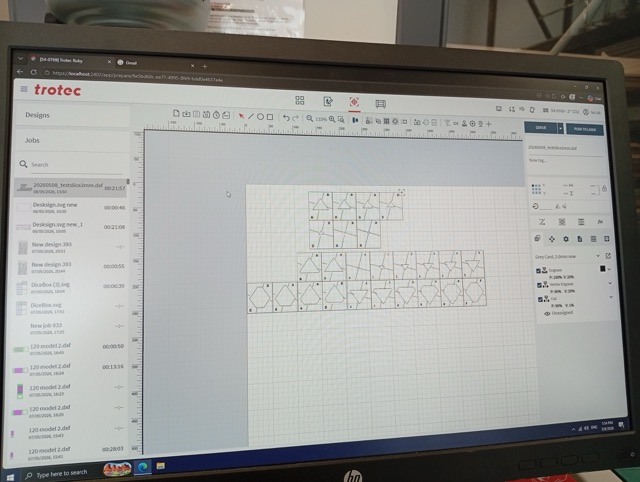
List ordering is a known difficult thing with OpenNest. If you have a lists (contour and text, whether polylines, or curves) of different lengths on different levels, using them together properly can be an issue. I tried the suggested single-line font. Which is ok, it is centre-lined, but because some glyphs consist of more than one line/polyline, you get something like this:
I tested Calibri, which also produced inner and outer polylines (most fonts would cause the same issue). This is the two side-by-side:
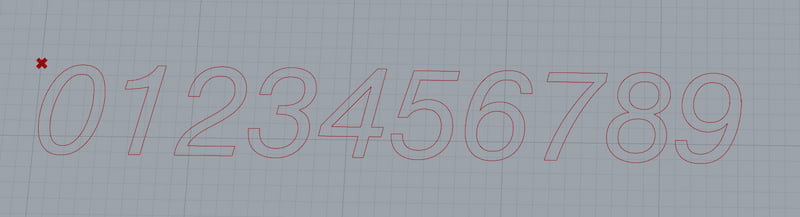
Single Line vs Calibri
I looked for other fonts to solve the problem, but didn’t find anything that would’ve helped. So… potential scope creep… but I decided to make my own font! (It’s only 10 glyphs though).
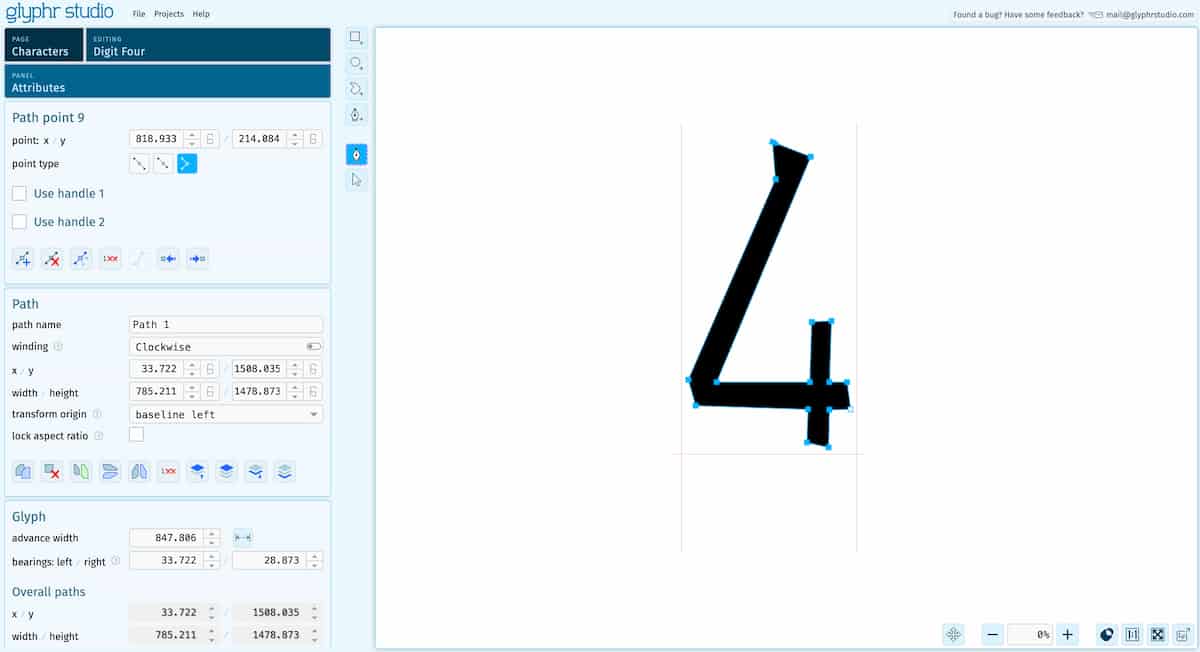
I used Glyphr Studio, which is a free to use and open source, web-based app.
Files
Label Error
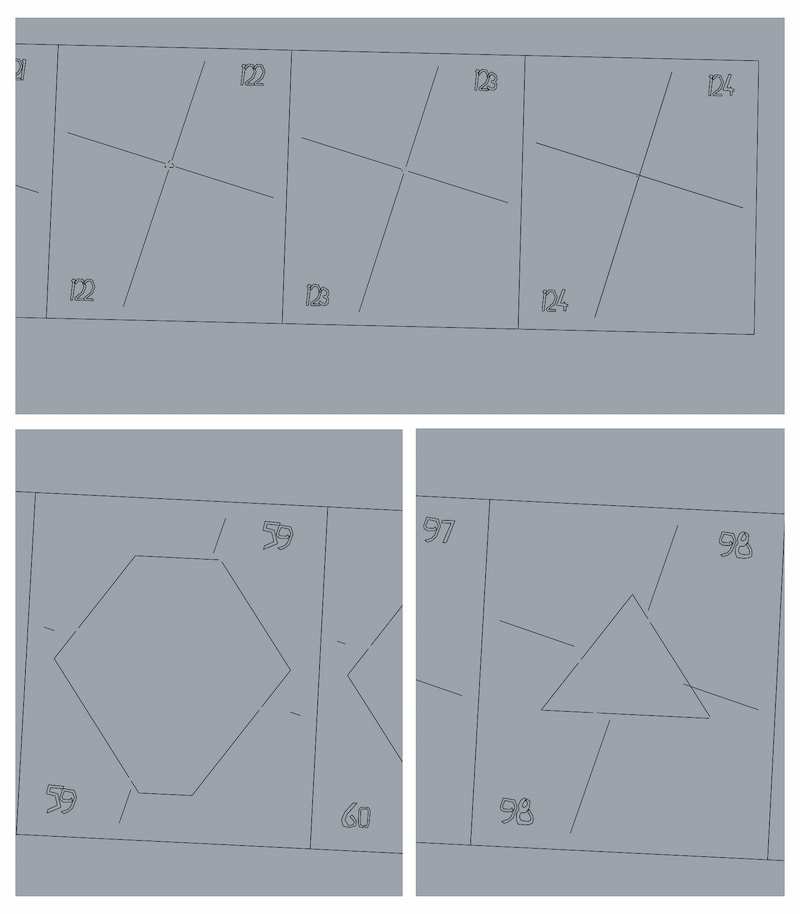
This solution helped, but ‘10’ is still two objects. Damn.

It may be hard to see what is happening here, but it now goes …‘9’, ‘1’, ‘0’, ‘1’, ‘1’, ‘1’, ‘2’, ‘1’, ‘3’…
So what I’m going to do is duplicate the first list by 10, and sort.
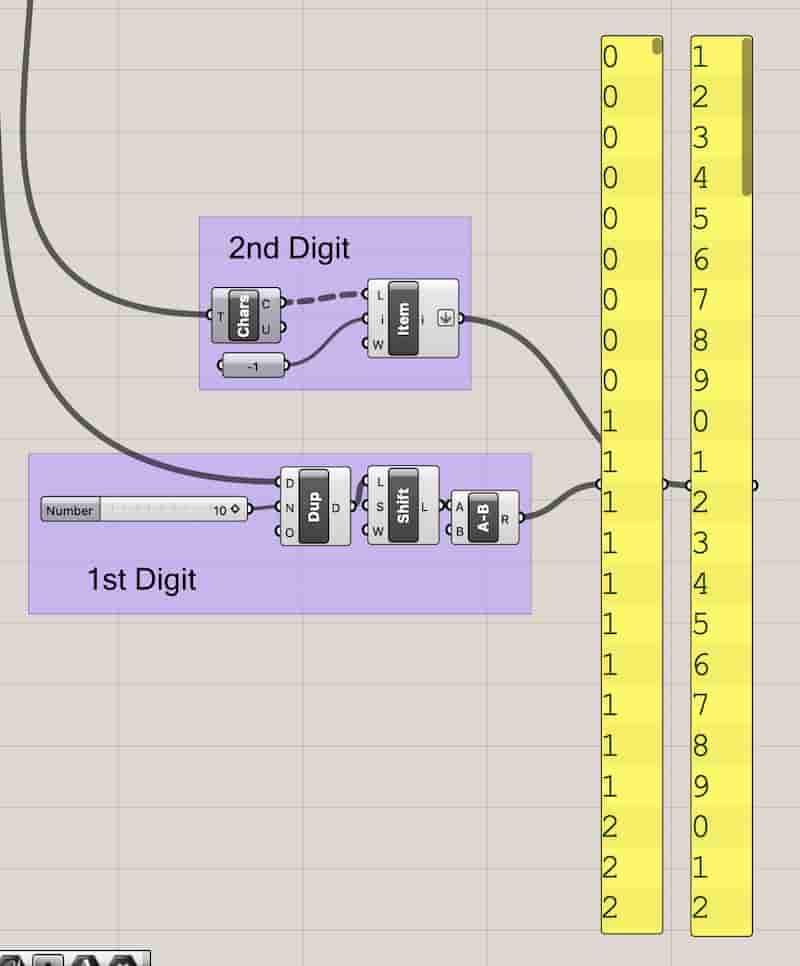
Which is a really dumb solution, but it worked. And now the functional limit of my script is 99 layers. And super memory-intensive.
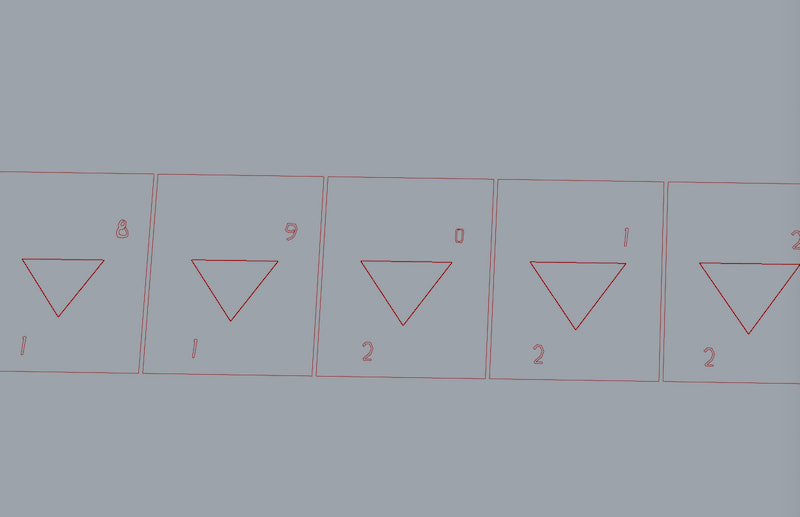
Rethink
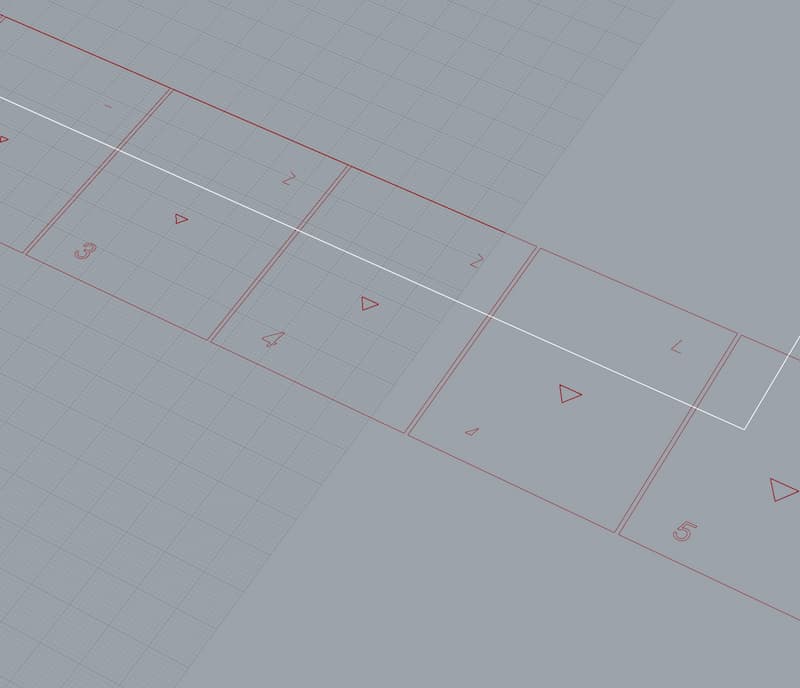
So. Technically, I don’t have to put the text through OpenNest’s transform method. Given that the output is predictable (linear array based on dimensions defined in the script), we can just generate the labels directly.
Added PS_Slice Command
Added v1.4 scripts folder with PS_Slice. (updated links above)
This leaves the following to add into the script:
- Tabs,
- Breaklines
4, Adding more features
Breaklines will be radial lines from the centre of the current cross section (which is different from the bounding box centre), it will be trimmed with the outside cut, and shortened by a factor to stay together for assembly. And this will happen on each slice. The shortening in the centre is not equal across tabs and is expensive to calculate for each I think. So I made a range and invertes the second part, so it goes 0 - > max - > 0. There are some overlaps, but it looks like it would work.
The tabs have a width and a number input. And are the shattered contour lines from each layer.

Thank you, also, to Michael Pryor on the Rhinoceros Forum, whose comment pointed me the way to shortening my lines.
Rather than getting the centre on each cut, I got the first and last and averaged between them.
I made a polar array of lines and made an angle offset, with the fomula "{sin(a),cos(a)}" from 0 to 2pi.
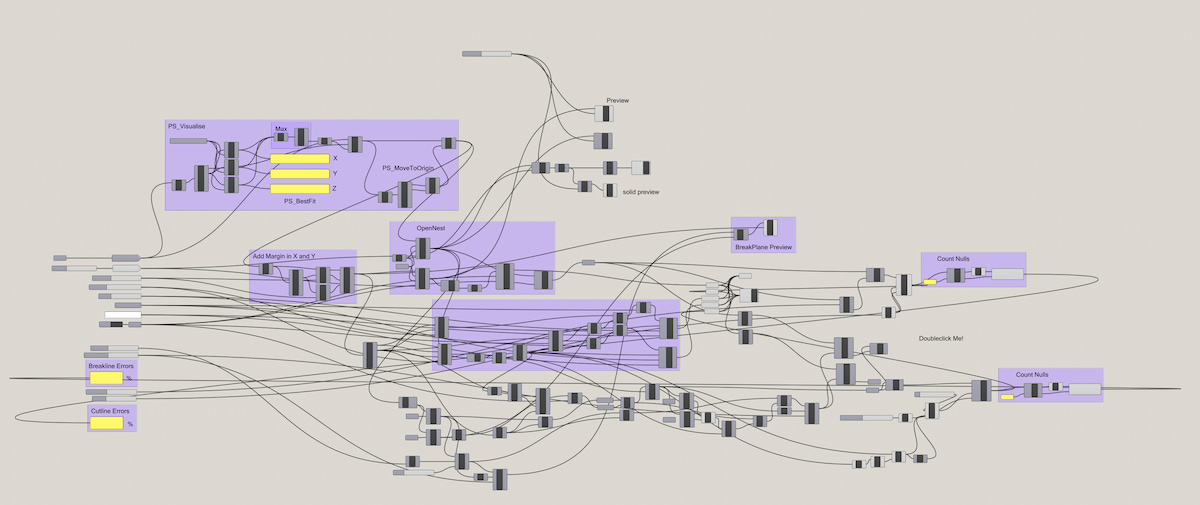
From there, I didn’t document every node, and I ended up with a lot more spaghetti than I intended. And I have made work for myself to go back and refine this:
Fed grasshopper to robot :(
From ghp_scripts_v4.zip, I asked ChatGPT if it could convert my work into Python (see log below).
It suggested the python library trimesh, which apparently will work with “binary/ASCII STL, Wavefront OBJ, ASCII OFF, binary/ASCII PLY, GLTF/GLB 2.0, 3MF, XAML, 3DXML”. I only shared the ps_checksize.ghx script, and just want text response.
- Get
ps_checksize.pyandcube.stlfiles, - don’t forget
pip3 install trimeshandchmod +xto run!
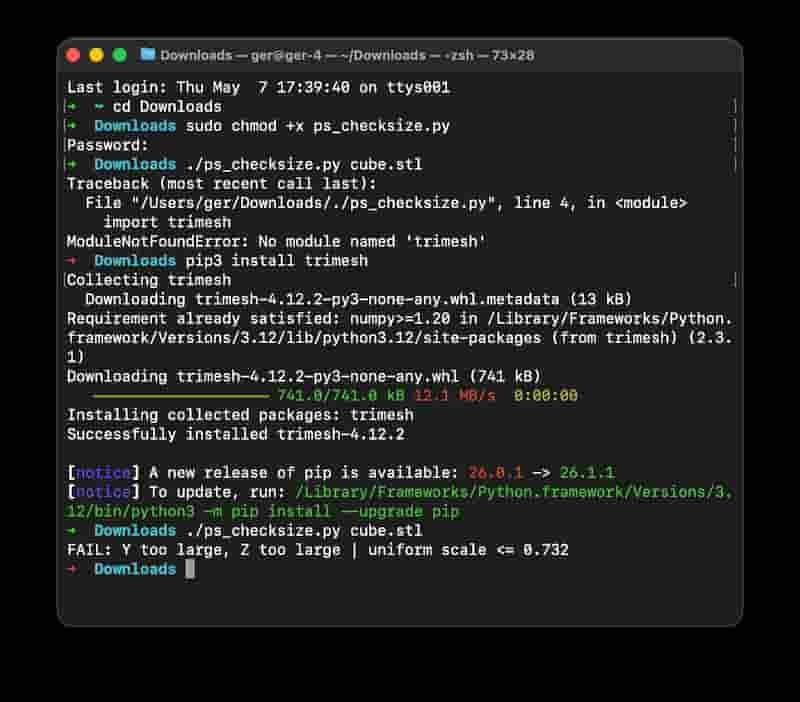
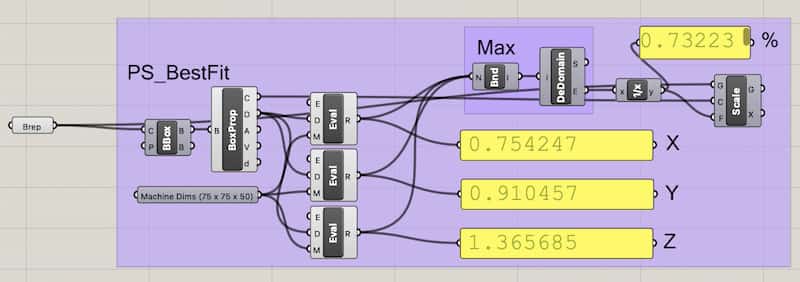
(AI took a different placeholder, 50mm for Max_Y, hence the discrepancy).
Files
- 20260508_testslice.dxf
- paperslicer.ghx (Messy Grasshopper File, GHX)
- ps_checksize.py
- 20260808_chatgptlog_convertfromghx.txt
- cube.stl
Making it
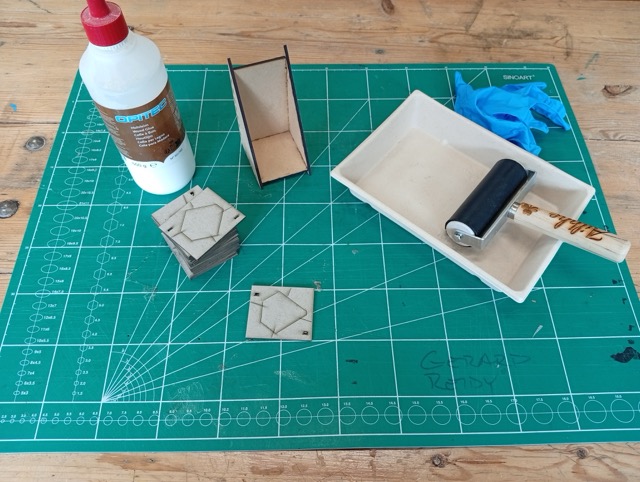
…Now to let the glue dry.