Week 1: Project Management
This week I work on two things:
- How to make my own website, and add all the initial information in it
- Thinking about the final project details
First of all, I tried to determine my workflow:
I draft and refine my site locally in Cursor, then use an SSH connection to securely "push" those changes to the Fab Academy GitLab server, where my website is automatically built and hosted.
How to make my own website
Git
Git is a distributed Version Control System (VCS). It allows developers and makers to track every change made to their files over time. In Fab Academy, we can use Git to manage our personal documentation websites and project repositories.
Key Concepts of Git:
- Version Tracking: Git can be considered as a "time machine" for my code. It records snapshots of my project. If I make a mistake or lose data, I can easily revert to a previous version.
- Distributed System: Every user has a full copy of the project history on the local machine. I can work offline and sync my changes later.
- Collaboration: Git makes it easy for multiple people to work on the same project without overwriting each other's work through "branches" and "merging."
- The Repository (Repo): This is the digital folder where your project, including its entire history of changes, is stored.
Git vs. GitLab:
It is important to distinguish between the two:
- Git is the local tool (the engine) I install on my computer to track changes.
- GitLab (where our Fab Academy sites are hosted) is a web-based platform that hosts Git repositories in the cloud, allowing us to share our work with instructors and the public.
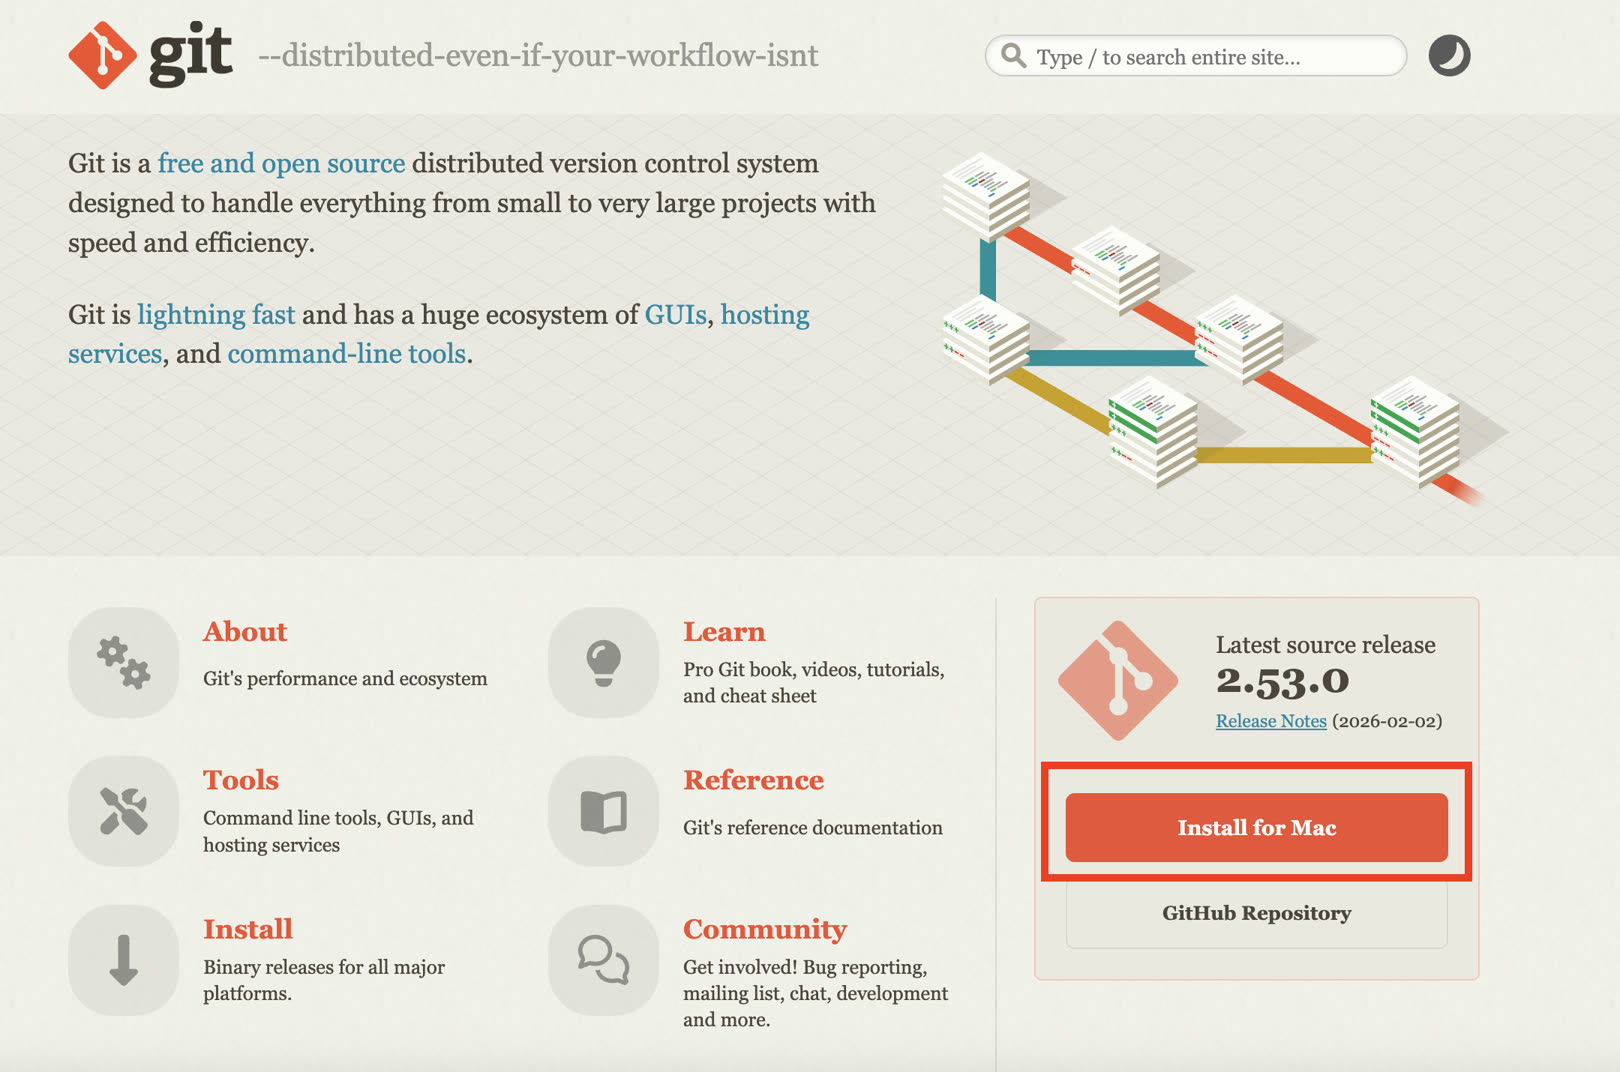
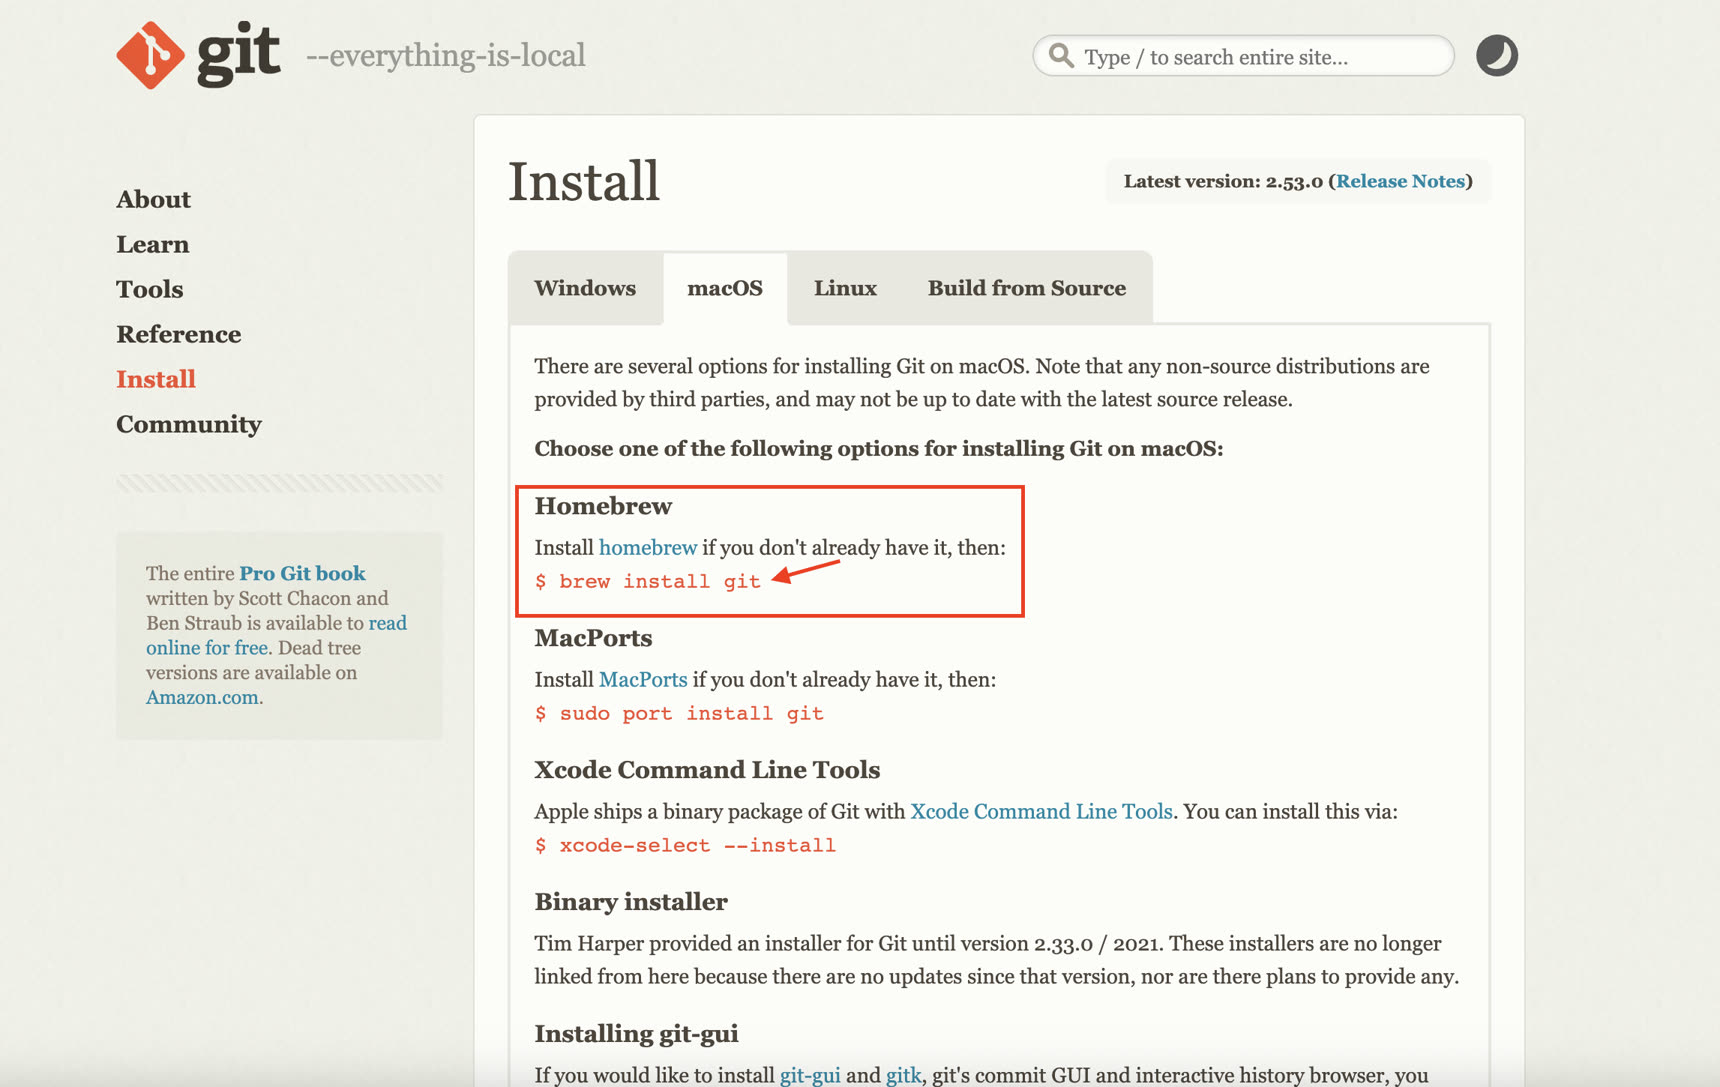
Go to Git website and click "Install for Mac".
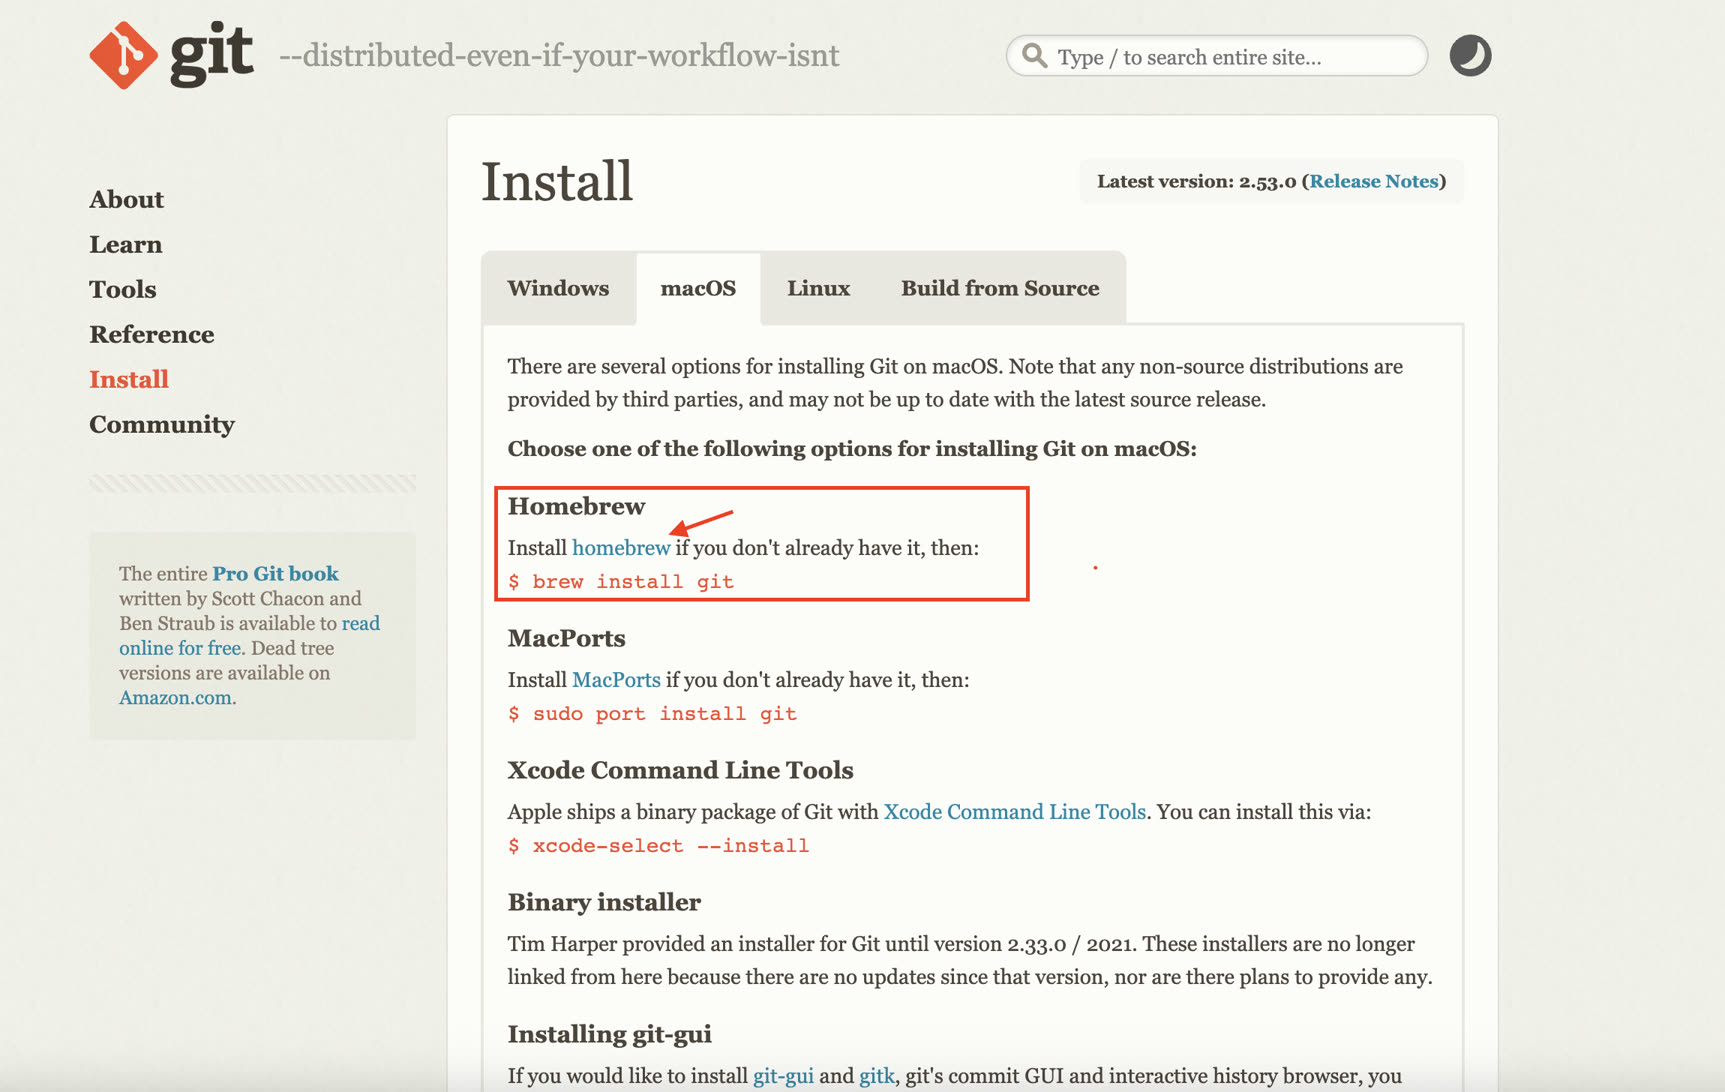
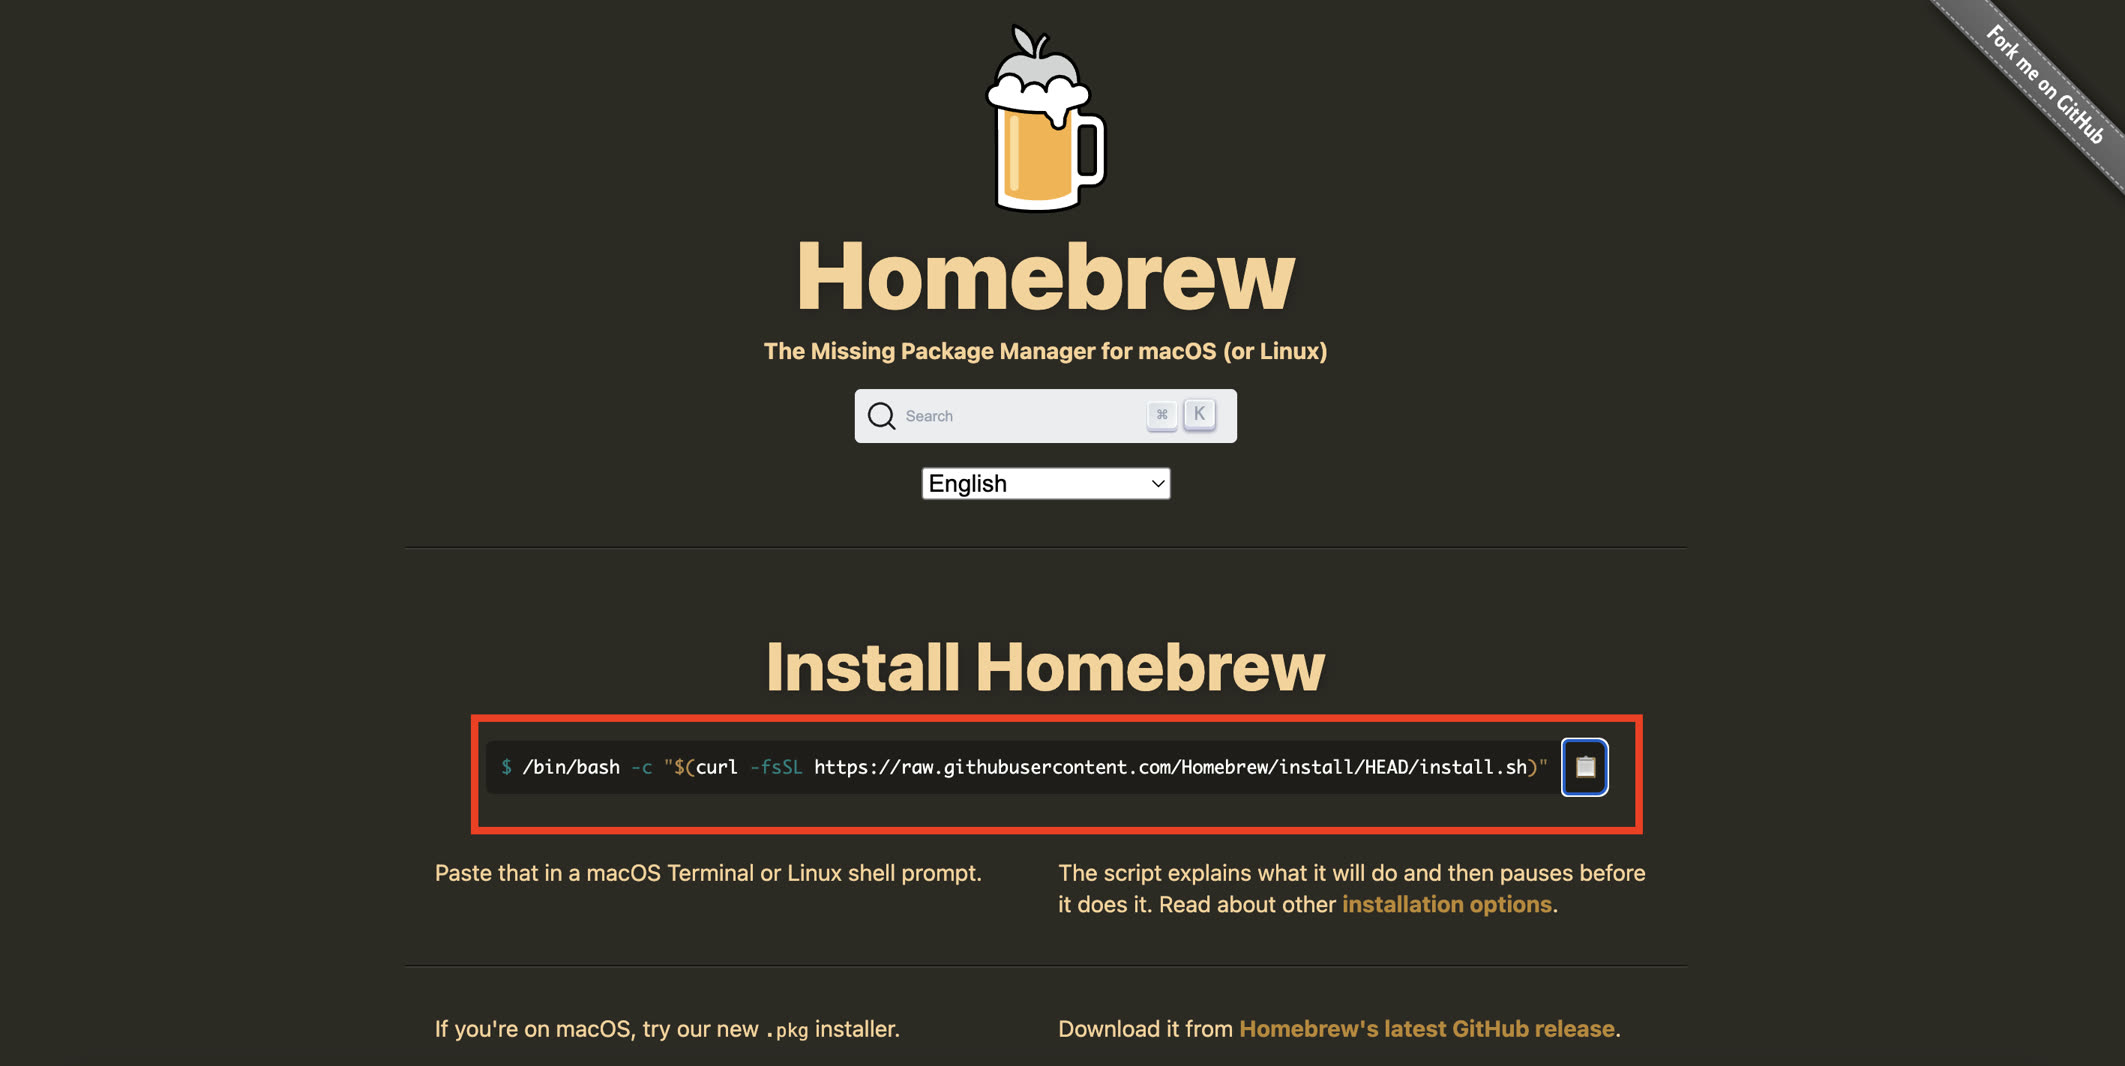
For macOS I need to install Homebrew first before installing Git:
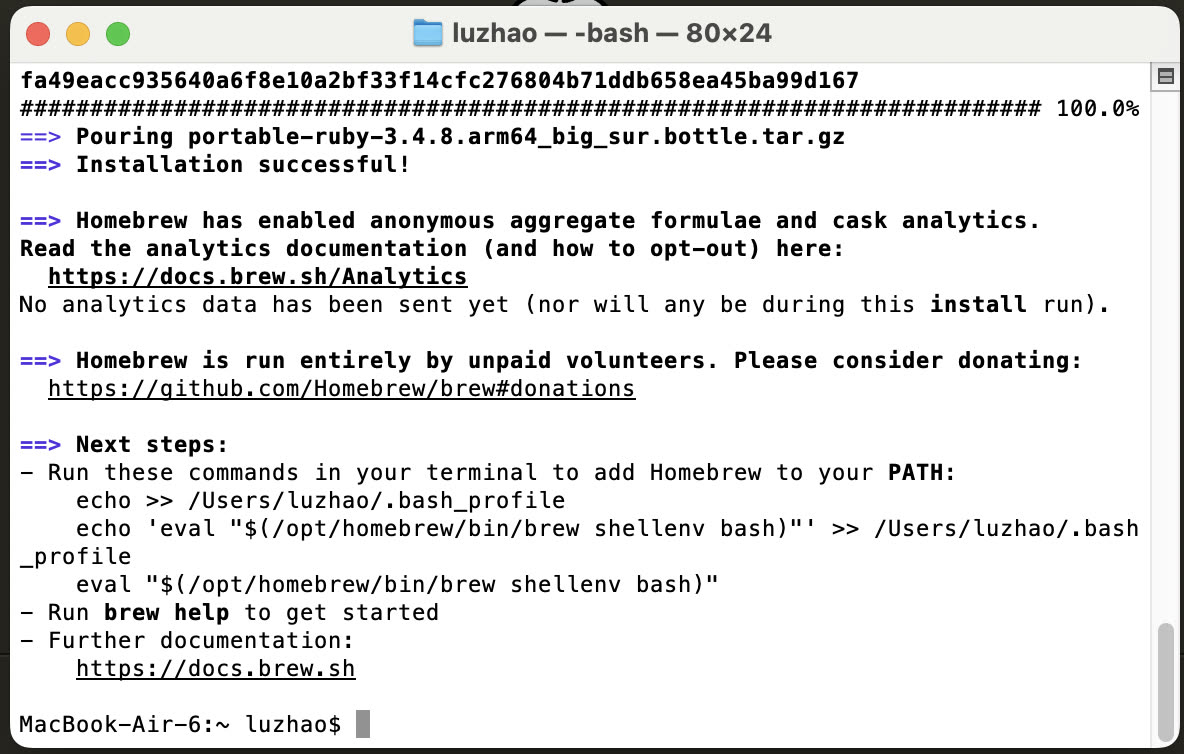
Copy the /bin/bash -c "$(curl -fsSL https://raw.githubusercontent.com/Homebrew/install/HEAD/install.sh)" and paste it in the macOS Terminal to install.
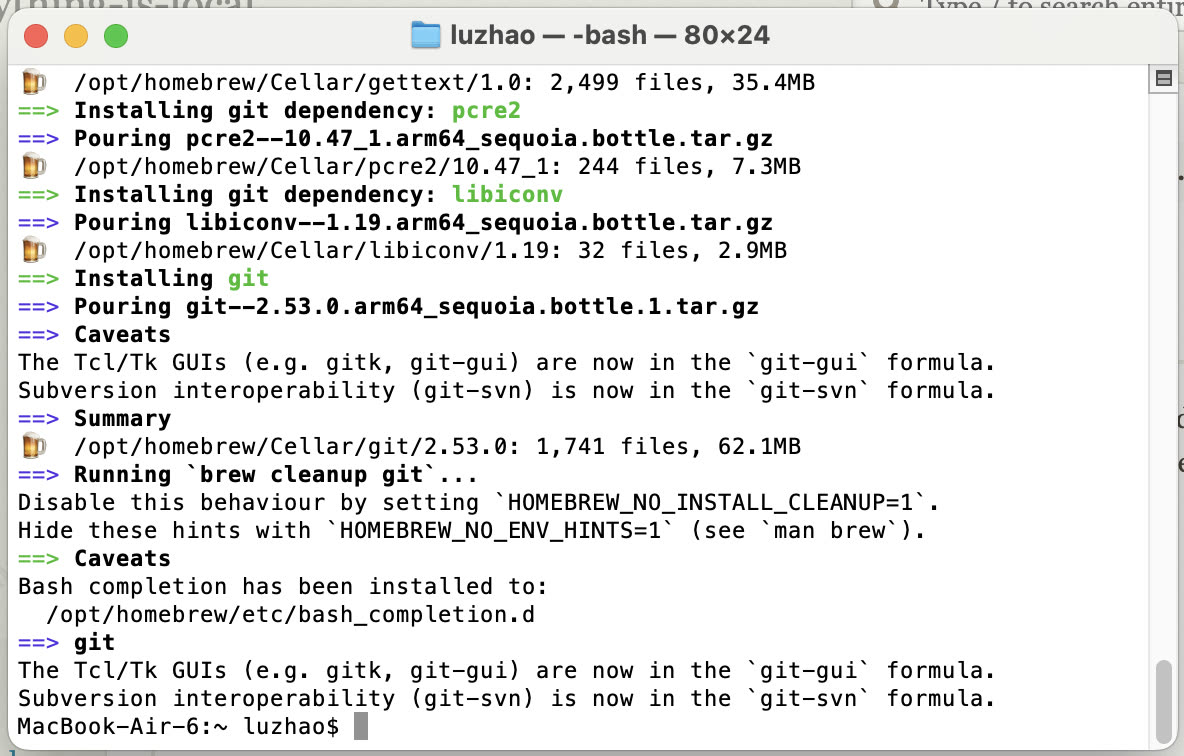
After installing Homebrew, I come back to Git and install it: Copy $ brew install git to the Terminal and run it.
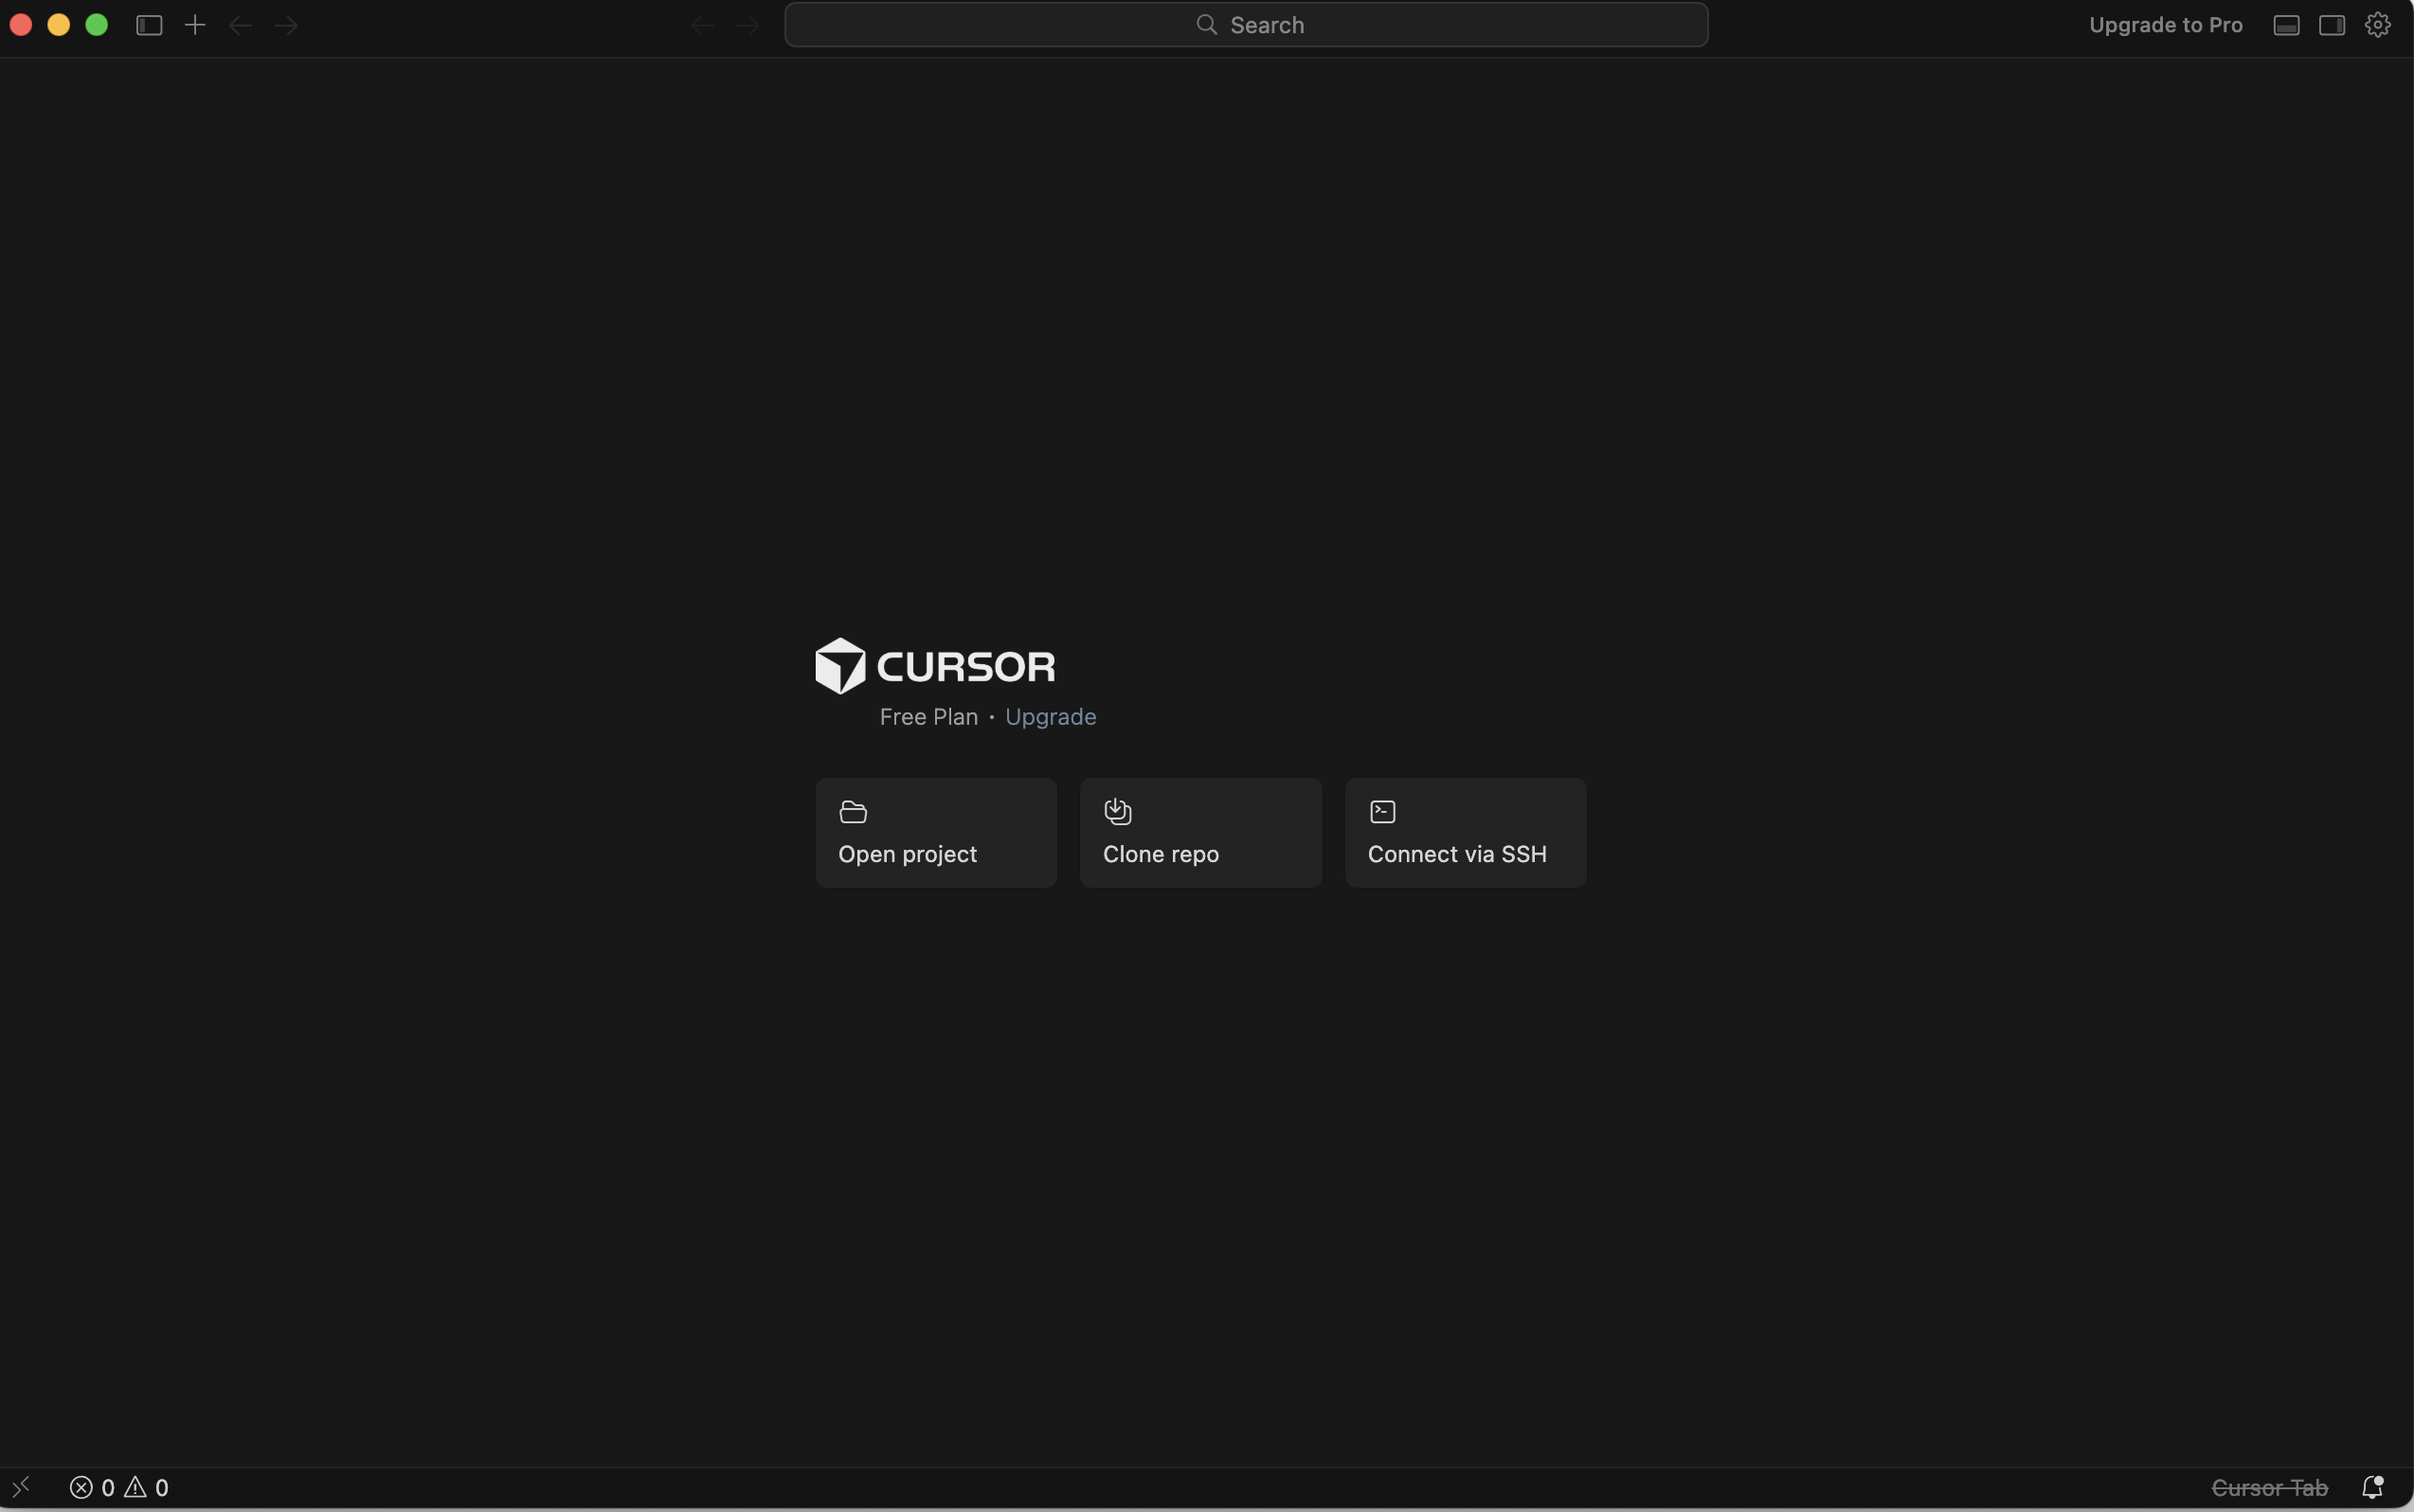
Prepare the local Editor (Cursor)
I choose Cursor as my primary local development environment to write my documentation. Its AI assistance helps me bridge the gap between my ideas and the actual code.
SSH key
I configured an SSH key to establish a secure, password-less connection between my laptop and GitLab, allowing for seamless code deployments.
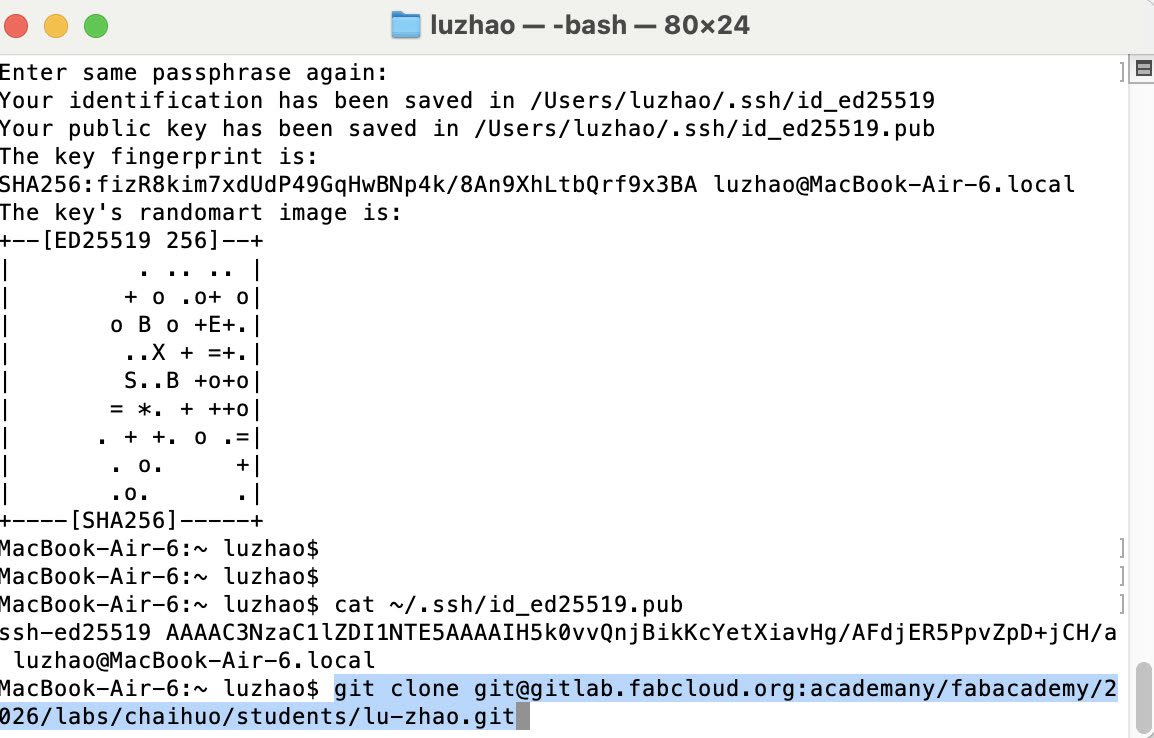
First, I put ssh-keygen into the Terminal.
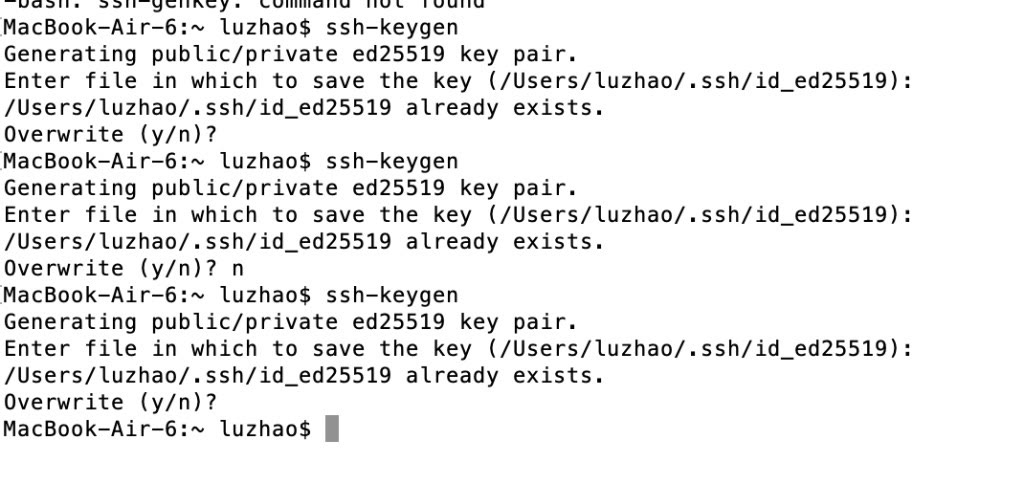
I put the cat ~/.ssh/id_ed25519.pub in the Terminal to get my own SSH key.
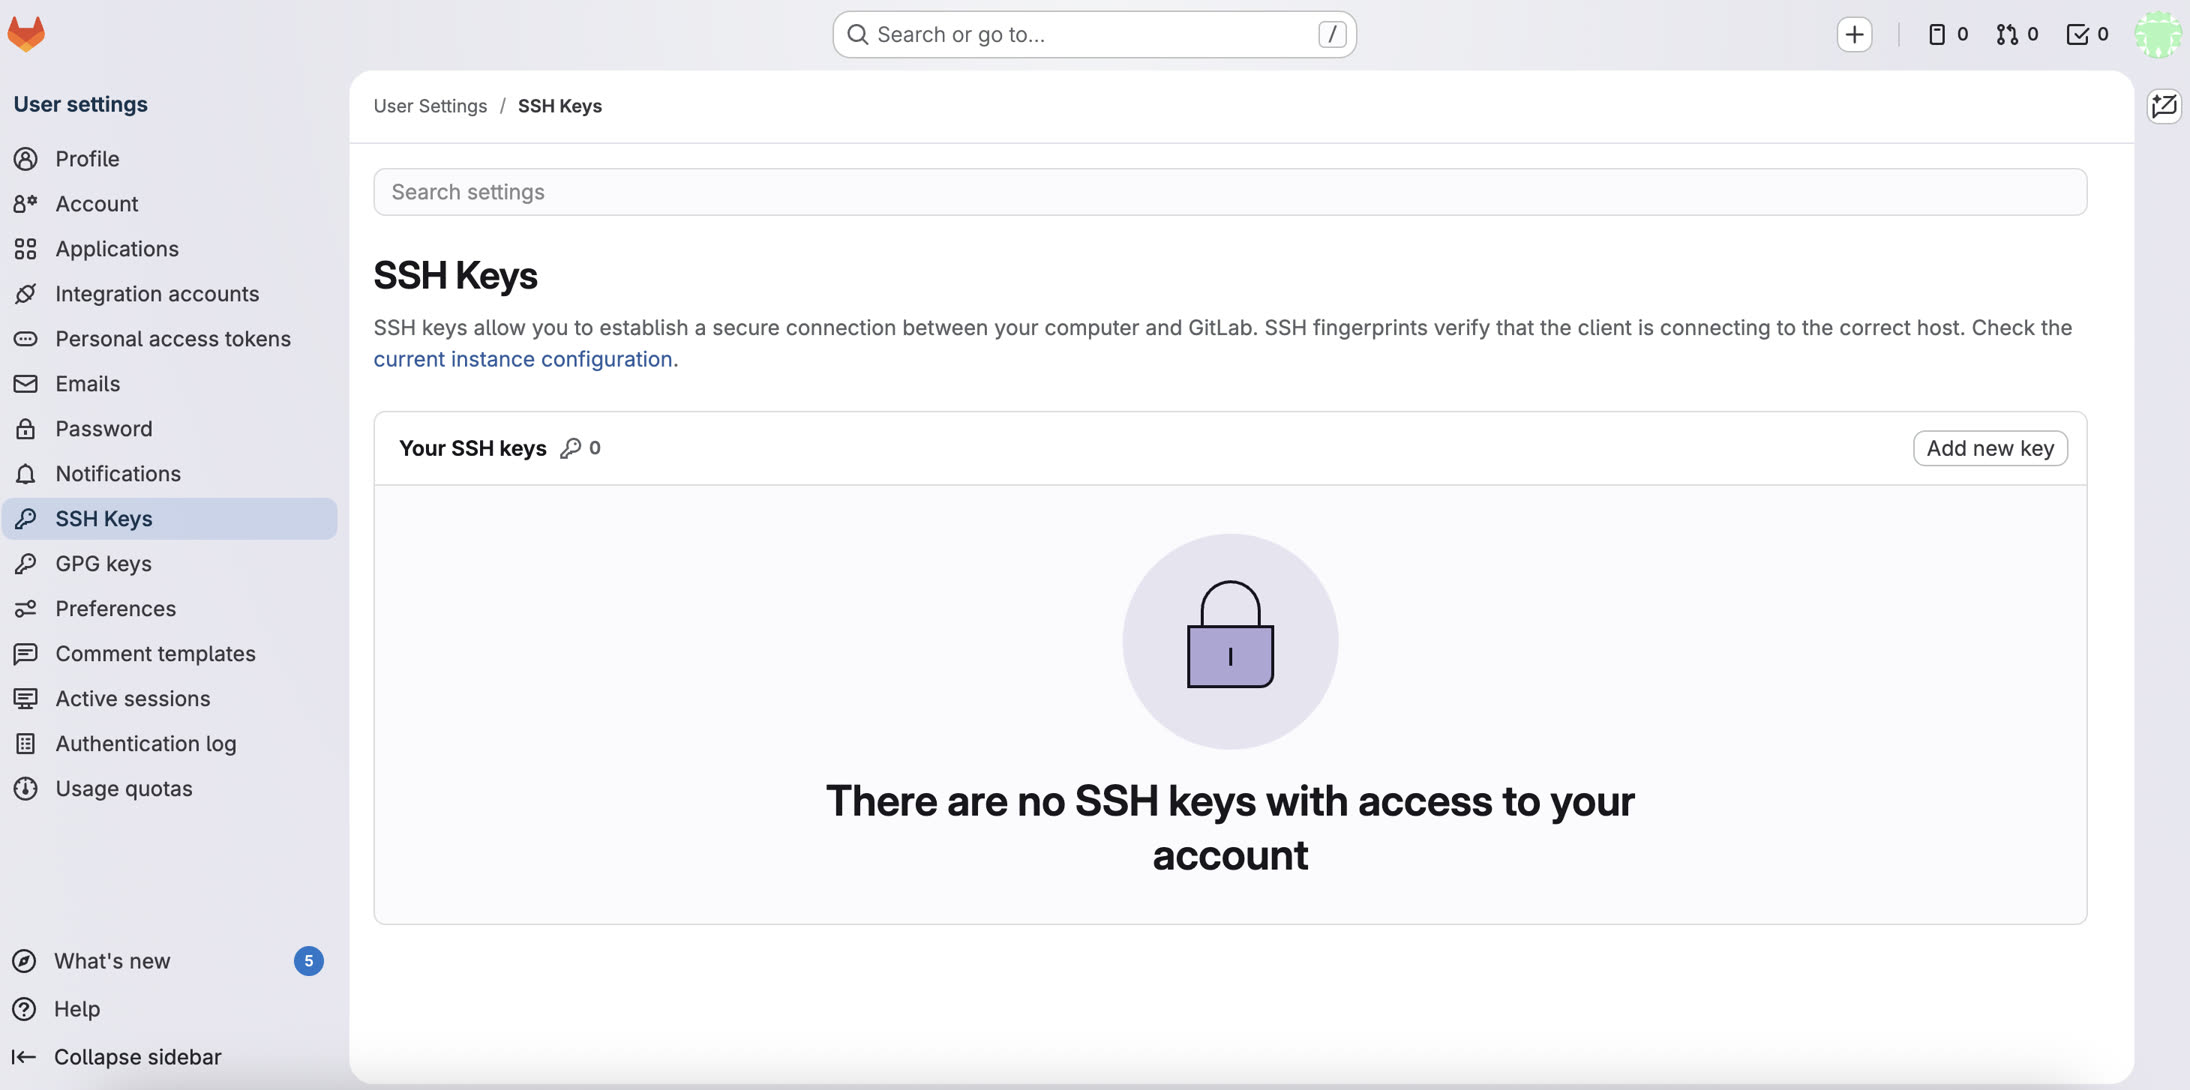
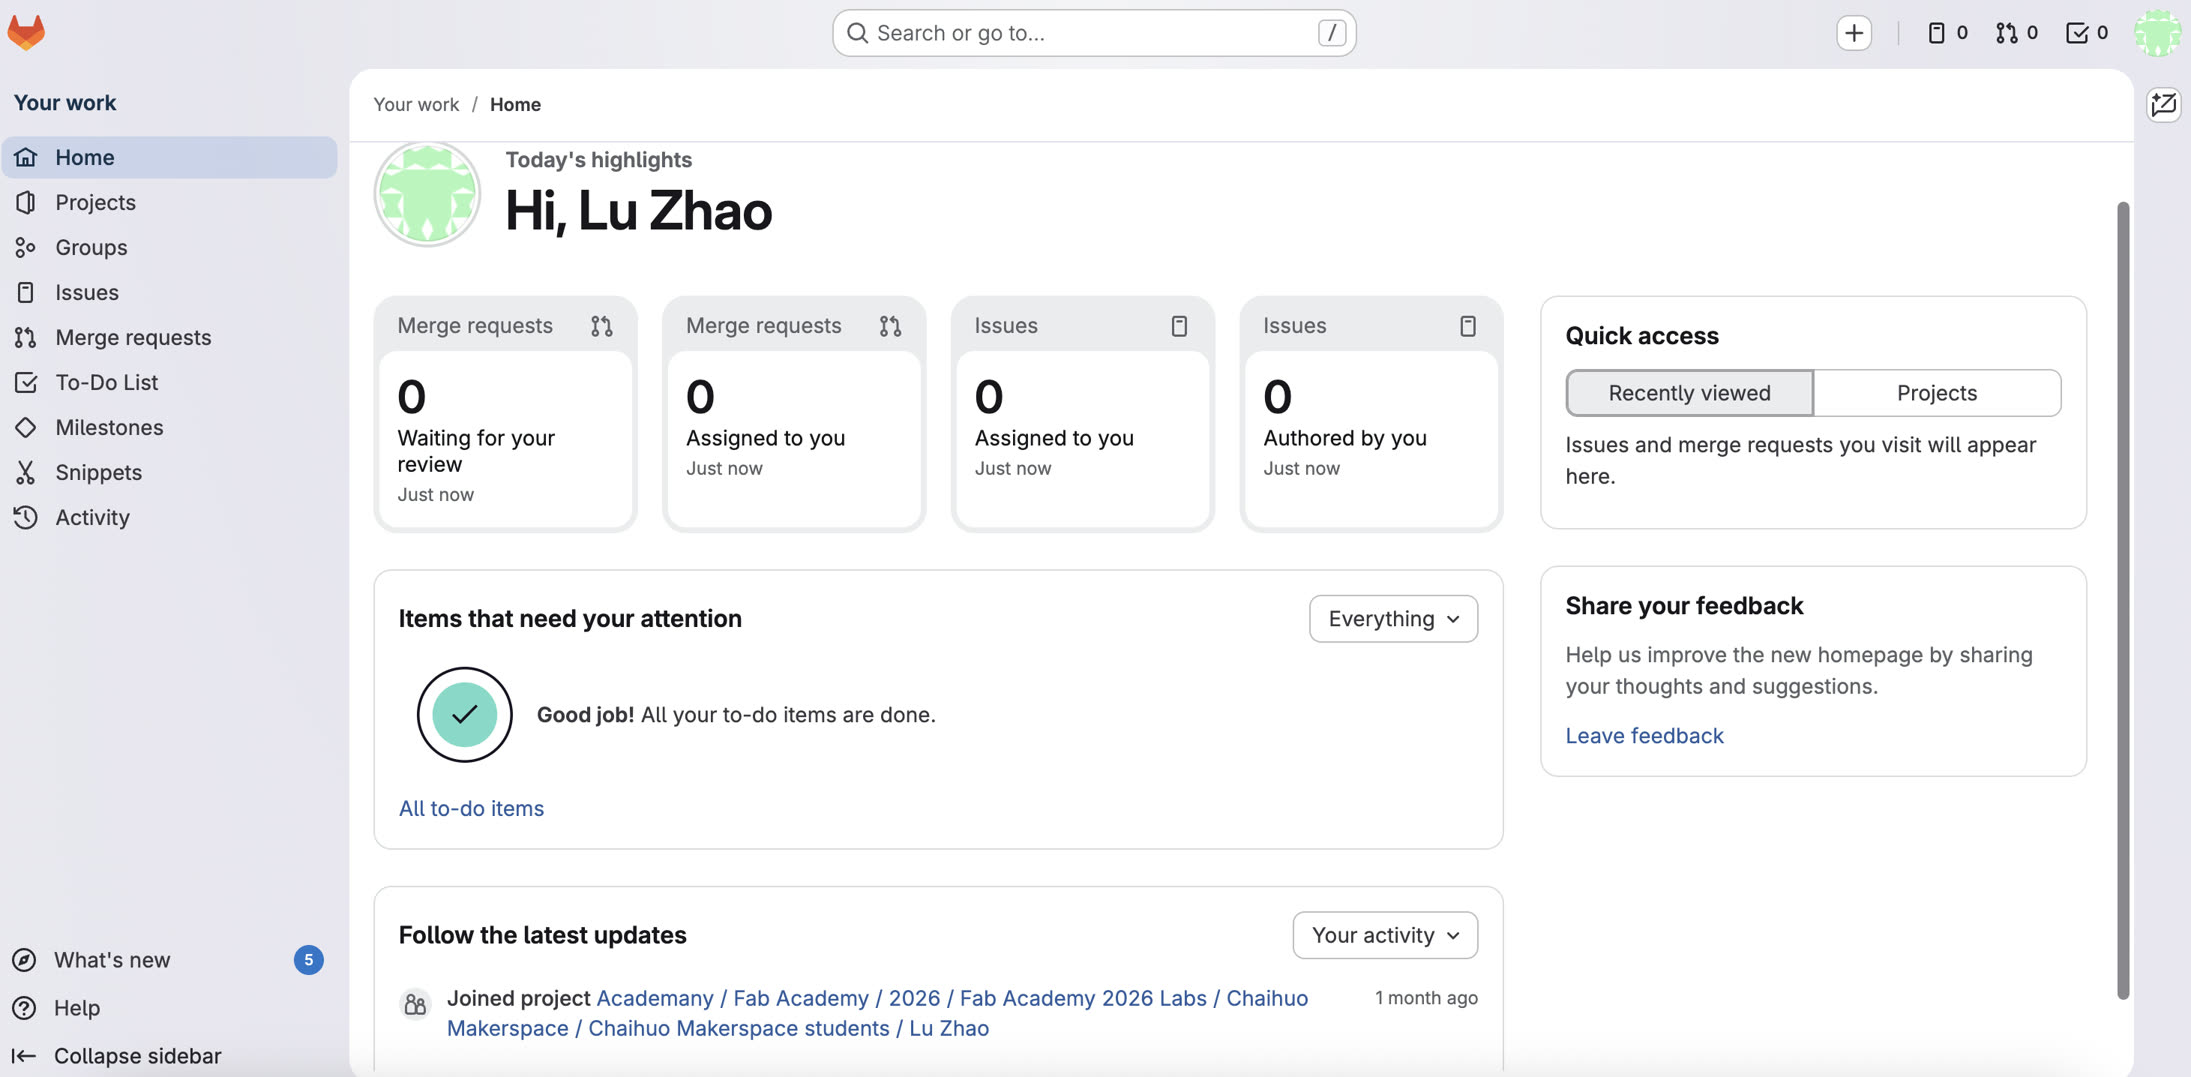
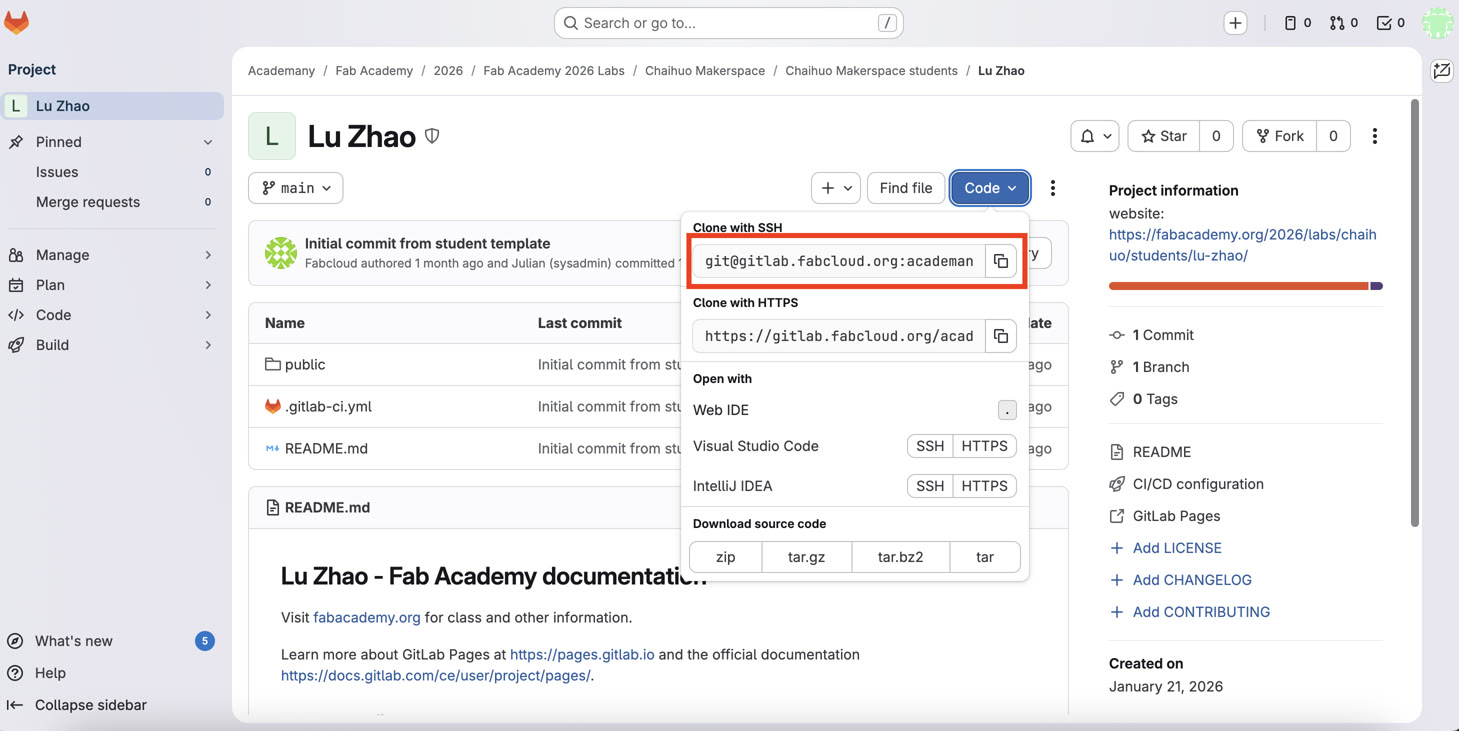
Log in my GitLab account and bind the SSH key:
Bind my local file to the GitLab cloud, copy the code in "Clone with SSH", and Git clone it in the Terminal.
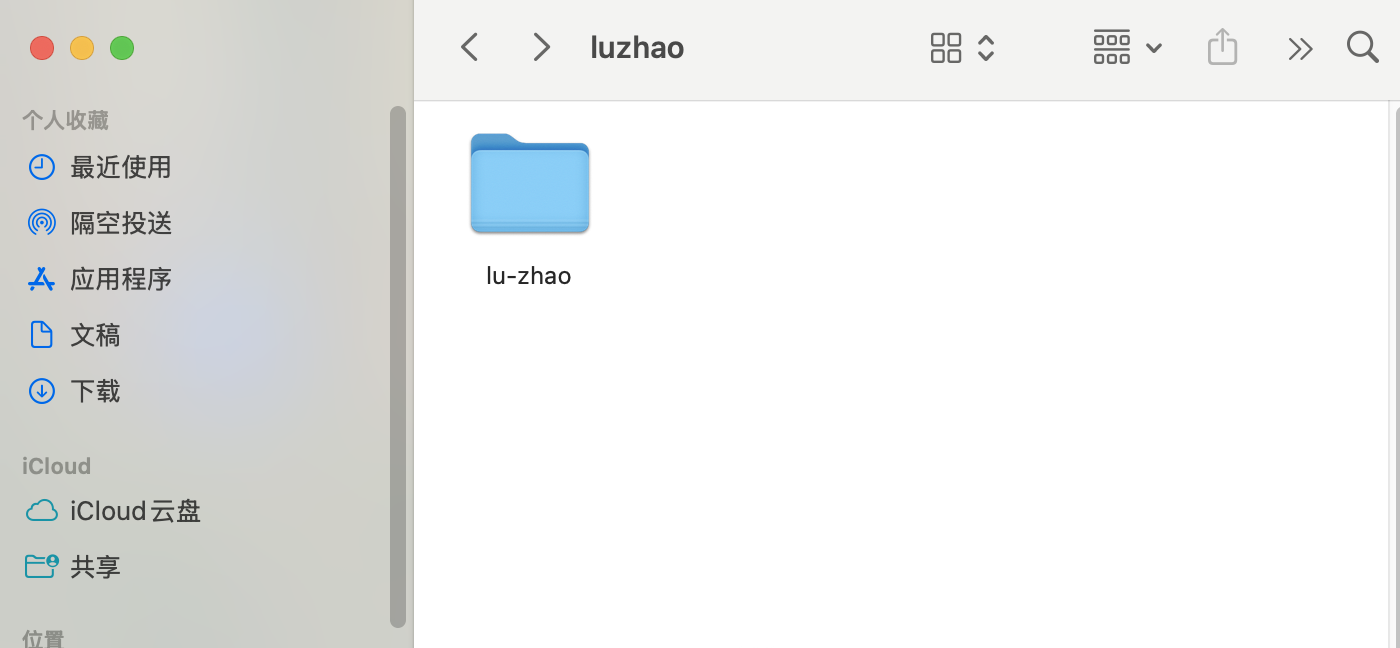
After the cloning, it creates a folder on my local drive.
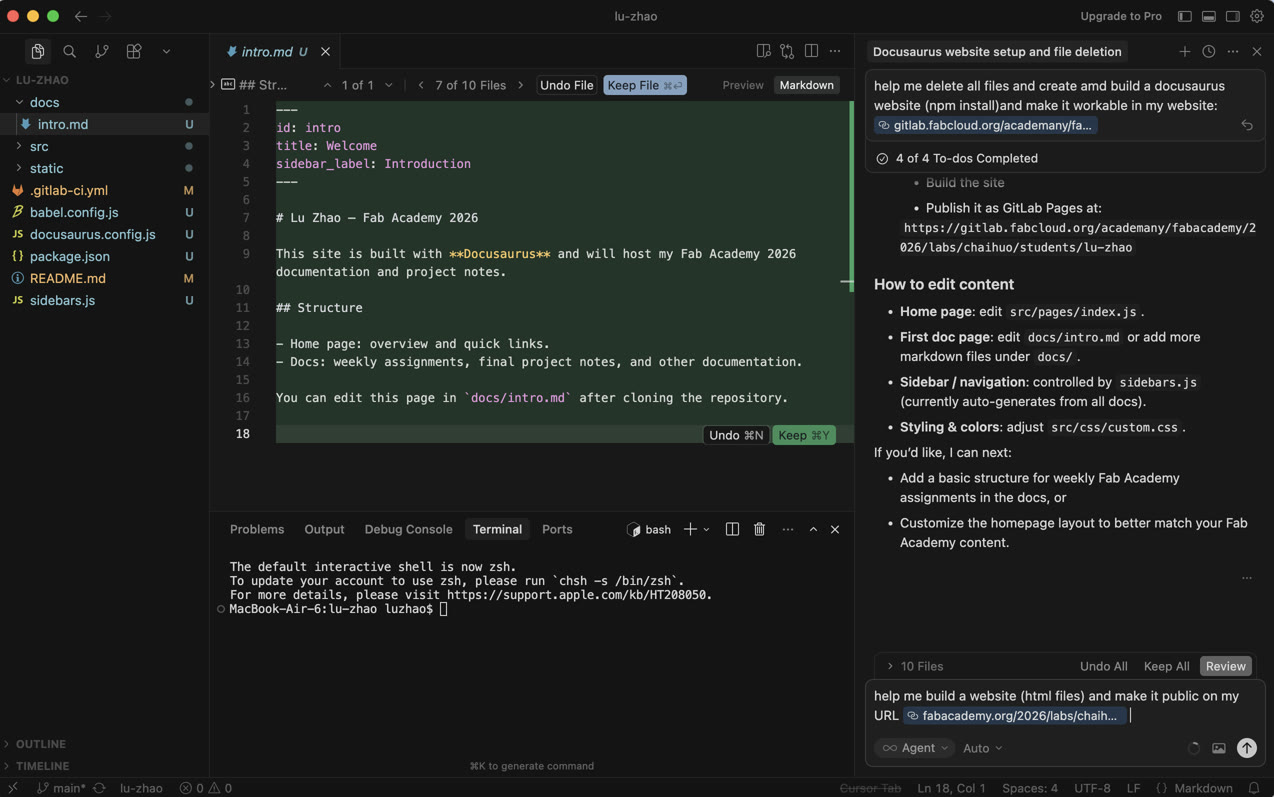
Use Cursor to build my website
Since Docusaurus can provide a structured scaffold out of the box, I asked Cursor to create and build a Docusaurus website (npm install) and make it workable on my website.
I ran npm install to download all the necessary libraries and dependencies required by Docusaurus. This ensures my local development environment has all the "tools" needed to build and preview my site.
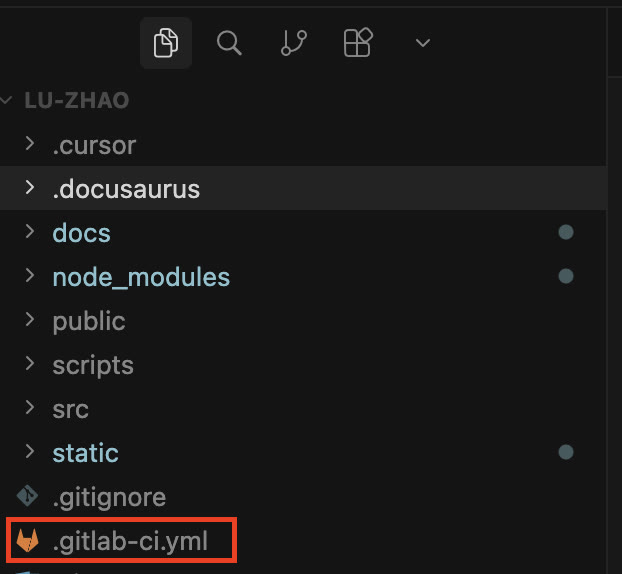
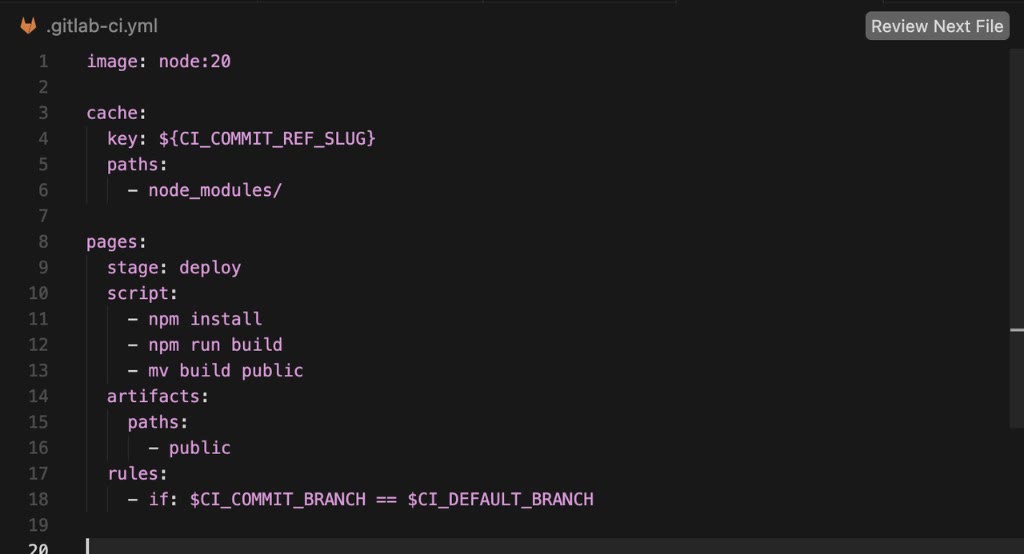
To enable the automatic deployment, I configured the .gitlab-ci.yml file in the root directory. This file serves as the 'instruction manual' for GitLab Pipelines. So, every time I pushed code from Cursor as I command "Git Push", GitLab would run a script to install dependencies, build the Docusaurus project, and deploy it to GitLab Pages. Here below is the configuration I used.
Then I go to GitLab Pipelines to read the stage of my webpage establishment.
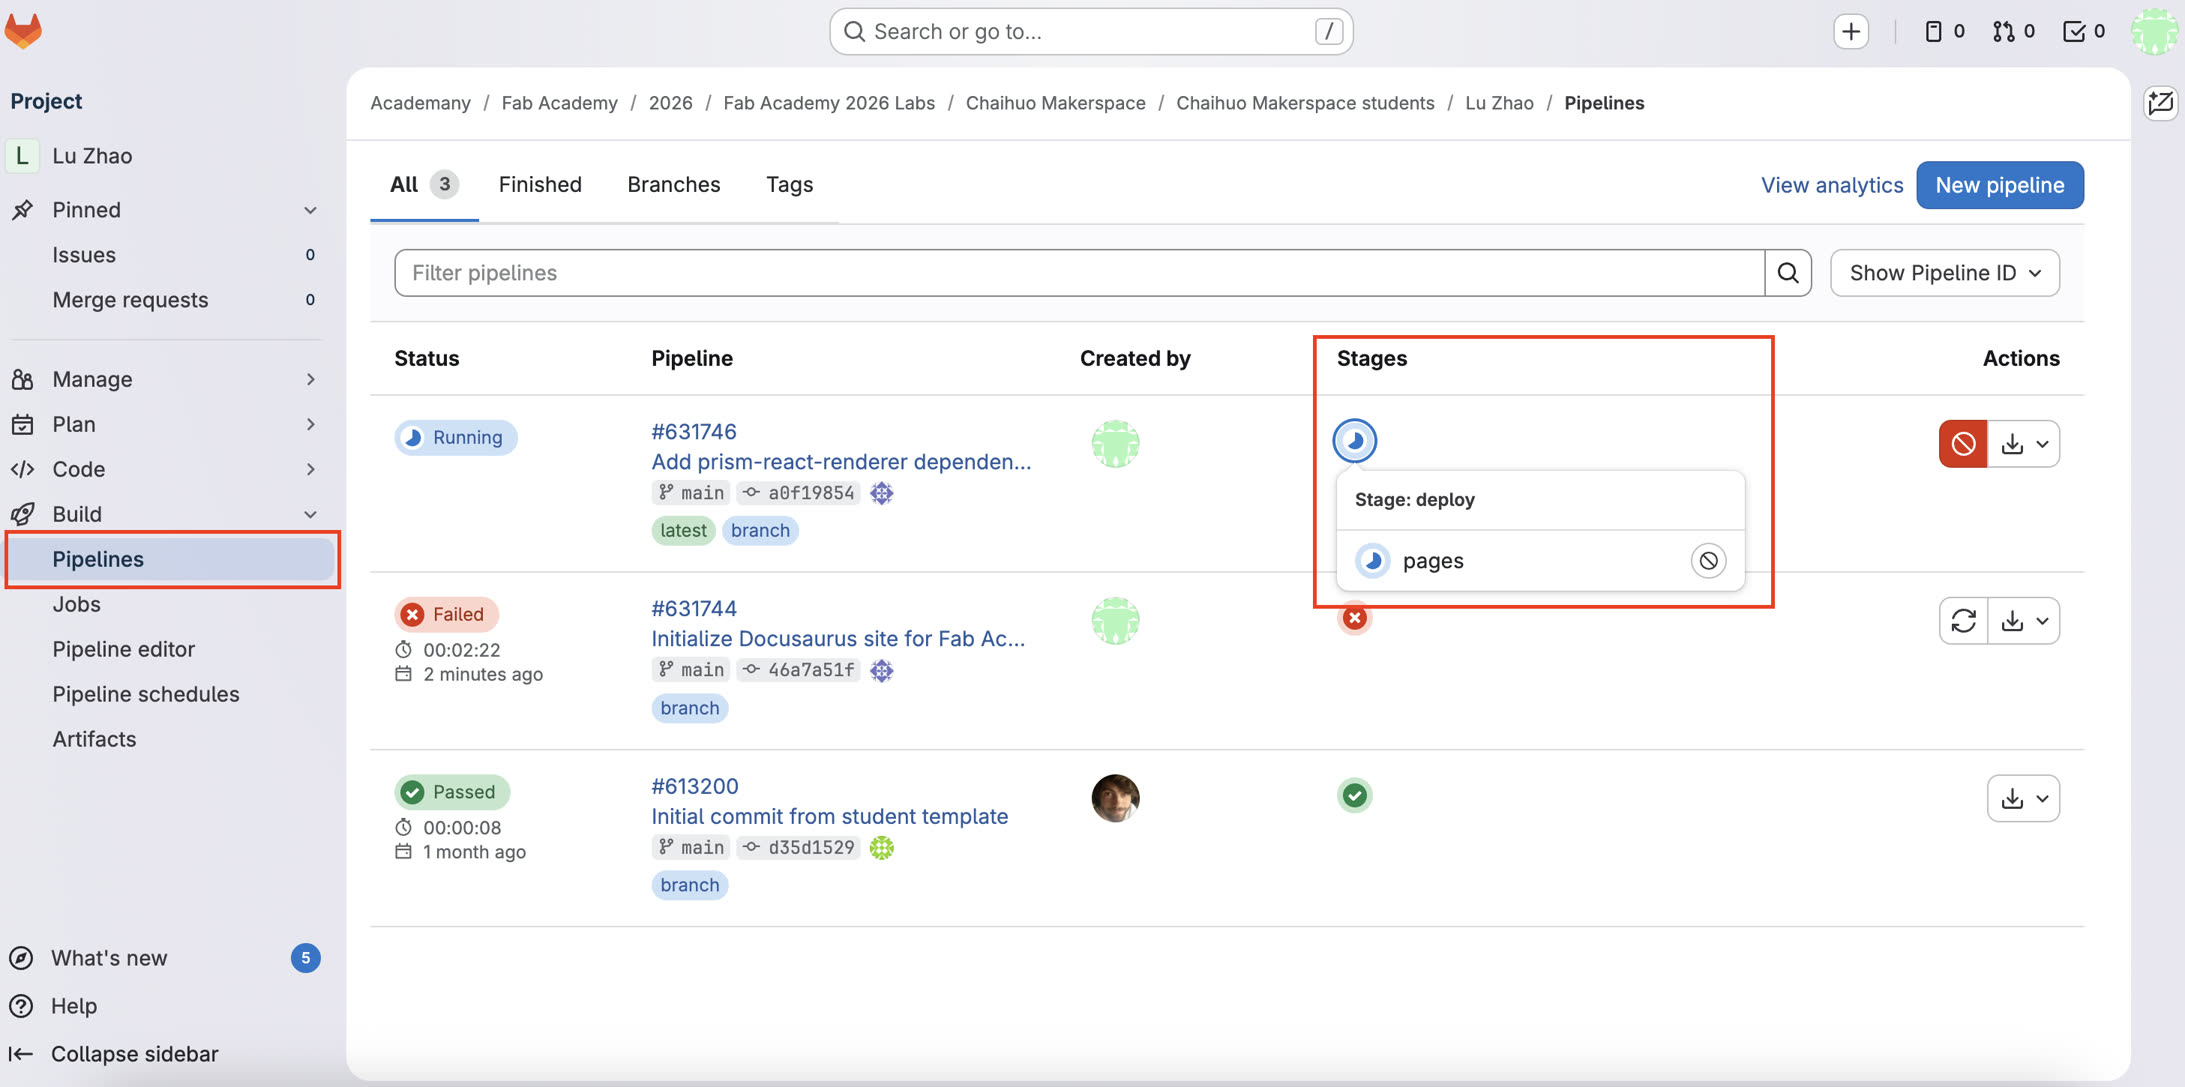
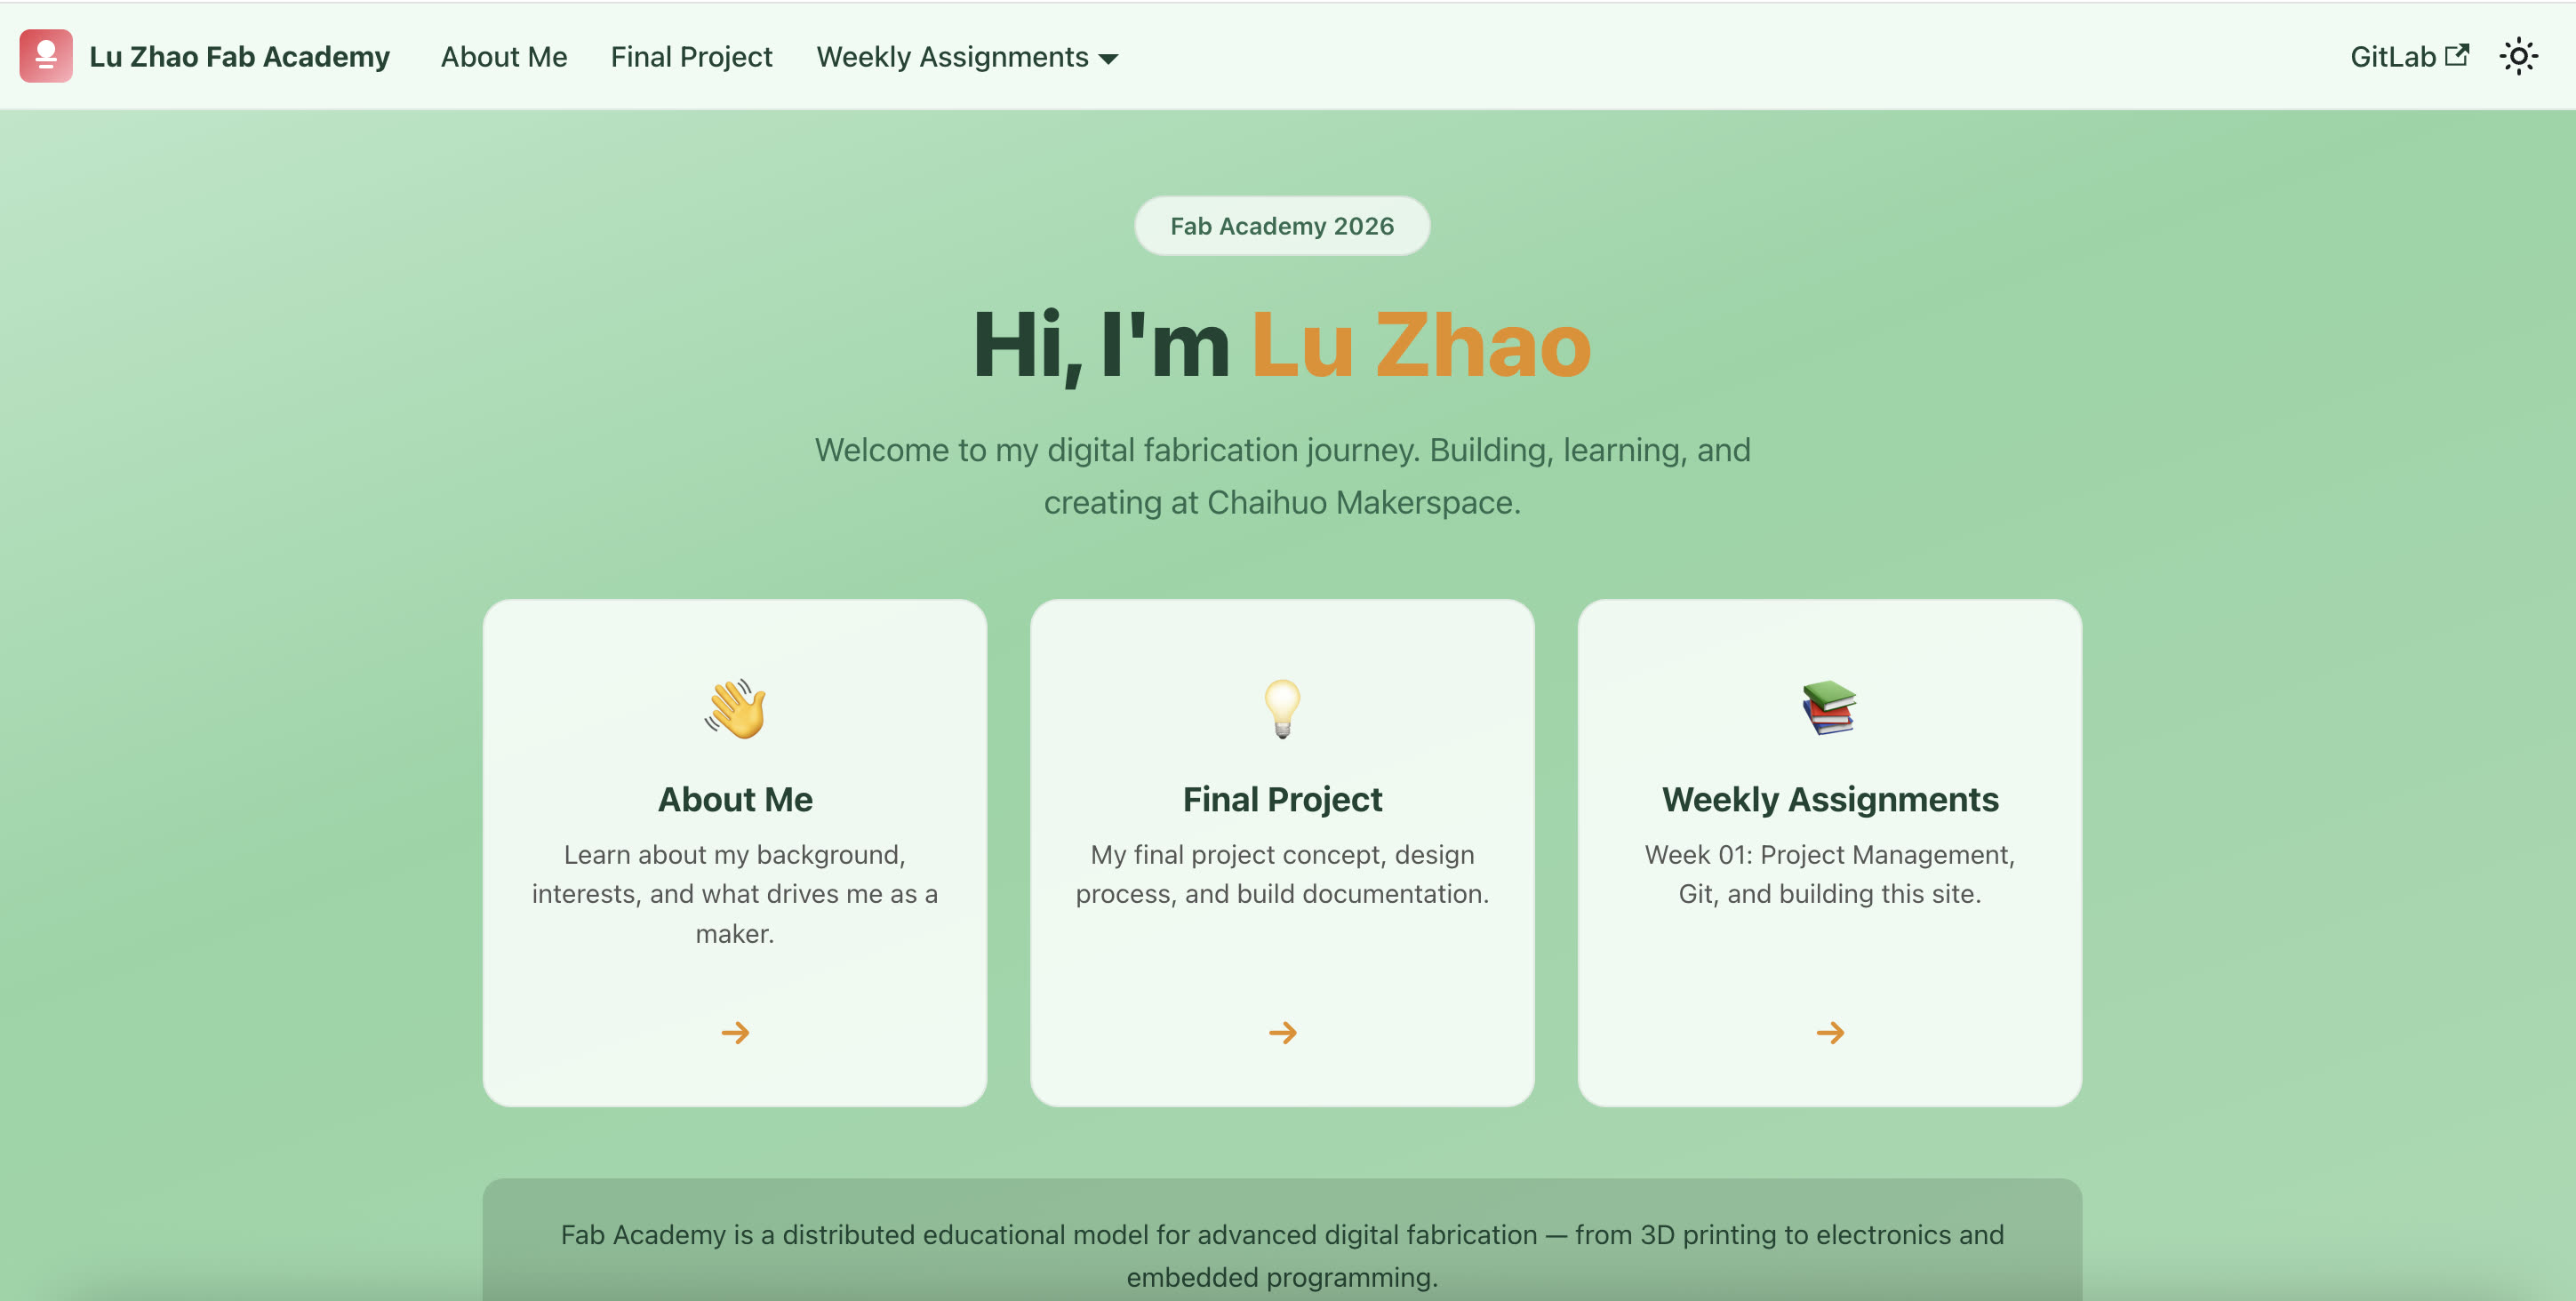
Sometimes it failed as there's error in the codes, I copy the error codes inside and ask Cursor to figure it out and debug it. After several times of debugging, I have my initial website V1.0: