Week 14. Molding and casting week
But first
What is it about?
In this week we learned to make molds of anything.
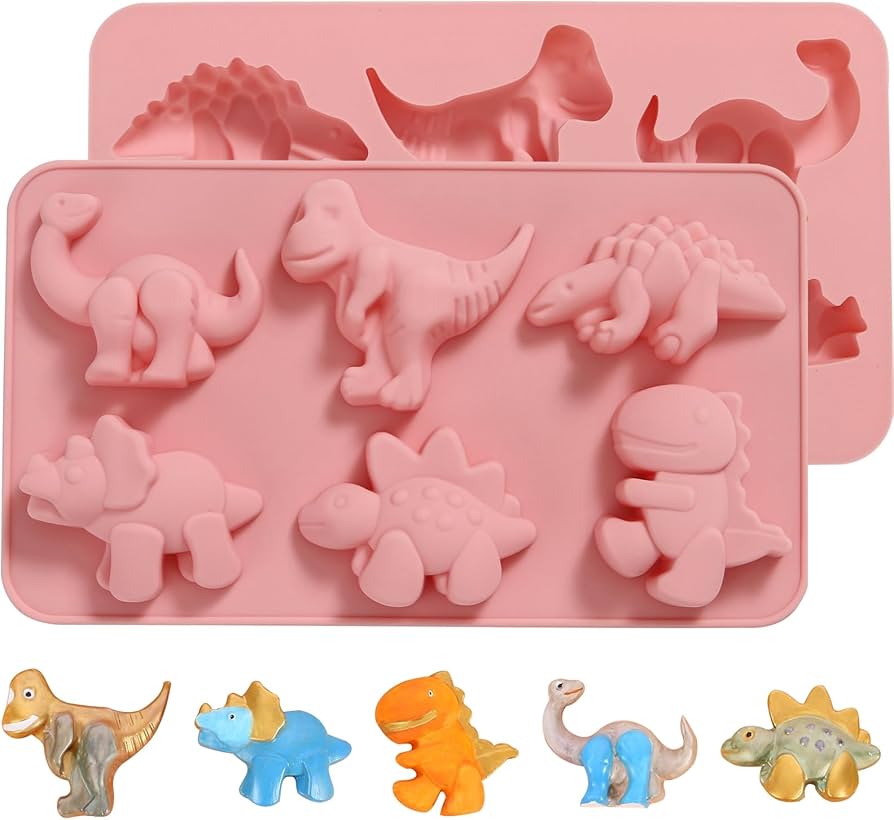
Yes, this kind of molds. So, what do we need to create them.
The first thing we have to do is define if we want to create a mold as a final product or a piece as a final product. In case we want a mold as a final product (the first image) We have to design our final piece, and make the first mold with the original piece.
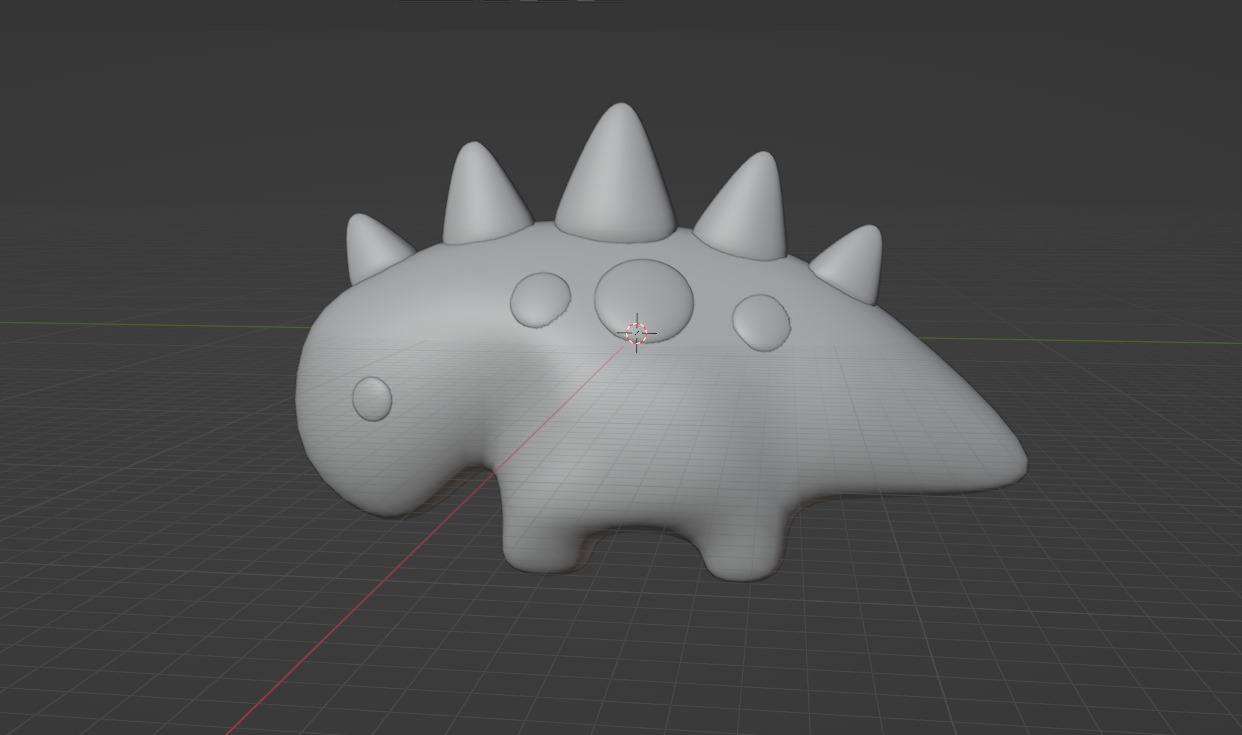
This is our final figure we want to make. So, we have to make the negative of the final mold/product.
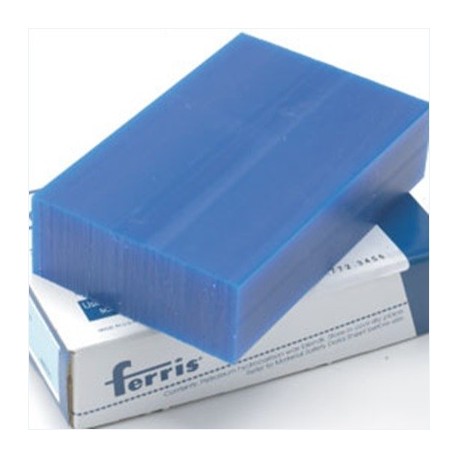
For this kind of final products, it is easier to make the first mold with a cnc router machine (take a look to the week 7). For this procedure we need the file with the negative of the mold and a piece of wax for molding like this one:
To sum up, we have to make something like the following image:
The grey mold is what we have to do on the cnc router, and the pink part is the final product. What I didn't like of this options is that the pieces we make with that kind of mold are going to be flat on one side of the piece, and it is mostly for something like ice, chocolate or cupcakes.
What I did
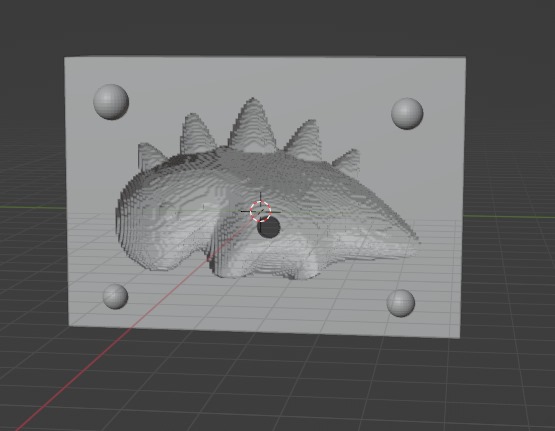
However, I was not looking for this, I want to make a complete 3D piece, like a keychain or something like that. Or for this the design process and mold is quite different. For this final product we have to design our desired figure. In my case:
This figure, now we have to do a 3D design on the mold. What I did was add a cube on the scene and scale it until the complete figure is covered up with the cube. Make sure that there is a margin from the figure to the cube sides.
Just like in that image. Note, those margins are very important to give strength to the mold and space to add the guides of the molds.
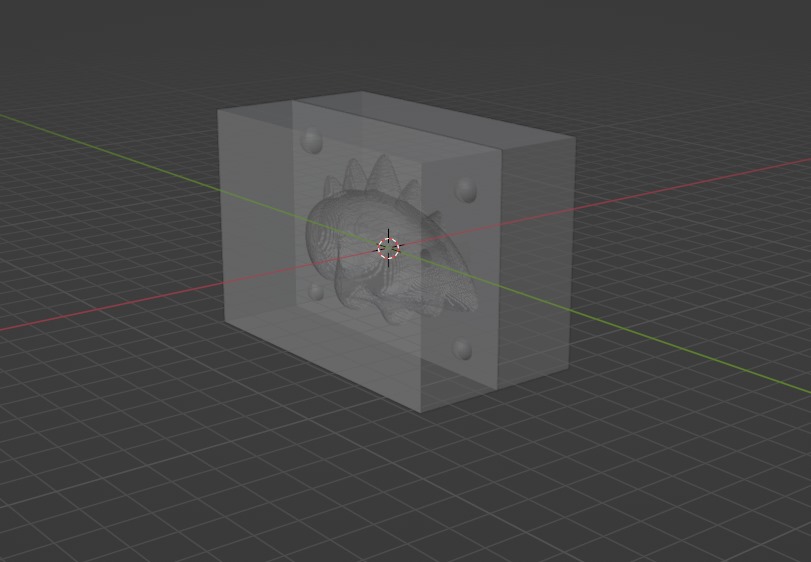
Alright, we have the cube, the margins, now we have to divide the cube exactly on the middle to create 2 indentical rectangles.
Middle step: Make sure that your main piece is a single piece (in case you made it with different pieces.) you can us a boolean union.
Now, with a new boolean difference on the mold make the negative of the figure on both pieces of the mold, specially if each side will have different details of the main piece. If the piece is the same on both sides of the mold you can make the boolean difference once, and mirror it.
Now we have the molds, with the margins, the negative of the figure, and perfectly divided by half. Now, We need something to guide the physical molds to keep the figure perfectly aligned I made half sphere's. just like on the following image:
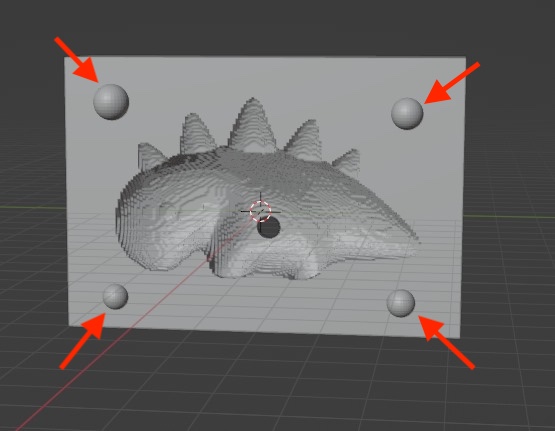
Make sure to make a boolean difference on one of the molds and a boolean union on the other mold. Also keep in mind to make the spheres of the mold with the boolean difference a bit bigger than the piece with the boolean union, so they fit when printed. Otherwise wou will have to sand the piece,
and it is quite difficult because of the shape.
We are not done, We have to create the hole to fill the mold, this hole is usually on a side side of the piece where it doesn't see that much, like the back side or the lower part. However if I placed this hole on the lower side, I would have to create 5 air tubes on the head and on each paw.
and those were to much ar holes, so I decided to place it on one side of the figure, that would sacrifice aesthetics on the final piece, but this decision made the design process a bit easier. So we add the hole with a cylinder and apply the boolean difference to the piece.
The design is done, just export each piece separately. as a STL or OBJ.
The printing process
The software
As this mold is for the final product is easier to print it with resin, so, we have to use a slicer for 3D resin printers "Chitubox"

What do we have to make on this software?
Import the piece, place the piece, add the supports, hollow the piece, add holes to drain the piece, and export the file.
Importing the piece is an always task of every software, placing the piece is the same as on the 3D printing week.
The supports are quite different from the filament 3D printing process. They area easier, but different, just follow the next tutorial:
Hollow the piece is letting some space on the walls and adding some infill pattern and percentage, to do this you just have to follow the following tutorial.
Now, if you hollow the piece and just hollow it, some resin will stay inside the piece and it will impossible to drain, and not draining it may cause problem on long term. o we have to add some holes to drain the pieces, just follow the next tutorial:
Now we have everything we can click on slice, and preview the printing process. If everything is alright you can export the file by clicking on save and selecting the USB that came with your printer when you bought it.
The printer
Resin 3D printers are quite different from the filament 3D printers, this printers work wih liquid raw material you have to calibrate the plate, pour the liquid on a container and start the printing process.
On the physical part you have to release this four screws and down the plate to a convenient position. Note you can place a piece of paper between the screen and the plate to give enough space for the film of the container and the space of the first layer.
Once set the height, screw back the screws and click on z=0 to save the home position.
Now, place the container, assure it with the screws and pour the resin.
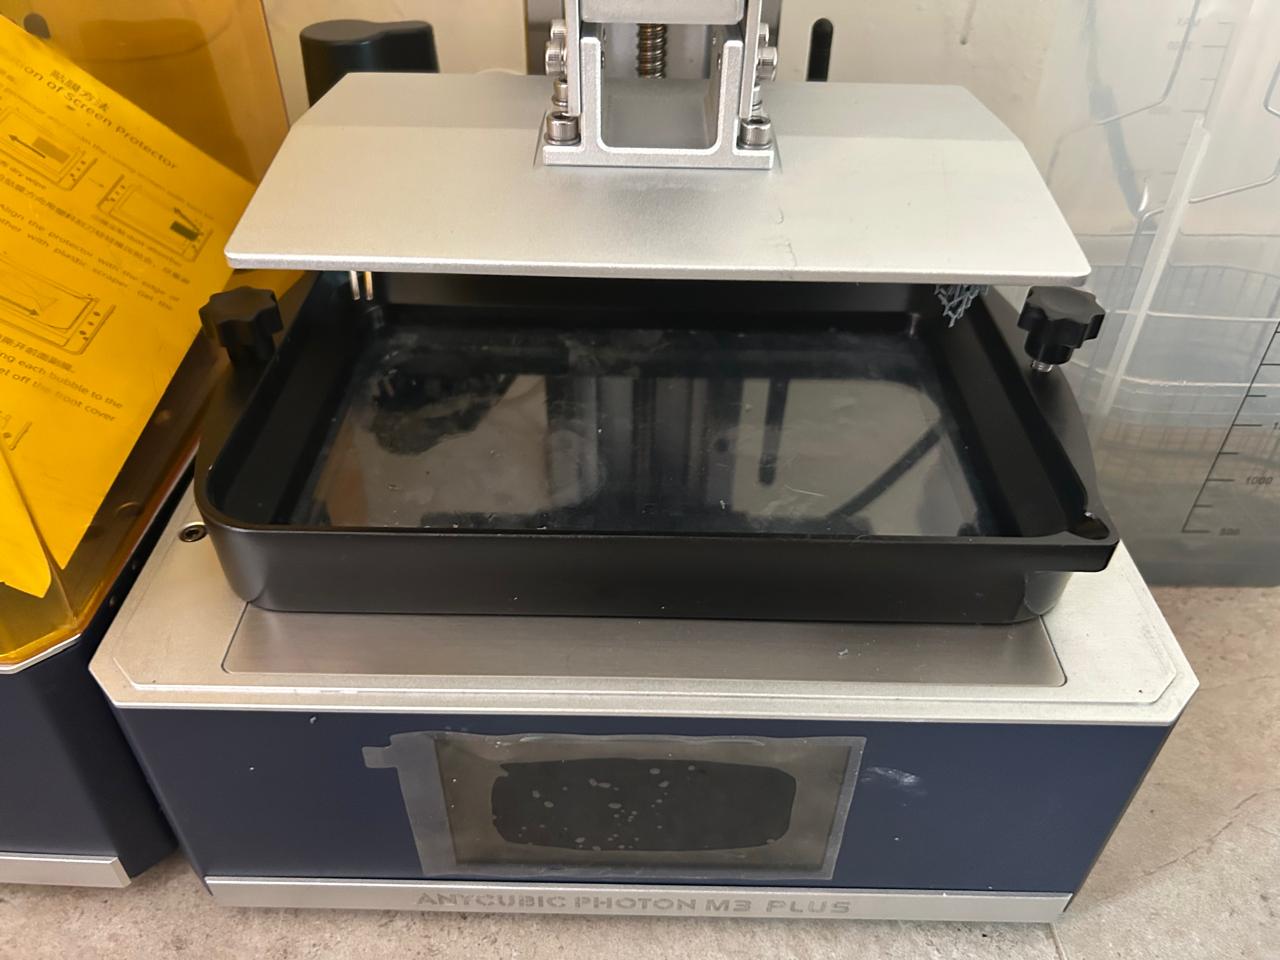
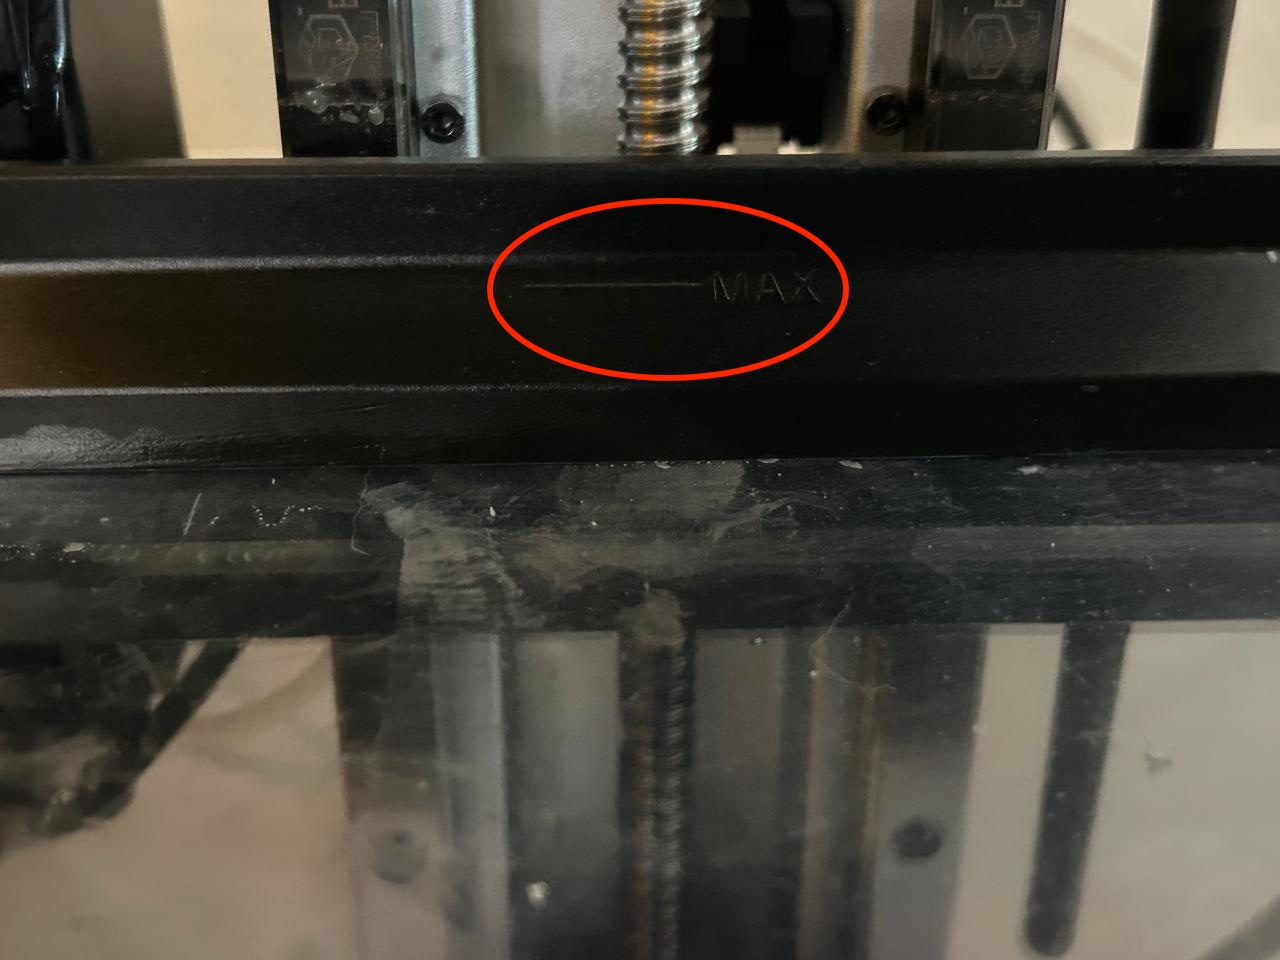
Note, be careful with the limit of resin you can pour, you can see the limit on the back side of the container, otherwise, when the plate goes down the resin will spill making a horrible mess.
Now, follow the next tutorial to start the printing:
Cleaning and curing the piece
This is just putting the piece on isopropyl alcohol and set the machine for like 10 minutes. Look the tutorial:
And curing the piece is placing it on more ultraviolet light, it can be the sun or a machine, if it is the machine, you can leave it there another 10 - 20 minutes. Watch the tutorial to set the machine: washing
The mold is doneeeeeeeeee
Let's take a look
The mold
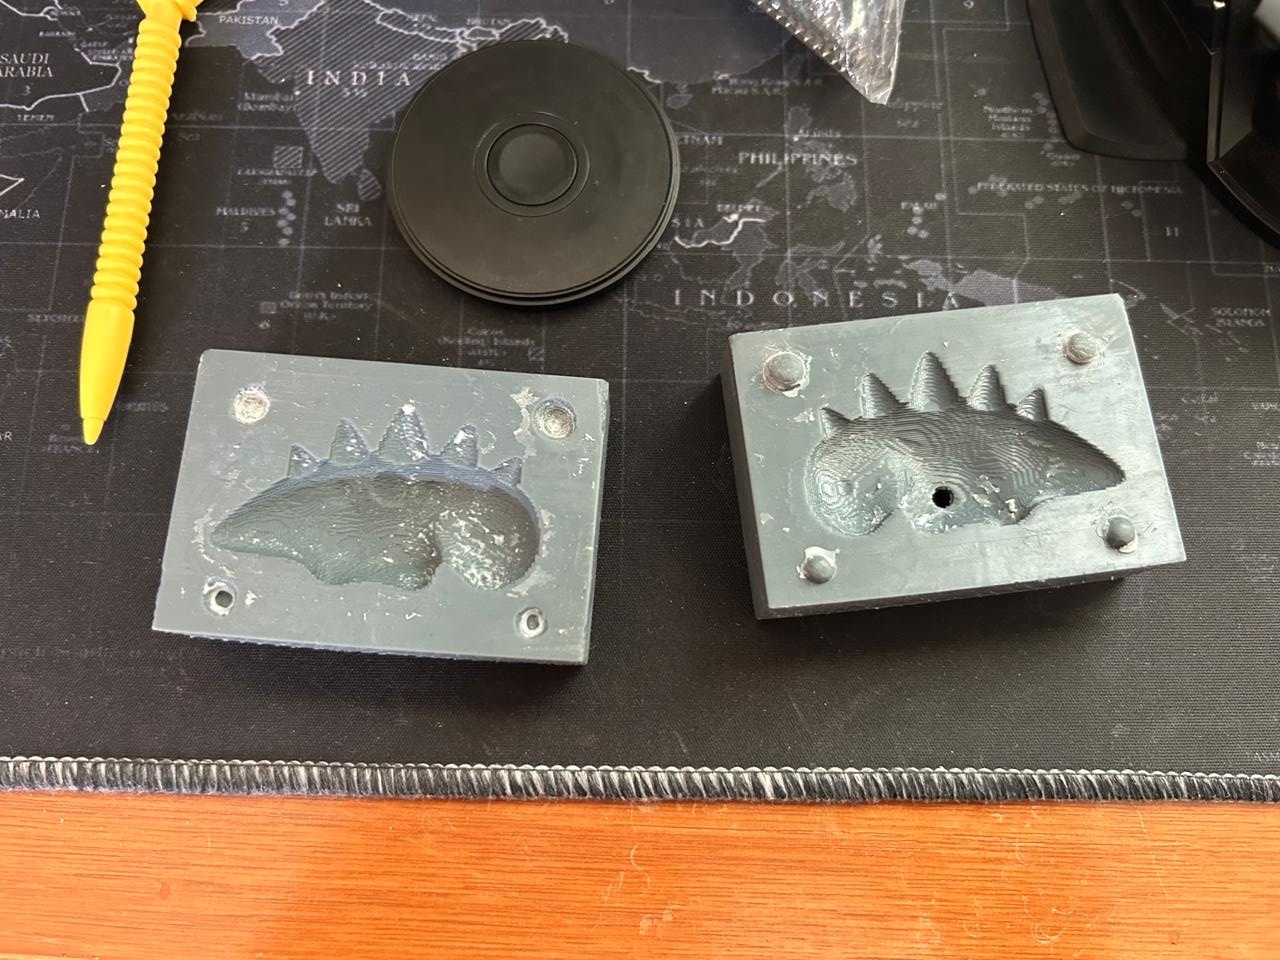

NOTE, as this piece came out with a smooth enough surface, and I made a pixeled design, as it came out was able to be used. The only thing I had to post process were the guide circles, the outer ones where to big, and the
inner ones where to small. So I made them bigger and smaller respectively with a razor.
I also had to make sure the contact surface where completely flat so the silicon doesn't scapes.
Now the silicon
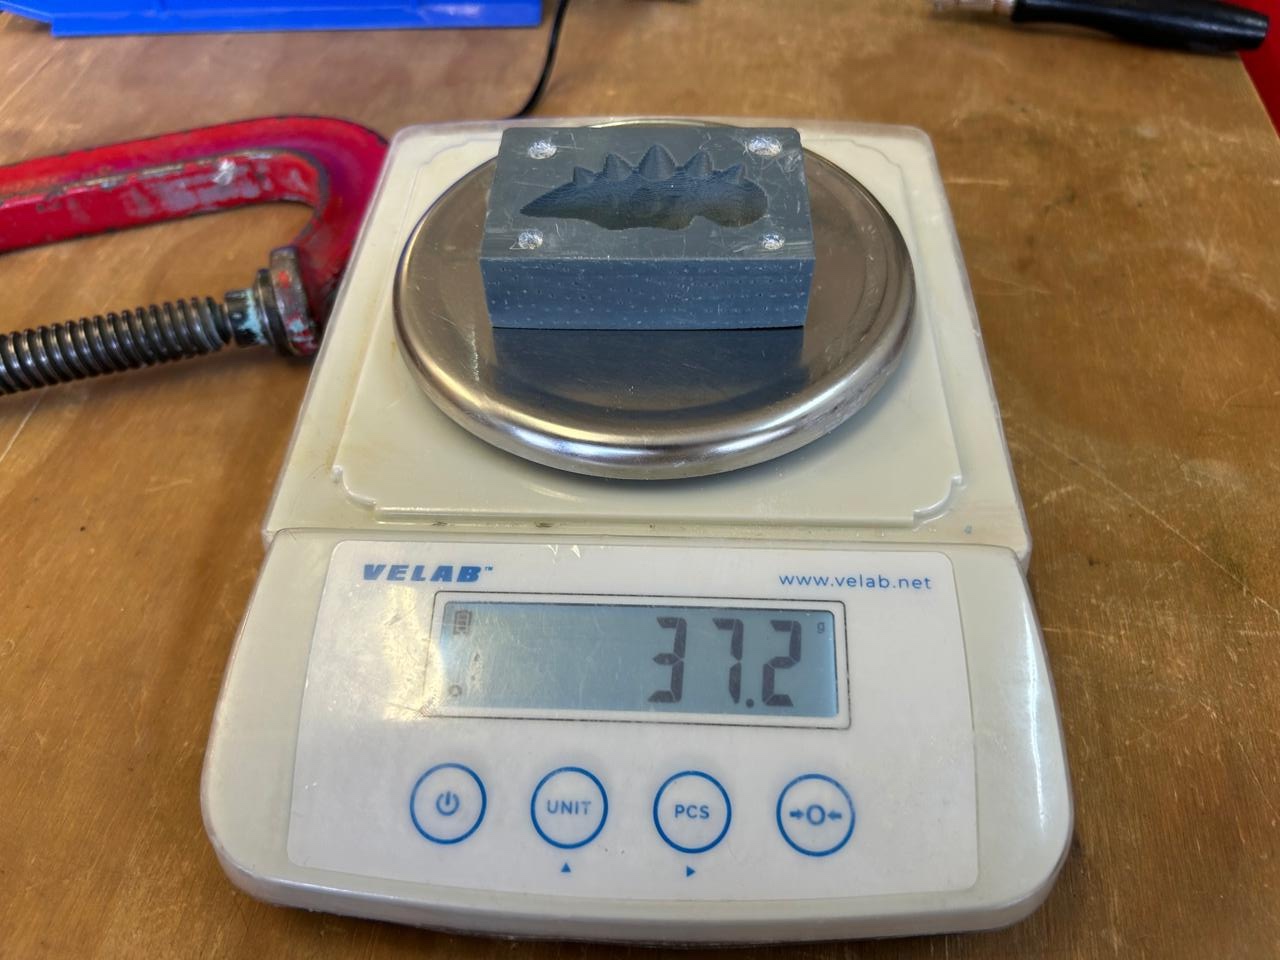
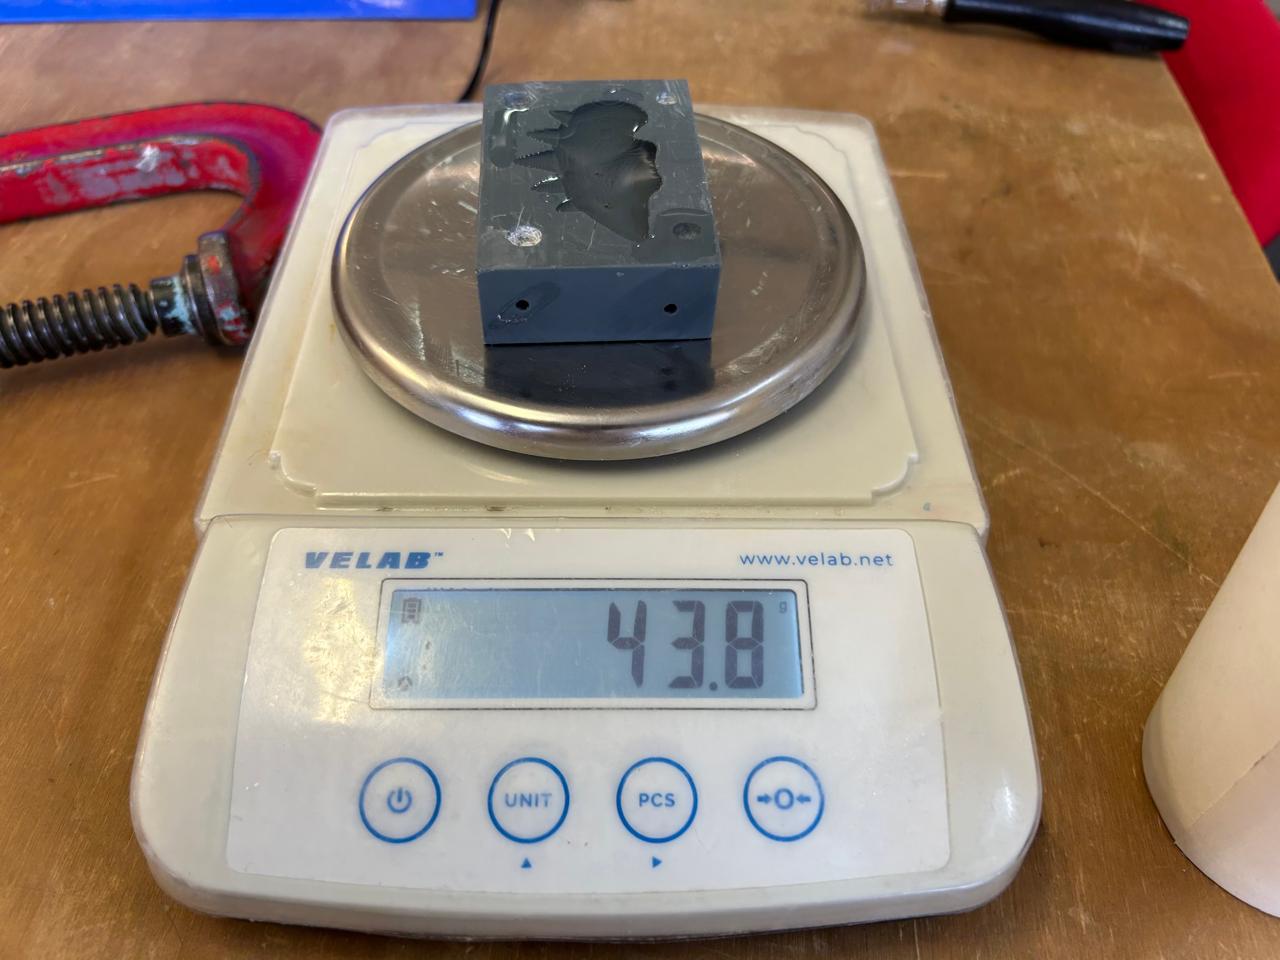
I decided to use silicon because I wanted a soft figure which I could use as a squeeshy toy. So let's take a look to what do we need. obviously the silicon and the mold, now a lot question come up at this point. I consider the most important to solve is to know how much silicon do we need. for this there are one method with different ways of doing it. Jst fill the mold with the smallest thing you have around and then weigh the content of the mold, the best option might be water because this will fill every space on the mold. and then weight it. What I did was, wight the mold without water and with water, now as one side of my mold had a hole in it, I simply filled just one side, took the rest of the mold with water - the mold without water and multiply the result by 2, add some extra grams jut is case and there you go.
NOTE, y teacher suggested me to add like 10 grams more just is case. So I did it.
Mold without water
Mold with water
The silicon
Now that we know how much do we need, the second question is what is the silicon, and how do we use it. This kind of silicons comes in 2 parts, the part A and the part B, yes, literally just like that:
NOTE, make that the type/number of silicon is the same, in this case I used silicone 3030 but there is also silicone 950, so make sure to take the correct bucket.
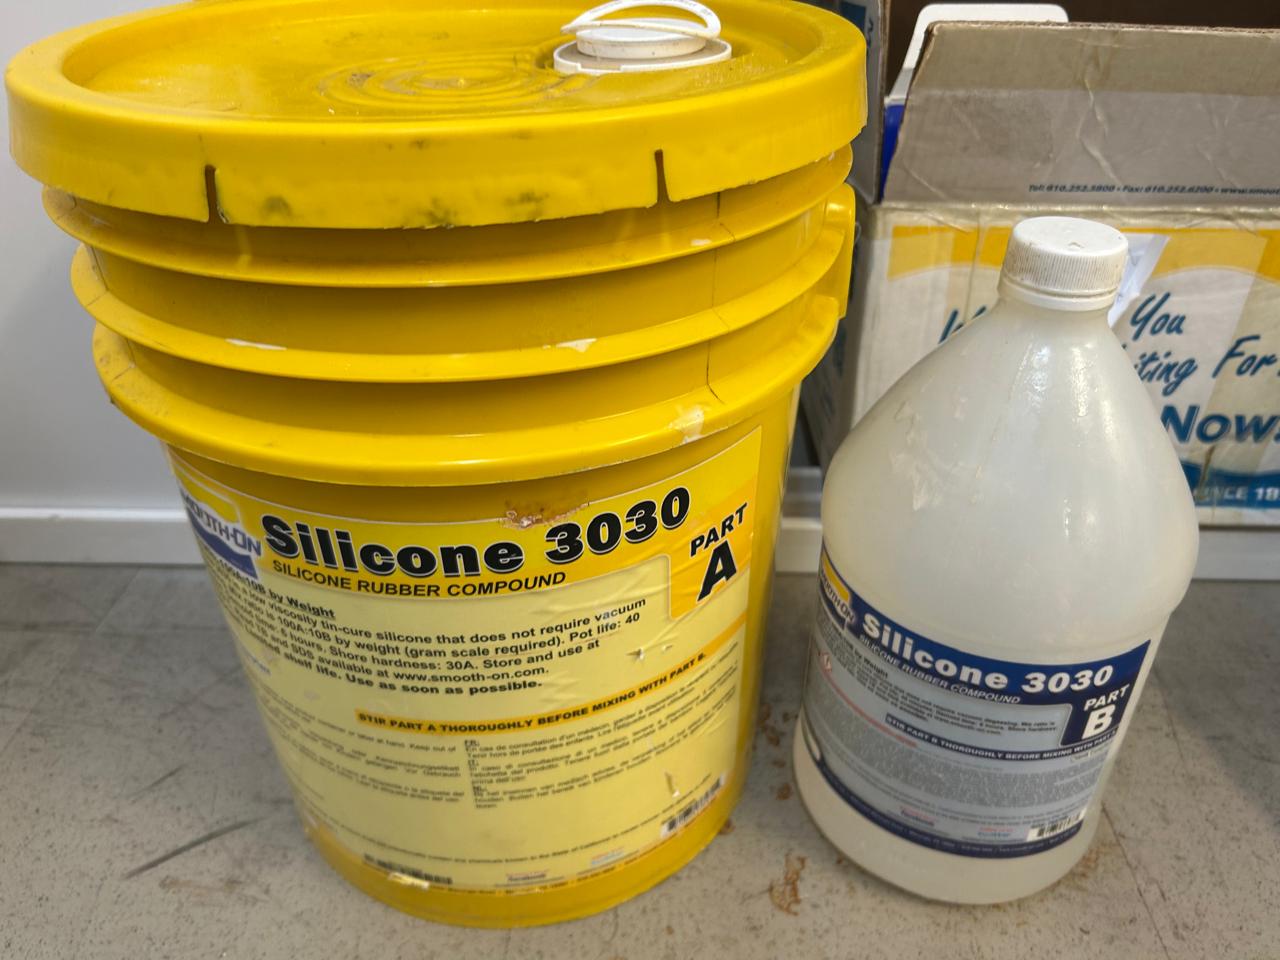
Now let's read the instructions, this solution is, 10 portions of B by 100 portions of A. This means, by 10 grams, of A part, we will need 1 part of B. Now here are many considerations:
-
Safety:
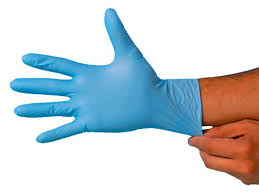
Use gloves, don't smell it, don't drink it, don't let it jump to your eyes, don't let it touch you skin aaaaand once added the b part be quick. -
The materials:
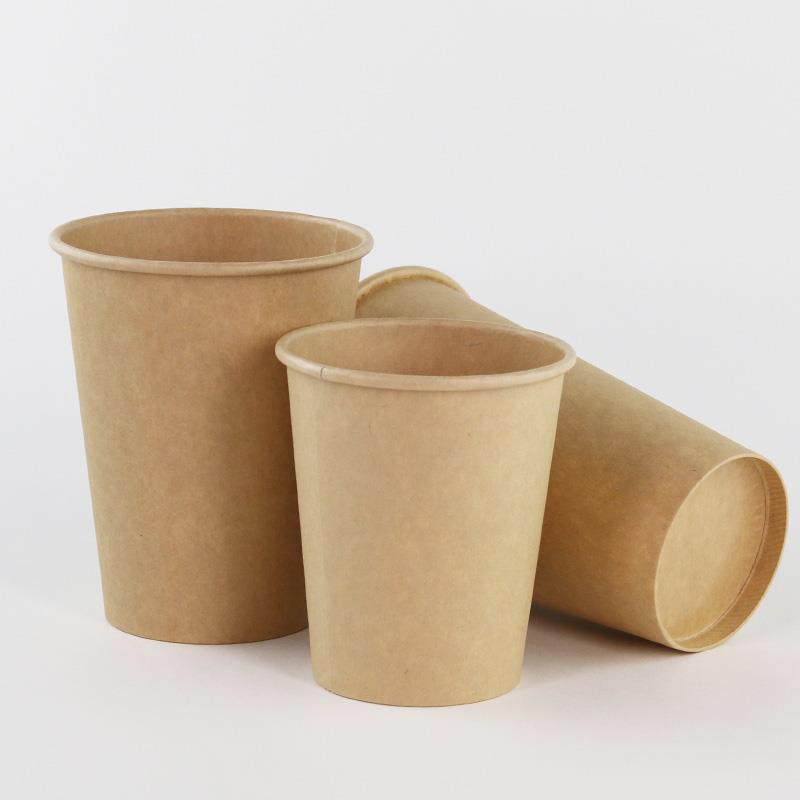
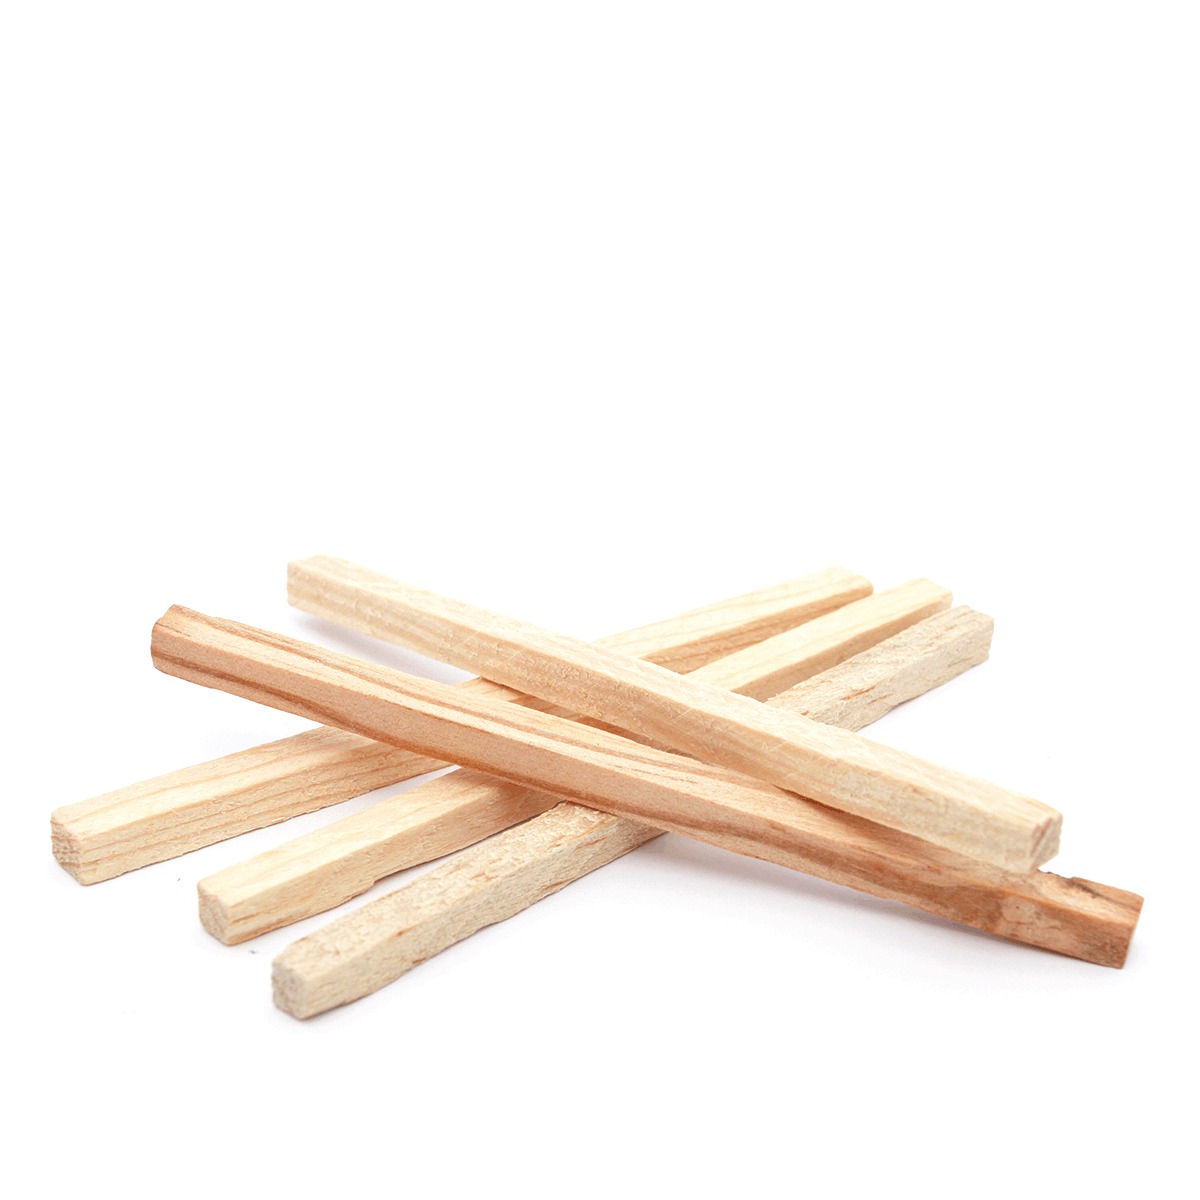
We will need the mold as clean as possible, a paper cup, a wood stick and a scale. Once again, for safety, the gloves.
-
Extra consideration:
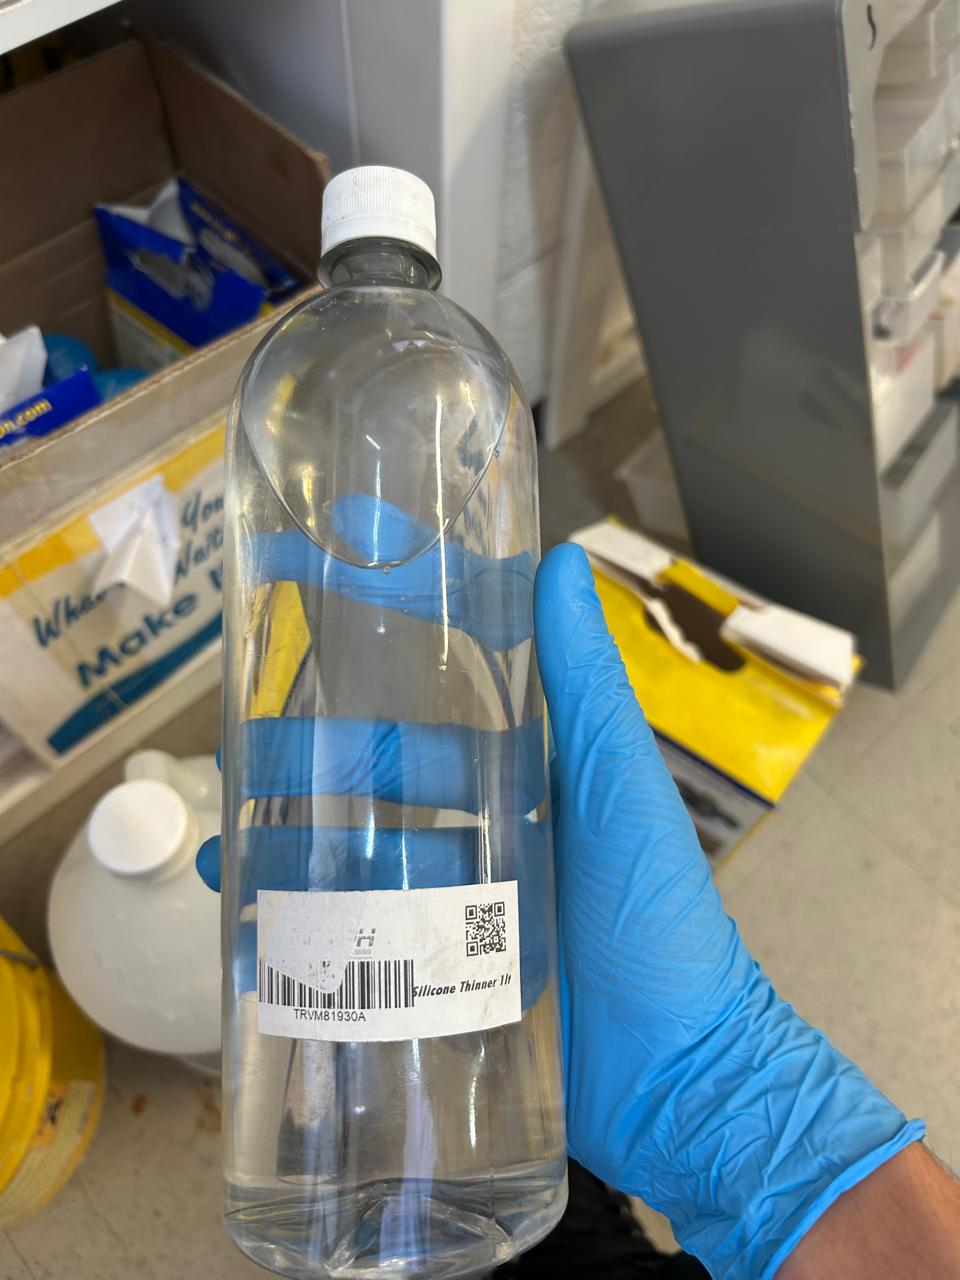
As the mold had a lot of details and I might forget to put a second tube for the air to scape, I needed the silicon to be as liquid as possible, that's why I had to use the silicon diluent. This thing is supposed to make the silicon more liquid without affecting the chemical reaction.
-
Extra material:
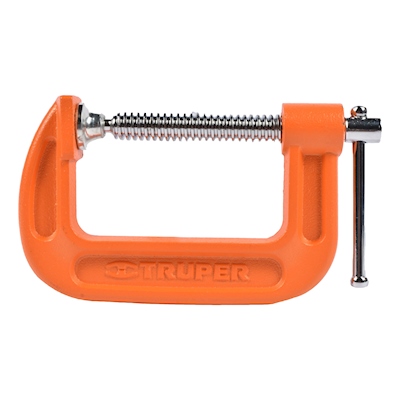
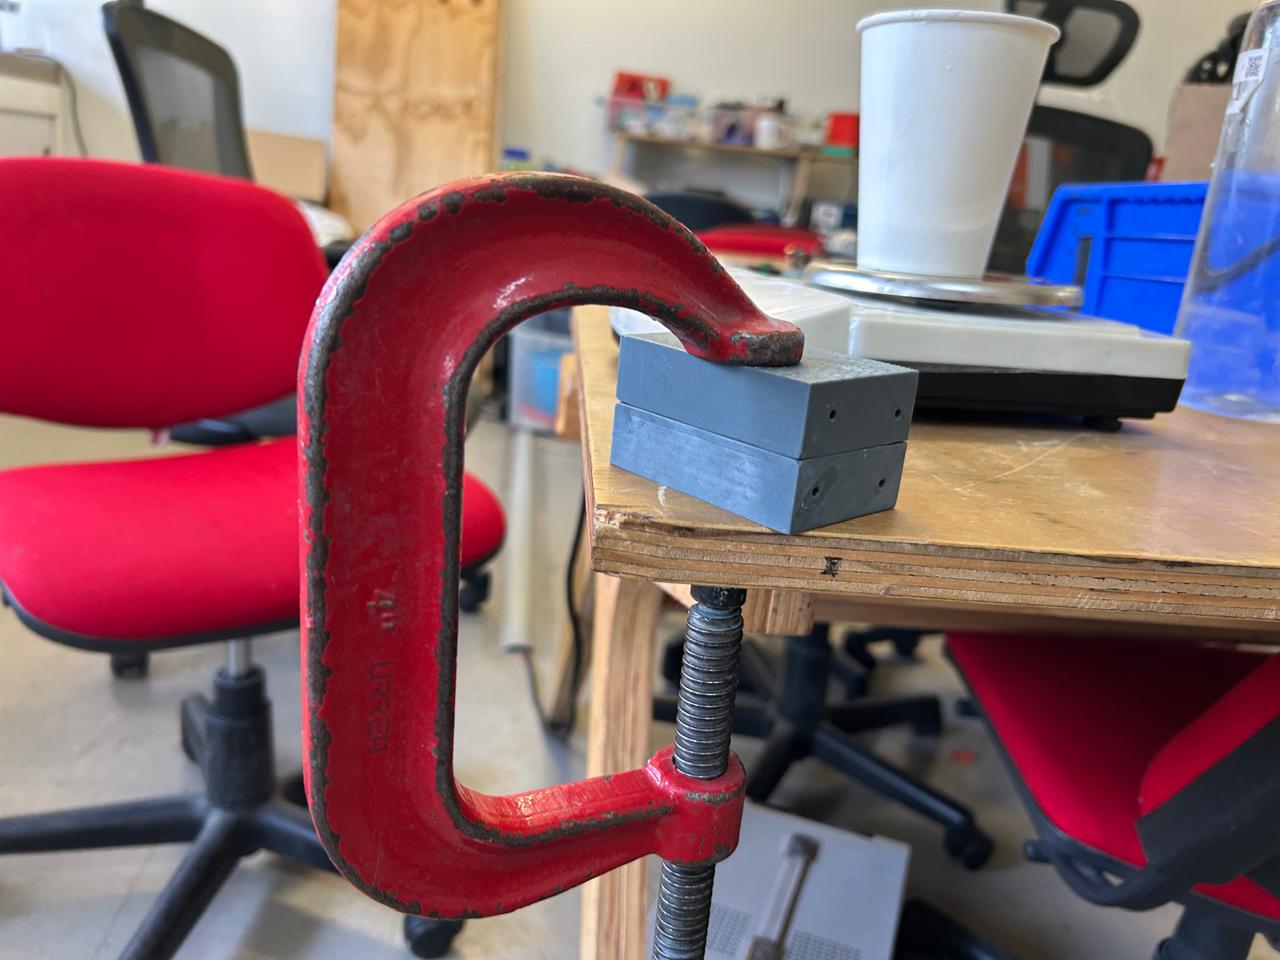
I used a nodular press to compress the mold so the silicon doesn't scape and the union line disappears as much as possible.
Now that we have the materials and how much do we need, theatrically we have to divide the total weight needed on the proportional portions of part A and B. In my case I needed 13.2 g in total (A+B) But I don't want to break my head calculating, so I will Just take so I will take the 13.2 g as the needed component A and add 1.3 g Even though is more than I need because my teacher told me to contemplate a little more. And I still need to add the diluent.
So, and put a lot of attention to this steps:
- First add the A component to the cup, make sure to be as precise as possible with the weights to keep the proportions. In the worst case you can make a new proportion if you mess it up.
-
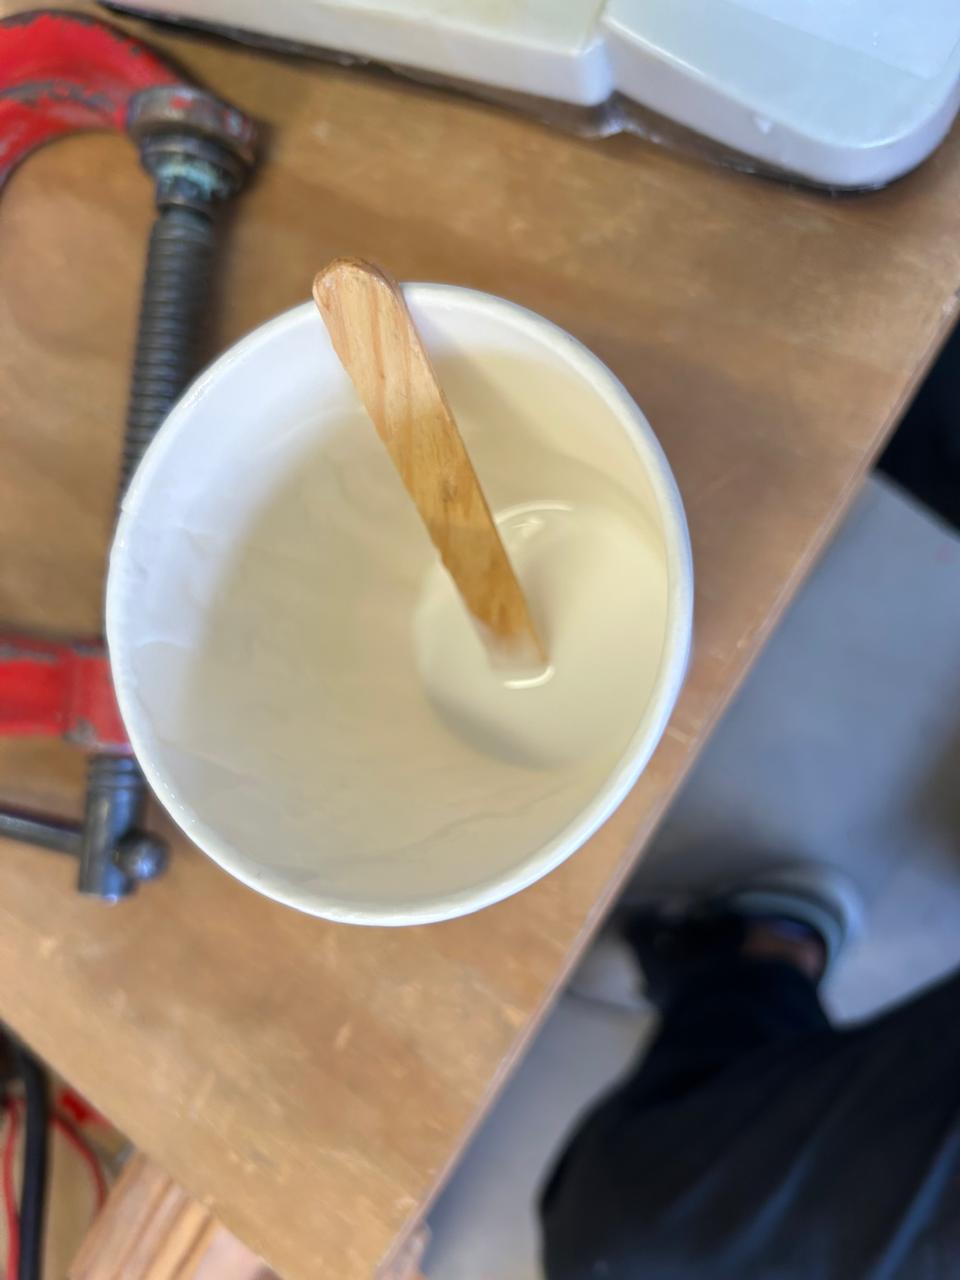
Then add the silicon diluent, this won't affect the proportions so you can add as much as needed to make liquid the silicon. When mixing, use the wood stick and make sure to mix without letting air enter to the mixture.
It will get in any way, you can give some tap lightly the cup to help the air bubbles come out.
-
Once is completely mixed and with the less amount of bubbles you can add the proportional weight of the B component.
NOTE, at the time you pour the B component the time will start running, you can still take your time to mix and get the bubbles out but keep it in mind.
-
Mix well until it is completely dissolved and then you can start filling the mold, Make sure to keep the mold as pressed against it's self as possible. Or, I figured out that you can fill the lower part of the mold to care about every detail,
then close the mold and fill the next part trough the hole.
What I did was shake the mold and tap it to fill every space (or that's what I thought I was doing).
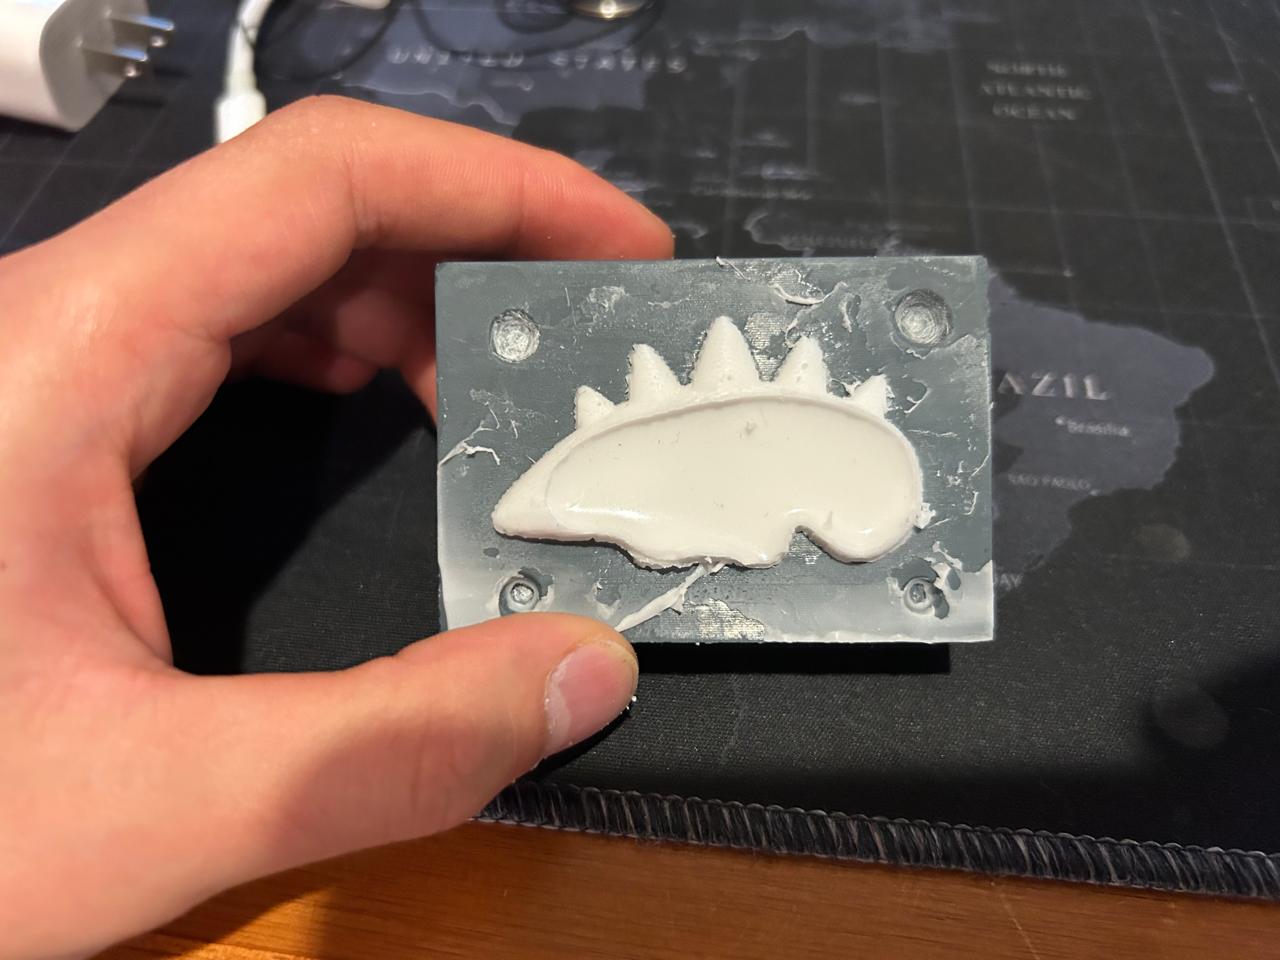
- Once filled leave it to "dry", for this kind f silicon is about 6 hours, then you can take the figure out of the mold and voilà
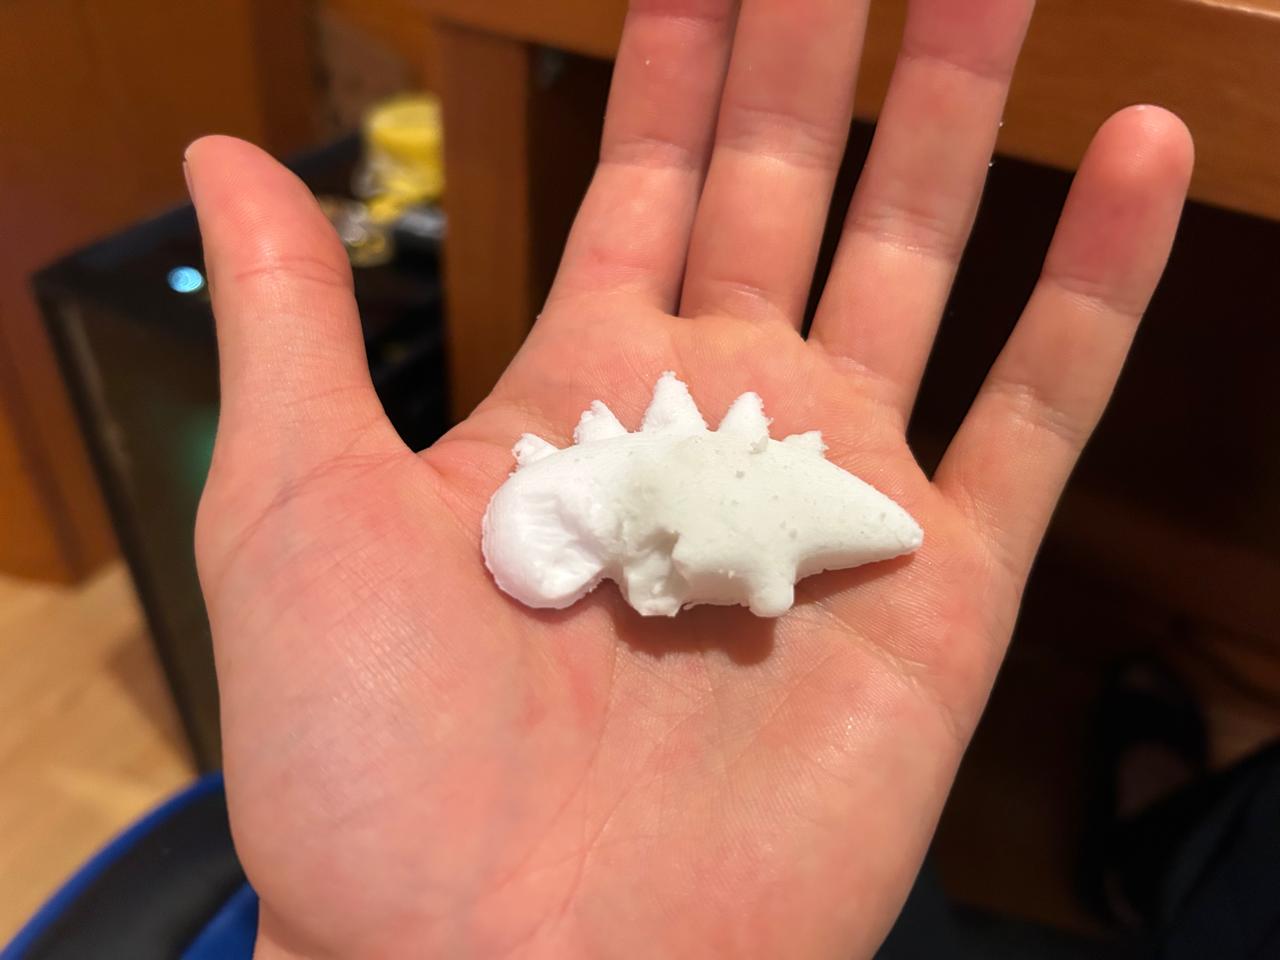
Final product
What went wrong (learning outcome)
2 Main things went wrong on this task, the first one: I didn't added an extra hole on the mold where air can scape through while filling the mold.
So this made the mold to only fill half way. Making the silicon as liquid as possible is not enough, we need a air scape.
The second one is the figure getting stuck oon the mold at the time of taking it out. I had to break a leg and a scute in order to the it out of the mold. The funny thing is that I saw a kind of a
WD-40 for that silicon, and I didn't think on using it. So, for the next time it might be a good idea to use it, so it becomes easier to take out.
The files
The PWMB file is too heavy so I can not upload it to git hub