- Week 1 : Project Management
- Week 2 : Computer-aided
- Week 3 : Computer Controlled Cutting
- Week 4 : Embedded Programming
- Week 5 :3D Scanning and Printing
- Week 6 : Electronic Design
- Week 7 : Computer Controlled Machining
- Week 8 : Electronics Production
- Week 9 : Input Devices
- Week 10 : Output Devices
- Week 11 : Networking and Communication
- Week 12 : Mechanical Design and Machine Design
- Week 14 : Molding and Casting
- Week 15 : Interface and Application Programming
- Week 16 : System Integeration
- Week 17 : Wildcard Week
- Week 18 : Applications and Implications, Project Development
- Week 19 : Invention, Intellectual property and Income
- Week 20 : FInal Project Requirements
Week 2 – Computer-Aided Design
This week's assignment focused on understanding raster and vector graphics, creating 2D and 3D models, exploring parametric design workflows, and learning image and video compression techniques for documentation.
Assignment Tasks
- Understand Raster and Vector Graphics
- Create raster graphics using GIMP
- Create vector graphics using Inkscape
- Design a parametric 3D model
- Publish a model using Sketchfab
- Compress images using XnConvert
- Compress videos using HandBrake
- Document the complete workflow
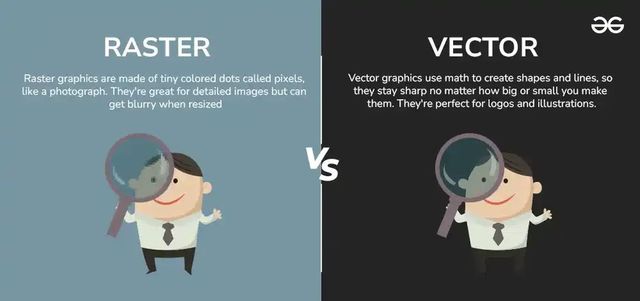
Raster Vs Vector
When it comes to digital images, two main types are commonly used: raster and vector graphics. Understanding the difference between these two can help you choose the right format for your project. Raster graphics, made up of tiny pixels, are ideal for detailed and colorful images like photographs. On the other hand, vector graphics use mathematical paths, making them perfect for designs that need to be scaled without losing quality, like logos and illustrations. Both have their own strengths and weaknesses, and knowing when to use each can make a big difference in your design work.
Pixel
In Computer graphics, a pixel, dot, or picture element is a physical point in a picture. A pixel is simply the smallest addressable element of a picture represented on a screen. A majority of pictures that we see on our computer screen are raster images. The selfie that you click with your mobile phone is another example of a raster image. An image is made up using a collection of pixels referred to as a bitmap.
Bitmap
In computer graphics, a bitmap is a mapping from some domain (for example, a range of integers) to bits, that is, values which are zero or one. It is also called a bit array or bitmap index. The more general term pixmap refers to a map of pixels, where each one may store more than two colors, thus using more than one bit per pixel.
Often bitmap is used for this as well. In some contexts, the term bitmap implies one bit per pixel, while pixmap is used for images with multiple bits per pixel.
2D Design Development
Part 1 – 2D Design
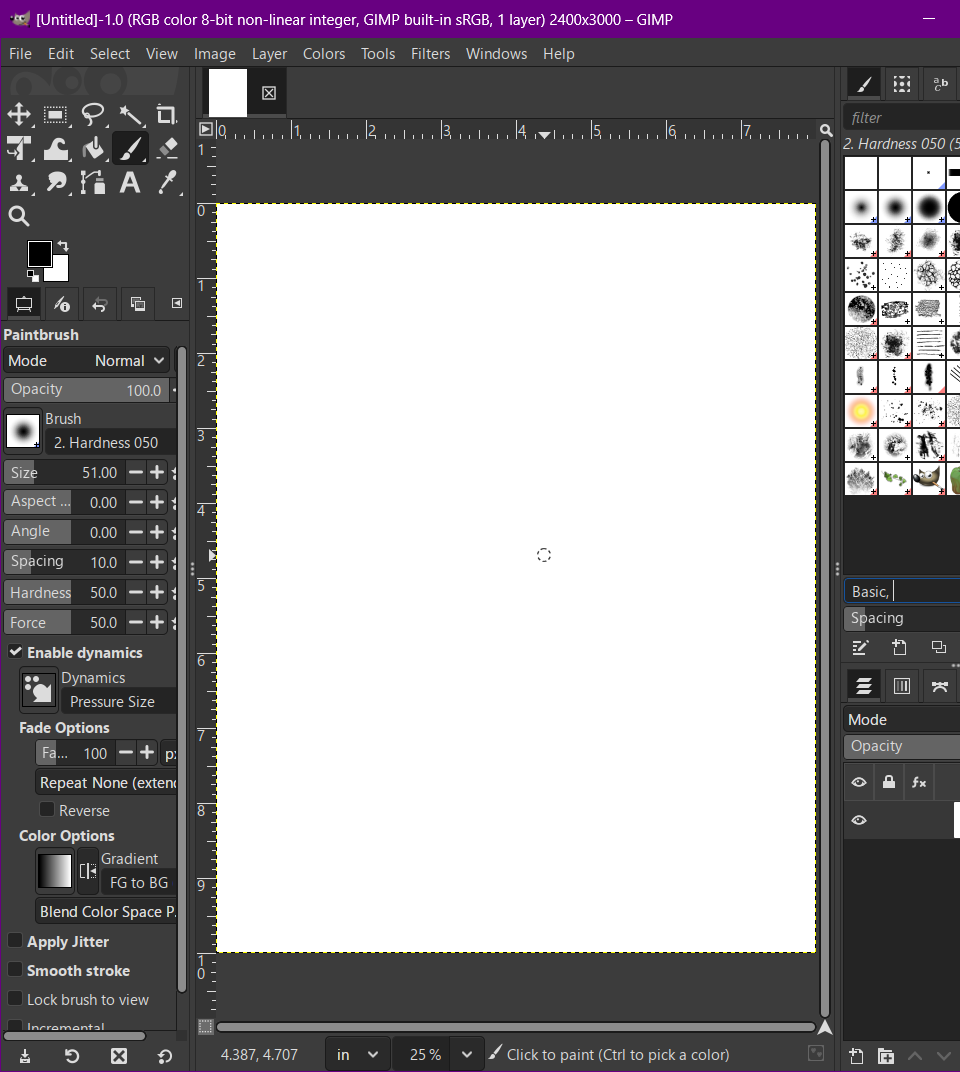
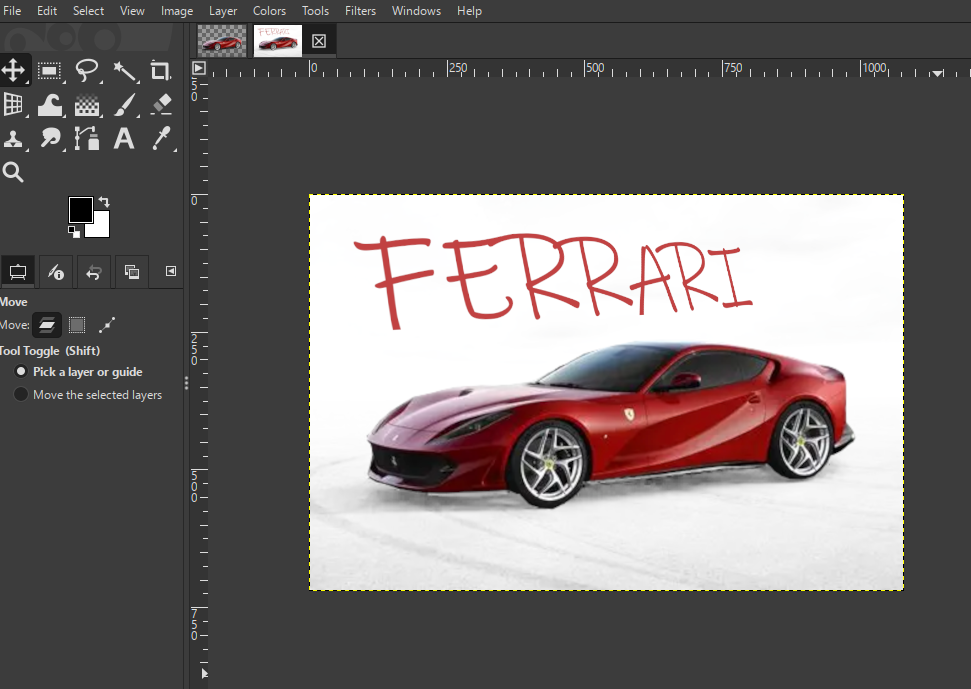
A. Raster Workflow Using GIMP
Goal:
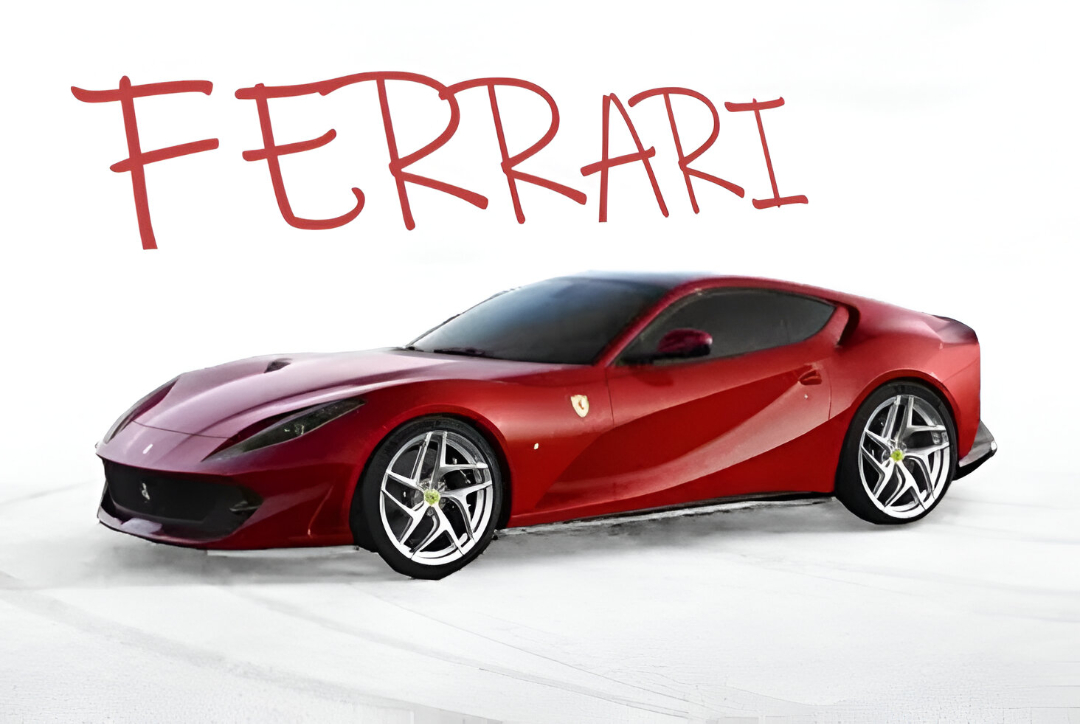
Remove background from a car image, add styled text, and prepare a 720×480 layout.
Tools Used:
- GIMP (GNU Image Manipulation Program)
Step-by-Step Procedure
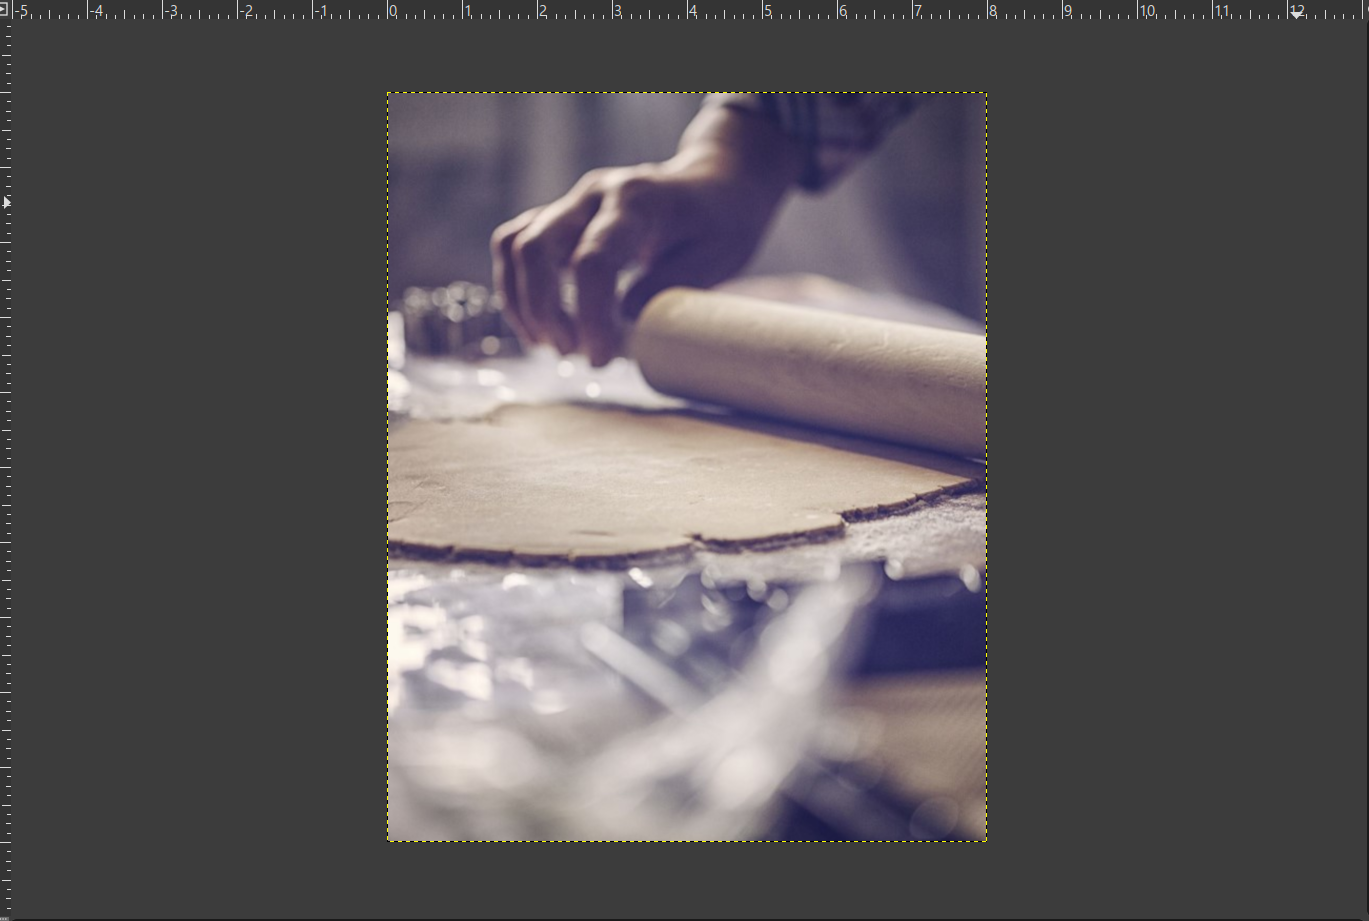
1. Import the Image
- Open GIMP
- File → Open → Select your car image
- Attach the image to the page using an
tag
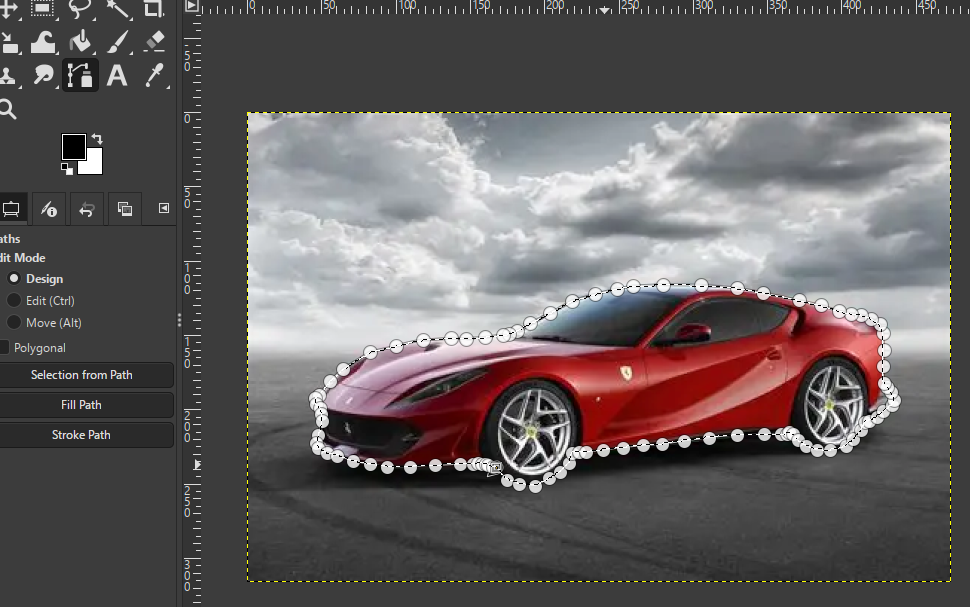
2. Trace the Car Using Bezier Curves
- First make a copy of the existing image into a layer
- Then, we need to desaturate the copied image
- Select → Color → Desaturate
- Then Press ok
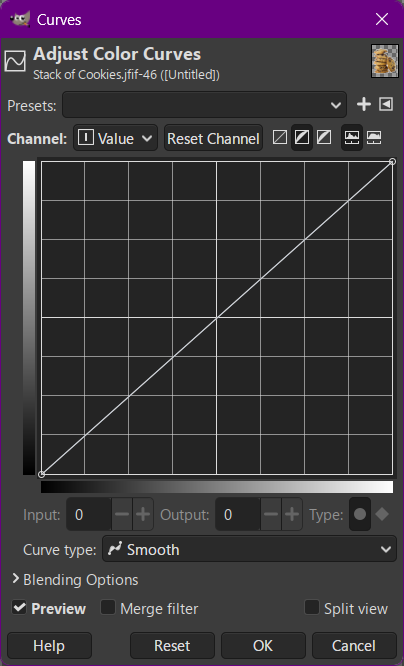
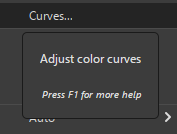
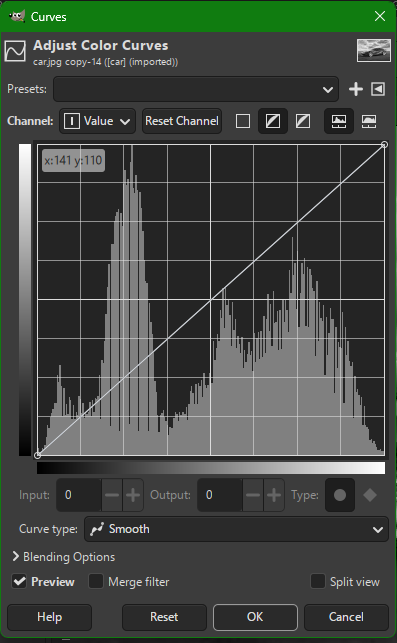
- Then Select the Curves Tool and adjust as much as the required to make image black
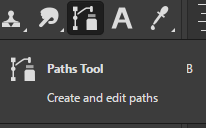
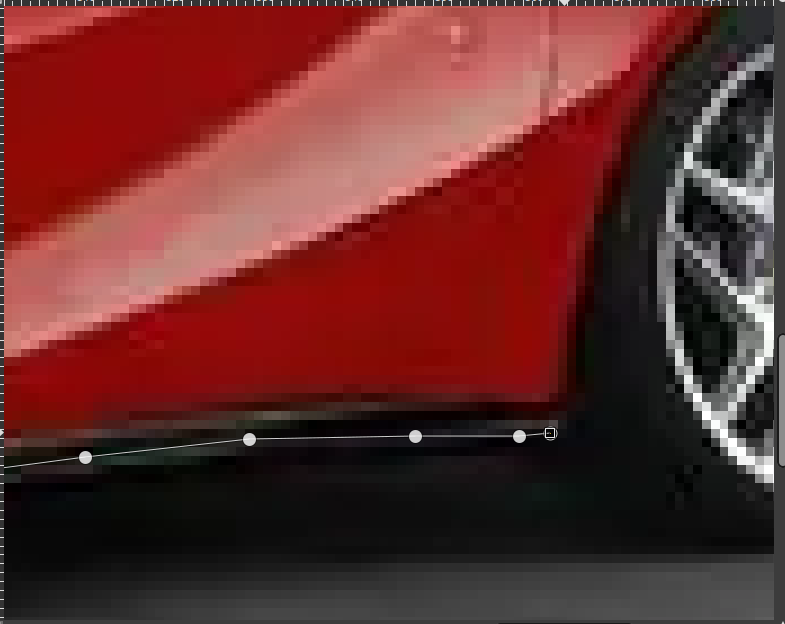
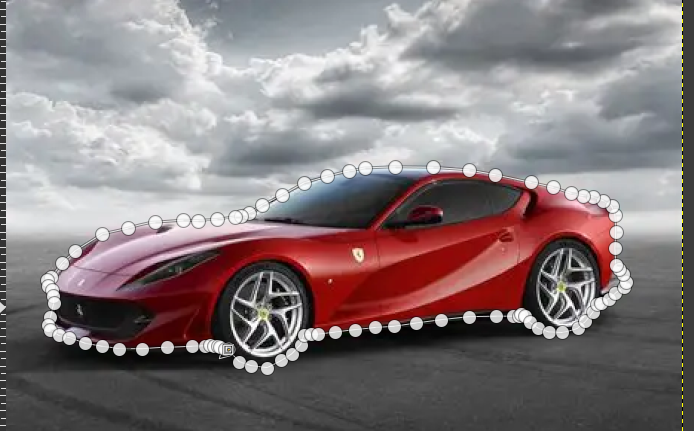
- Select the Paths Tool (Bezier)
- Click around the car to create a smooth outline
- Close the path → Paths dialog → Path to Selection

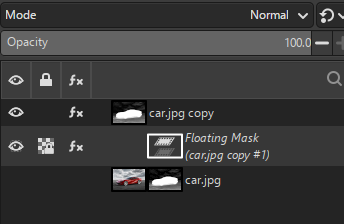
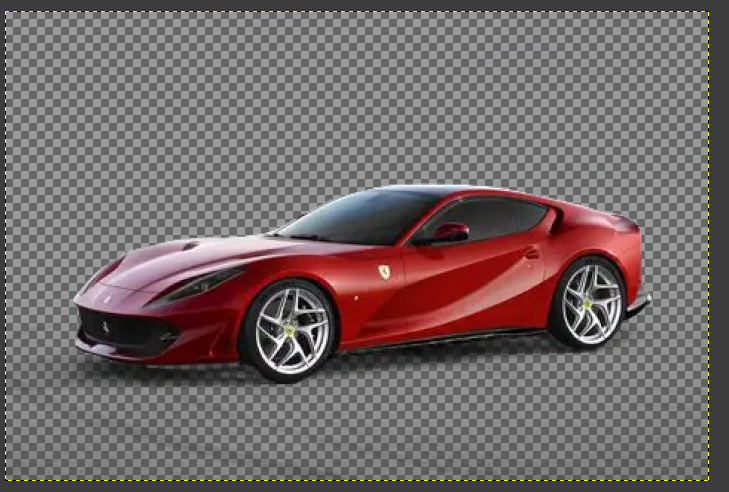
3. Remove the Background
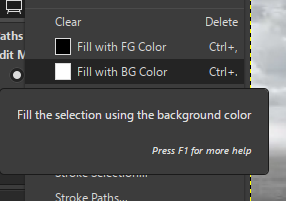
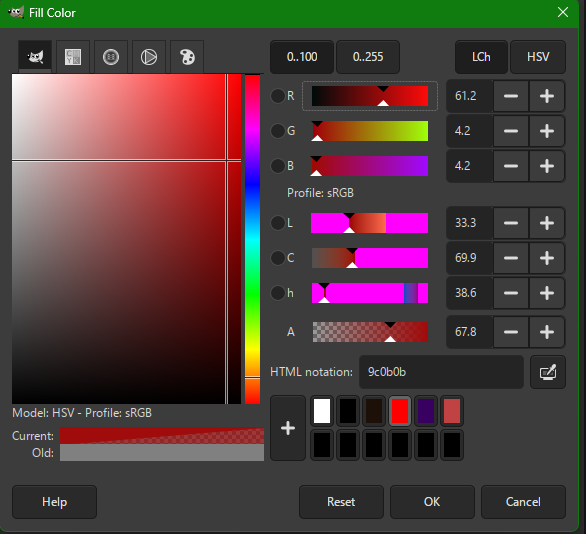
- Select the Selection Tool
- Fill the Car with Fill with BG color option (initially it will be white)
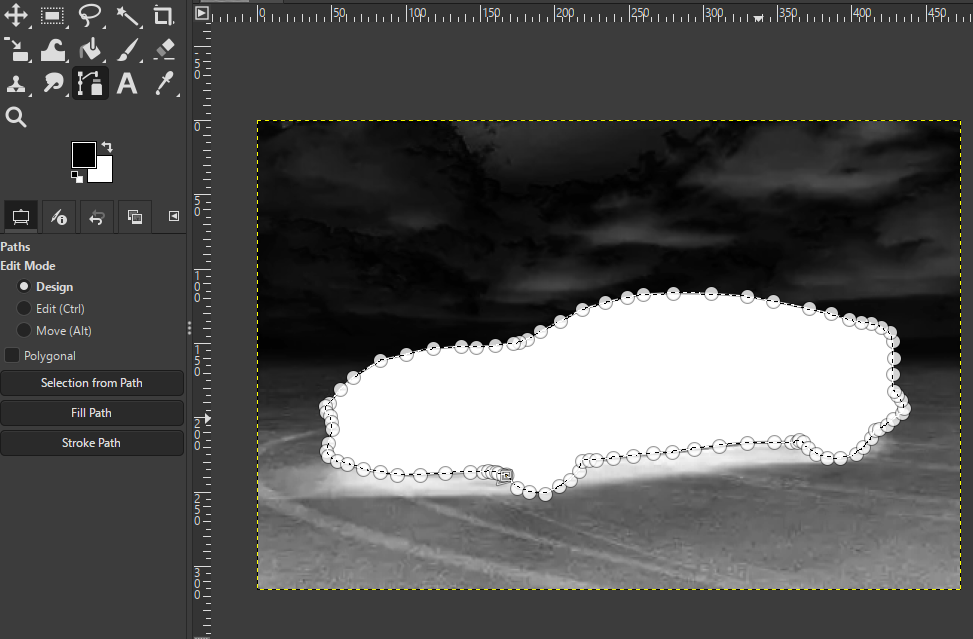
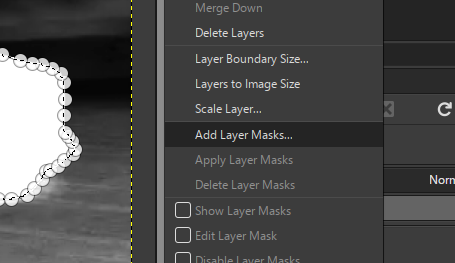
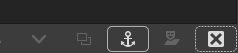
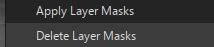
- And we can make a Add mask layer option and then create a floating mask and then anchor it in a the new layer mask created
- Select → Invert
- Press Delete to remove background
- Clean up remaining edges as required

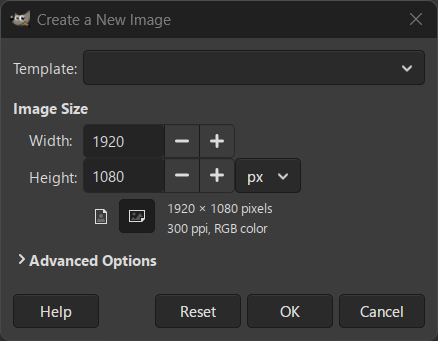
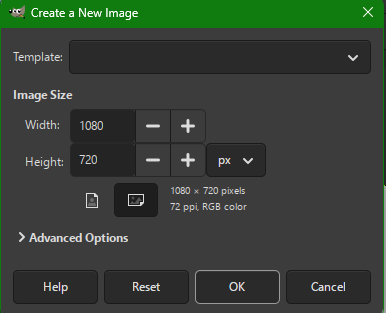
5. Prepare Final Layout
- File → New → 720 × 480 px
- Drag edited car into new document
- Position properly

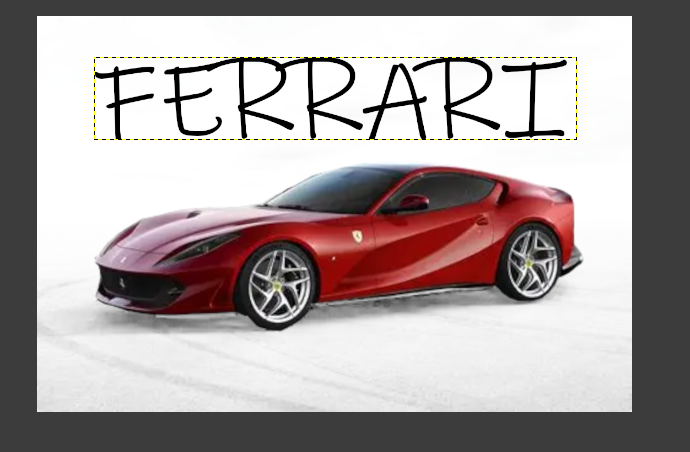
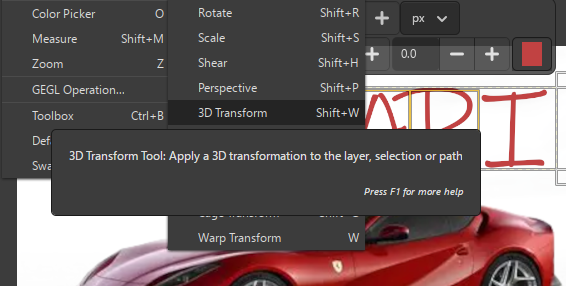
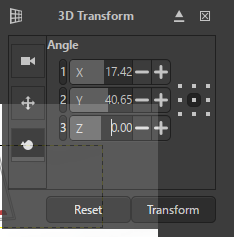
4. Add Ferrari Text
- Use the Text Tool to type "Ferrari"
- Apply transform effects for a 3D-style appearance
- Adjust size, alignment, and color
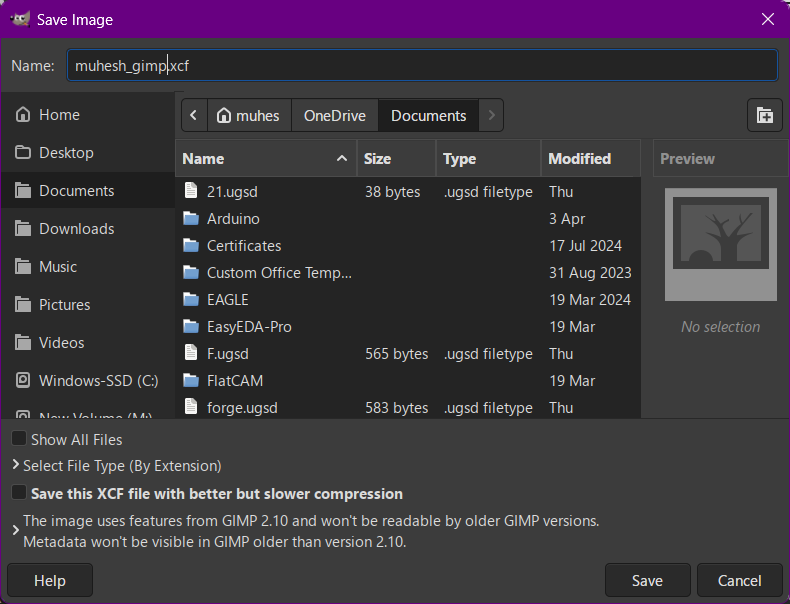
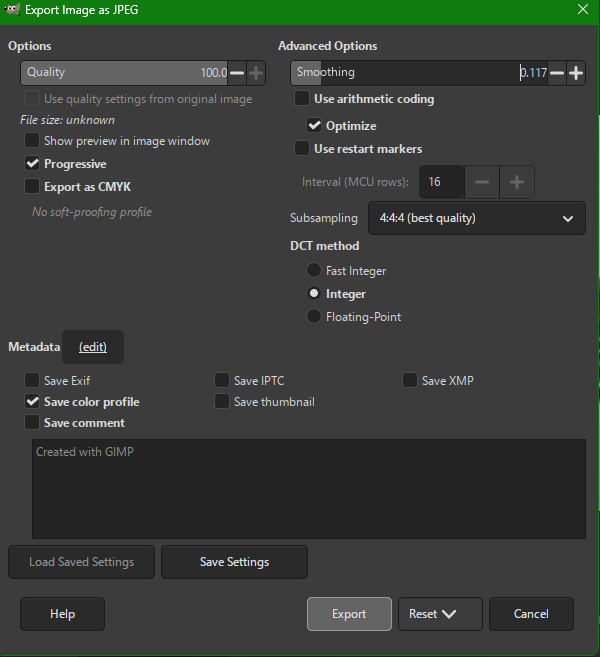
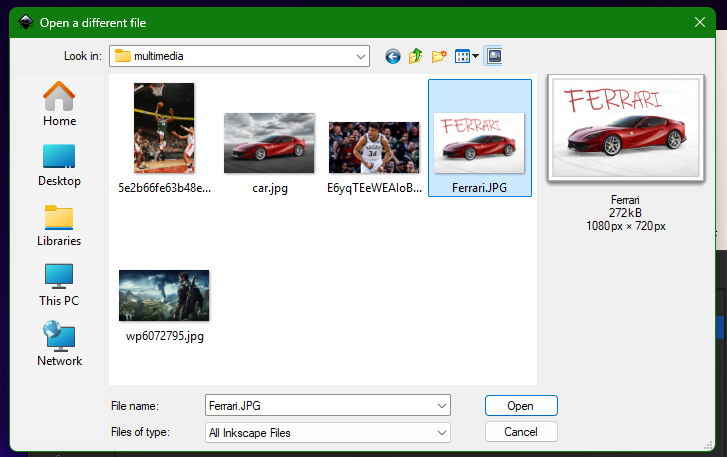
6. Export Final Output
- File → Export As → JPEG (.jpg)
Final Raster Output (Hero Shot)
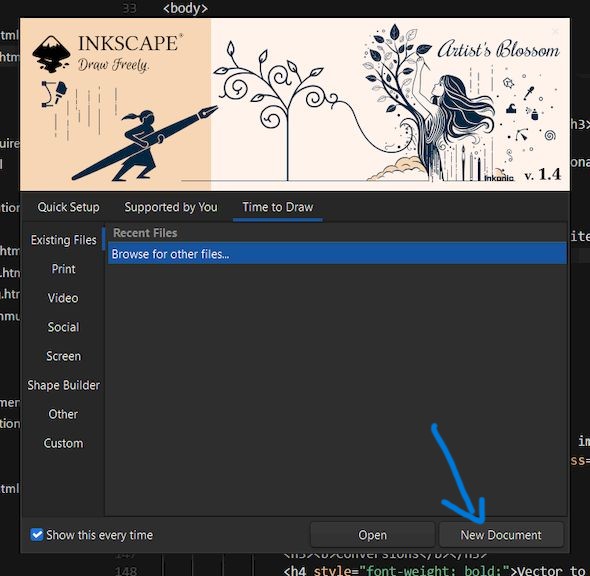
Vector Workflow Using Inkscape
Software Used: Inkscape
Inkscape is a free and professional-grade vector graphics tool compatible with all major operating systems. It supports SVG and other industry-standard formats.
Using an Common image from the Website to show the difference between raster and vector graphics

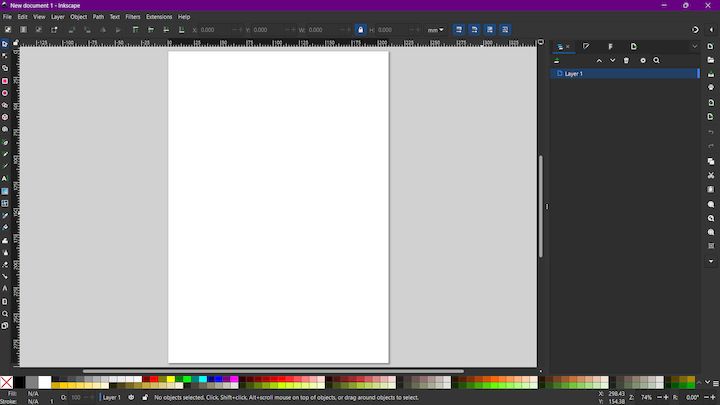
After opening the new document, I took time to explore the Inkscape interface, which includes toolbars, menus, and the workspace. I got acquainted with the drawing tools, object manipulation options, and alignment features. By understanding the layout of the workspace, I was able to navigate and use Inkscape more effectively for vector design.

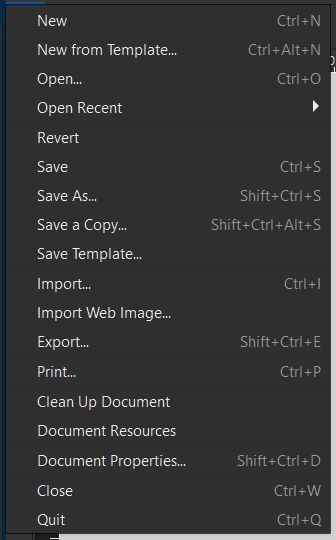
I accessed the Document Properties in Inkscape and adjusted the page size to A4 landscape orientation. This change provided a wider workspace, making it easier to arrange and work on my vector design elements.
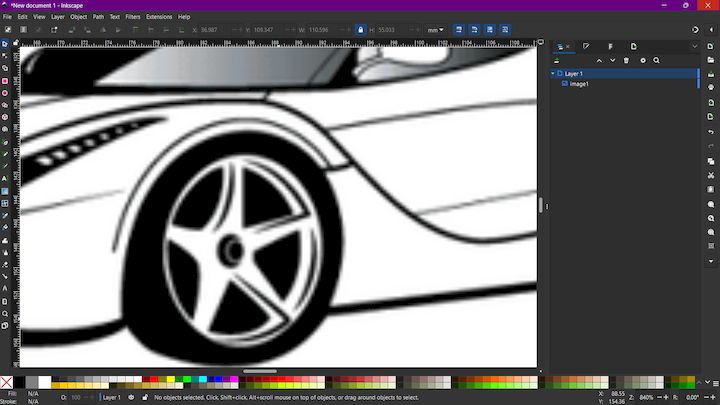
The reference image was imported into Inkscape to begin the vectorization workflow.
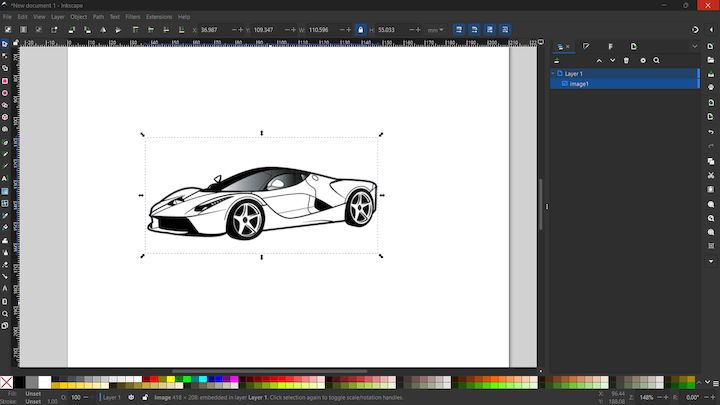
This is an sample of a Raster image
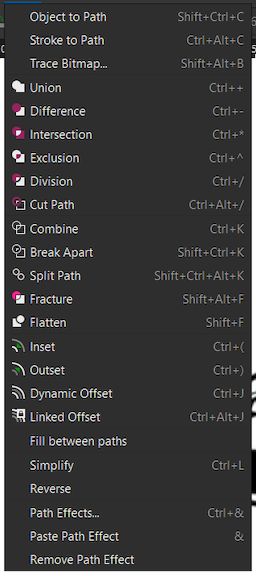
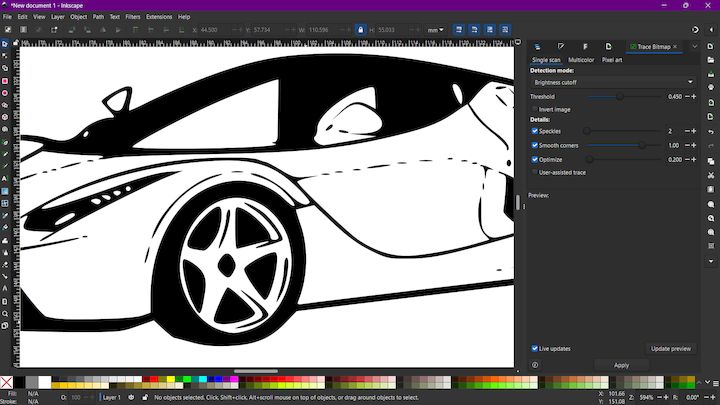
Next we are gonna use the Trace Bitmap toolbar from the Path menu
The default Trace Bitmap settings were applied to generate a clean vector representation of the image.
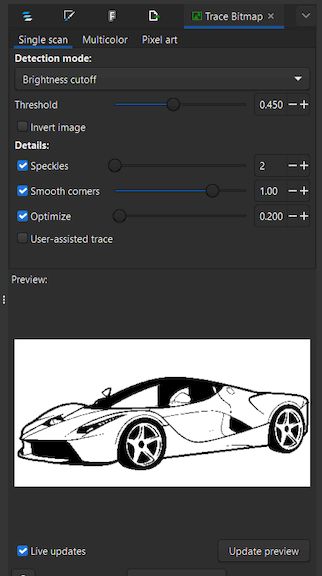
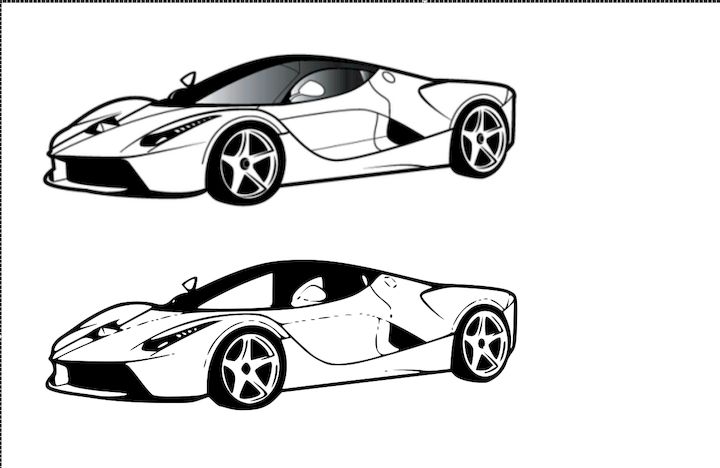
Now the same image is converted to a Vector image
Raster vs Vector
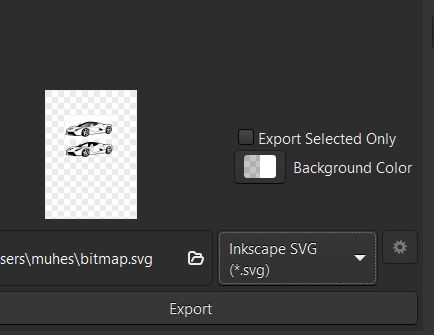
Finally, the vectorized image was exported in SVG format and included in the documentation.
Conversions
Vector to Raster
Printers and display devices are raster devices. As a result, we need to convert vector images to raster format before they can be used i.e displayed or printed. The required resolution plays a vital role in determining the size of the raster file generated. Here it is important to note that the size of the vector image to be converted always remains the same. It is convenient to convert a vector file to a range of bitmap/raster file formats but going down the opposite paths is harder. ( because at times we need to edit the image while converting from raster to vector)
Raster to Vector
Image tracing in computing can be referred to as vectorization and it’s simply the conversion of raster images to vector images. An interesting application of vectorization is to update images and recover work. Vectorization can be used to retrieve information that we have lost. Paint in Microsoft Windows produces a bitmap output file. It is easy to notice jagged lines in Paint. In this kind of conversion, the image size reduces drastically. As a result, an exact conversion is not possible in this scenario. Due to various approximations and editing that are done in the process of conversion the converted images are not of good quality.
3D Design – Fidget Spinner
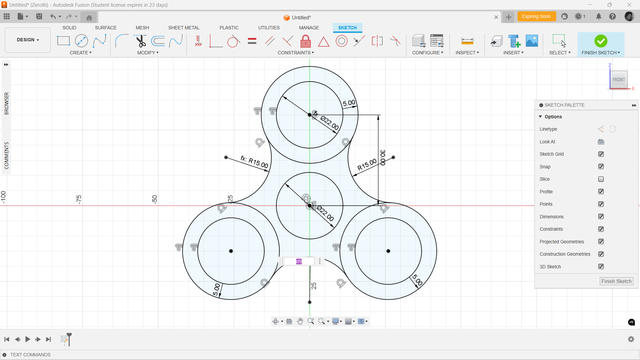
Parametric Modelling
This fidget spinner was designed using parametric modeling, where dimensions like diameter (22mm) and offset (5mm) were defined as adjustable parameters. This approach ensures precision, easy modifications, and scalability, allowing dynamic design updates without manual rework.
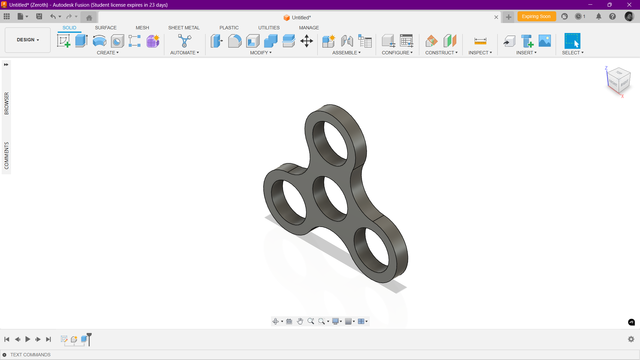
First version
Designed the outershell of the fidget spinner using the parametric modeling method.
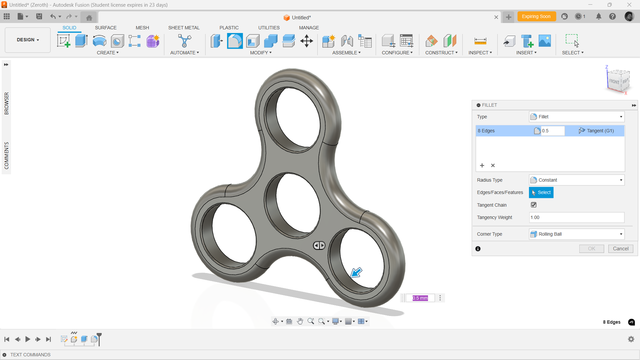
Full Round Fillet
Designed the outershell of the fidget spinner using the parametric modeling method and applied full round fillet to the outer shell.
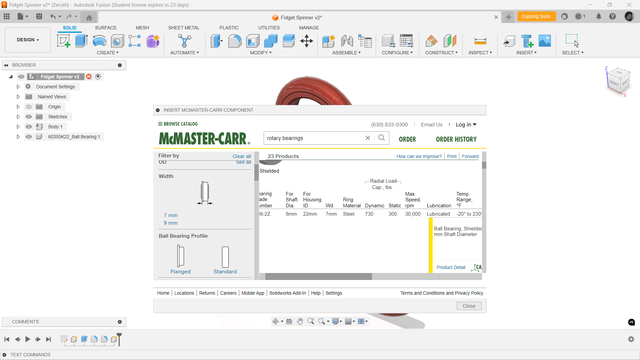
McMASTER-CARR
Imported the ballbearing 608 with McMASTER-CARR and assembled it with outershell
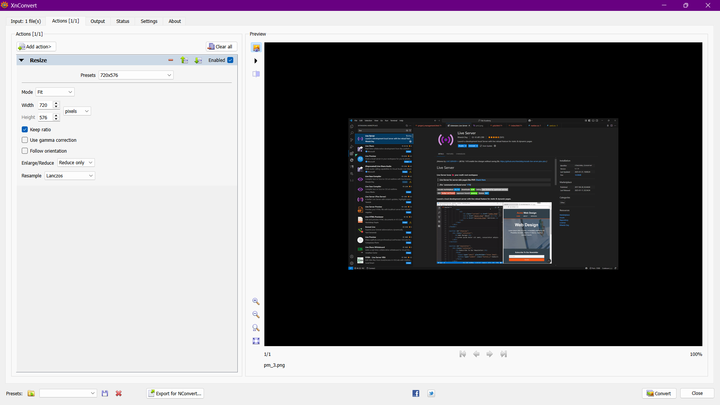
Image Compression
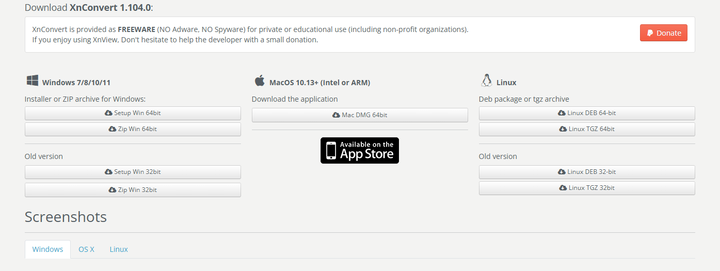
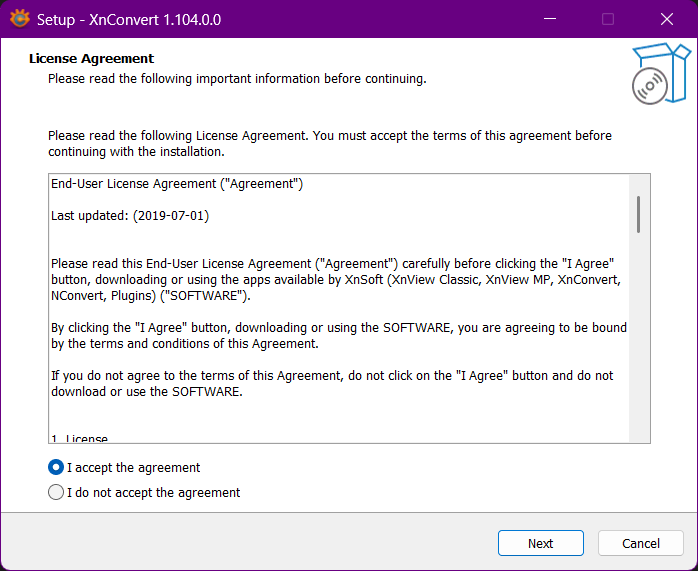
About Xnconvert Installation
Xnconvert is a free software for converting and resizing images. To install Xnconvert, go to the download page and download the appropriate version for your operating system. Follow the installation instructions to install Xnconvert on your computer.


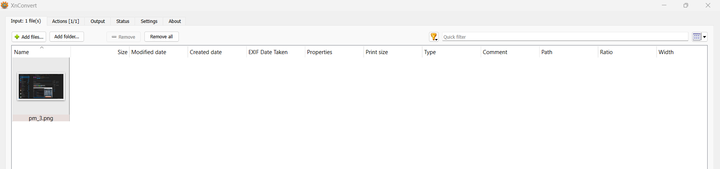
Importing and Resizing
Use Xnconvert to resize images
Import the images into Xnconvert and change the resolution to 800px in width
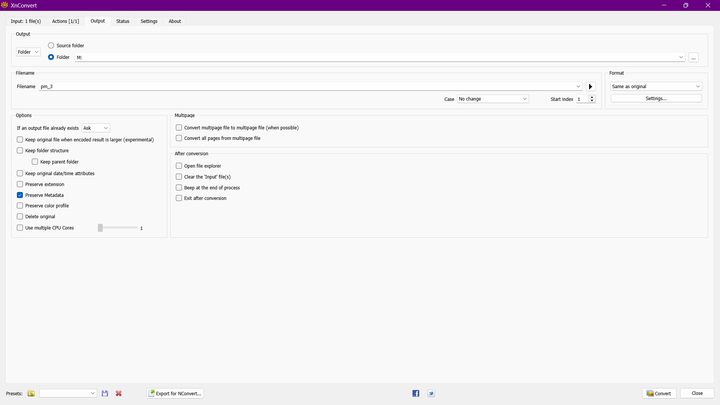
Exporting
Export the resized images to the folder with image containers
For adding images, use the image container provided
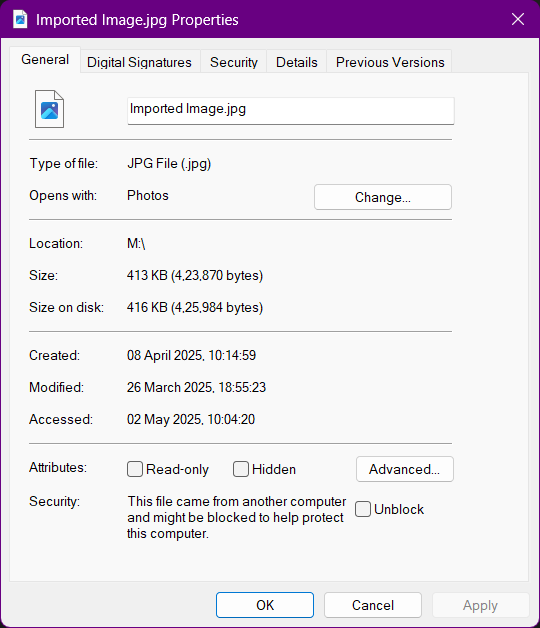
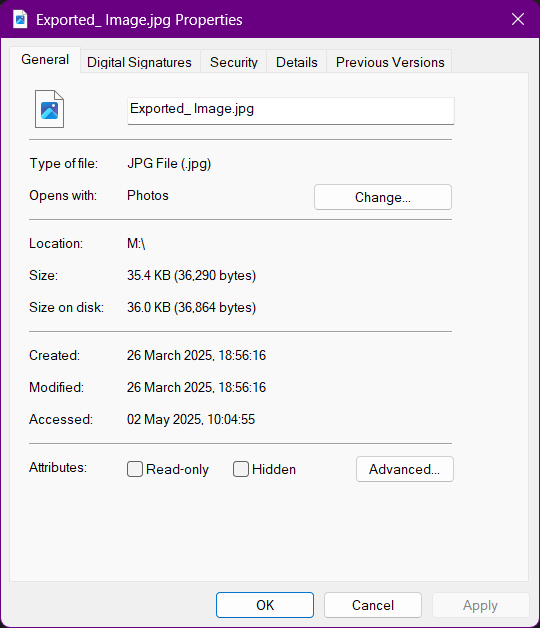
Final output
Before the Compression
After the Compression
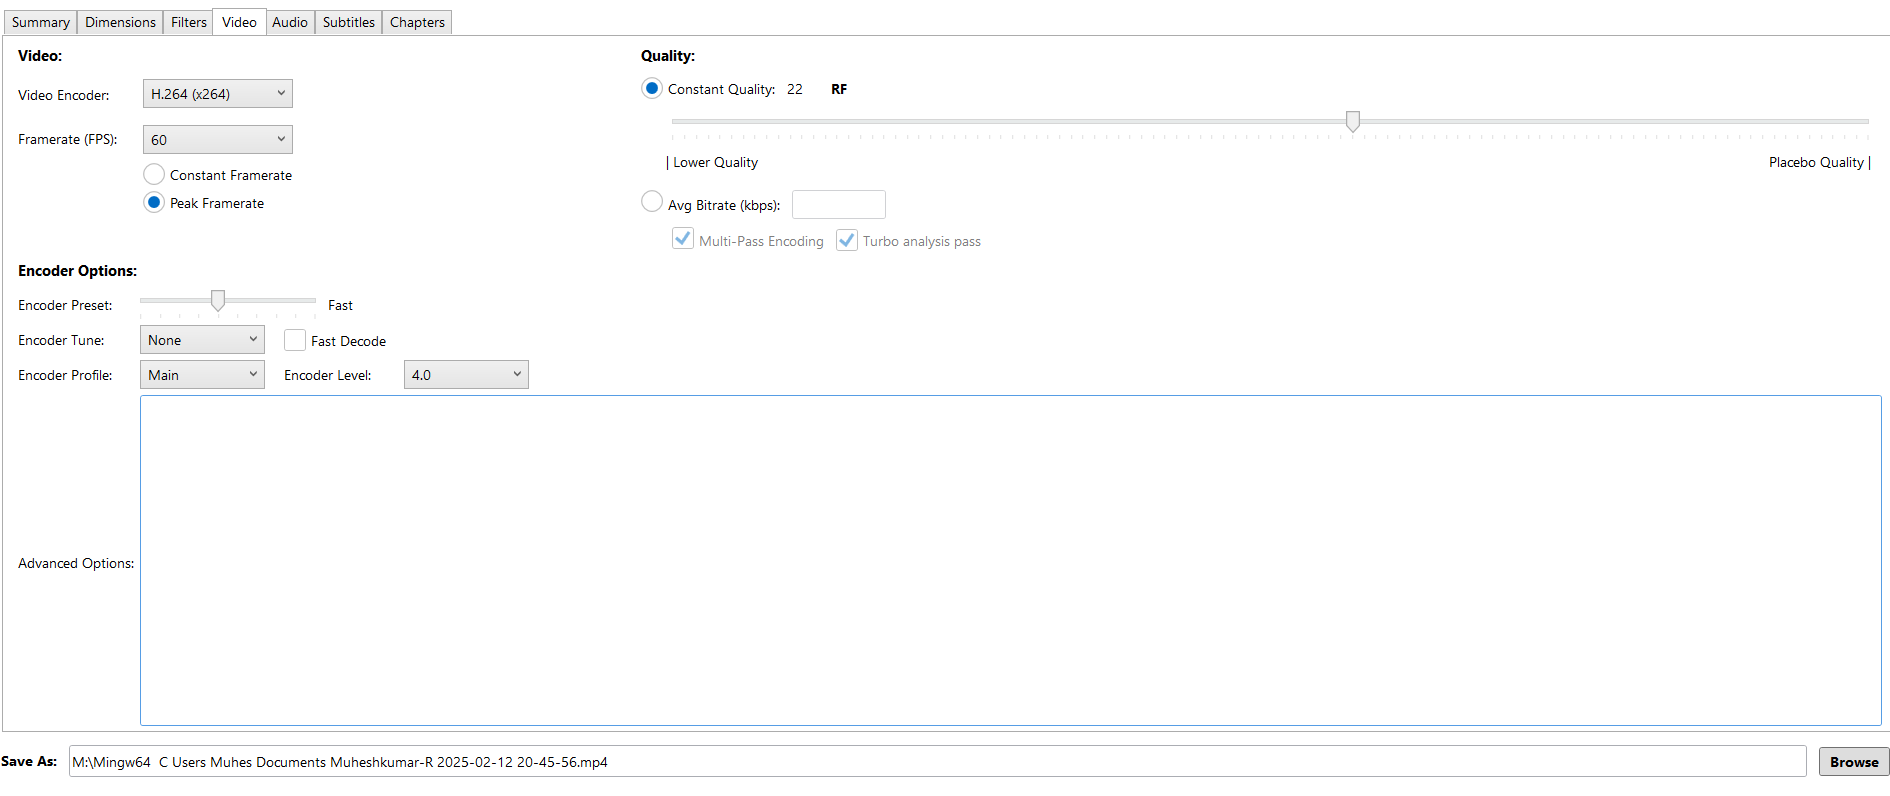
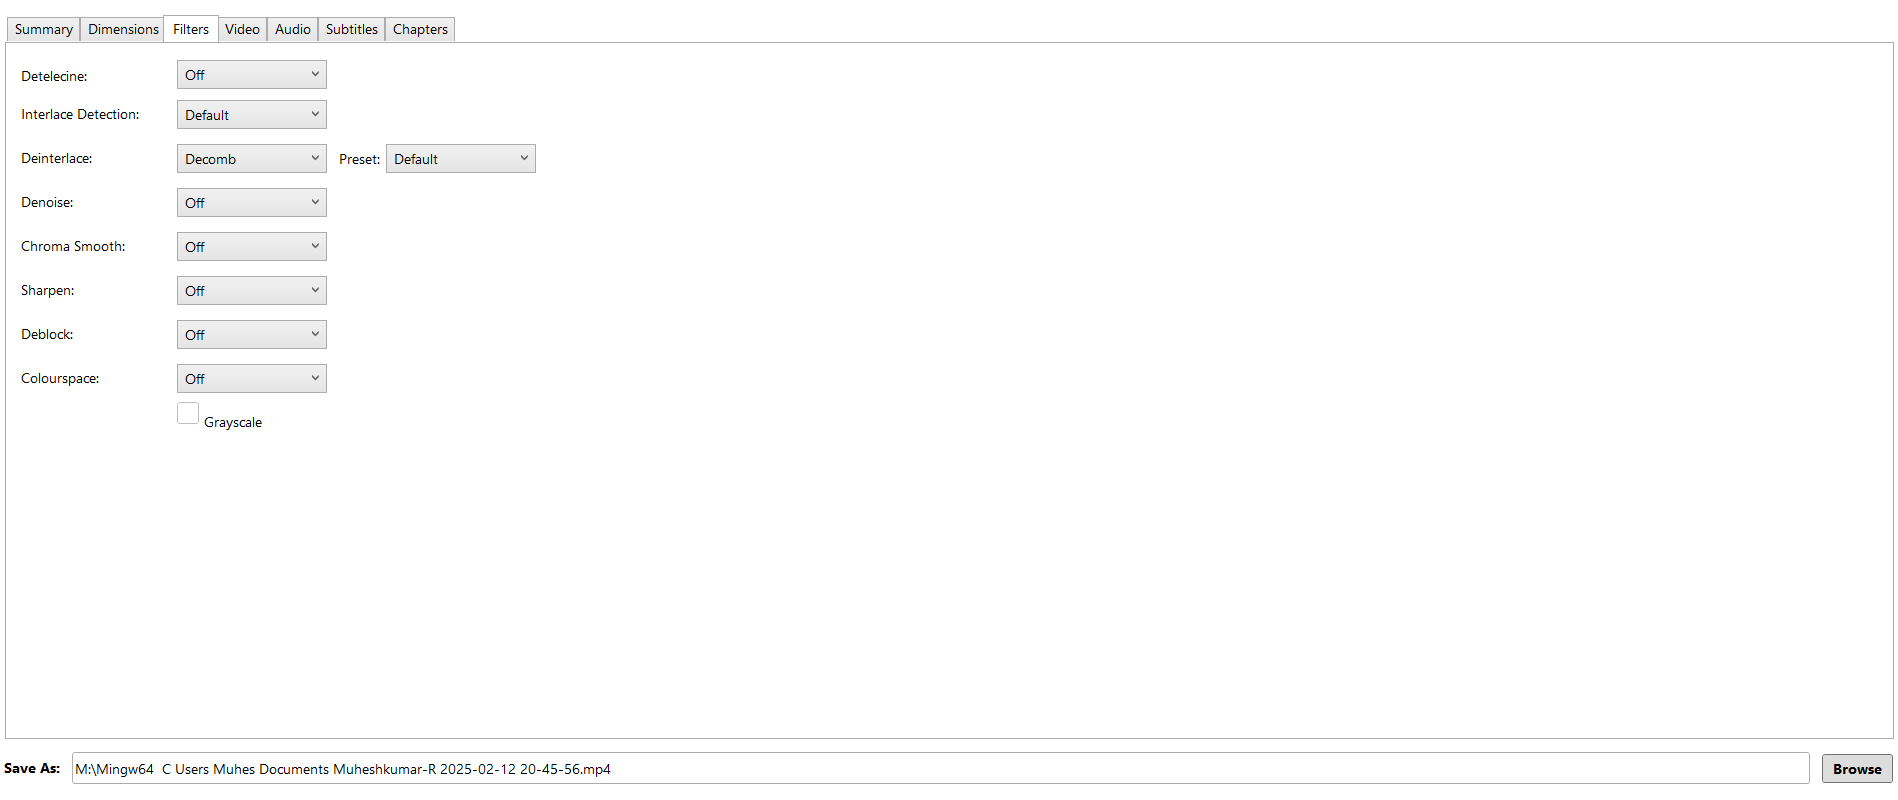
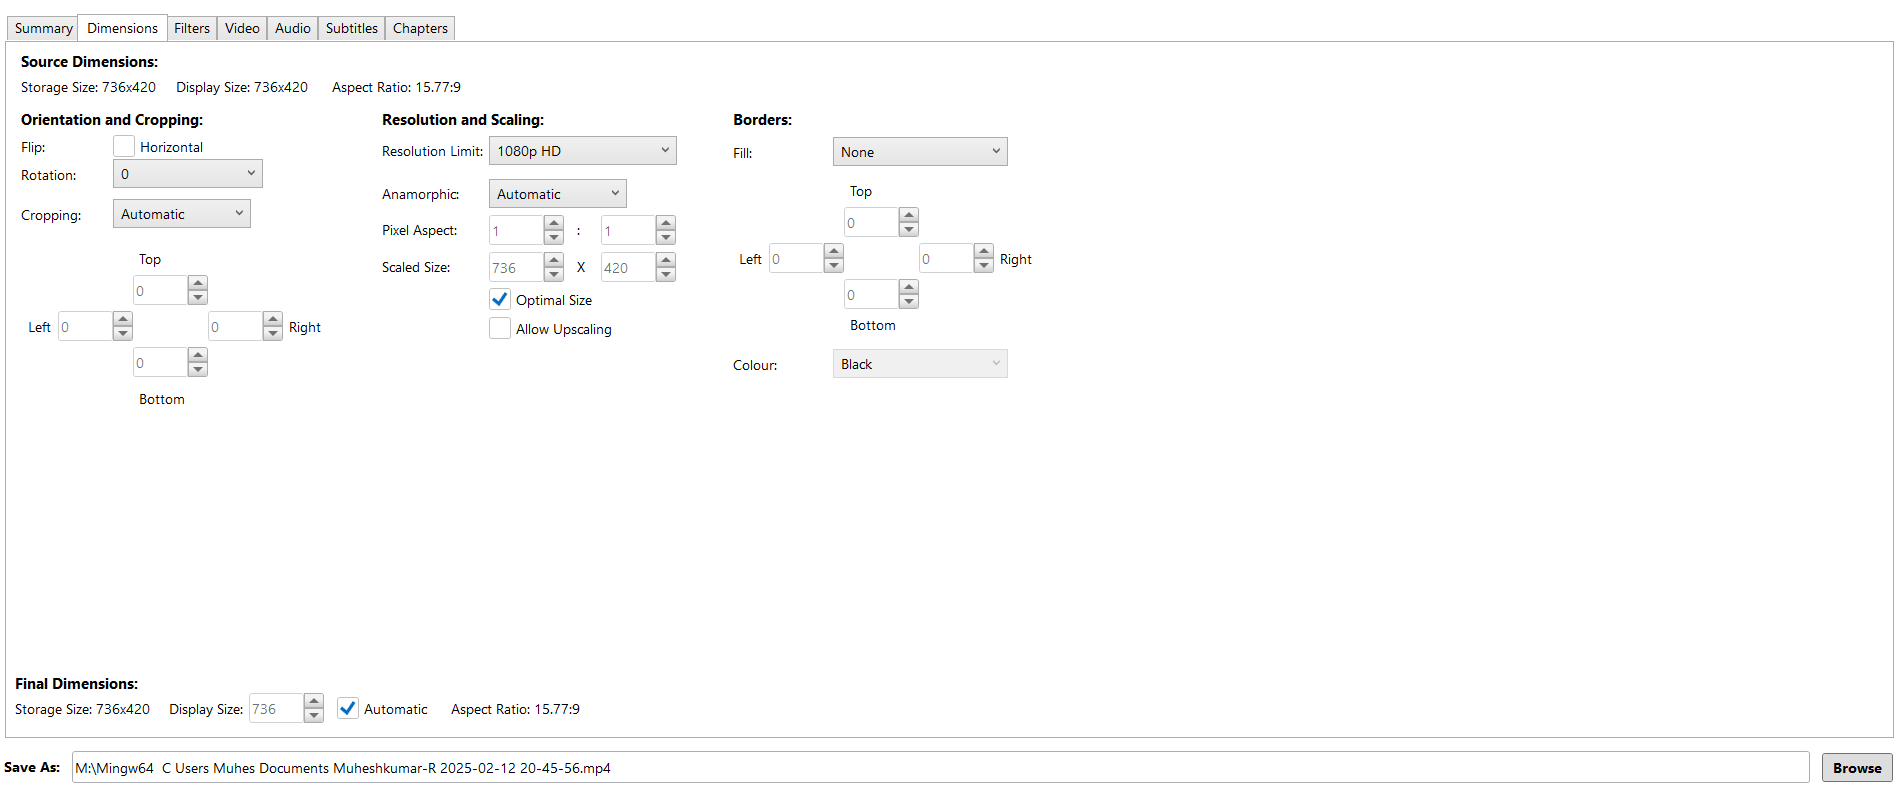
Video Compression
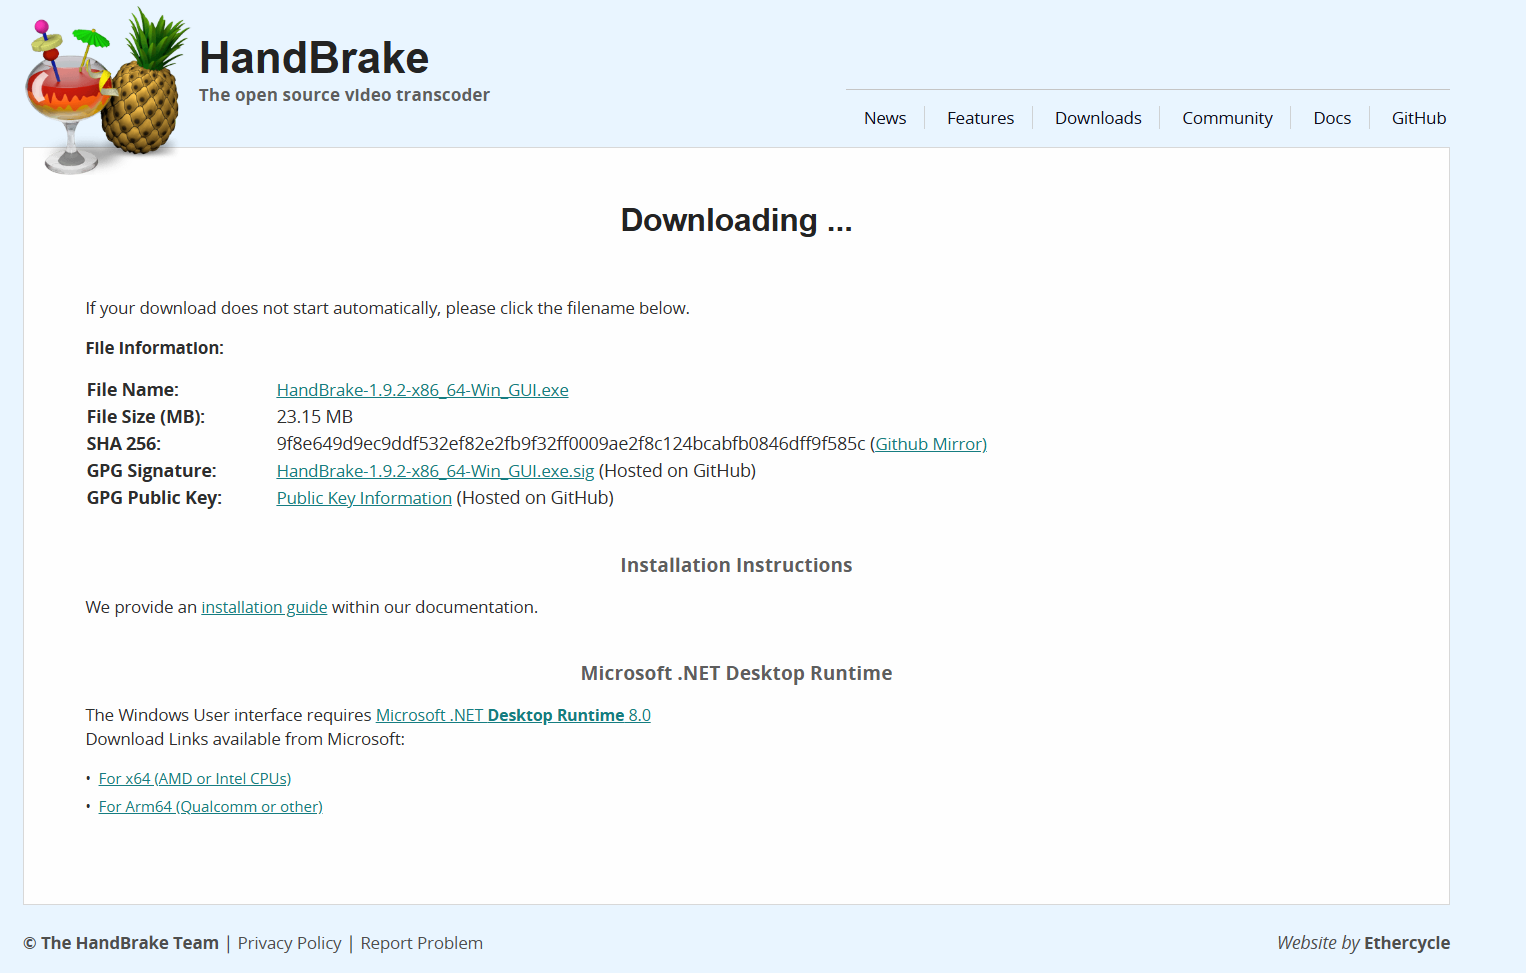
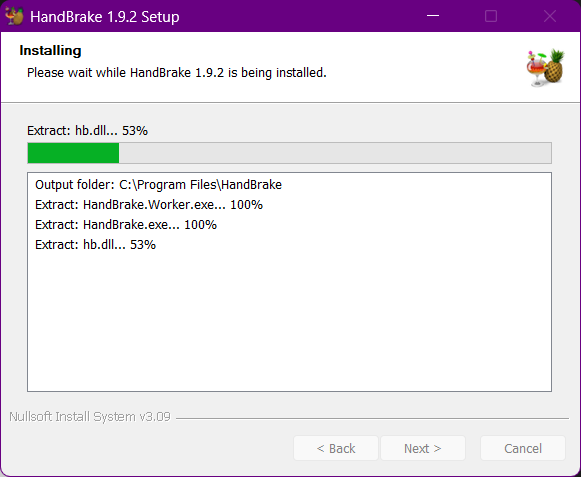
About HandBrake
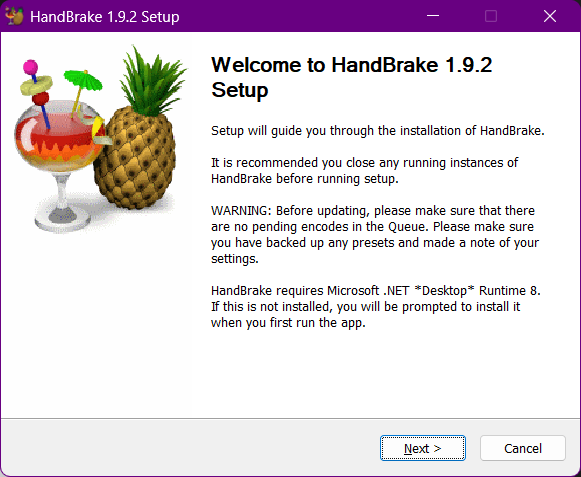
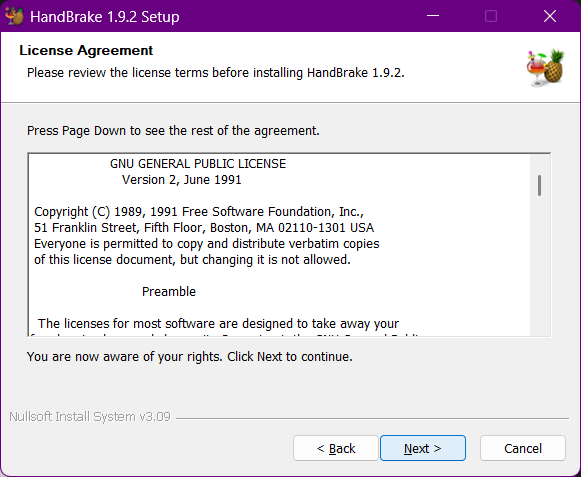
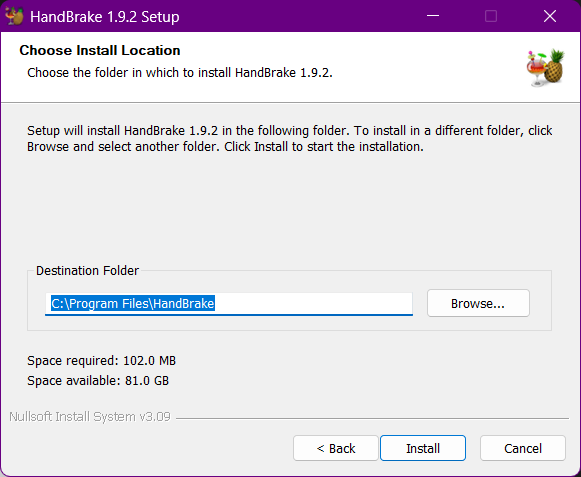
HandBrake is a free and open-source tool for converting and compressing video files. To install HandBrake, visit the download page and download the appropriate version for your operating system. Follow the installation instructions to install HandBrake on your computer.
Before Installing the HandBrake, Make sure you have the .NET framework installed
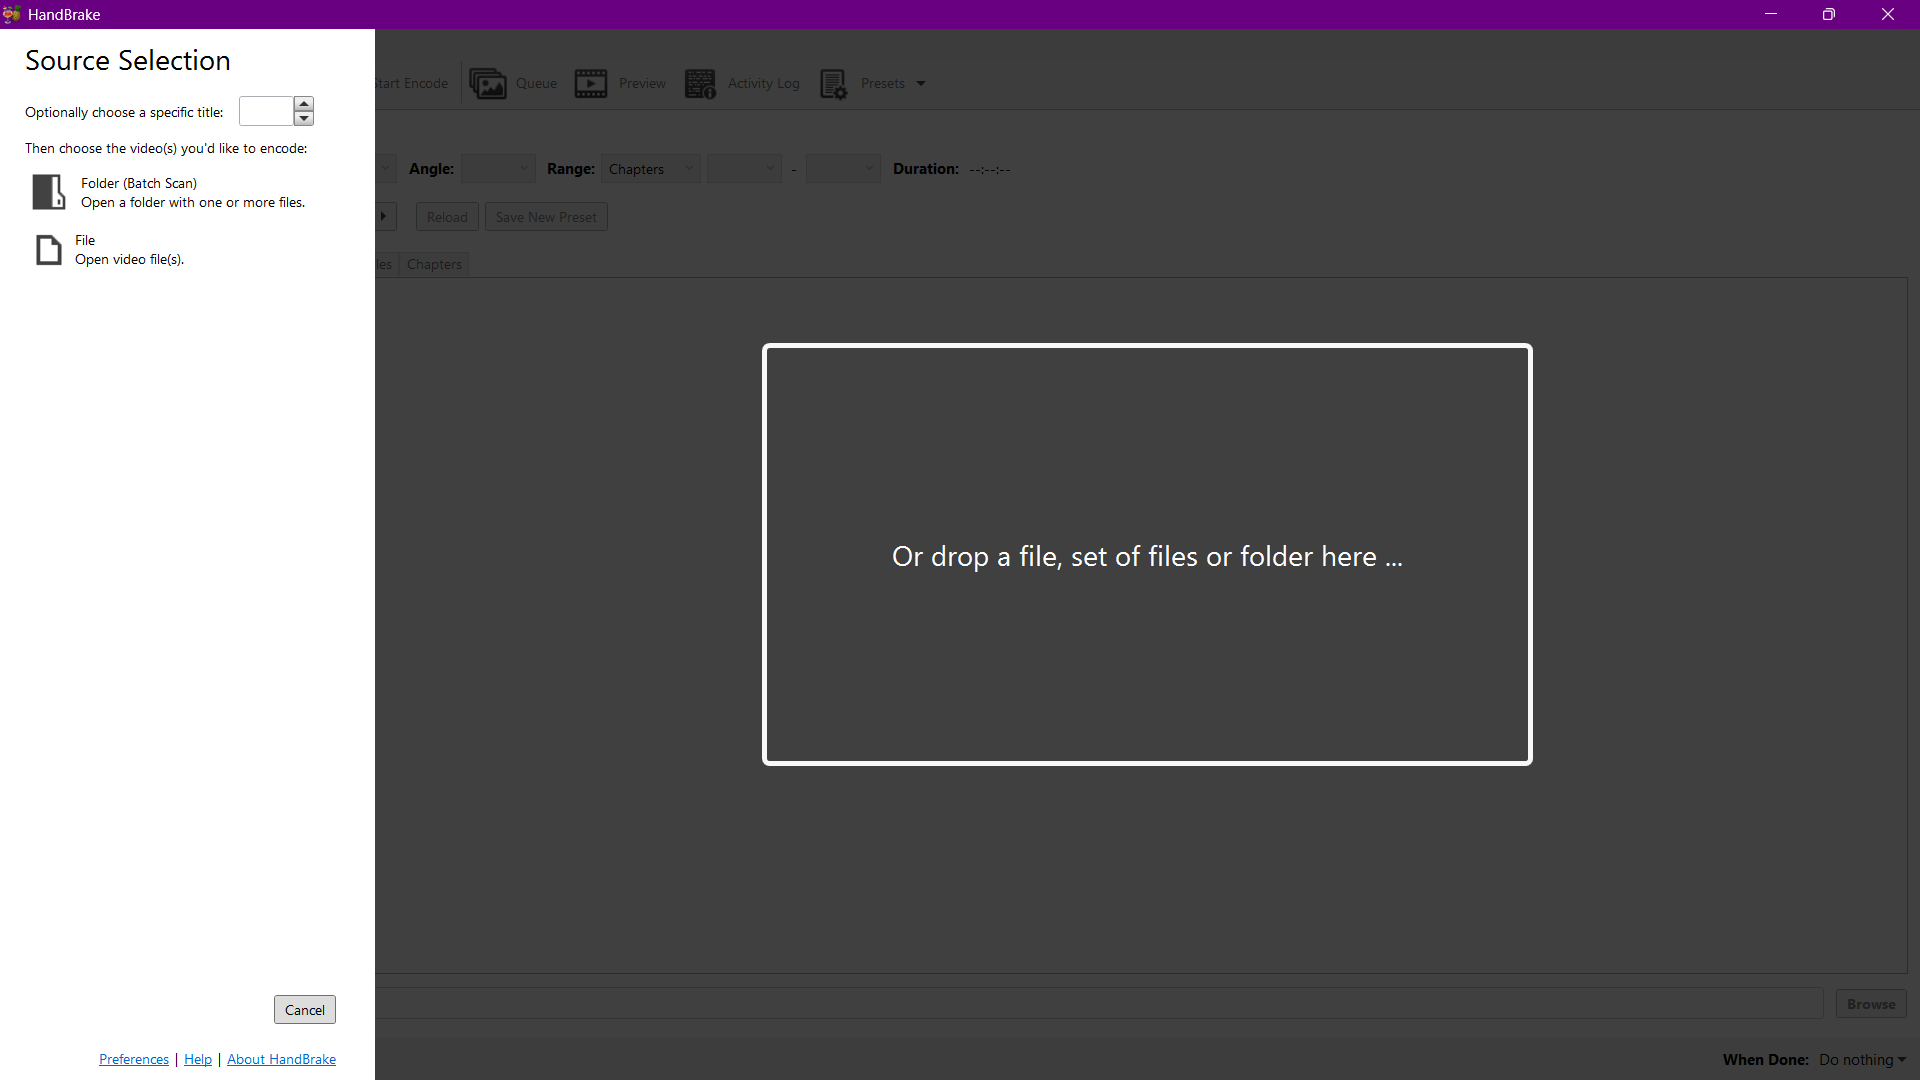
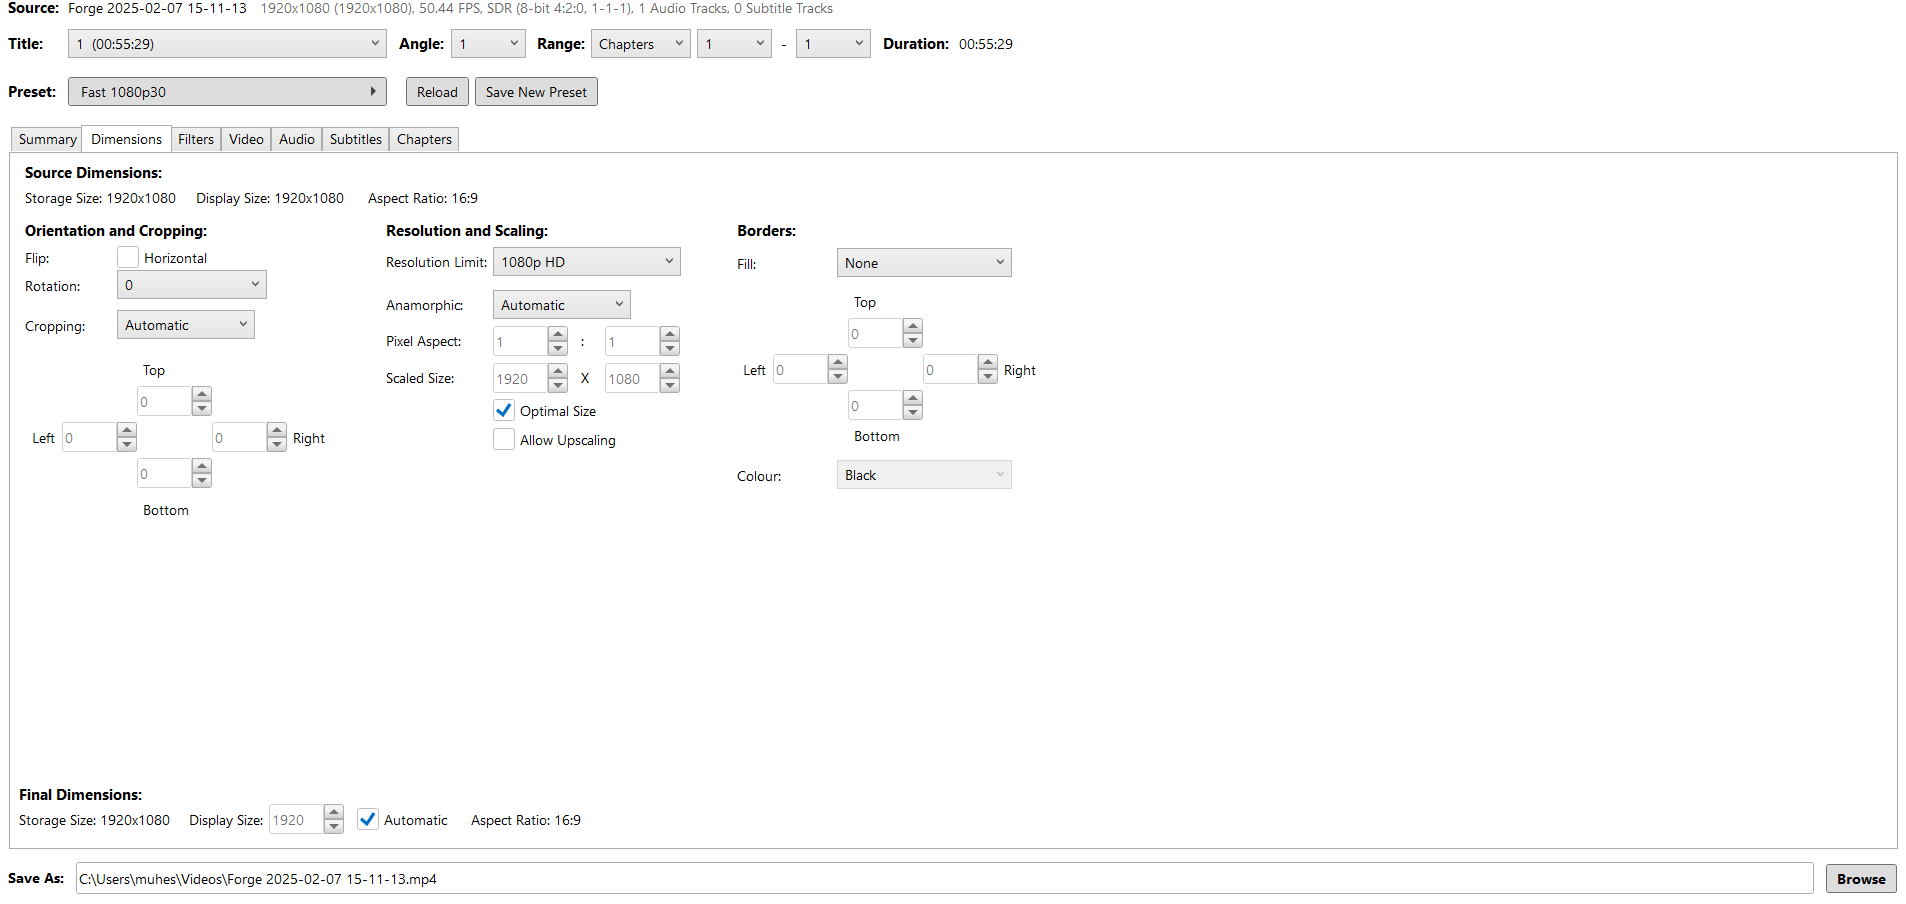
Importing and Encoding
Use HandBrake to encode the video
Import the Videos into HandBrake and change the settings to according to your need
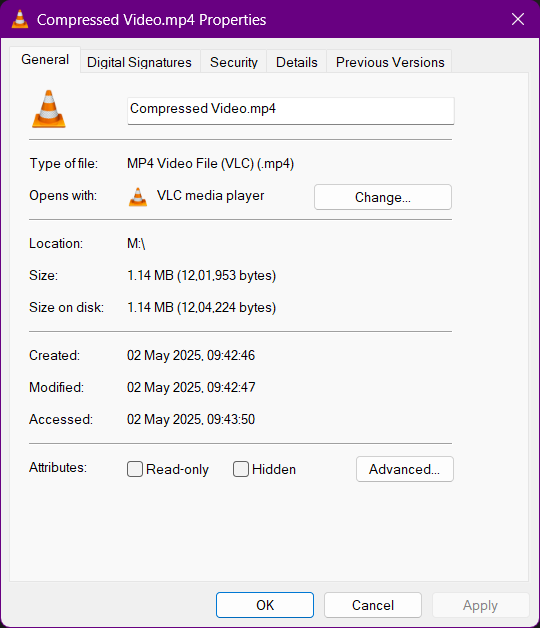
Final output
Before Encoding
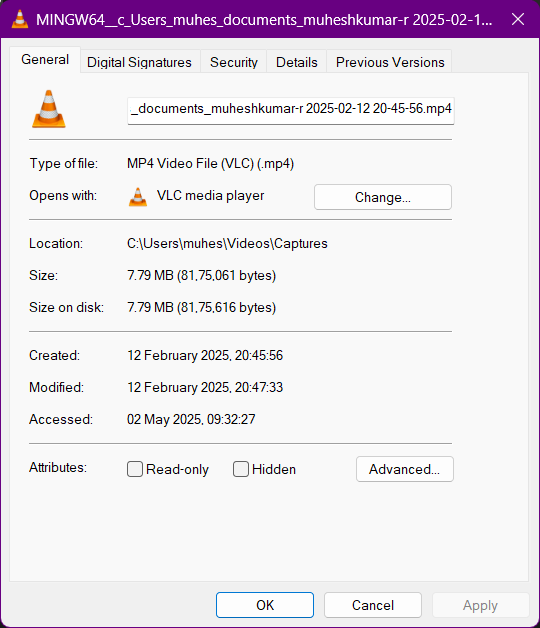
After Encoding
Key Takeaways and Learnings
- Learning on Raster Vs Vector
- 2D design Software
- 3D Design Software
- Image Compression - Xn Convert
- Video Compression - HandBrake
- The importance of saving the model in a suitable format
Download the Files
You can download the encoded model by clicking on the following links.