week 14. Molding and casting
This Week, I created several molds and casted a coin, a Finger Tip replacement and some dice.
In our group assignmentWe showed, how to work with silicone, reviewed the Datasheets of different Silicone and Resins and compared different Molding-techniques(DLP and FDM). I was responsible for the Coin-Mold and the process of 3D-Printing.
Mold Design
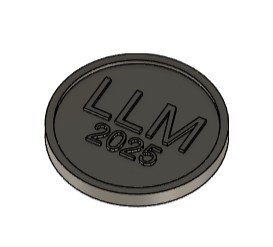
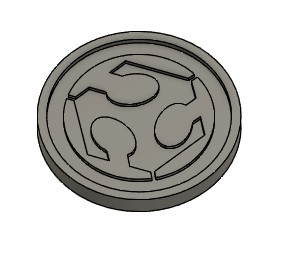
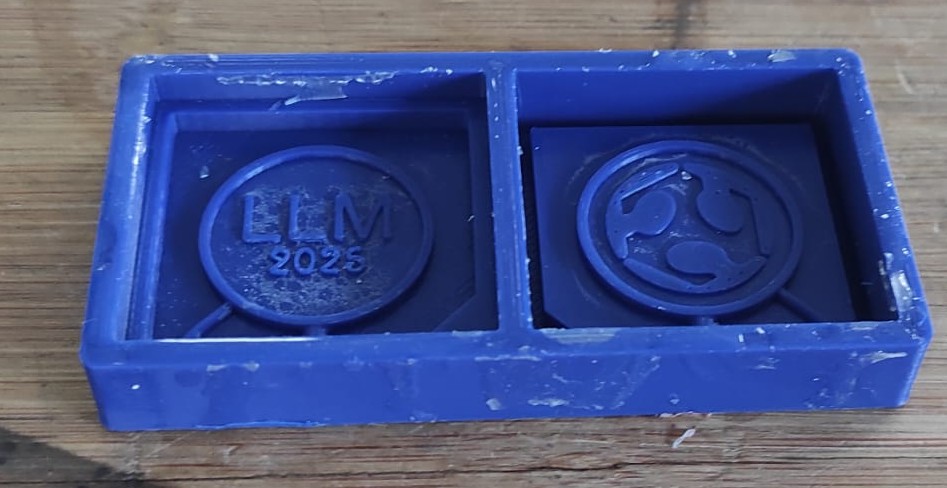
I created a Mold of a Coin we designed in the Group. On one side the FabLab Logo and on the othe side our initials and the Year 2025. Size wise we orientend us on a european 50cent piece, because we can use it as Chip for Shopping Carts here in germany
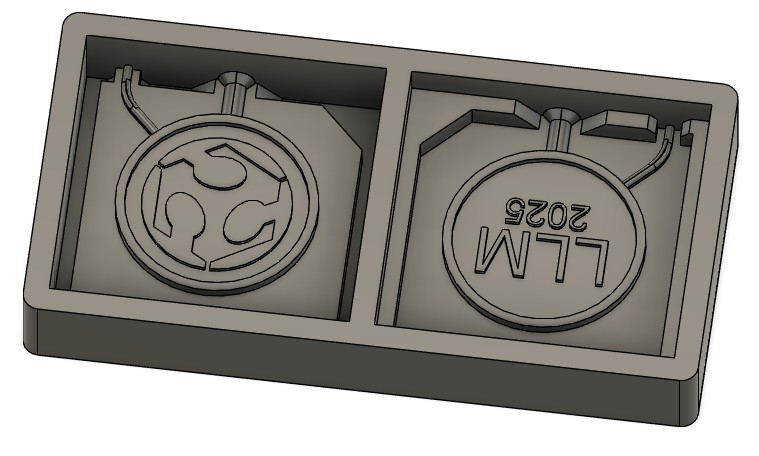
Then i created the mold around it. I first split the coin in the half to have both faces. This was followed by adding walls, a registration edge and a "sealing" lip. The sprue/reservoir and vent where added at the End.
FDM Printing
- Printer: Prusa MK4 InputShaper
- Filament: Verbatim PLA Blue
PrintSettings in PrusaSlicer
- Machine: Prusa MK4IS
- Material: PLA generic
- Brim: Yes
- Supports: none
- Layer height: 0.1mm
DLP Printing
- Printer: Eleegoo Saturn 4 Ultra
- Resin: Sunlu Standard Resin Grey
Slicing in ChituBox
As Slicer i used ChituBox because this is one of the two Slicers recommended from Eleegoo and i alsready used it for my own Resin Printer the Halot One, which unfortionatly doesnt survived my moving . The First recommended was there own: Satelite.
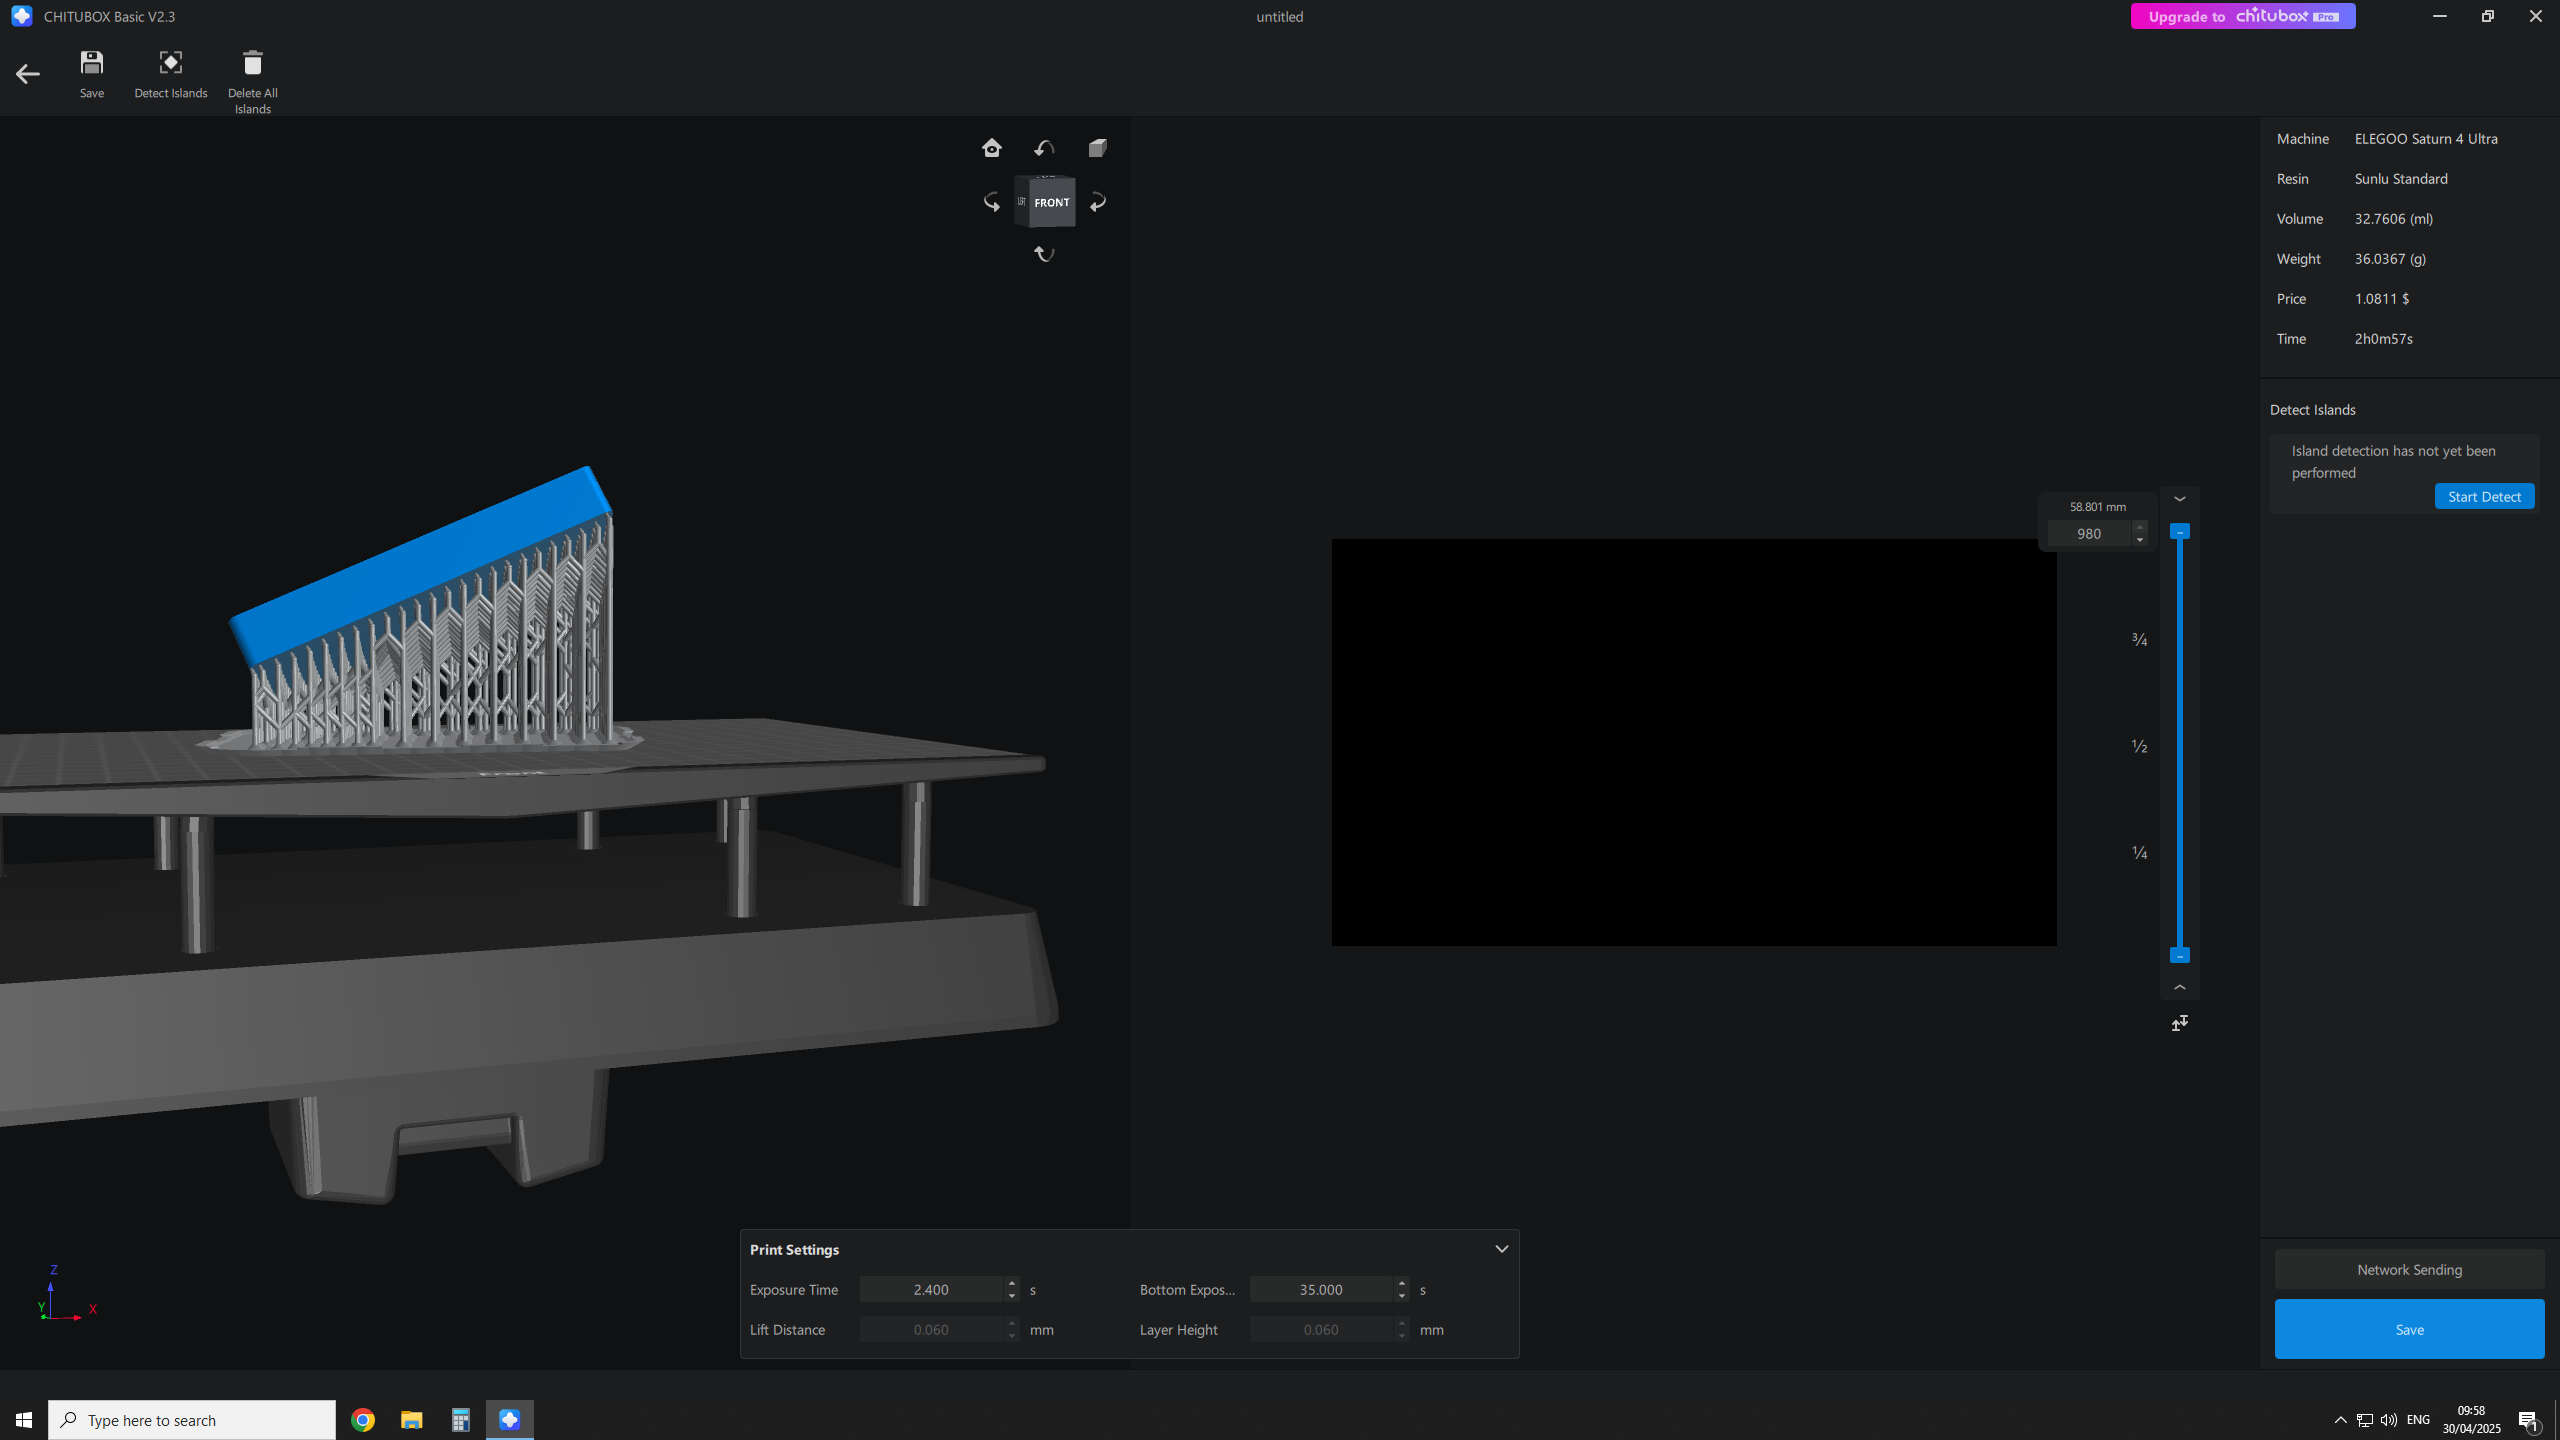
These Settings for the Resin found to be working with the Eleegoo Saturn 4 Ultra with 28mm Tabletop minis(i tested them before ), so i used them for that as Test
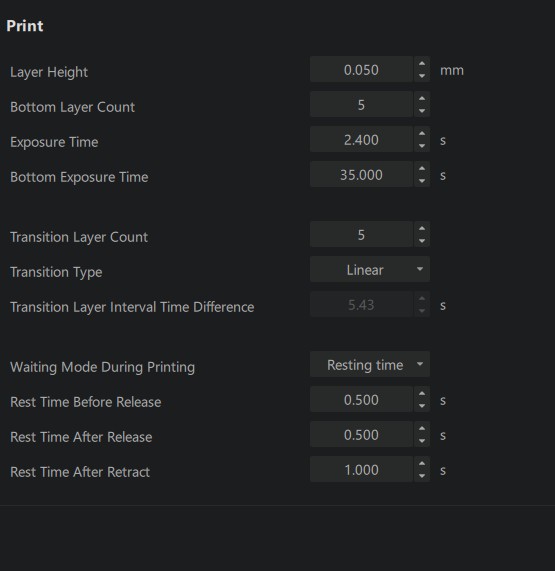
- Layer Height: 0.050 mm
- Bottom Layer Count: 5
- Exposure Time: 2.400 s
- Bottom Exposure Time: 35.000 s
- Transition Layer Count: 5
- Transition Type: Linear
- Transition Layer Interval Time Difference: 5.43 s
- Waiting Mode During Printing: Resting time
- Rest Time Before Release: 0.500 s
- Rest Time After Release: 0.500 s
- Rest Time After Retract: 1.000 s
with the Srttings for the resin, i Imported the model of the mold and orientarted, how i belived it would print good and doesnt need support in the actual coin area.
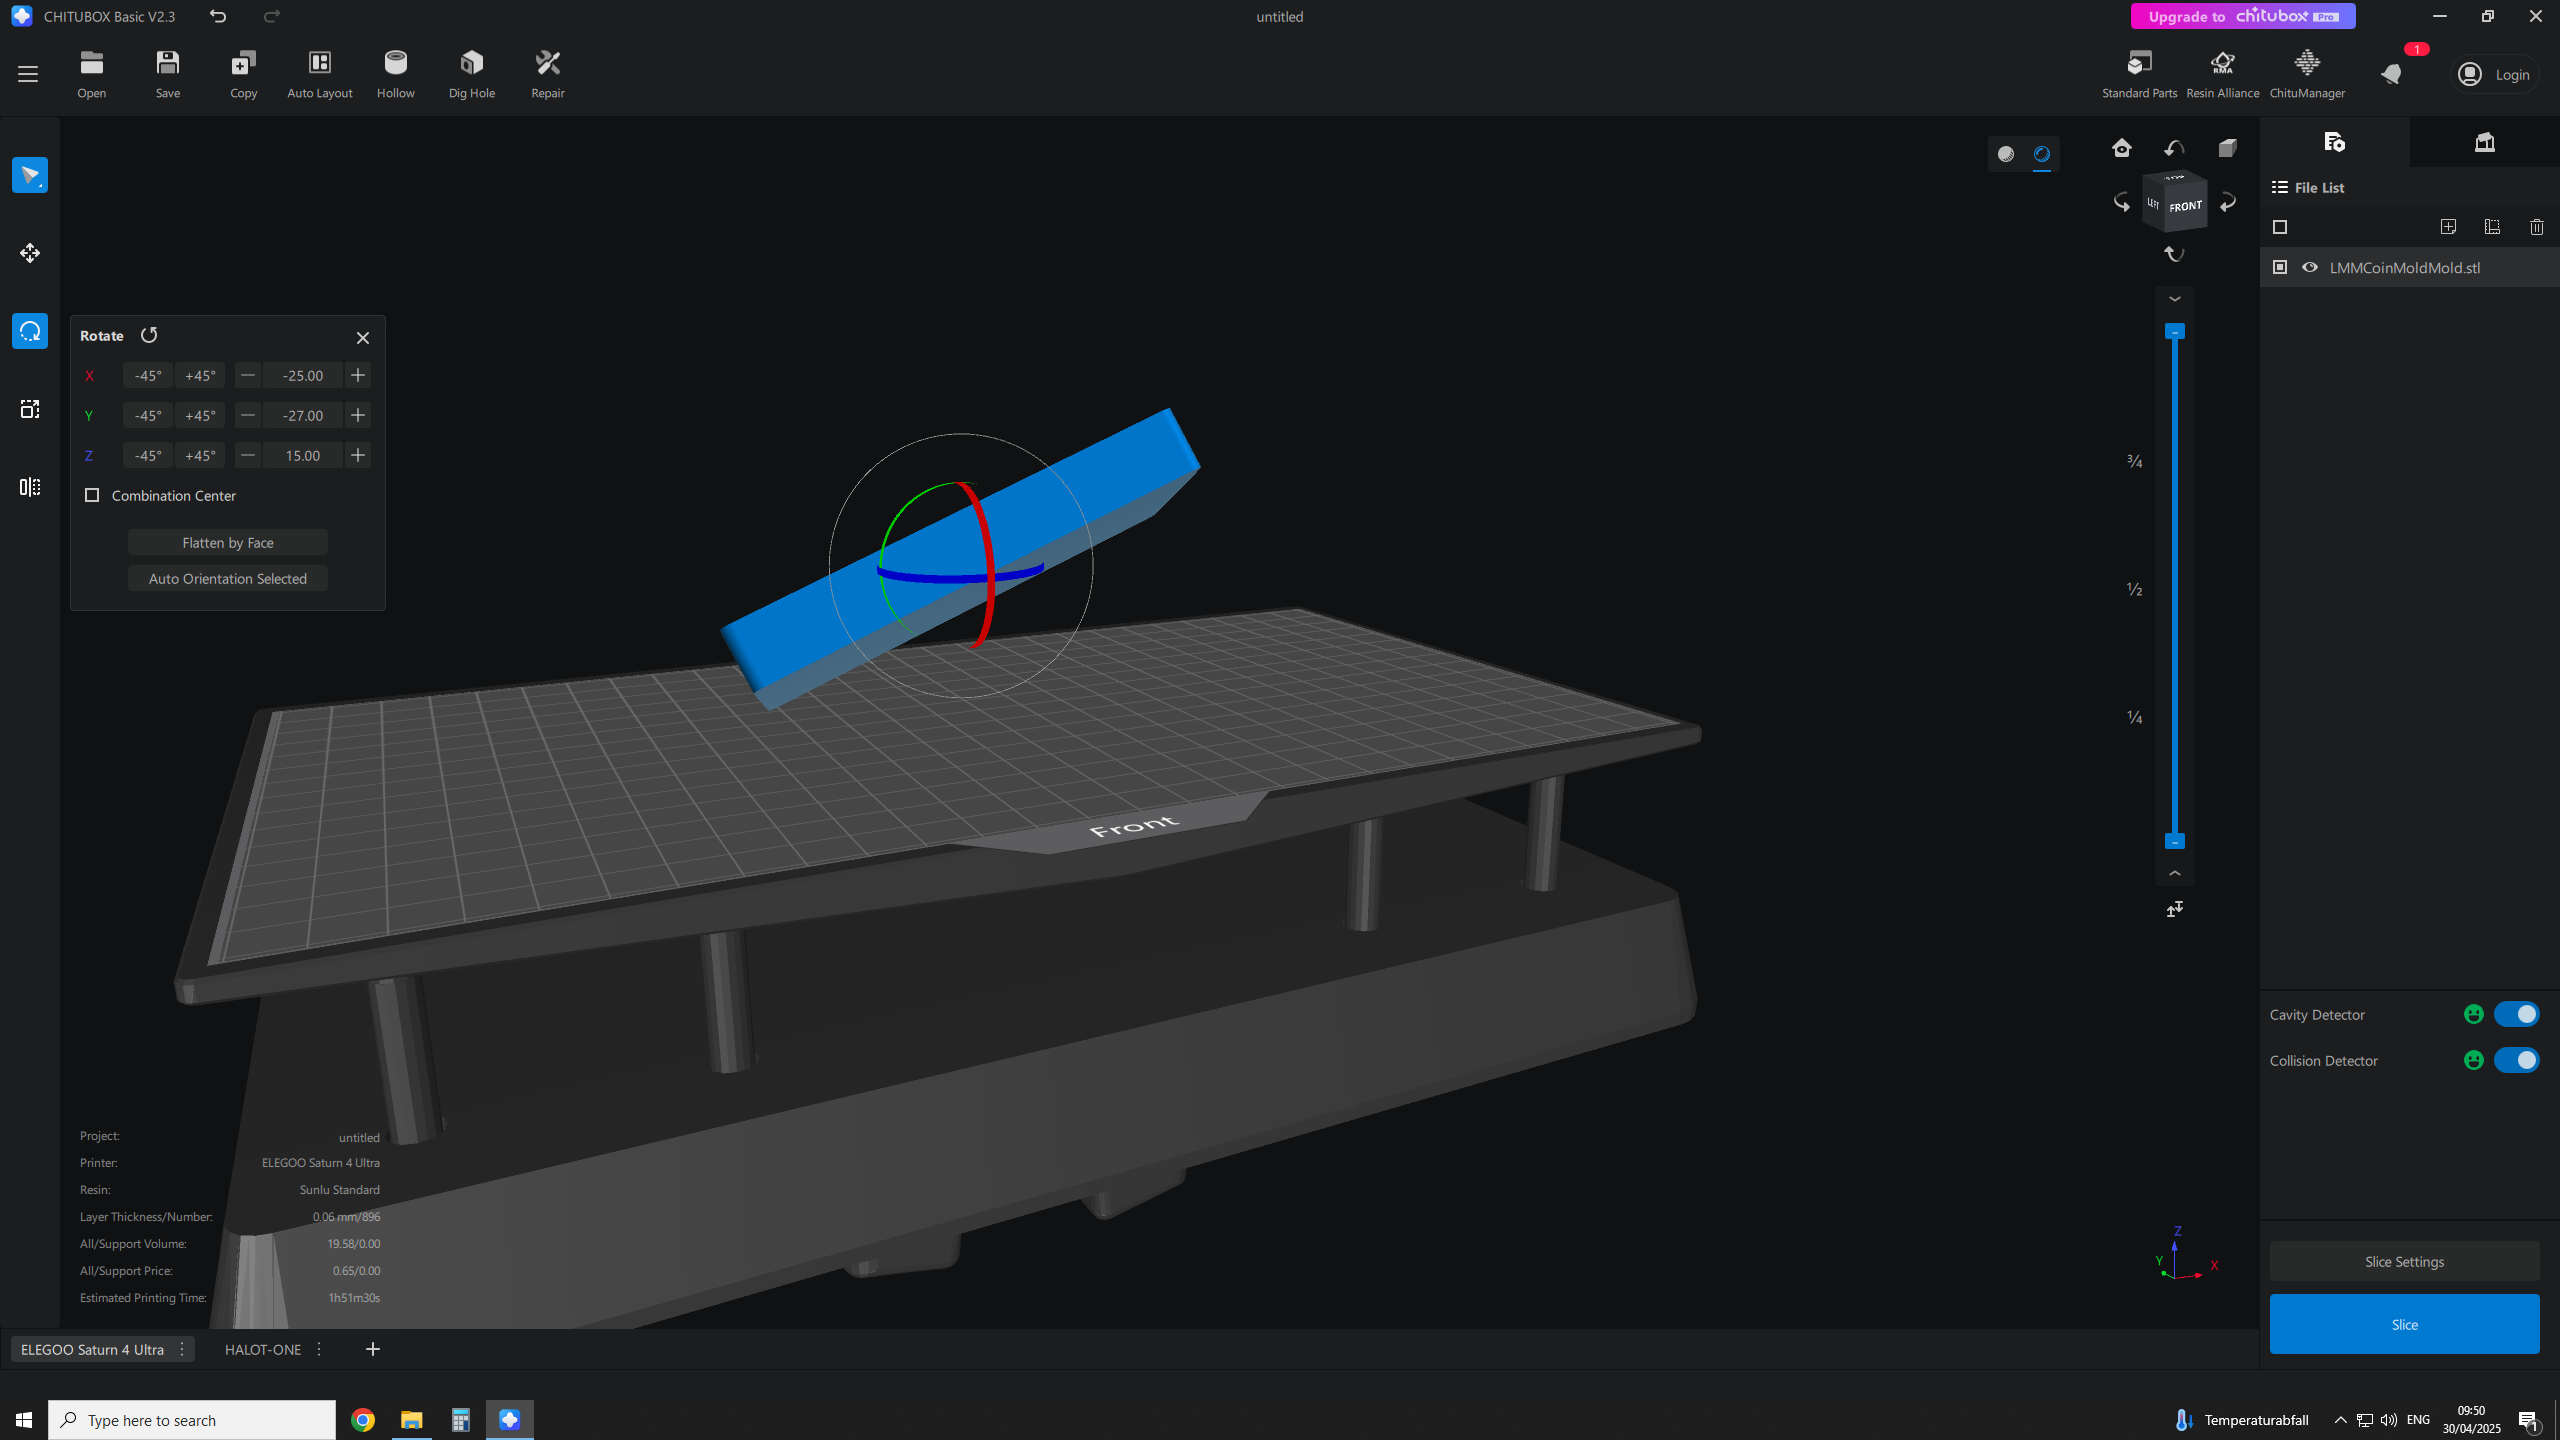
Then i switched to the Support Tab(red circled), selected middle support settings and clicked auto spupport.
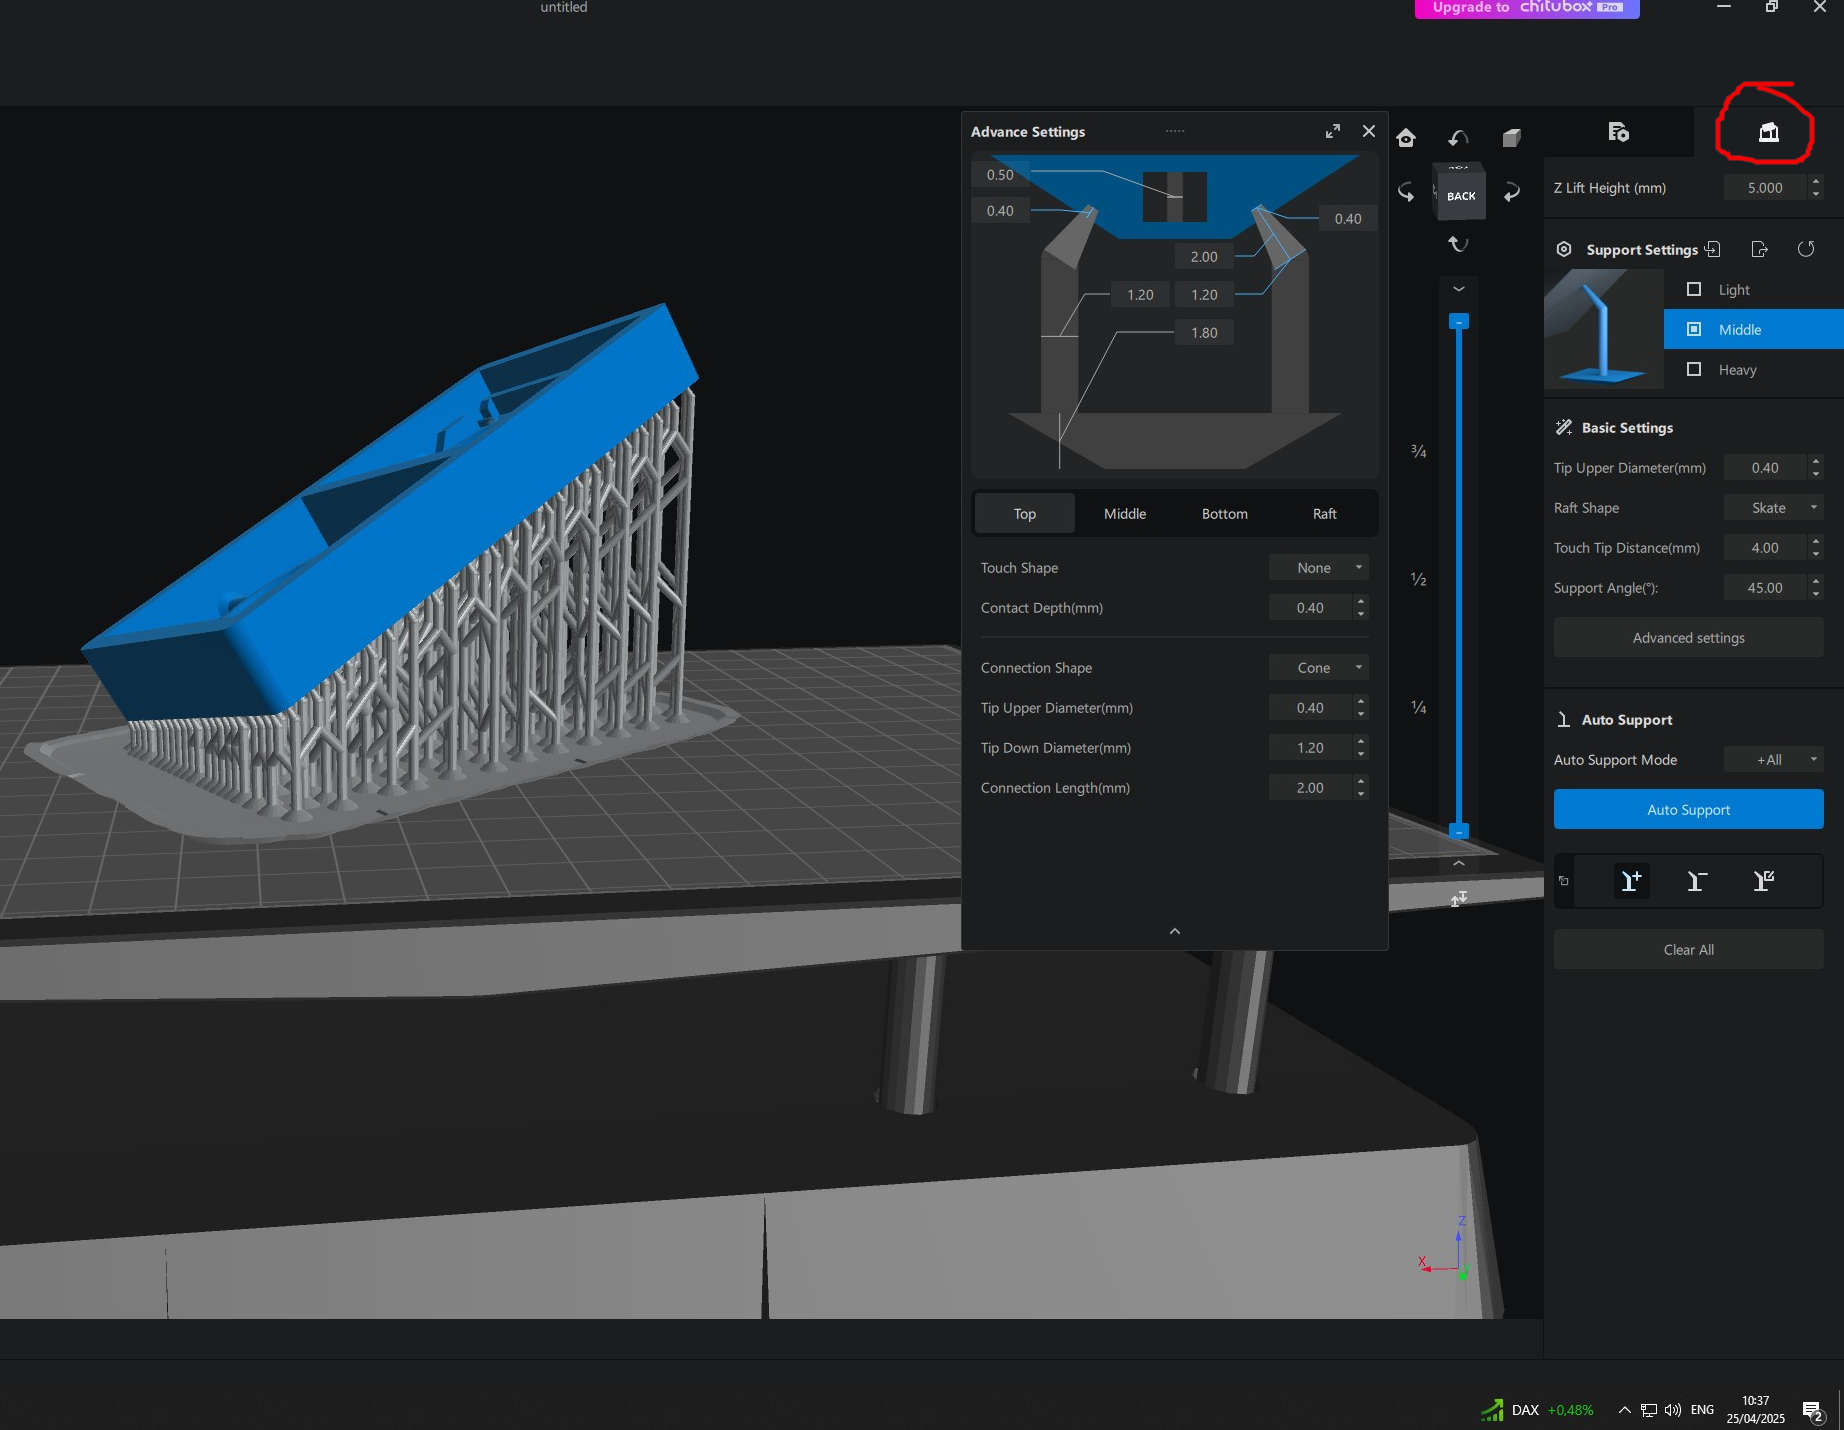
last step was to go back to the overview tab(left of the before red circled tab) and click on slice
The then saved .cxdlp can be used on the Saturn 4 ultra to print the Mold.
Post process
You already saw in the beginning of this Charpter, that the part warped a bit. This was due to underexposure, anyway, we used this mold to get done. and the result was not bad
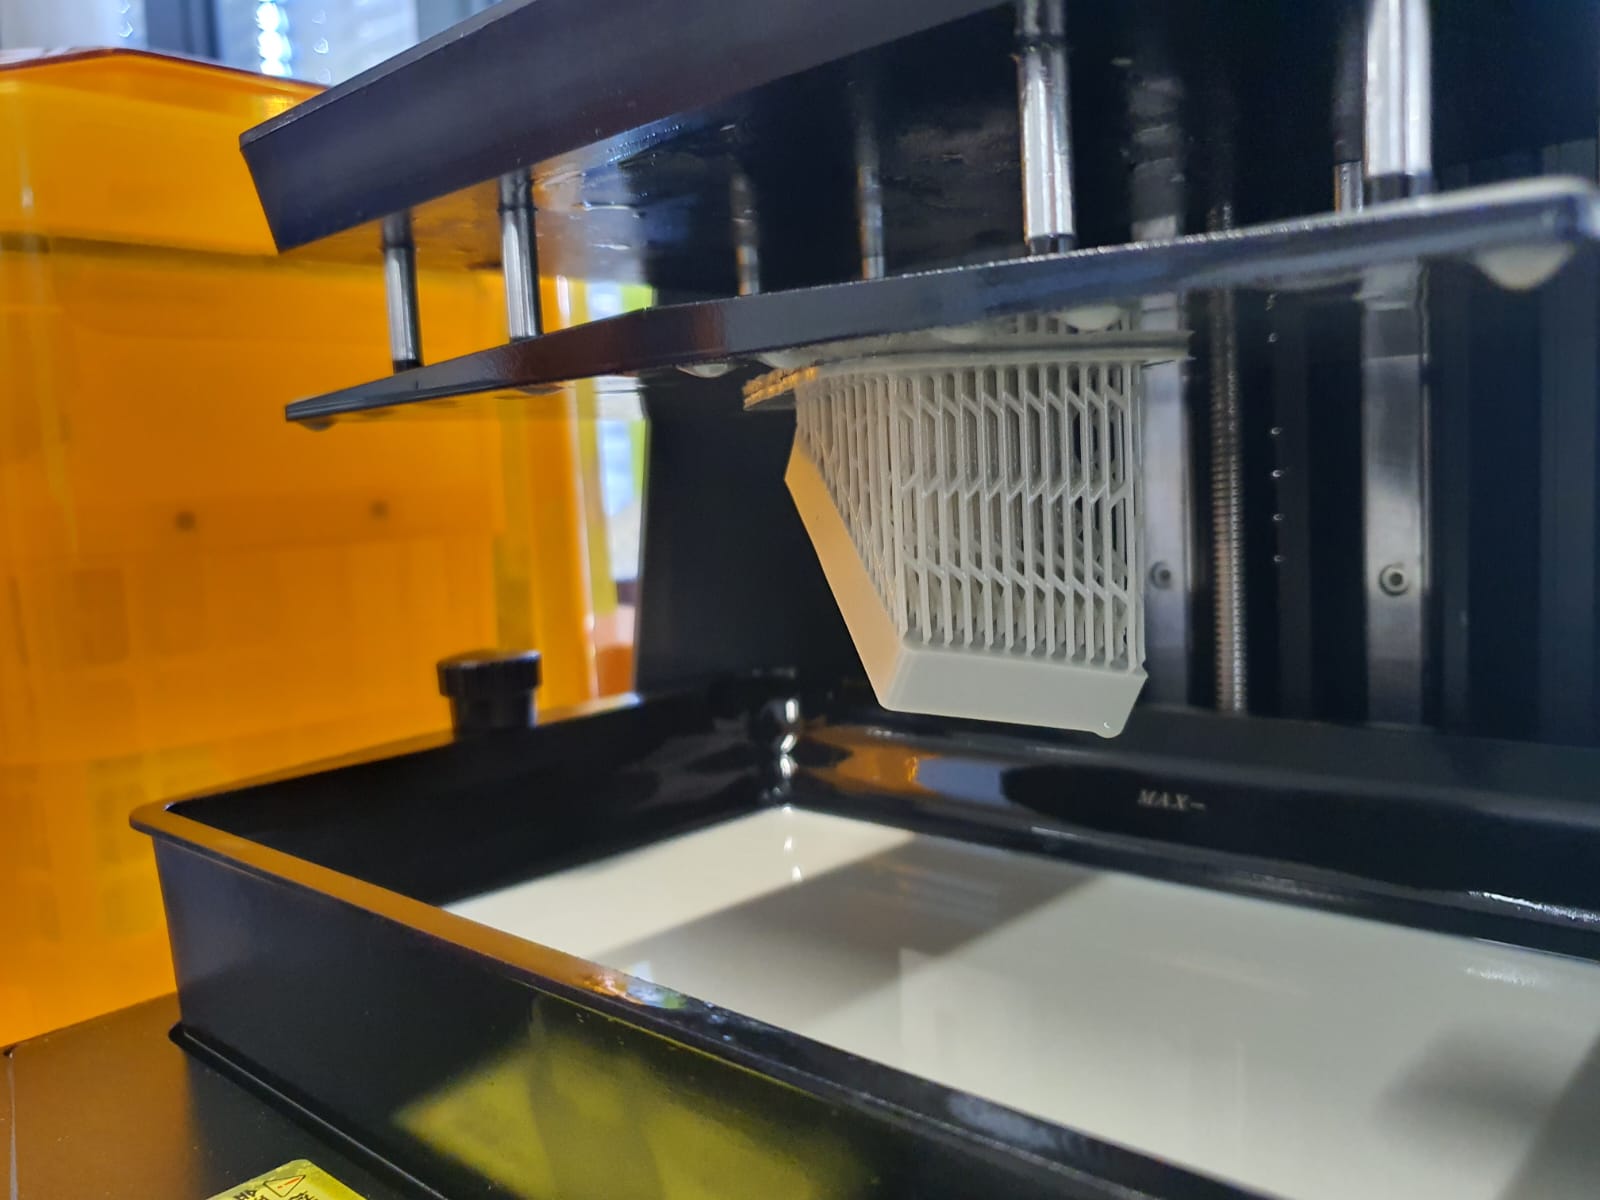
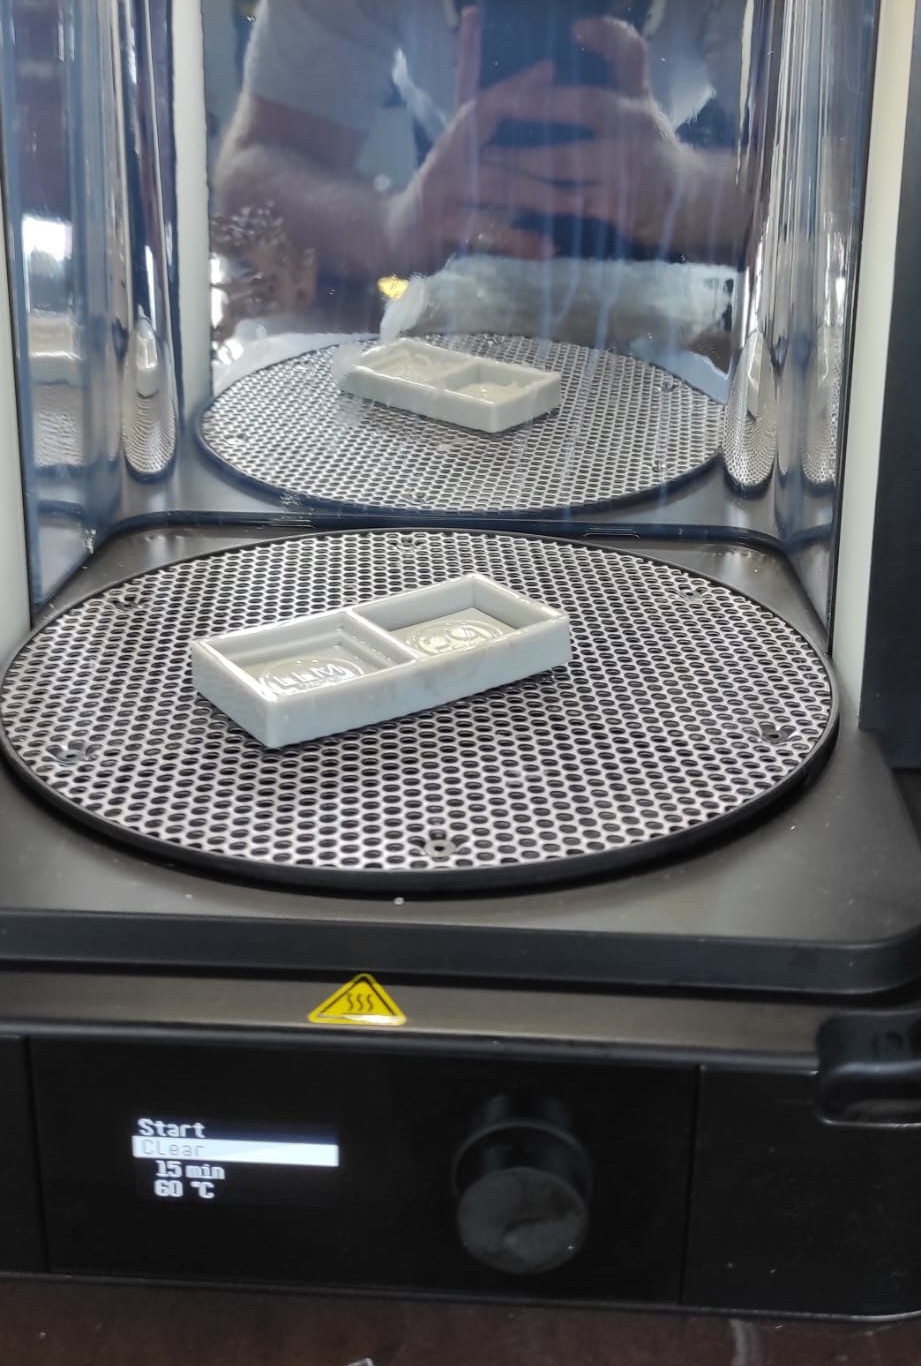
After the Print was finished, i removed the supports and washed the mold in our Formlabs Washing machine for 20 minutes.
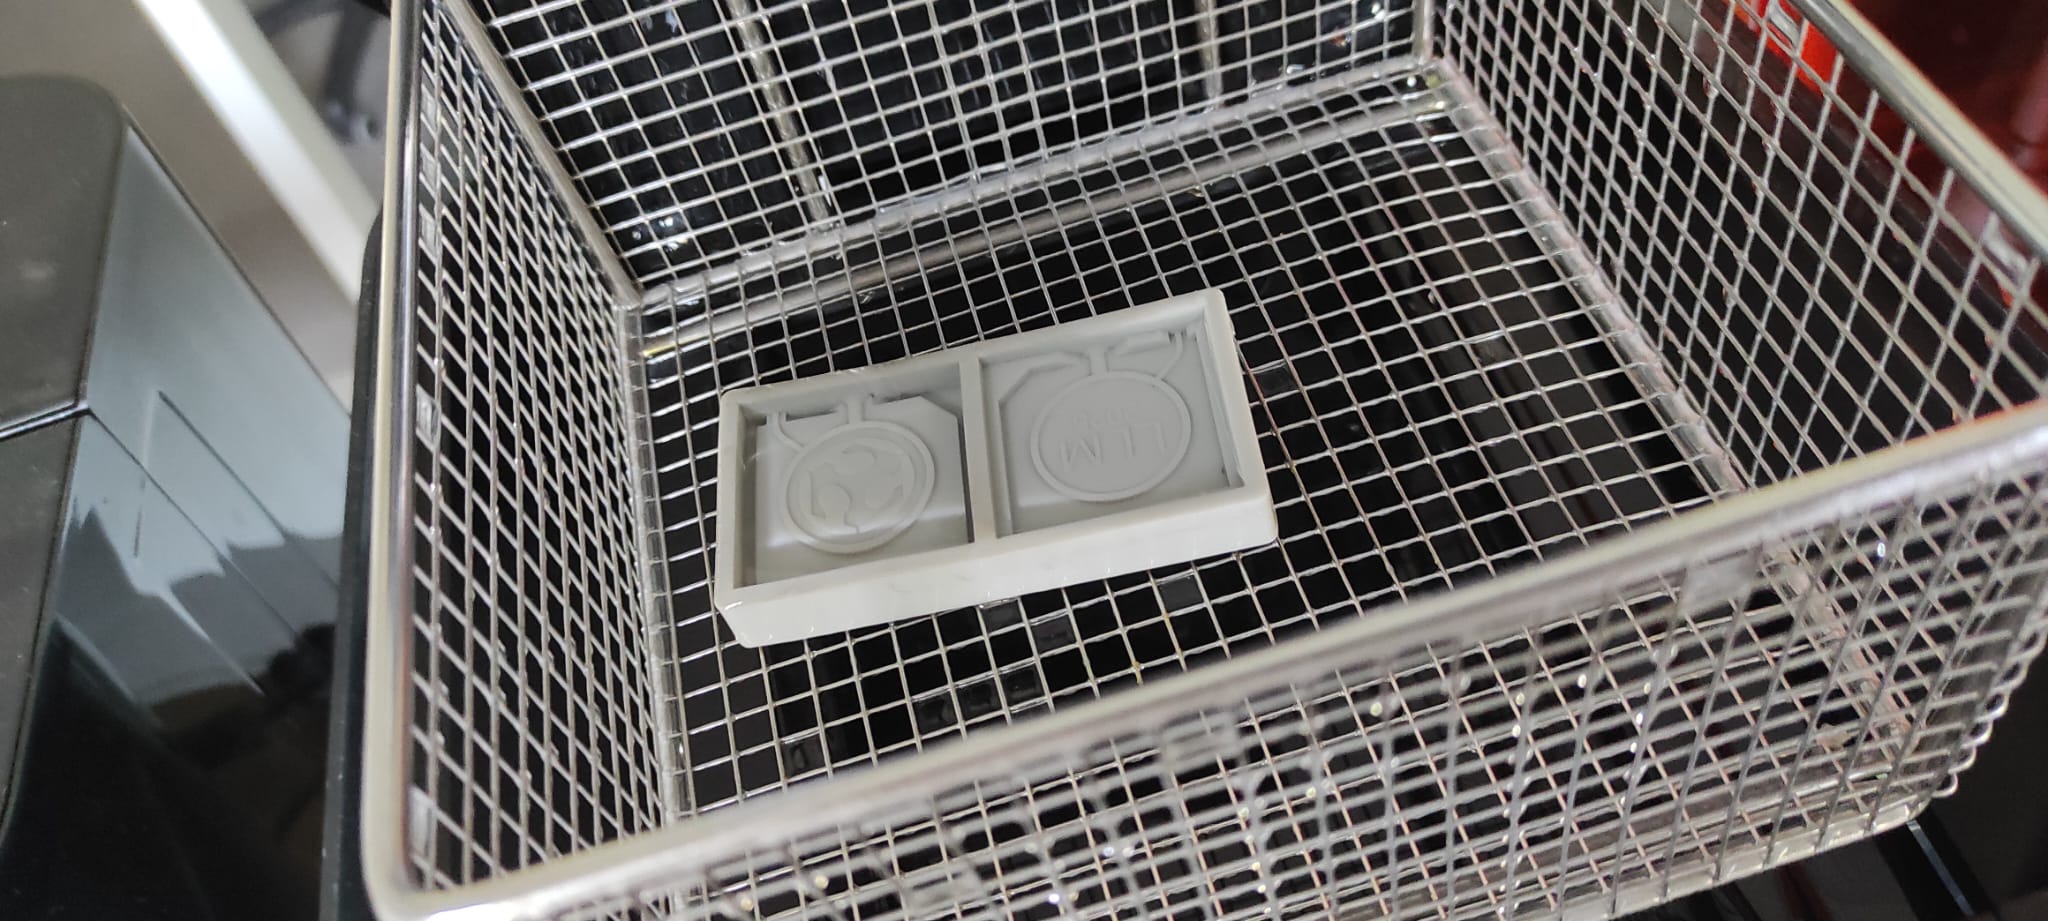
After Washing I cured the part by 60°C for 15 minutes
Casting the negative mold
In our group assignment we already showed, how to make molds(and also how to cast this particular one)
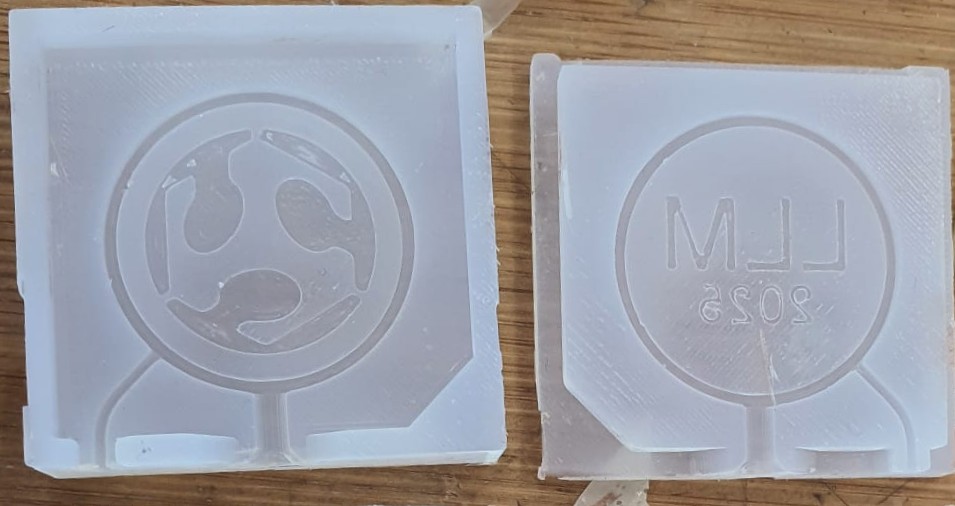
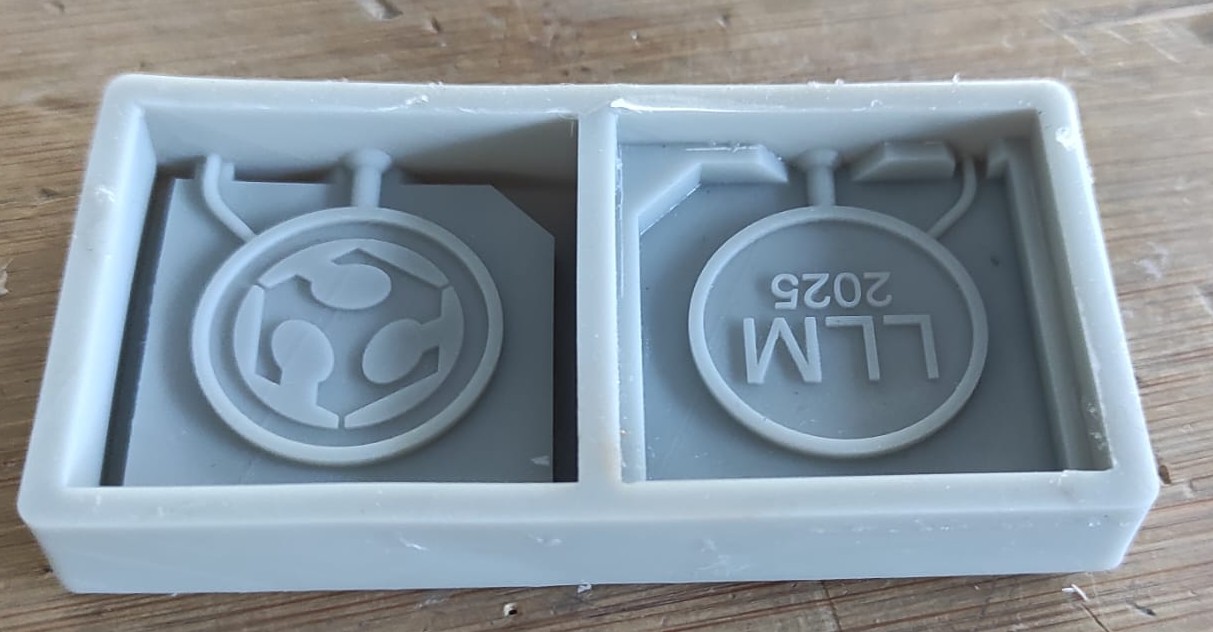
Here is also an image of both Molds from the FDM(top) and DLP(bottom) Printer:
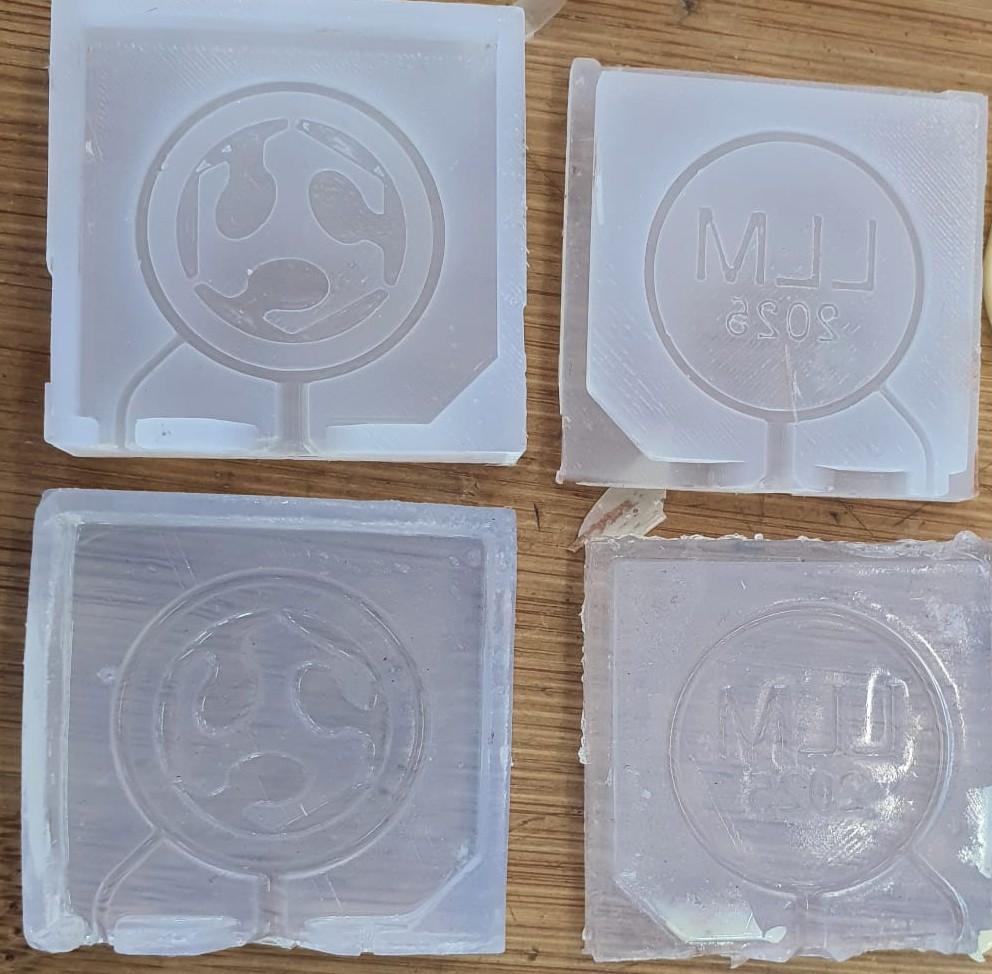
small comparison of both
1. Surface Finish
FDM (Top):
- The parts show visible layer lines and surface irregularities.
- Surfaces are slightly rough, particularly in the circular logo area.
- Overall, the finish looks dull and somewhat imprecise.
DLP (Bottom):
- Much smoother and more refined surface.
- Edges are cleaner, and the flat areas reflect more uniformly, indicating better smoothness.
- Minimal layering visible.
2. Detail Reproduction
FDM (Top):
- The text “LLM 2025” and logo are legible but not sharp.
- Fine features look slightly blurred and lose some definition due to the FDM mold’s coarser resolution.
DLP (Bottom):
- The “LLM 2025” text and the logo are significantly sharper.
- Fine lines and edges are better preserved.
- Even small radius corners appear crisp and clean.
Casting the Coin
Making it "Bunt"
I wanted to make the cast more appealing, so i "painted" the indentations with mica powder in the respecting colors.
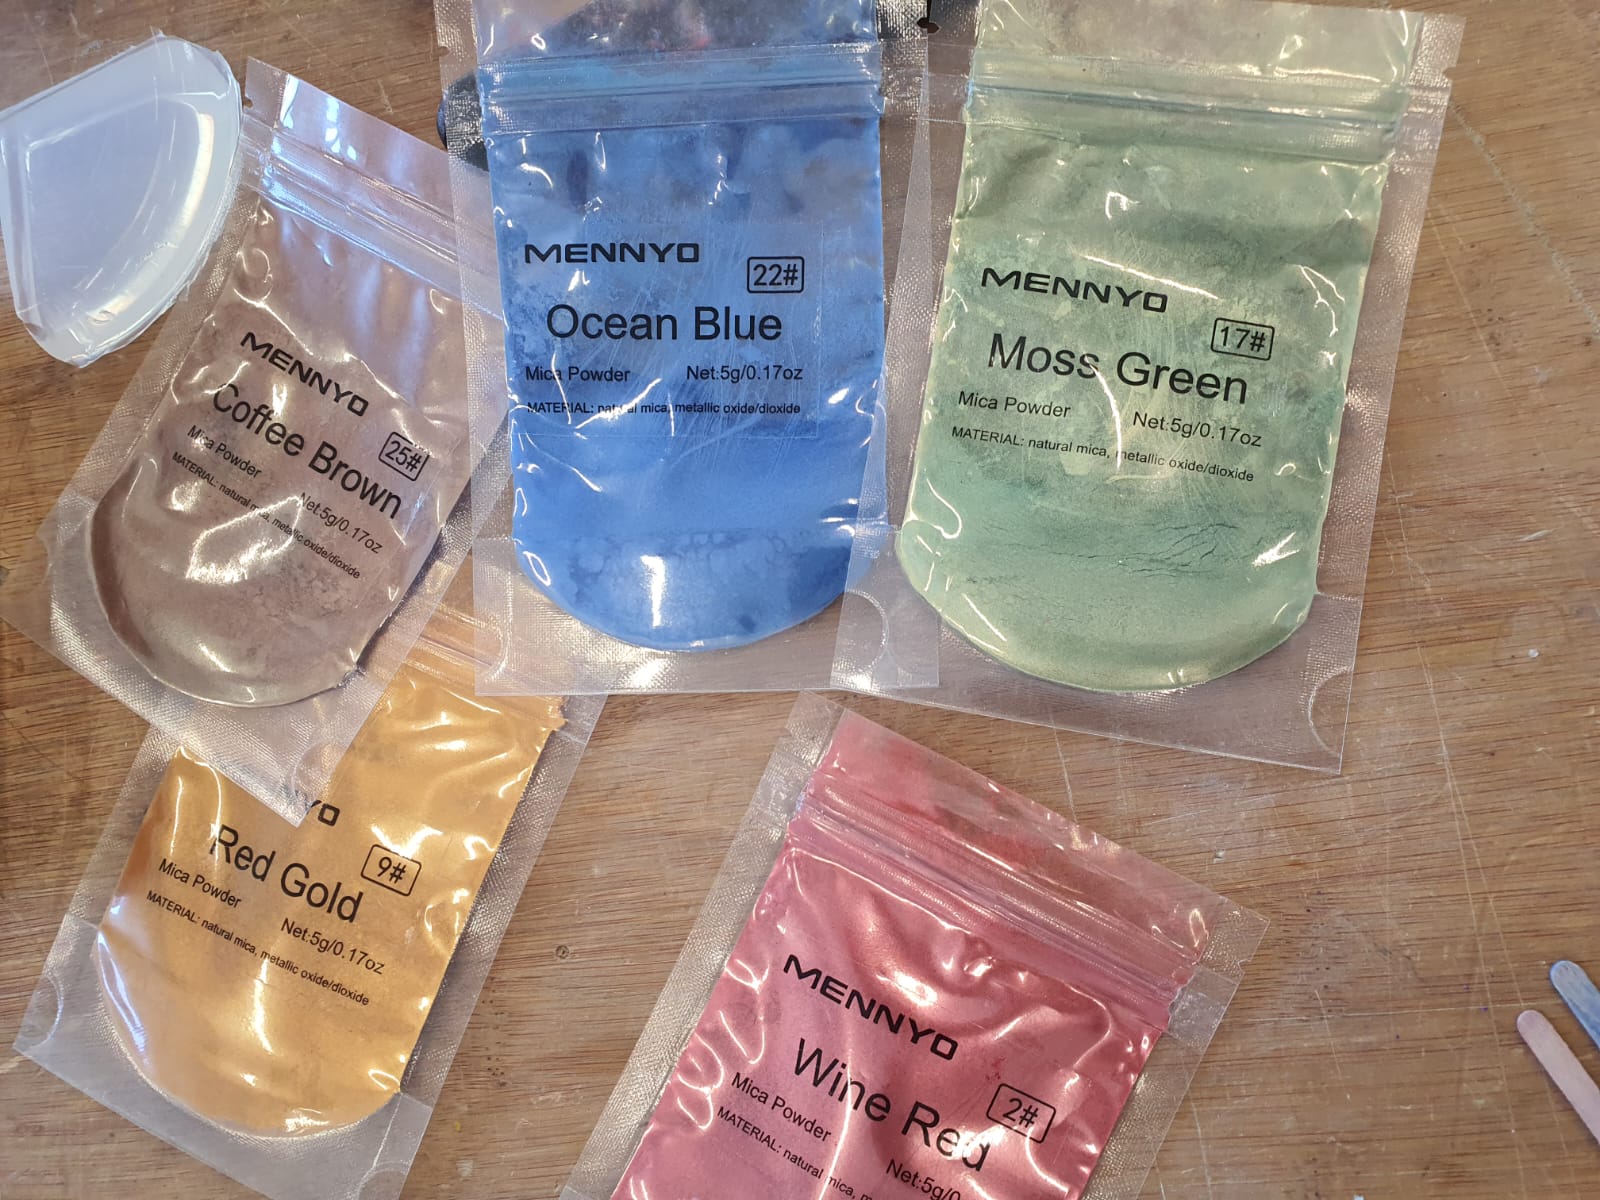
The Logo was getting the three colors blue, green and red. The Writing and the brim where colored in Gold

The Casting
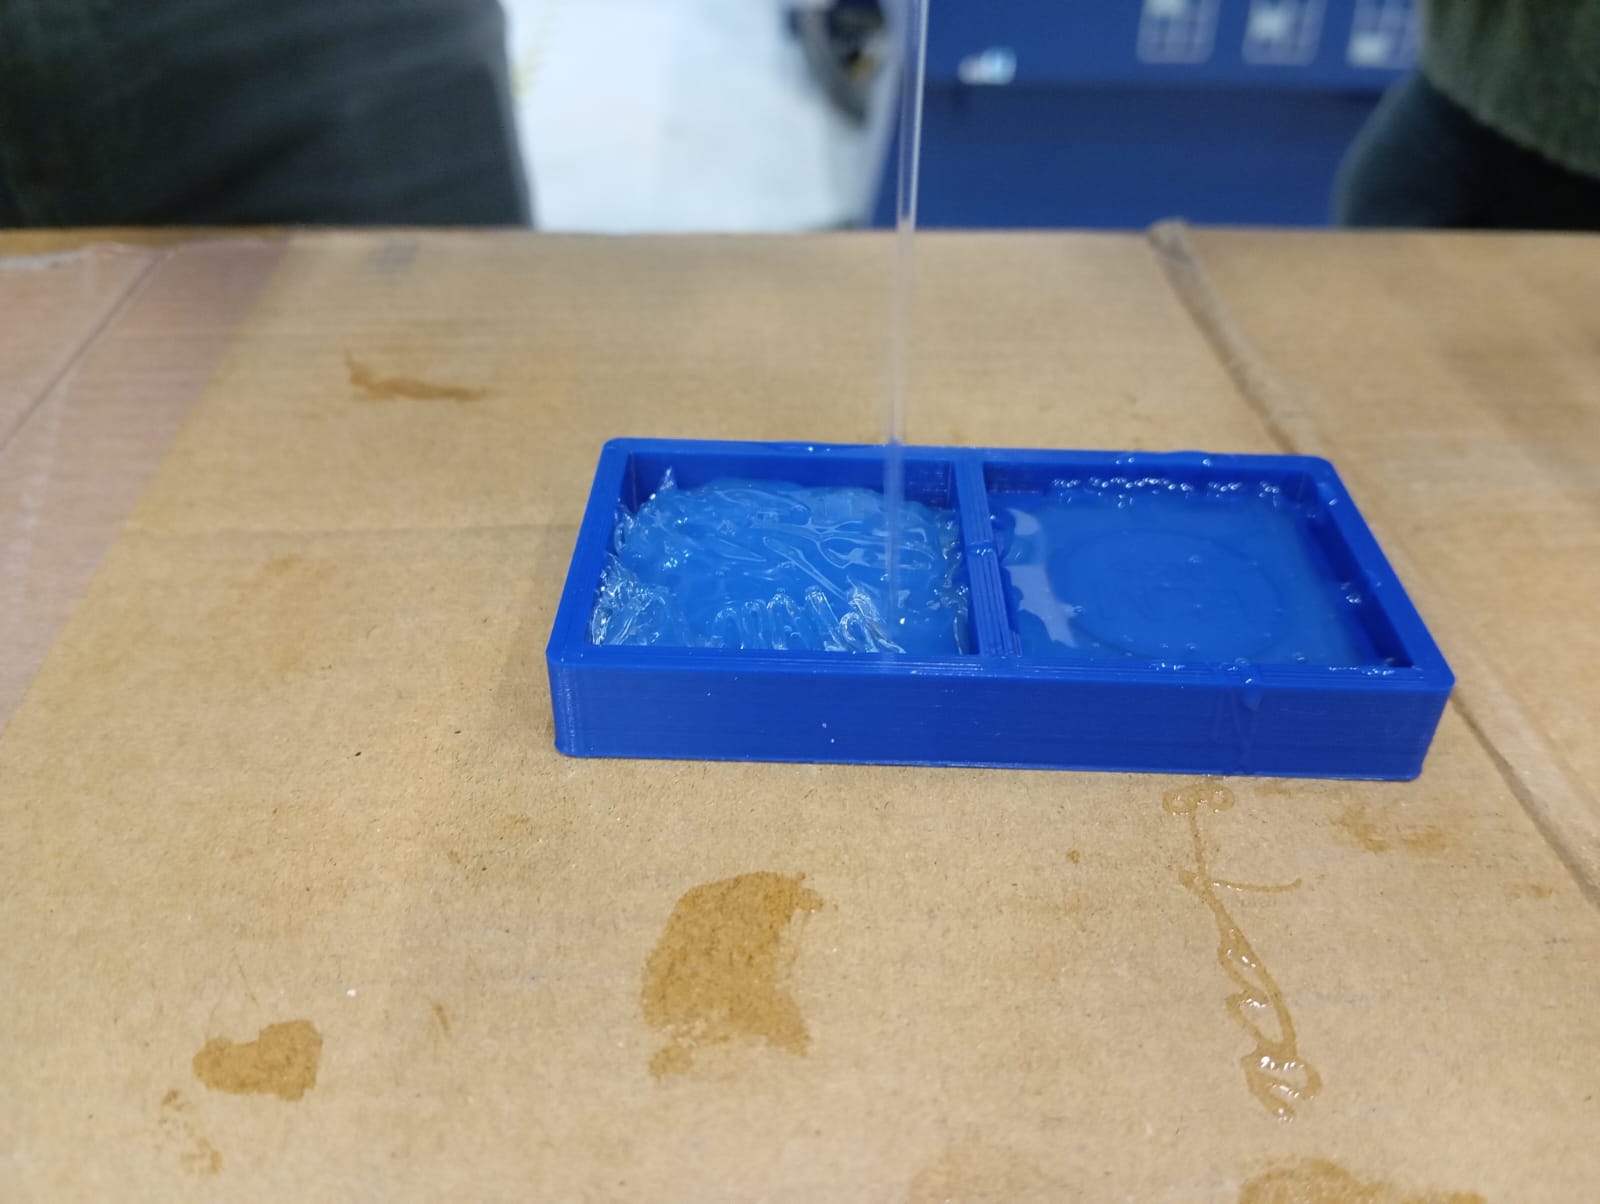
I used some epoxy, Ive got for dice casting. It was the Exposi-Hartz Diamond. Also differently to the methode for filling the mold like in our Group Assignment. i just overfilled both halfes of the Mold and squished them together and wrapped tape to "clamp" it tight.
Results
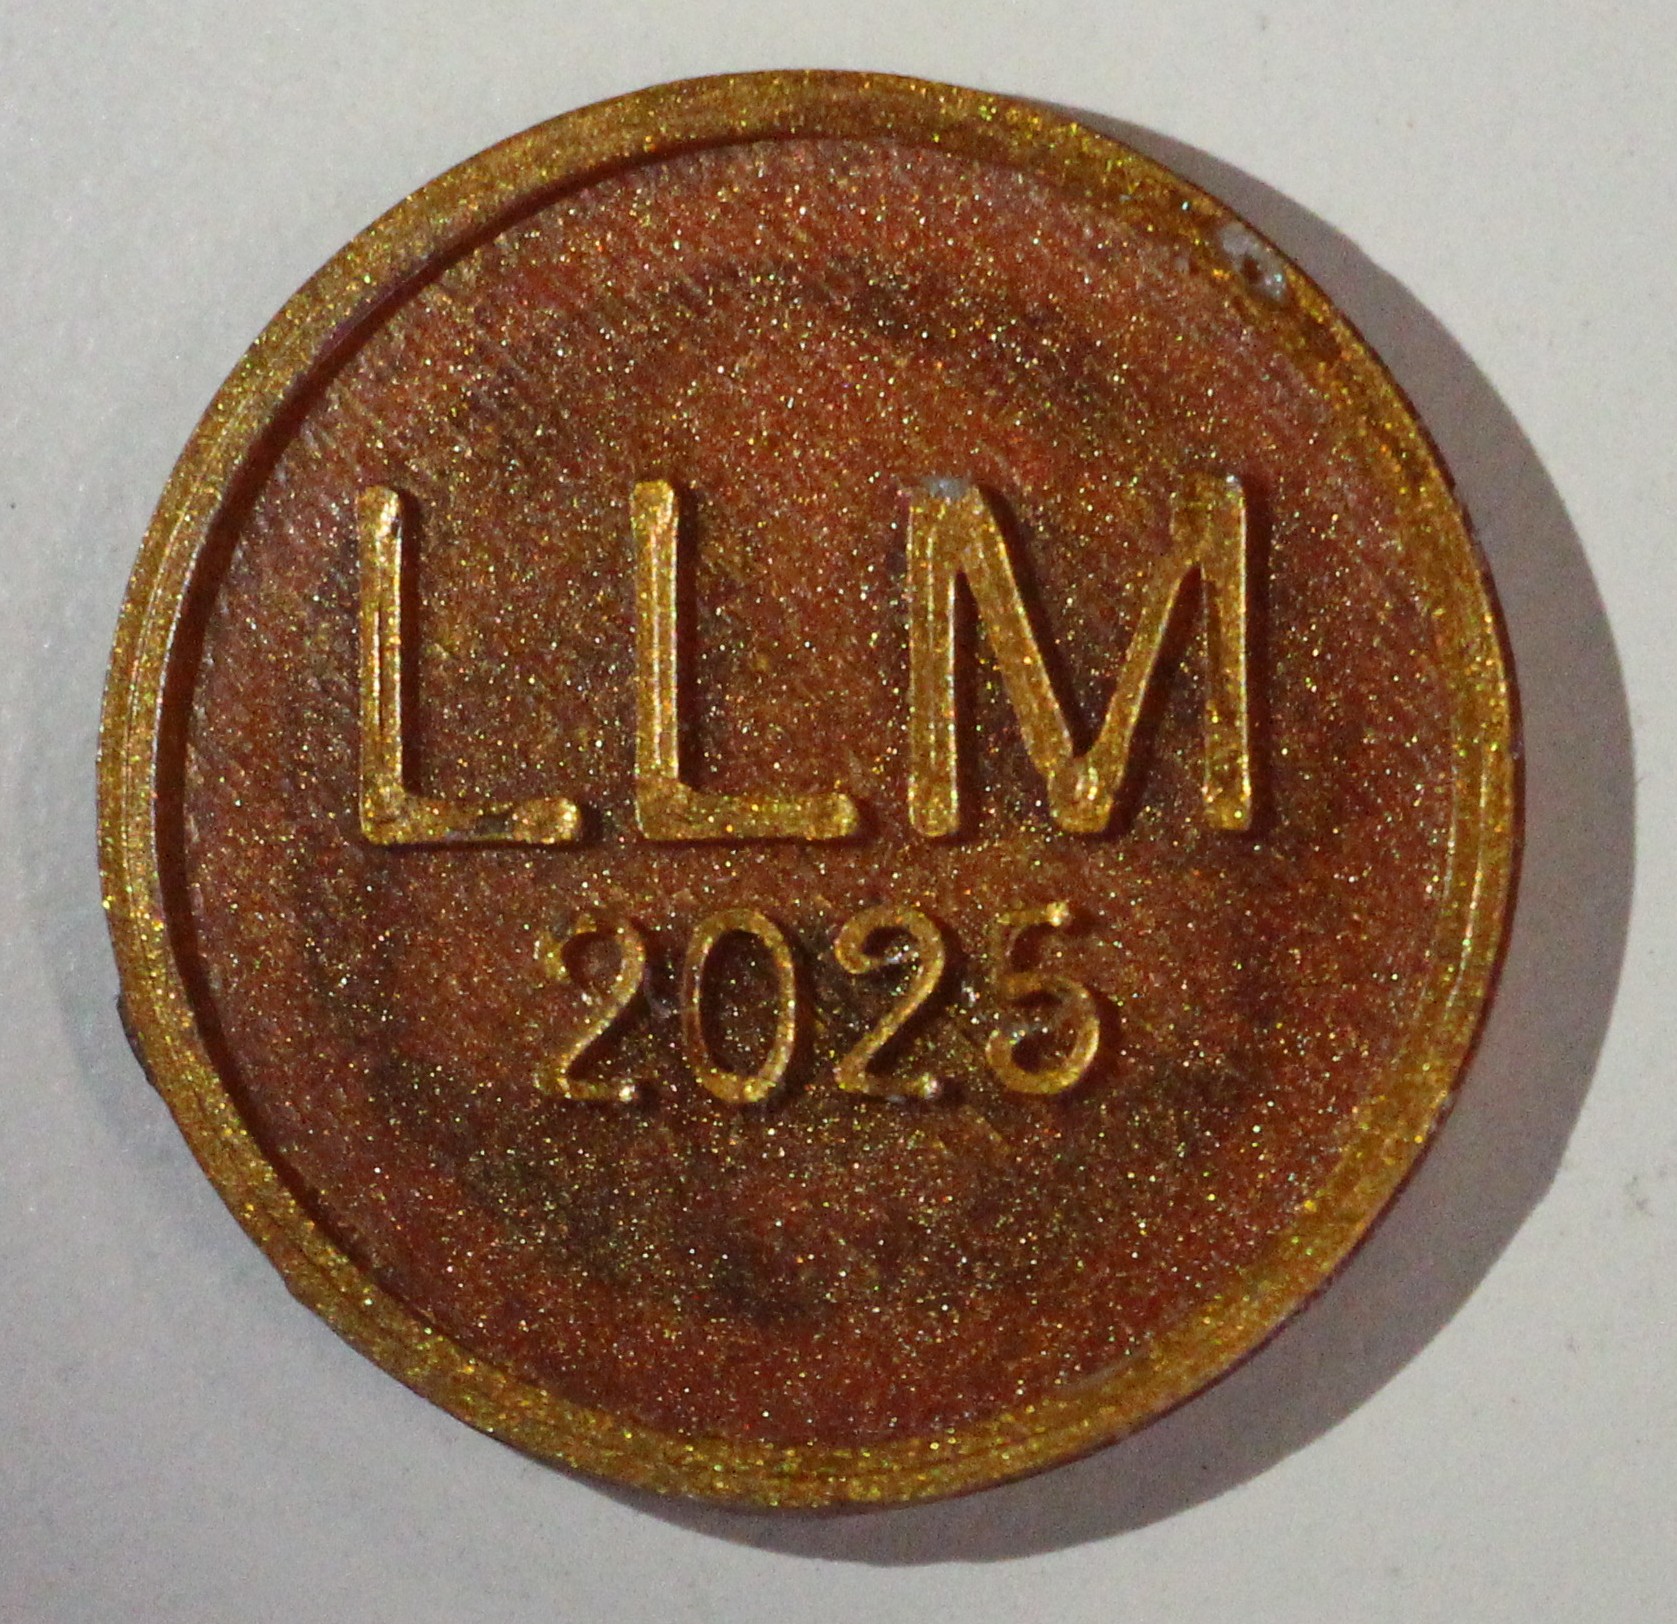
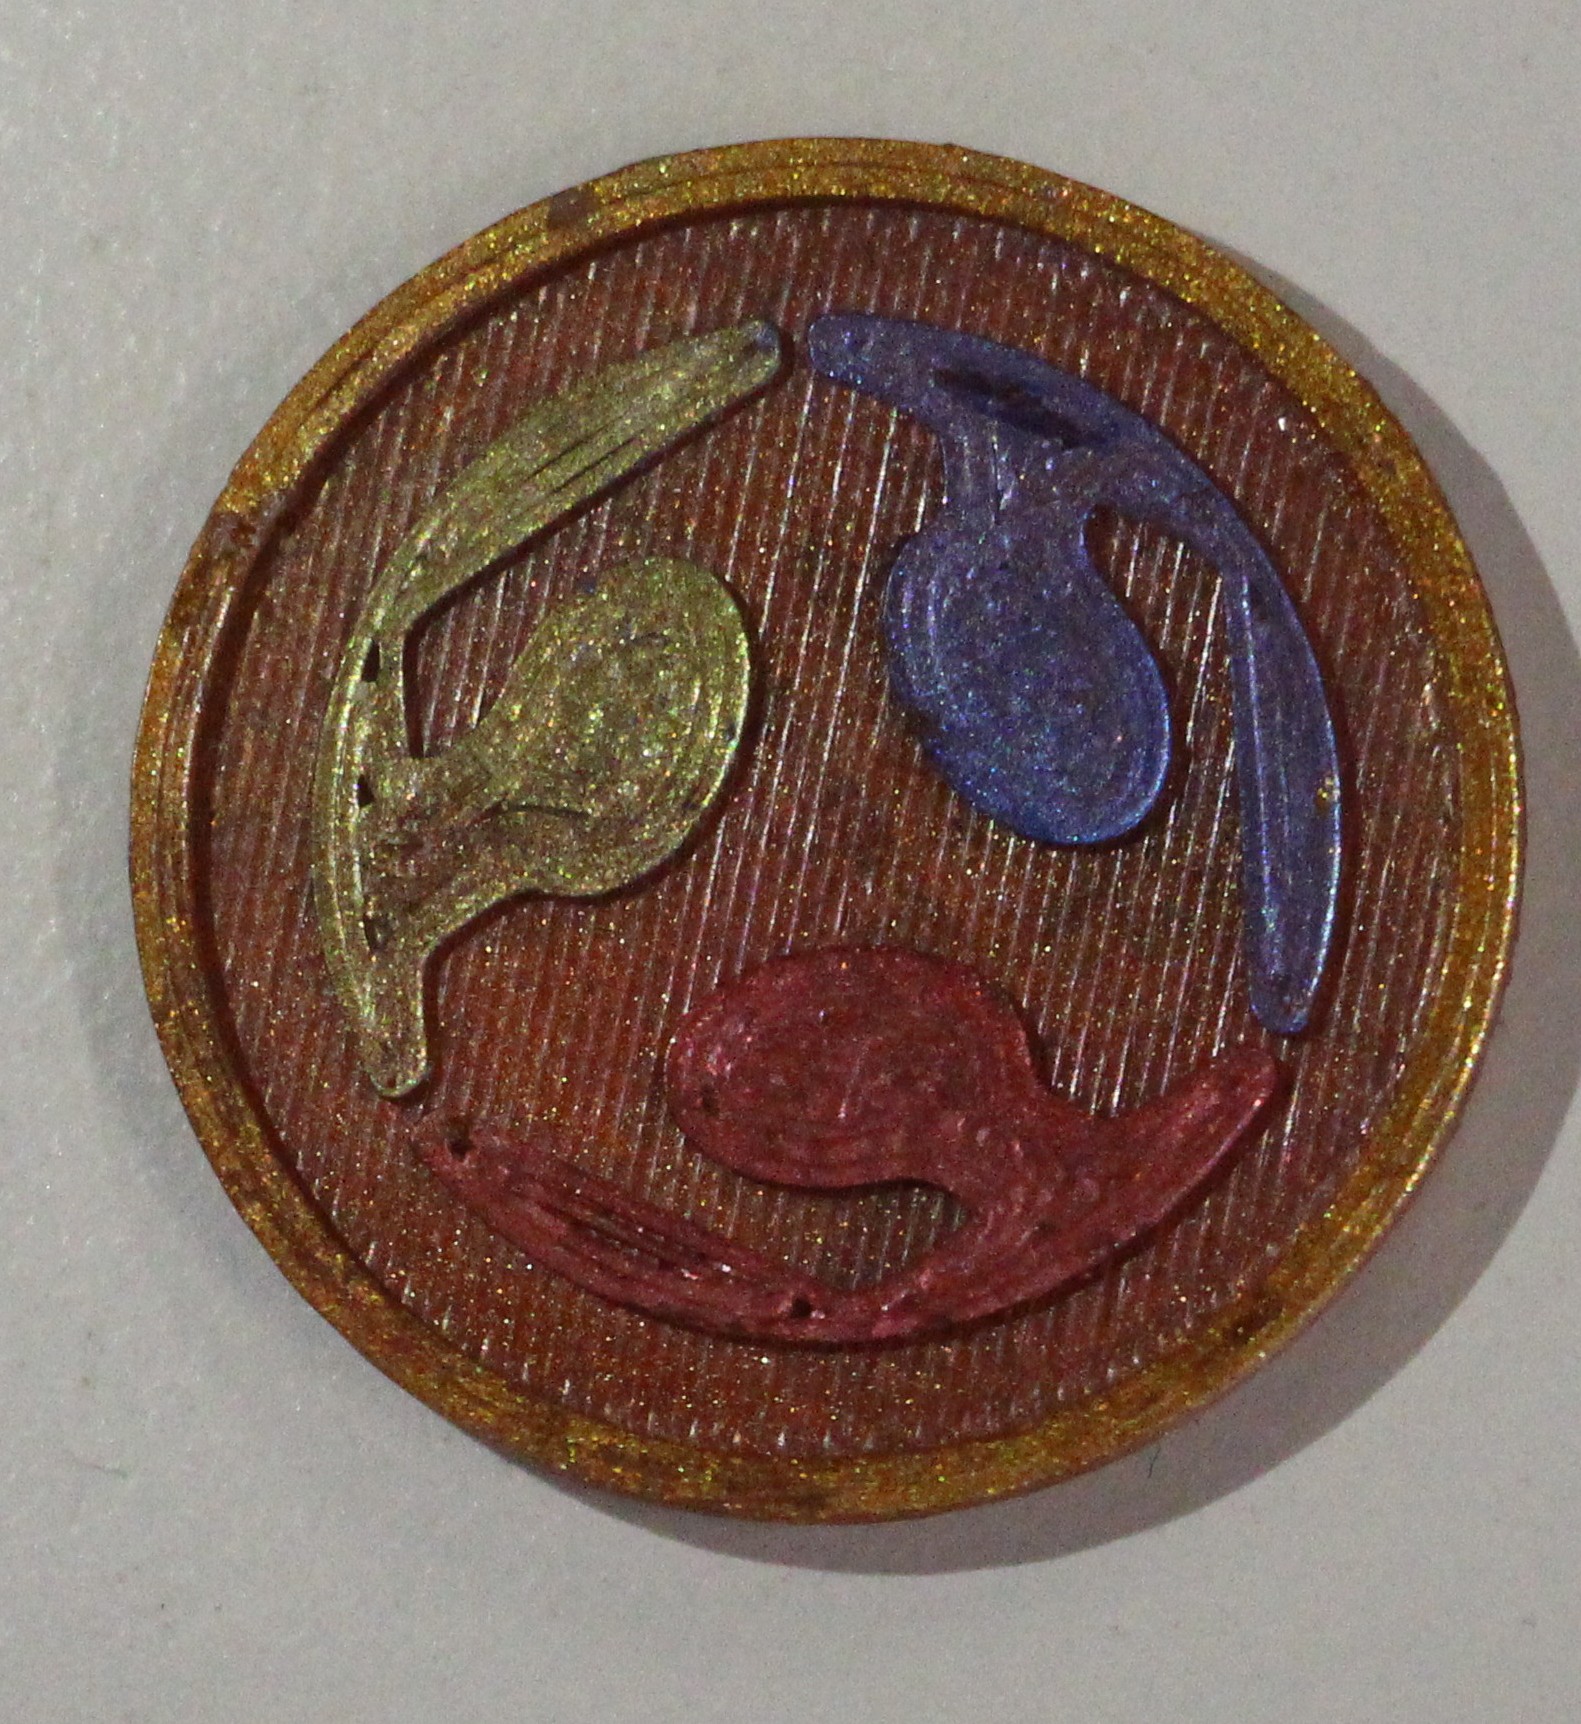
So even even we I used the Mold printed on the FDM-Printer, which looks way sharper, The coin came out realy smooth. Yes you see some artifacts in the Logo area, but for the size, i think its pretty good.
Design files
CoinMold Fusion ArchiveCoin Mold STL
Used resin and Silicone
As resin i used Exposi-Hartz-Diamond Eppoxyresin and as Silicone i used the ProtoSil RTV 245 from Altropol
As stated on the Website of Exposi-Hartz the Resin is a rebranded. The original manufacturer is DipOn and the resin in particular is the EpoxyPlast 100 P Diamond
Safety Datasheet Silicone
Safety Datasheets DipOn EpoxyPlast Diamond Clear
The Datasheets are unfortionatly only in German
more Molds and Casting
The FingerTip
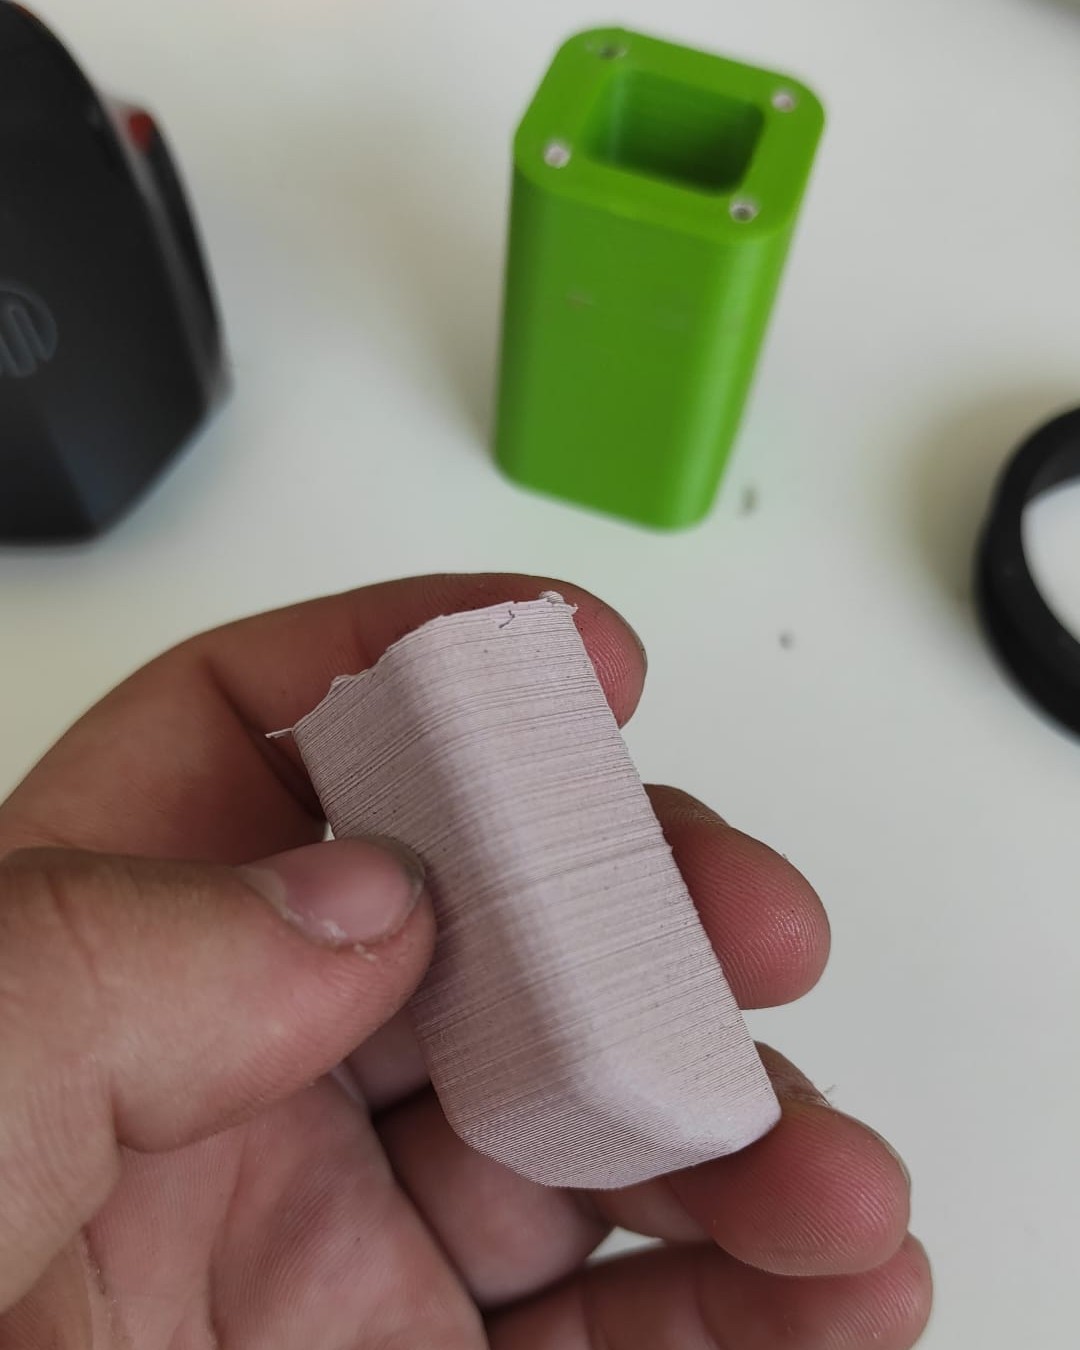
"The FingerTip" is a Test, thats wy i printed it realy rough(what gave me a hard time demolding). The Story of it is, that a StaffMember lost part of his left middlefinger and he wants to play guitar again. I designed something crude to help him and play a bit with prosthetics.
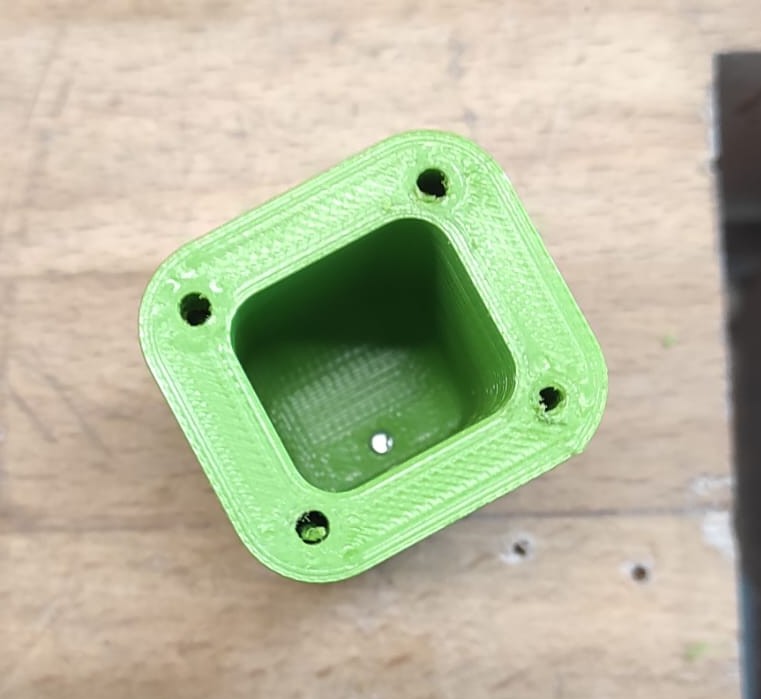
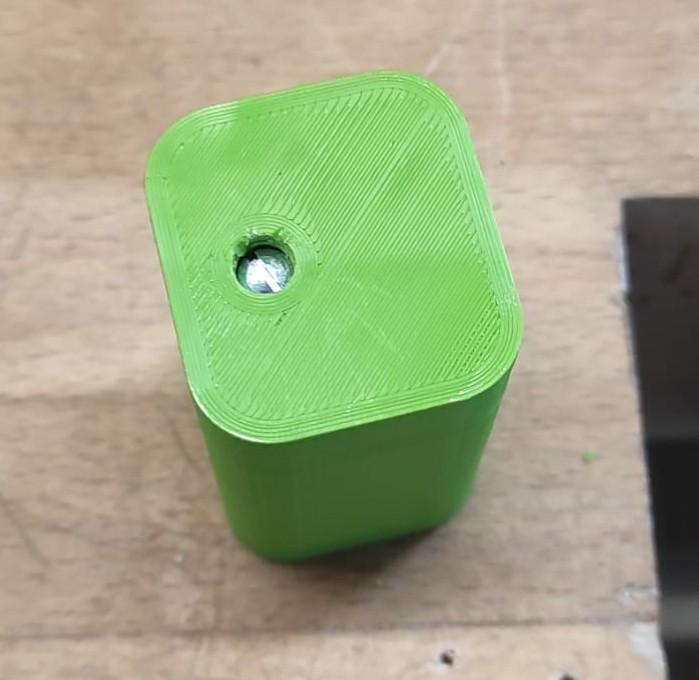
First i needed to tap the mold at the bottom, because this was hole needed to be plugged, to help demold later with pressured air. I tapped it with an M4 thread.
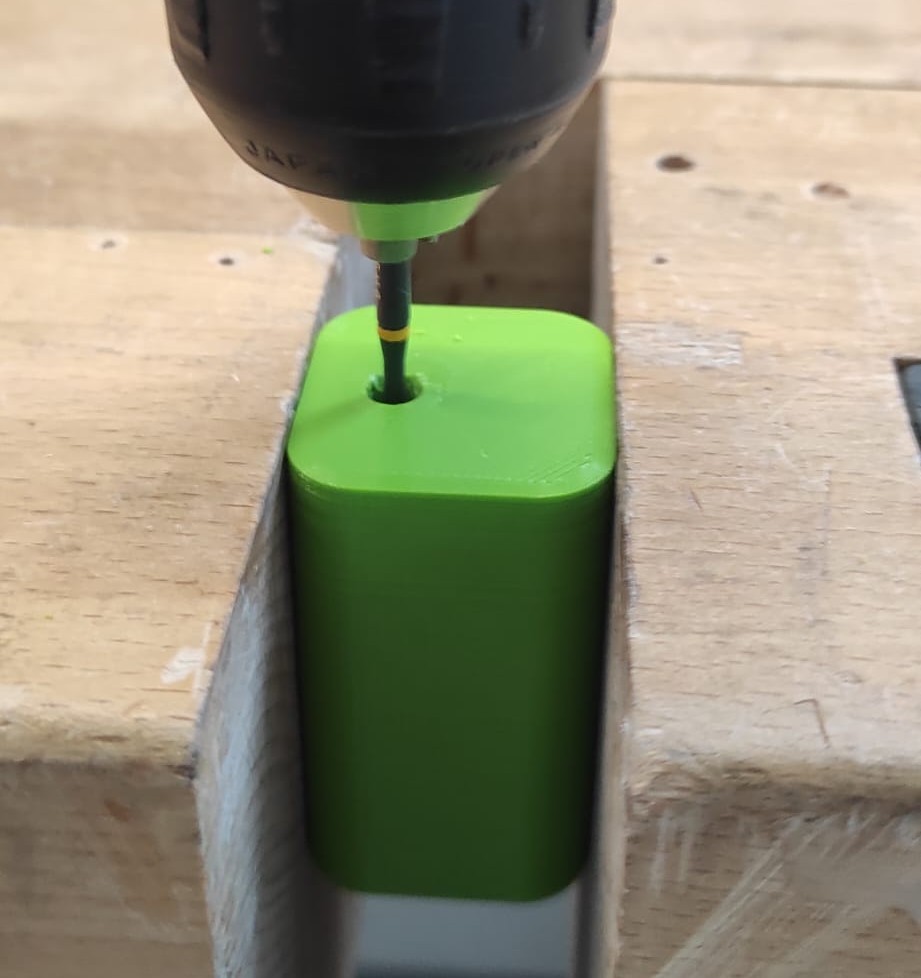
Here is the screw from the Bottom.
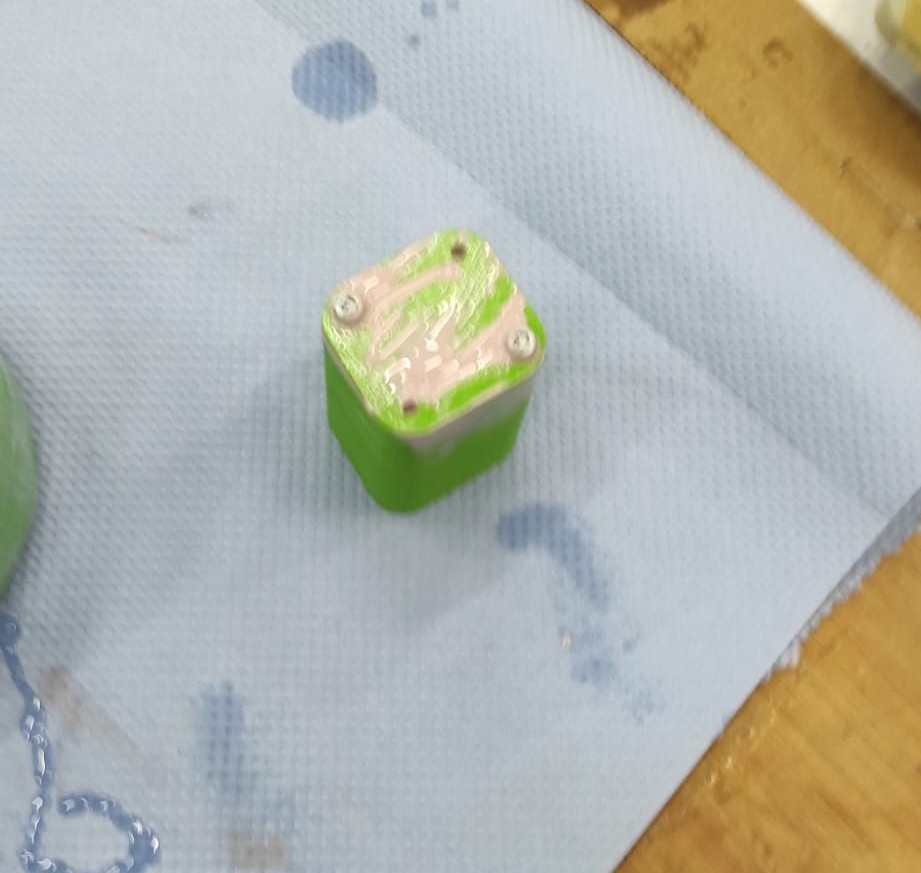
After Filling the mold, i pressed the top piece into the mold for the finger cavety, and clamped the mold with 2 M3 Screws.
While demolding, i destroyed the upper piece. It was a sacreficial mold eitherway.

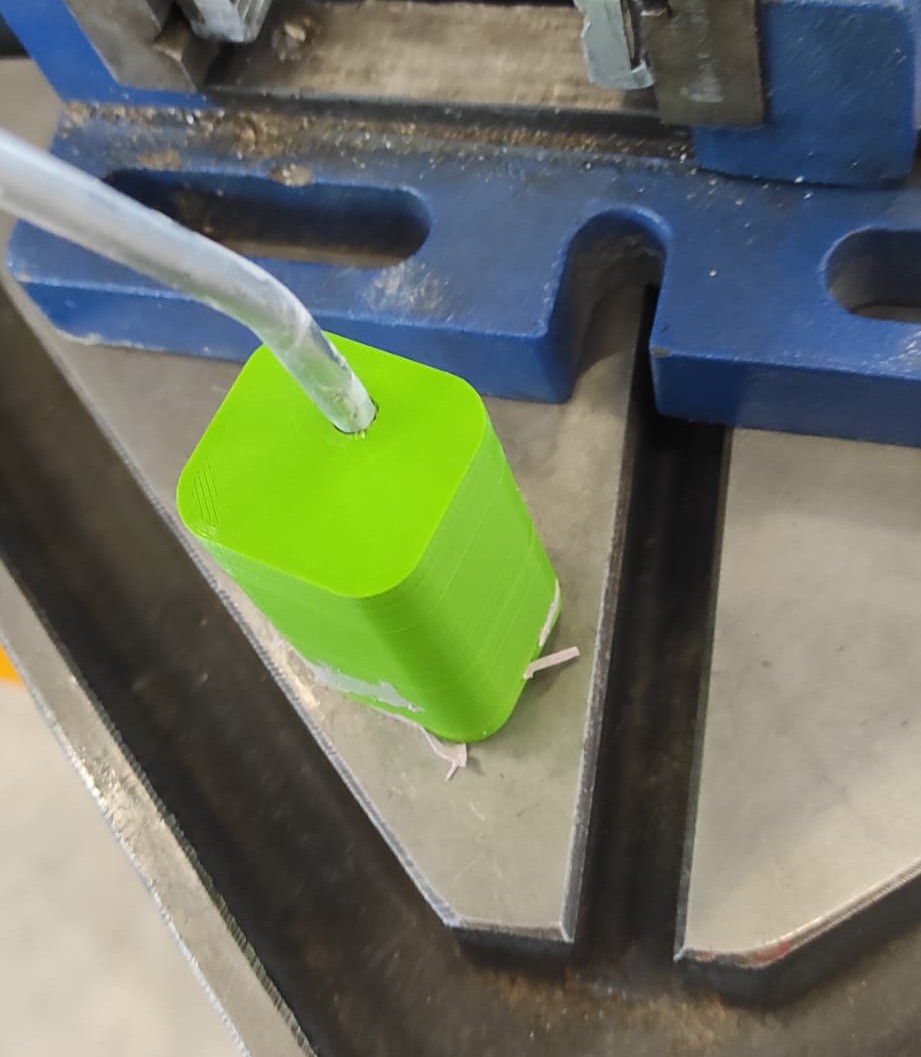
To help demolding, I removed the Screw at the Bottom and injected pressured air into the mold, which catapulted the cast out. but it was silicone and just hitted a box, i placed, to catch the FingerTip.
Demolded you see the roughness. But its a first fitting Test, if the Prosthetic fits him.
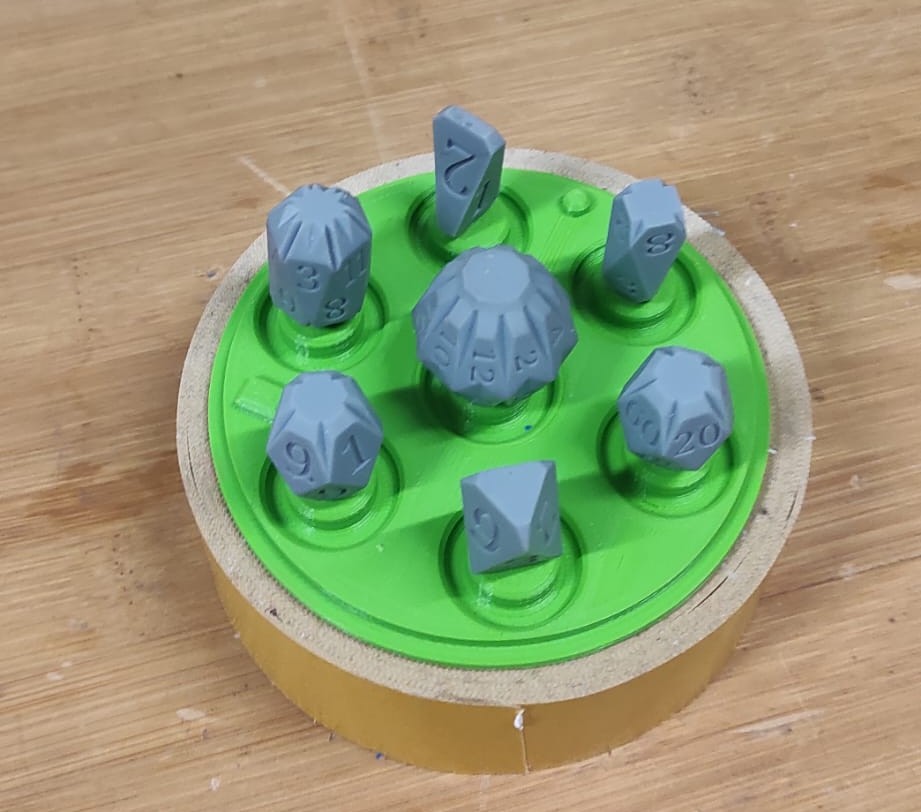
DiceMoldMaker
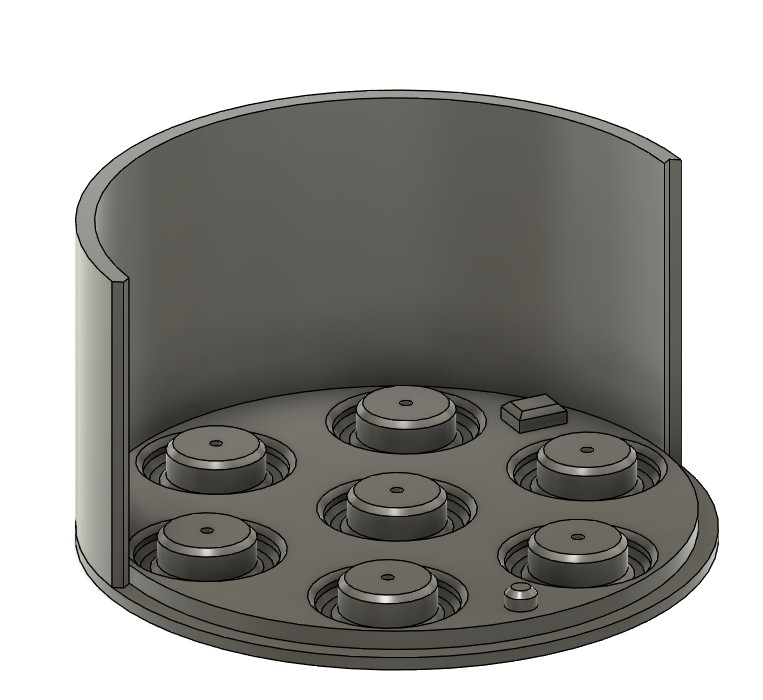
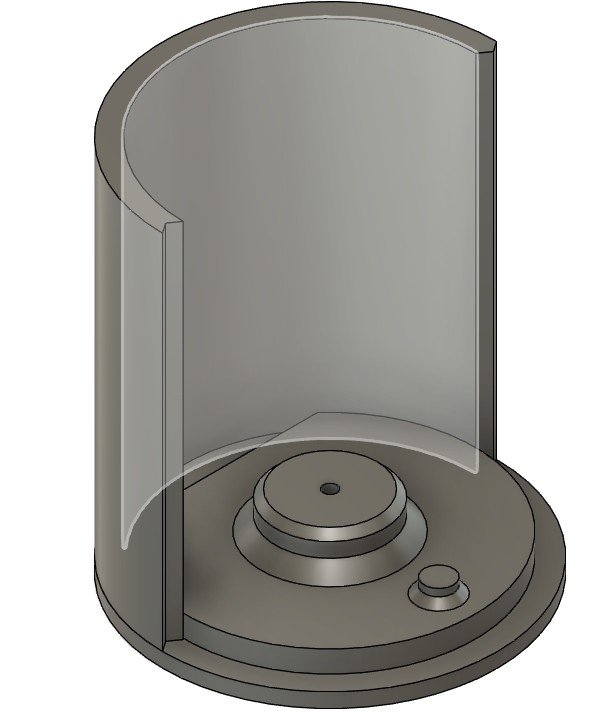
I made two Versions. the First one was a Slabmold for 7 Dices (normaly: D4, D6, D8, D10, D%, D12 and D20) which is ment for a DND Dice set. The 2nd version is for a single Dice.
Prepwork
Some years ago i printed the Facets Dice by sablebadger with my DLP Printer and now i wanted to make Mold out of them.
The First step was to drill a 2mm Hole into the ugliest side of the dices. Followed by glueing a piece of Filament(1.75mm) into this hole long enough to have excess later.
I just inserted the dices into the hole in the bottom piece of the mold(SlabMoldA).
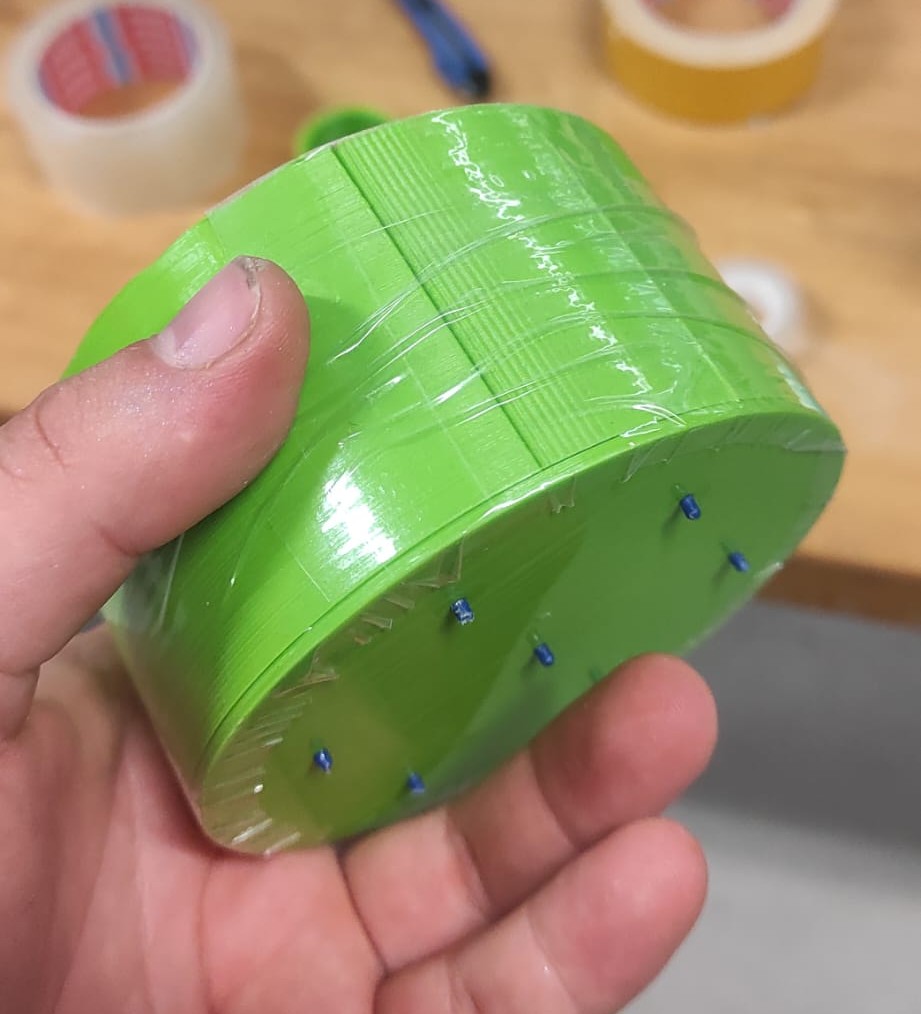
Last Prep step was to close the mold with two printed SlabMoldB parts and. putting a bead of hotglue over the exposed parts of the Filament sticking out the Bottom
Main Mold
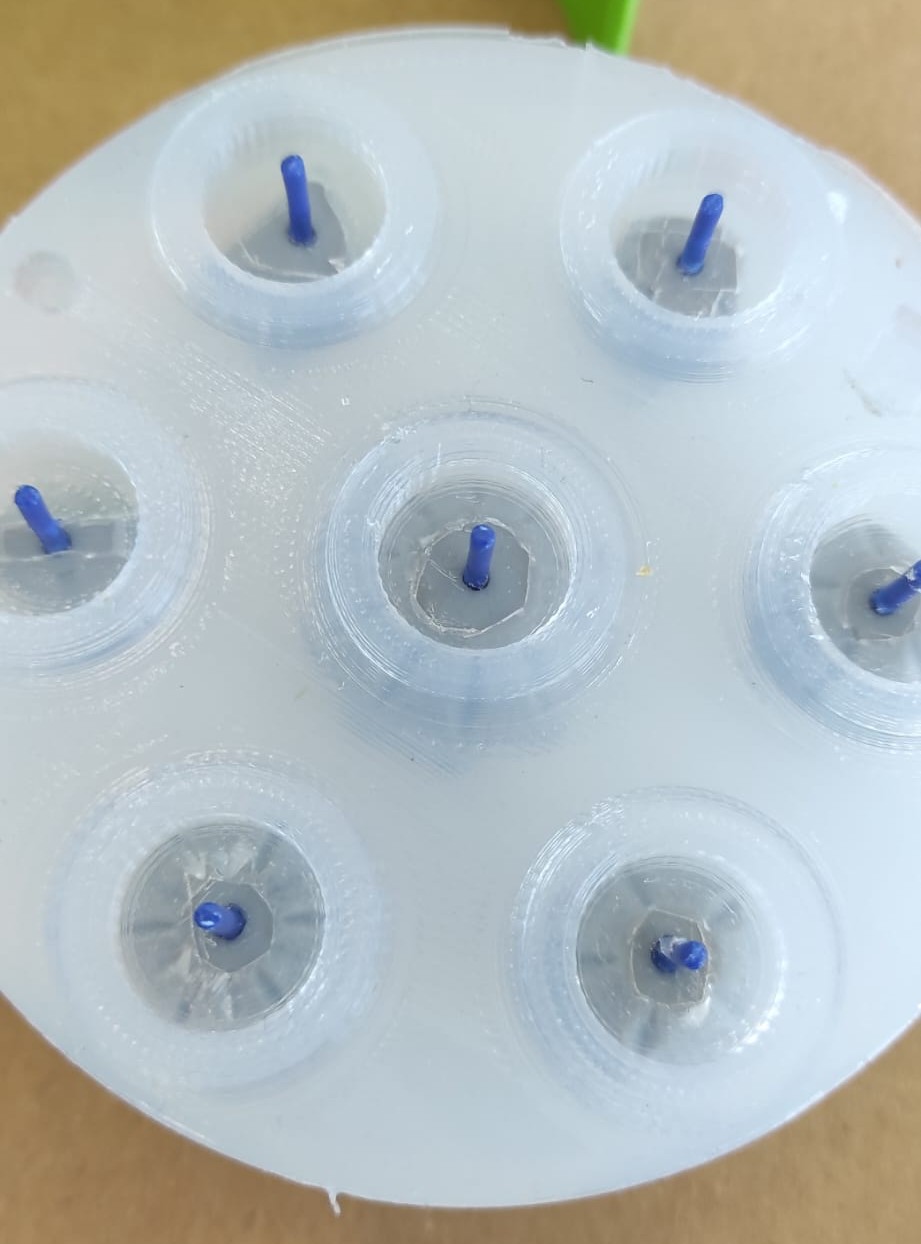
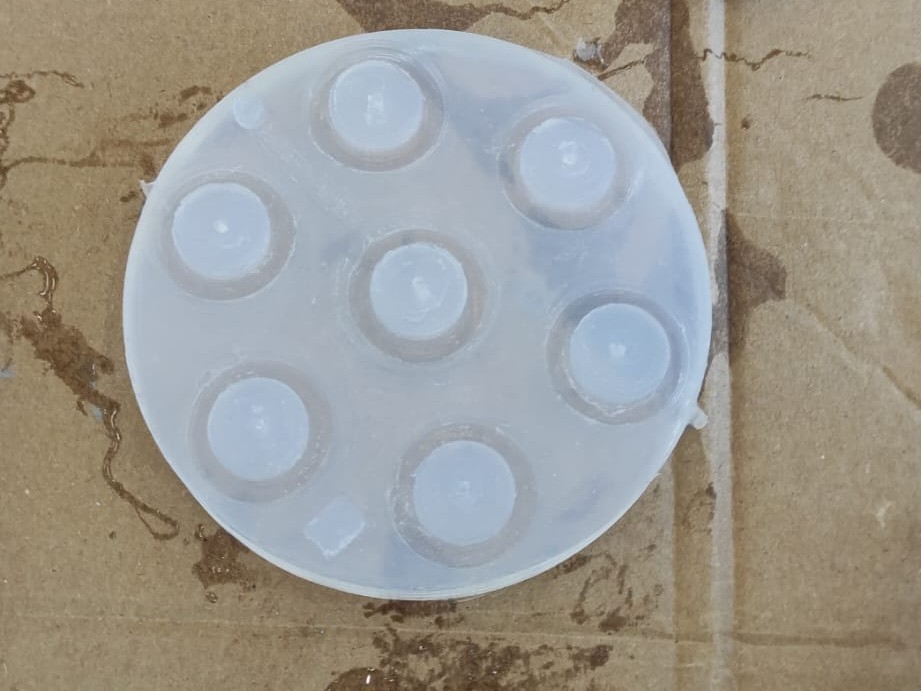
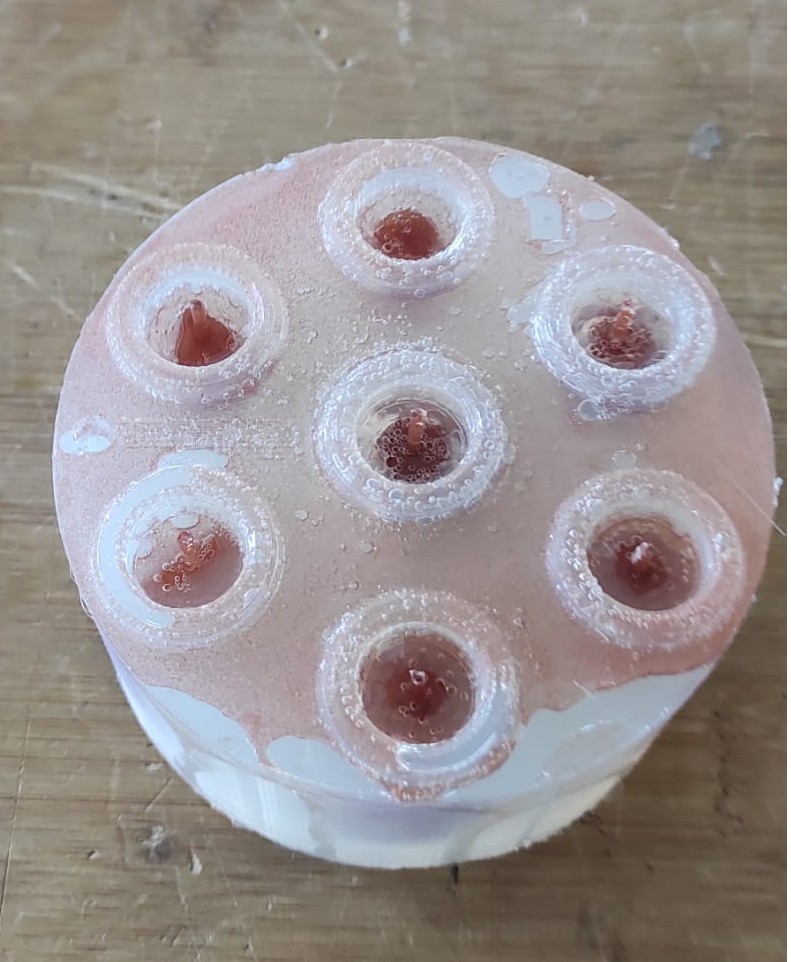
I poured Silicone into the mold and let it cure
Here i removed the mold but keeping the Dices with the "Sprue" untouched. Thats why just i used a tiny bit of Hotglue at the tip of the Filament pieces. I also needed to remove some Flashing and coating the whole top side of the Mold with Vaseline, to prevent the next layer of Silicone of sticking to this layer.
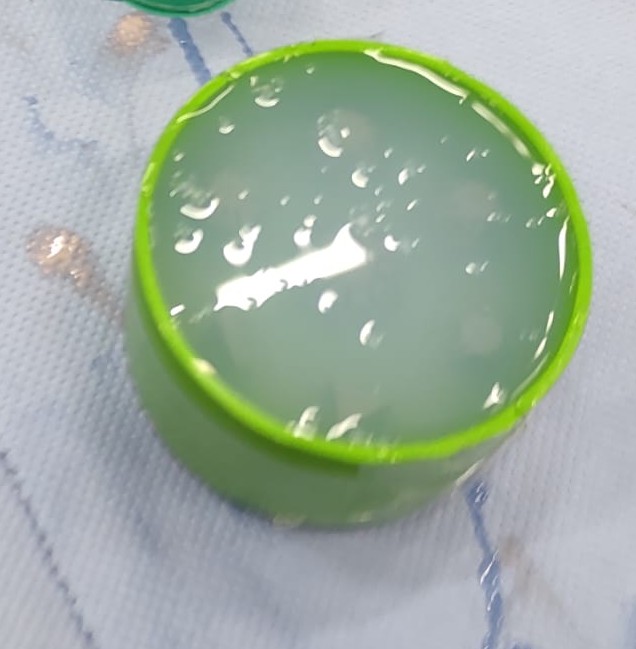
Lid
The Lid part was easy. Just a bit of Silicone on top, while having the outer shell again in place with some margin to the bottom
Here you see the Lid seperated after curing
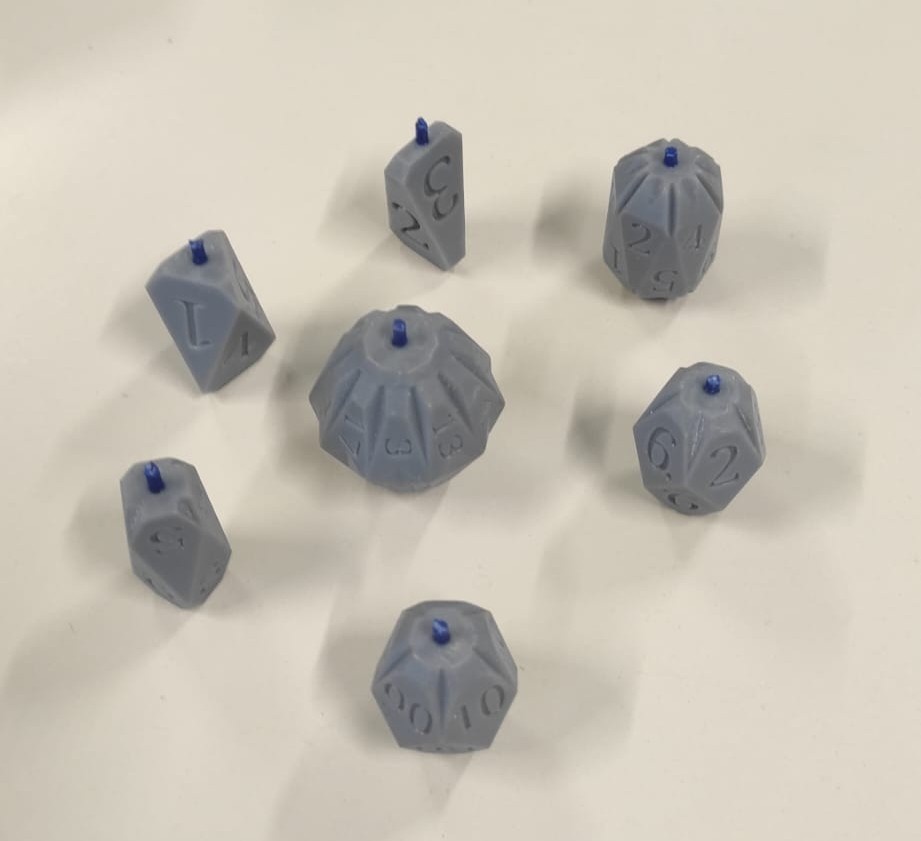
Result
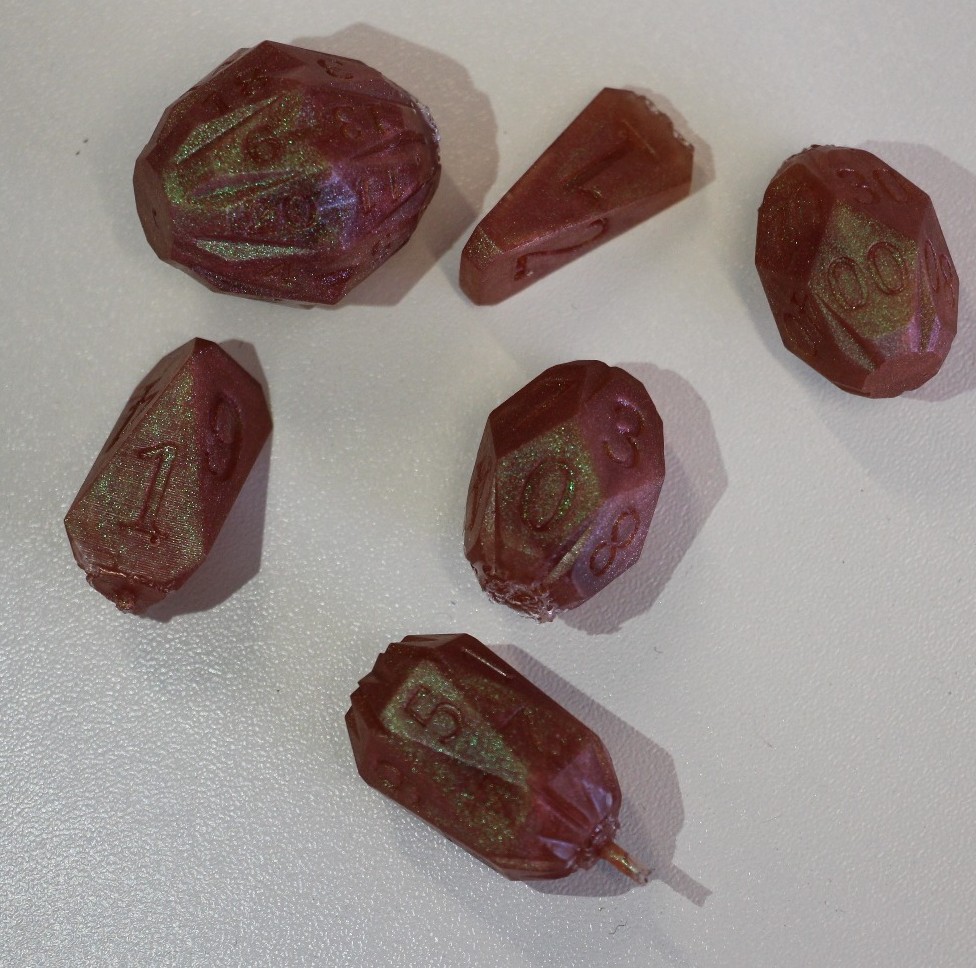
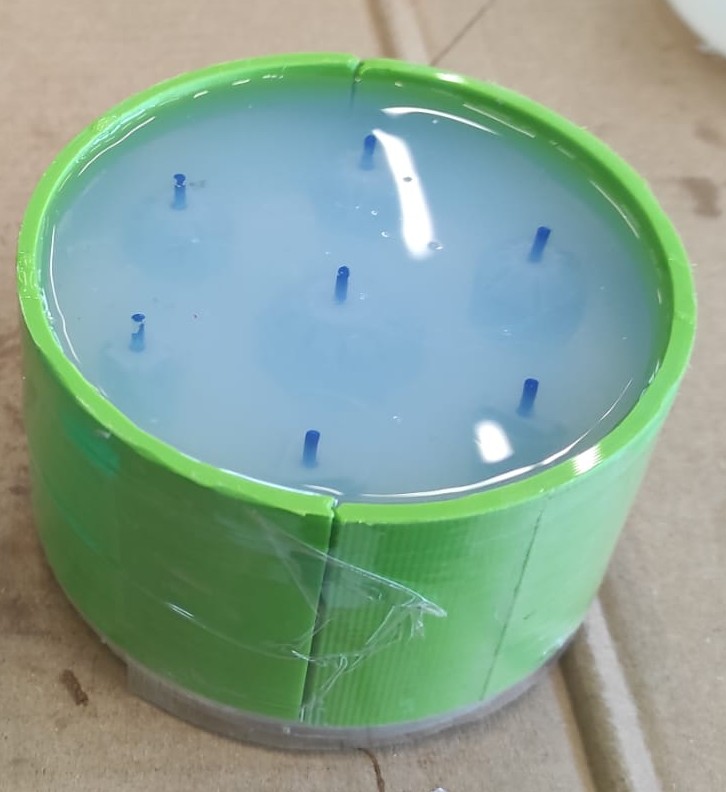
For casting i just overfilled the mold and Squished the cap onto it. the hole in the top acts as vent to prevent the introduction of more bubbles. But it doesnt helped, I degased the Resin too short.
After Demolding: