week 17. Wildcard Week
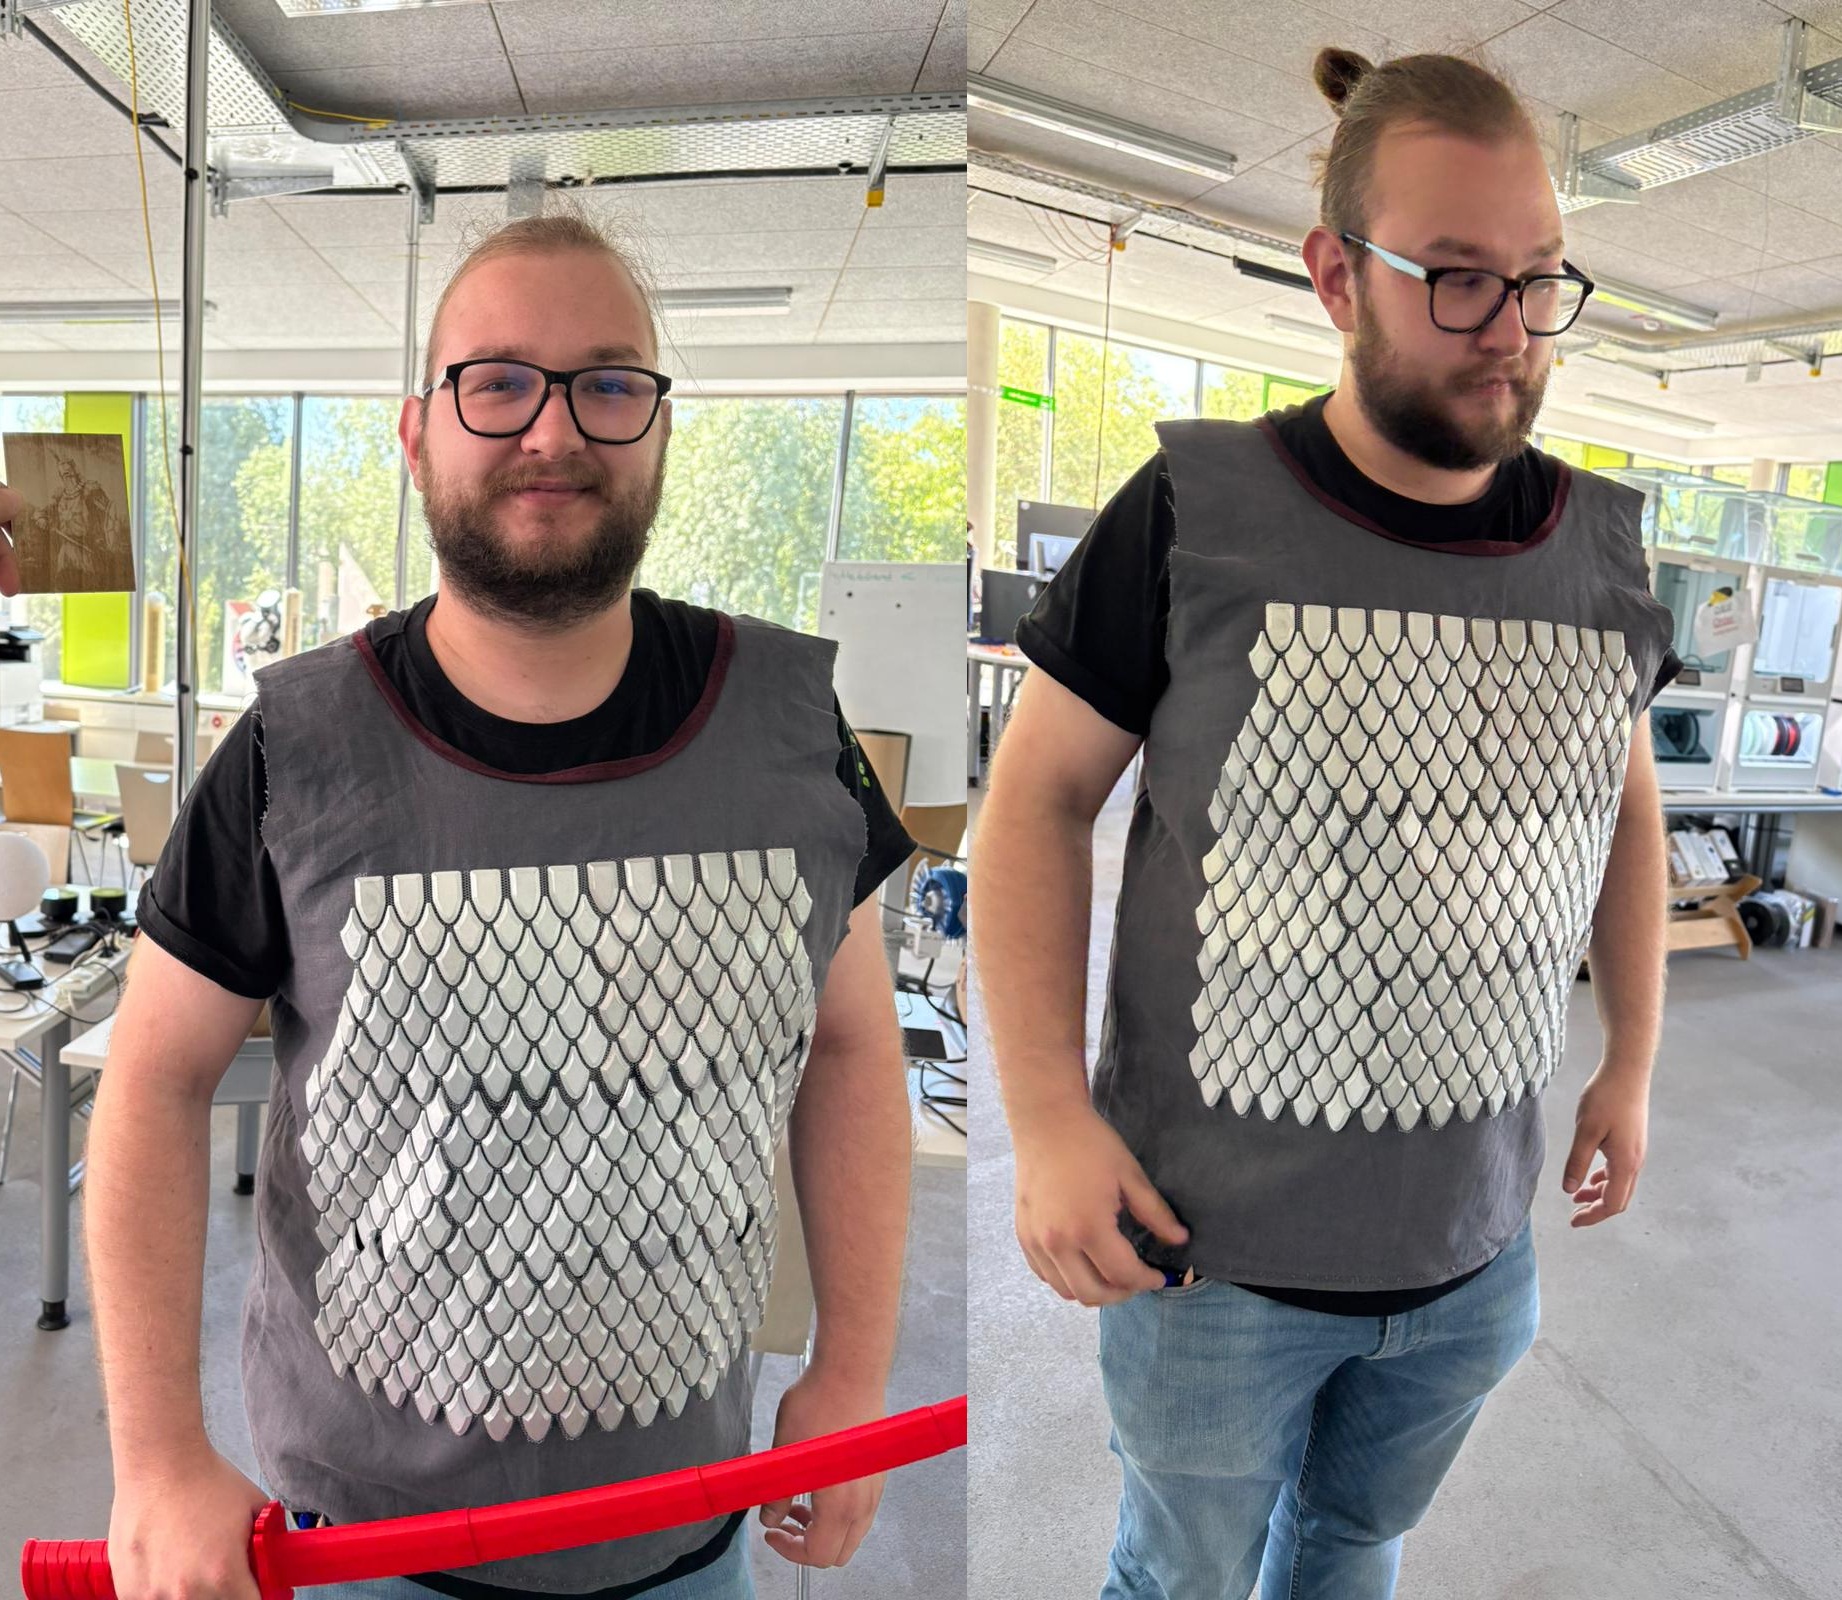
This Week i wanted to make something interesting with fabric and 3D- Printing. I lasercut a top, printed scales which are embedded onto mesh and combined everything at the end. What i did was some kind of Scale-Armor for Larp/Festivals.
The Process of infusing 3D-Prints with an additional Material like meshes was not coverd in any of the previous assignments.
3D-Printing
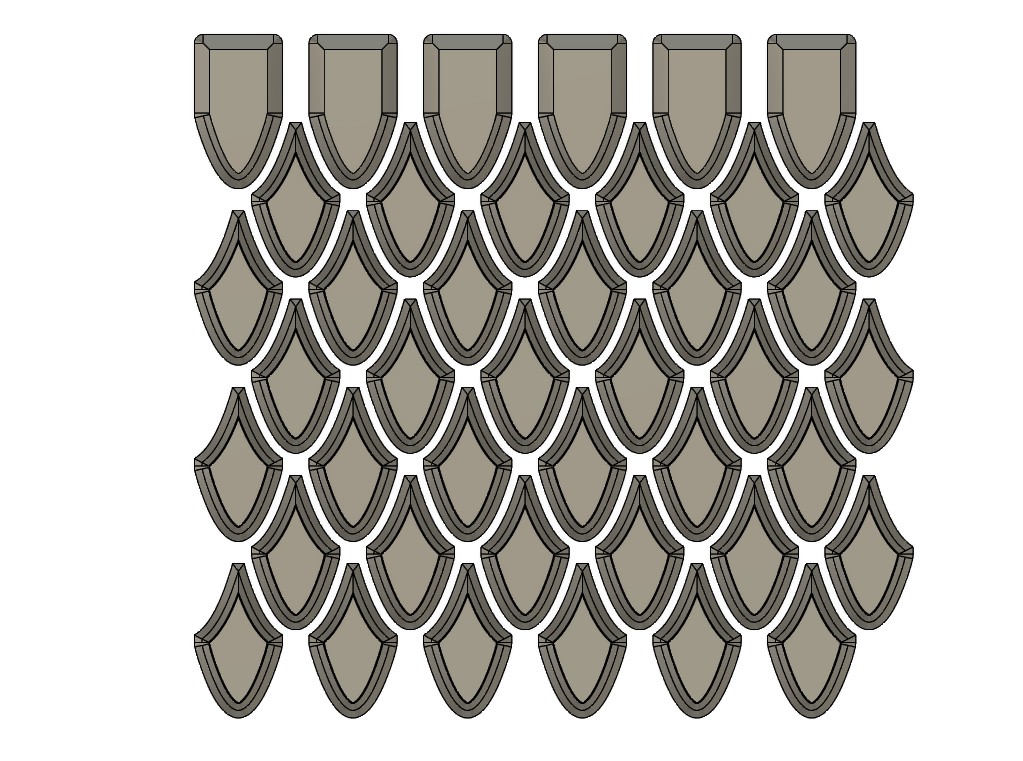
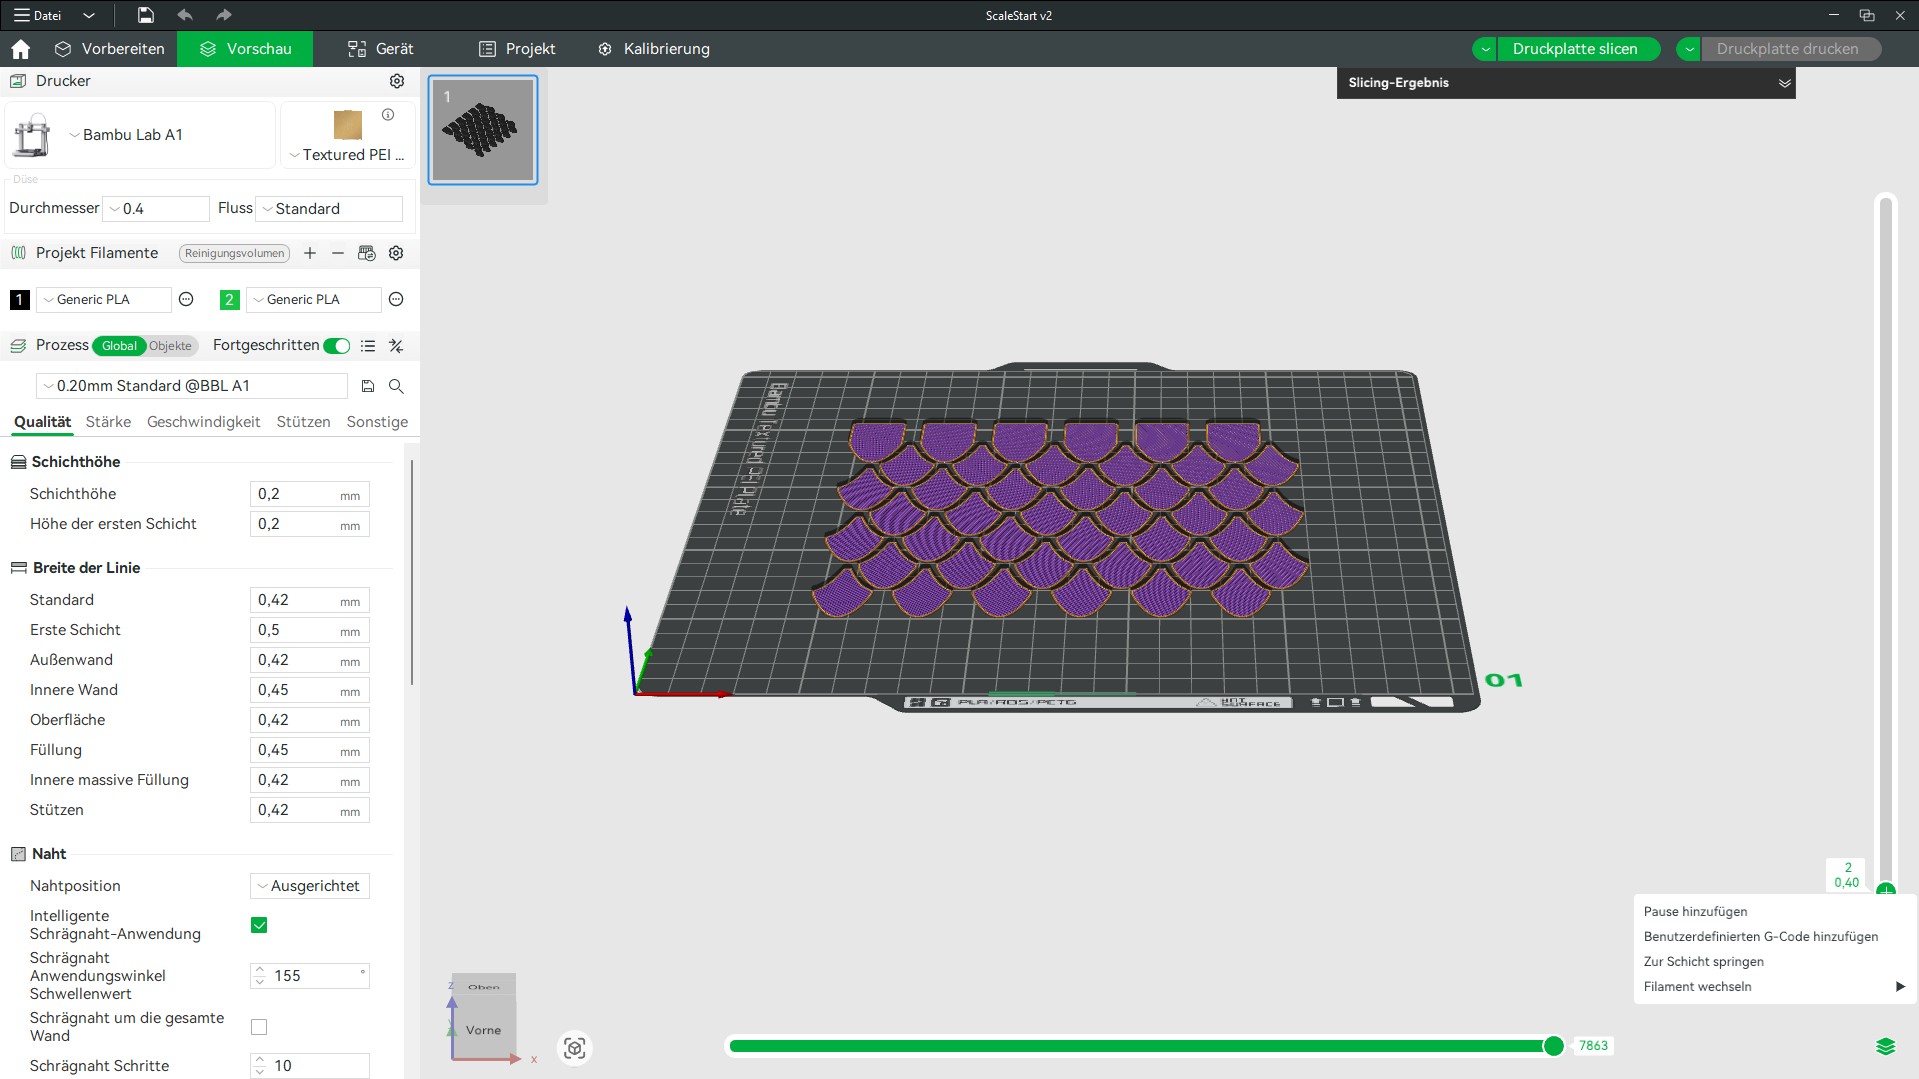
First thing i did was to 3d Print scales. I made two versions. The First version was the start, which has a row of different scales at the top added
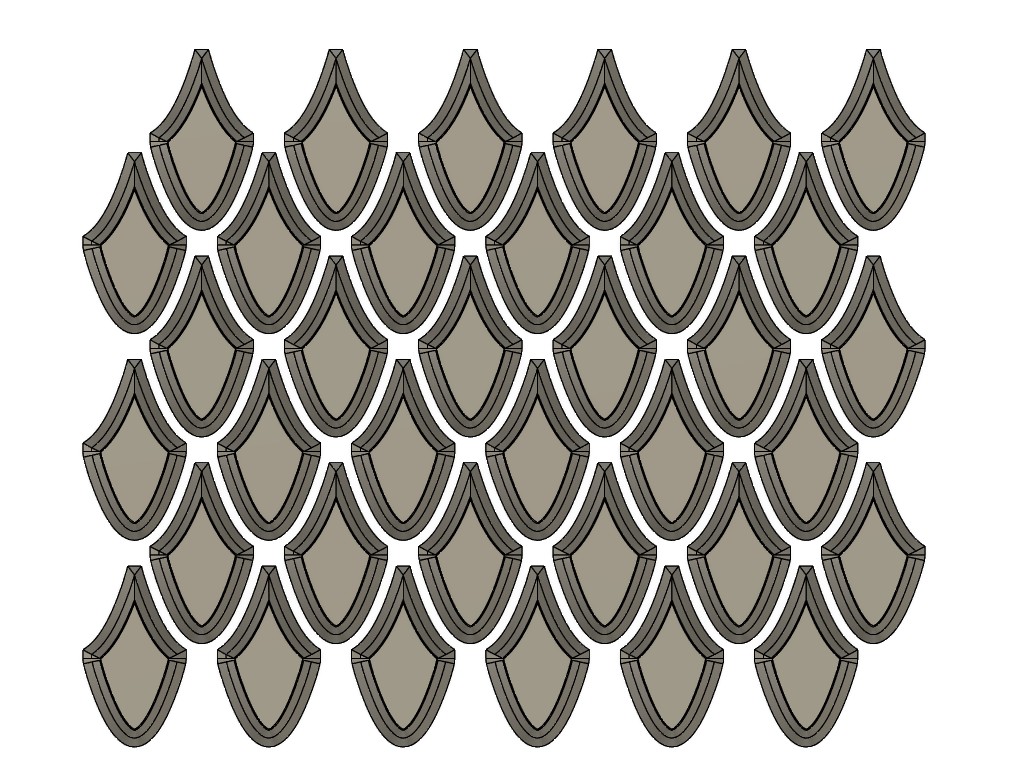
The second is the same without the top row
Slicing with pause
I sliced the files for our BambuLab A1 with the Standard Settings in 0.2mm layer height and with the standard PLA settings.
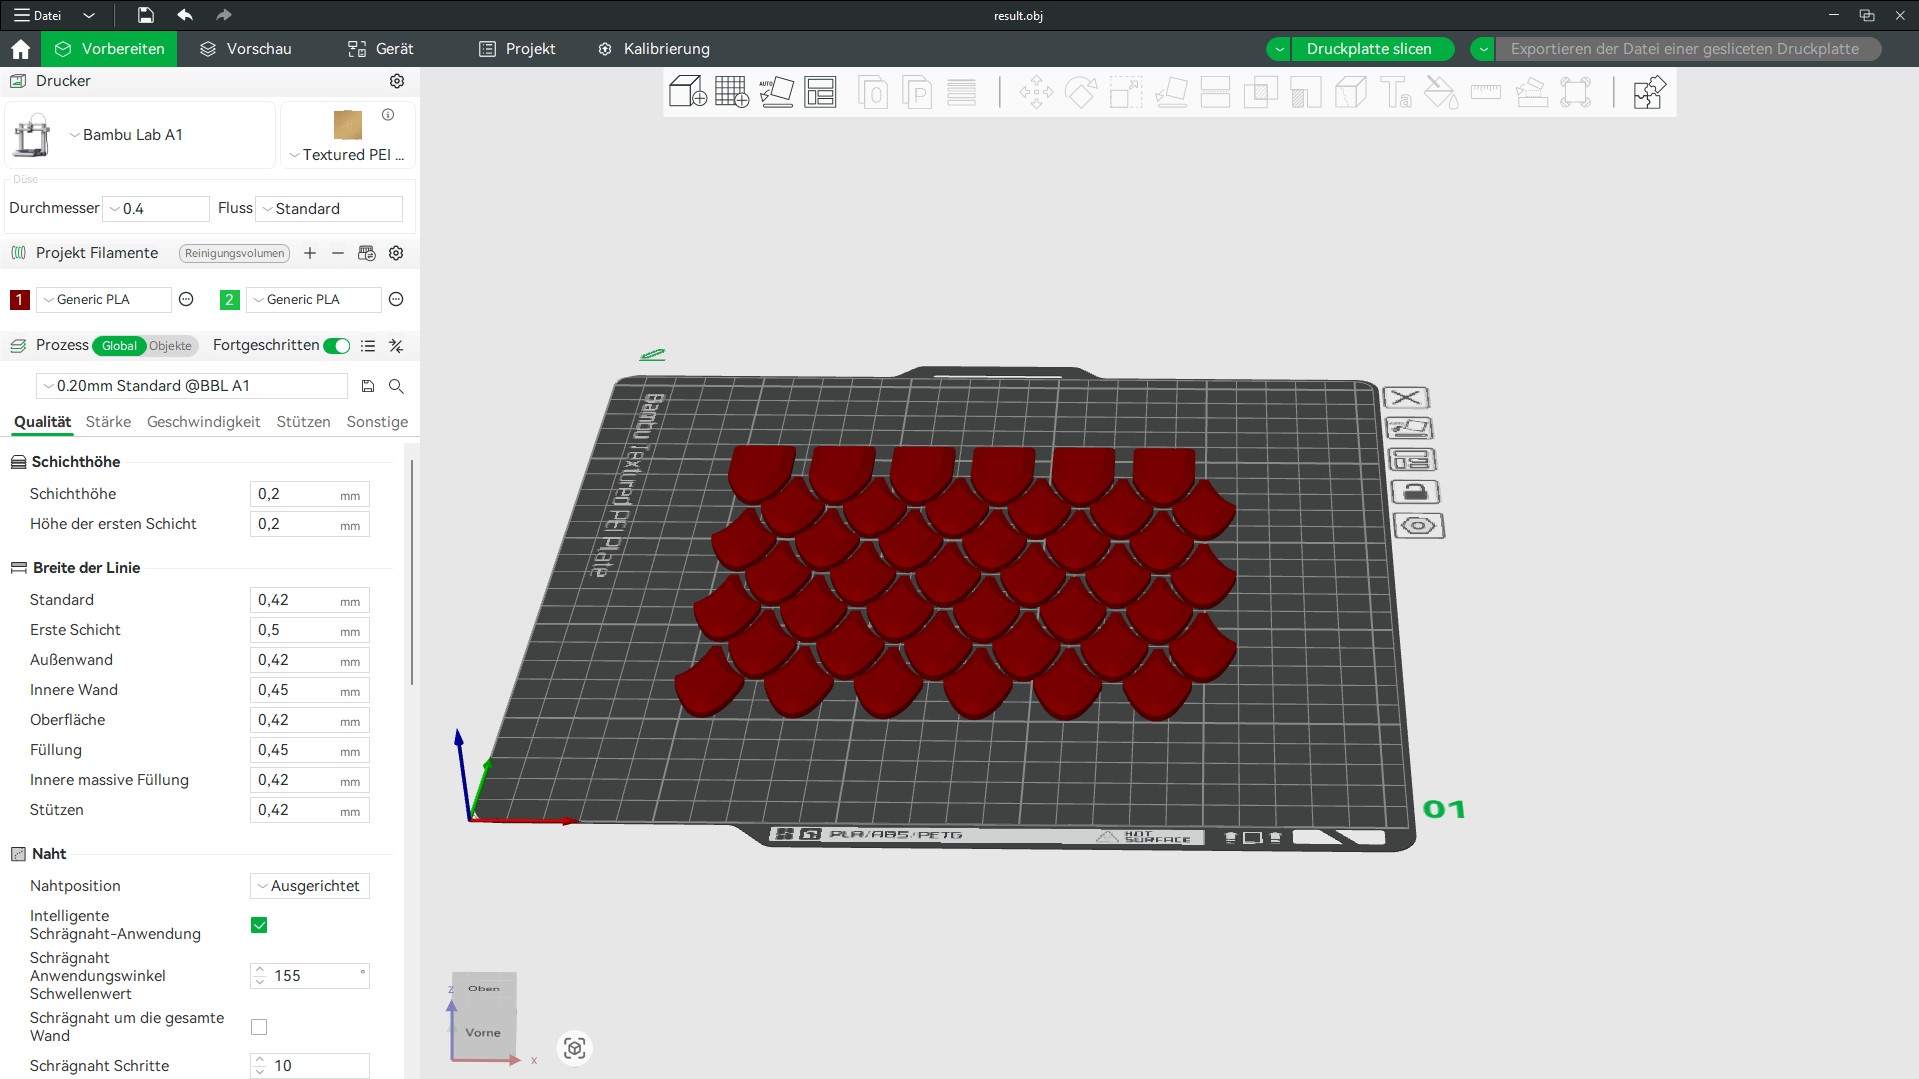
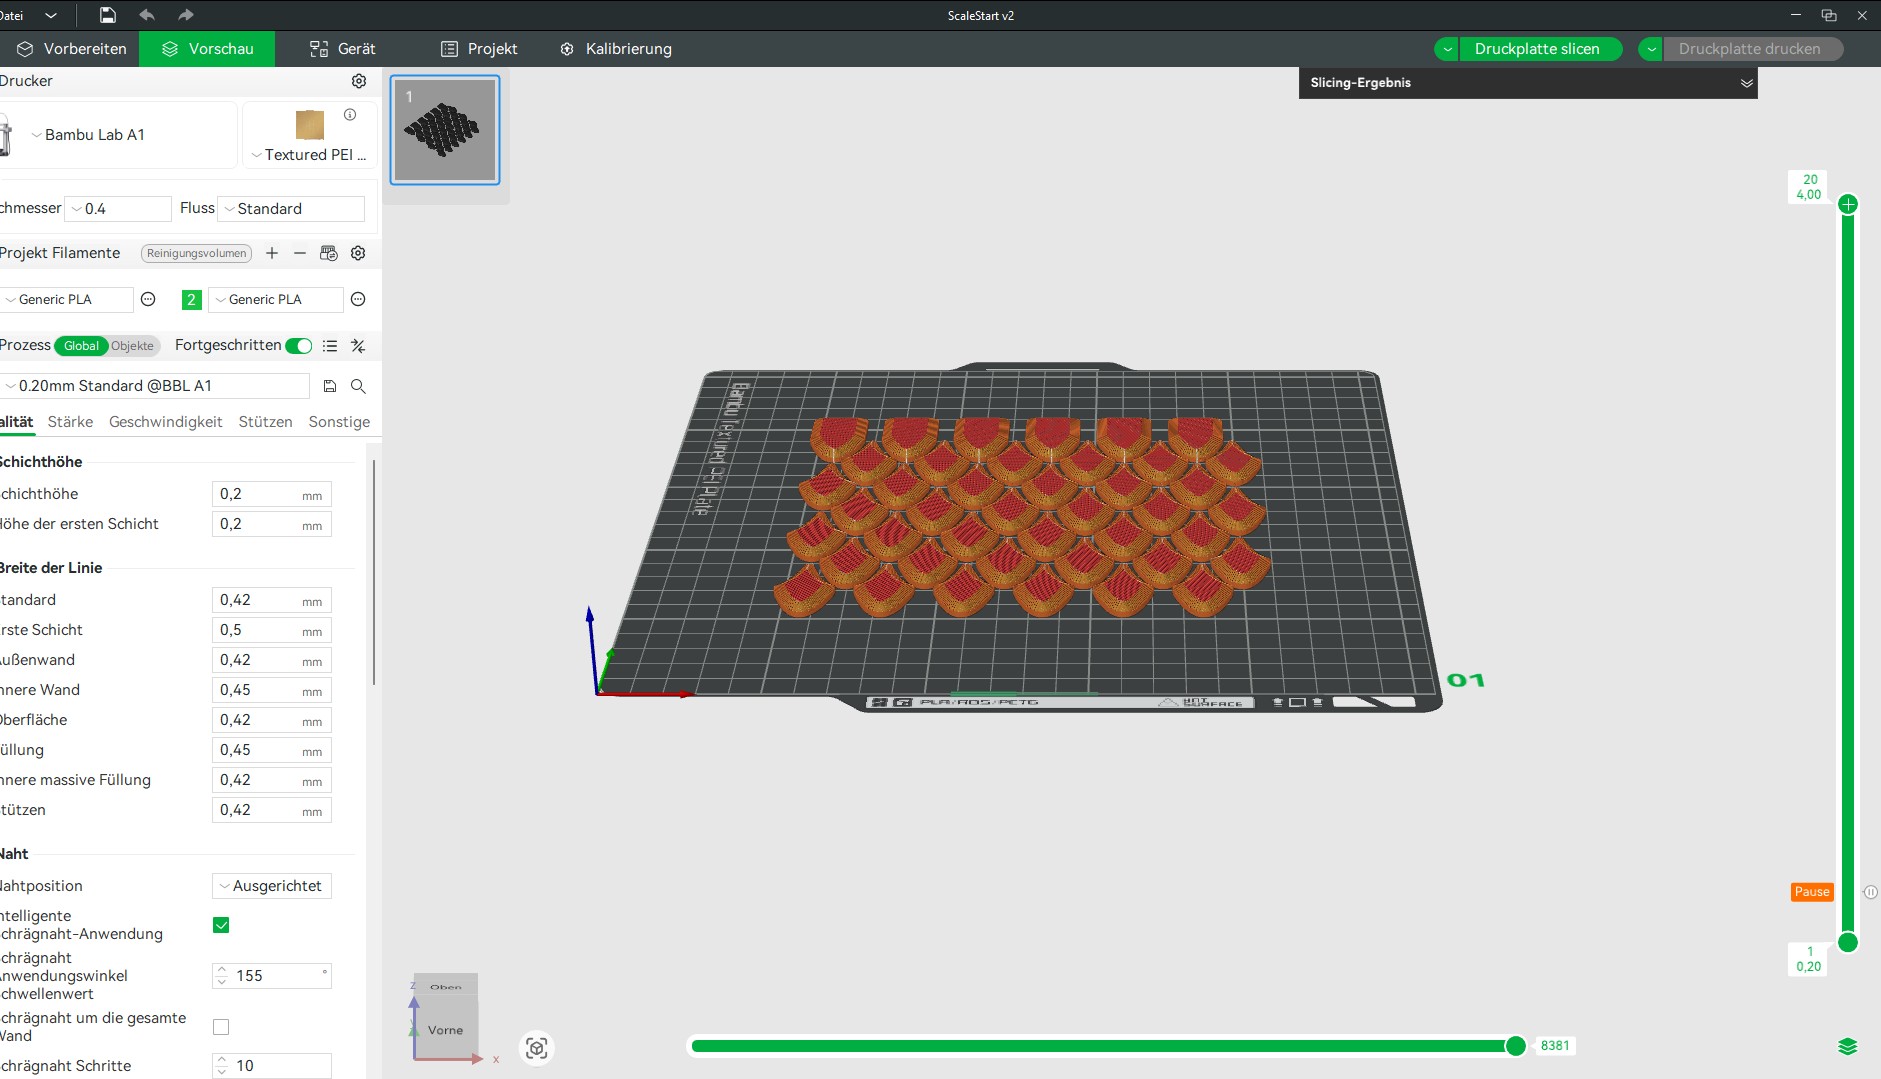
After Slicing, i added a Pause. For this I slided the slider on the right side to the 2nd layer, rigth clicked and selected add Pause. After that, i rescliced the file again
Now you see after showing all Layers again the hint pause on the right side.
actual Printing
Actual Printing was straigth forward. I printed, till the second layer was finished and the printer stopped there
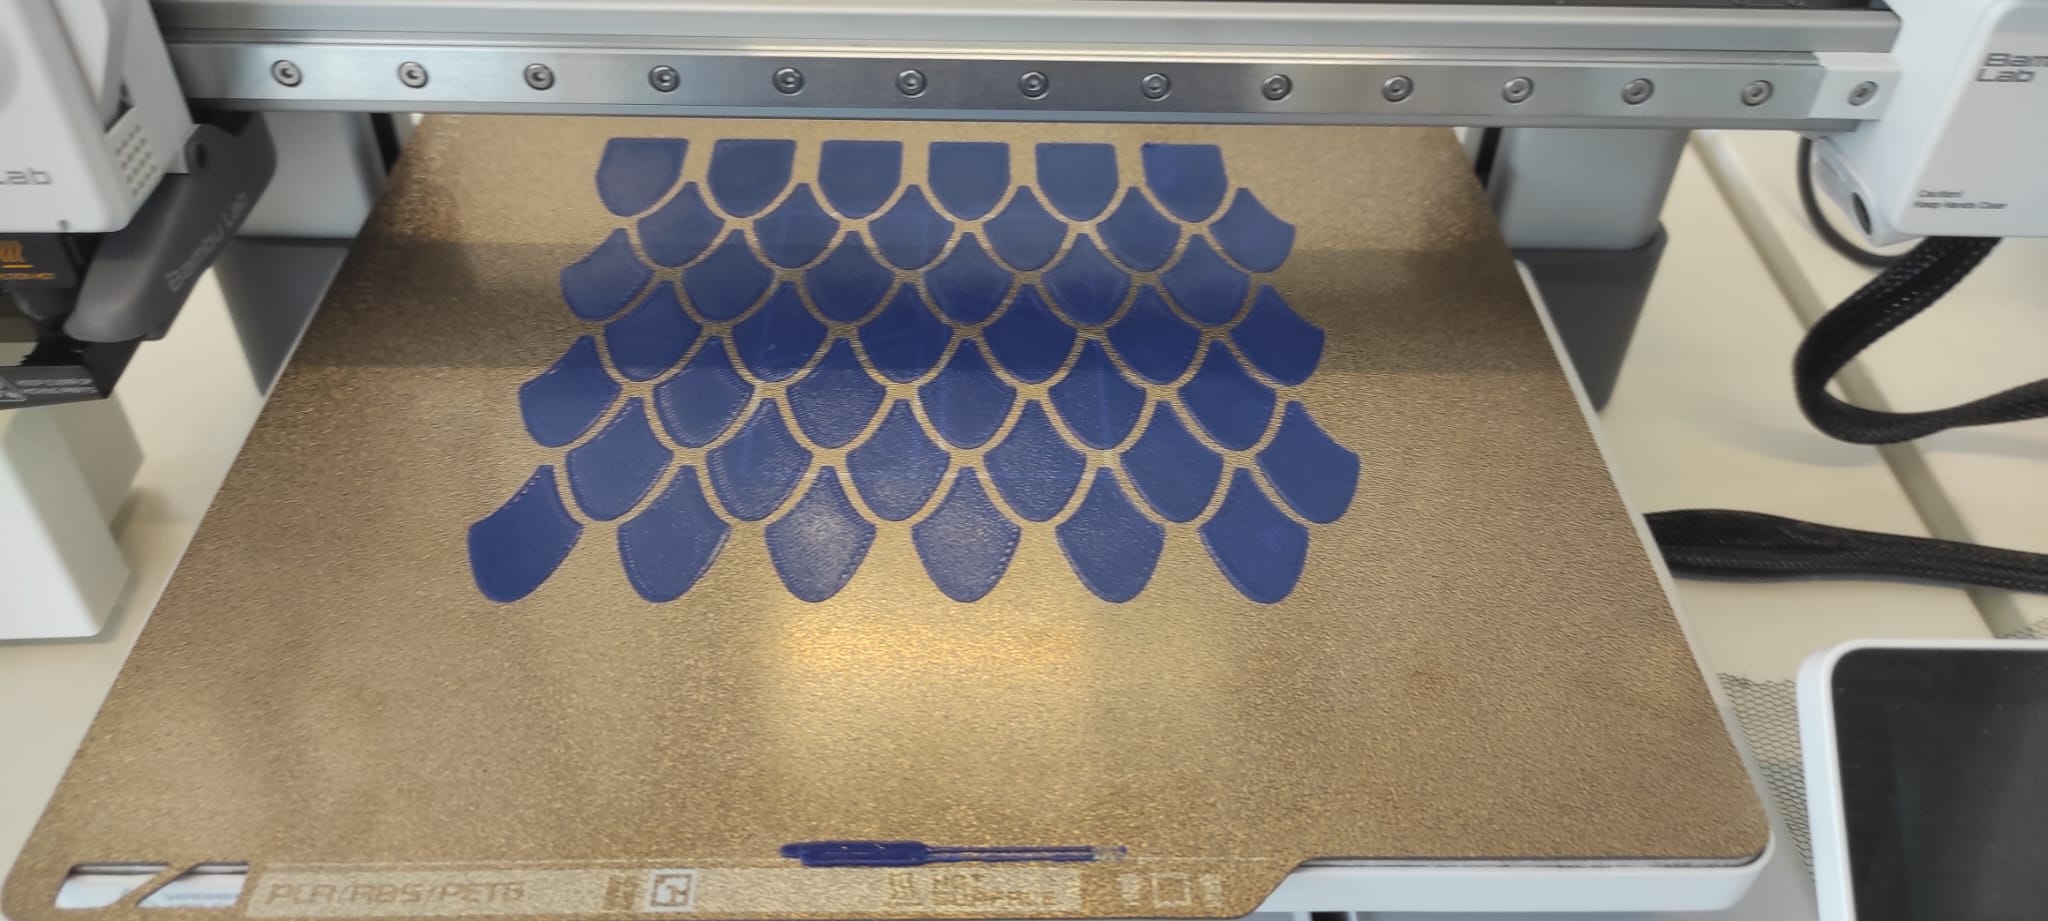
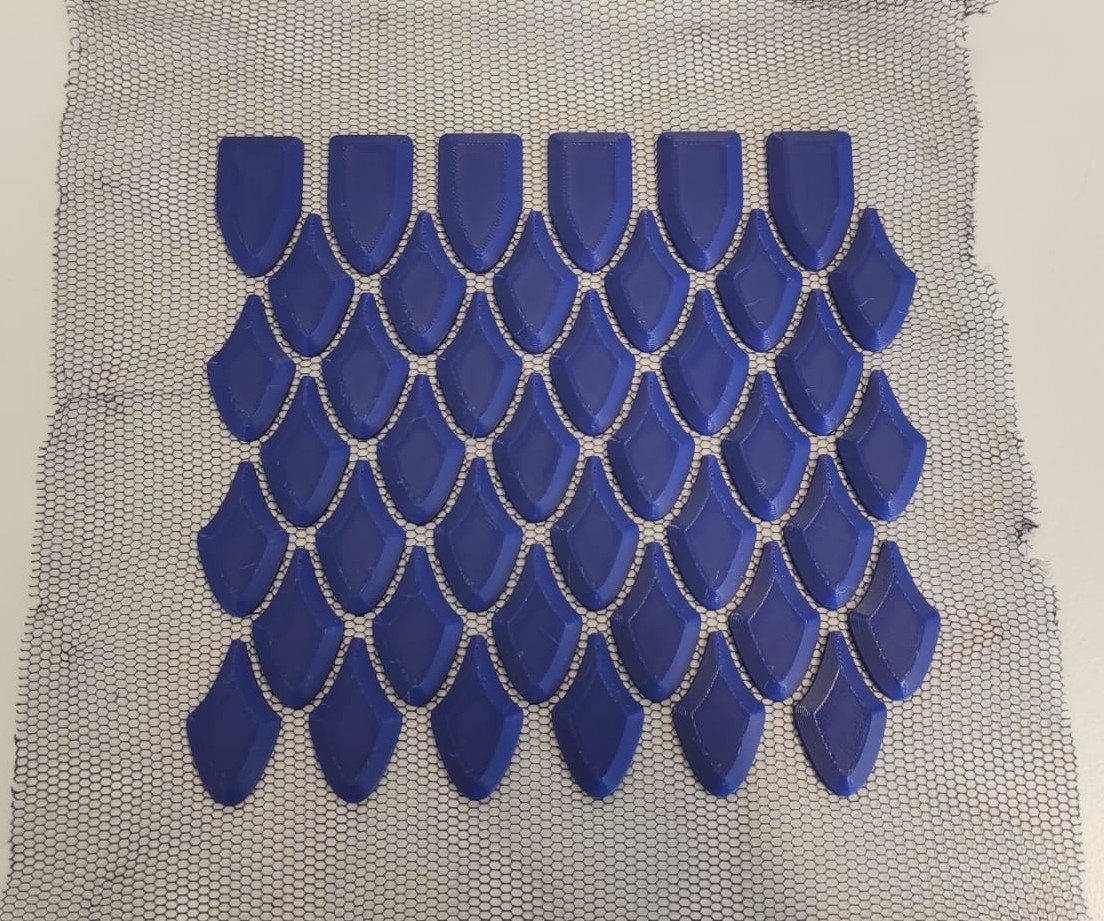
I then layed the mesh, in my case Insect Net, onto the Bed over the print and stretched it with magnets. I used 16 2x2 round neodym magnets.
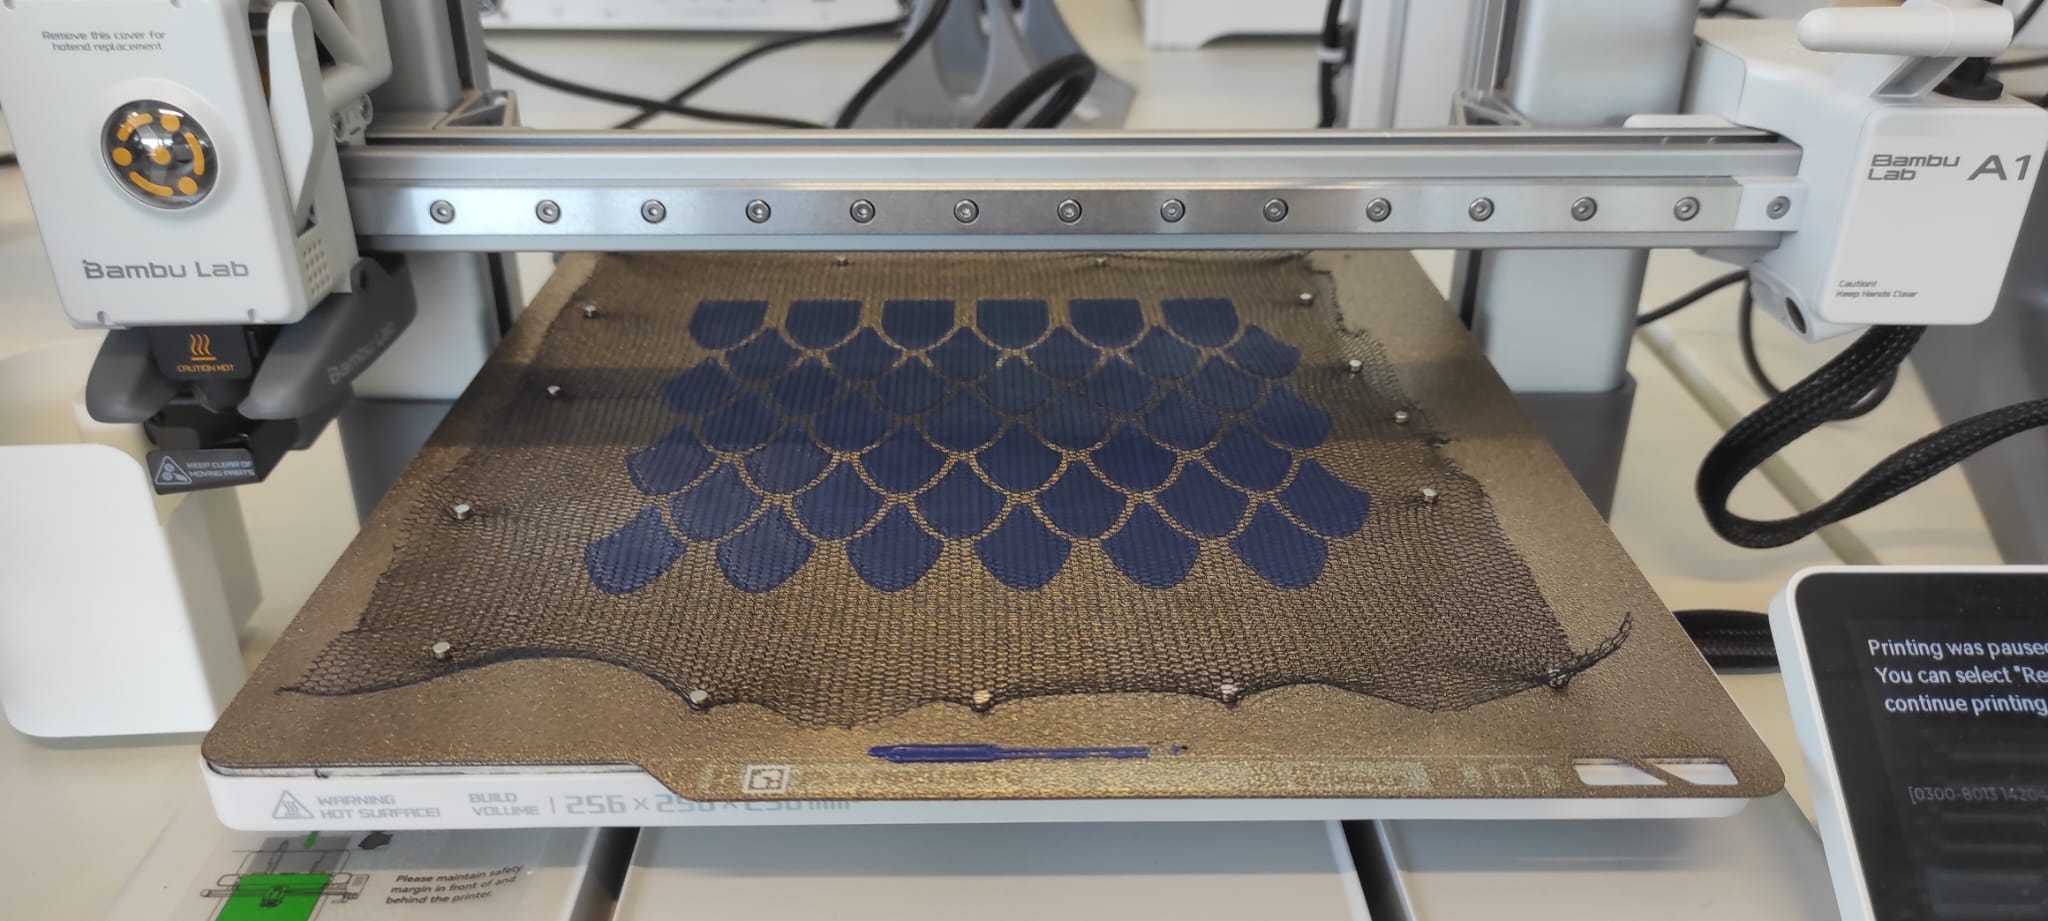
After the print was done i removed it and thats the result.
Painting
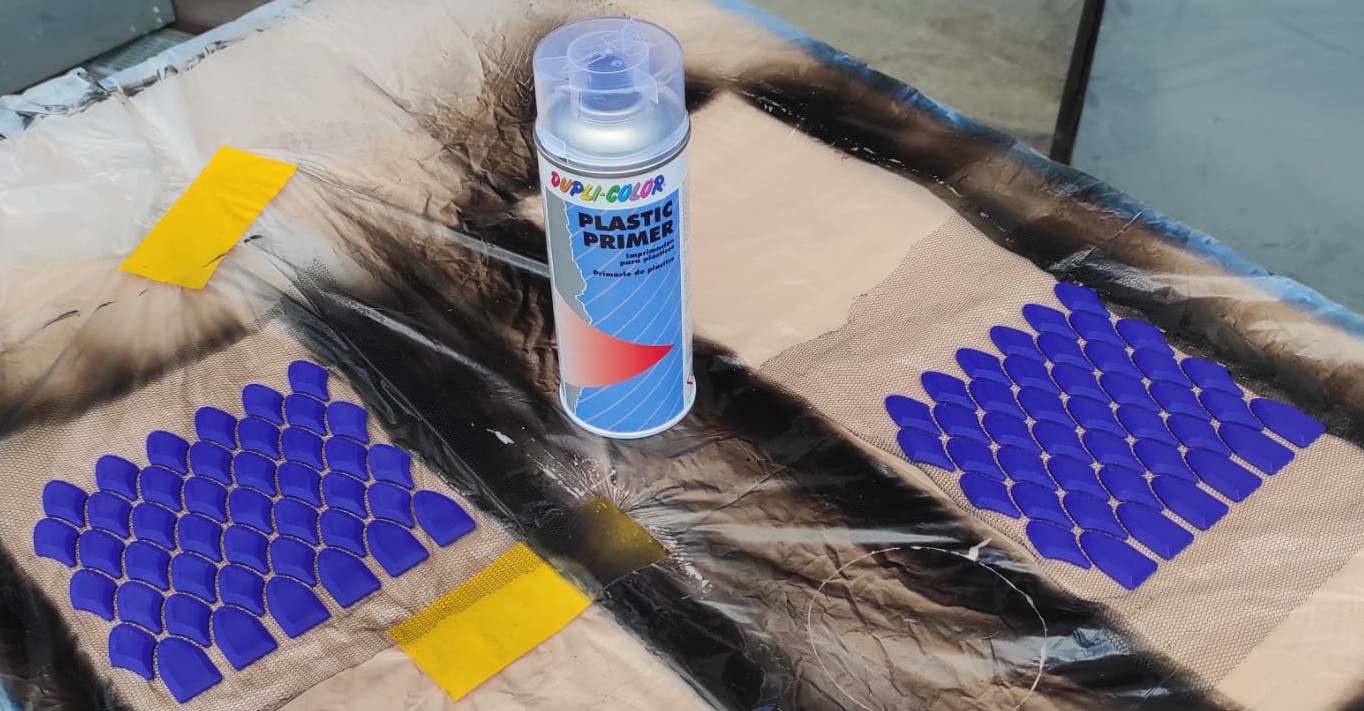
To get to the right esthetics, I first primed the prints.
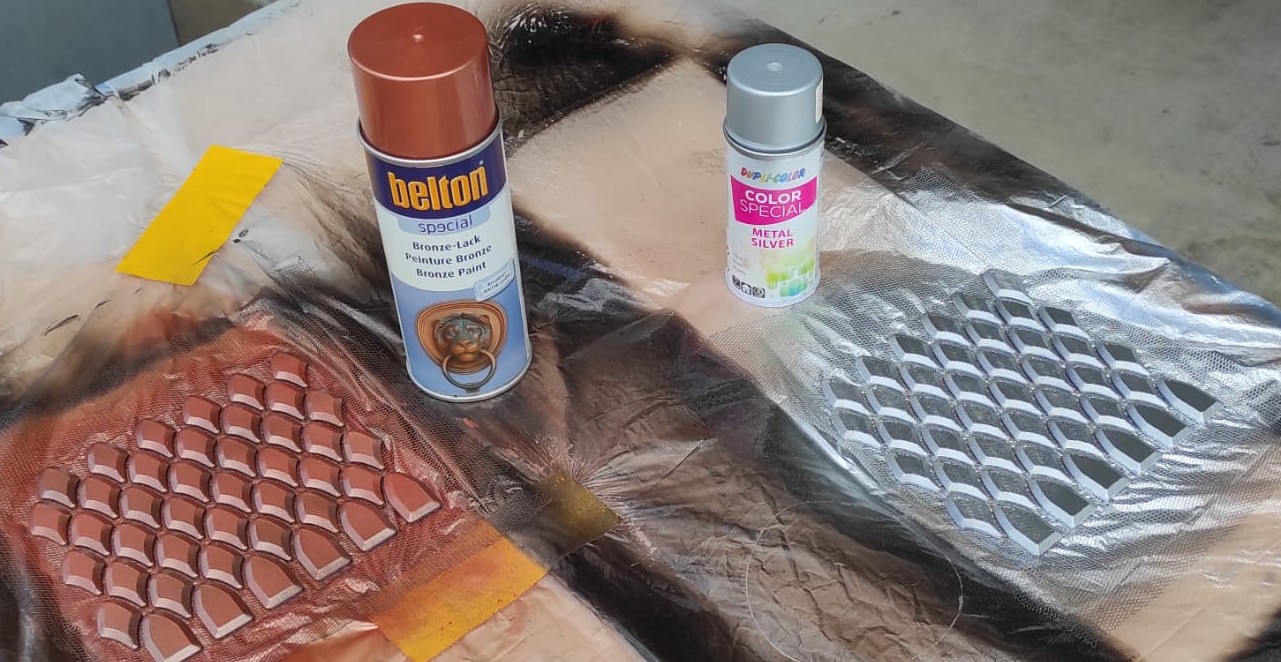
After 30min, I tested, which i colour i liked the best. I tryed Bronze and Silver. But went with Silver at the end.
2h after the Main color was applied, I applied a clearcoat and let it dry over night.
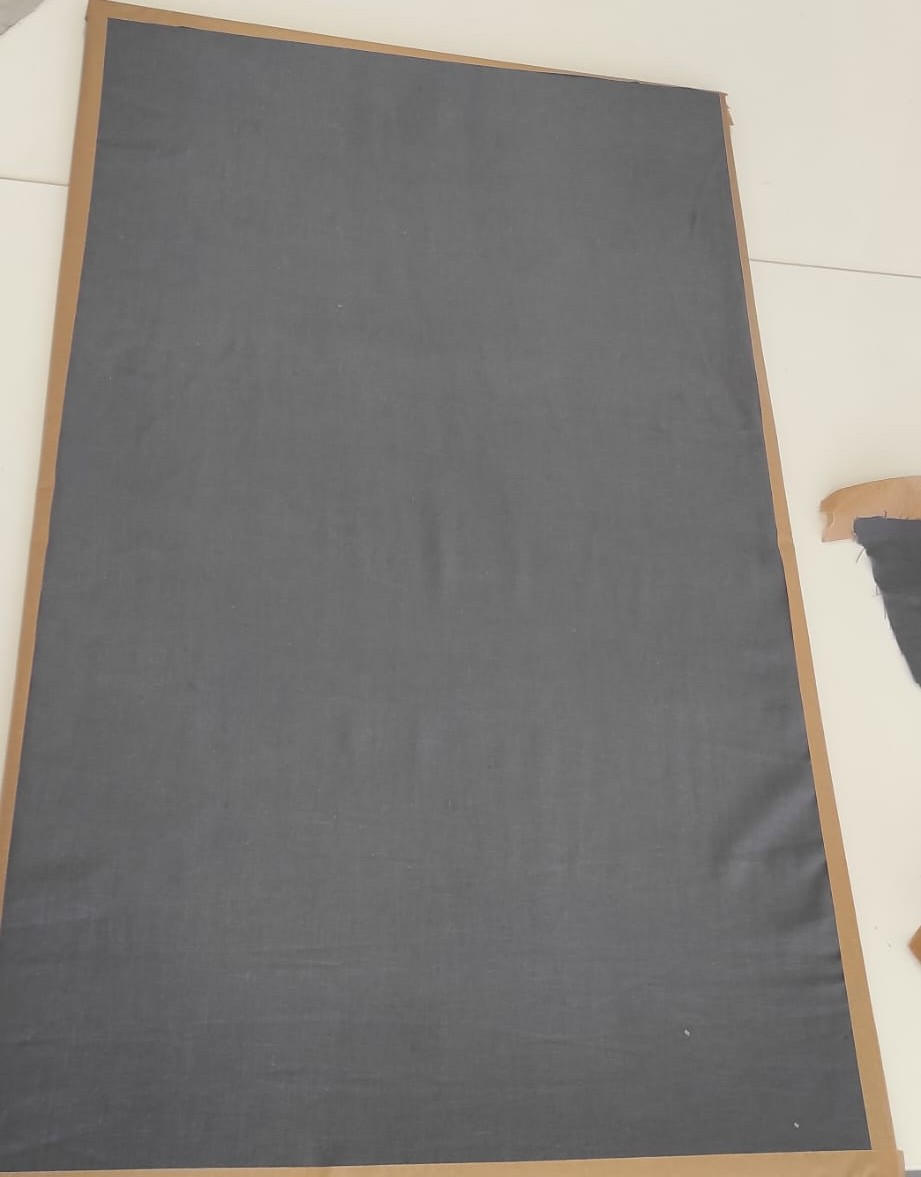
Fabricwork
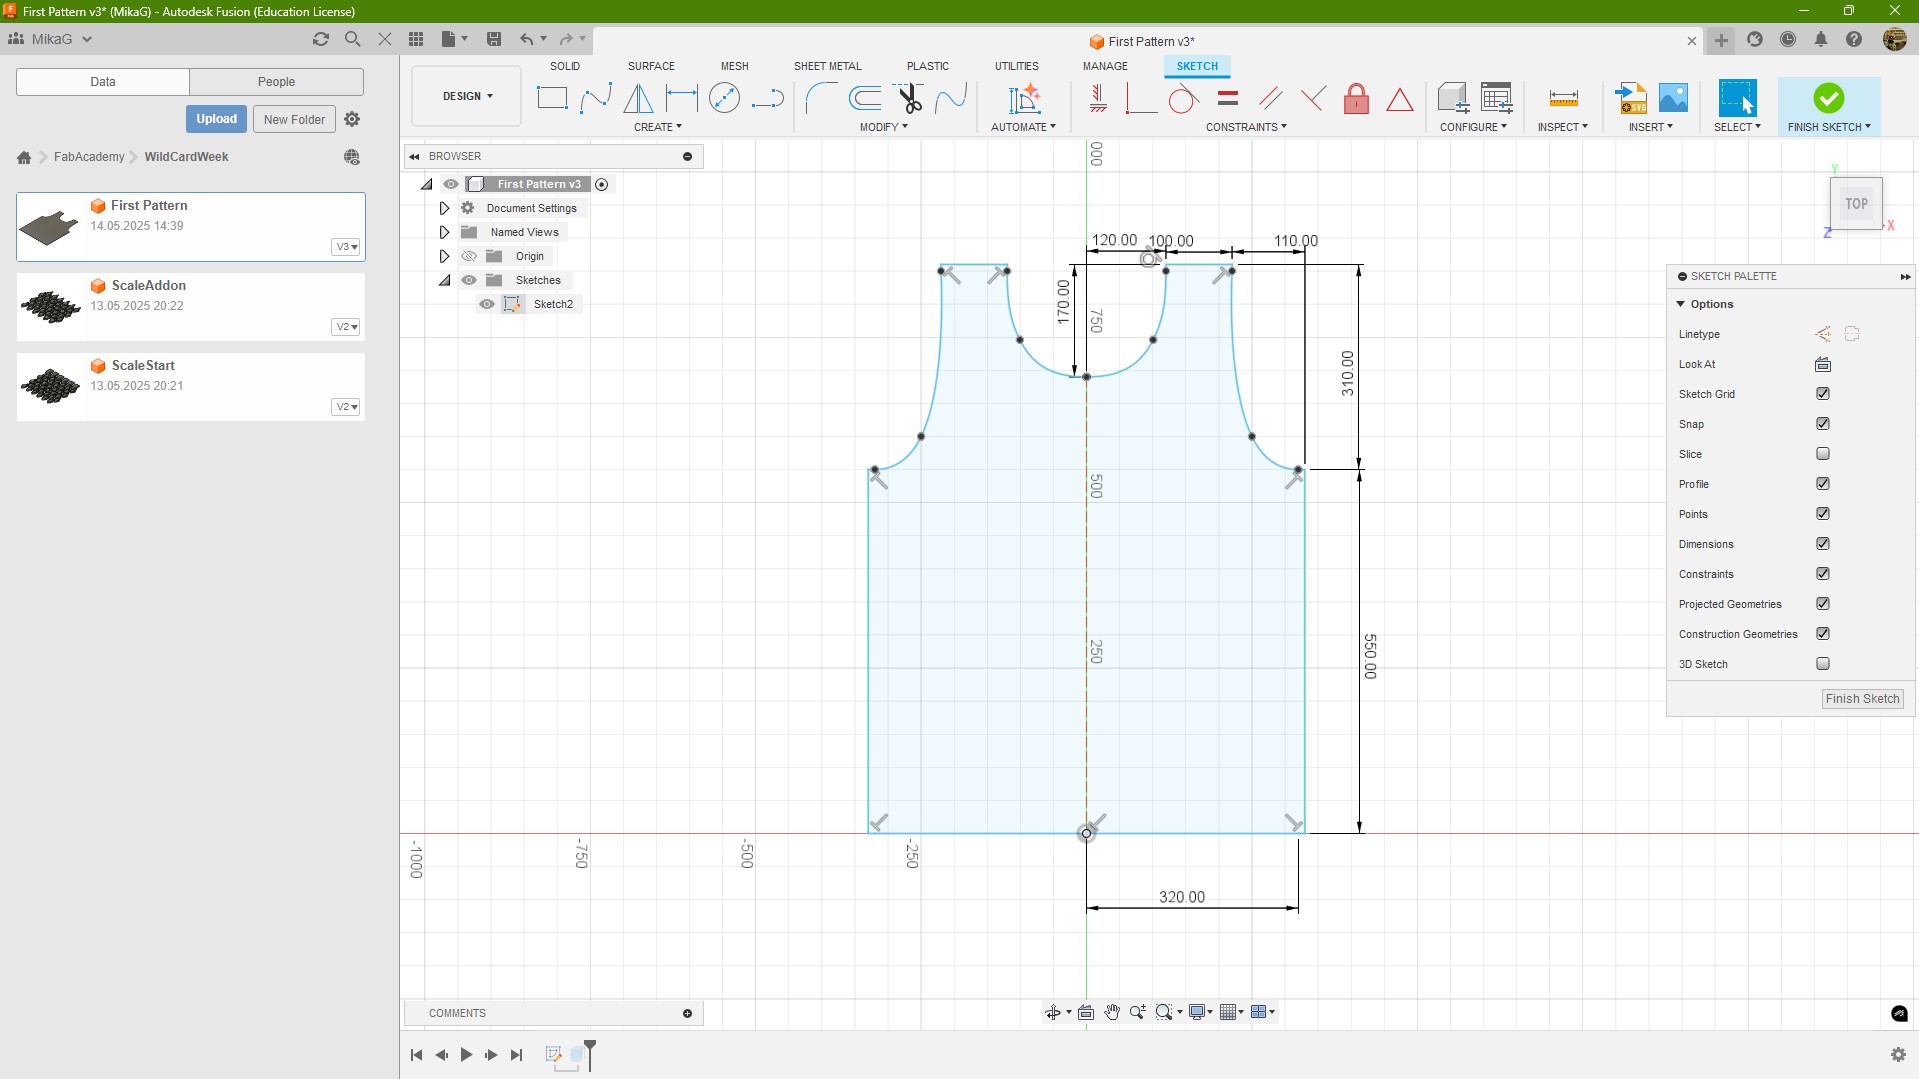
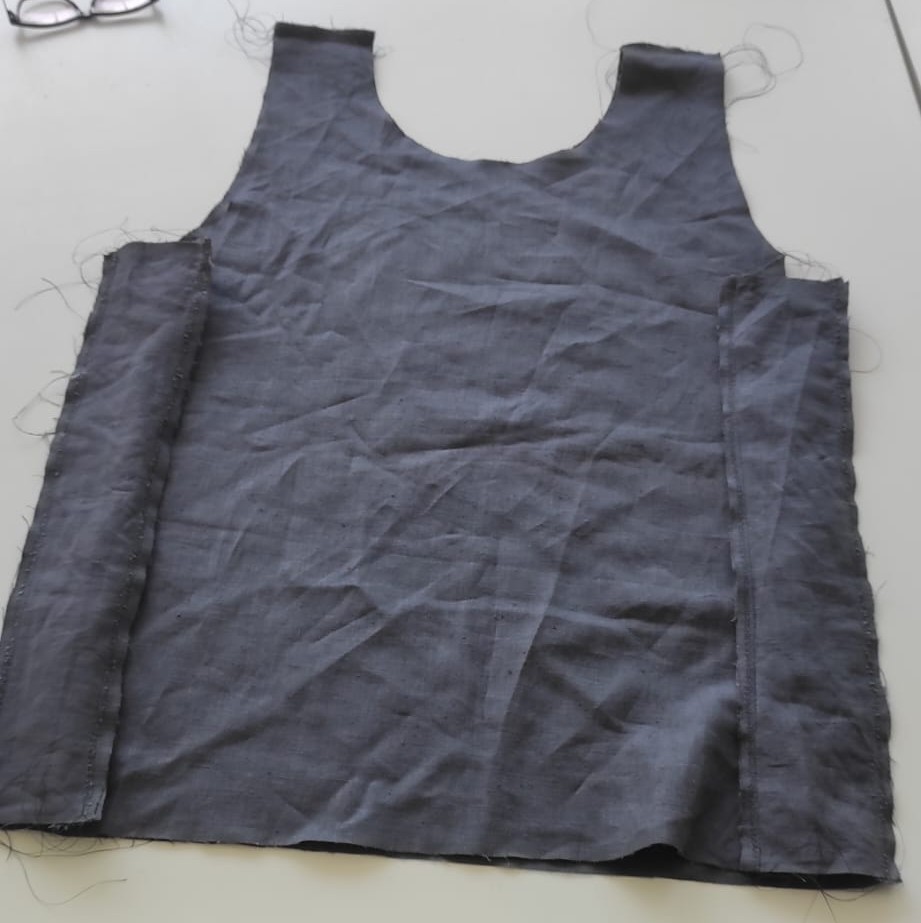
For the Armor i made a simple "TankTop" Pattern, I lasercut later.
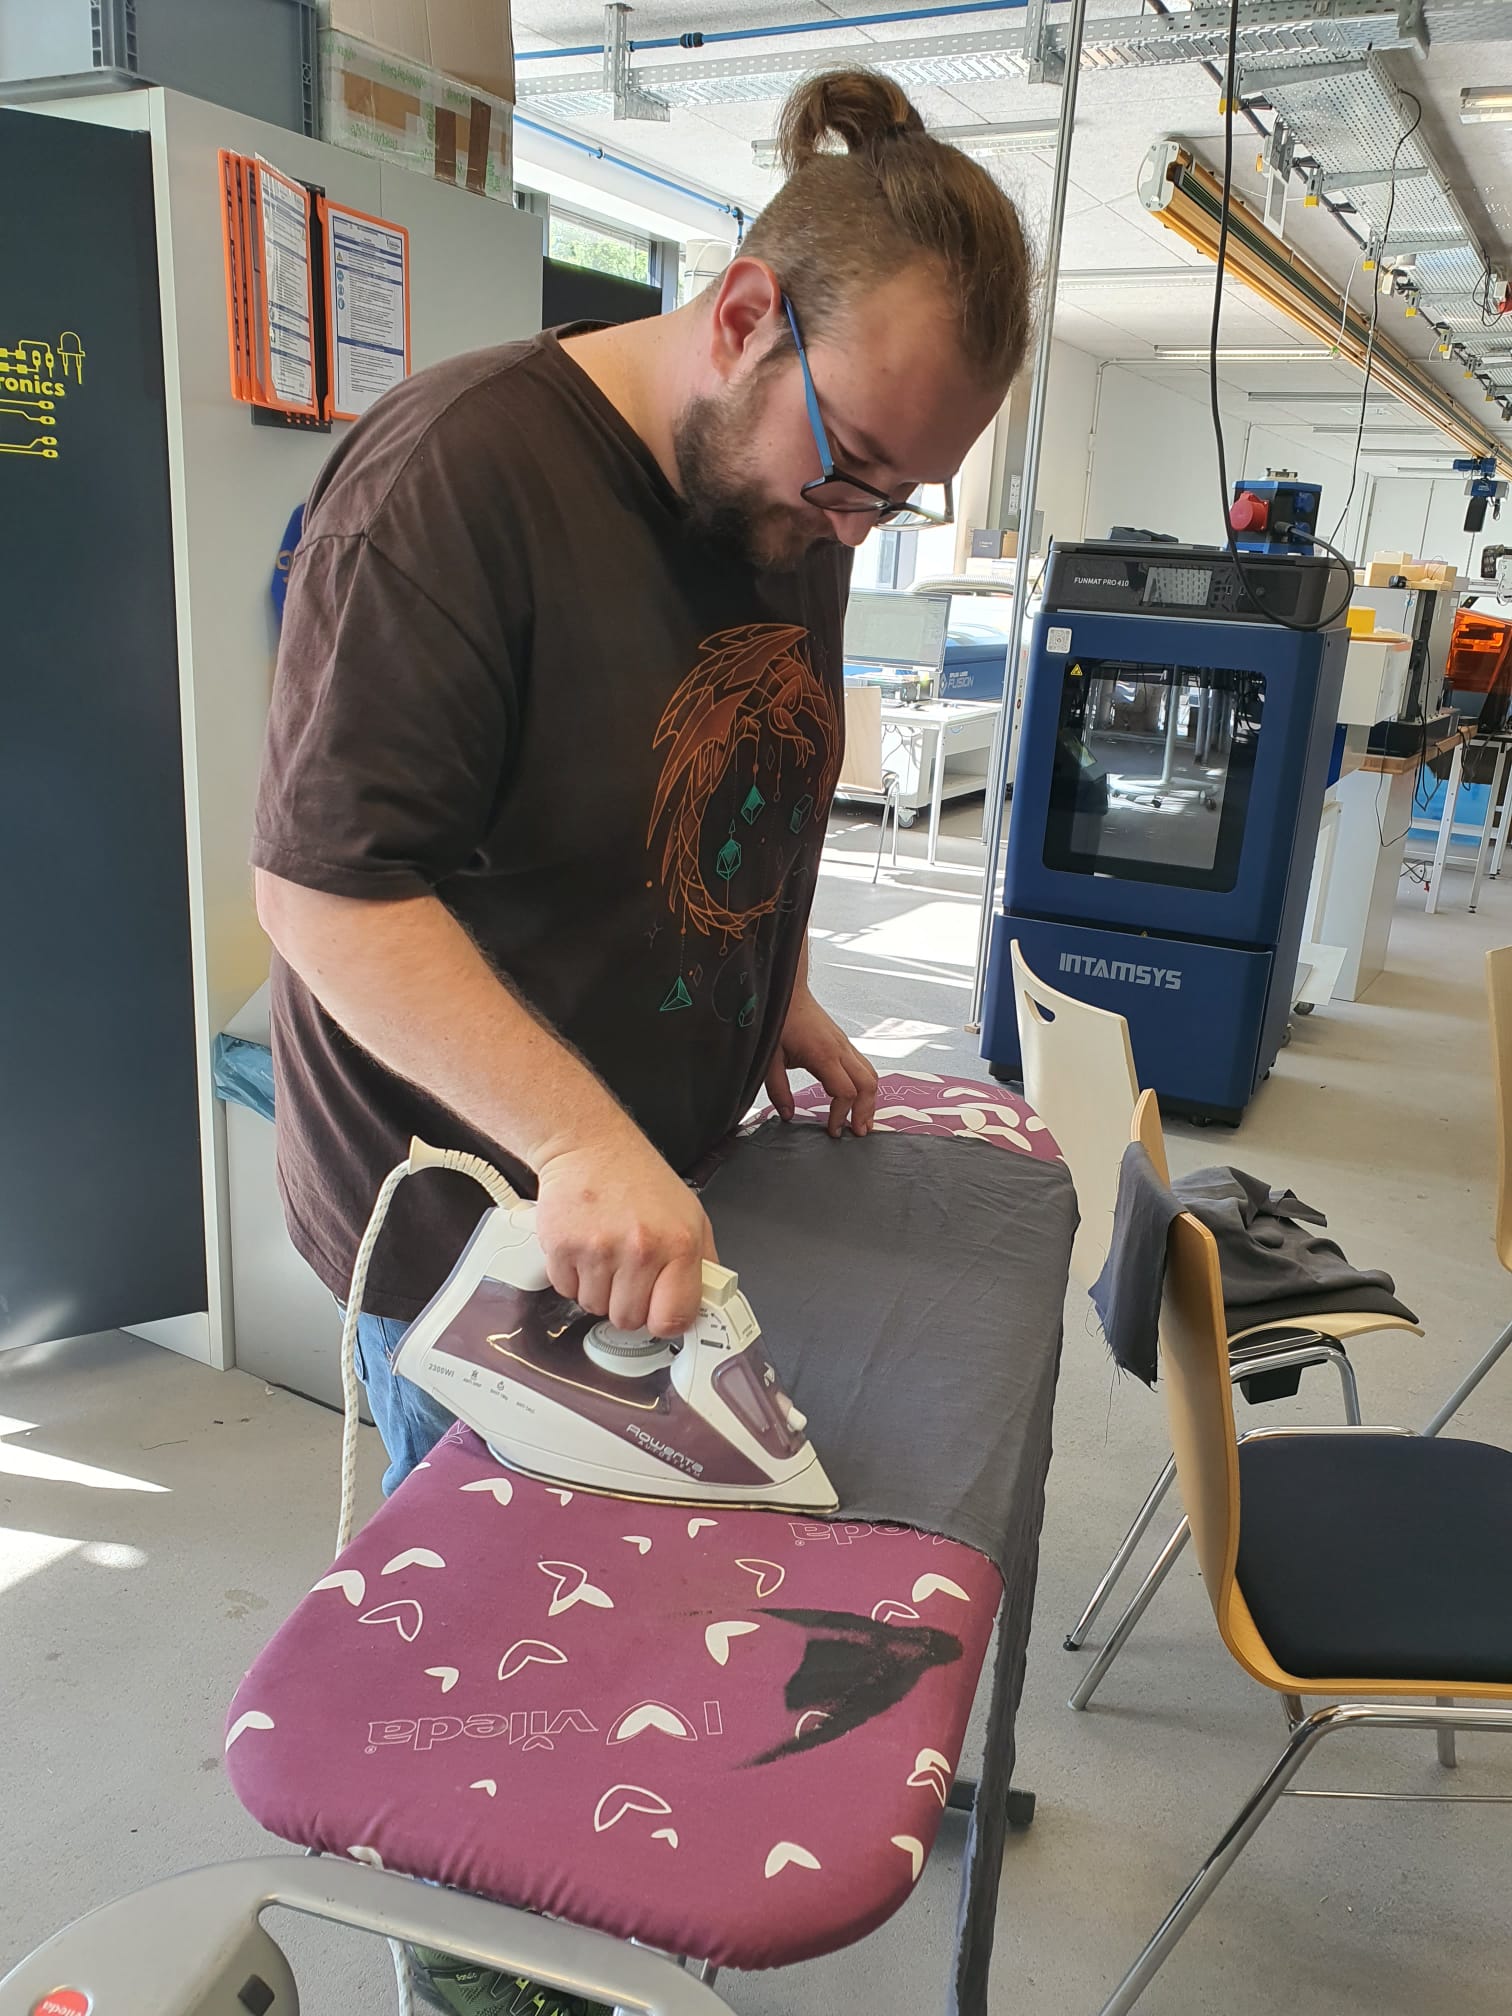
Ironing
Befor Lasercutting the Fabric, I needed to iron it first, to get it as even as possible.
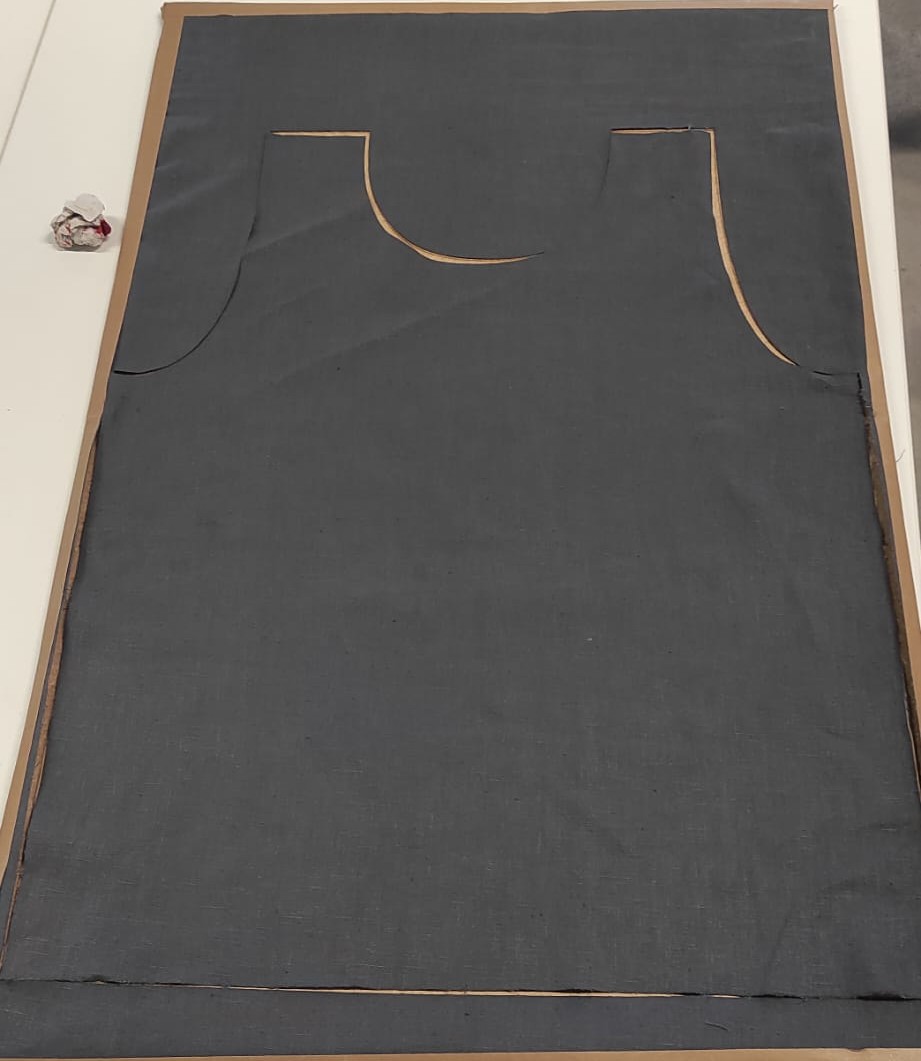
Lasercutting (like in Week 3)
Testing the Cutting settings was the first part. I tested 3 Settings for Vector Cutting on our Epilog Fusion. First was 100% Speed and 50% Power(left Cut) which cut like a dashed line. With the 2nd test(center cut) i increased the Power to 75% which was significant better, but left some single strands uncut. The Final test cut(right) with Power set to 80 was the final setting, i used for the final cuts.

I stretched the Fabric onto a piece of MDF, which held the fabric in place and prevents moving while Cutting. I just taped the sides to the Wood.
I cut the Pattern two times
In the End i also cut two rectangles with the dimensions 550mmx90mm, which acts as filler pieces at the sides
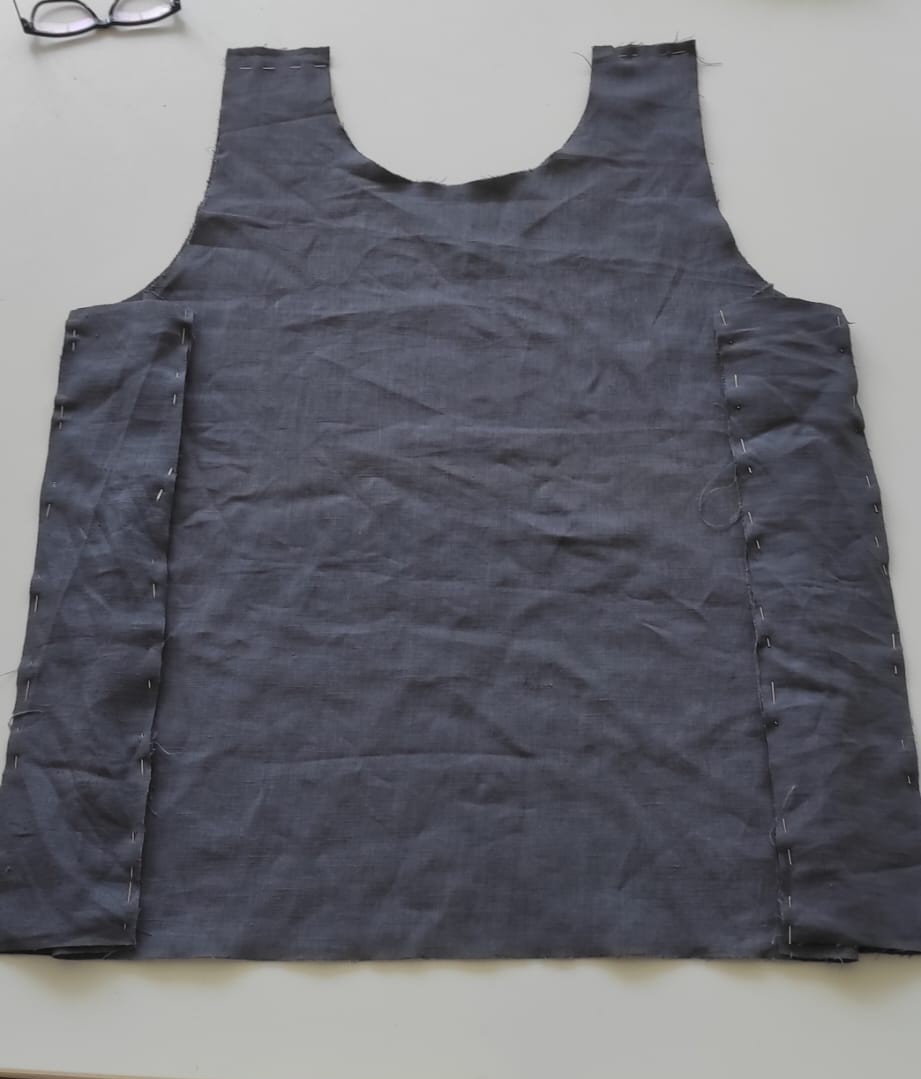
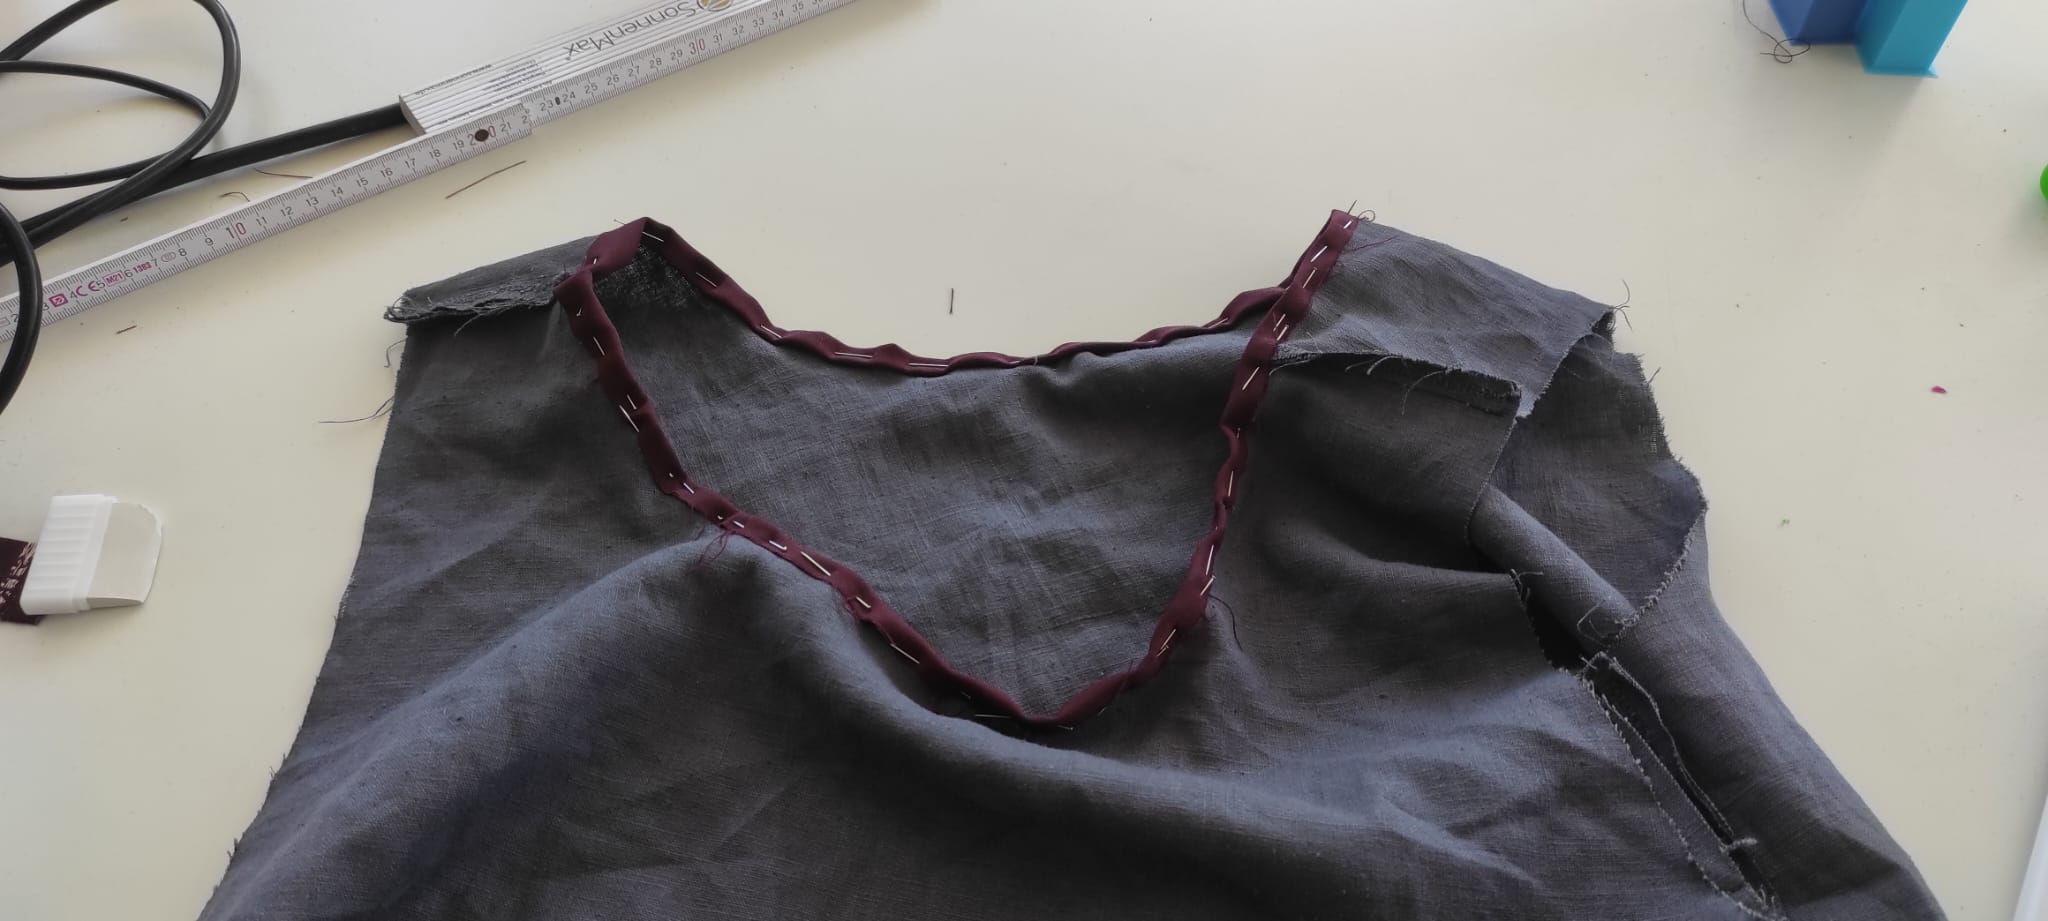
Sewing
For sewing the parts together, i started by pining everything together.
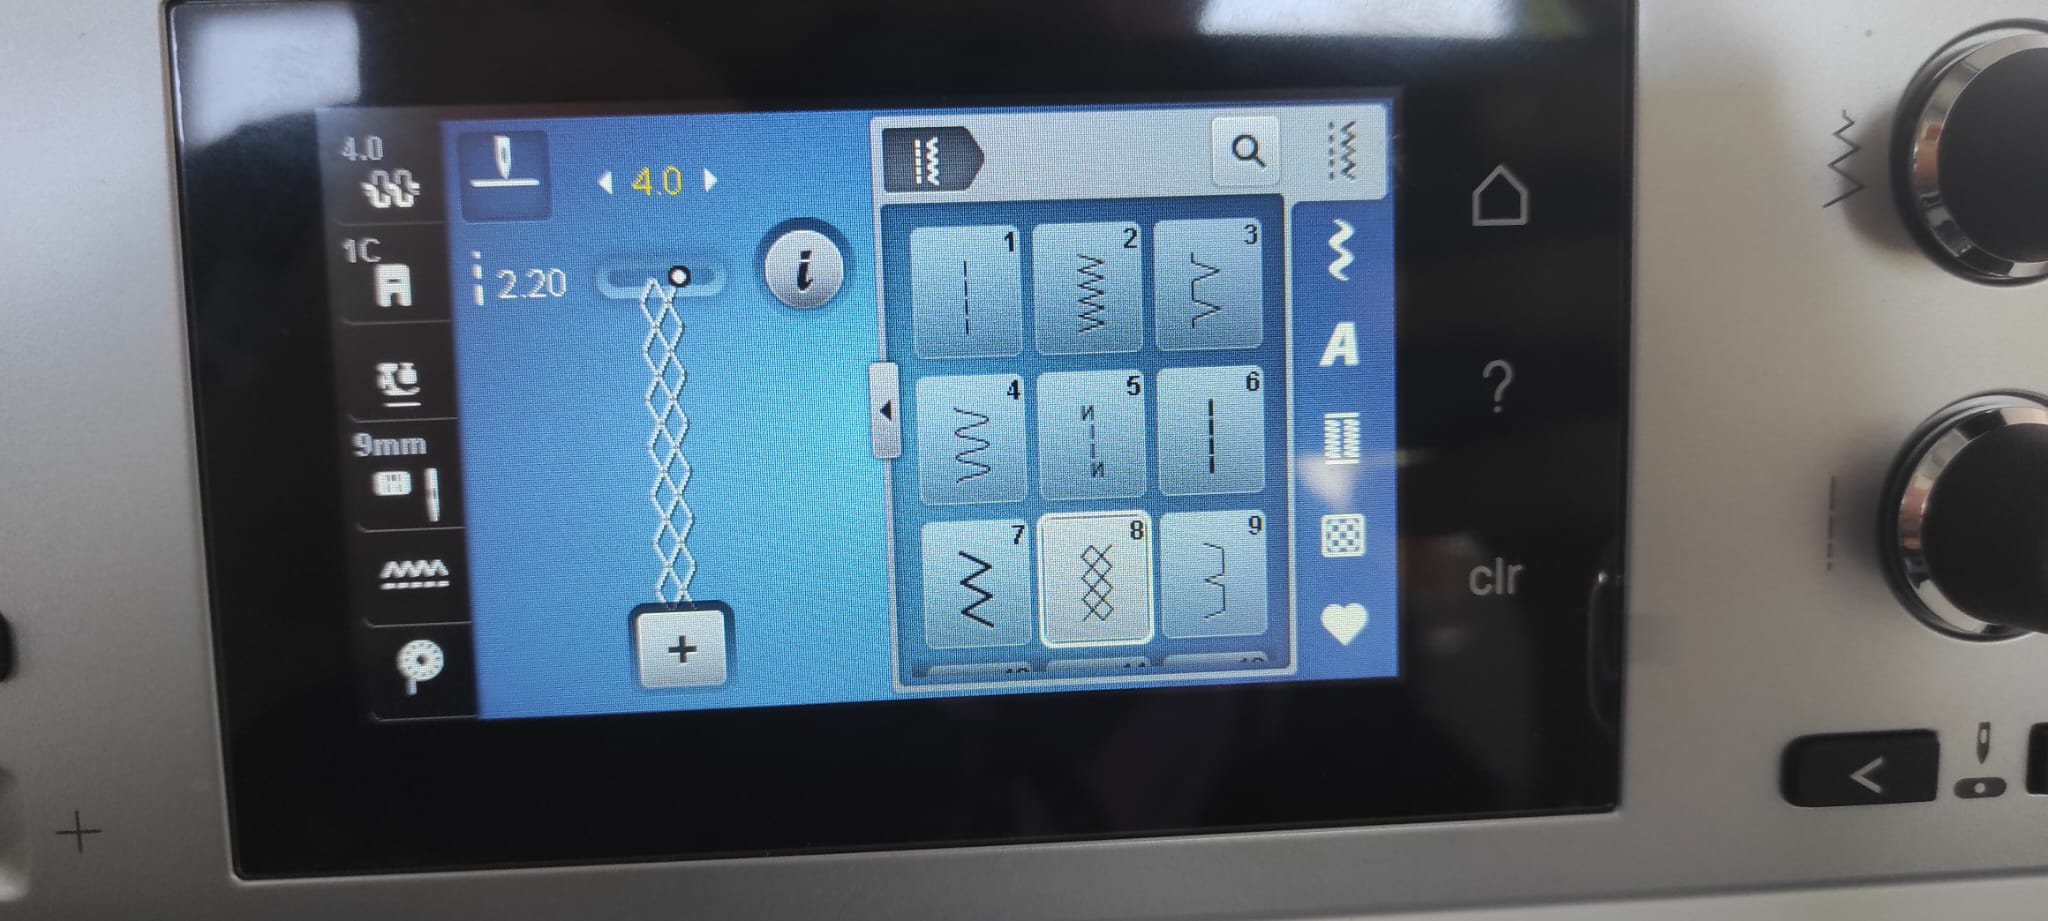
I then started at the straps with a honeycombstitch with 4mm width and 2.2mm length. I used the stich to prevent fraying in the future
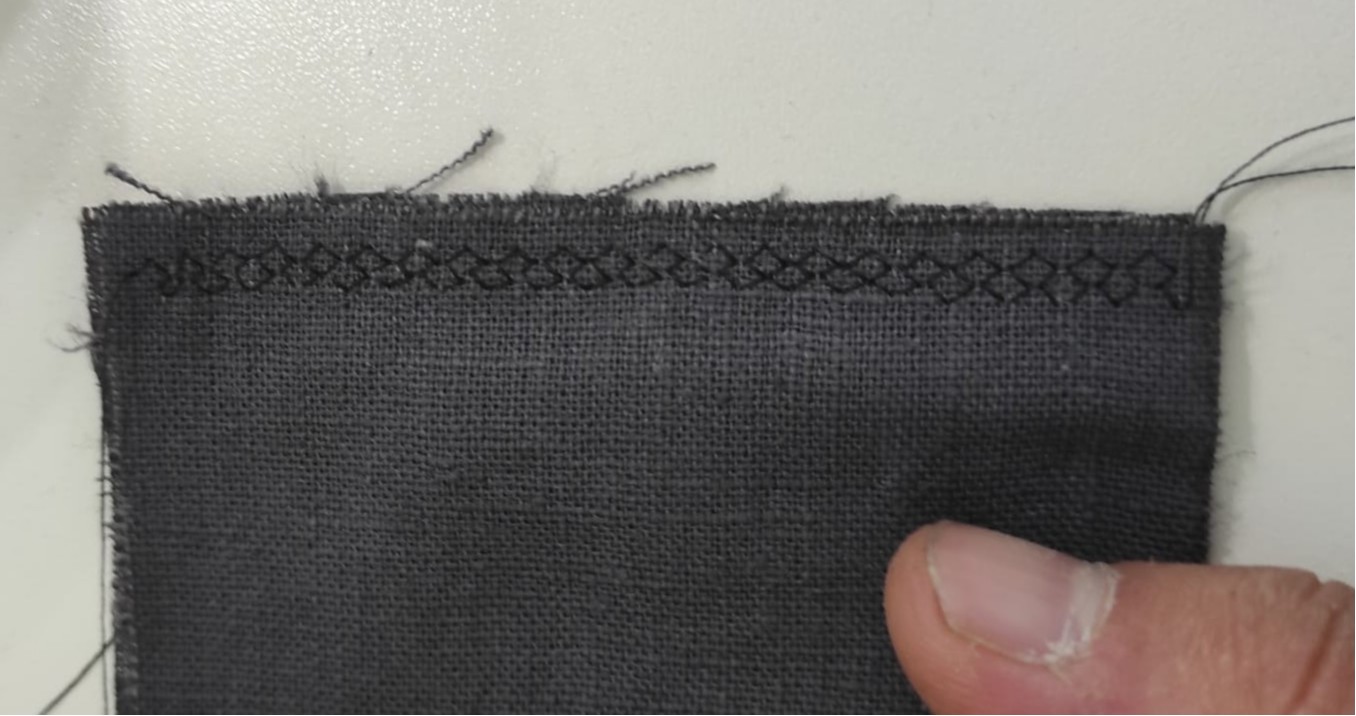
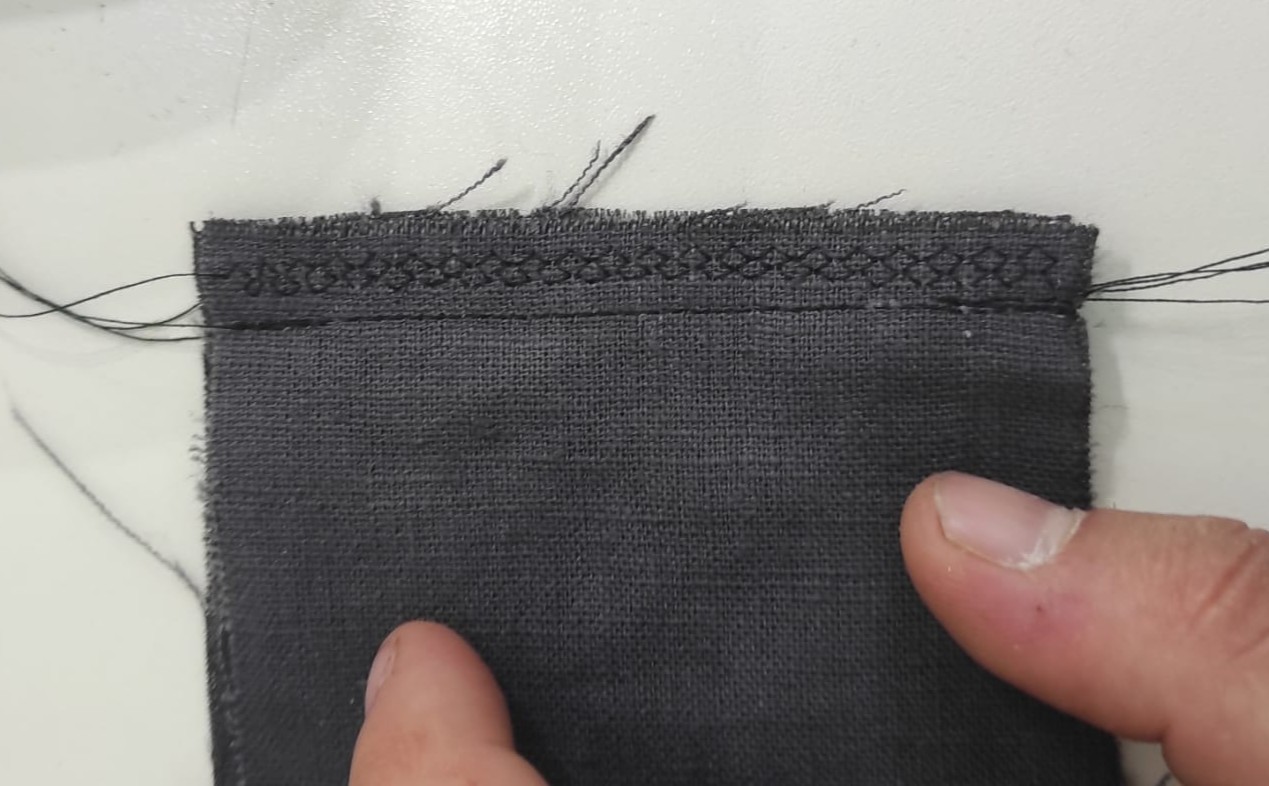
After the HoneyComb stich, i added a straigth stich with the same length as the actual stitch.
Every part was sawn togther
I also added a Border with a zigzag stitch
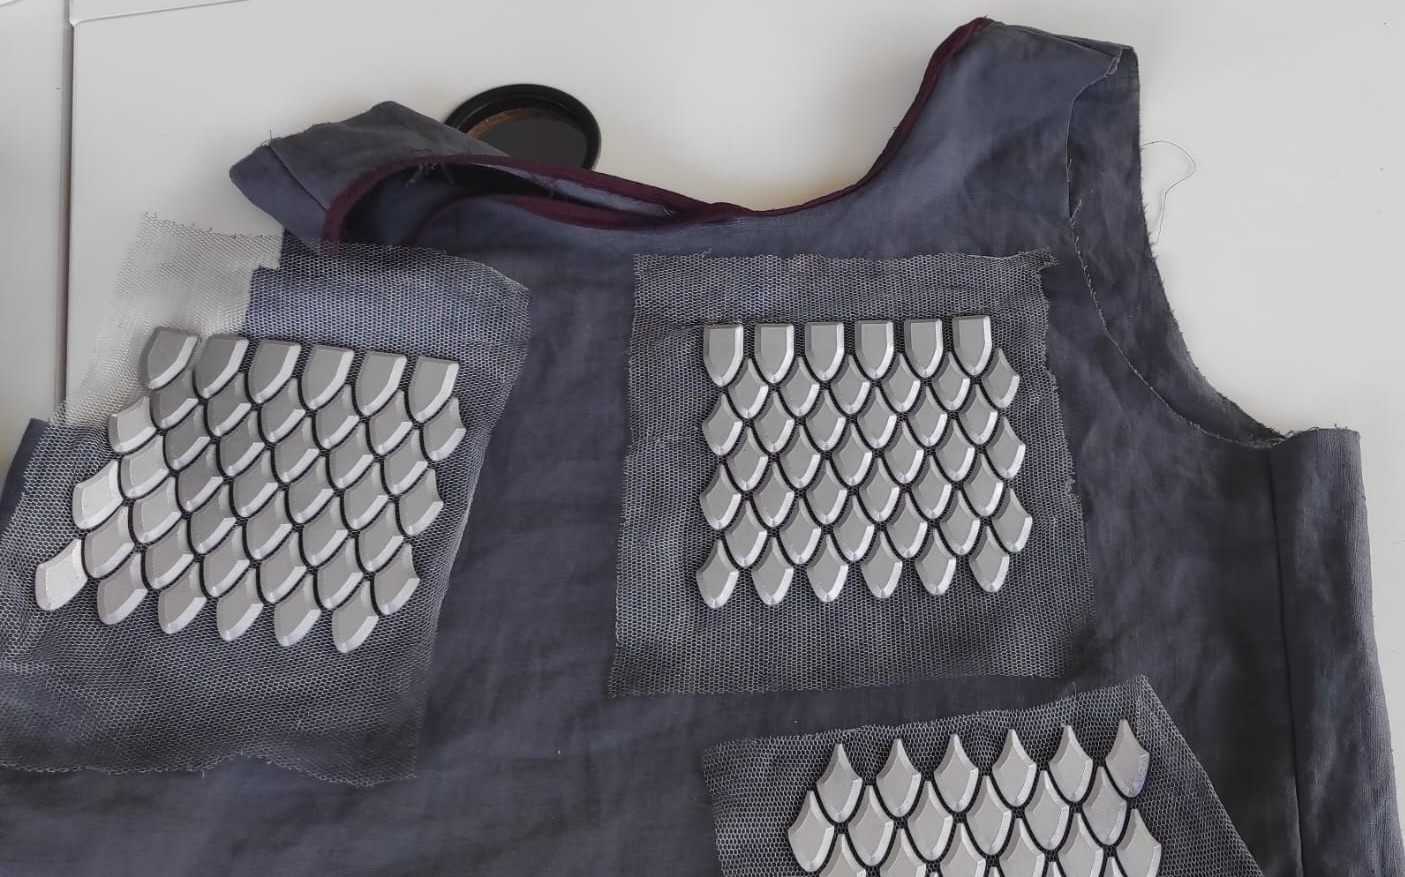
Combining everything
For Combining everything i glued edge scales of every panel and added some stitches by hand in between some scales of a panel. I also stitched the panels together that way. Of course, I needed to trim the mesh, so that the leftover overlapp with the leftovers another panel but not the scales of them.
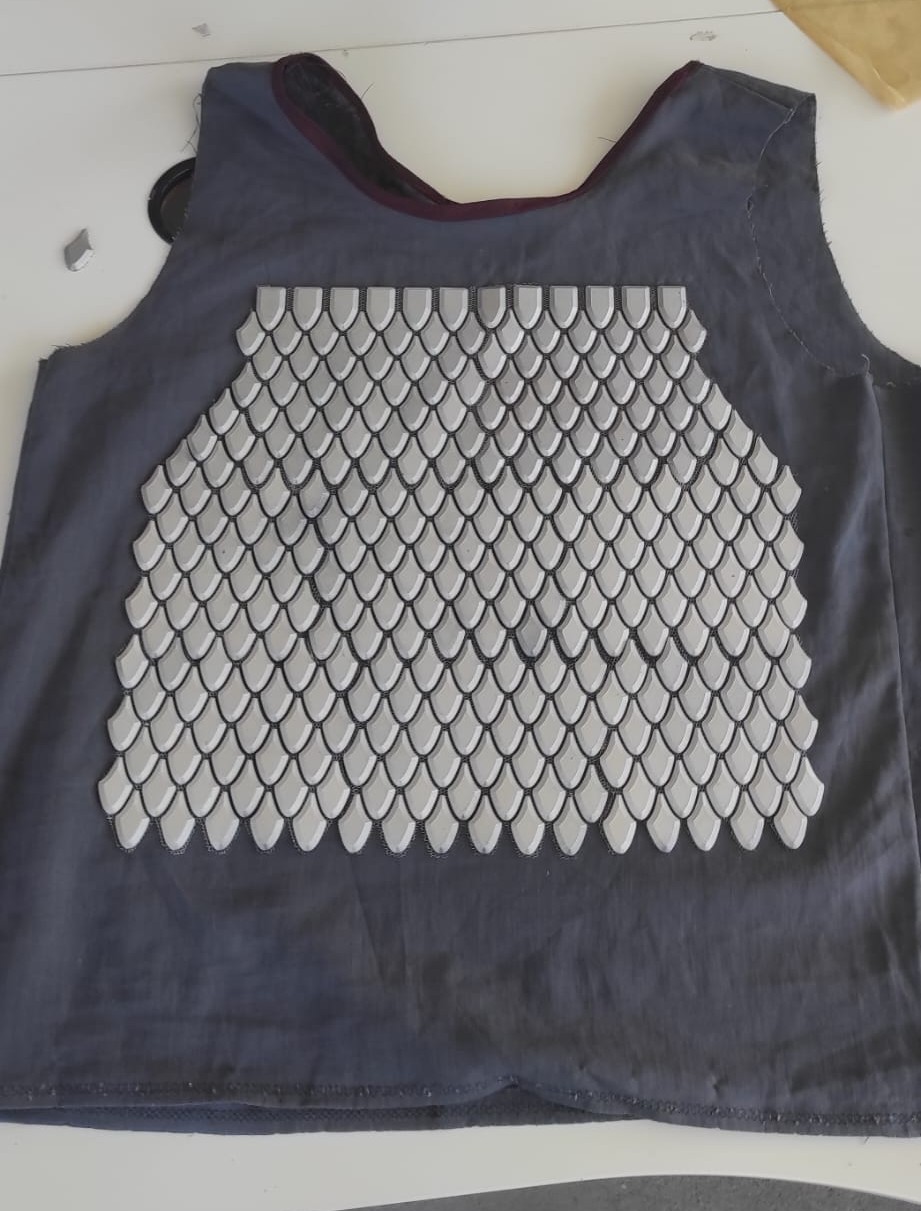
Result