week 11. Networking and communications
This Week i used MQTT on an Raspberry Pi 3B+ to send Data from my PI Pico 2W to HomeAssitant (refered as HA) for Visualization.
In our group assignment, We Explained what MQTT and I2C are and showed how to work with them. I implemented the MQTT Part and merged the codes.
The Plan
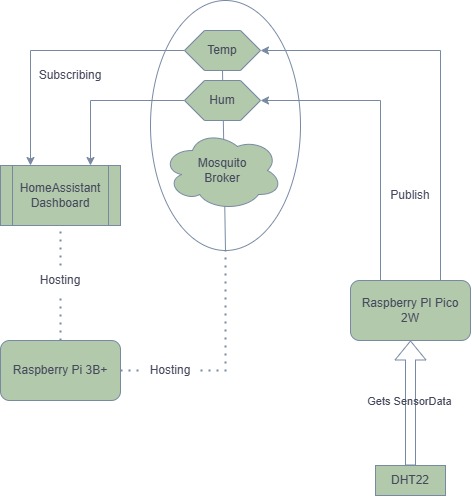
The Plan is to Host Mosquito, an MQTT Broker and HomeAssitant on an Raspberry Pi 3B+. MQTT acts as an carrier for the messages(in my case temperature and humidity). With the Pi Pico, i can read sensor data from the DHT22 and publish this data as two topics to MQTT. This data is then available to read by HomeAssitant and is displayed on the Dashboard.
Prepwork
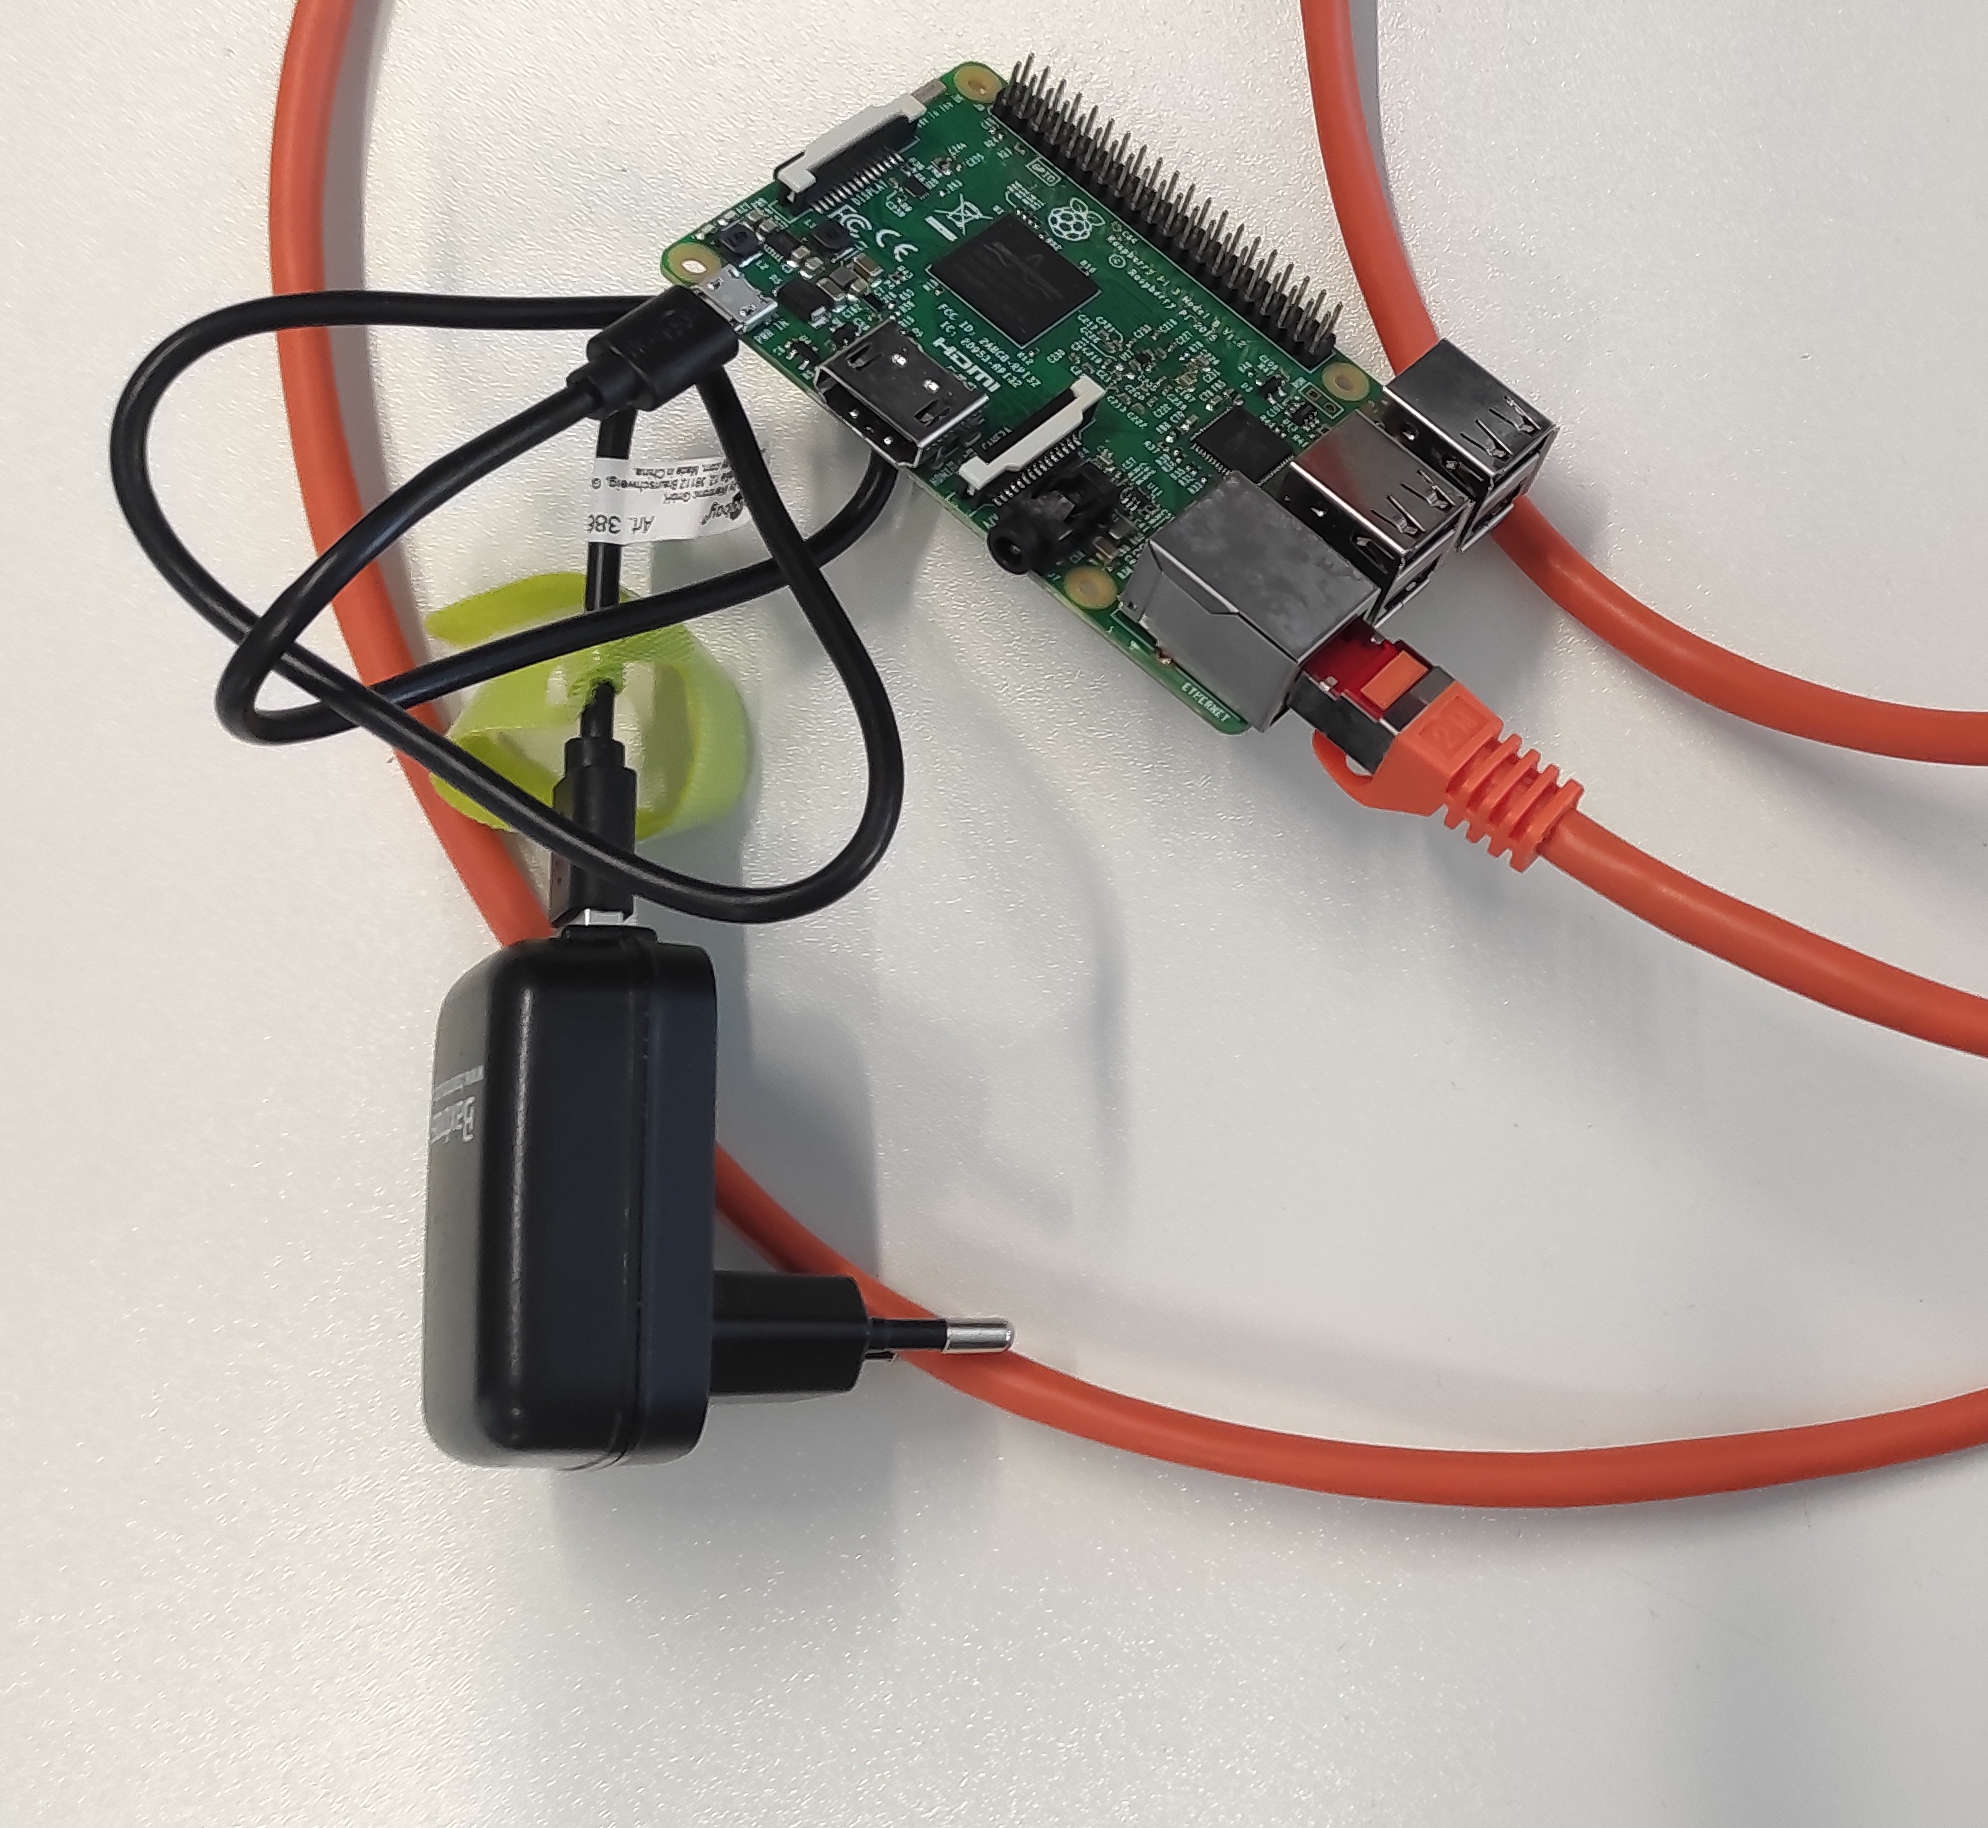
What we need for this, is the Pi with an microSD-Card, in my case I'm using a 32gb one and also a powersupply and a lan-cable. In addition I needed an microSD to SD adapter.
Setup HomeAssitant and Mosquito
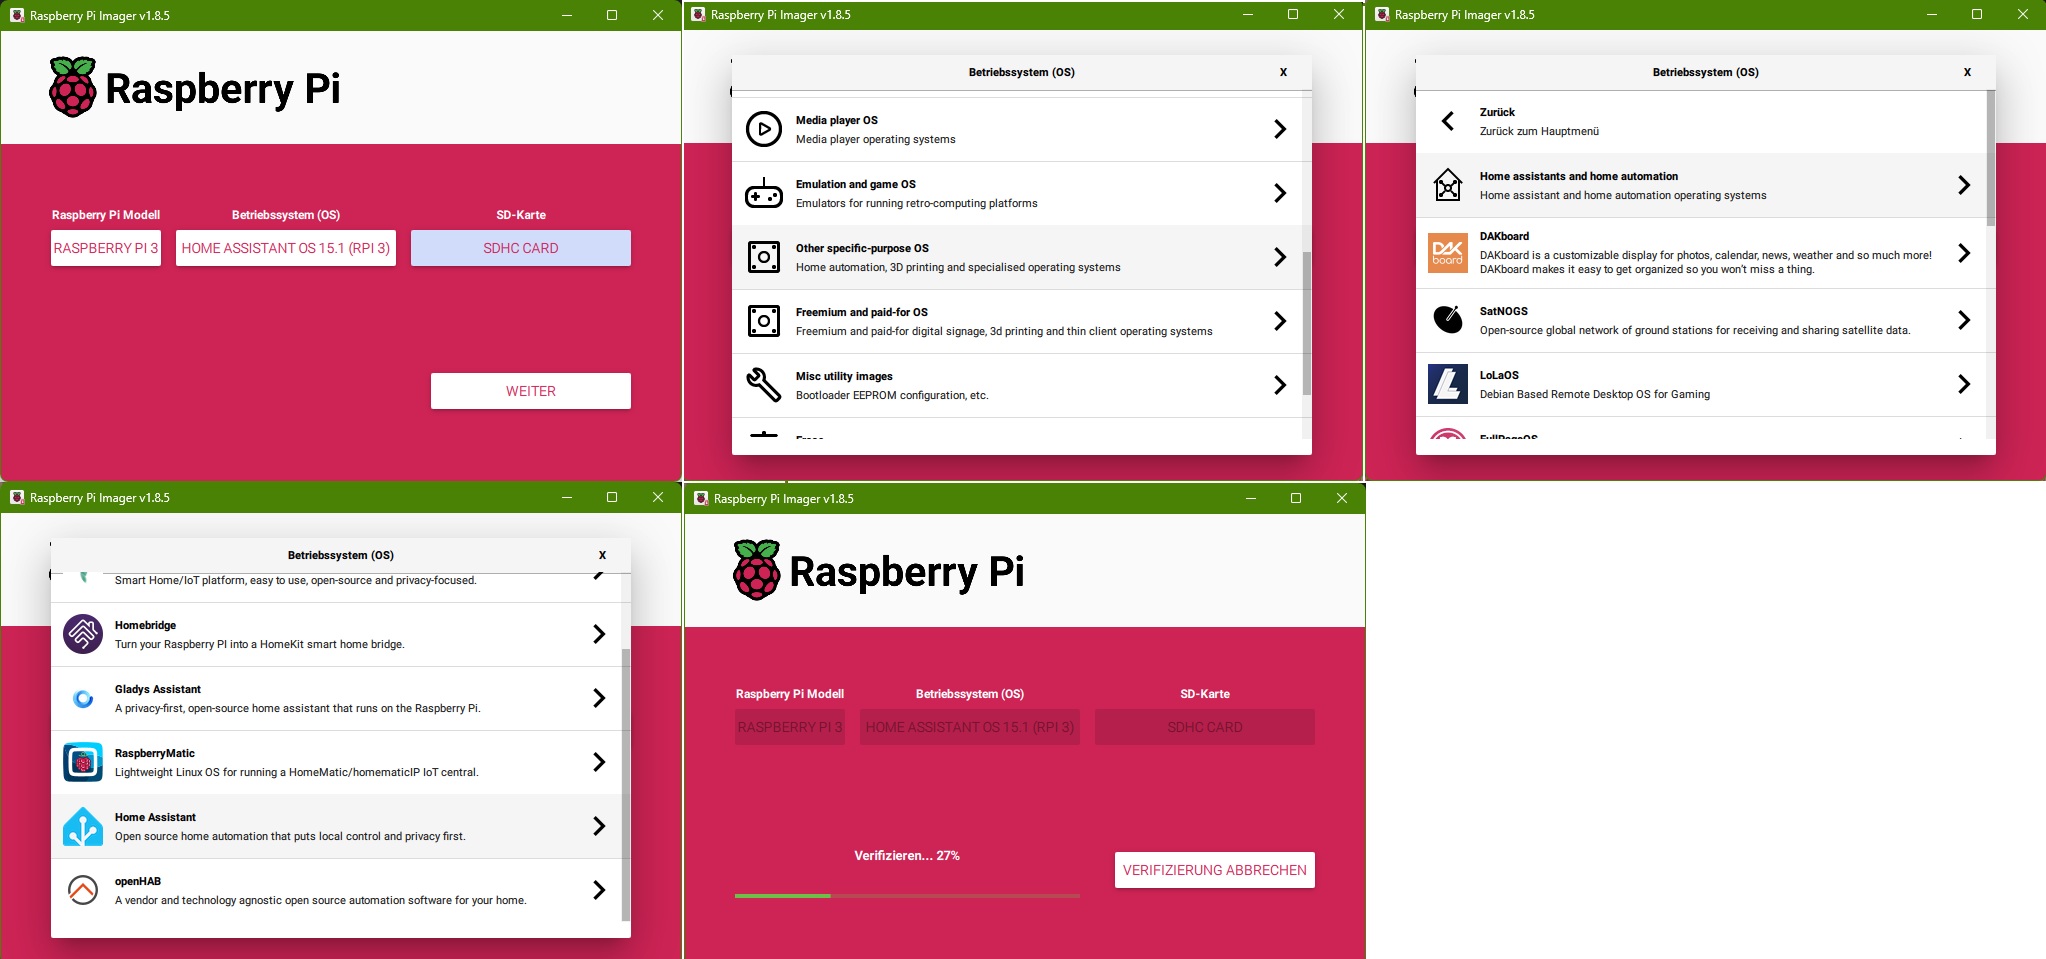
First Step was to burn HomeAssitantOS(later called HAOS in this Documentation) onto the Pi's SD-Card. I used Pi Imager, because it's its the simplest way.
- Open Imager, selecting the Pi 3 and which SD-Card to use. Select the OS
- For selecting the OS -> other specific-purpose OS -> Home assistans and home automation -> Home Assitant
- Last Step is to Burn HAOS by clicking on Continue
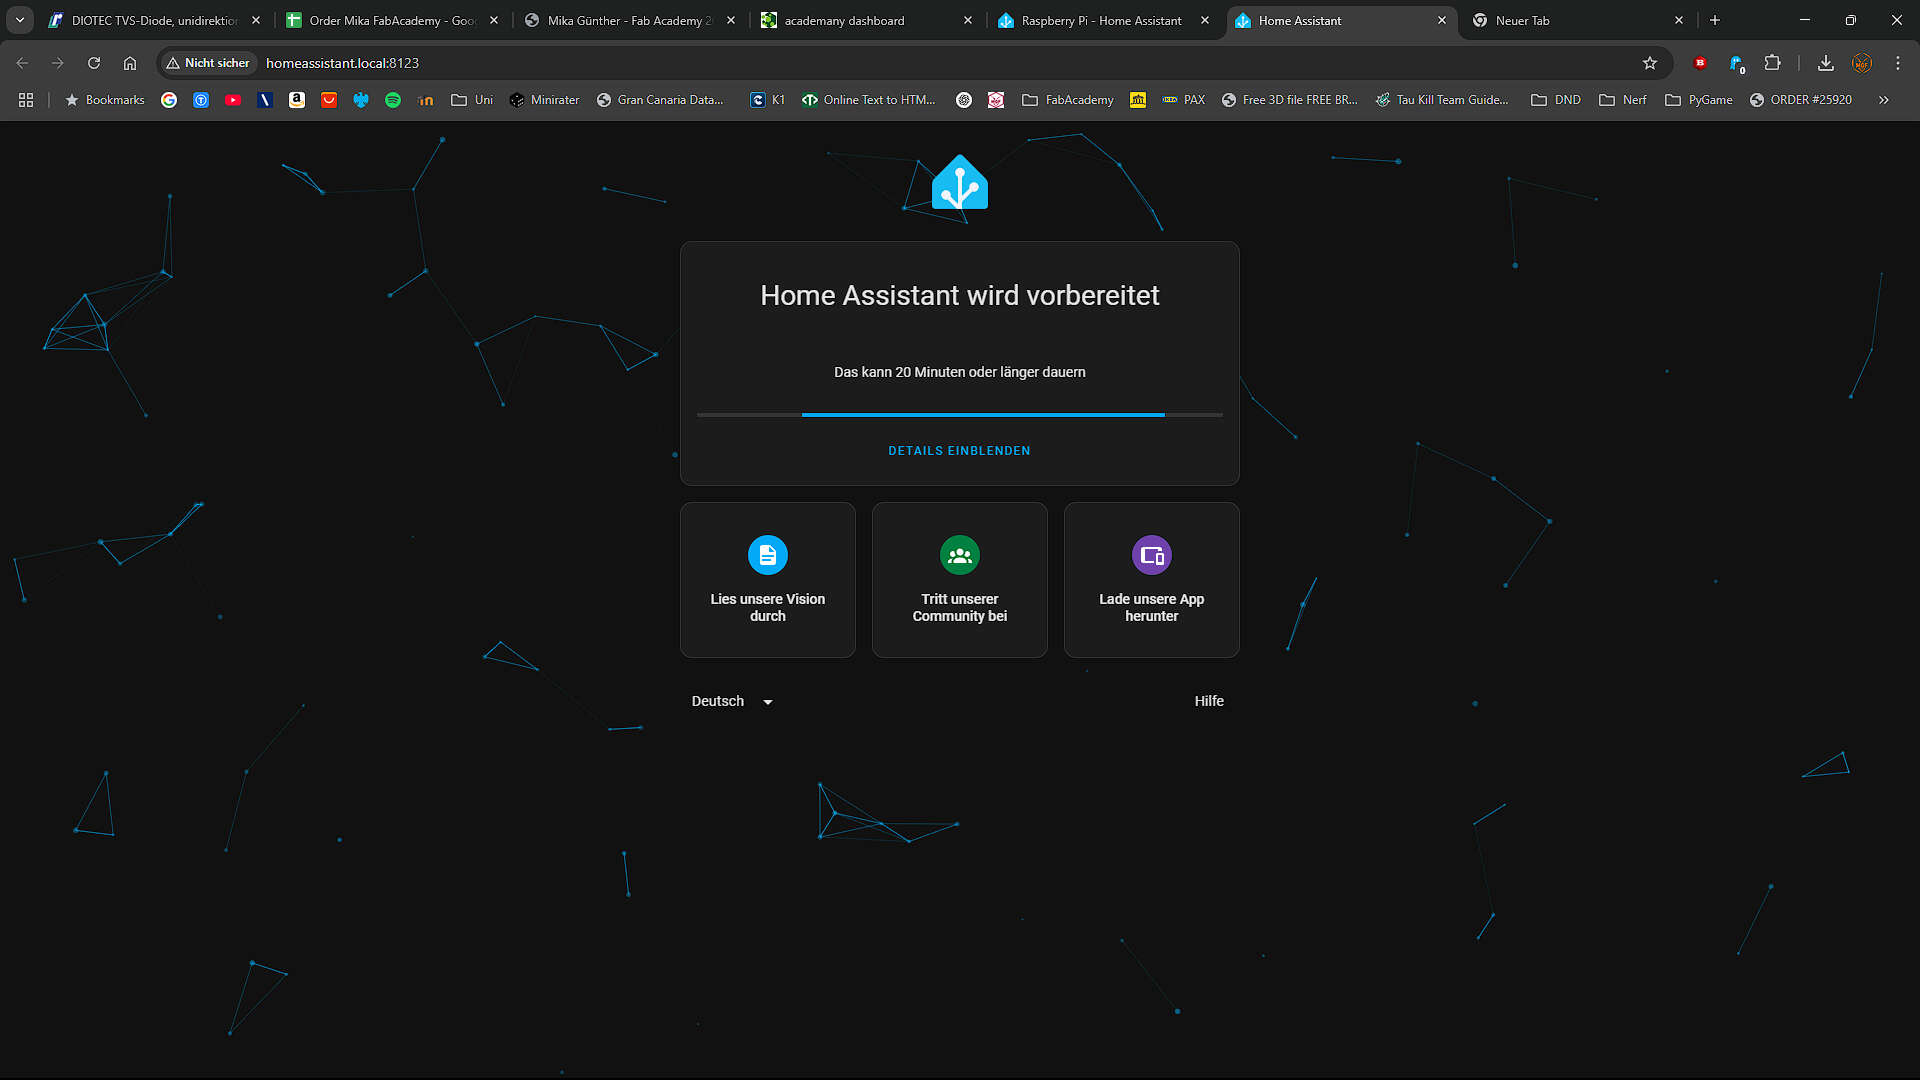
After that, I Pluged in the Pi with the LAN-Cable into the Network and then started the Pi by plugging in the Powersupply. After some Time, I could connect through http://homeassistant.local:8123/ to the HAOS Web-GUI where i was greeted by an Screen which said, just wait bit HAOS is currently setting up.
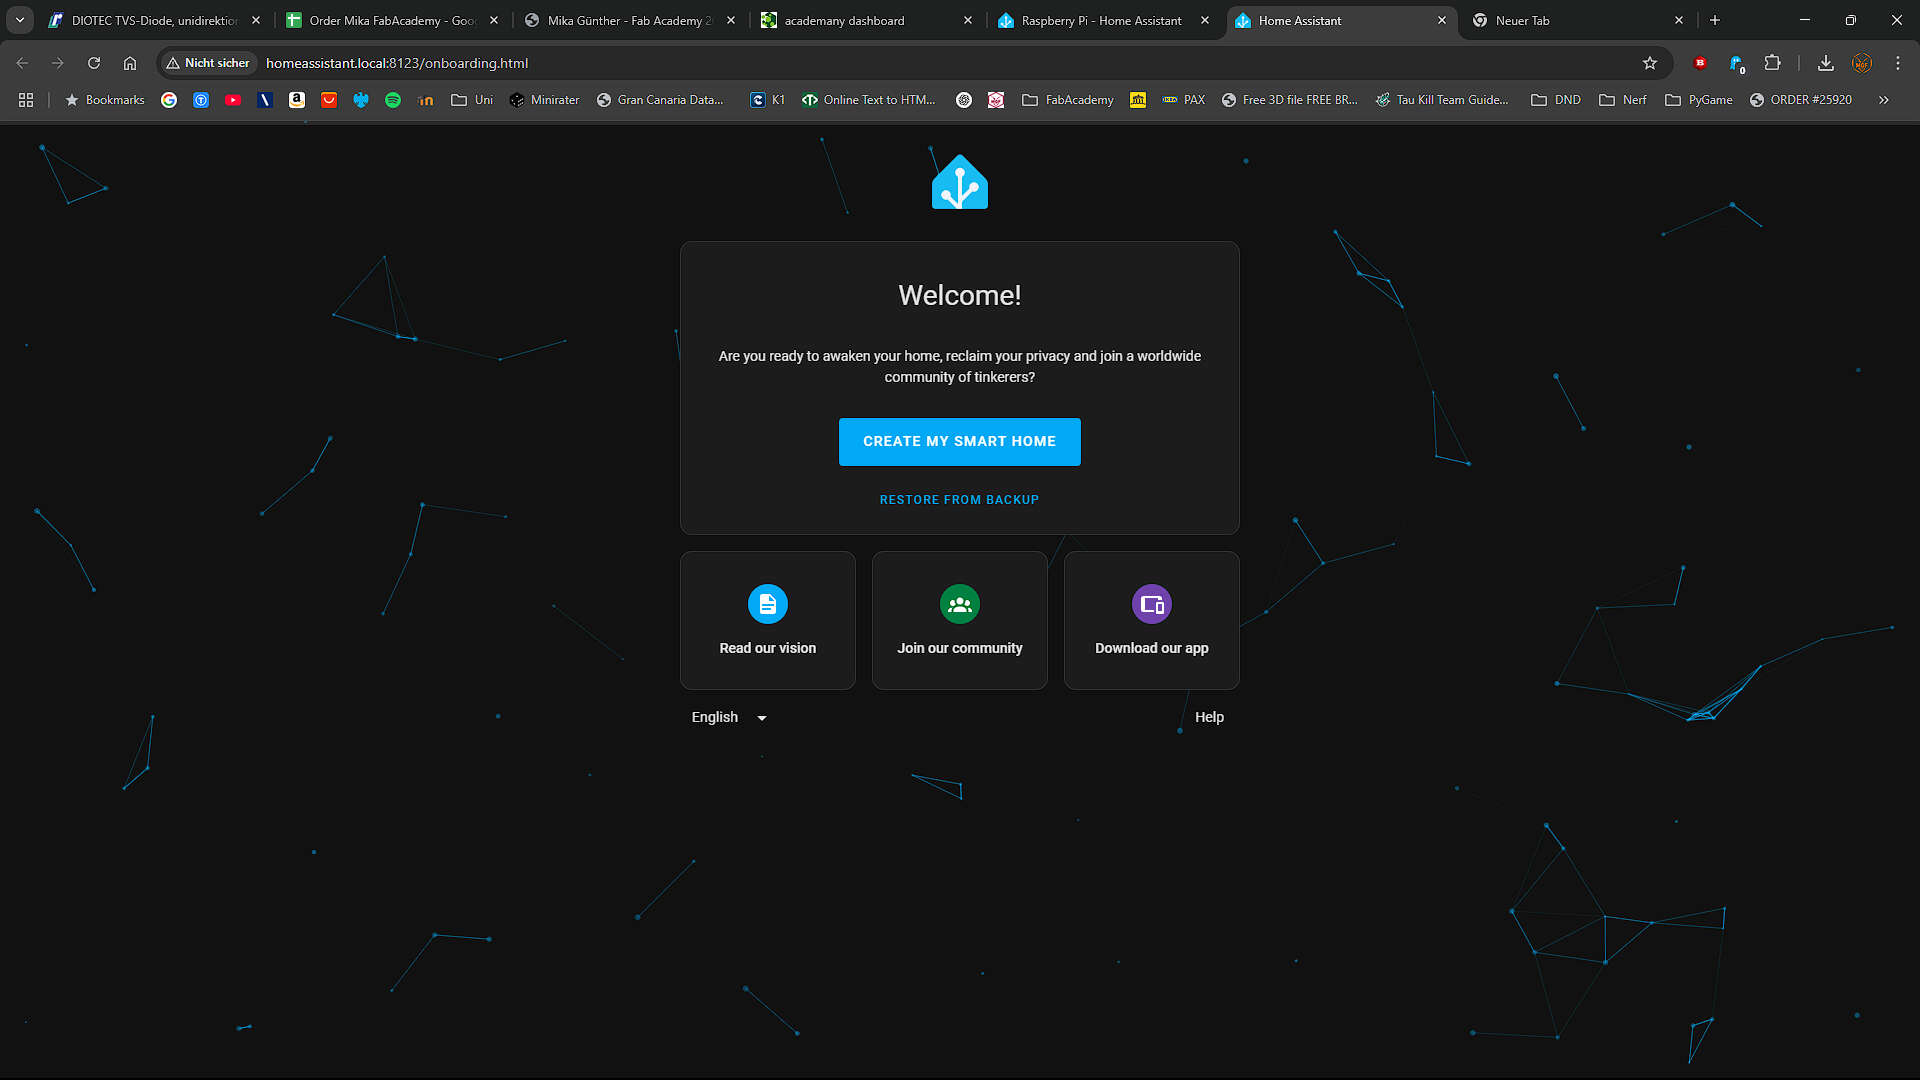
I clicked on Create my Smart Home
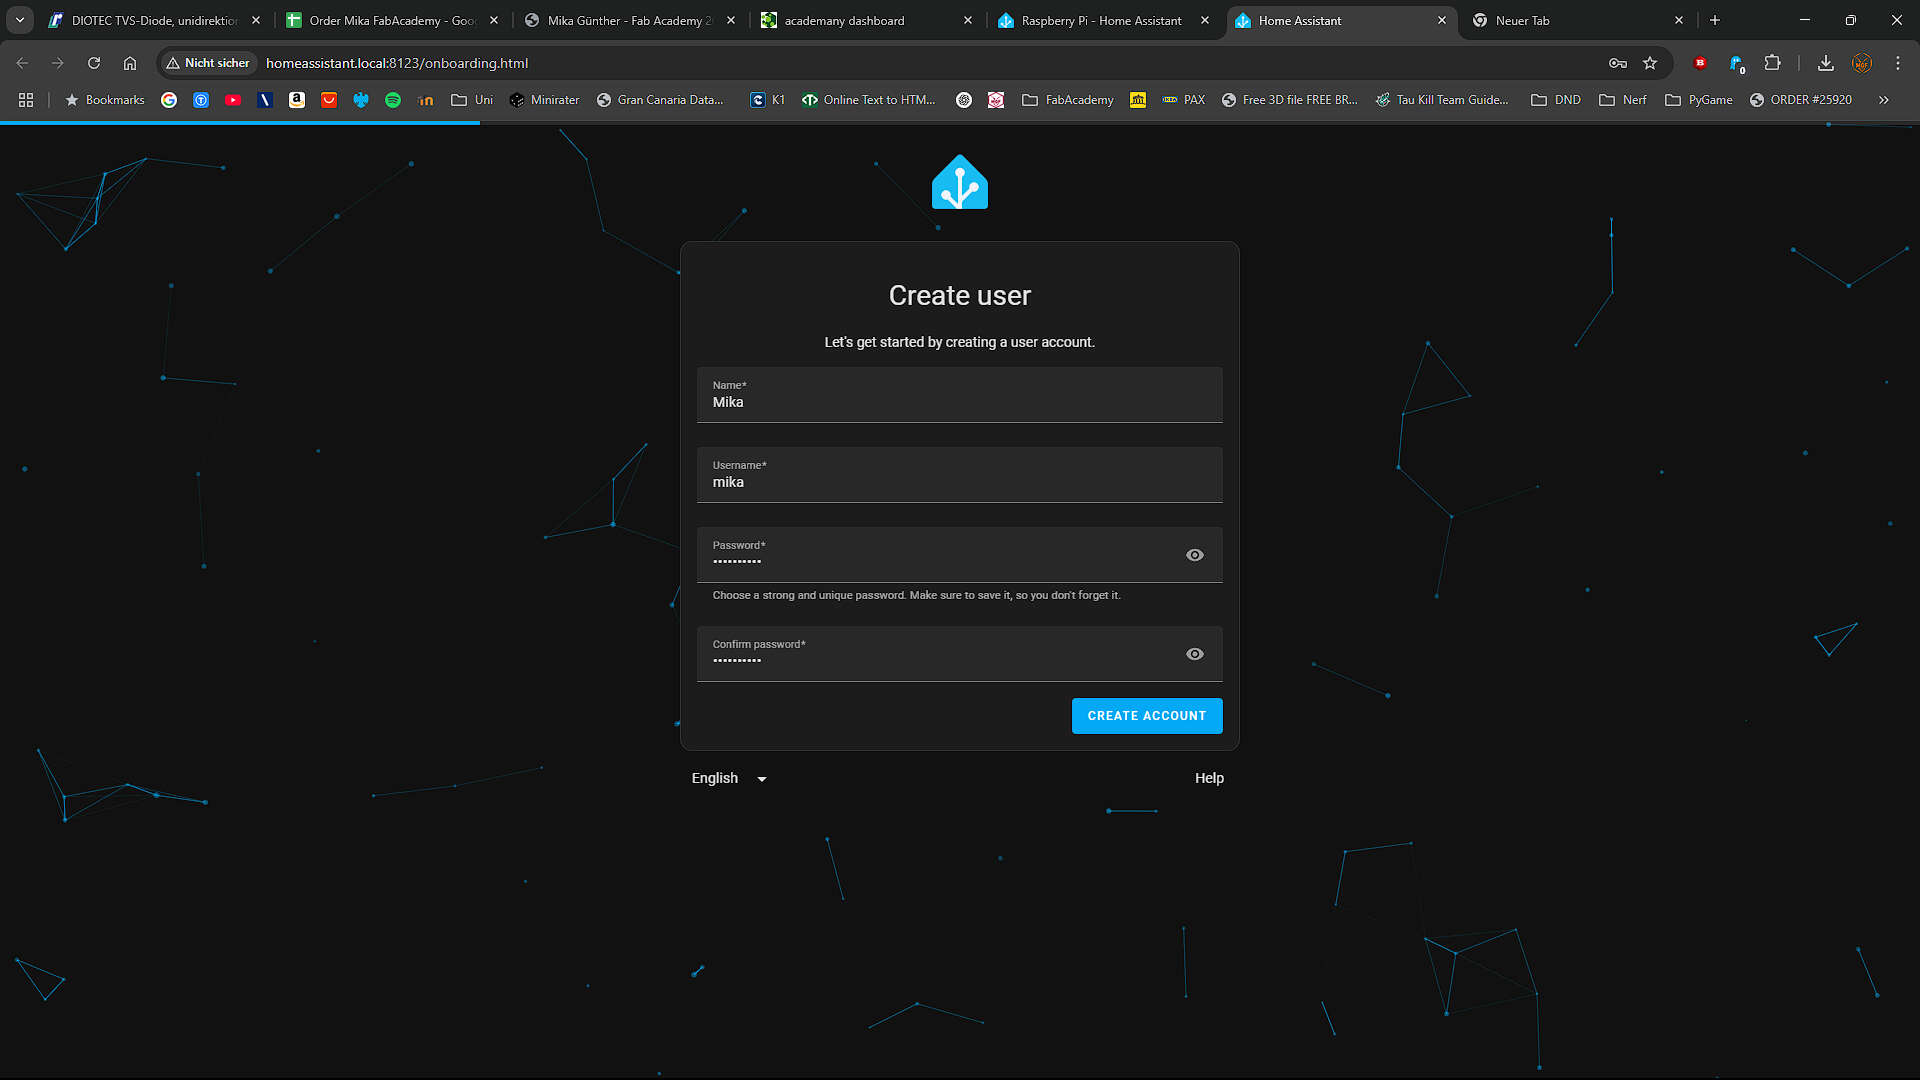
Then entered my Credentials
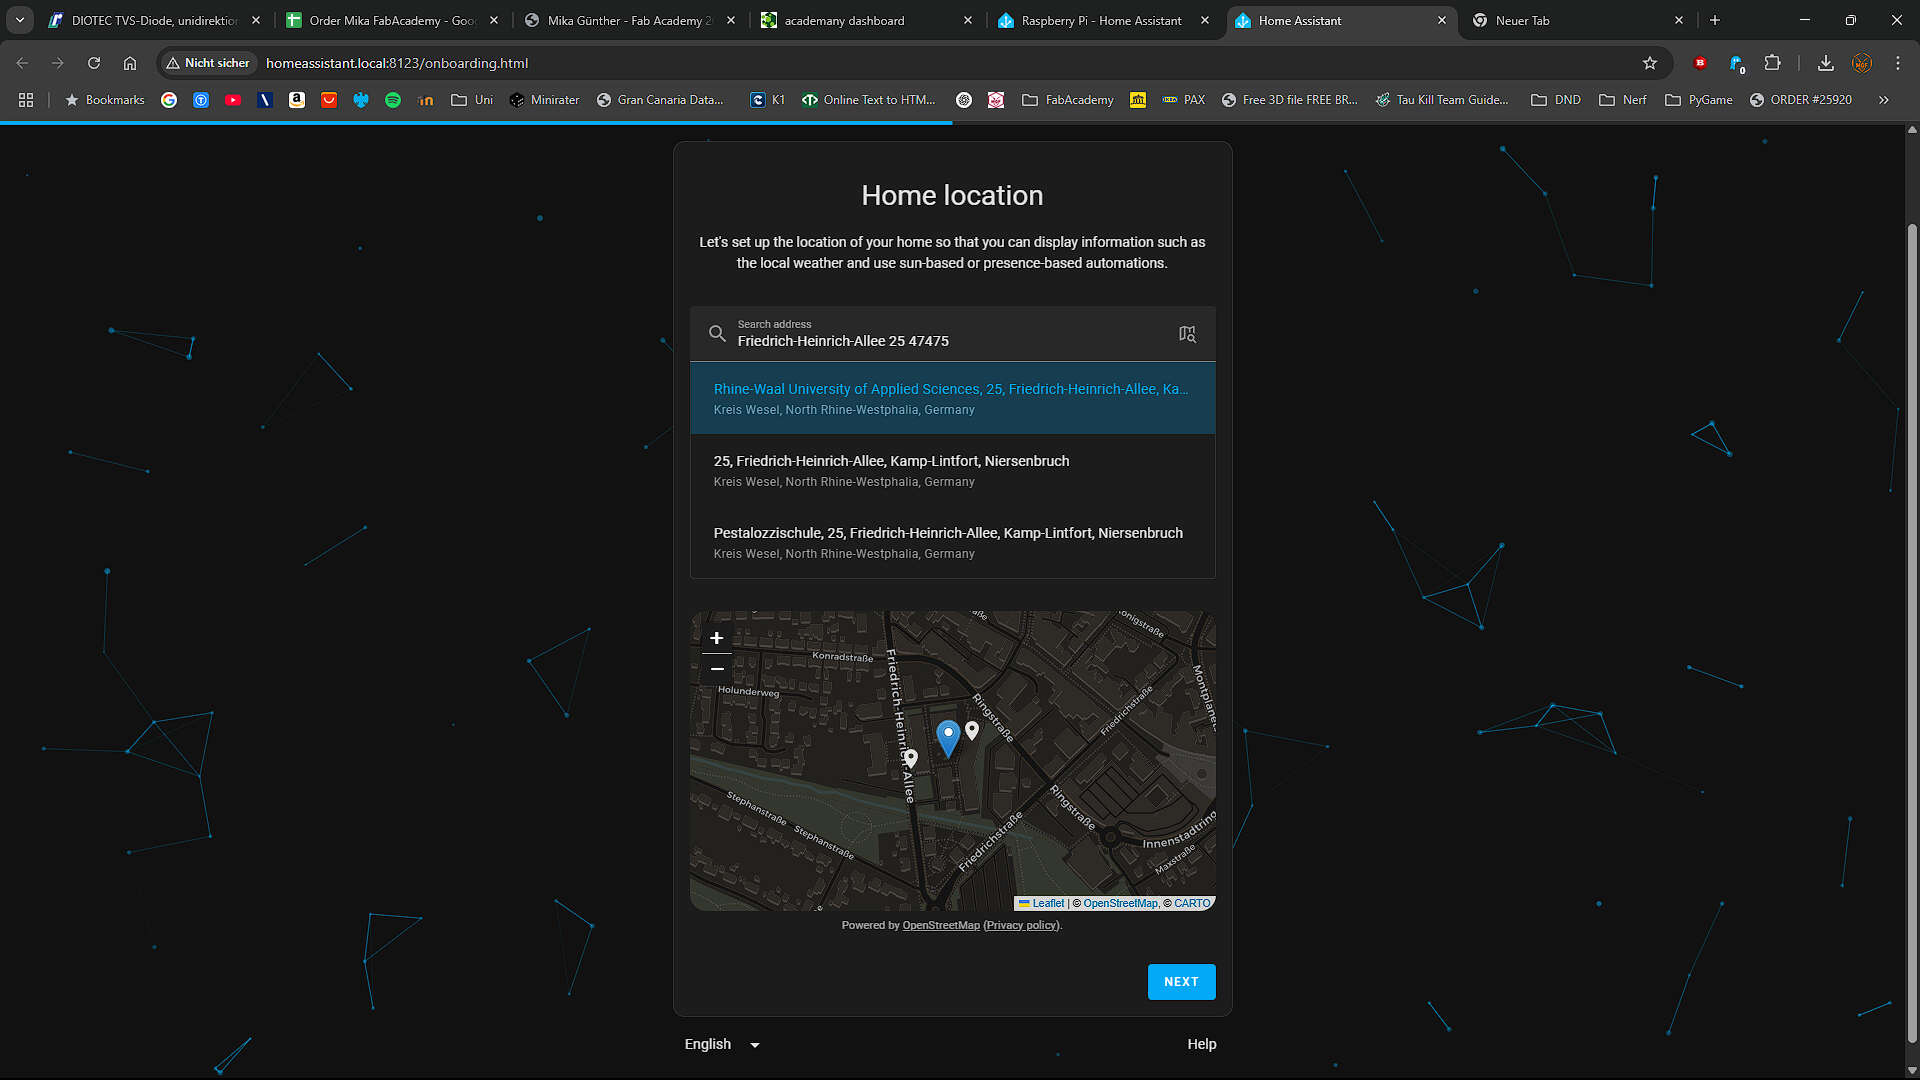
Added the Location
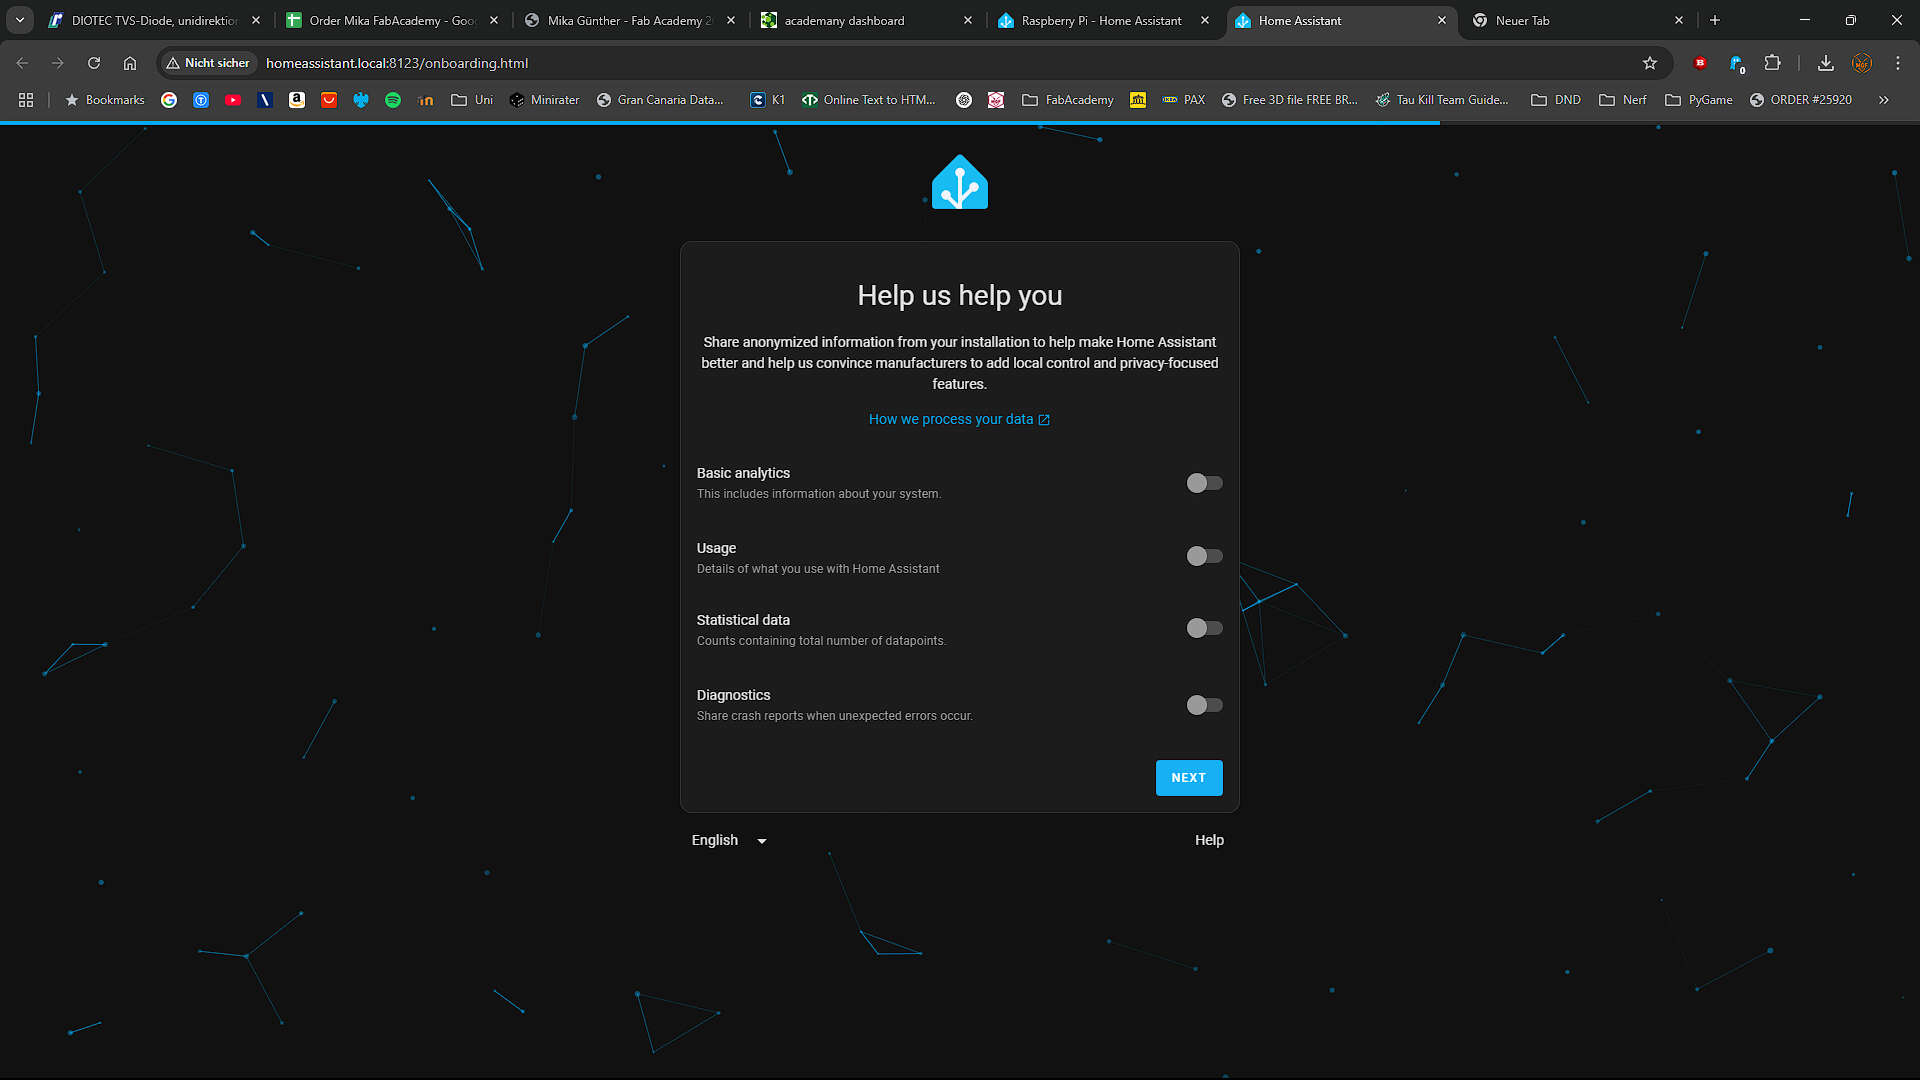
Never allowed to get my Data
And Clicked Finish
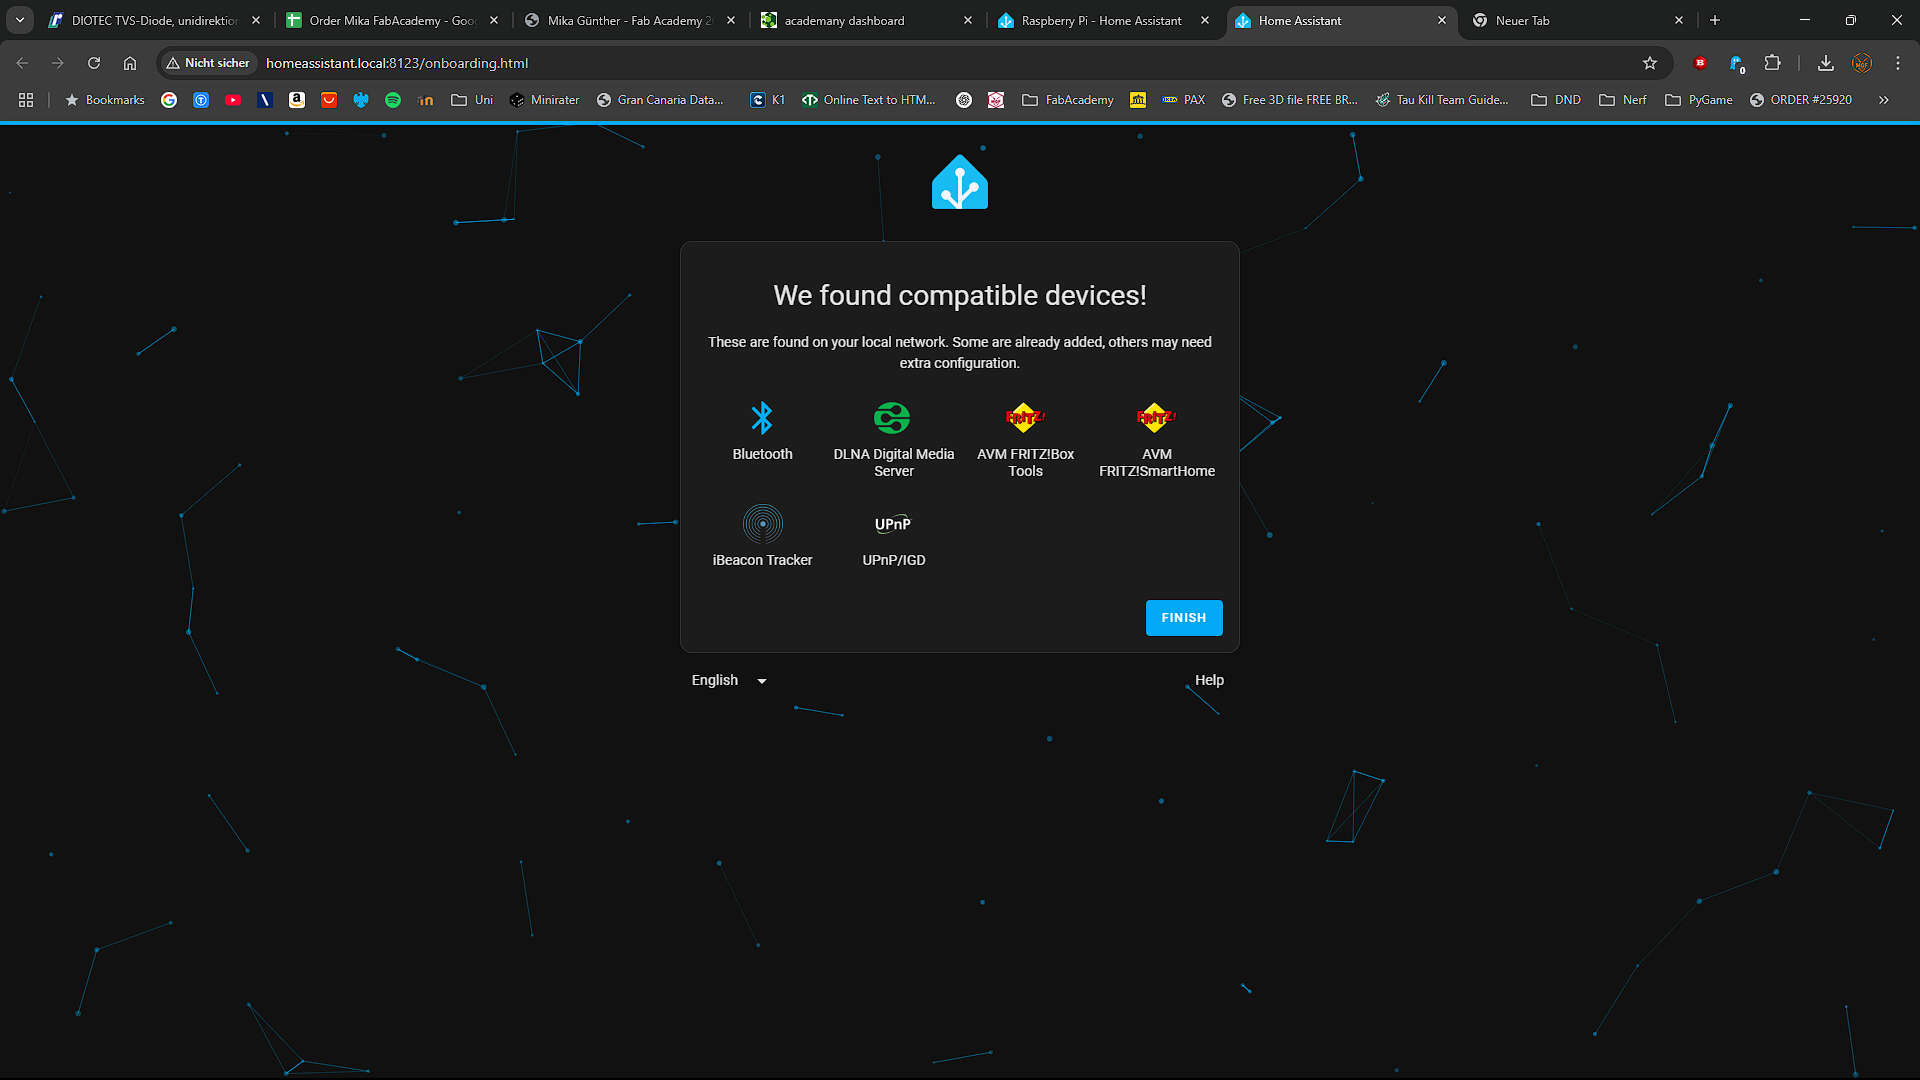
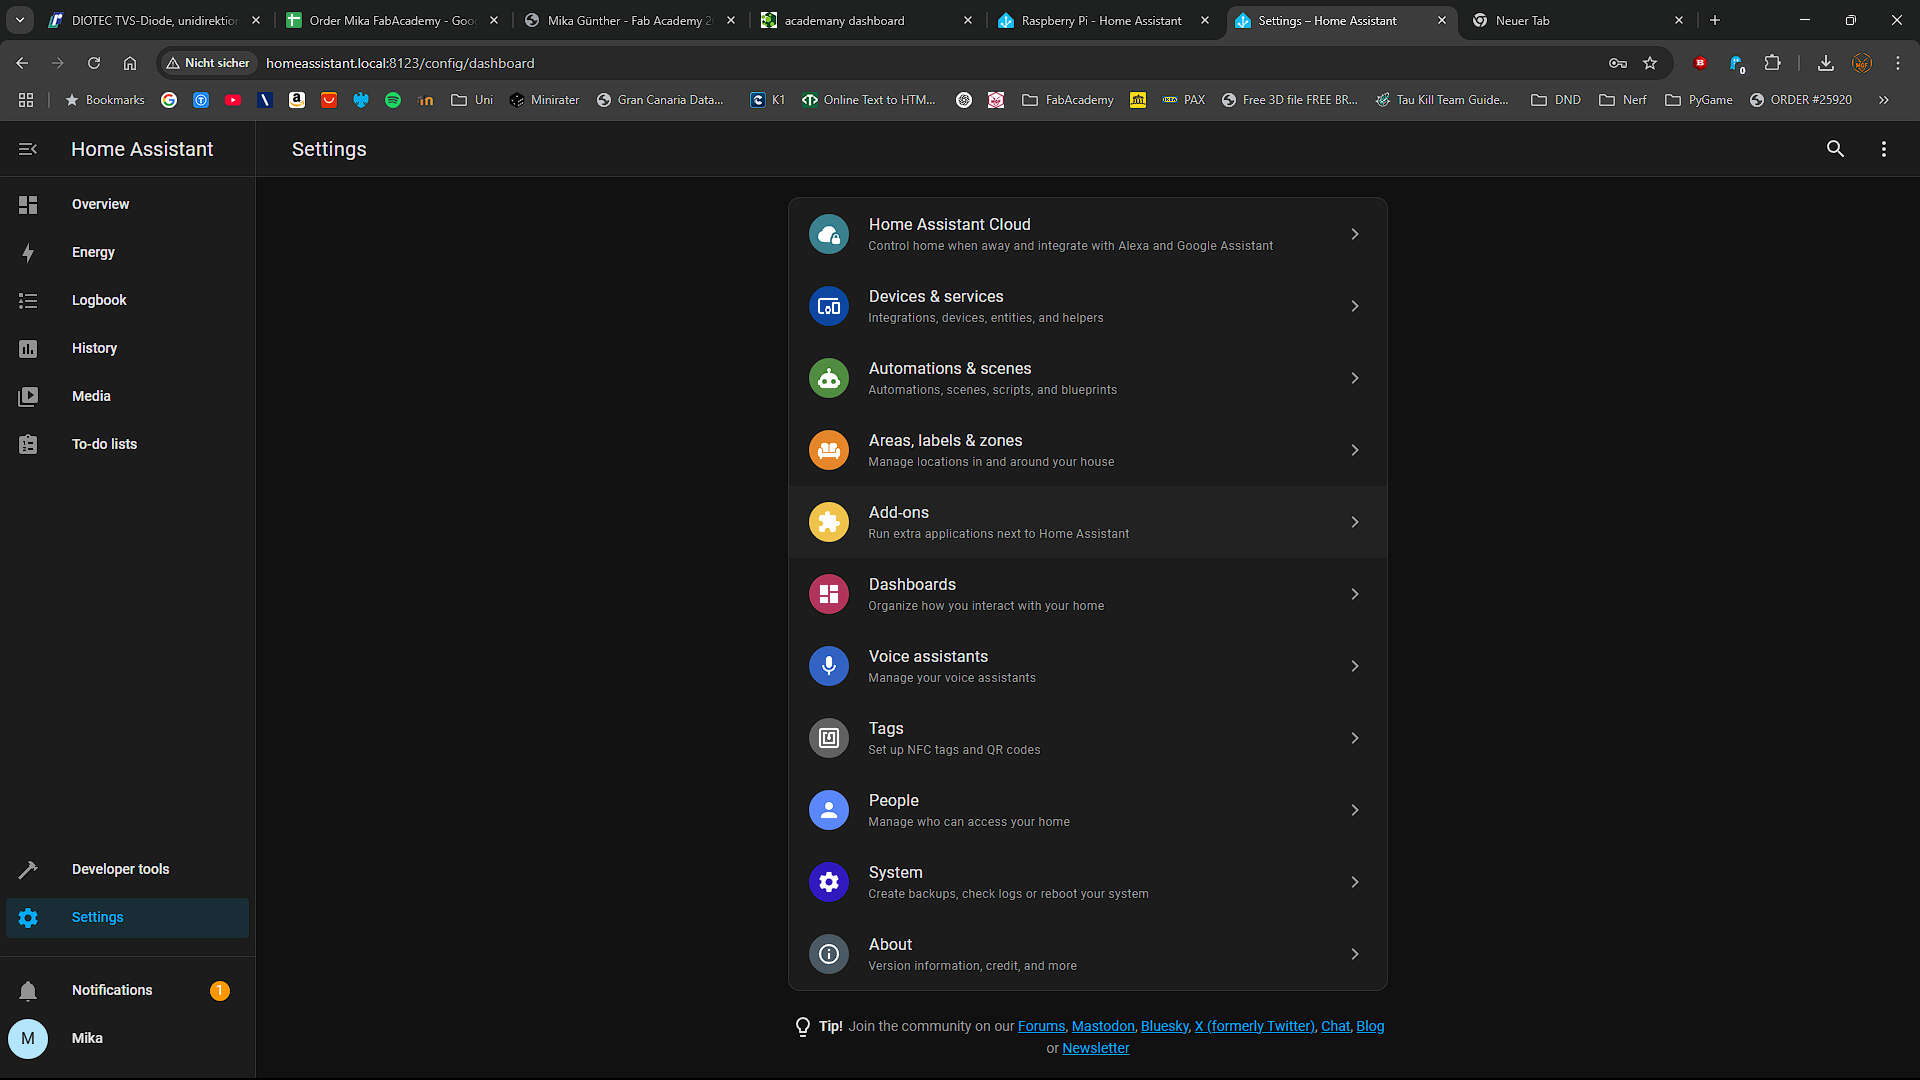
Now i installed Mosquito as my MQTT Broker. For that i went to the Options and Clicked on Add-Ons. On this Page was a link to the Store, because i never installed any Add-ons. I clicked on this link
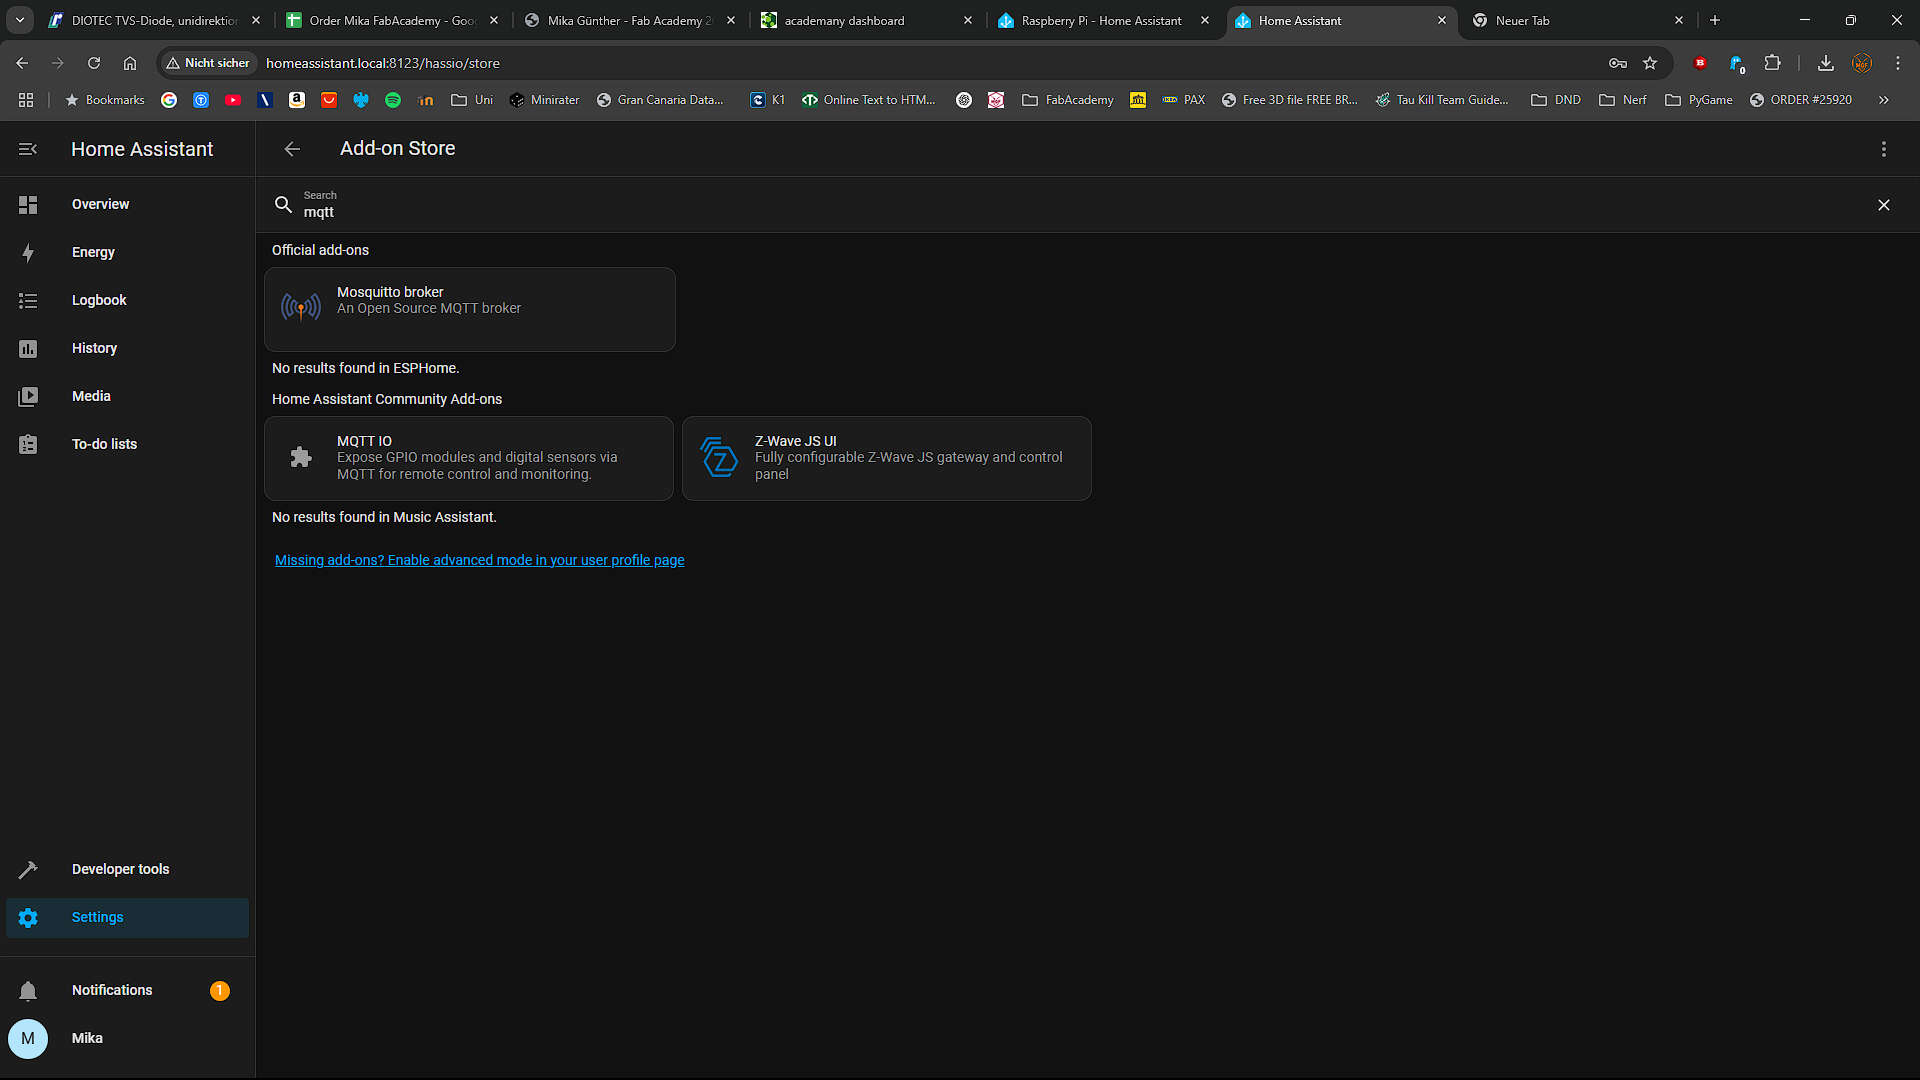
In the store I searched for "mqtt" and selected "Mosquito"
I then clicked on Install
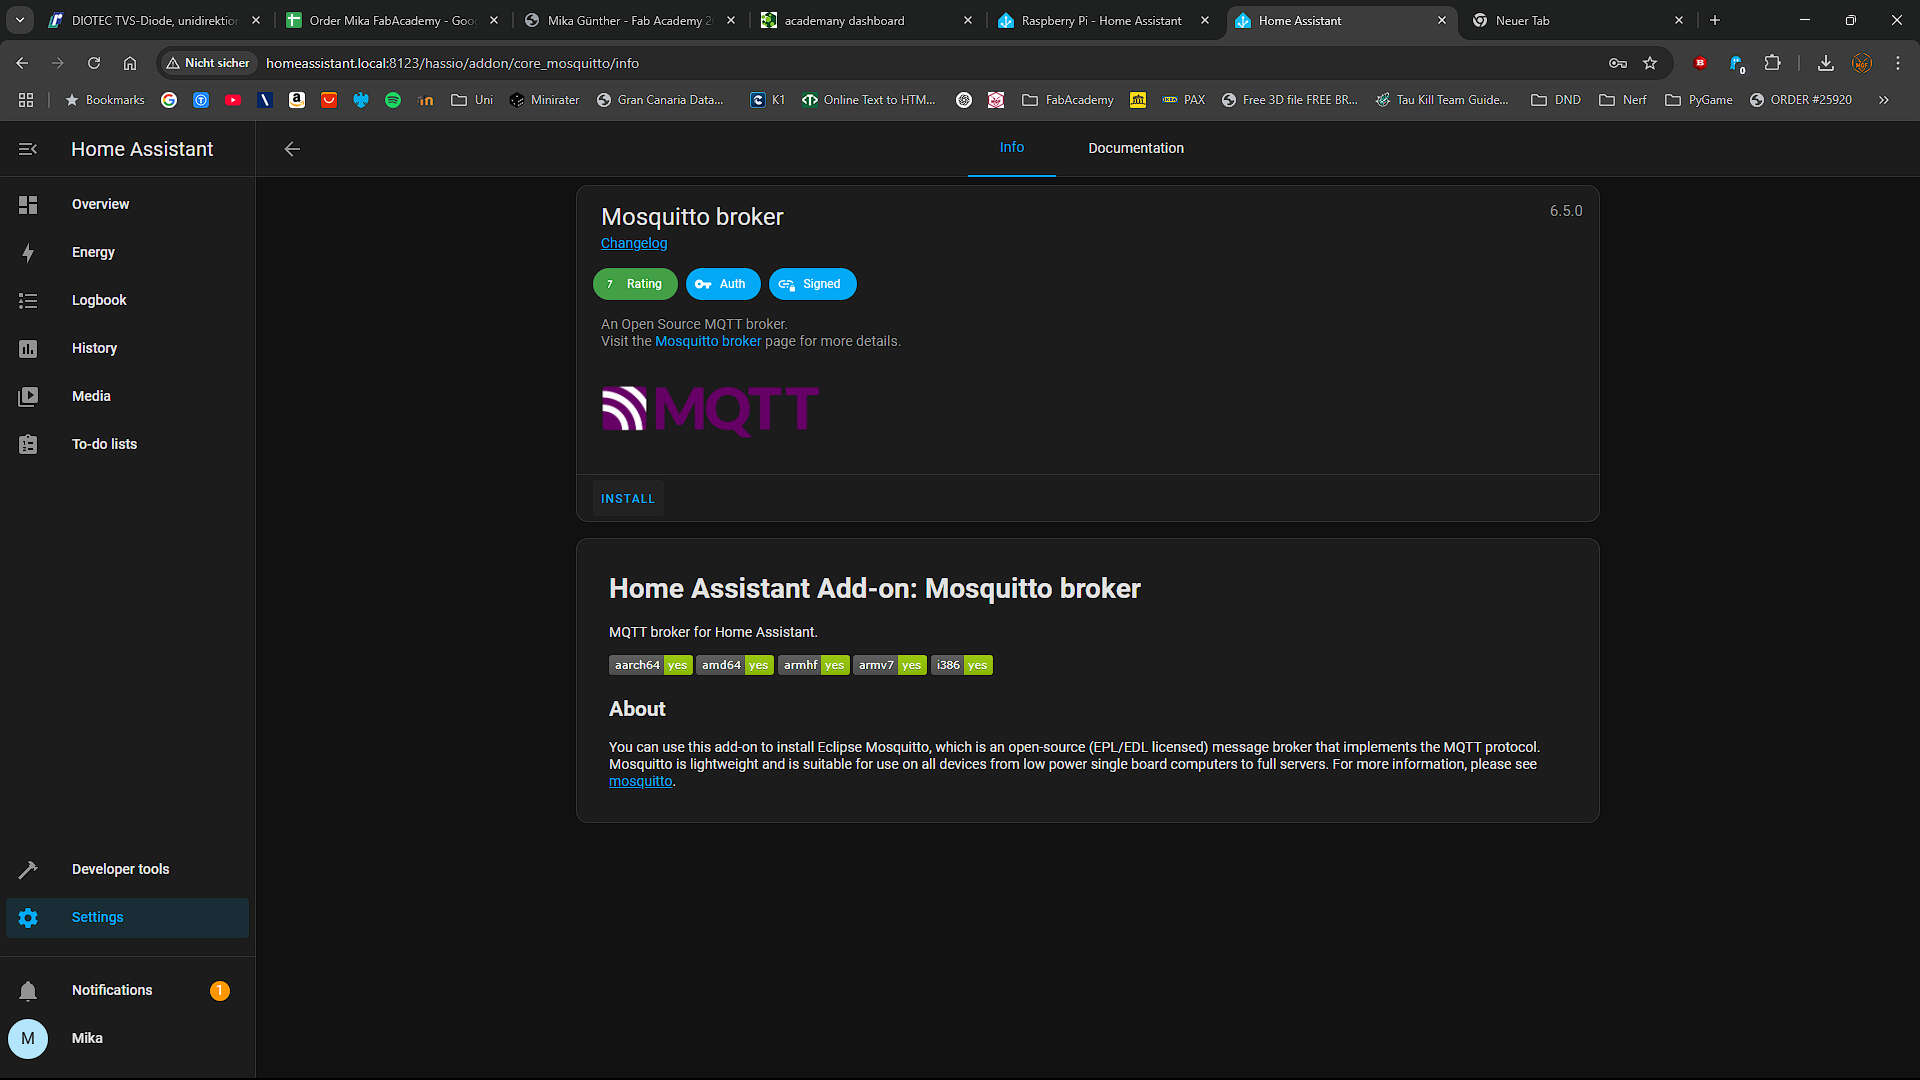
If it didnt started right away, you can click on start, where the install button was.
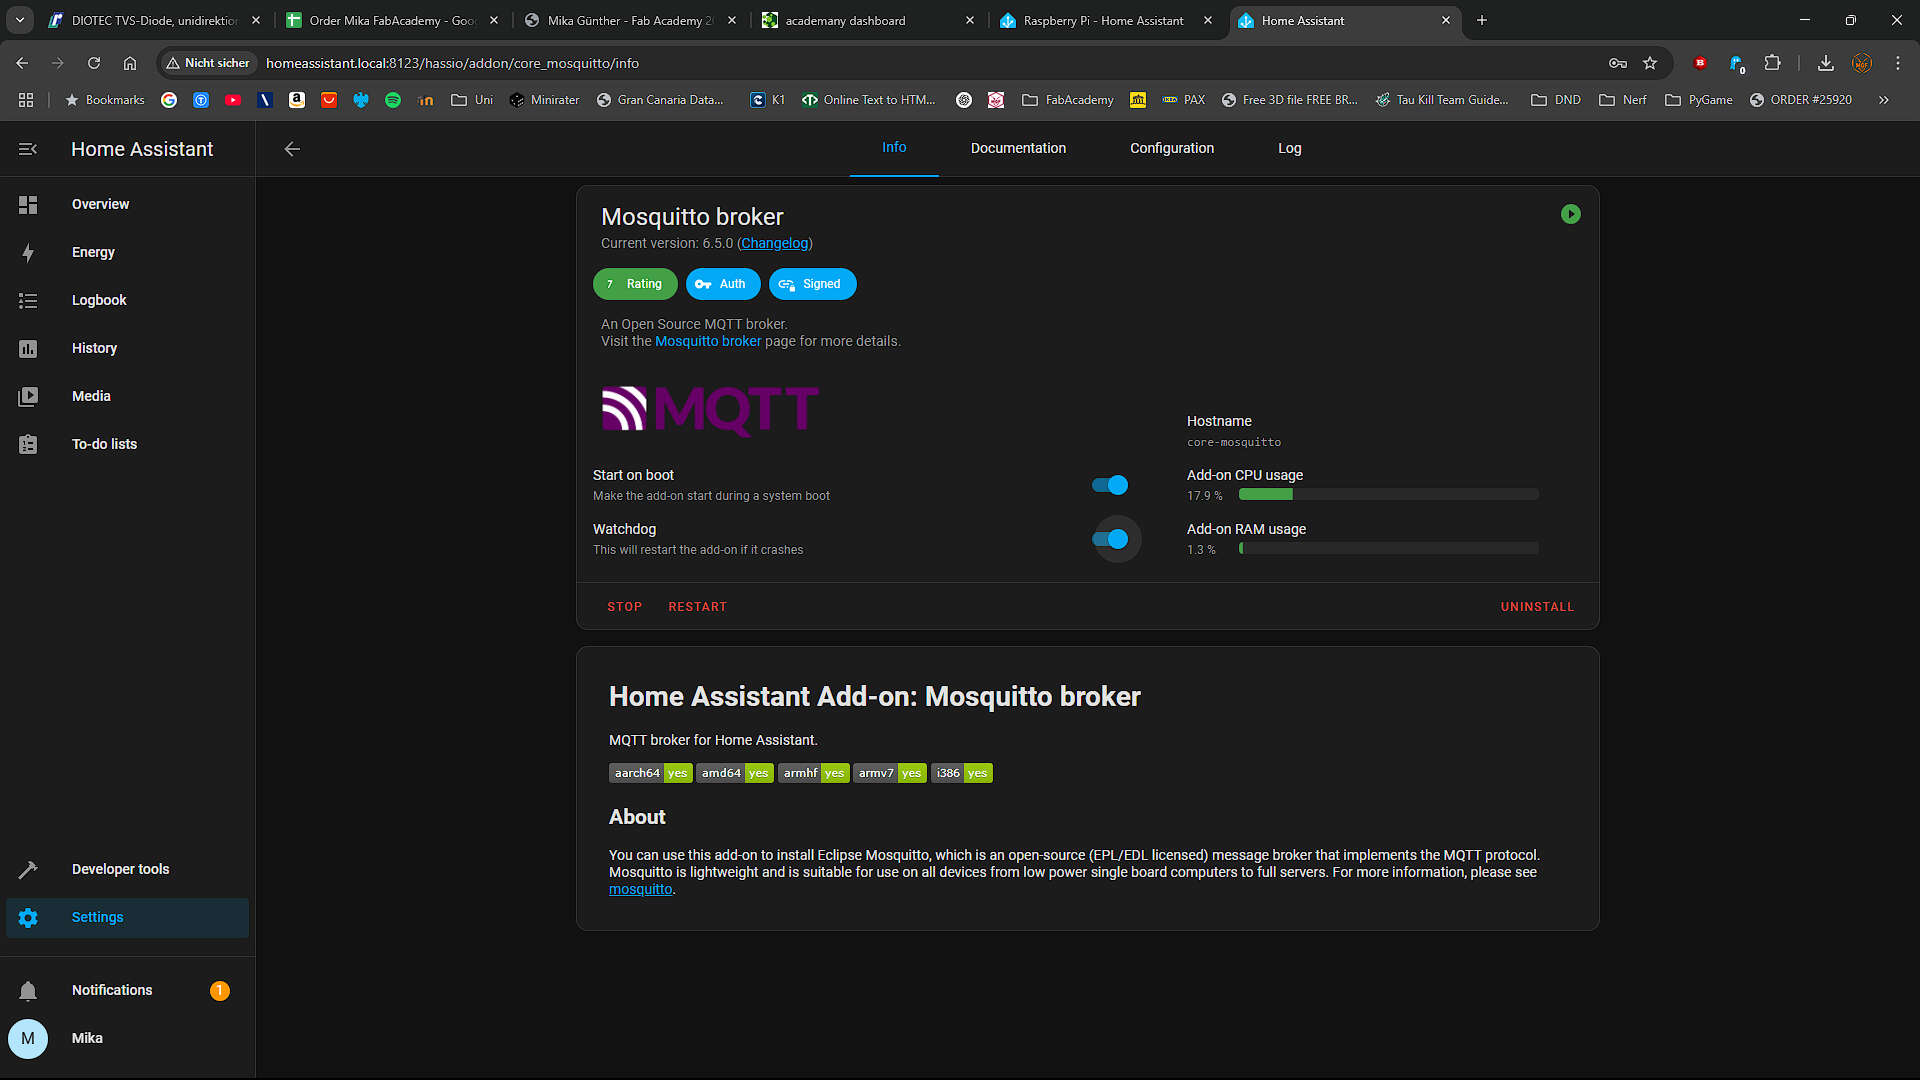
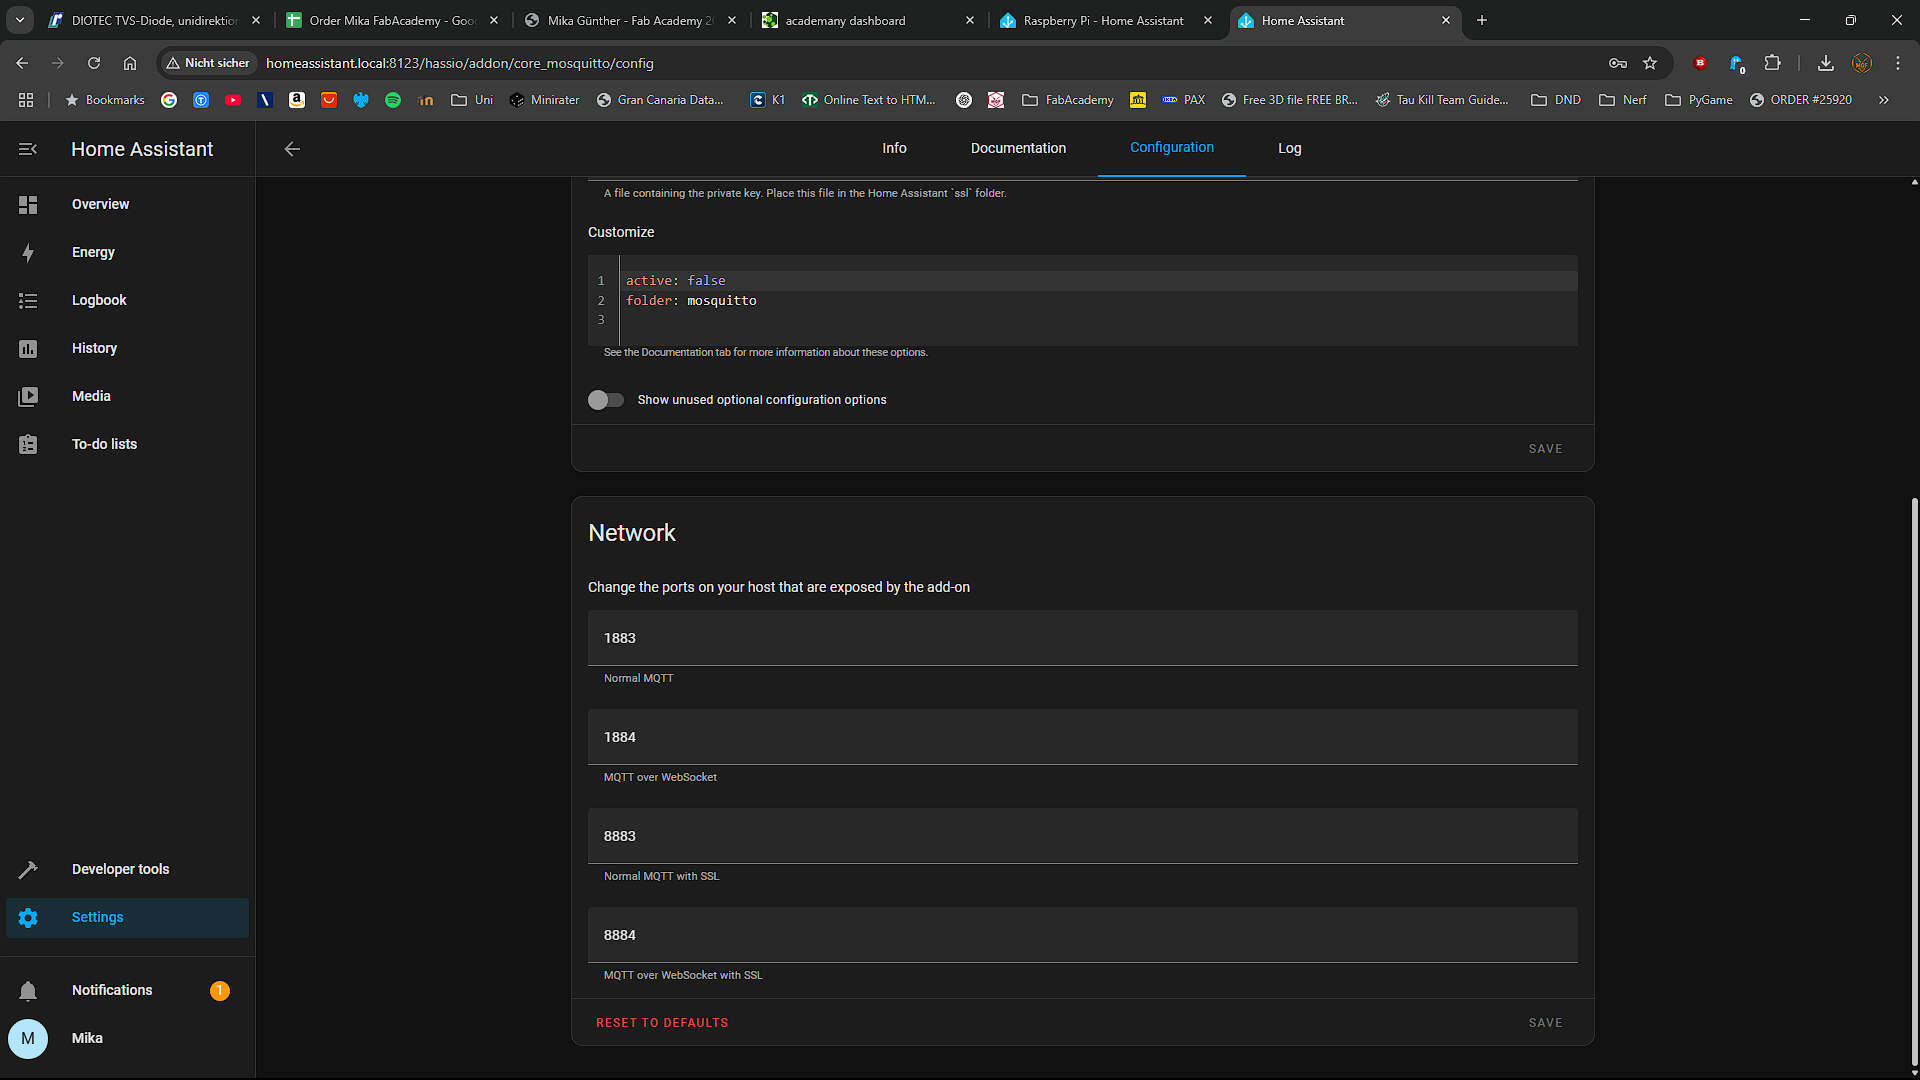
to get the information we needed, aka the ports, i clicked on configuration and i got the port information there.
In the same way, I installed VS Code Server in HA to work on the yaml files
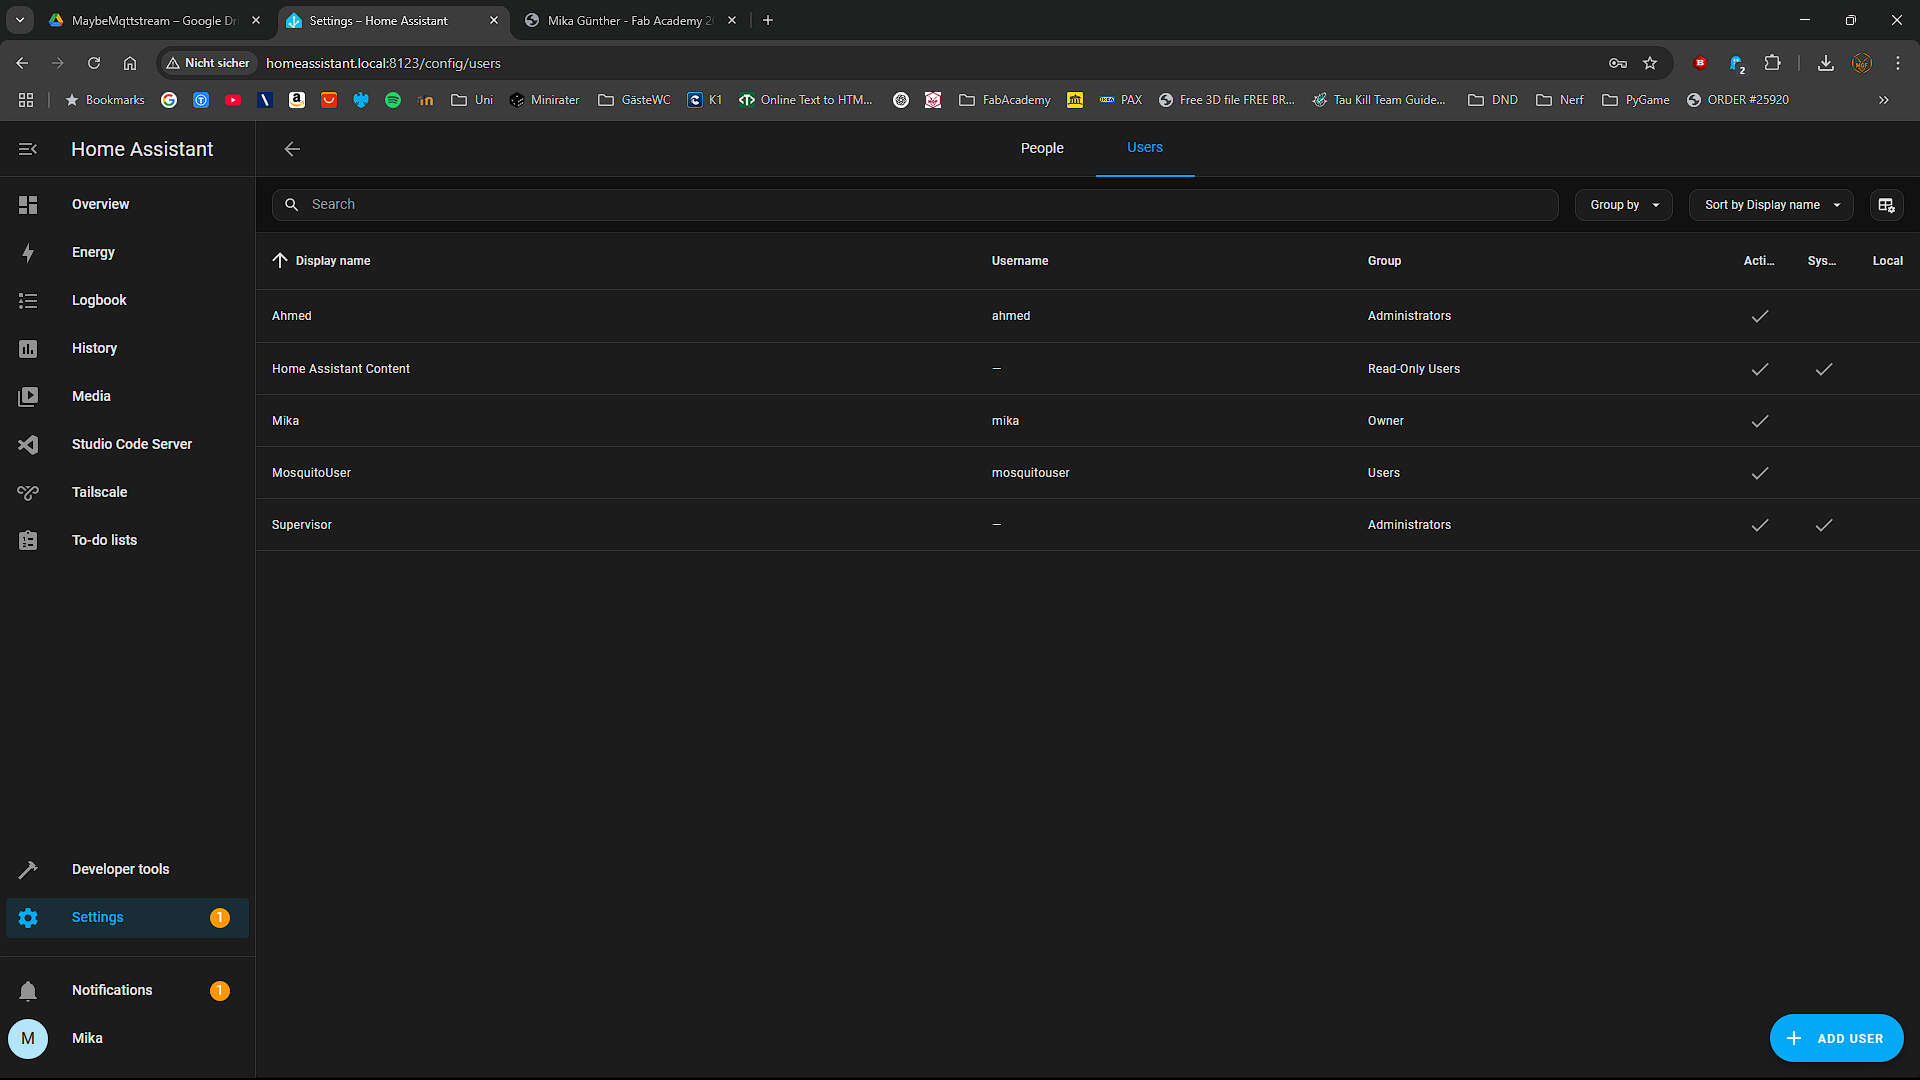
Also to send Data, i needed a mqtt user. I first added it through Config->Peopl->Users. I called the User "mosquitouser" and for simplicity, i used it also as password. HA users also act like MQTT users for Mosquito. So we dont need to add them seperately in the Mosquito configs
The YAML Config
To display the data in homeassistant currently for debugging, i needed to initiate entitys to do that i opended the configuration.yaml trough VisualStudio Code inside HA and added the Cofiguration for MQTT
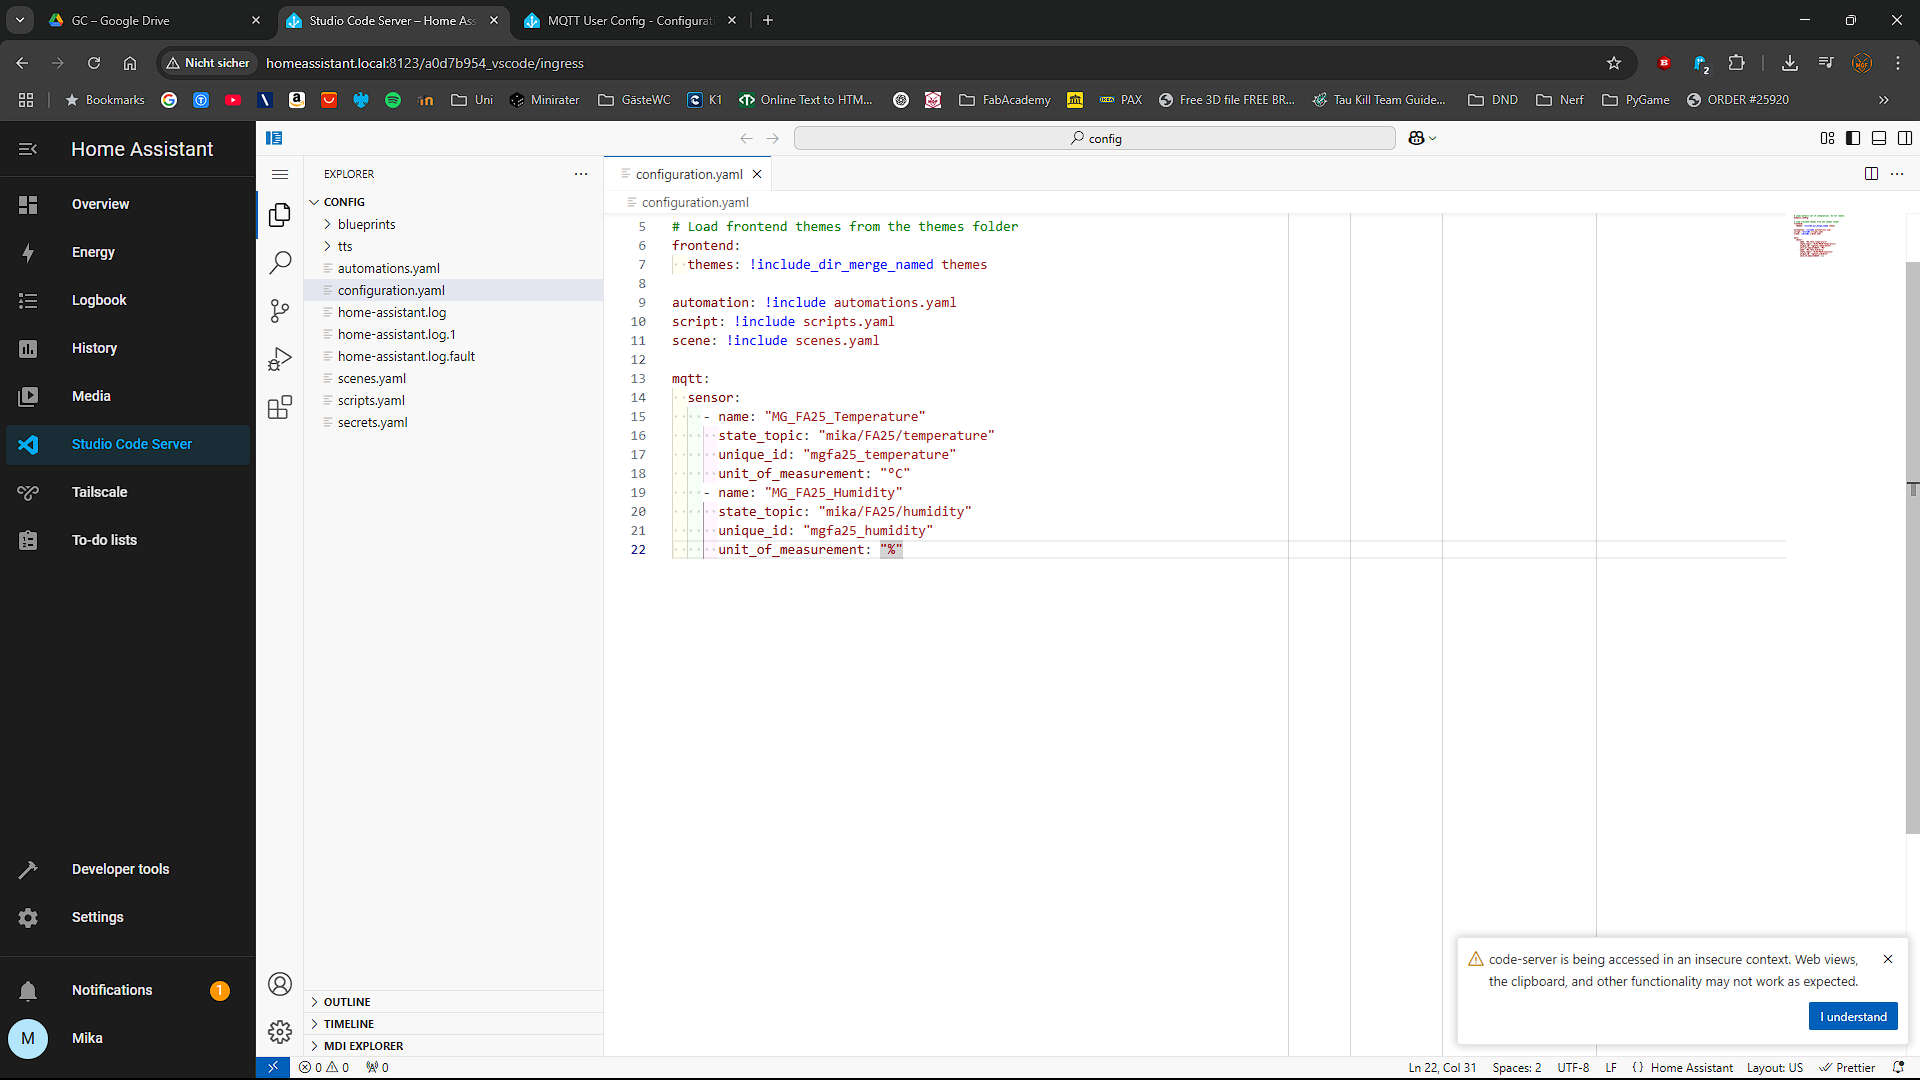
            mqtt:
                sensor:
                    - name: "MG_FA25_Temperature"
                      state_topic: "mika/FA25/temperature"
                      unique_id: "mgfa25_temperature"
                      unit_of_measurement: "°C"

                    - name: "MG_FA25_Humidity"
                      state_topic: "mika/FA25/humidity"
                      unique_id: "mgfa25_humidity"
                      unit_of_measurement: "%"
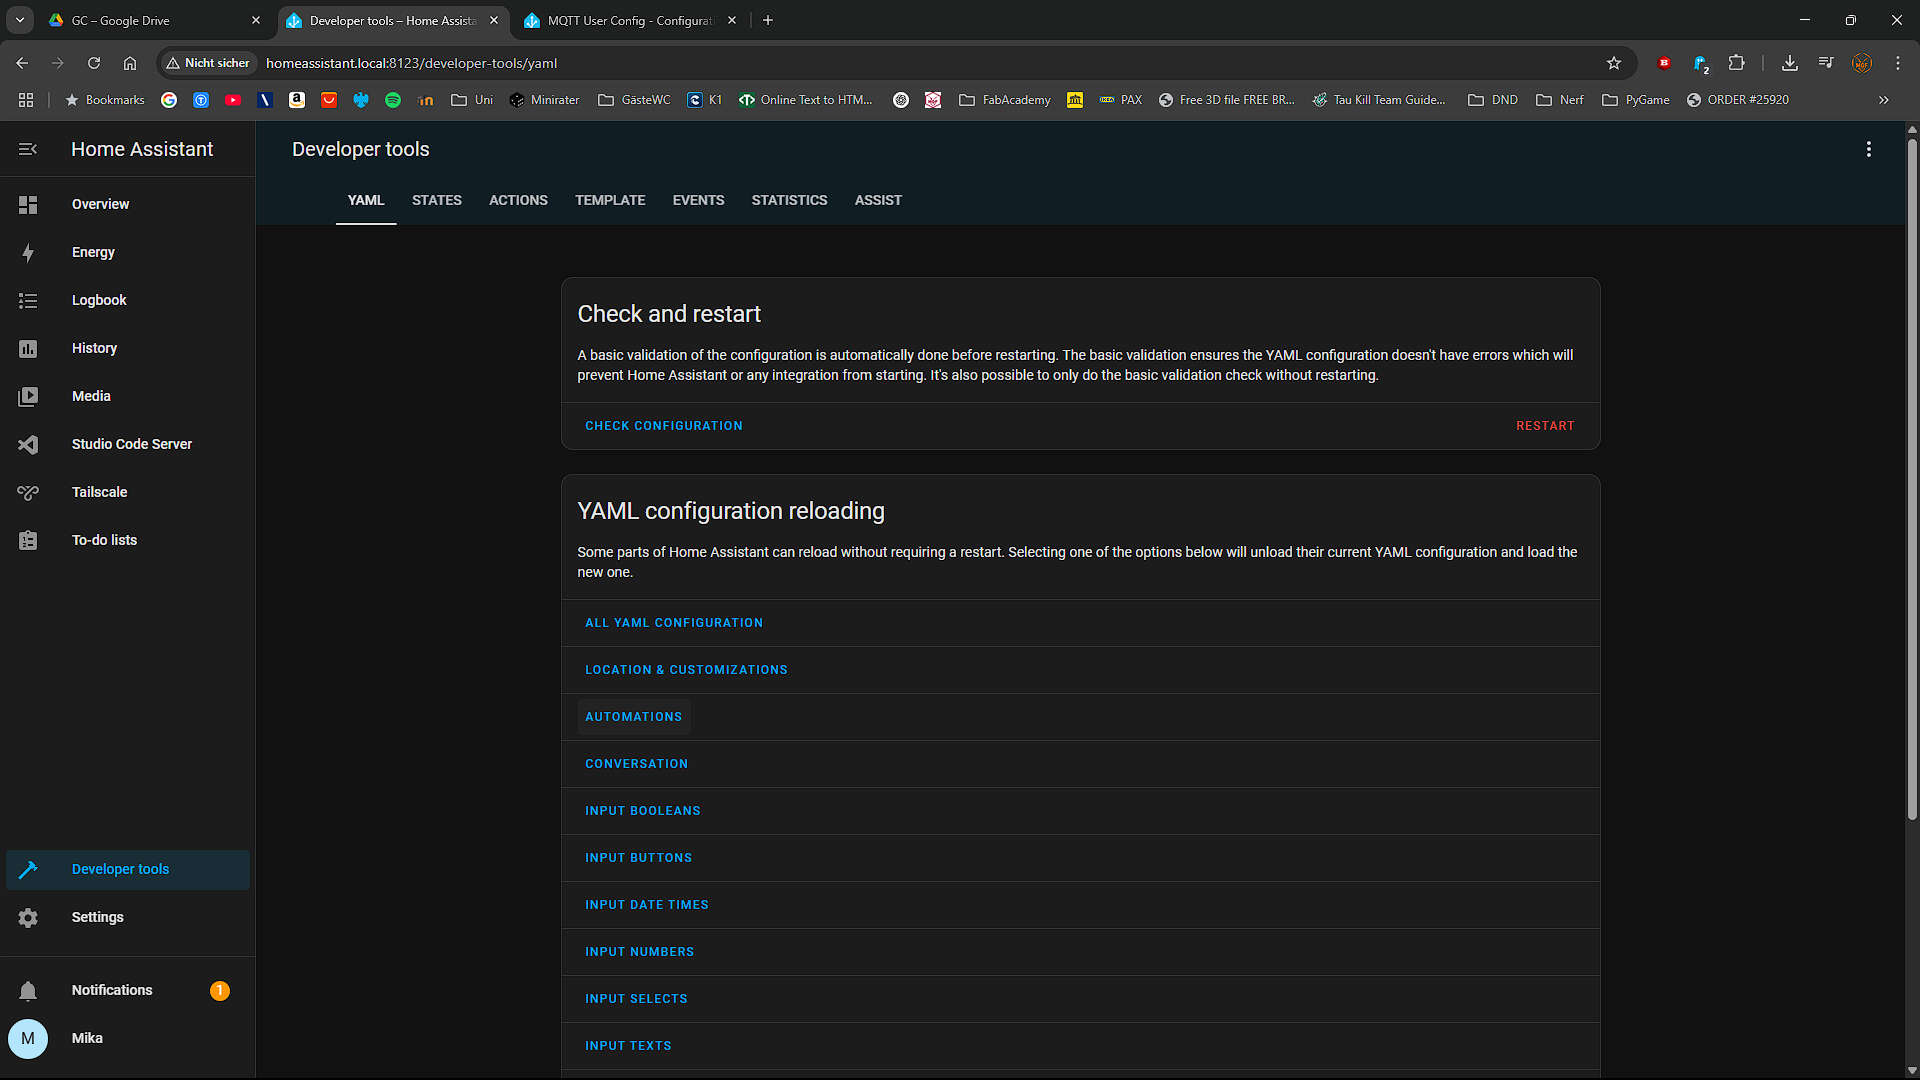
After saving the file i needed to reload the YAML. To do this, i went to Developer Tools and clicked on Automations in the YAML section.
Sending Data
libraries
This are the libraries i need to install to use in the Code Later:
- PubSubClient by Nick O'Leary
- Adafruit Unified Sensor by Adafruit
- DHT Sensor Library by Adafruit
The Code
            #include
                #include
                #include
                #include
                #include
                #include

                #define DHTPIN 3  // Digital pin connected to the DHT sensor

                #define DHTTYPE DHT22  // DHT 22 (AM2302)
                DHT_Unified dht(DHTPIN, DHTTYPE);
                uint32_t delayMS;  //start to count

                // WiFi-Credentials
                const char *ssid = "ssid";
                const char *password = "password";

                // MQTT Broker Setup
                const char *mqtt_identifier = "mika/FA25";
                const char *mqtt_server = "192.168.188.52";
                const char *mqtt_user = "mosquitouser";
                const char *mqtt_pass = "mosquitouser";

                int sending_mqtt_every_ms = 5000;  //name says everything

                WiFiClient espClient;
                PubSubClient client(espClient);
                long lastMsg = 0;
                char msg[50];
                char topic[50];
                int value = 0;

                void setup_wifi() {
                  delay(10);
                  // We start by connecting to a WiFi network
                  Serial.println();
                  Serial.print("Connecting to ");
                  Serial.println(ssid);

                  WiFi.begin(ssid, password);

                  while (WiFi.status() != WL_CONNECTED) {
                    delay(500);
                    Serial.print(".");
                  }

                  Serial.println("");
                  Serial.println("WiFi connected");
                  Serial.println("IP address: ");
                  Serial.println(WiFi.localIP());
                }

                void reconnect() {
                  // Loop until we're reconnected
                  while (!client.connected()) {
                    Serial.print("Attempting MQTT connection...");
                    // Attempt to connect
                    if (client.connect(mqtt_identifier, mqtt_user, mqtt_pass)) {
                      Serial.println("connected");
                      // Subscribe to an Topic. This will be nescesary maybe in the Future
                      strcpy(topic, mqtt_identifier);
                      strcat(topic, "/getter");
                      client.subscribe(topic);
                    } else {
                      Serial.print("failed, rc=");
                      Serial.print(client.state());
                      Serial.println(" try again in 5 seconds");
                      // Wait 5 seconds before retrying
                      delay(5000);
                    }
                  }
                }

                void setup(void) {
                  Serial.begin(115200);

                  pinMode(5, OUTPUT);
                  setup_wifi();
                  client.setServer(mqtt_server, 1883);
                  dht.begin();
                }

                void loop() {


                  sensors_event_t event;

                  //checks if still connected to the broker if not reconnecting to the broker
                  if (!client.connected()) {
                    reconnect();
                  }

                  client.loop();

                  long now = millis();
                  if (now - lastMsg > sending_mqtt_every_ms) {
                    lastMsg = now;

                    //get temperature

                    dht.temperature().getEvent(&event);


                    // Convert the value to a char array
                    char tempString[8];
                    dtostrf(event.temperature, 1, 2, tempString);
                    Serial.print("Temperature: ");
                    Serial.println(tempString);

                    //changes the topic to pubish to
                    strcpy(topic, mqtt_identifier);
                    strcat(topic, "/temperature");

                    //and publish it to MQTT
                    client.publish(topic, tempString);

                    //get humidityy
                    dht.humidity().getEvent(&event);

                    // Convert the value to a char array and publish it to MQTT
                    char humString[8];
                    dtostrf(event.relative_humidity, 1, 2, humString);
                    Serial.print("Humidity: ");
                    Serial.println(humString);

                    //changes the topic to pubish to
                    strcpy(topic, mqtt_identifier);
                    strcat(topic, "/humidity");

                    //and publish it to MQTT
                    client.publish(topic, humString);
                  }
                }
The Board
like in W9 - Input Devices i used the board i made in Week 8. with the difference i used GP3 also pin 4 of the breakout pins.

MQTT Result Variant A
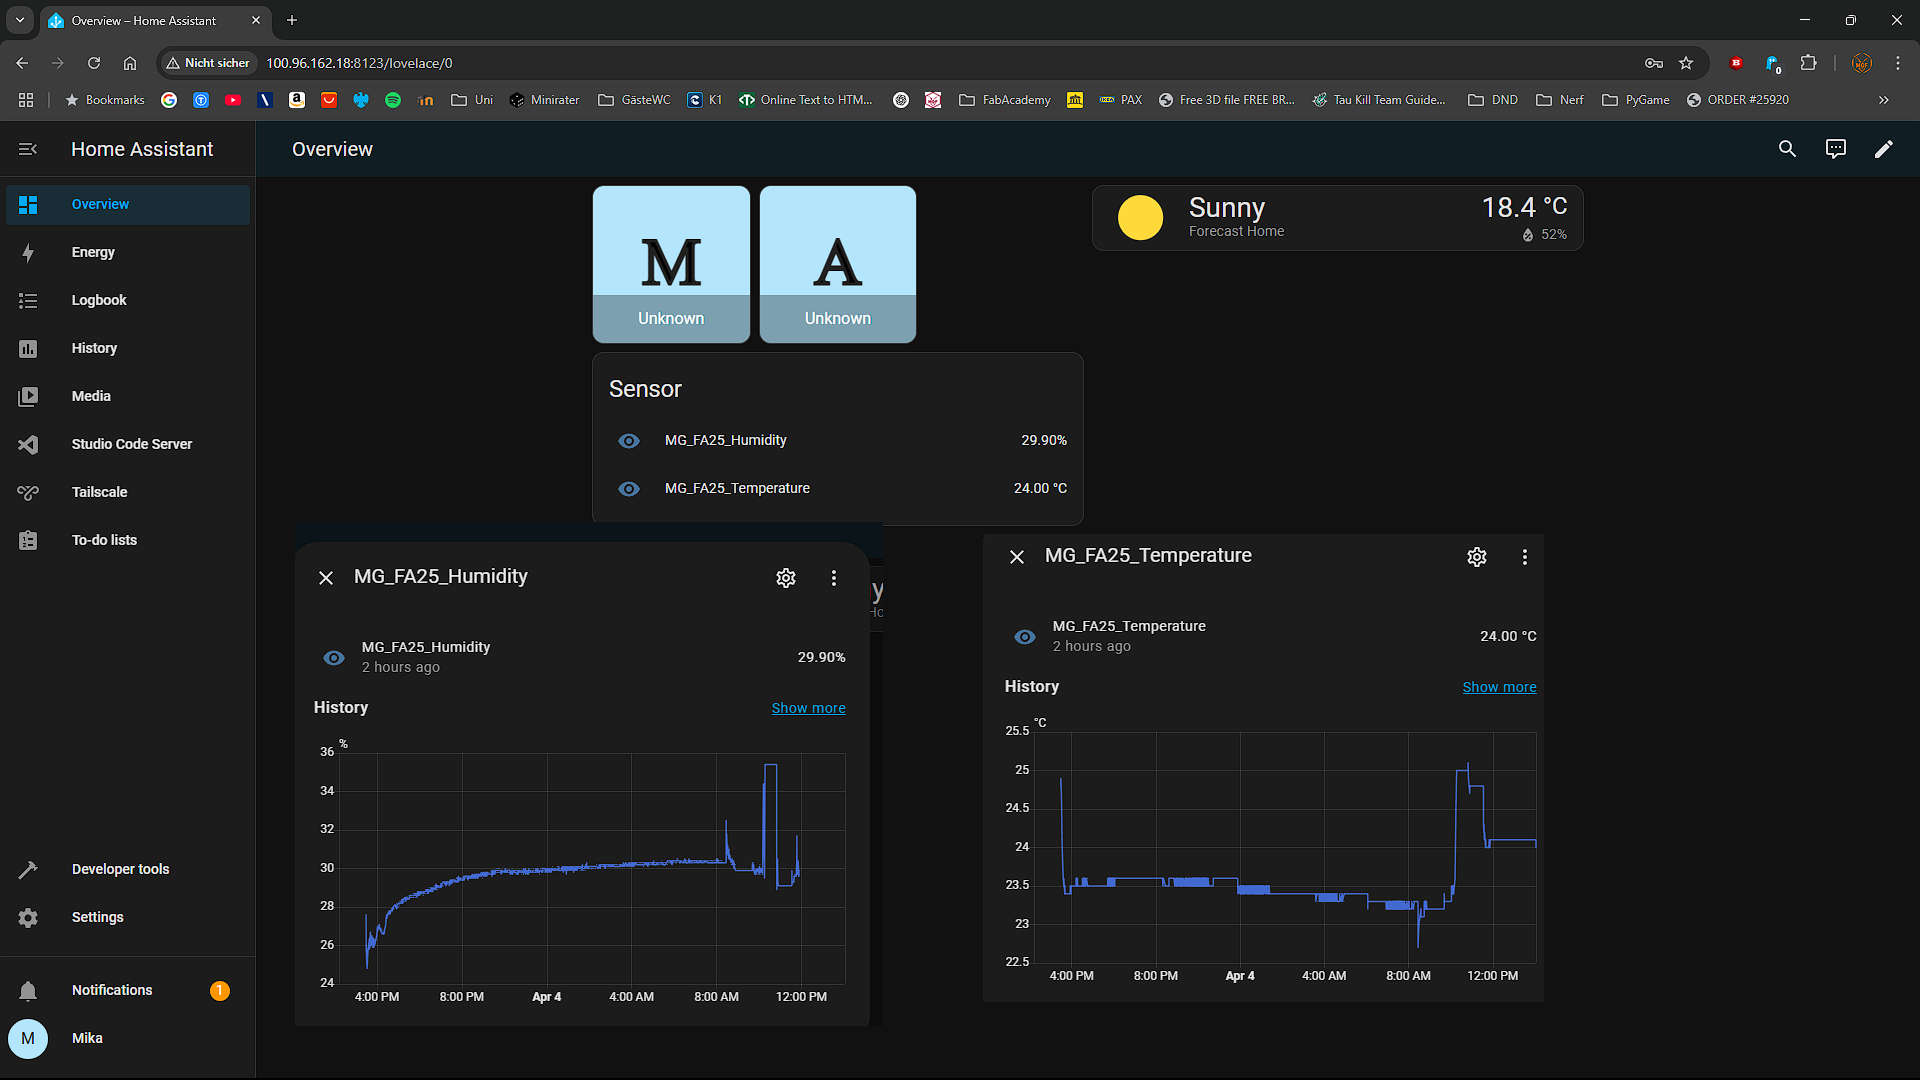
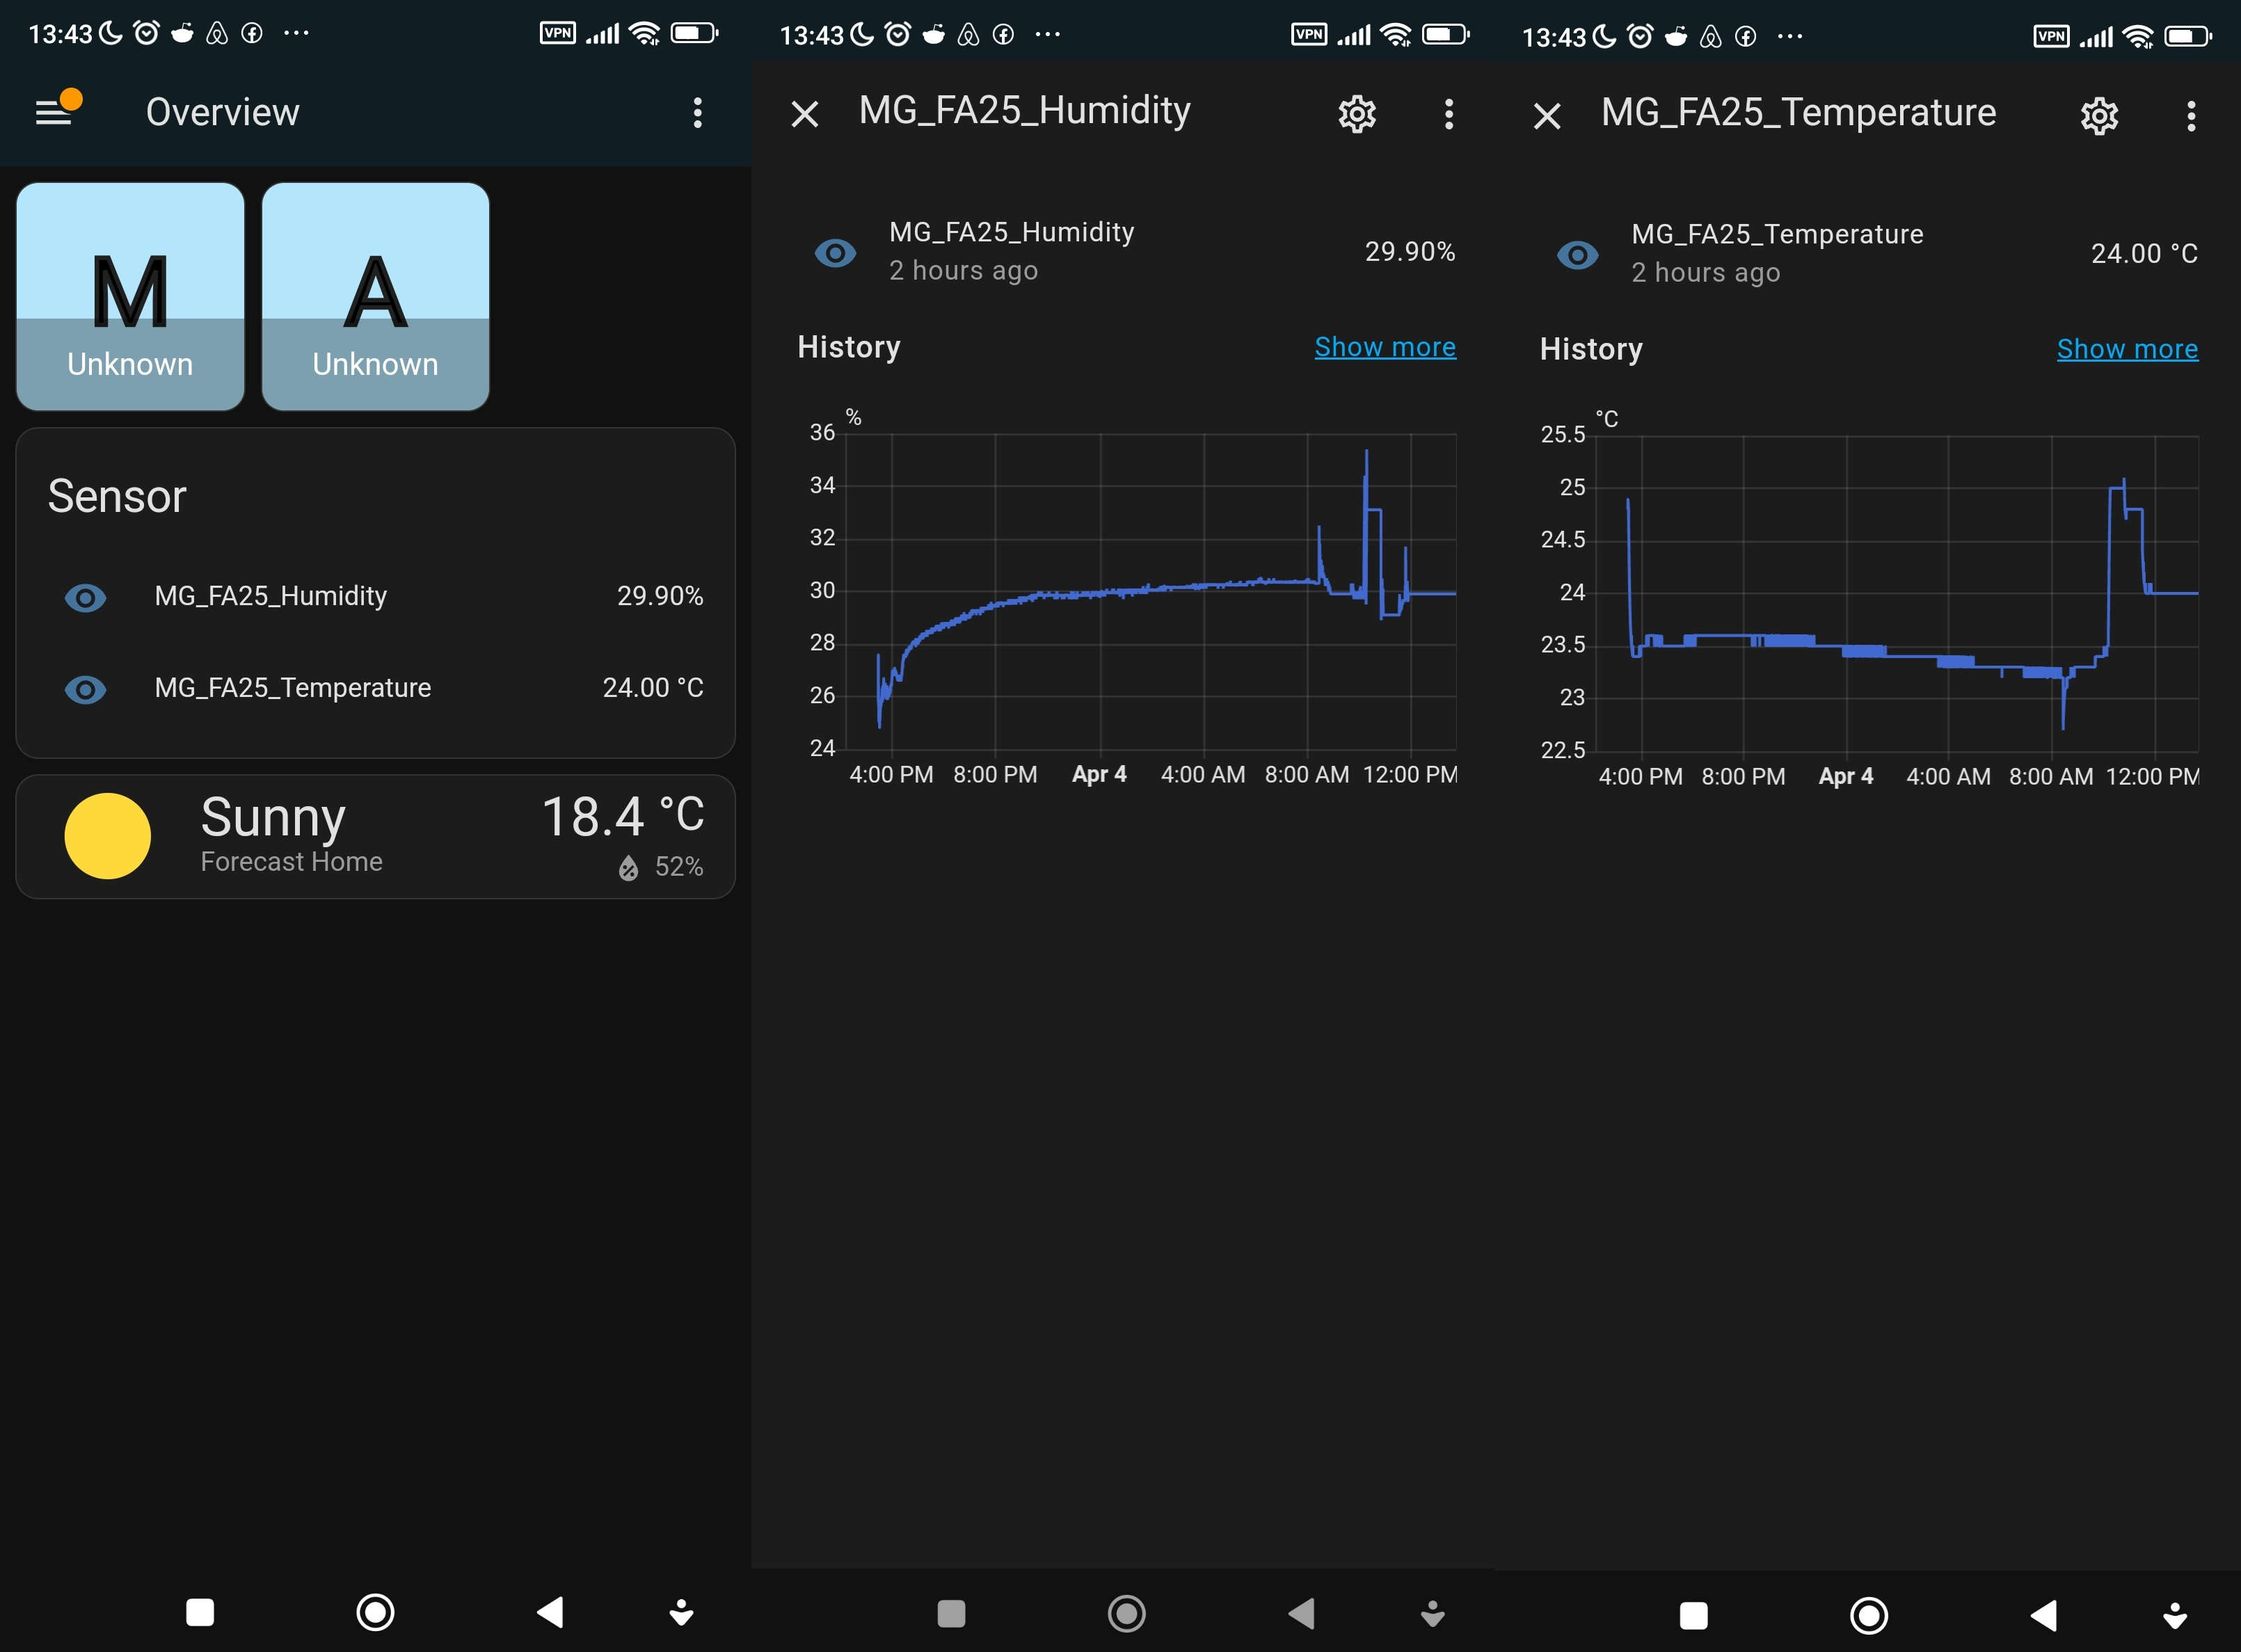
For Variant A which is also the final Step I used The Dashboard of HA. Here I could see the latest data for humidity and temperature. I can review the Dashboard either through the WebUI, we already know or through the APP. After Clicking on one of the Data points, a Timeline apperars, where you can see the Data changing by time
WEB UI
APP
MQTT Result Variant B
Variant B is more likely to use as Debugging Step. After Installation of "MQTT Explorer", just enter the MQTT Credentials and click on Connect
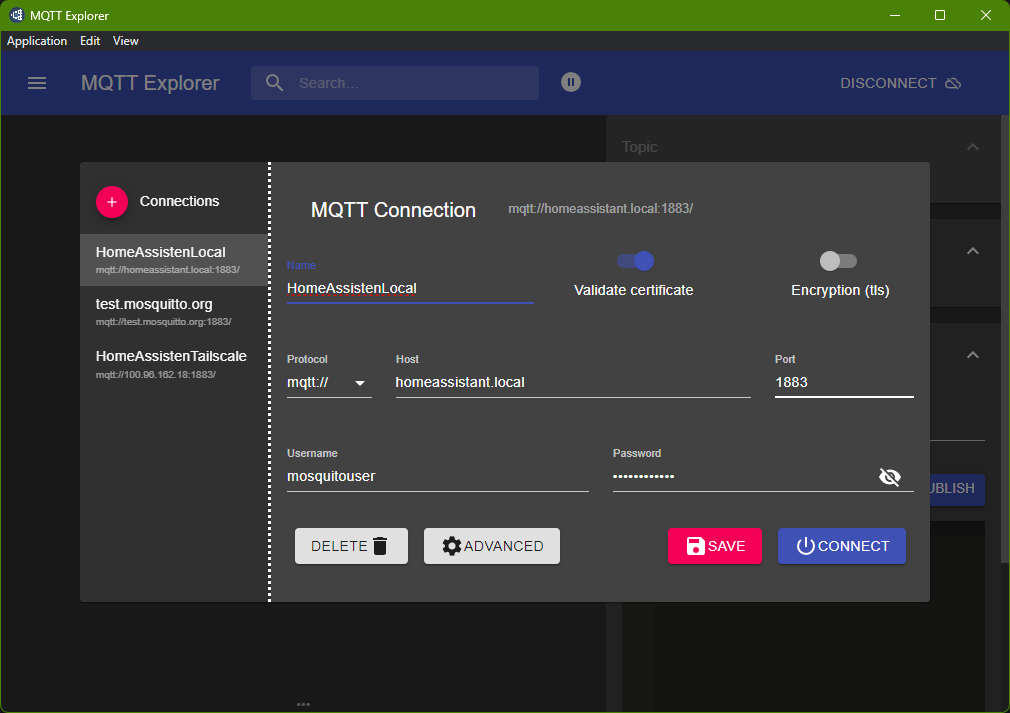
In the following Video u see how the Pi connects and gets the data every 5s, also you see in MQTT Explorer every 5s a new Message appearing with temperatur and Humidity
Scaleability
Scalability of this MQTT-based system is highly flexible, allowing deployment across various locations—whether it's multiple rooms in a smart home setup or remote sites for large-scale environmental data collection. By assigning unique MQTT topics to each sensor node, data from different locations can be seamlessly integrated and monitored in real-time through Home Assistant or cloud services. This decentralized approach ensures the system can easily expand from a single-room application to a network of sensors across buildings, farms, or even cities.