week 3. Computer controlled cutting
This Week i worked on Vinyl amd Lasercutting, aswell as Parametric Design
Parametric Design
I wanted to make modular dungeontiles, which i can change in size. My Software of Choice was Fusion.
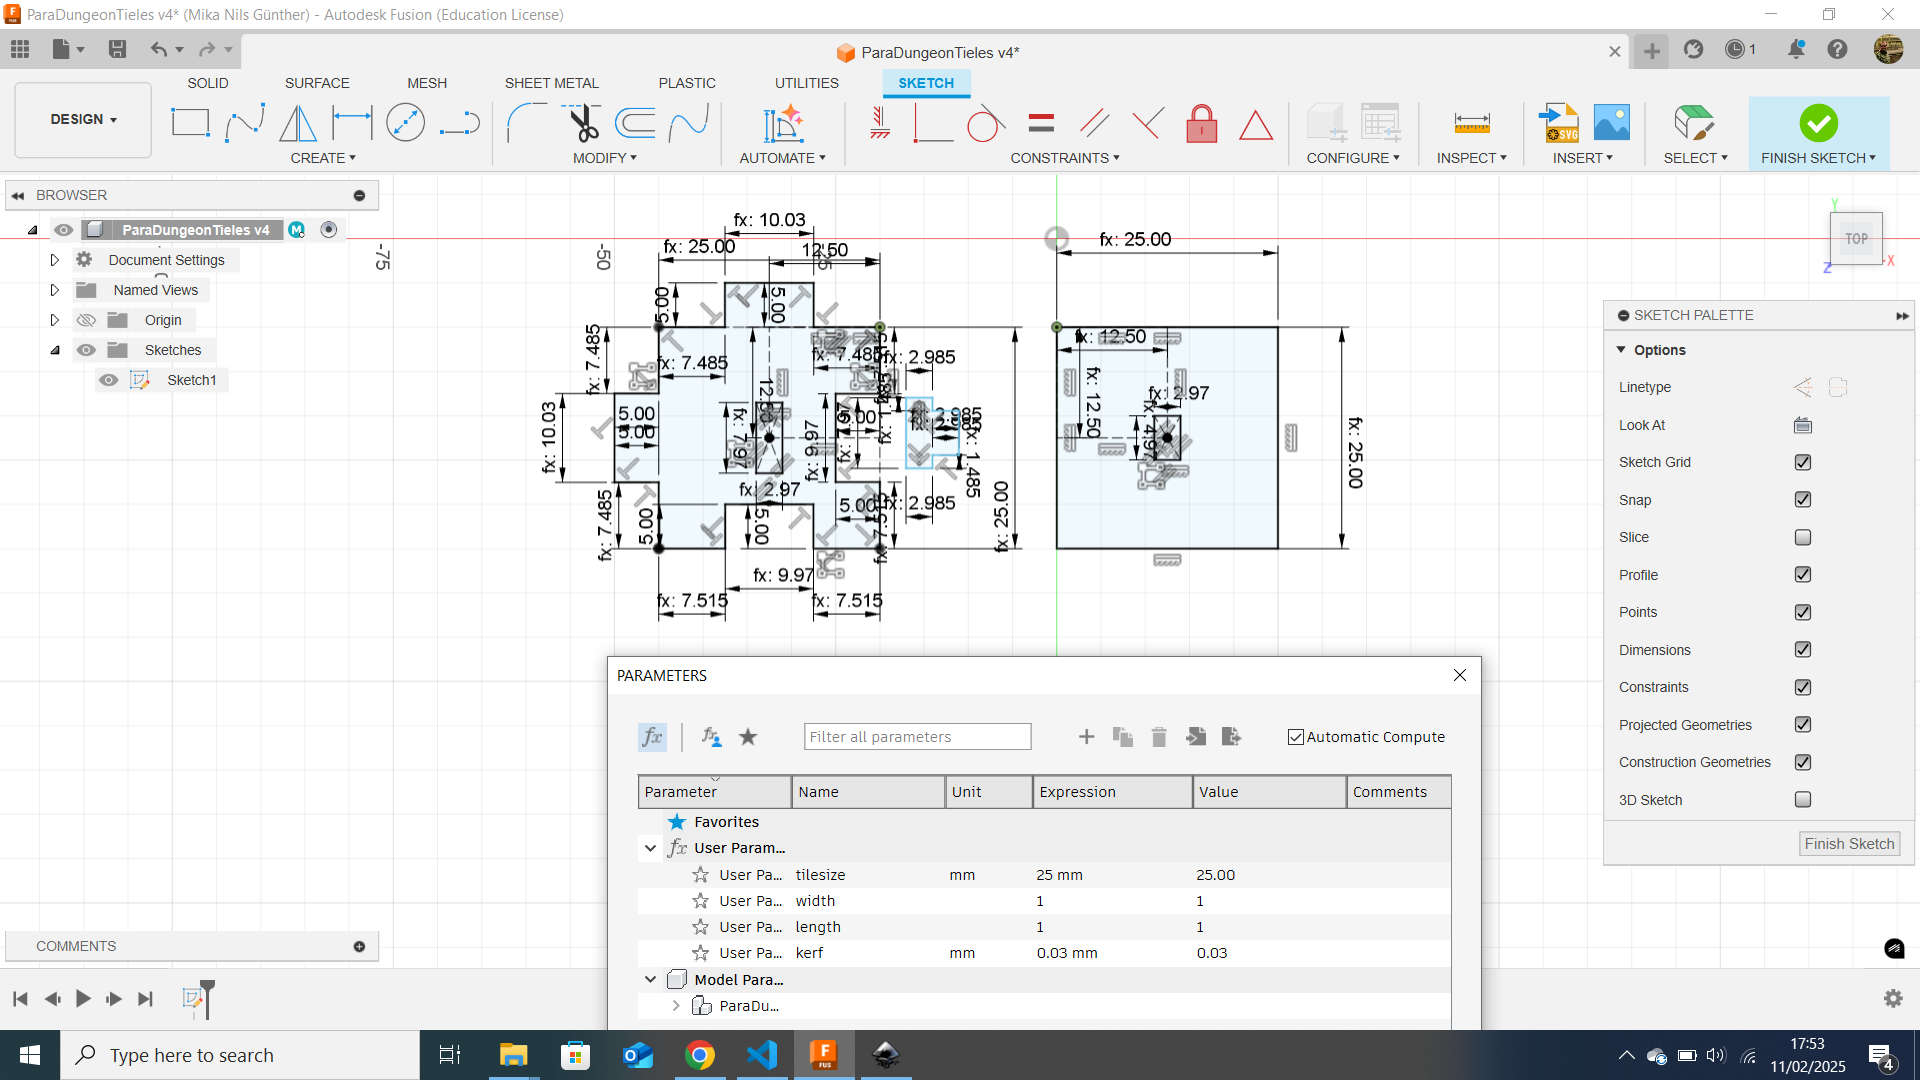
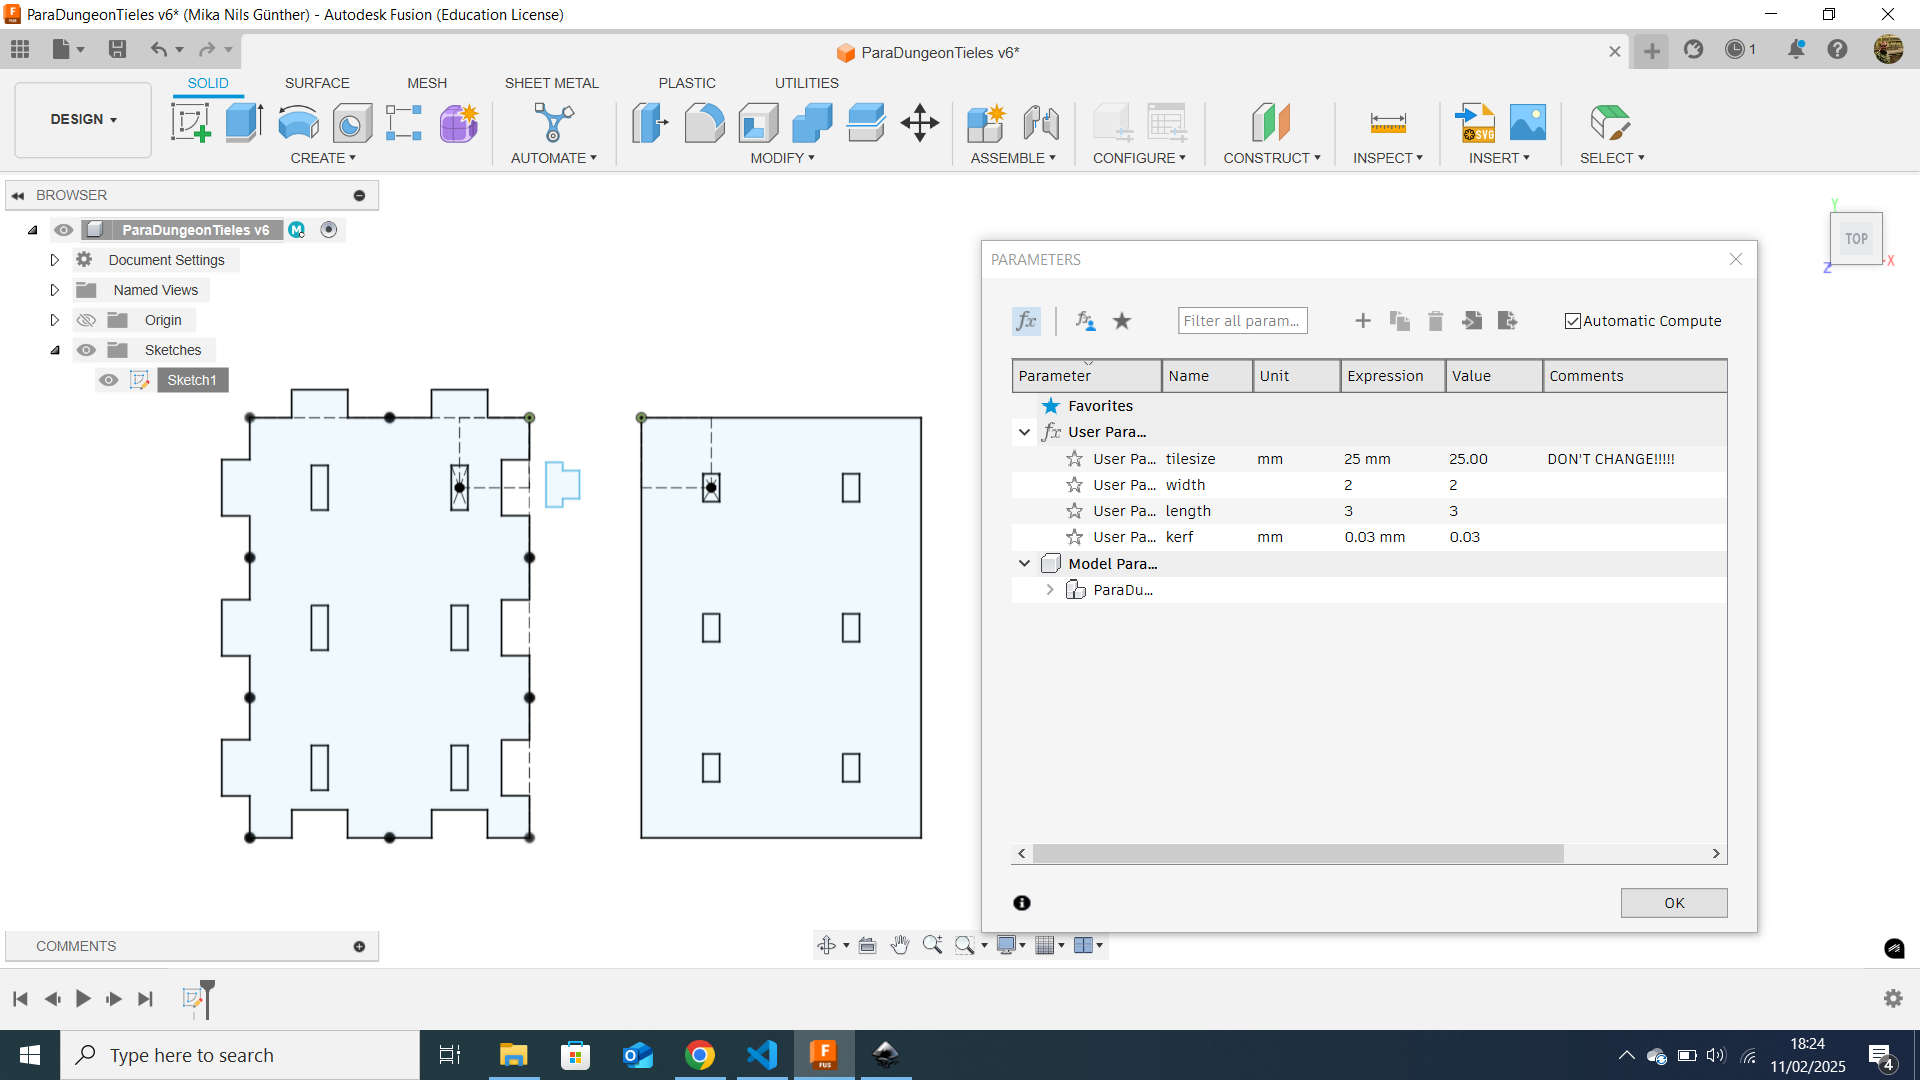
To make the tile, first i needed some Parameters. One tileunit is 25mm which is fixed. I created this paramater for convienience. The other Parameters where the kerf, so that this Design is laserable on more machines and the amount of tileunits in width and length. I made the Tiles for a materialthicknes of 3mm.
First step was done. i went then to the basetile. In generell its just the finger which then was used for a rectangular pattern which multiplied the finger by the amount of width units. that was also done for the counterpart on the bottom of the basetile. Also for the left and rigth side it was no other thing then creating the finger and applying a pattern. The Pattern apllies acording to what was set in the parameter Settings. The Kerf was added while creating the Joints. For the cutout on the basetile, i just made some helplines to get to the center of the basetile and drew a rectangle with Centerpoint with (3mm-kerf)*(8mm-kerf). I also applied a rectangular pattern here. Worth to mention is that all rectangular patterns has ammount=(length|width) and distance=tilesize*((width|length)-1).
For the Cover part, I drew a Rectangle with the dimensions (tilesize*width)*(tilesize*length) and did the centercoutout the same as on the basetile, but with (3mm-kerf)*(5mm-kerf). Afterwards the same rectangular pattern was applied.
The Pin was the easiest, It is technicaly a sketch where i combined a 4mm*5mm rectangle and a 4mm*8mm and gave the whole thing an offset of the kerf
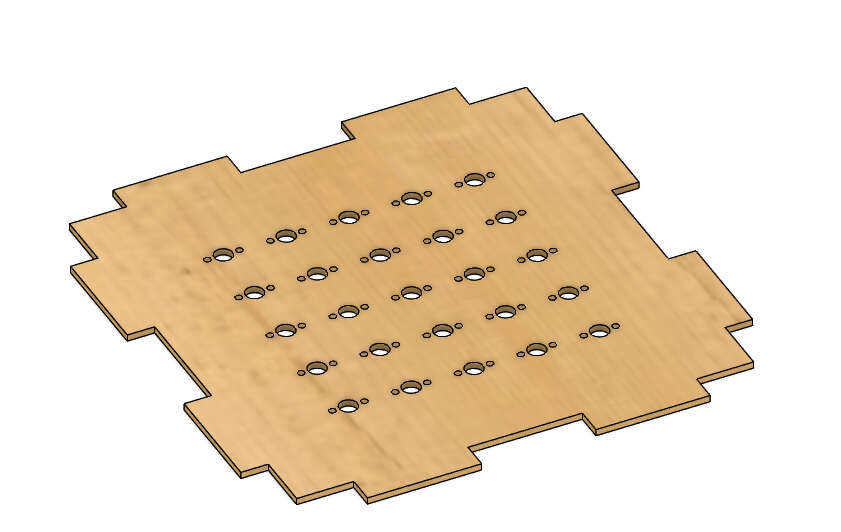
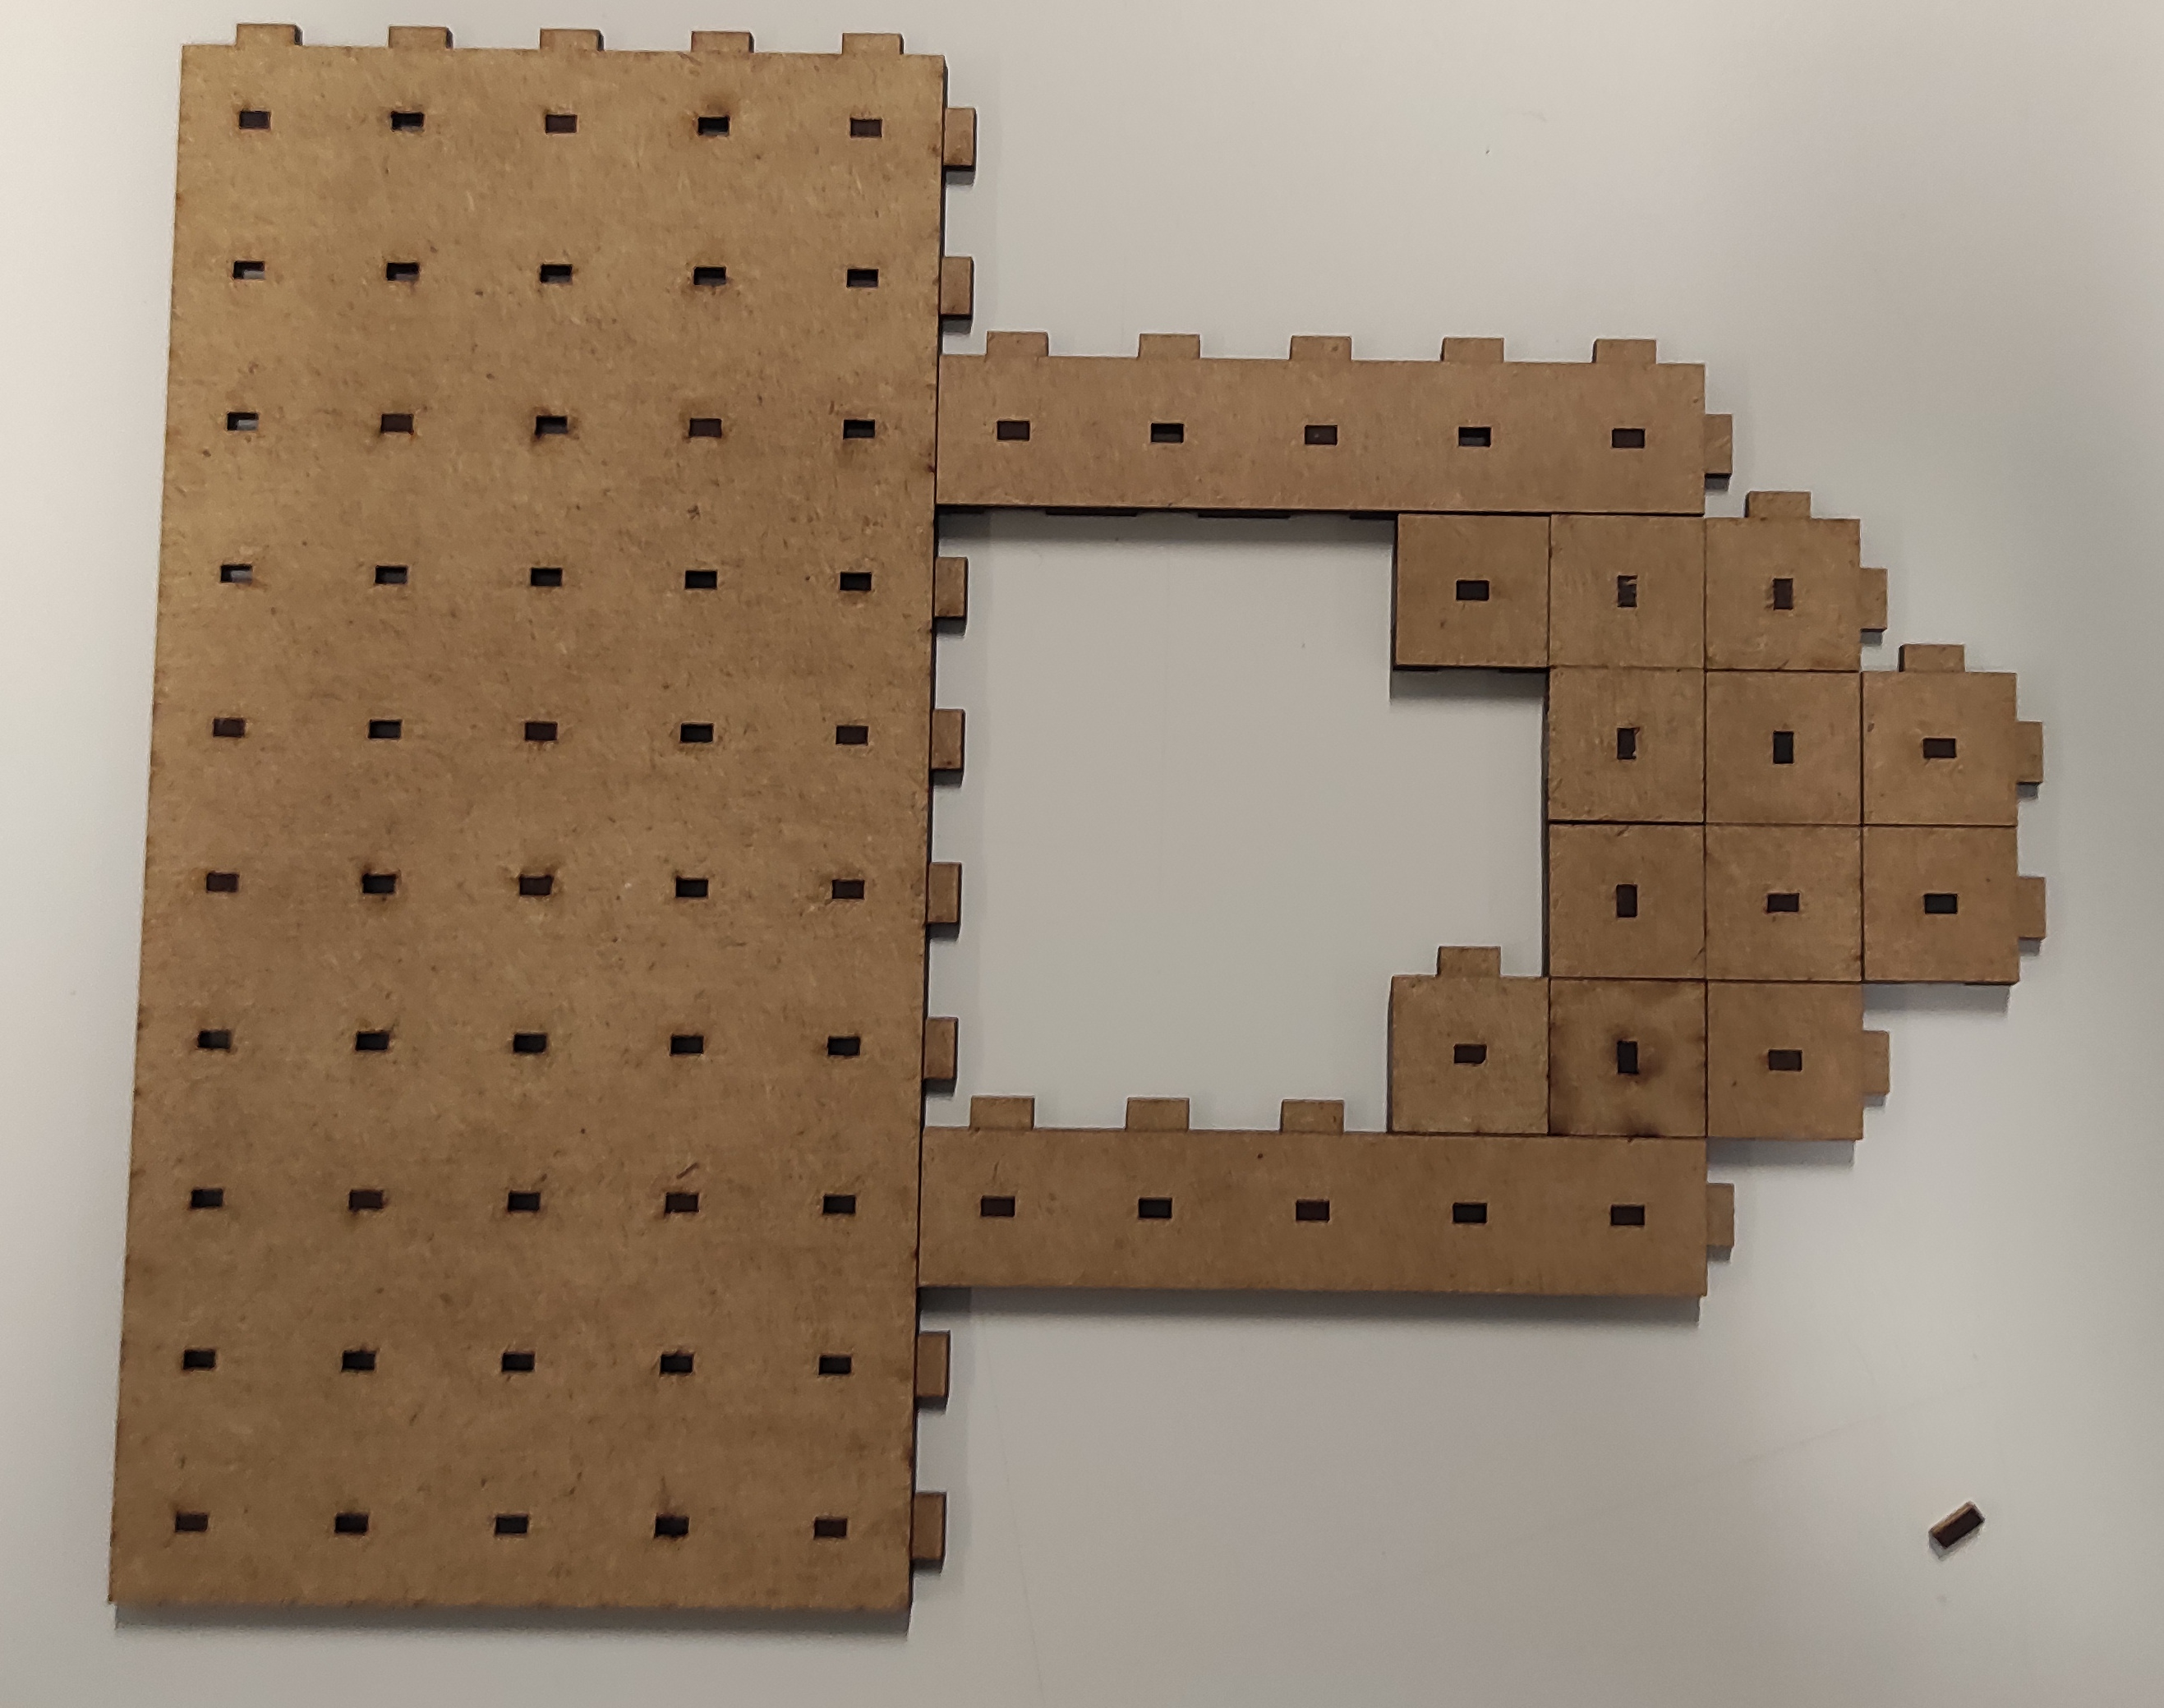
here you can see a different Tile
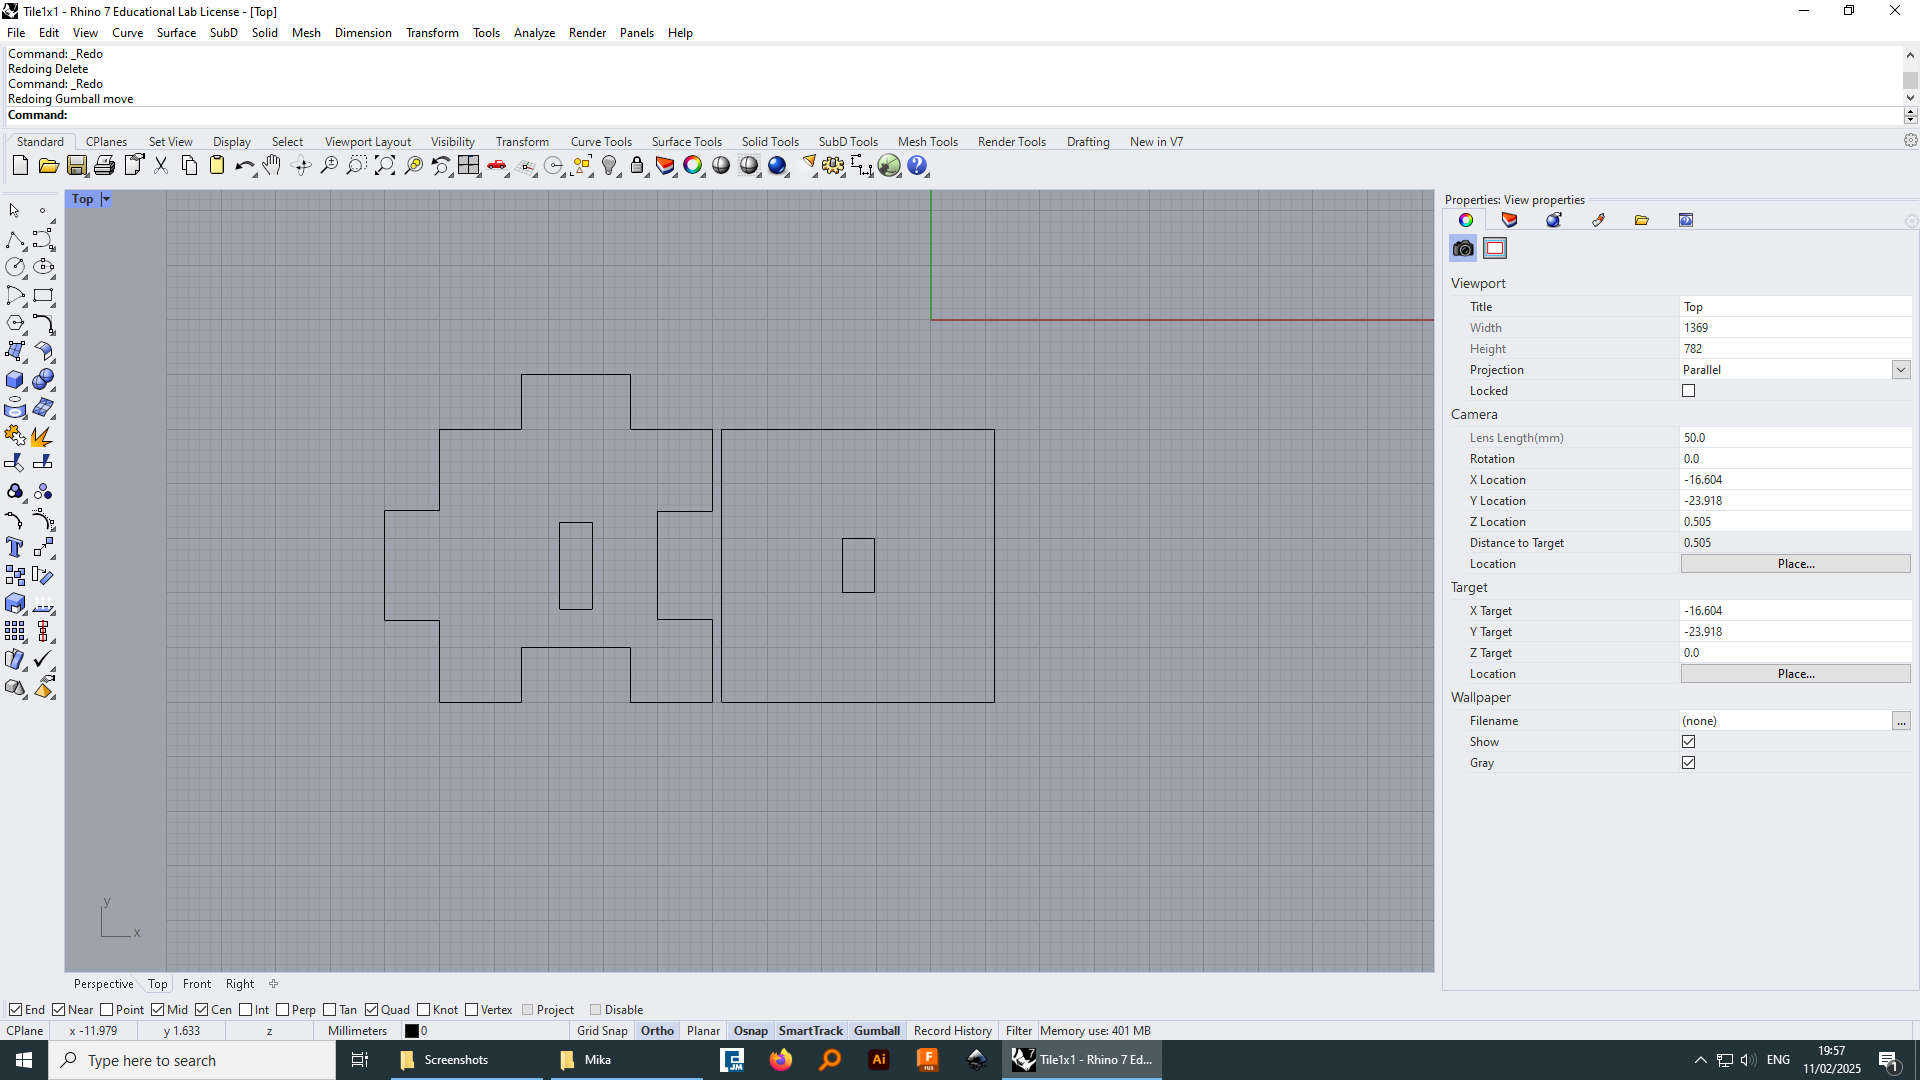
Now that whe are done with sketching i exported the Sketch as DXF like you saw in week 2. I then imported the DXF into Rhino for some last touchups and also this is the Workflow to Cut on our Laser.

Here I removed all the dotted lines and the centerpoints, as well as the drawn pin. I also moved every thing a bit closer. This was done by selecting the line or a selectio and the hit delete or for moving jut draged the selection
I made a zip archive, where you can find the parametric design and also some preped Files for Lasercutting.
- parametric Design
- Pins
- 1x1 Tile
- 1x5 Tile
- 3x3 Tile
- 5x5 Tile
- 10x5 Tile
Lasercutting
Our Lasercutter is a is the Epilog Fusion Edge, a 30W CO2 Laser. In our Group Assignment, I tested the Focus and was part of testing Cutting Parameter for different Materials.
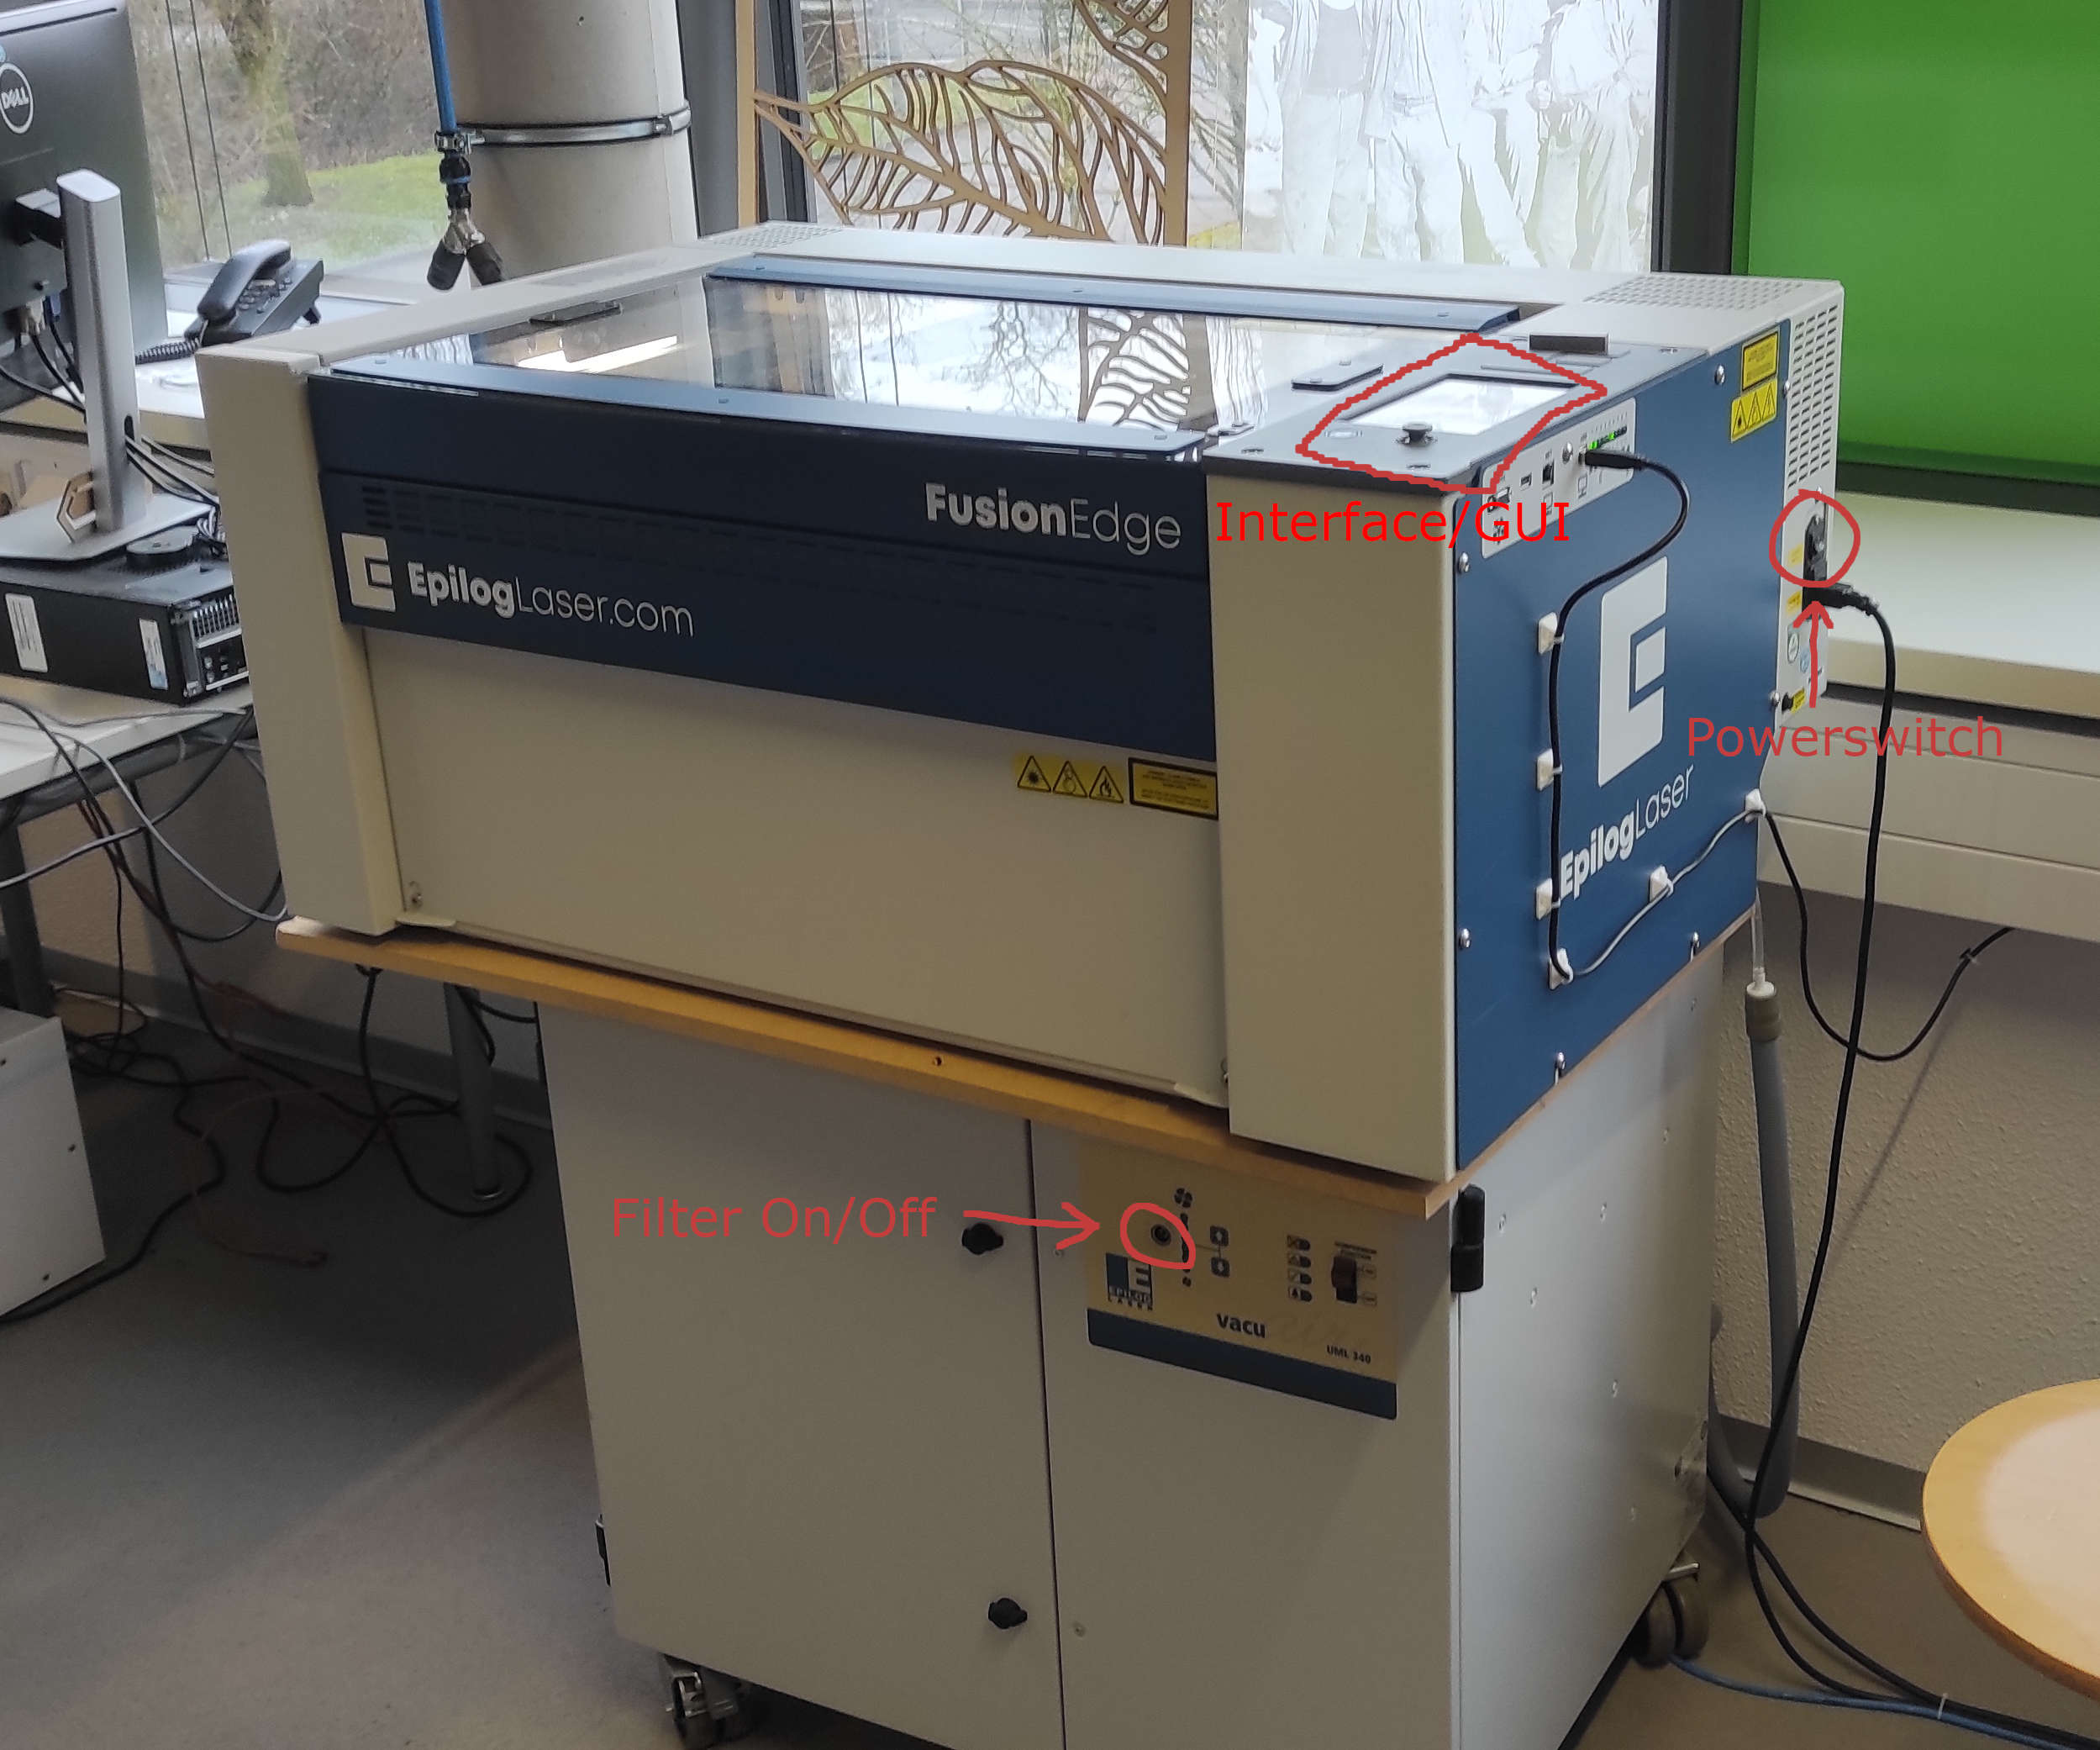
If you want to work with our Laser you just need to know where to turn on the machine(Powerswitch) and how to turn on the Filter(Filter On/Off) The rest(Interface/Gui) is shown later.
The cutting
To start Cutting, we need to send the Job to the cutter. As i mentioned earlier, we start in Rhino(if we work with DXF)
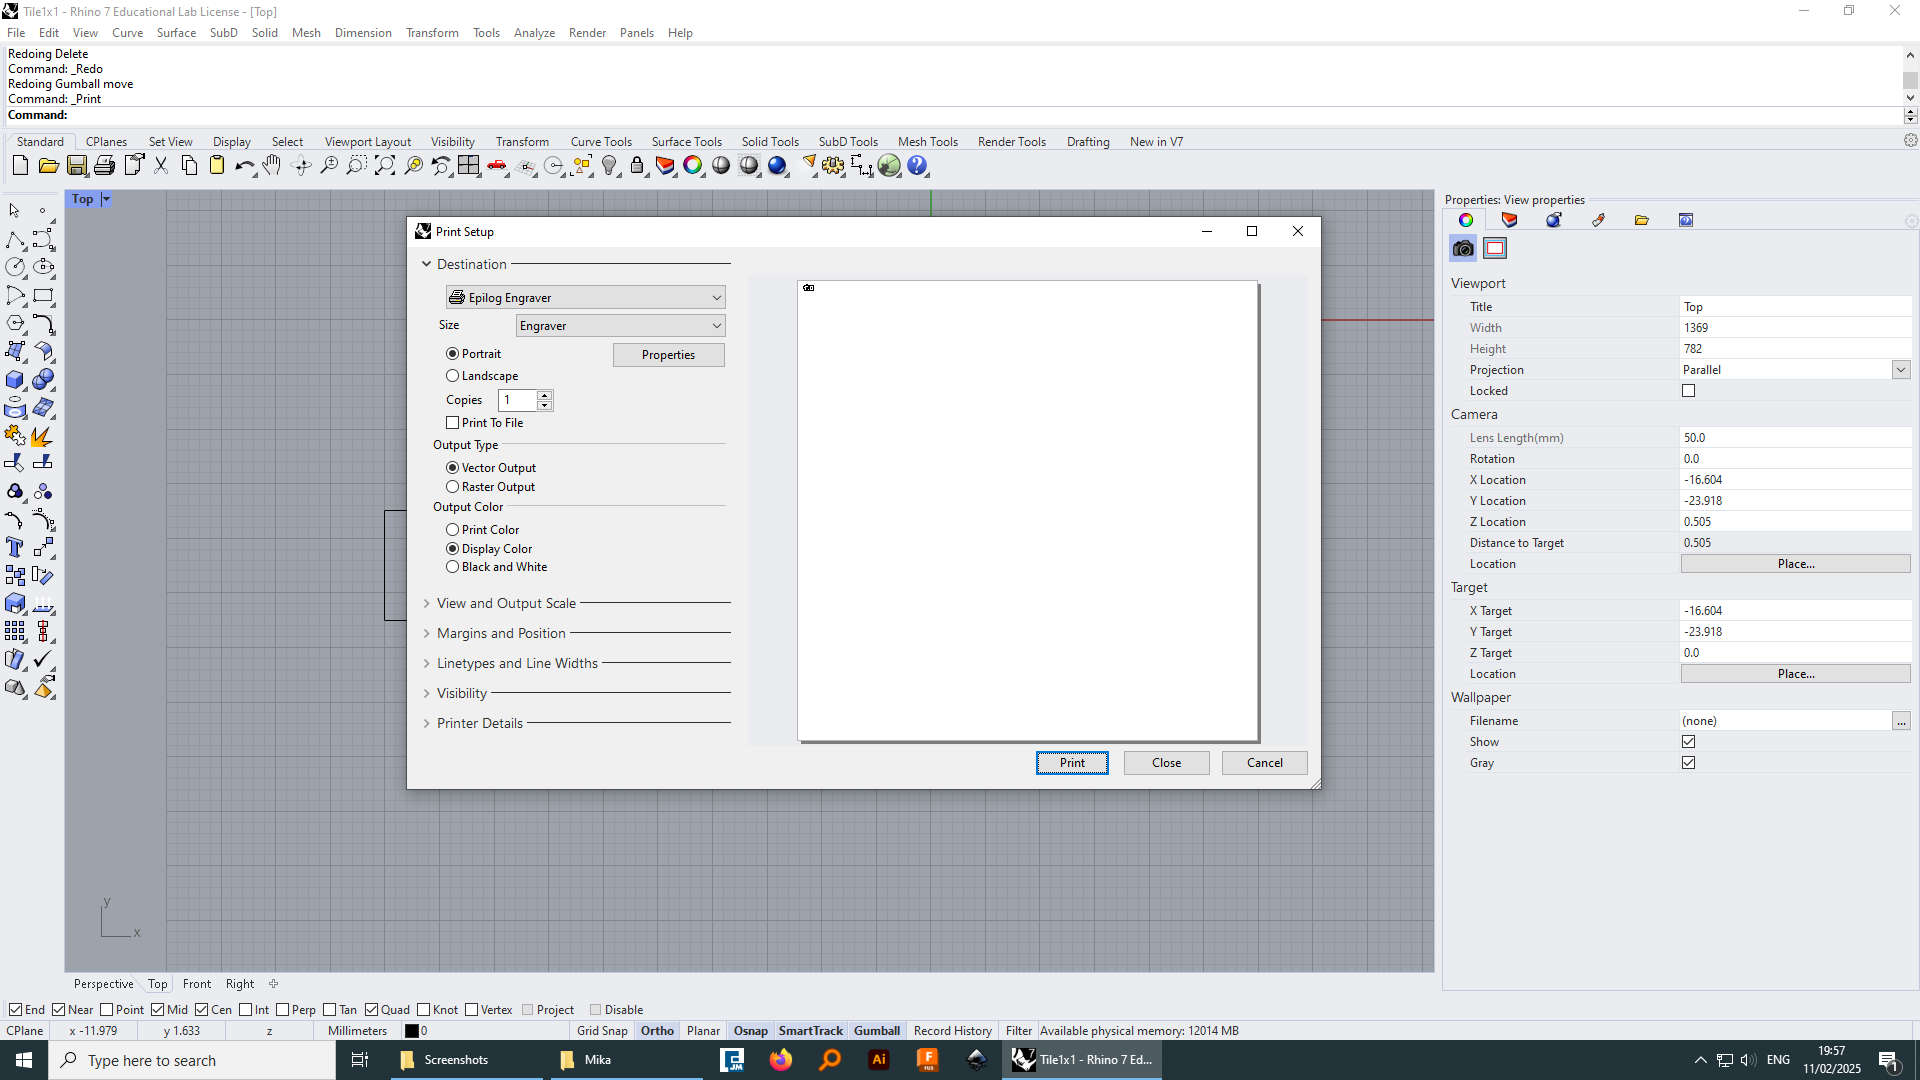
I opend and showed Rhino earlier. Here pressed ctrl+p to go to the printer selection and selected "Epilog Engraver", which leads me to the Epilog Dashboard
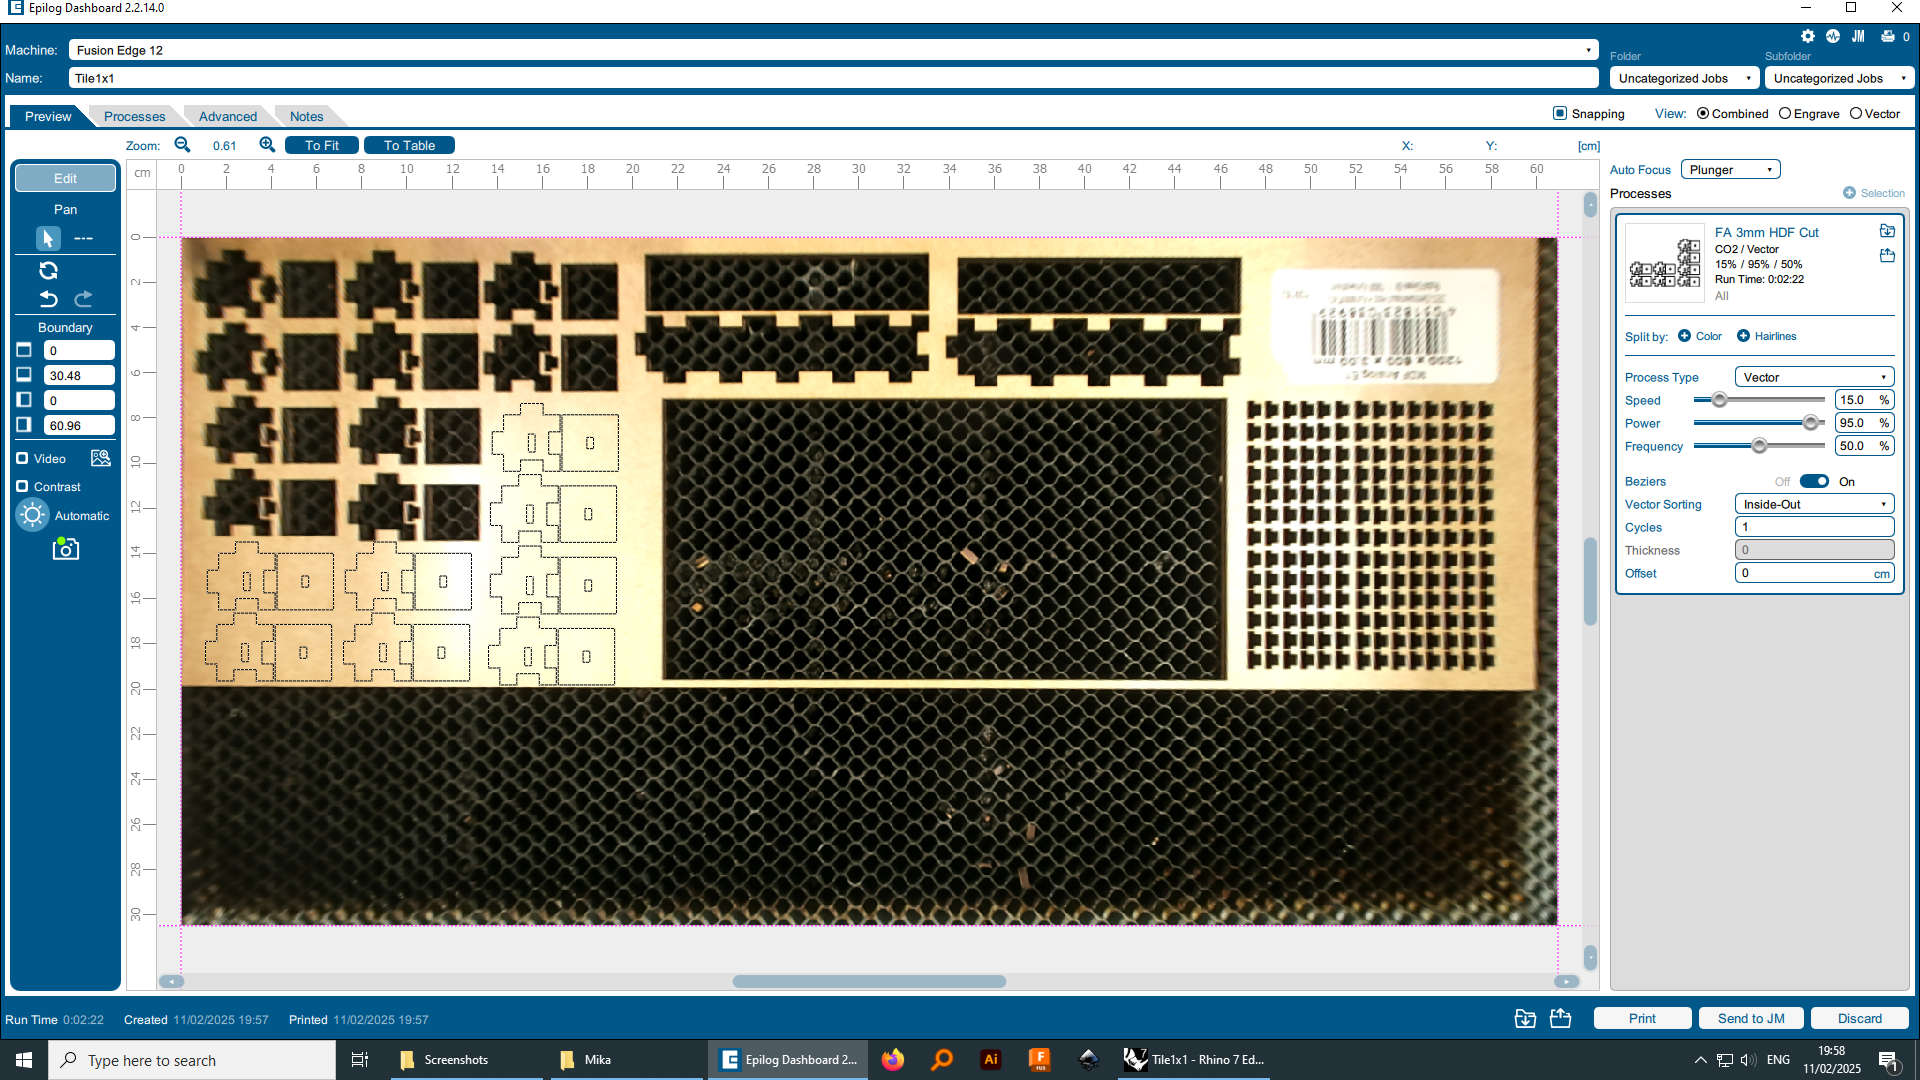
For the Cutting settings i used a preset of the machine(speed:15%|power:90%|freq.:50%). You also can see, that i multiplied the Tile and placed them, where stock is left(advantage of the camera inside the machine). The i needed to set the Autofocus to plunger and then hitted print
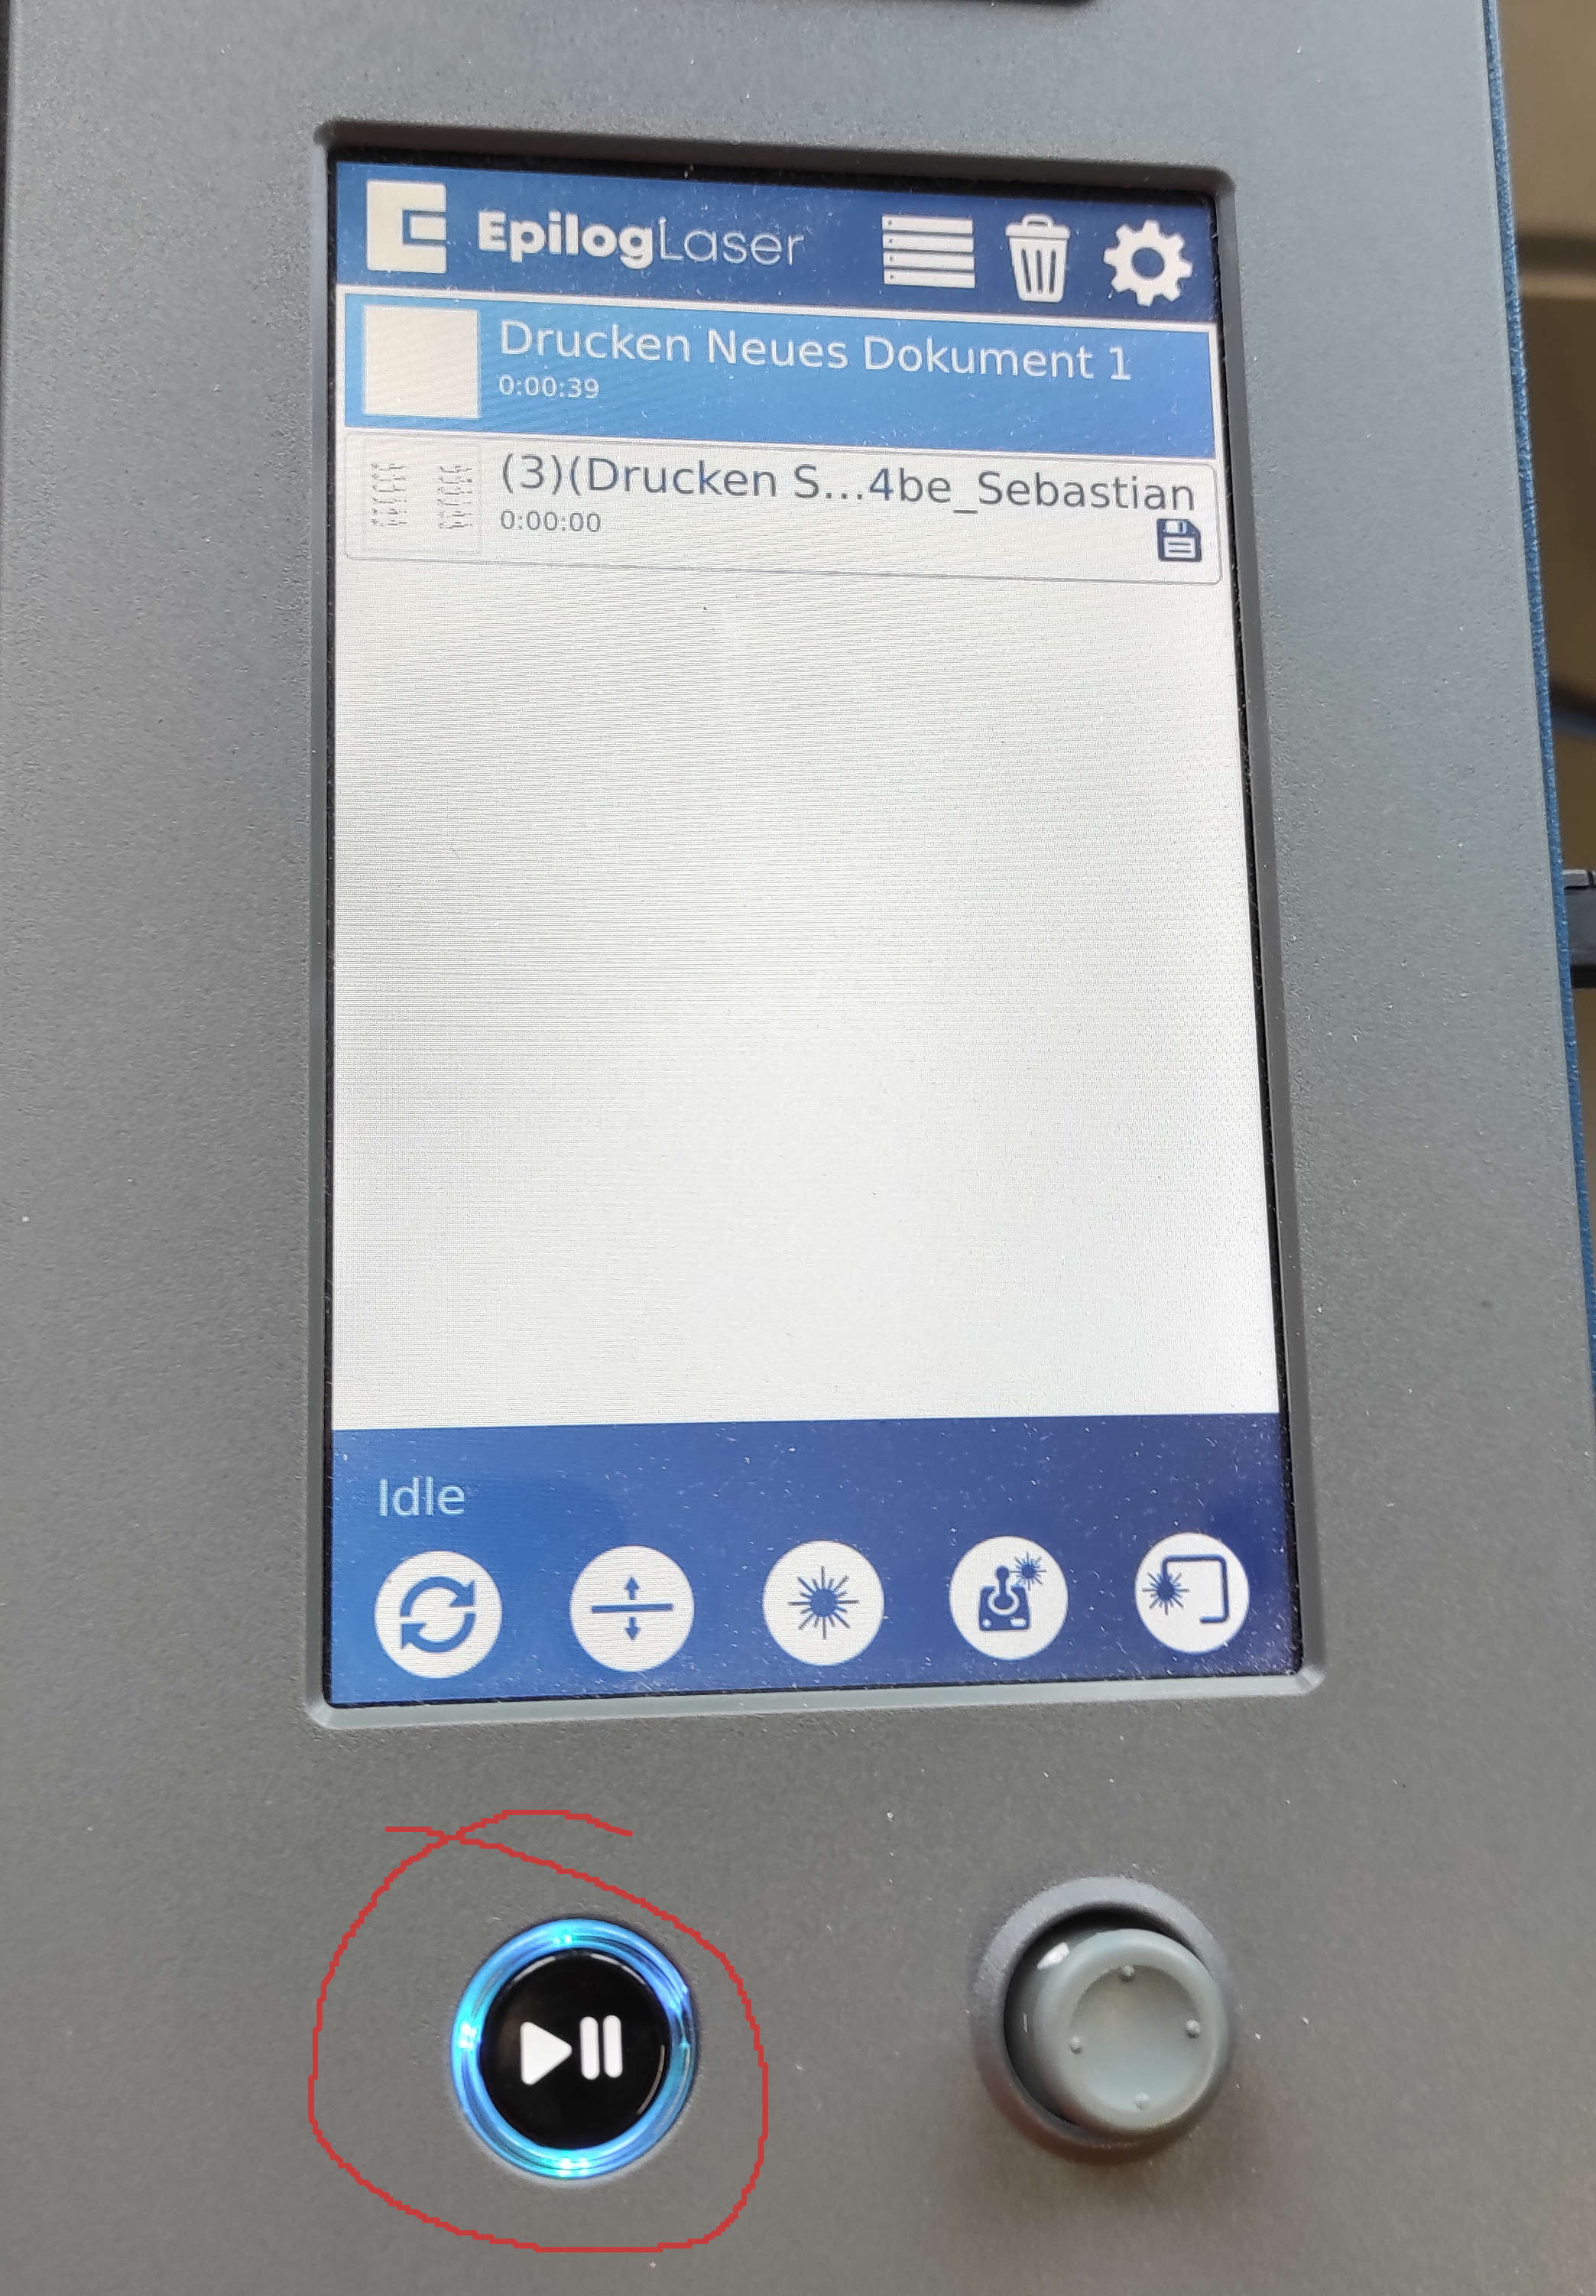
The jop should now be seen in the Gui of the Laser. If yes, Turn on the Filter and press "play/pause" to start the job. After the job is done the machine will beep
Assembling
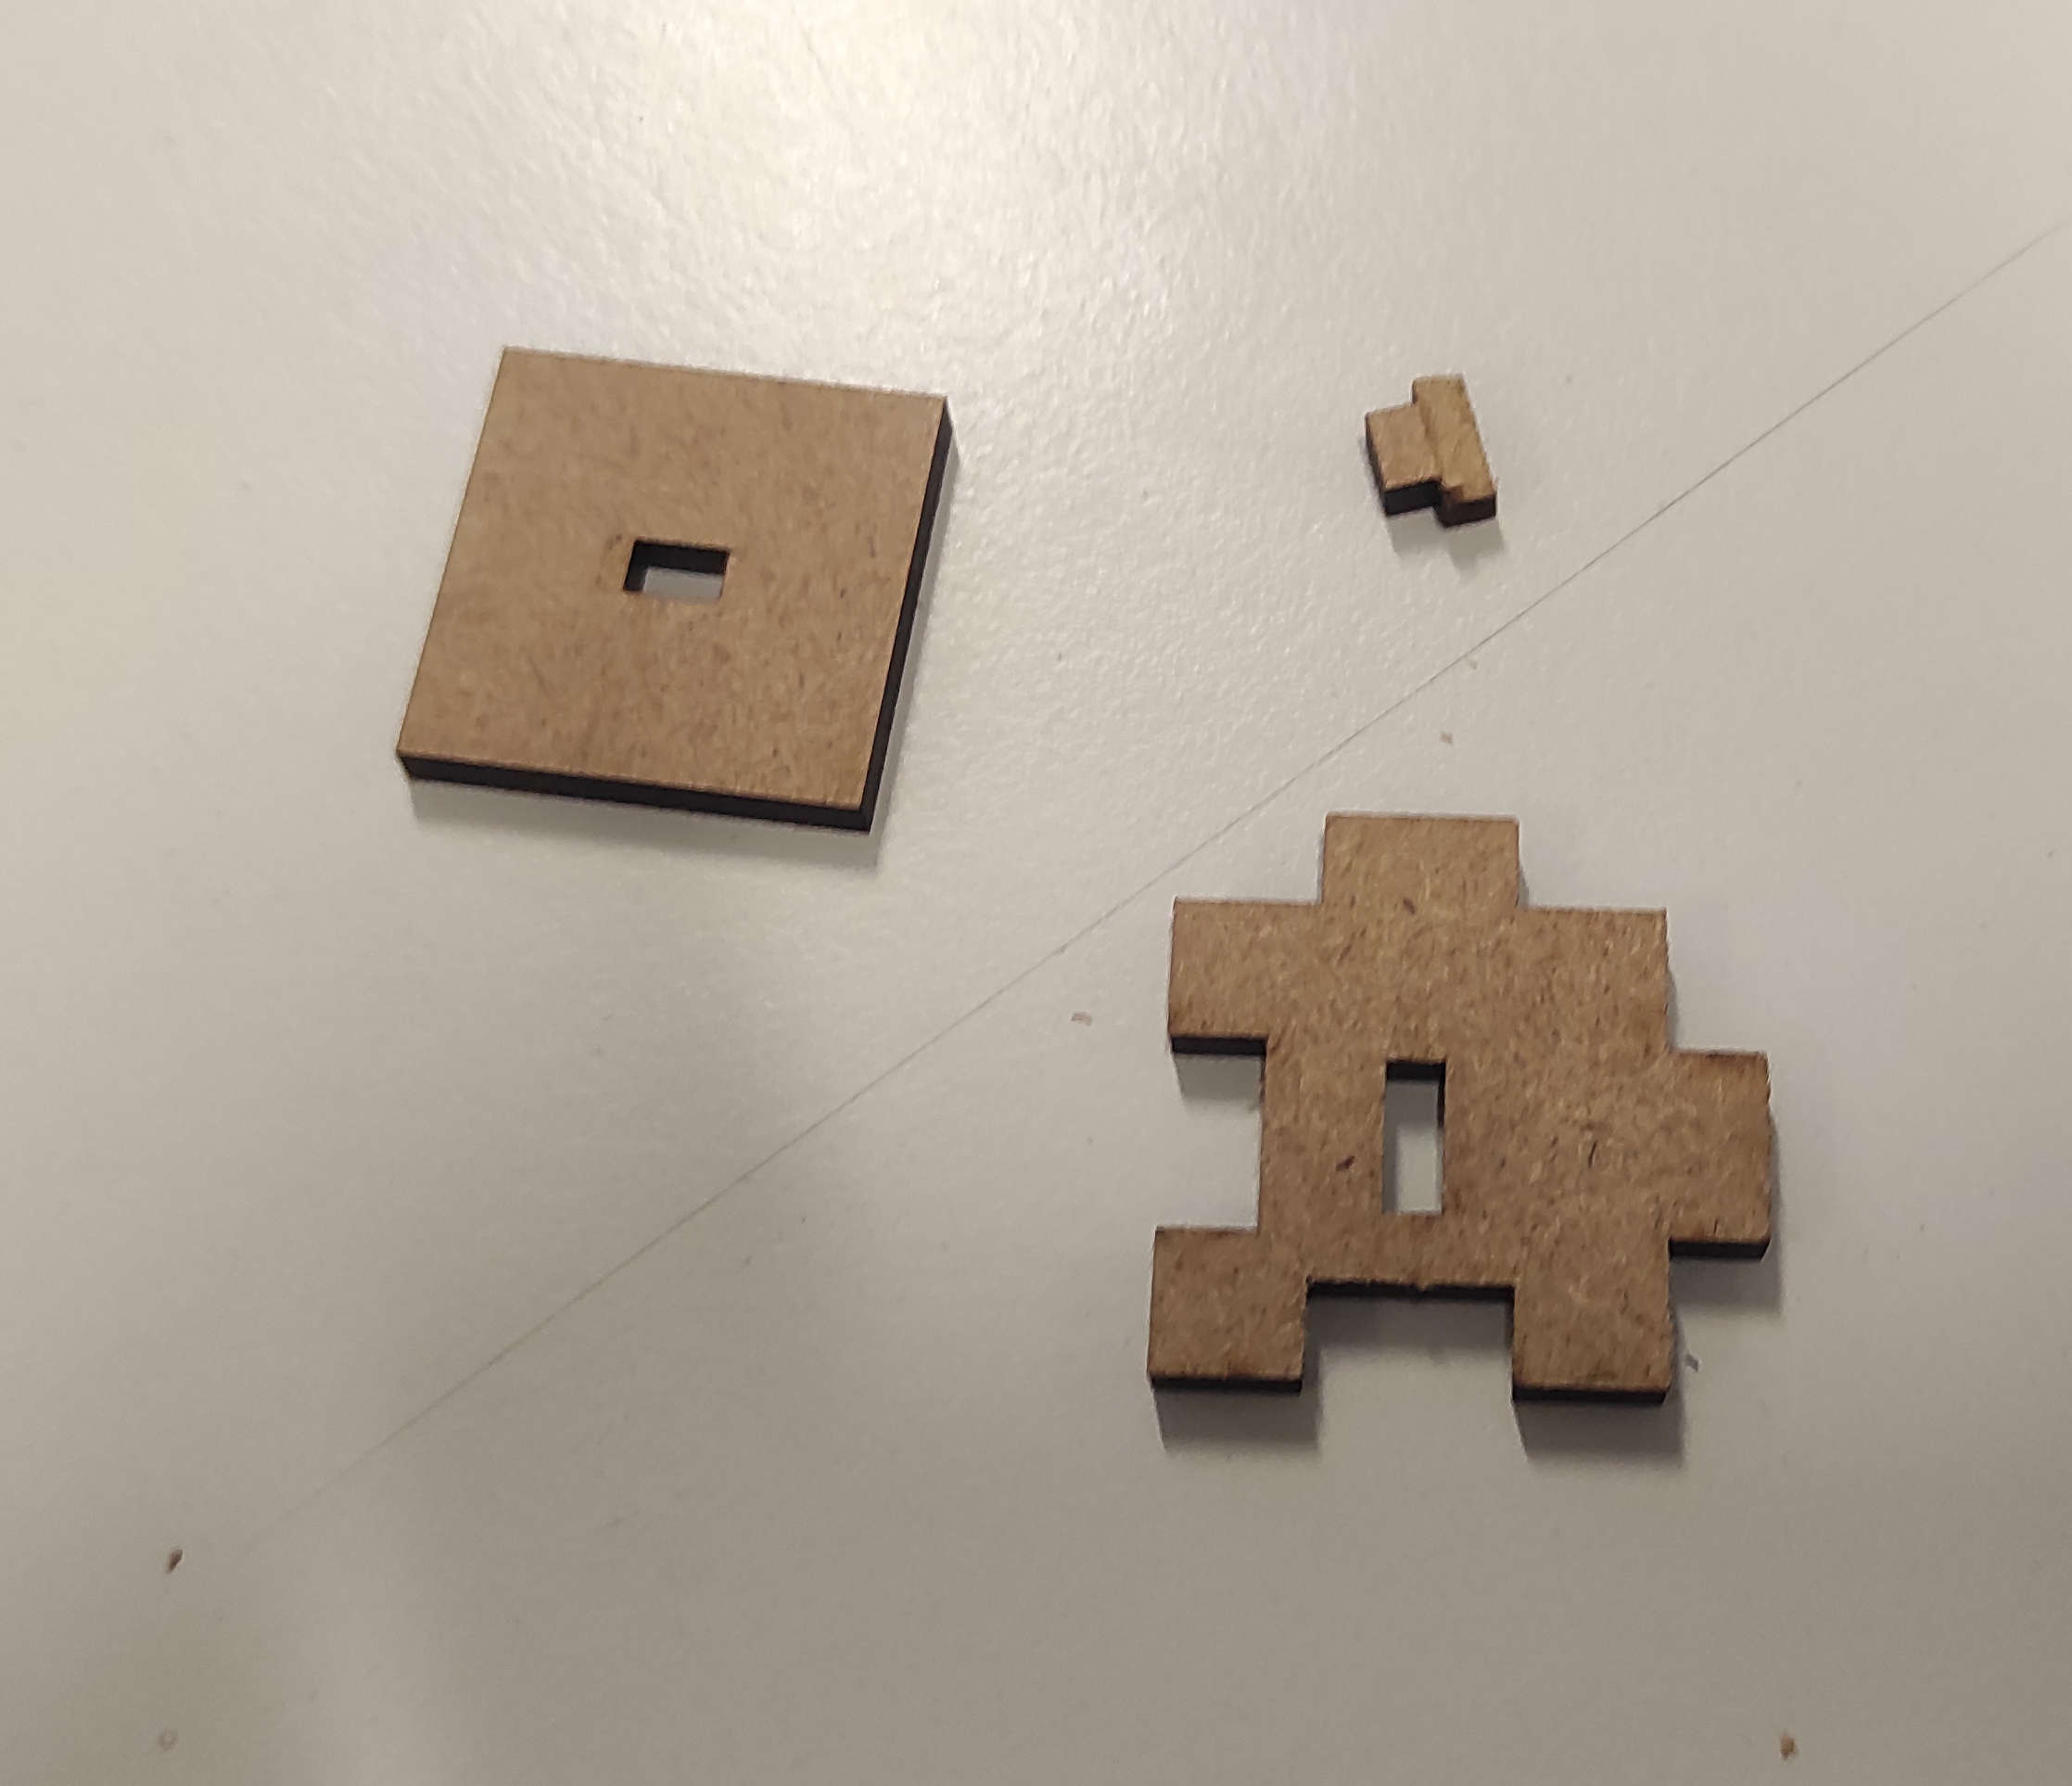
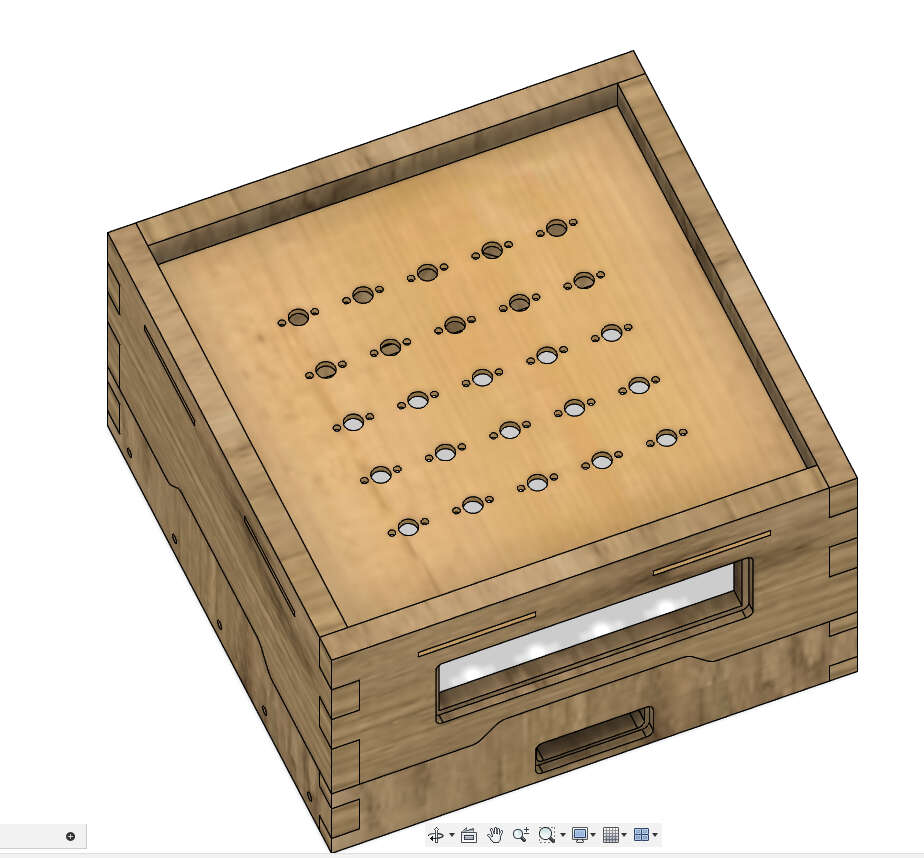
Assembling is straigth forward. Here you can see what comes out of the lasercutter. I needed to put the pin into the basetile with the broader side and cap it with the lid
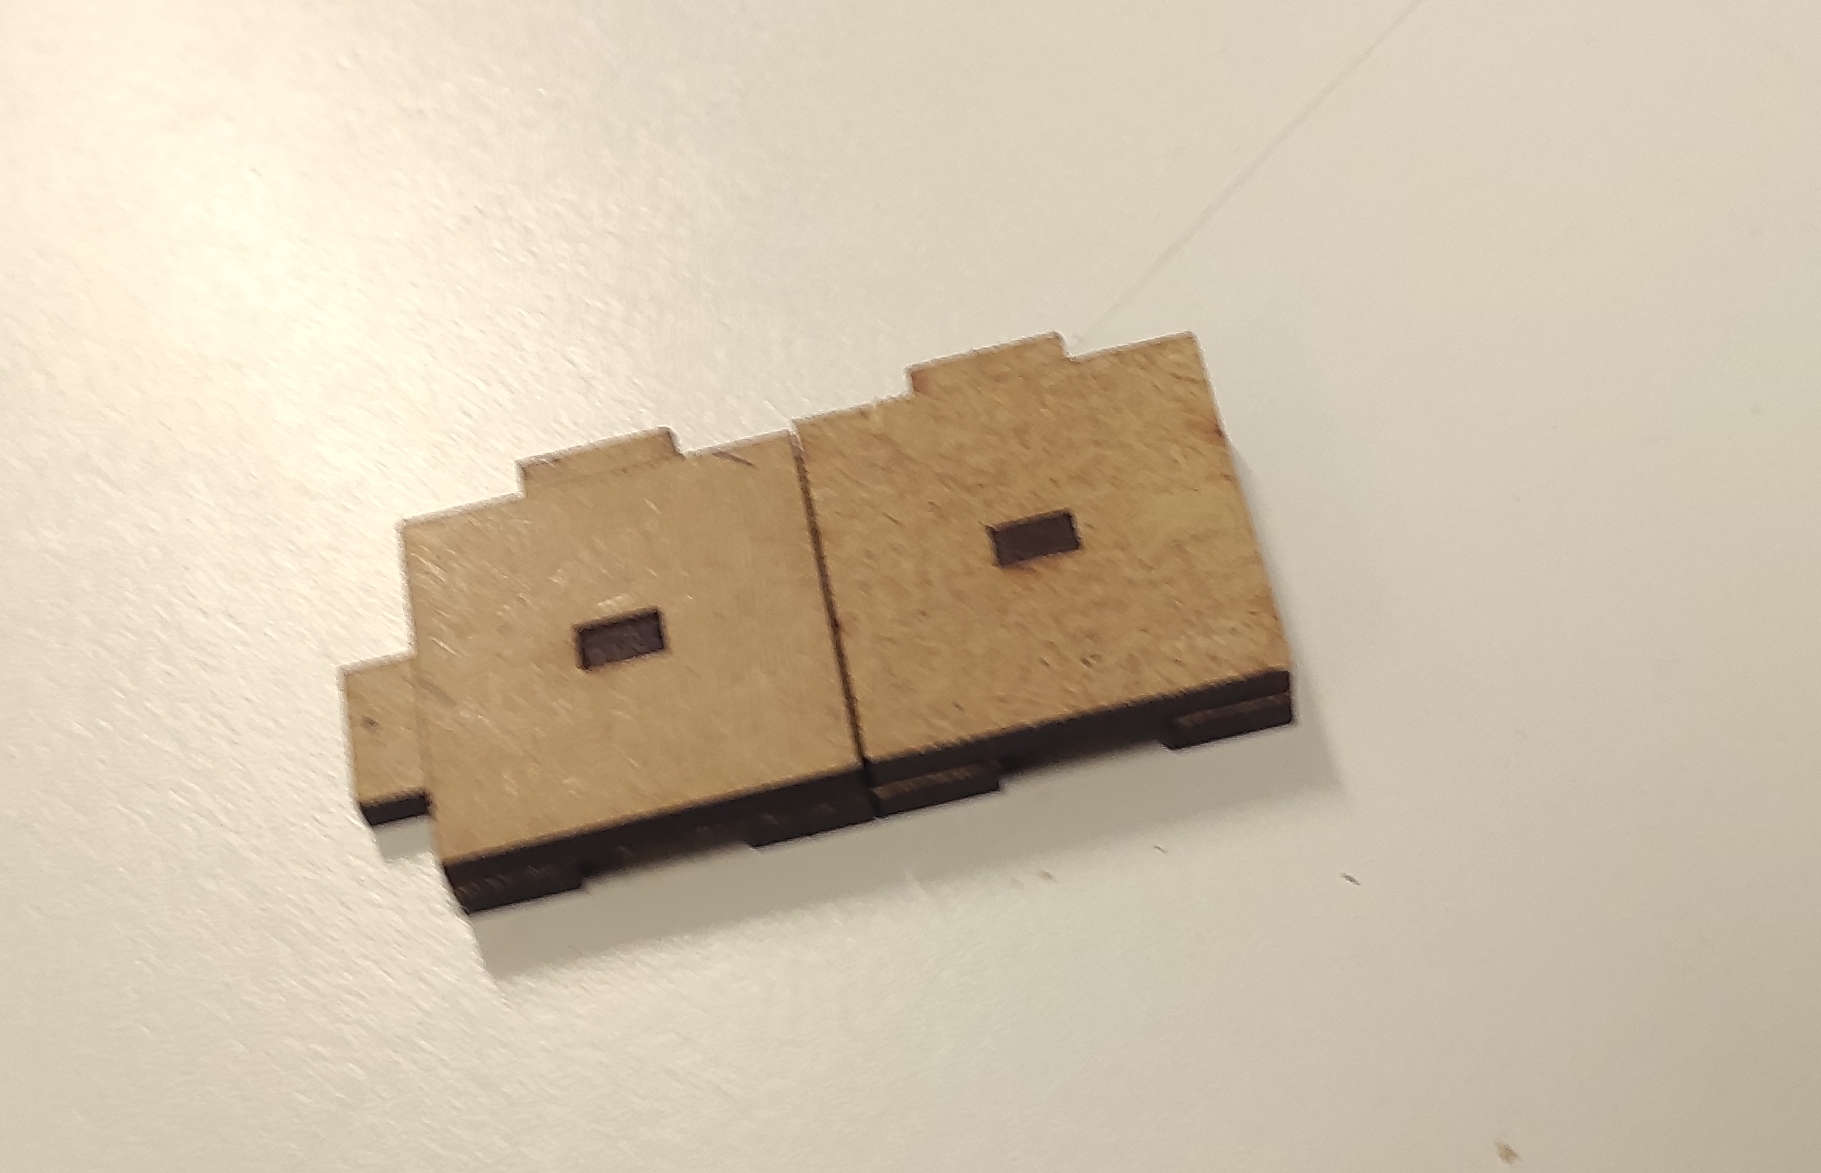
This is the result with two 1x1 tiles.

Maybe i can build hanging dungeons too.
This is one of indefinable possibilities what you can make with my modular dungeontiles!
Vinylcutting
For the task of cutting something on the vinylcutter, i decided to cut my logo as sticker
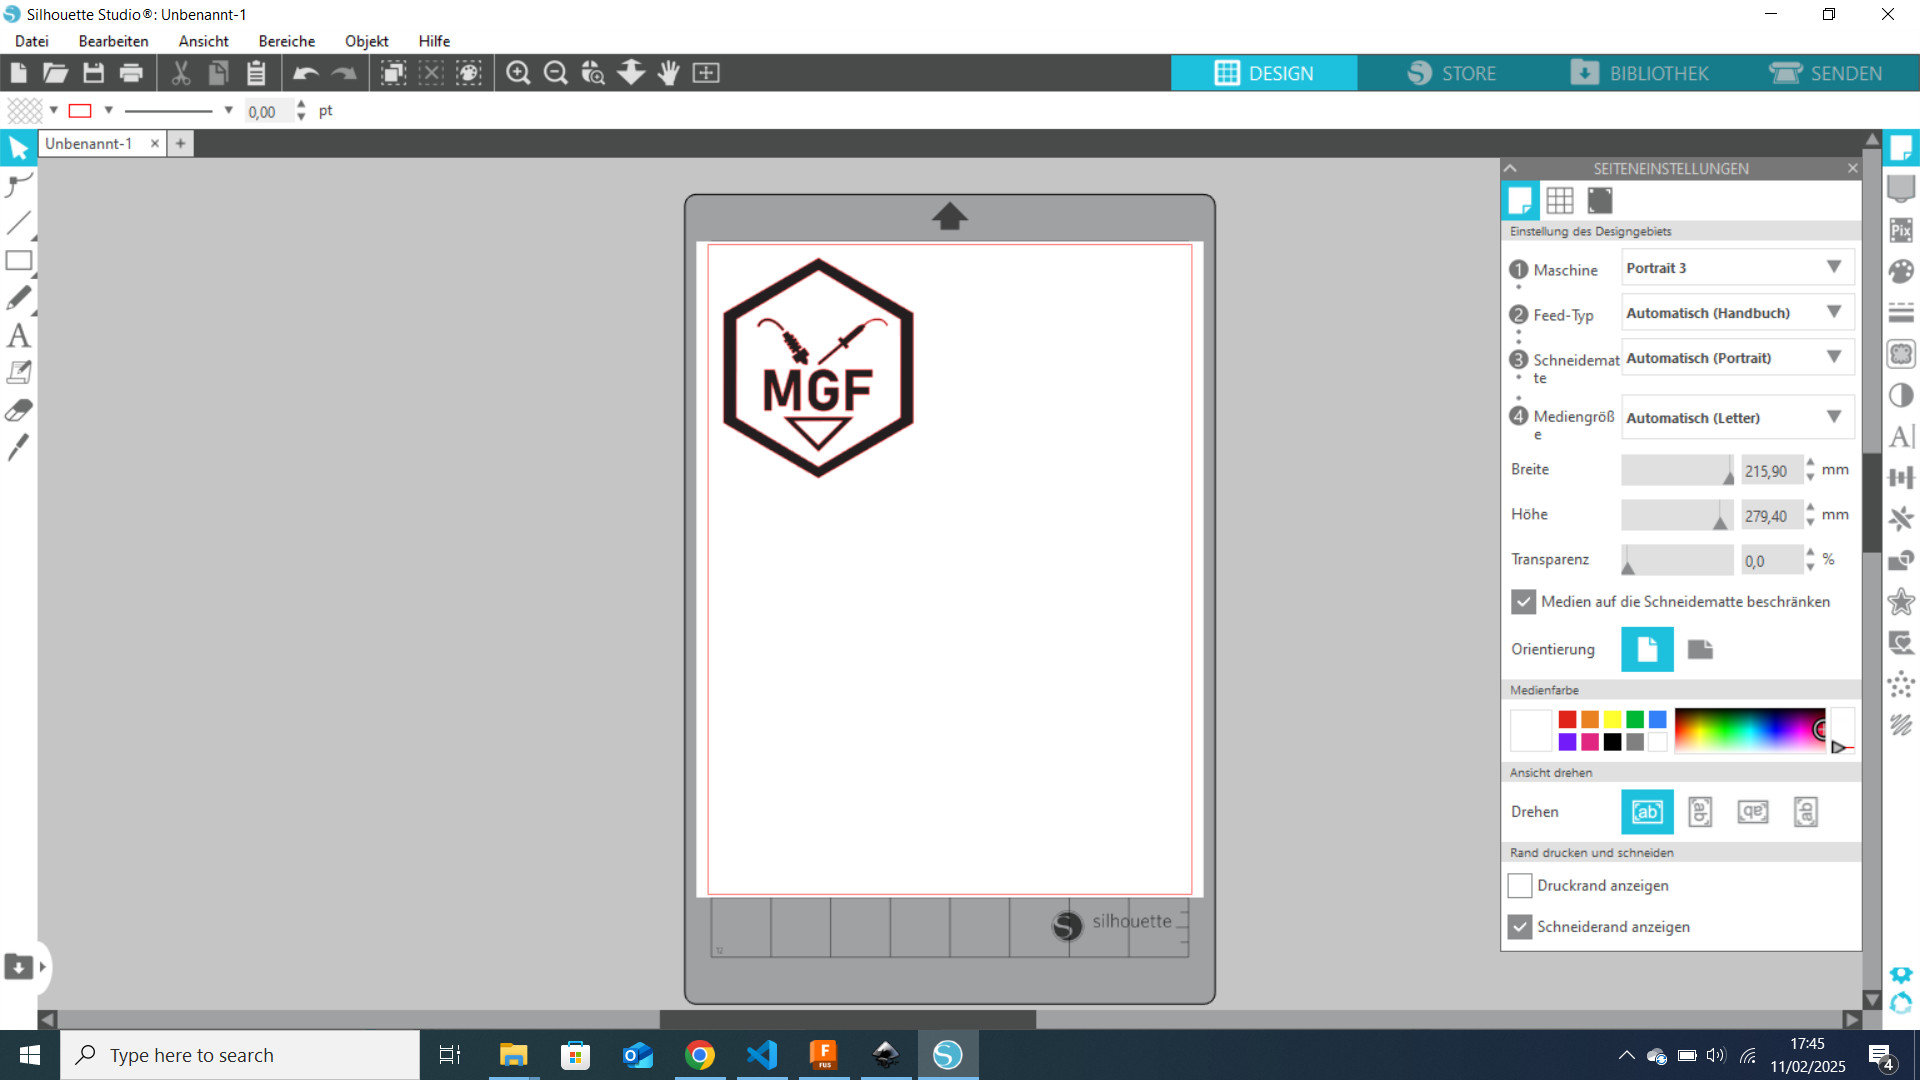
First I imported my logo as PNG into Silouhette Studio, which automaticaly recognized the outlines(red lines), because this is a b/w image.
We dont need to do much in the Design Tab. Where you have to keep an eye on is the Machine. I have now set it to Portrait 3 even, if i will use the portrait 2. In generell the settings for machines are the same. its just, that i grabed the wrong Cutter but it did worked.

In the Send Tab, I used cutting settings: knifedepth=2, pressure=10, passes=1 and speed=5. This is also the standard settings for sticker vinyl, with the exception of the knifedepth. I increased it to 2, because we have an quite old blade in this machine.
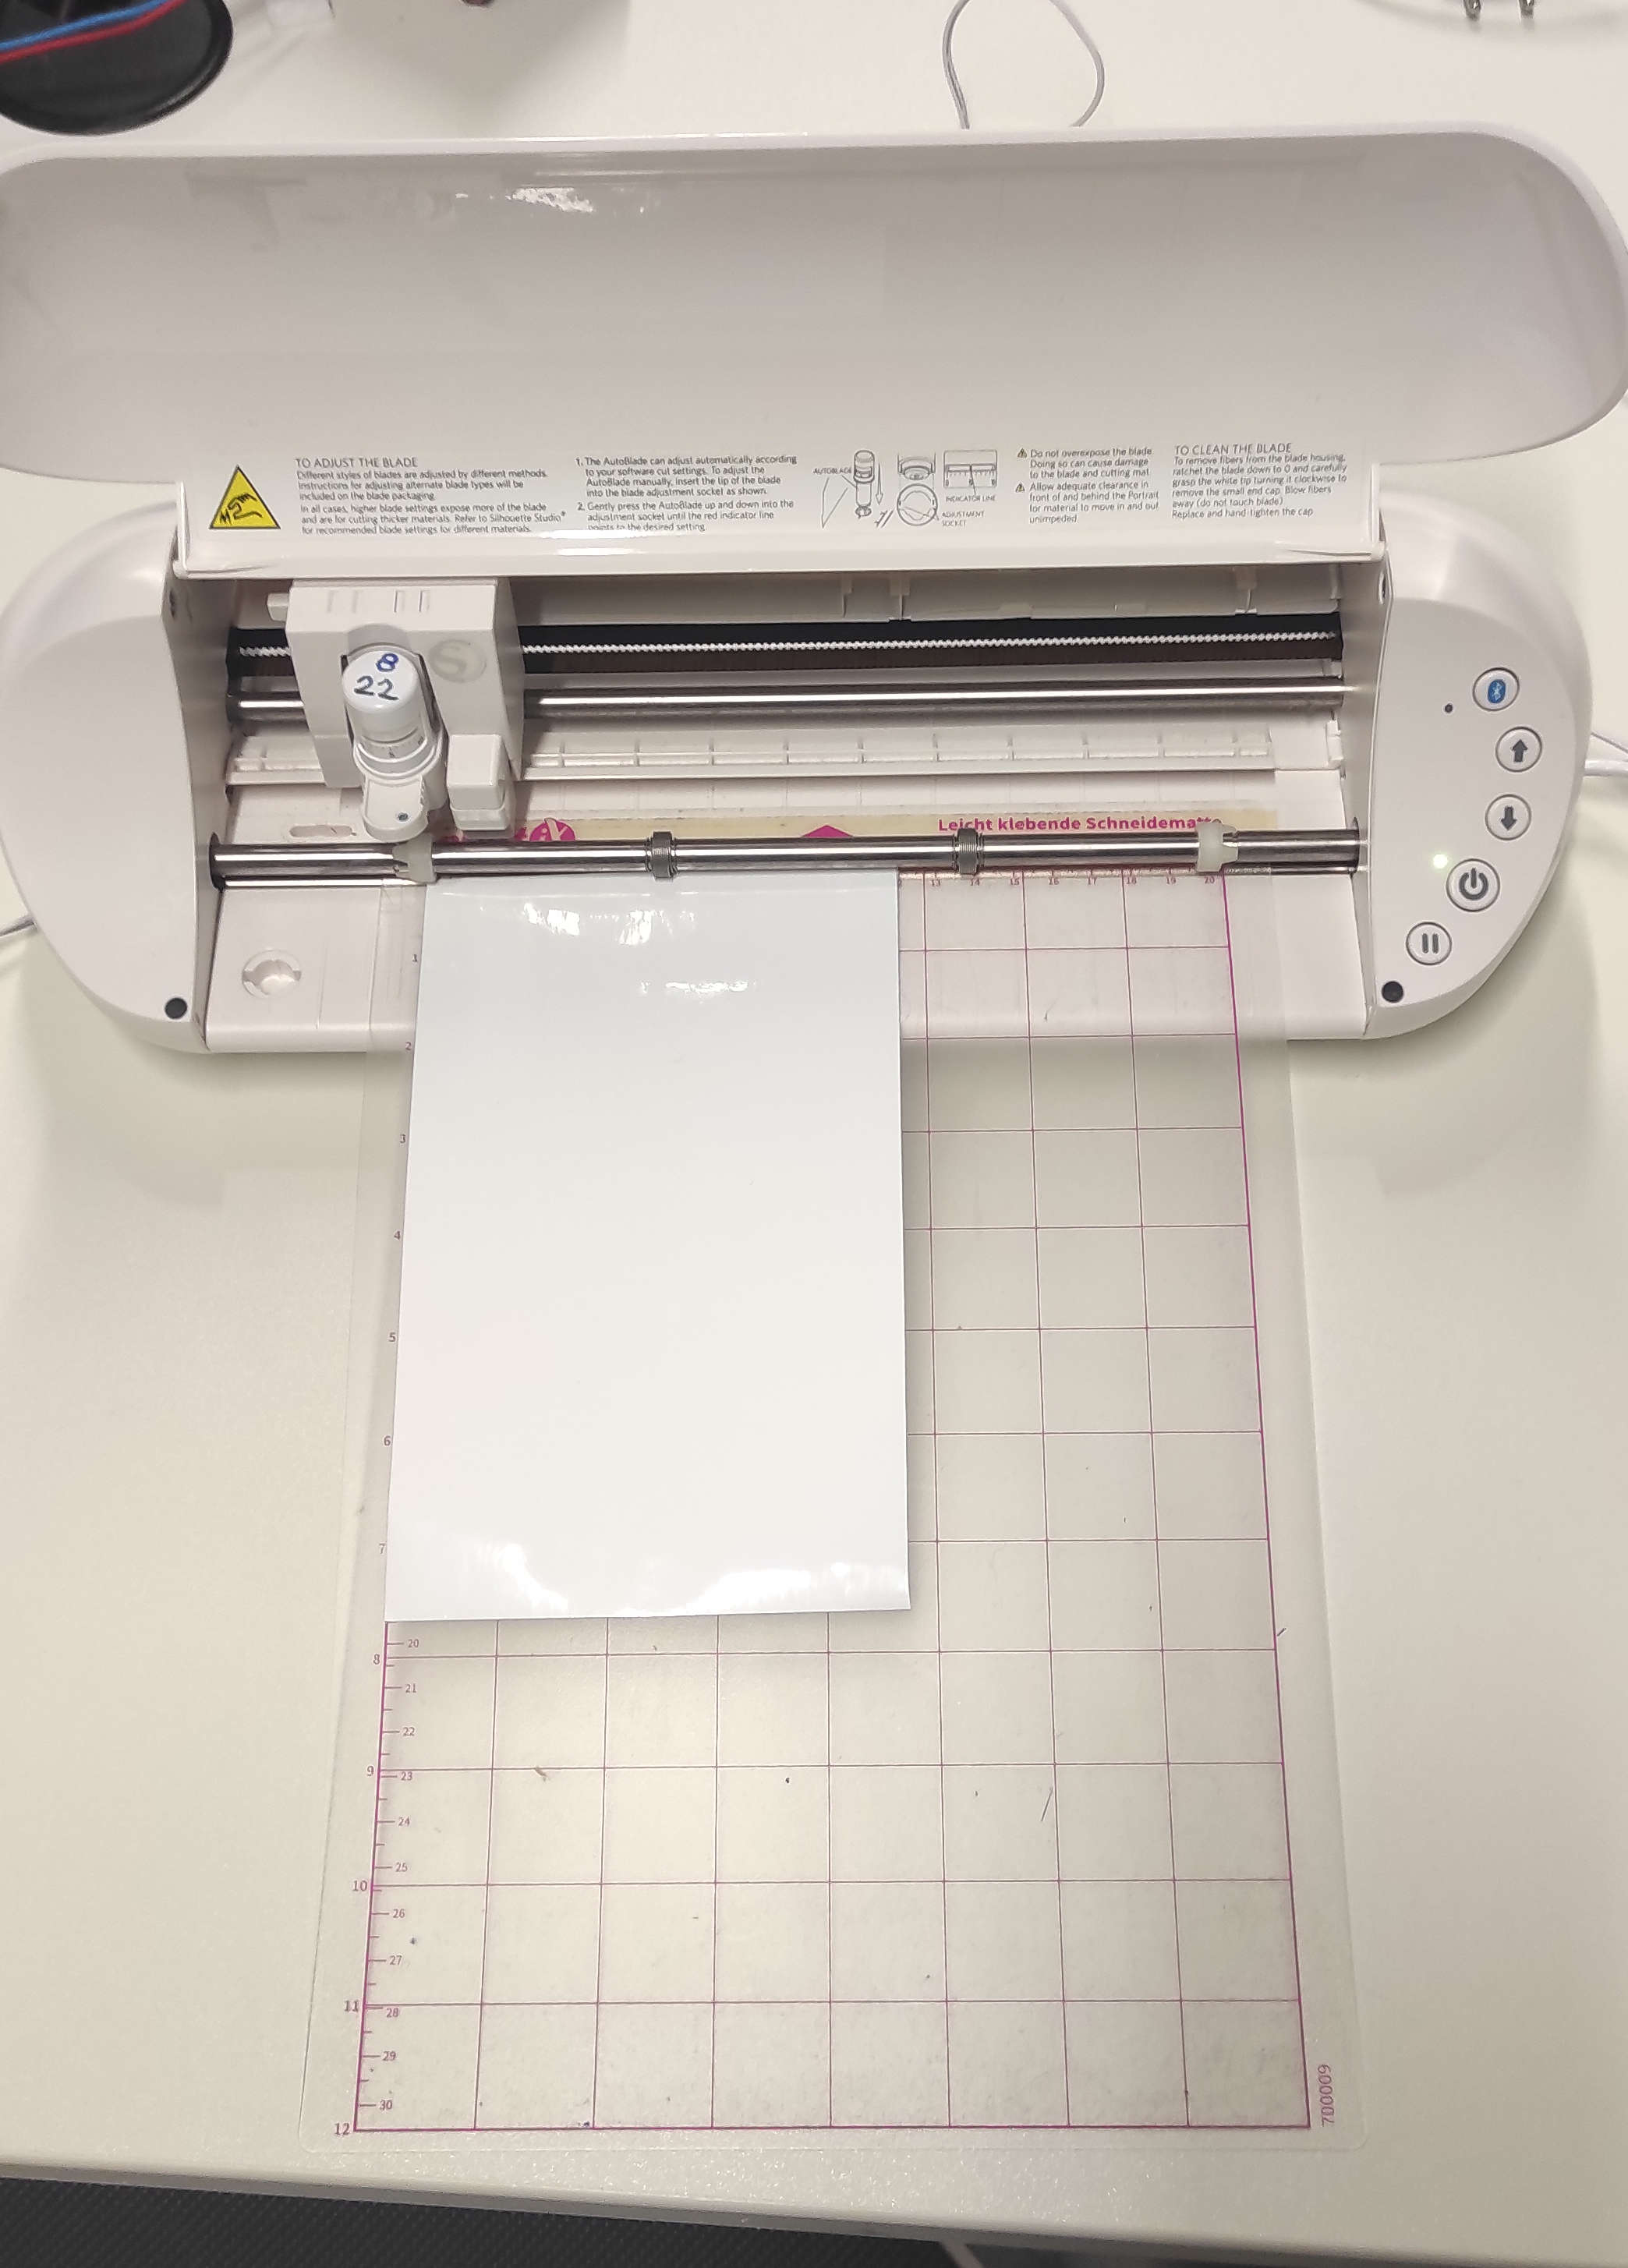
Before i can press send, i prepare the cuttingmat. For that, i placed my vinyl onto the top left corner of the mat. After that, i placed the mat aginst the rollers on the machine and while keeping a bit of pressure i clicked the up button on the machine. Now it was ready for sending. After the cut was finished, i removed the mat by pressing the down button on the machine.
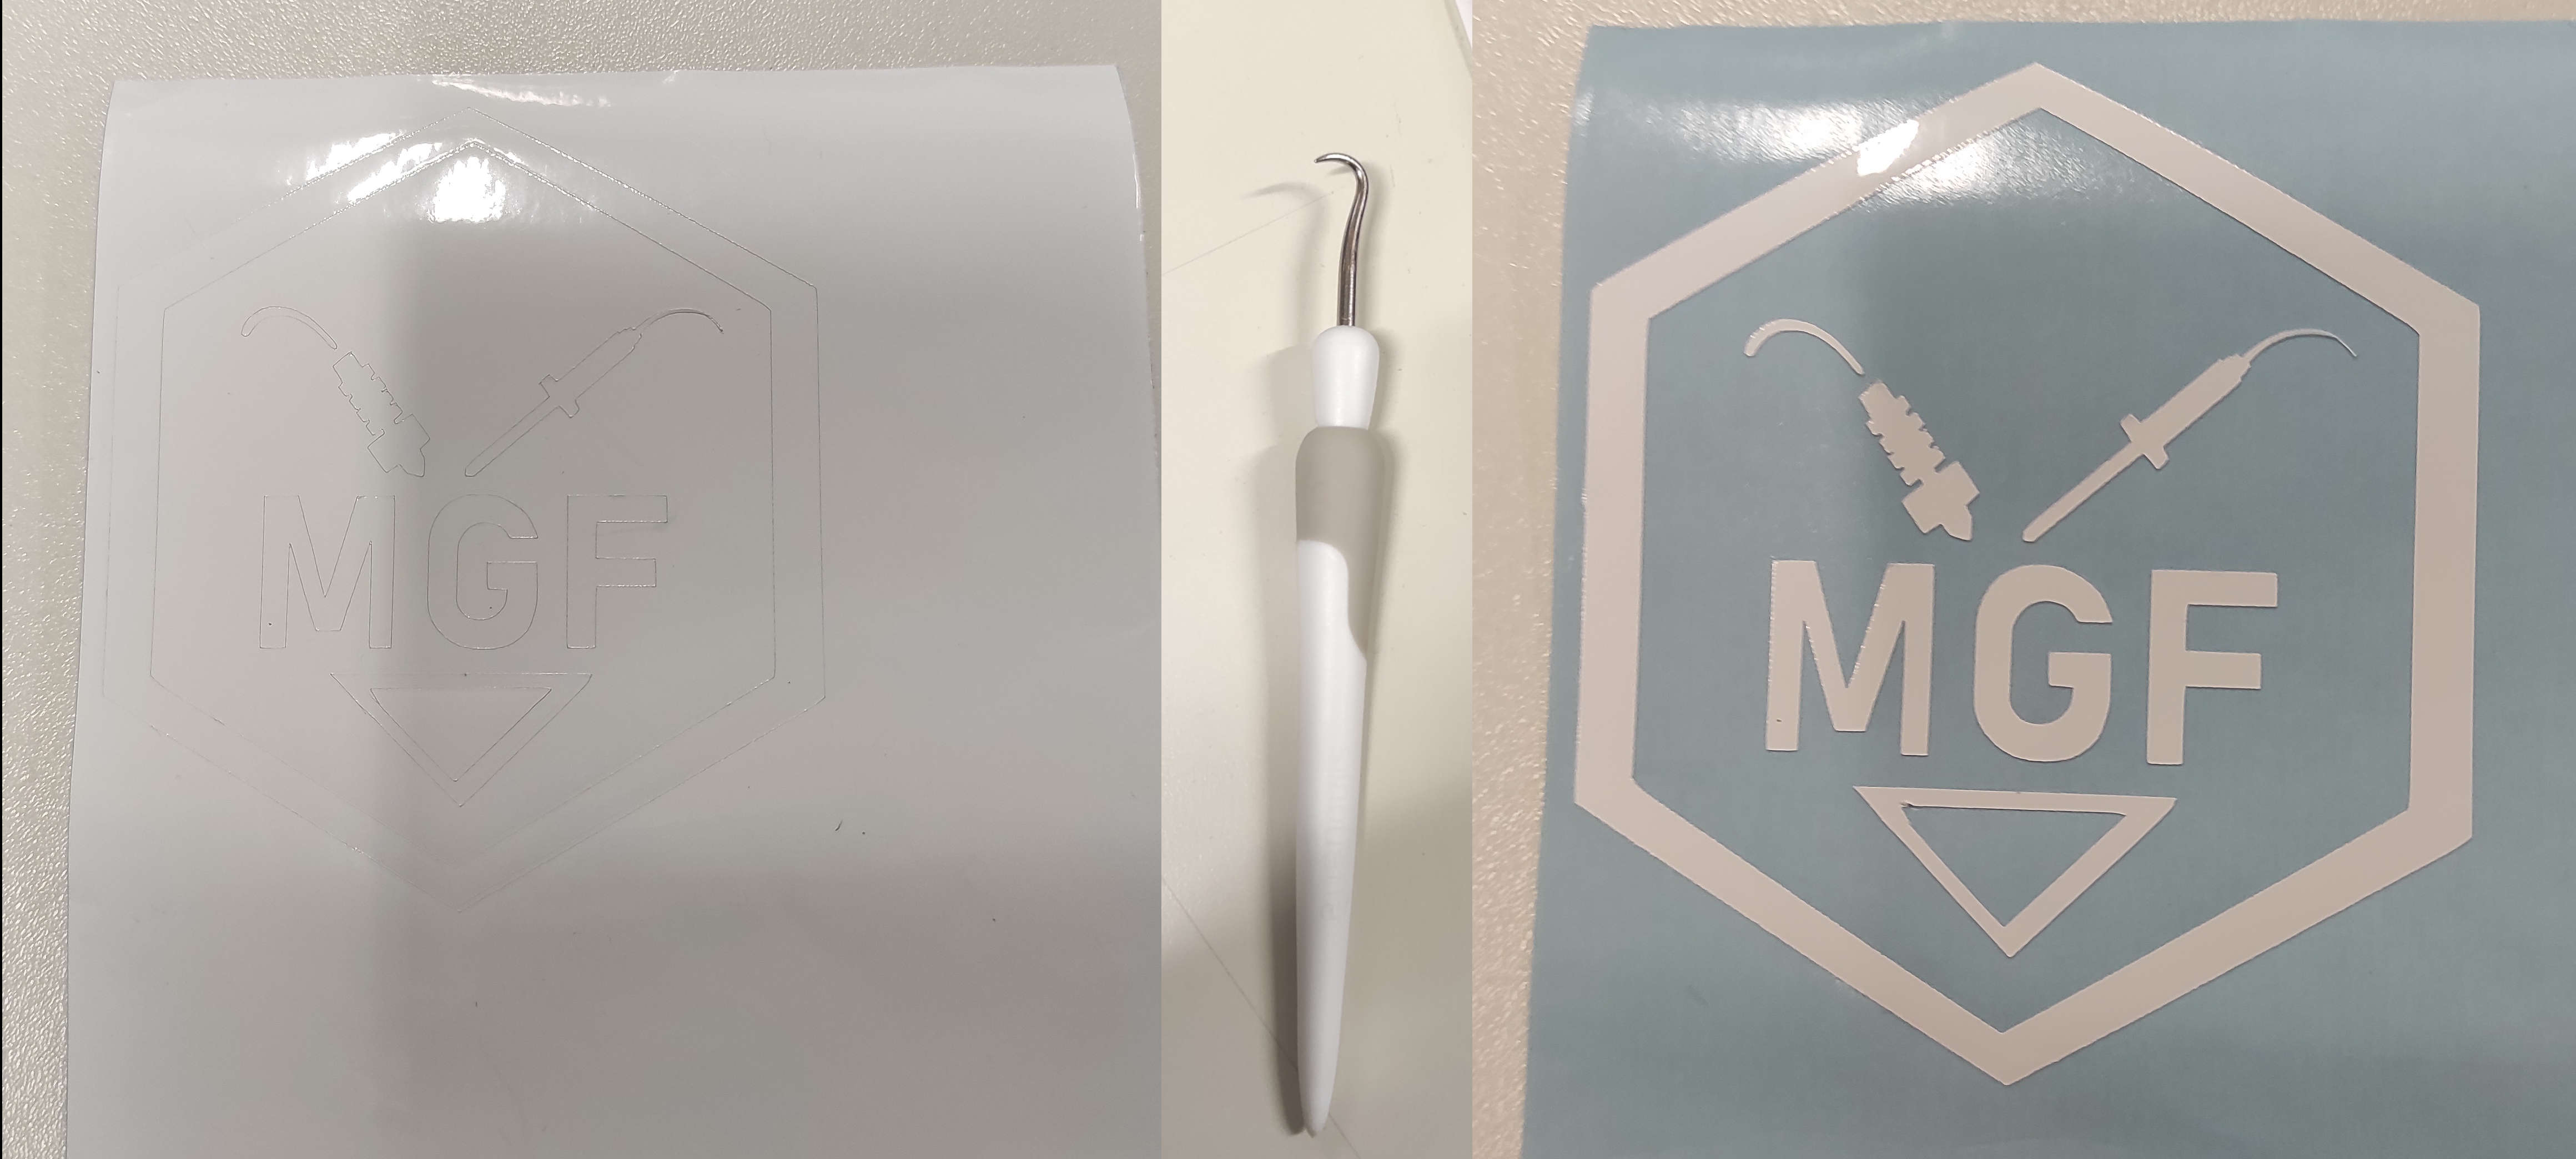
Now i had a cut but not yet weeded Sticker. I weeded befor applying the sticker, because i dont want to scratch the surface, where the sticker should be applied. I used a weeding-tool to remove all part, which wasn't supposed to be on the Design.
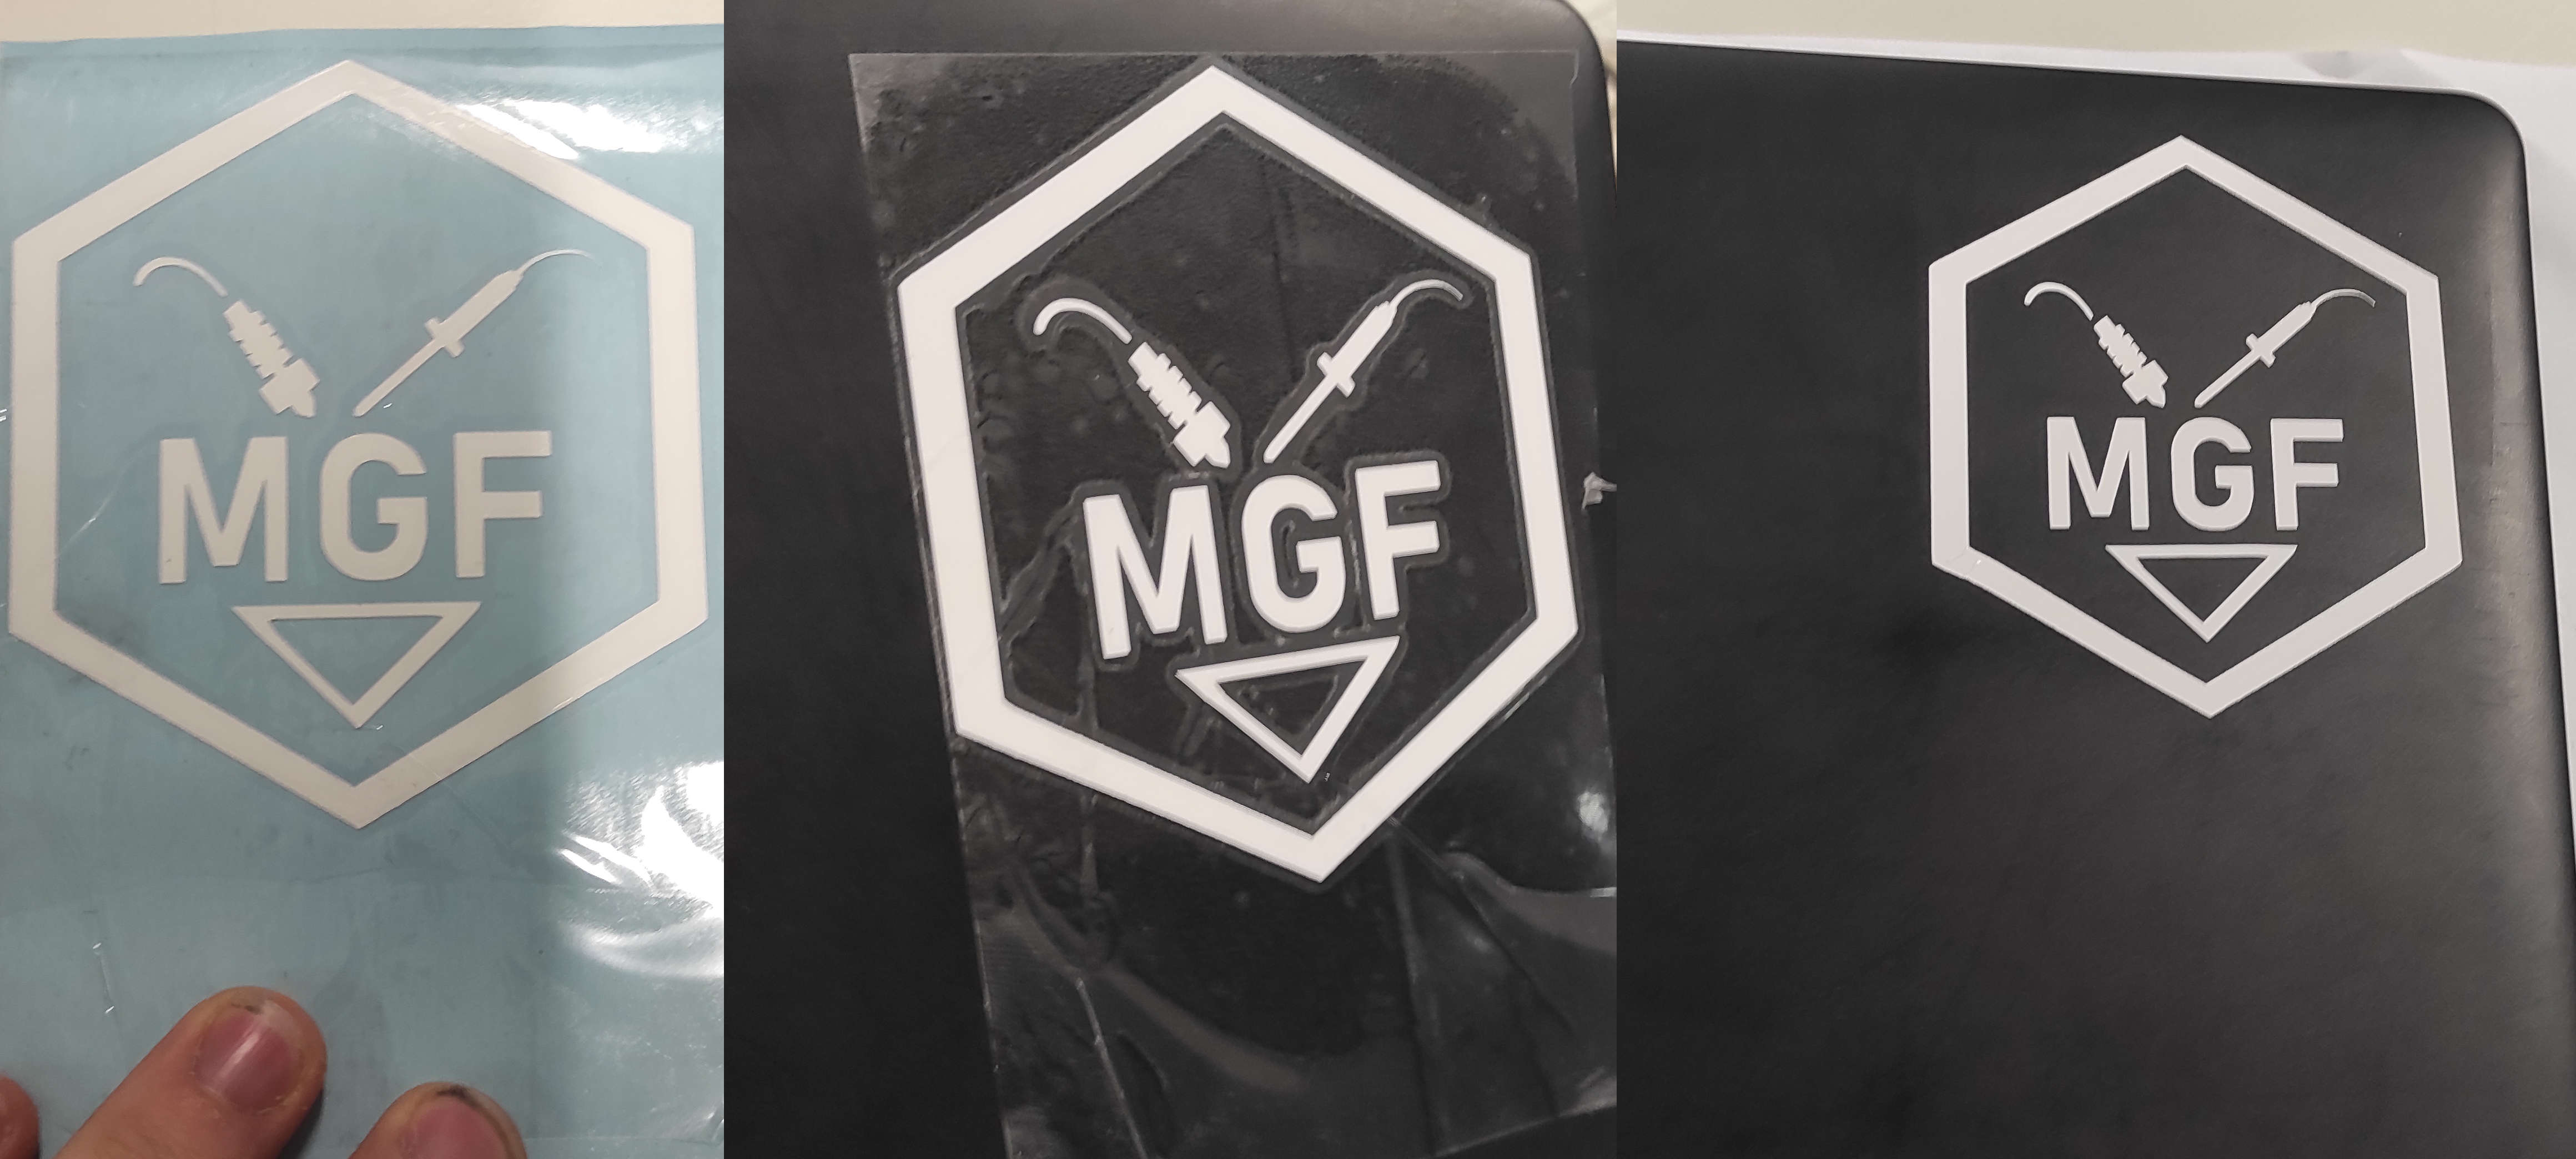
At the end i put a layer of transferfoil, which allowed me to transfer the sticker to the laptop. After applying the sticker to the laptop, i removed the transferfoil and the sticker is now pretty again.
Week 7
In week 7. Computer controlled machining you saw, that i milled the main frame for my final Project. There you can also find the DXF file for the tileholder i cut like i did in this assignment with the dungeontiles.