Final Project
Luminous
Luminous
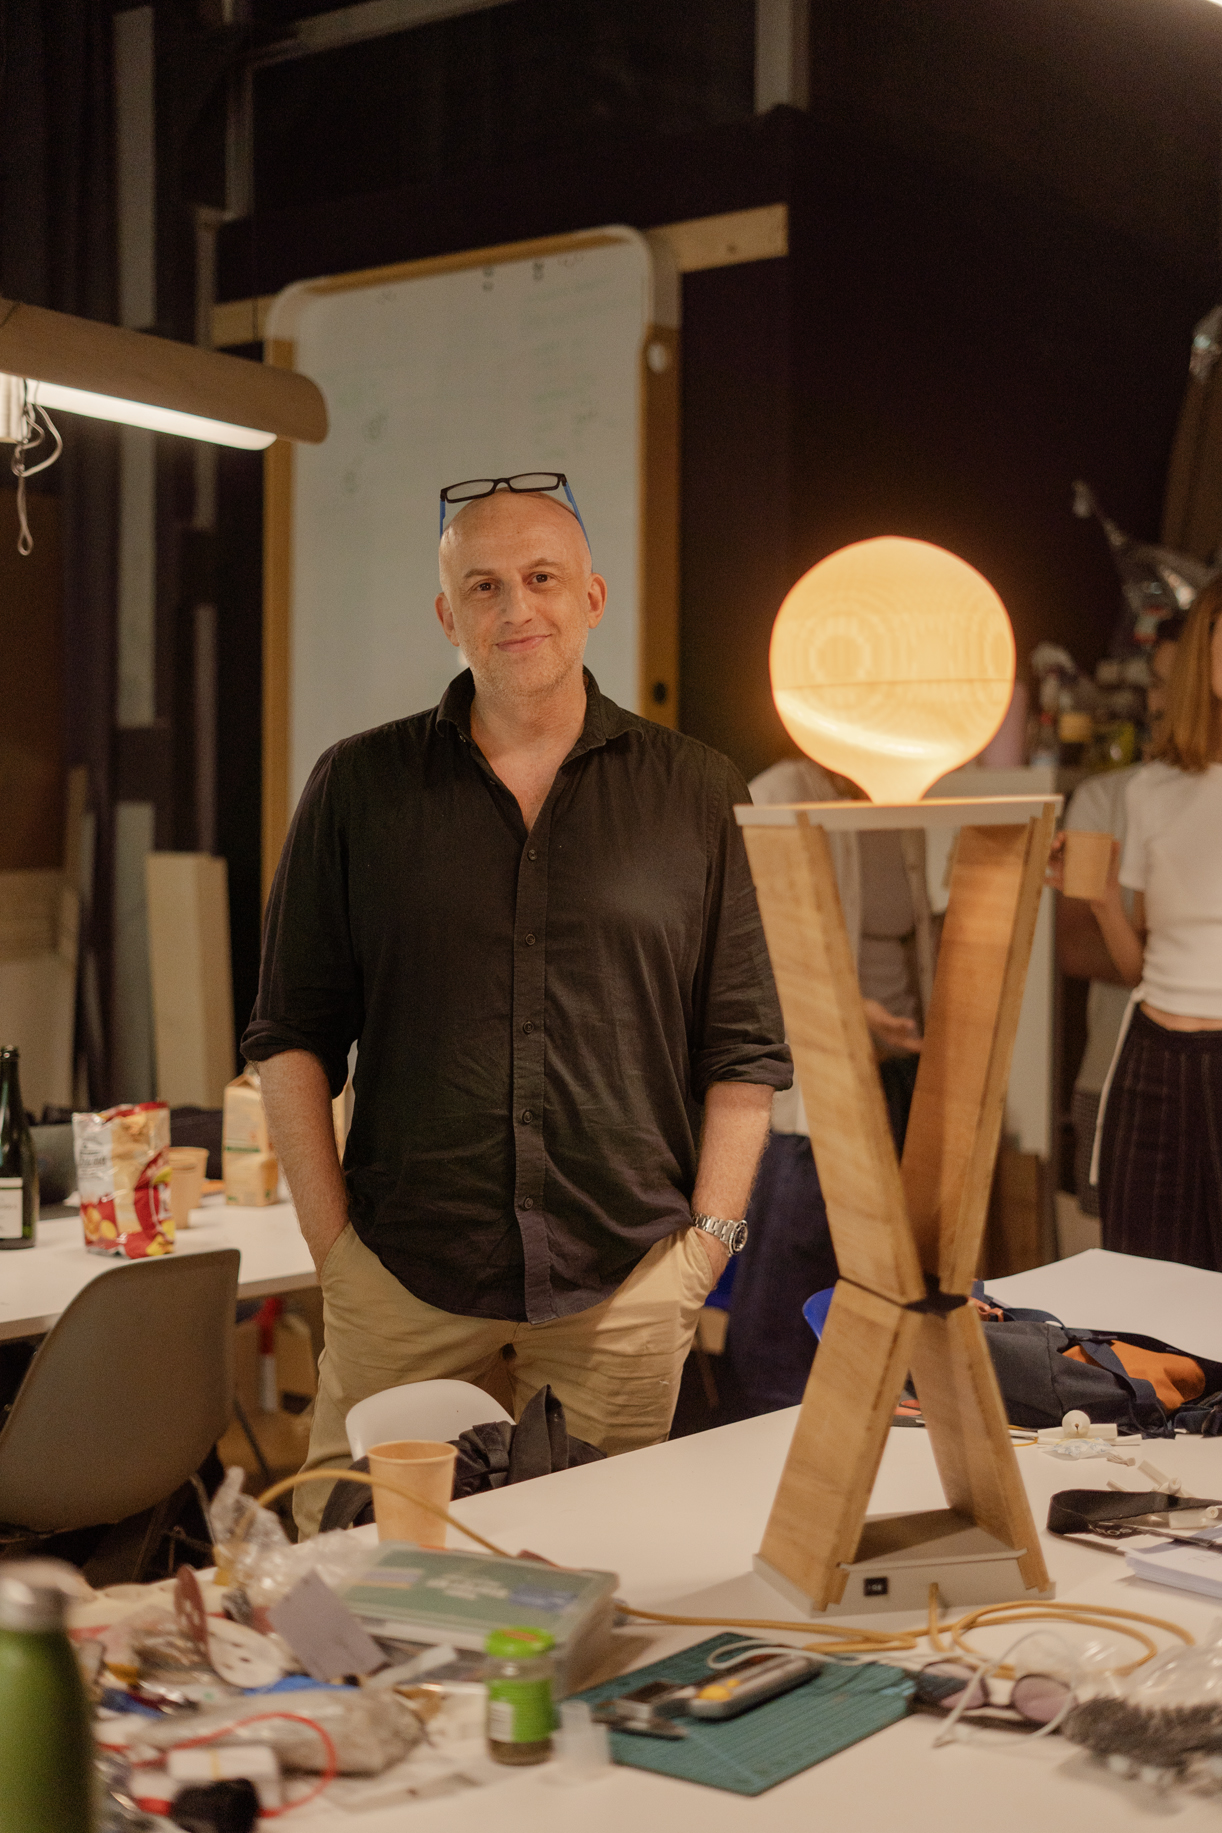
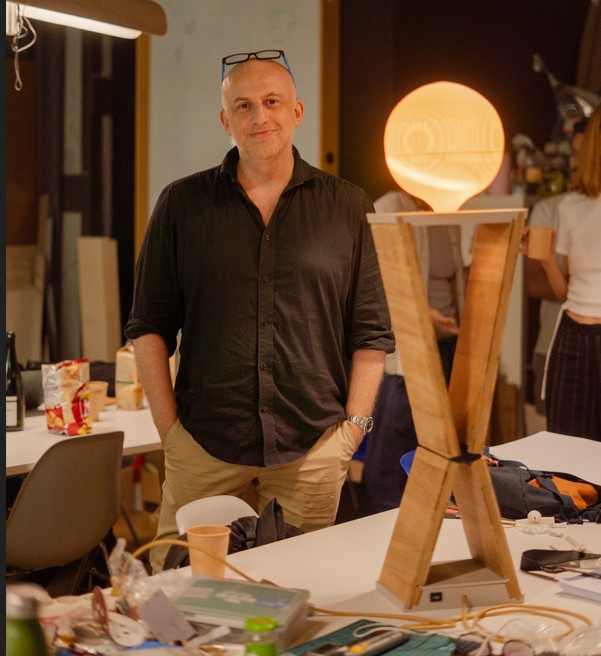
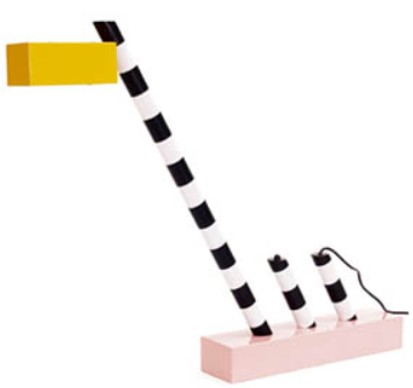
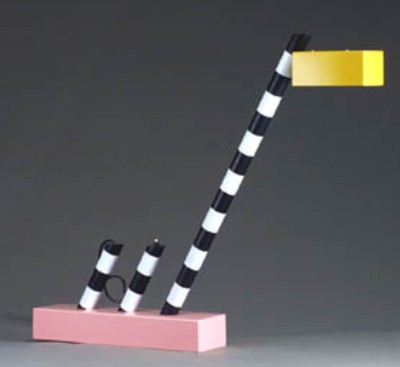
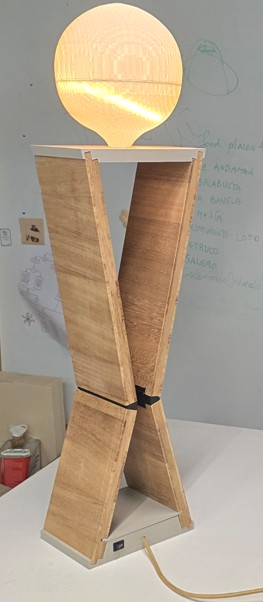
Luminous is a motion-sensitive, architecturally detailed, light object. Shifting the balance between function and form, Luminous responds gently to your presence. Crafted from warm Iroko wood and soft diffusing elements, its sculptural form offers not just light, but quiet companionship — part sculpture, part atmosphere.
In a rush? No worries — I made a 1-minute presentation video just for you.
Feeling leisurely and curious? Treat yourself to the full behind-the-scenes action below.
The Design – Who's Done That Before?
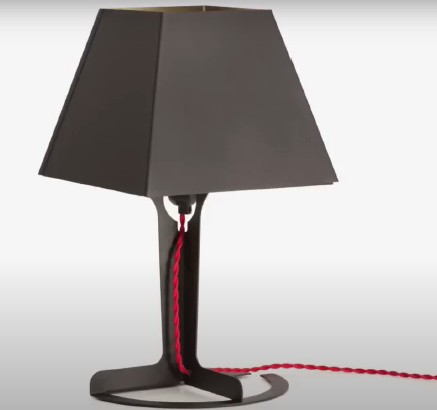
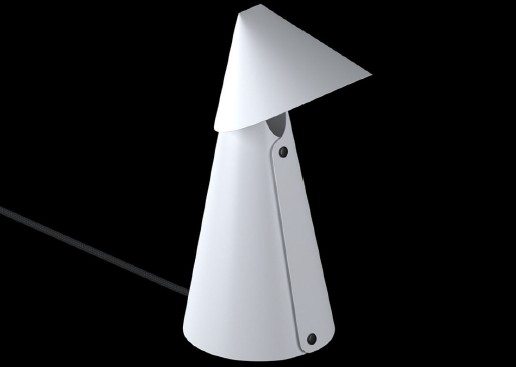
I explored the Fab Academy database for lamp projects. A few surfaced — imaginative and technical — but I didn't find anything that combined artistic form with function through a PIR sensor. The emphasis felt quite different from mine.
Marjo Leinonen created a light with capacitive touch buttons on plywood for dimming.
Peter Dahl created an interesting space lamp project.
Tin Valetic created a smart lamp including sensors for temperature, humidity, and methane gas. It will have an LCD to track these metrics and an LED ring to light up the space.
Elena Cardiel created a very cool project – a lamp able to recognize the ambient light level and presence of the user to personalize the light of small-medium spaces, illuminating just the part of the room/table that is being used.
Dion Tsang created a light which can be switched on via mobile interface and control the RGB: Project Link
Maaya Prasad created a light that responds to the environment: Project Link
As far as I can tell nobody blended art with motion sensing function in a lamp format the same way that I chose to.
What Processes Were Used?
| Process Stage | Description |
|---|---|
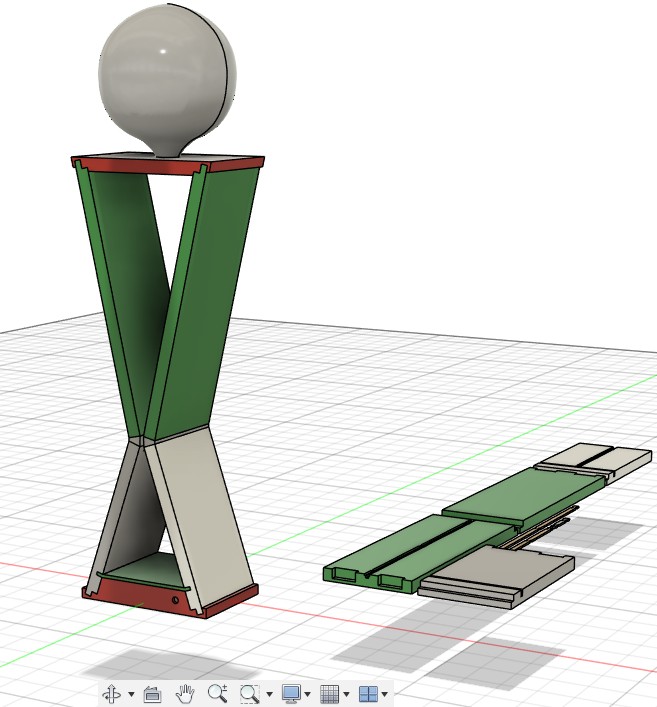
| Concept & Design | Initial sketches were made on paper, followed by detailed design work in Fusion 360 for the wooden and PLA parts of the lamp, as well as the resin-printed potentiometer cover. Most parts were parameterized to allow easy adjustments. |
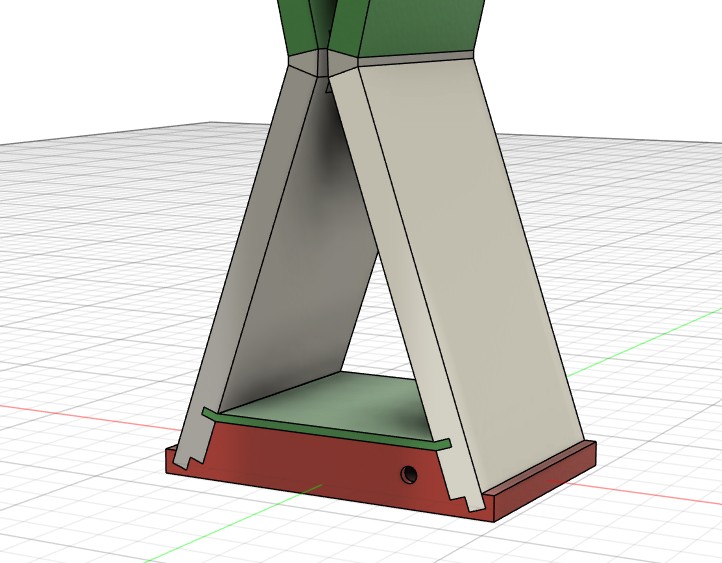
| Design Review & Preparation | Designs were reviewed collaboratively in Rhino with Dani to ensure manufacturability. Fillets and dogbones were added to accommodate the CNC end mill's toolpath constraints. RhinoCAM was used to generate CNC toolpaths, setting material, machine, cutting speeds, and other parameters. |
| CNC Milling | The wooden legs and arms were milled on a CNC machine (Raptor X SL 3200) following the prepared toolpaths. |
| 3D Printing | PLA parts (neck, wiring covers, waist connectors, base) were sliced and printed using Bambu software and an X1 Carbon printer, optimizing print time and material use. The resin-printed potentiometer cover was produced using an Elegoo Saturn 4 Ultra and UV cured with a Projet device. |
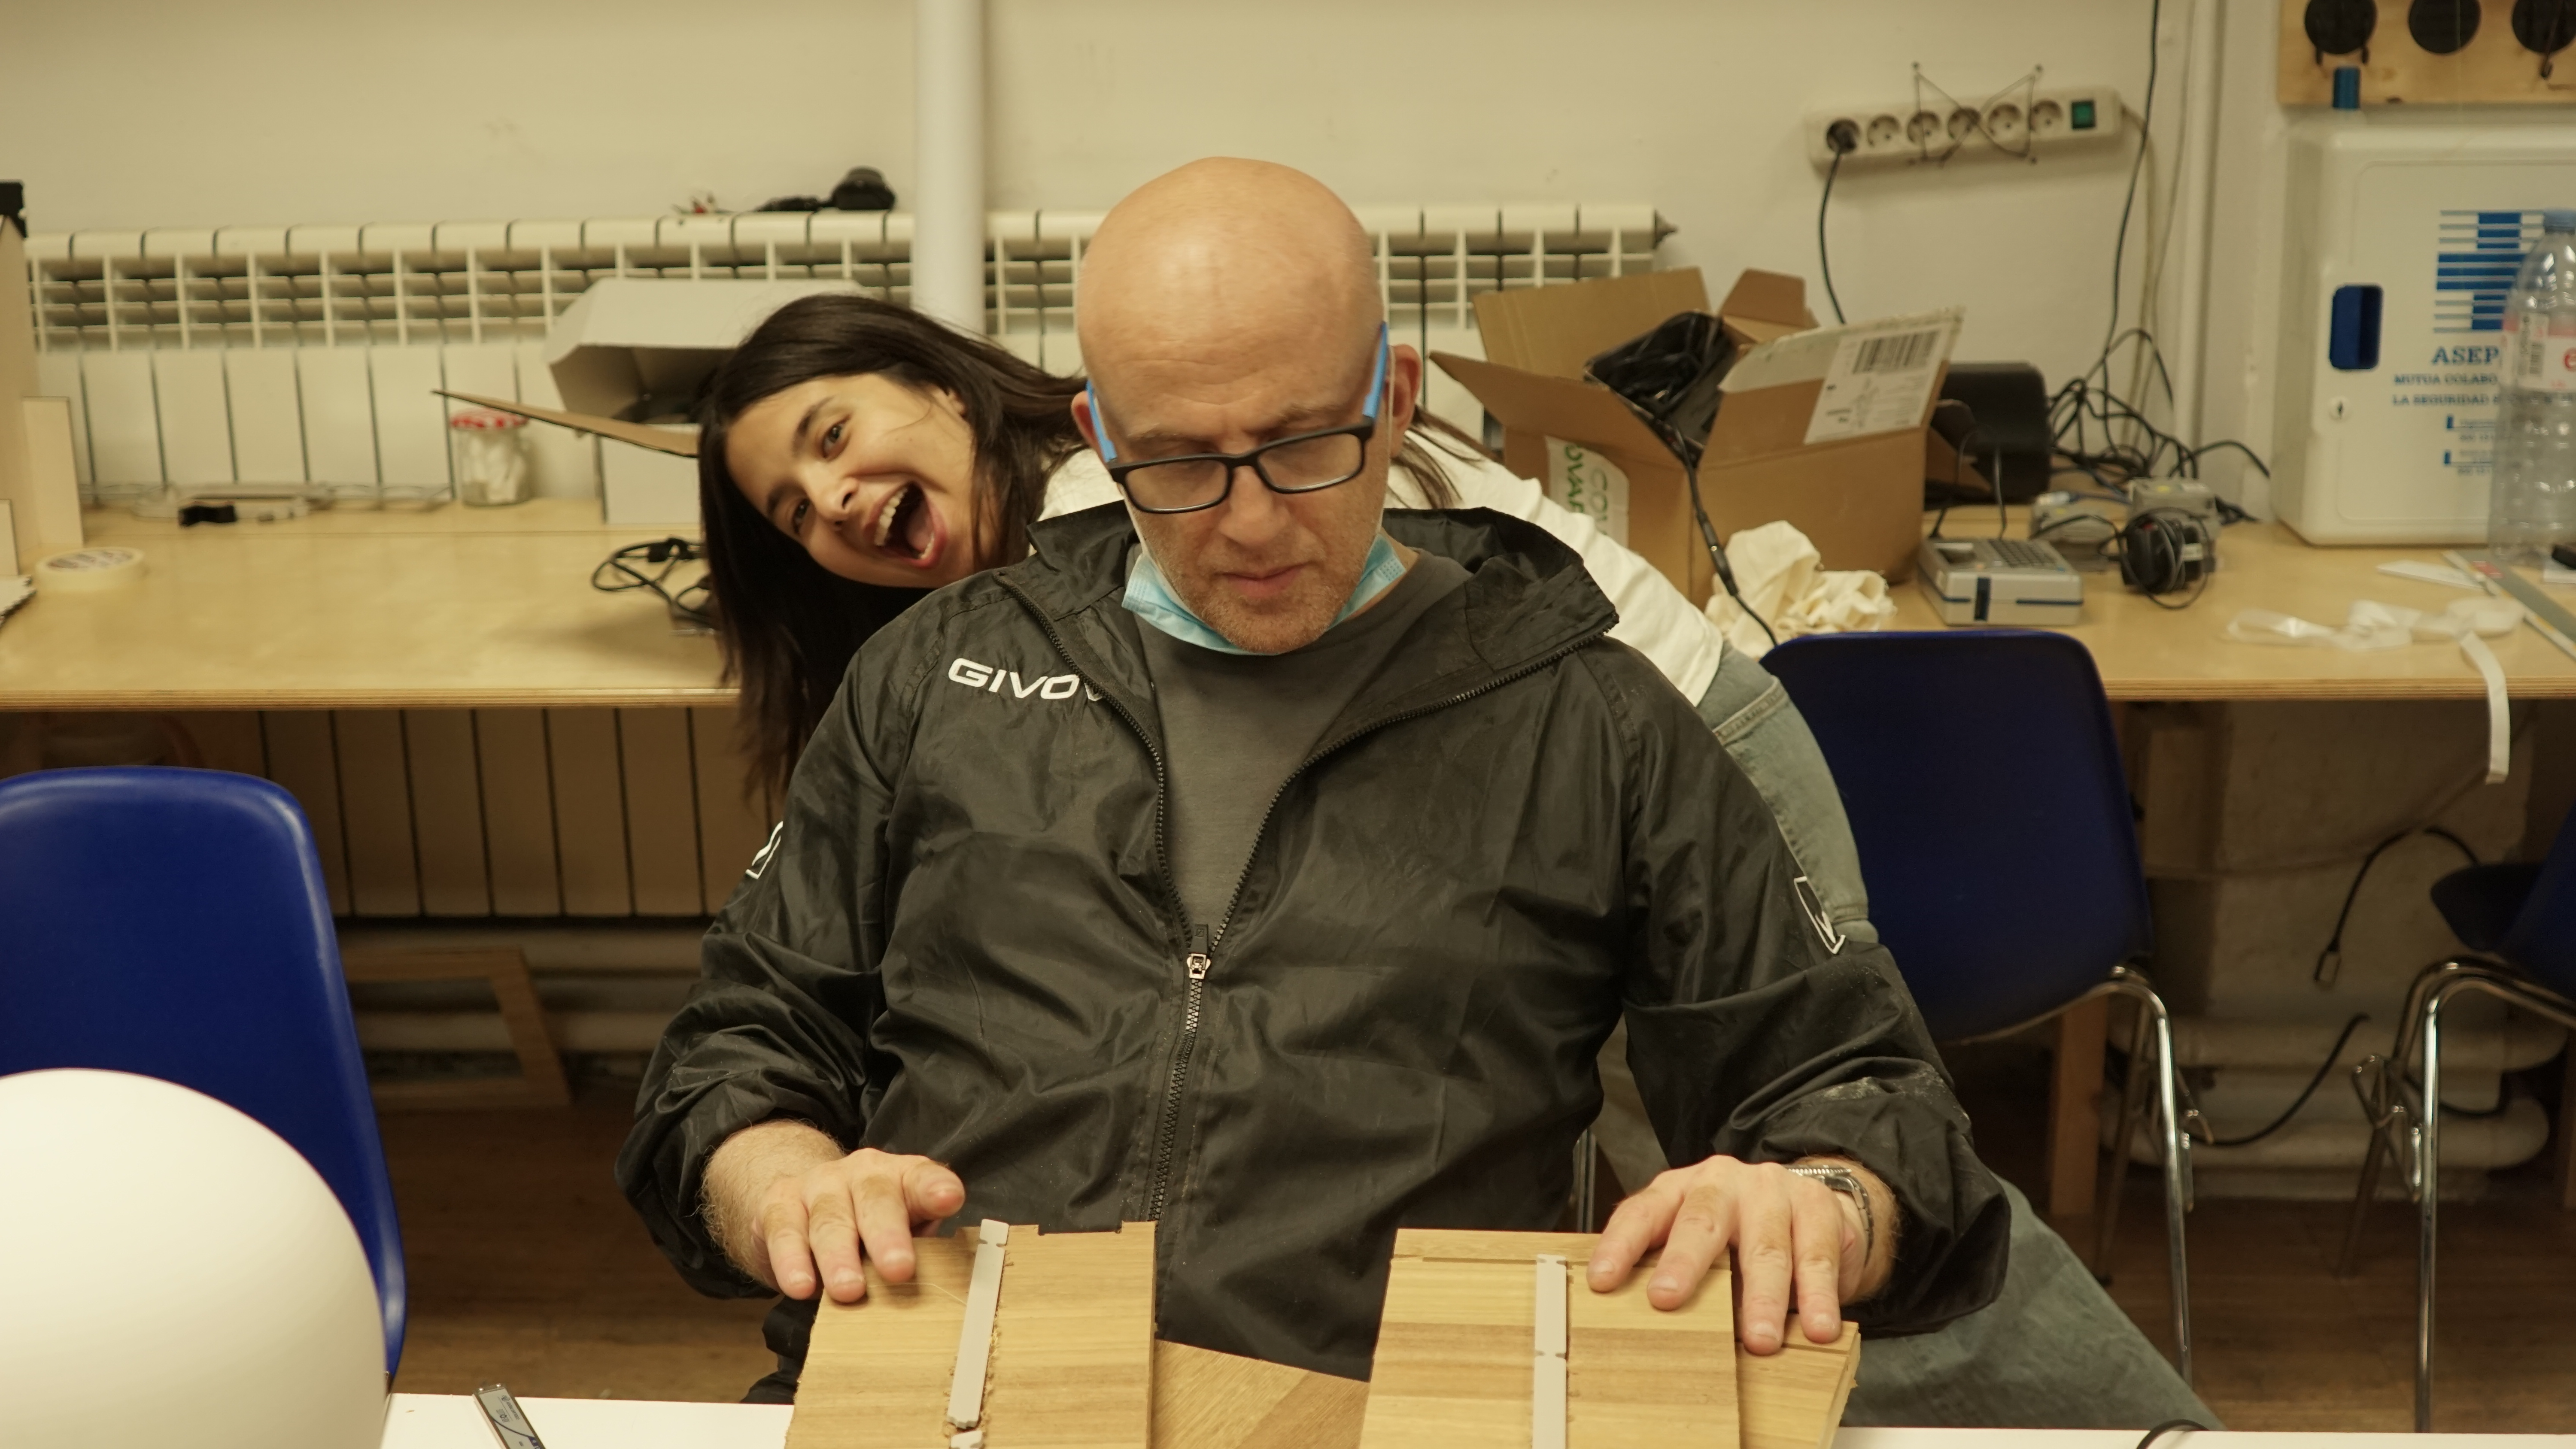
| Assembly & Fit Testing | After fabrication, all parts were test-fitted. Due to different material properties and tolerances, sanding, cutting, and gluing were necessary to ensure a proper fit and seamless assembly. |
| PCB Design | Circuit schematics and PCB layouts were created in KiCad, defining all components and wiring. |
| PCB Layer Preparation | Design layers (traces, holes, outlines) were separated using Inkscape, then processed with the modsproject.org slicer to generate precise milling toolpaths. |
| PCB Fabrication | Copper-clad boards were milled using a Roland SRM-20 PCB mill with appropriate end mill bits. |
| Electrical Testing & Soldering | Connections were verified with a multimeter before soldering components onto the PCB. After soldering, the board was retested for continuity and shorts. |
| Firmware & Debugging | The PCB was connected to a computer and a basic blink program was flashed to verify functionality. Individual components (potentiometer, PIR sensor, on/off/PIR switch, and LED) were tested separately before integrating and flashing the complete firmware. |
What I Designed – 'Luminous'
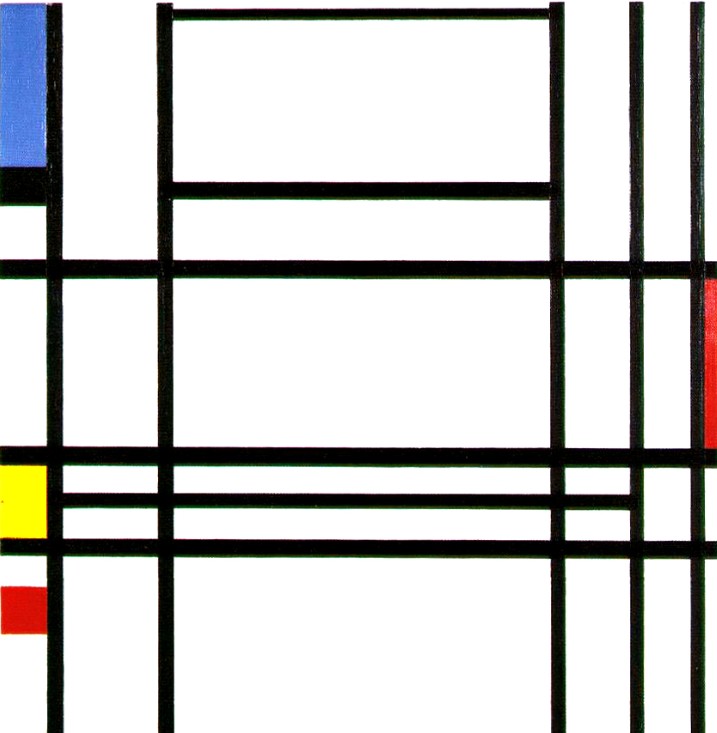
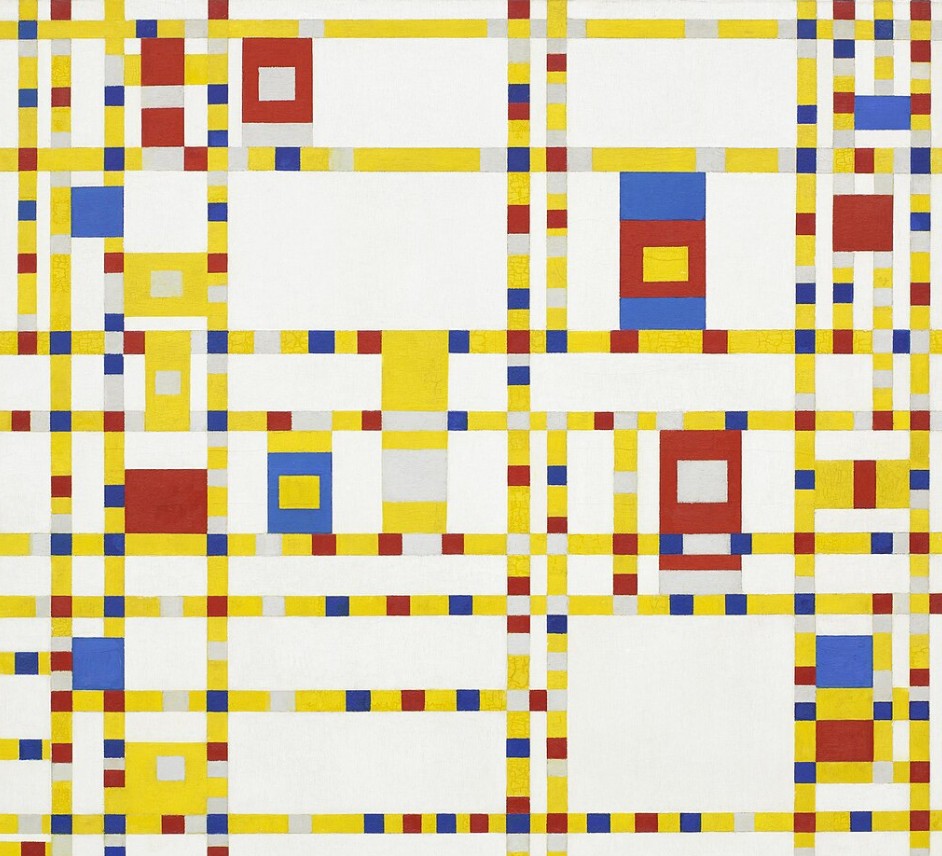
Luminous is a minimalist smart lamp that blends Mondrian-inspired simplicity with precise architectural form and smart, motion-responsive control, and dimming control.
Over time, I've come to value simplicity. I find that too many objects—especially lights and devices—ask too much from us. Too many buttons, too many steps.
With Luminous, I wanted to create something that doesn't demand to be used but simply responds. It illuminates when you enter, dims easily with a discrete resin printed key — without noise, buttons, or visual clutter. My hope is that it feels less like operating a device, and more like being accompanied by one. By bringing function to the background, it allows its form to speak: a quiet architectural object in the room, not a piece of technology — just light, when you need it.
At the same time, Luminous is designed to act as an objet d'art—something beautiful to live with and admire, a subtle presence that enriches the space beyond mere function.
What Sources Did You Use?
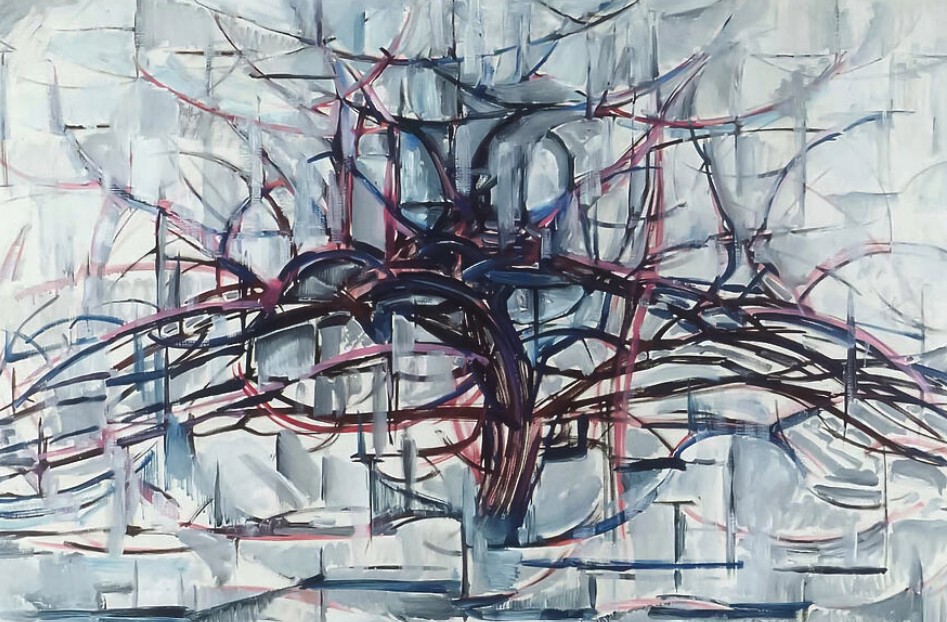
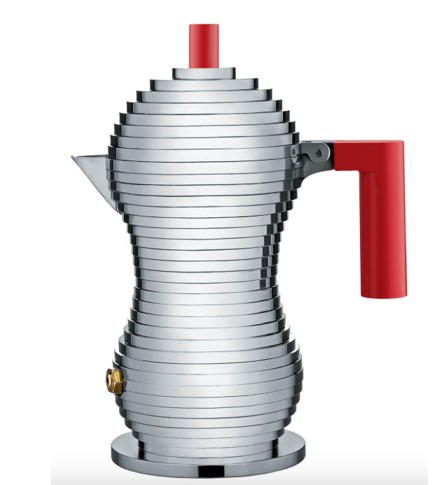
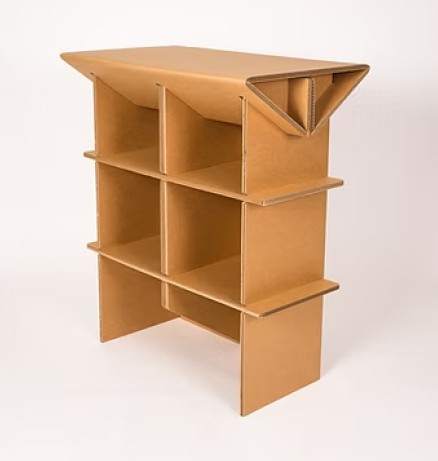
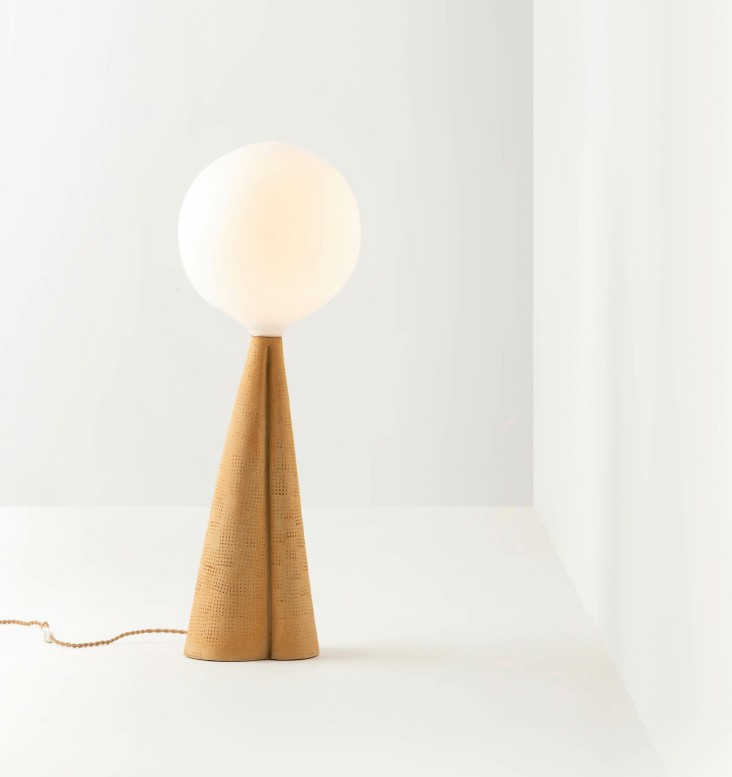
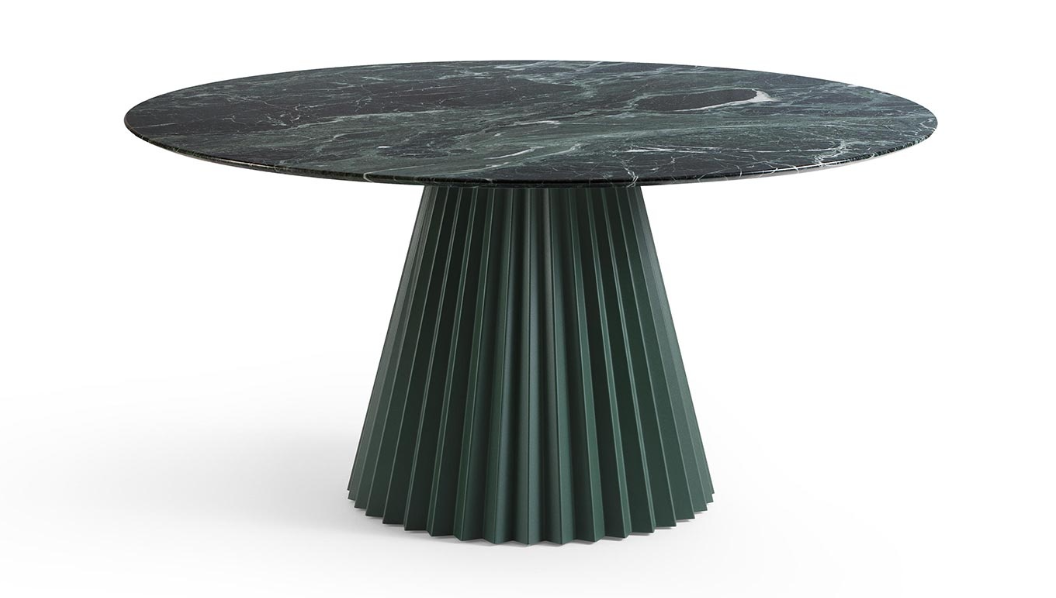
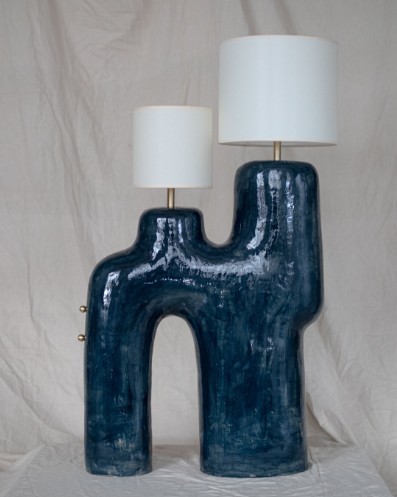
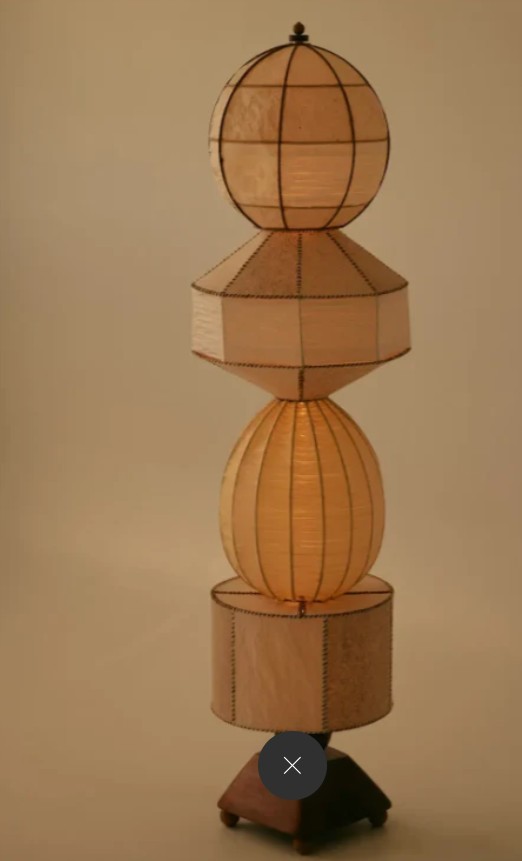
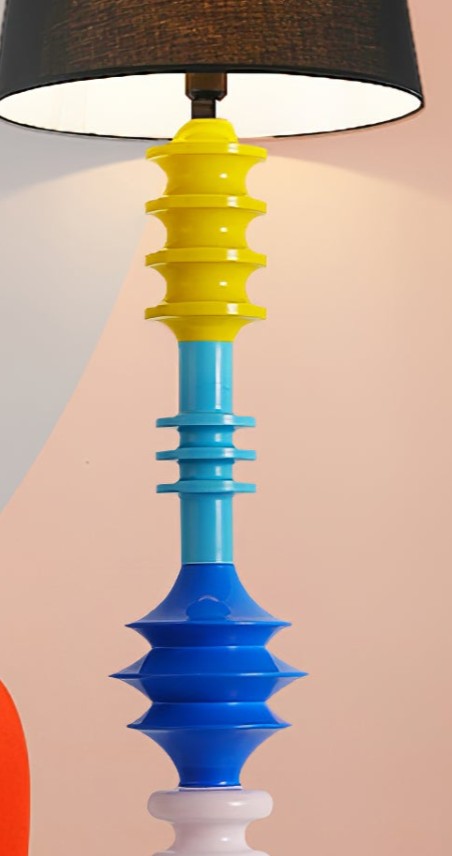
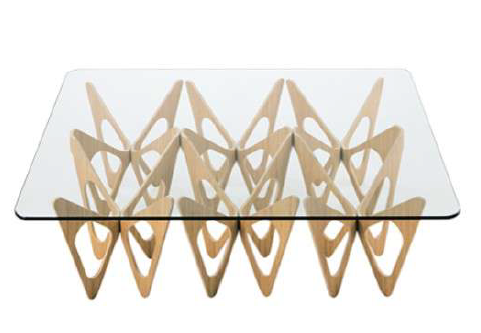
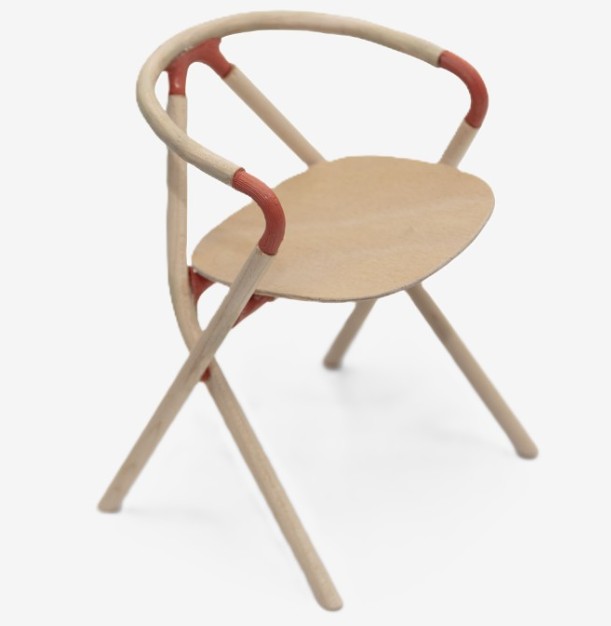
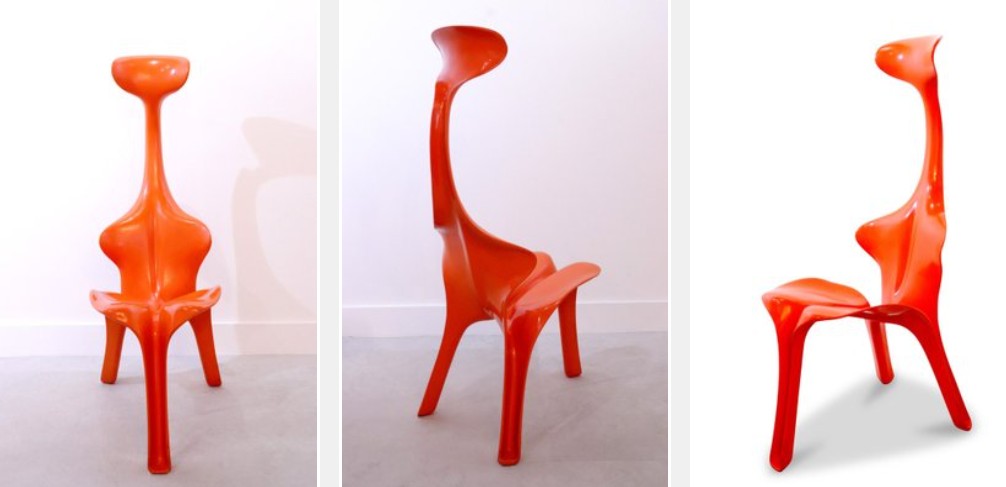
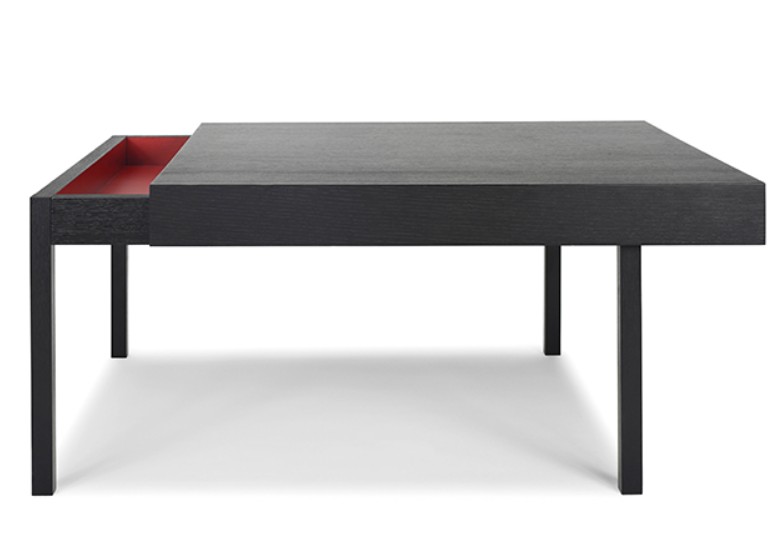
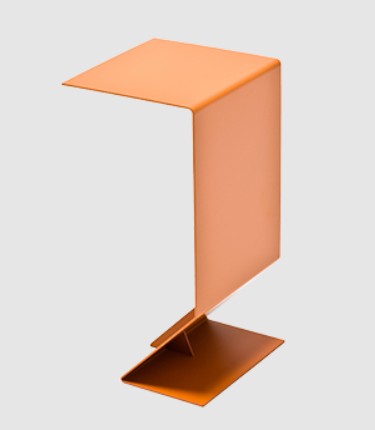
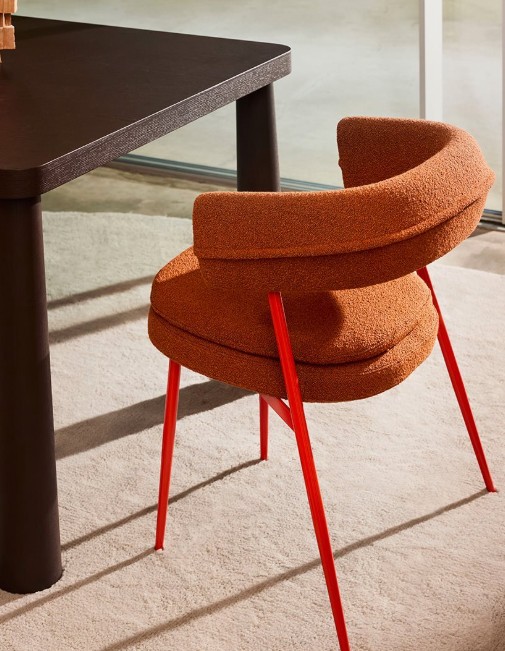
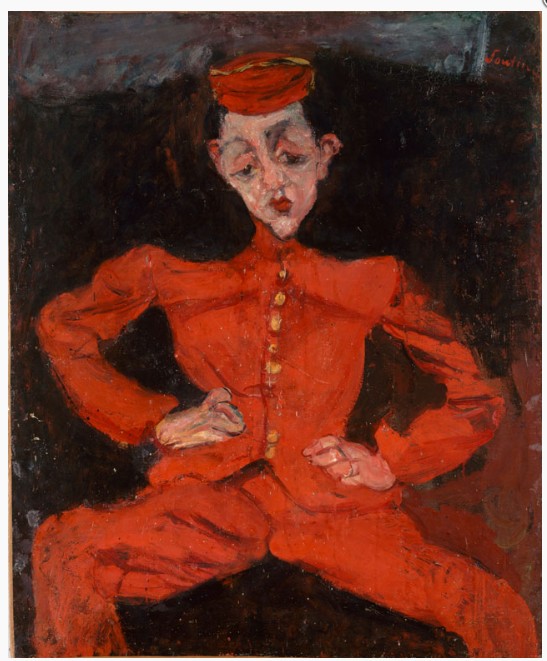
To begin with, I explored a wide range of references to inform my design. These included iconic designers, artists such as Soutine and Mondrian, classic pieces, as well as contemporary works of furniture, lighting, and sculpture. I immersed myself in both well-known and lesser-known objects to understand what made certain pieces feel distinctive, celebrated, or timeless. Alongside this research, I spent time reflecting and sketching until the design began to emerge with a sense of inevitability—gradually taking on its own personality.
Practical considerations also played a role: certain manufacturing constraints, particularly around difficult angles, prompted minor redesigns that ultimately refined the piece. So the final design is both a product of intentional reference and organic development through thought and making.
The Idea of Moving from Figurative to Abstract

Design Inspiration


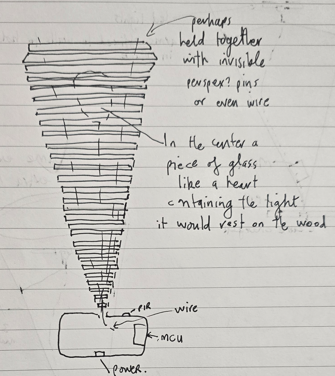
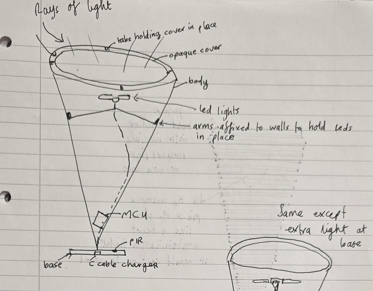
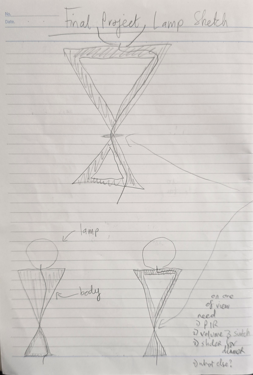
Sketches

Conceptual / Theoretical Framework Inspirations
Although I was not familiar with books like Calm Technology by Amber Case or the principles of Don Norman before starting this project, I had a clear personal vision of what I wanted the sculptural light object to embody. My aim was to create something that quietly accompanies its user, offering presence without demanding attention. Rather than simply being a source of illumination, the object serves as an enriching, almost contemplative element within the space.
Technical Platform Used
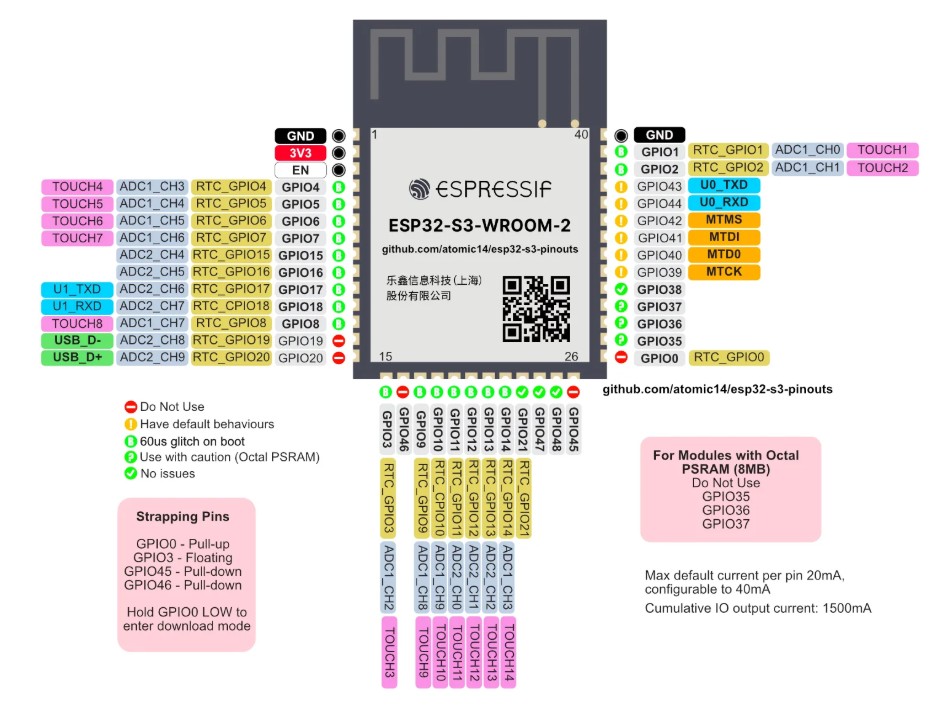
Why I Chose the ESP32-S3
I chose the ESP32-S3 because it offers a large number of GPIOs, integrated Wi-Fi and Bluetooth, and a dual-core 240 MHz processor—sufficient for handling multiple tasks such as real-time motion detection, LED dimming, and wireless communication simultaneously. Compared to other microcontrollers introduced during the course, it was one of the few that could support the full range of requirements for my lamp without relying on external modules.
The available GPIOs allowed for reliable connections to a PIR motion sensor, MOSFET-controlled LED dimming, I²C peripherals, a mode switch (On / Off / PIR), and boot/reset buttons, while still leaving spare pins for future upgrades. Its USB-OTG support also eliminated the need for a separate USB-to-serial converter, simplifying both the hardware design and firmware upload process.
The circuit is powered by two separate voltage supplies: 5V for control logic and 24V for the LED driver. Some additional sensors required 3.3V, and the ESP32-S3's flexible GPIO handling made it straightforward to interface across all three voltage levels. Having a large number of GPIOs was particularly useful for managing peripherals across these different voltage domains without needing external I/O expanders.
The built-in wireless connectivity enables over-the-air updates and supports future enhancements such as app-based control or environmental feedback.
Overall, the ESP32 S3 W1 enables me to meet both the current design goals and anticipated future upgrades for the lamp.
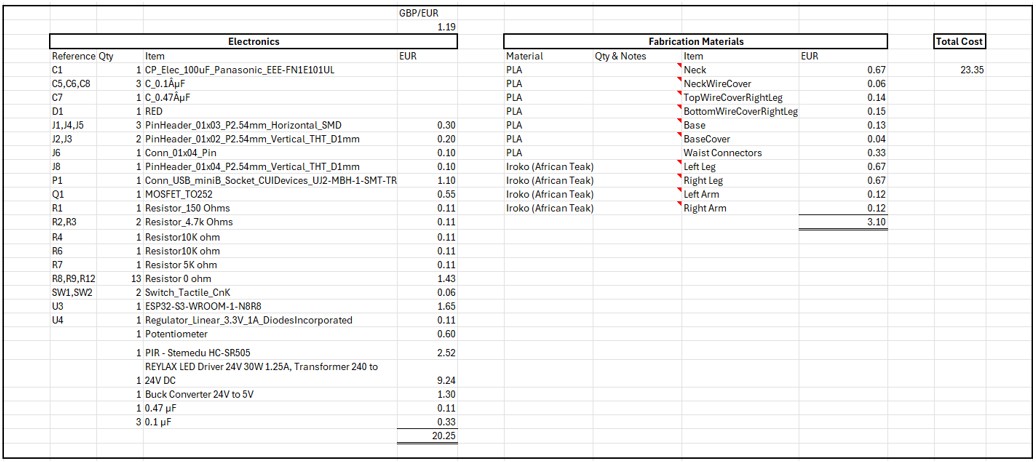
What Materials and Components Were Used and How Much Did They Cost?
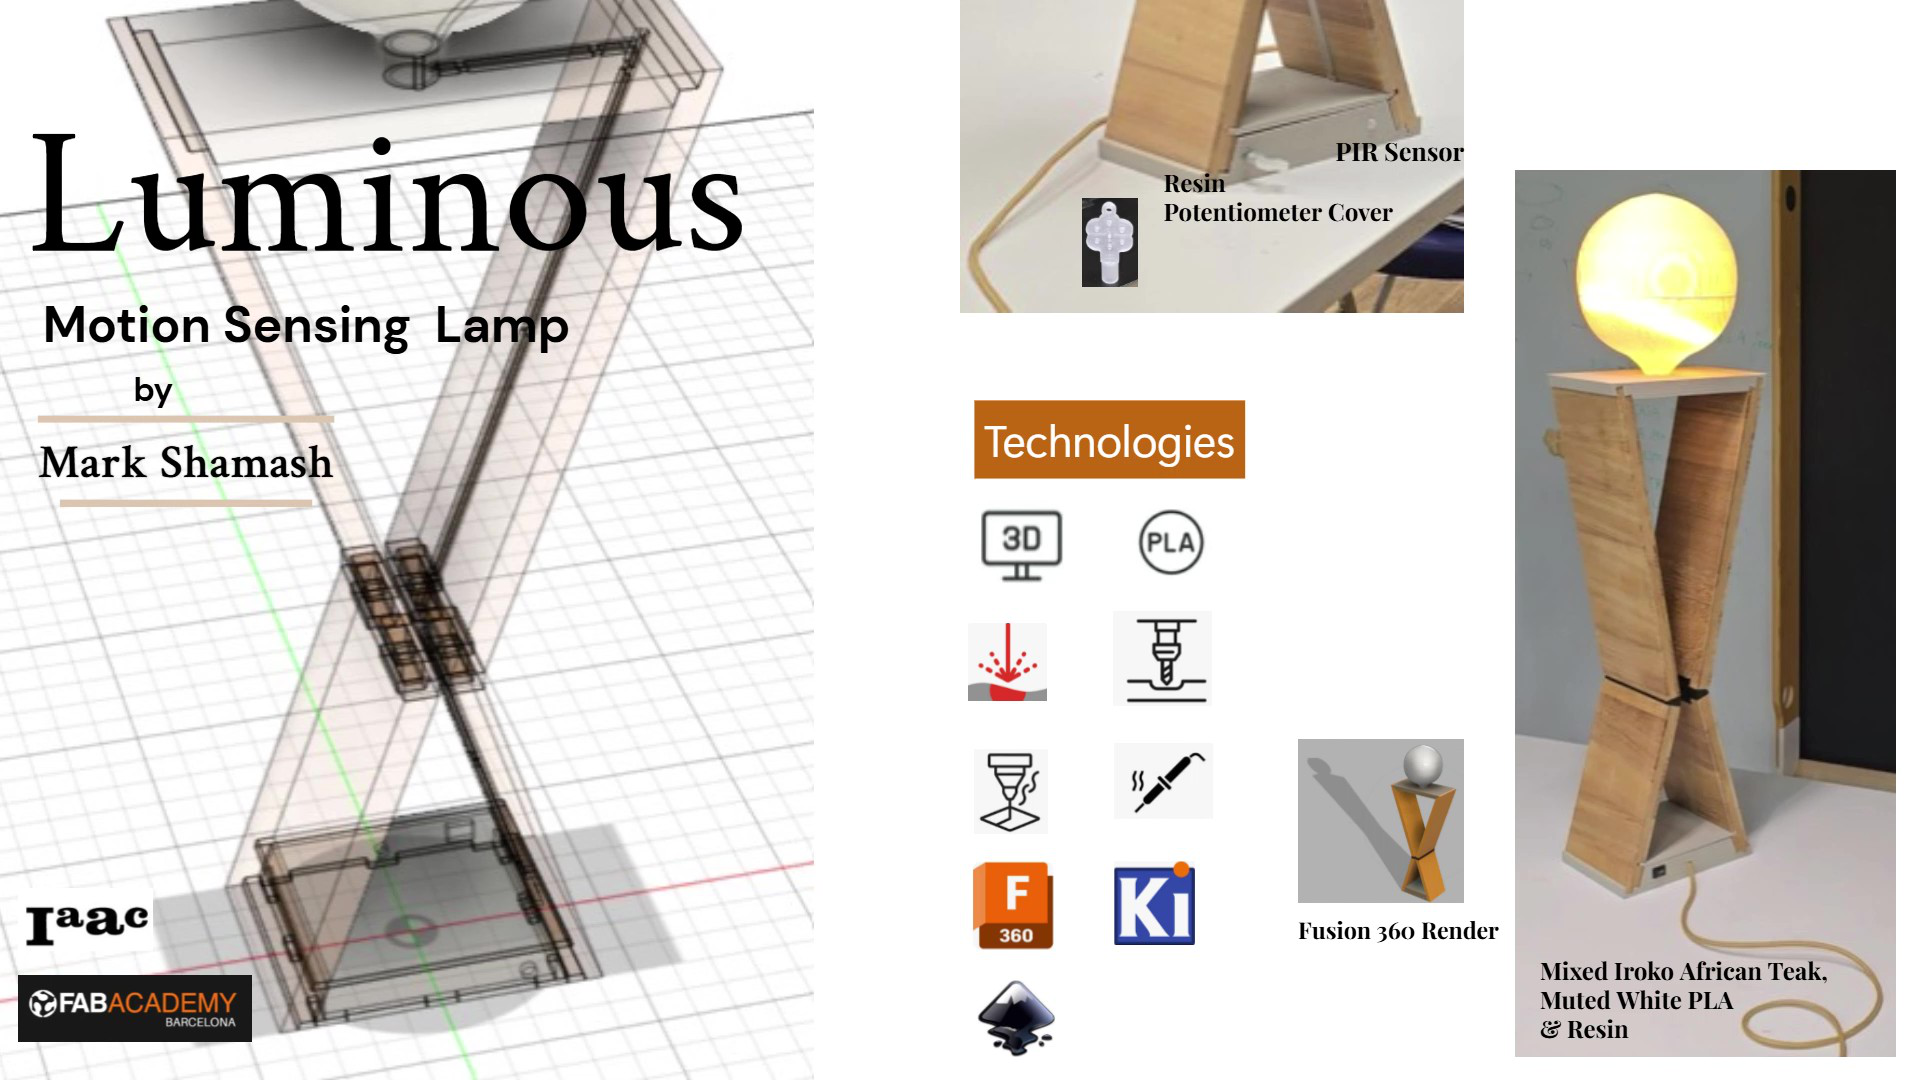
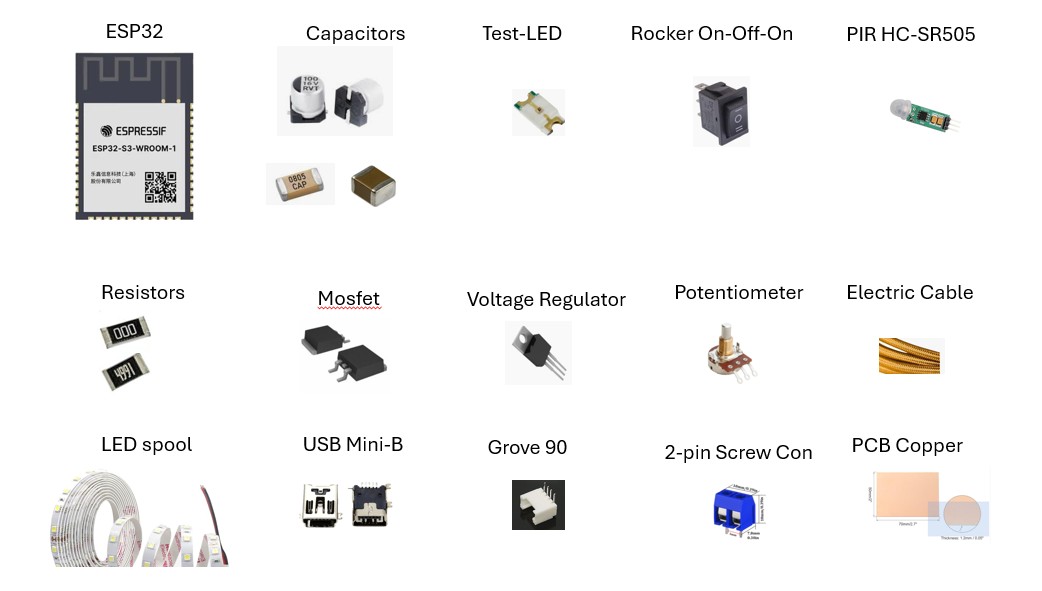
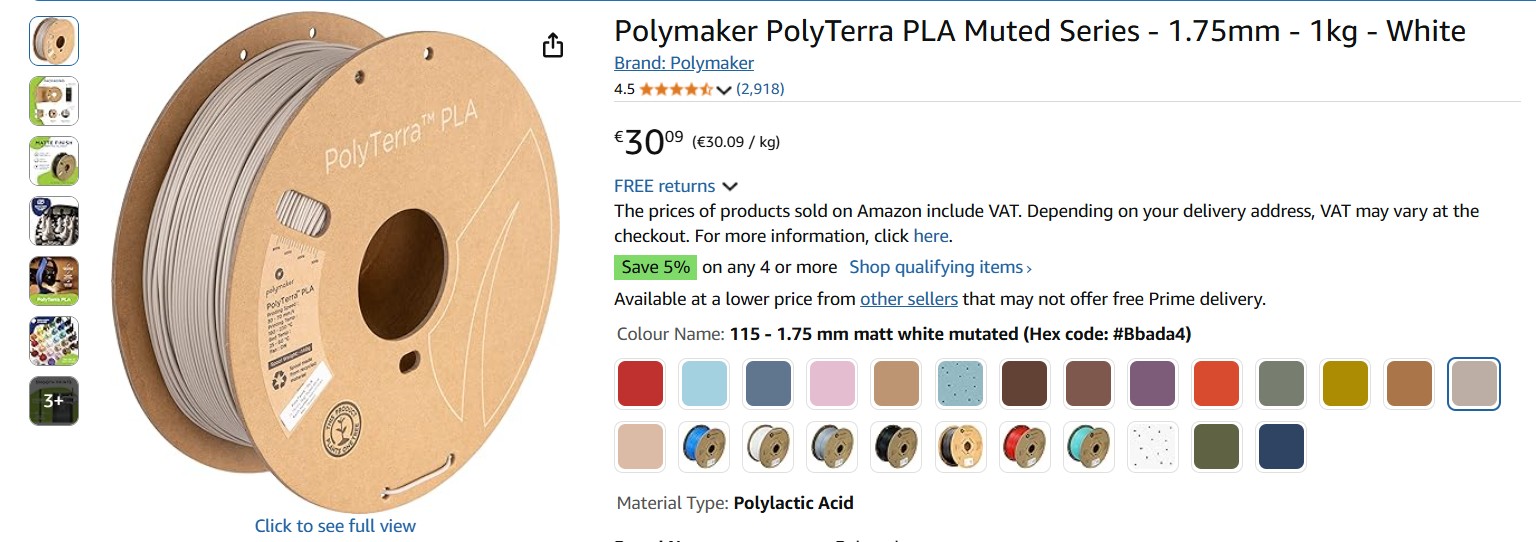
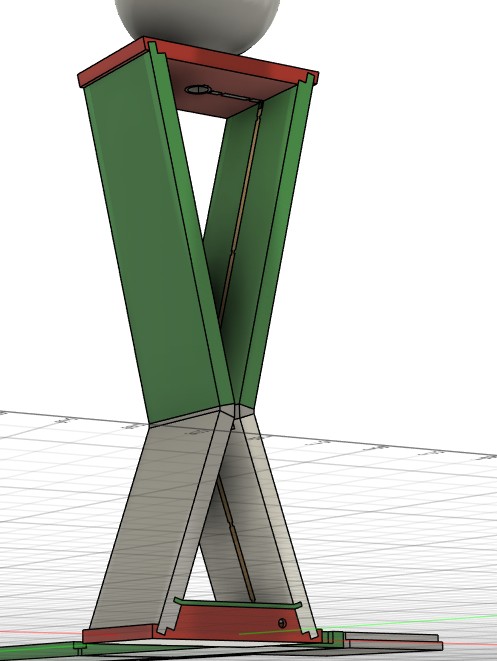
The lamp is composed of a carefully selected combination of materials and components. The legs and arms are crafted from Iroko, also known as African Teak, which has been precisely CNC milled. Complementing the wood are filleted 3D-printed wire covers made from high-quality muted white PLA, designed to fit seamlessly into the wooden structure. The neck, waist connectors, and base are also 3D printed from the same PLA material, including the wire cover along the neck.
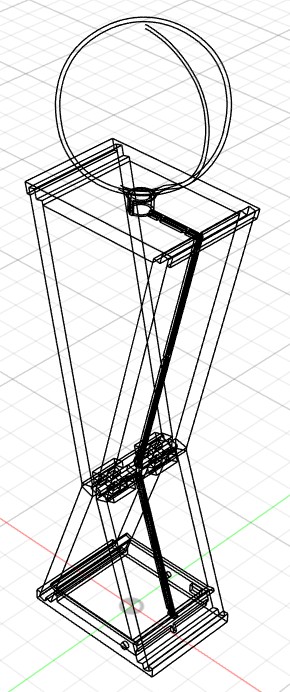
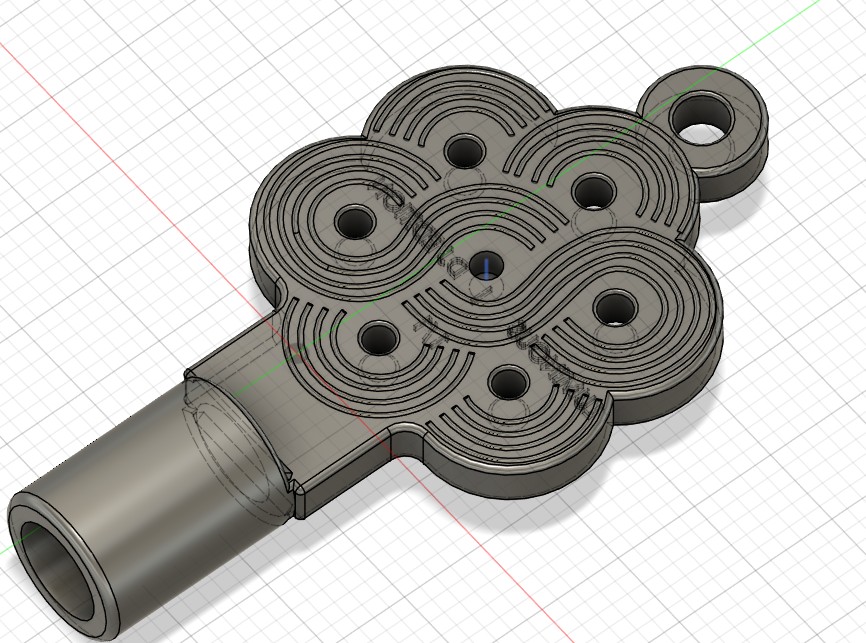
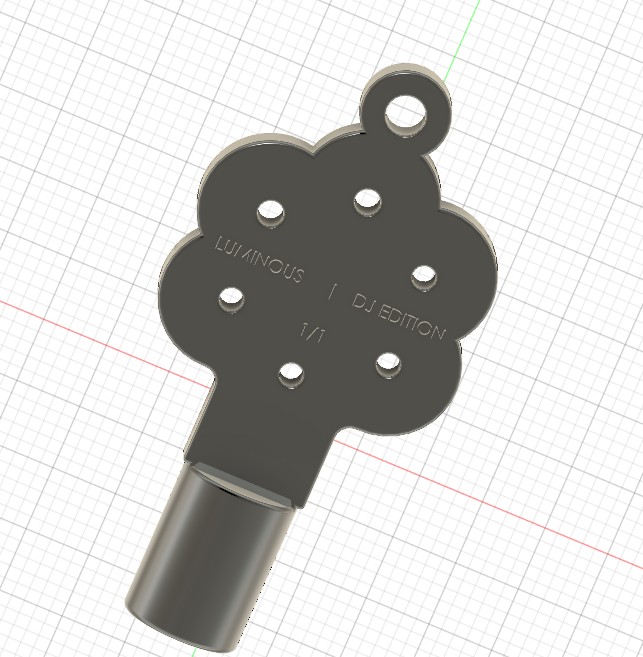
A unique custom-mixed resin, blending white and transparent tones, was used to create the key that covers the potentiometer responsible for the dimming functionality. Additionally, a thick synthetic wire cover in a refined golden hue encases the wiring, adding a sophisticated finish.
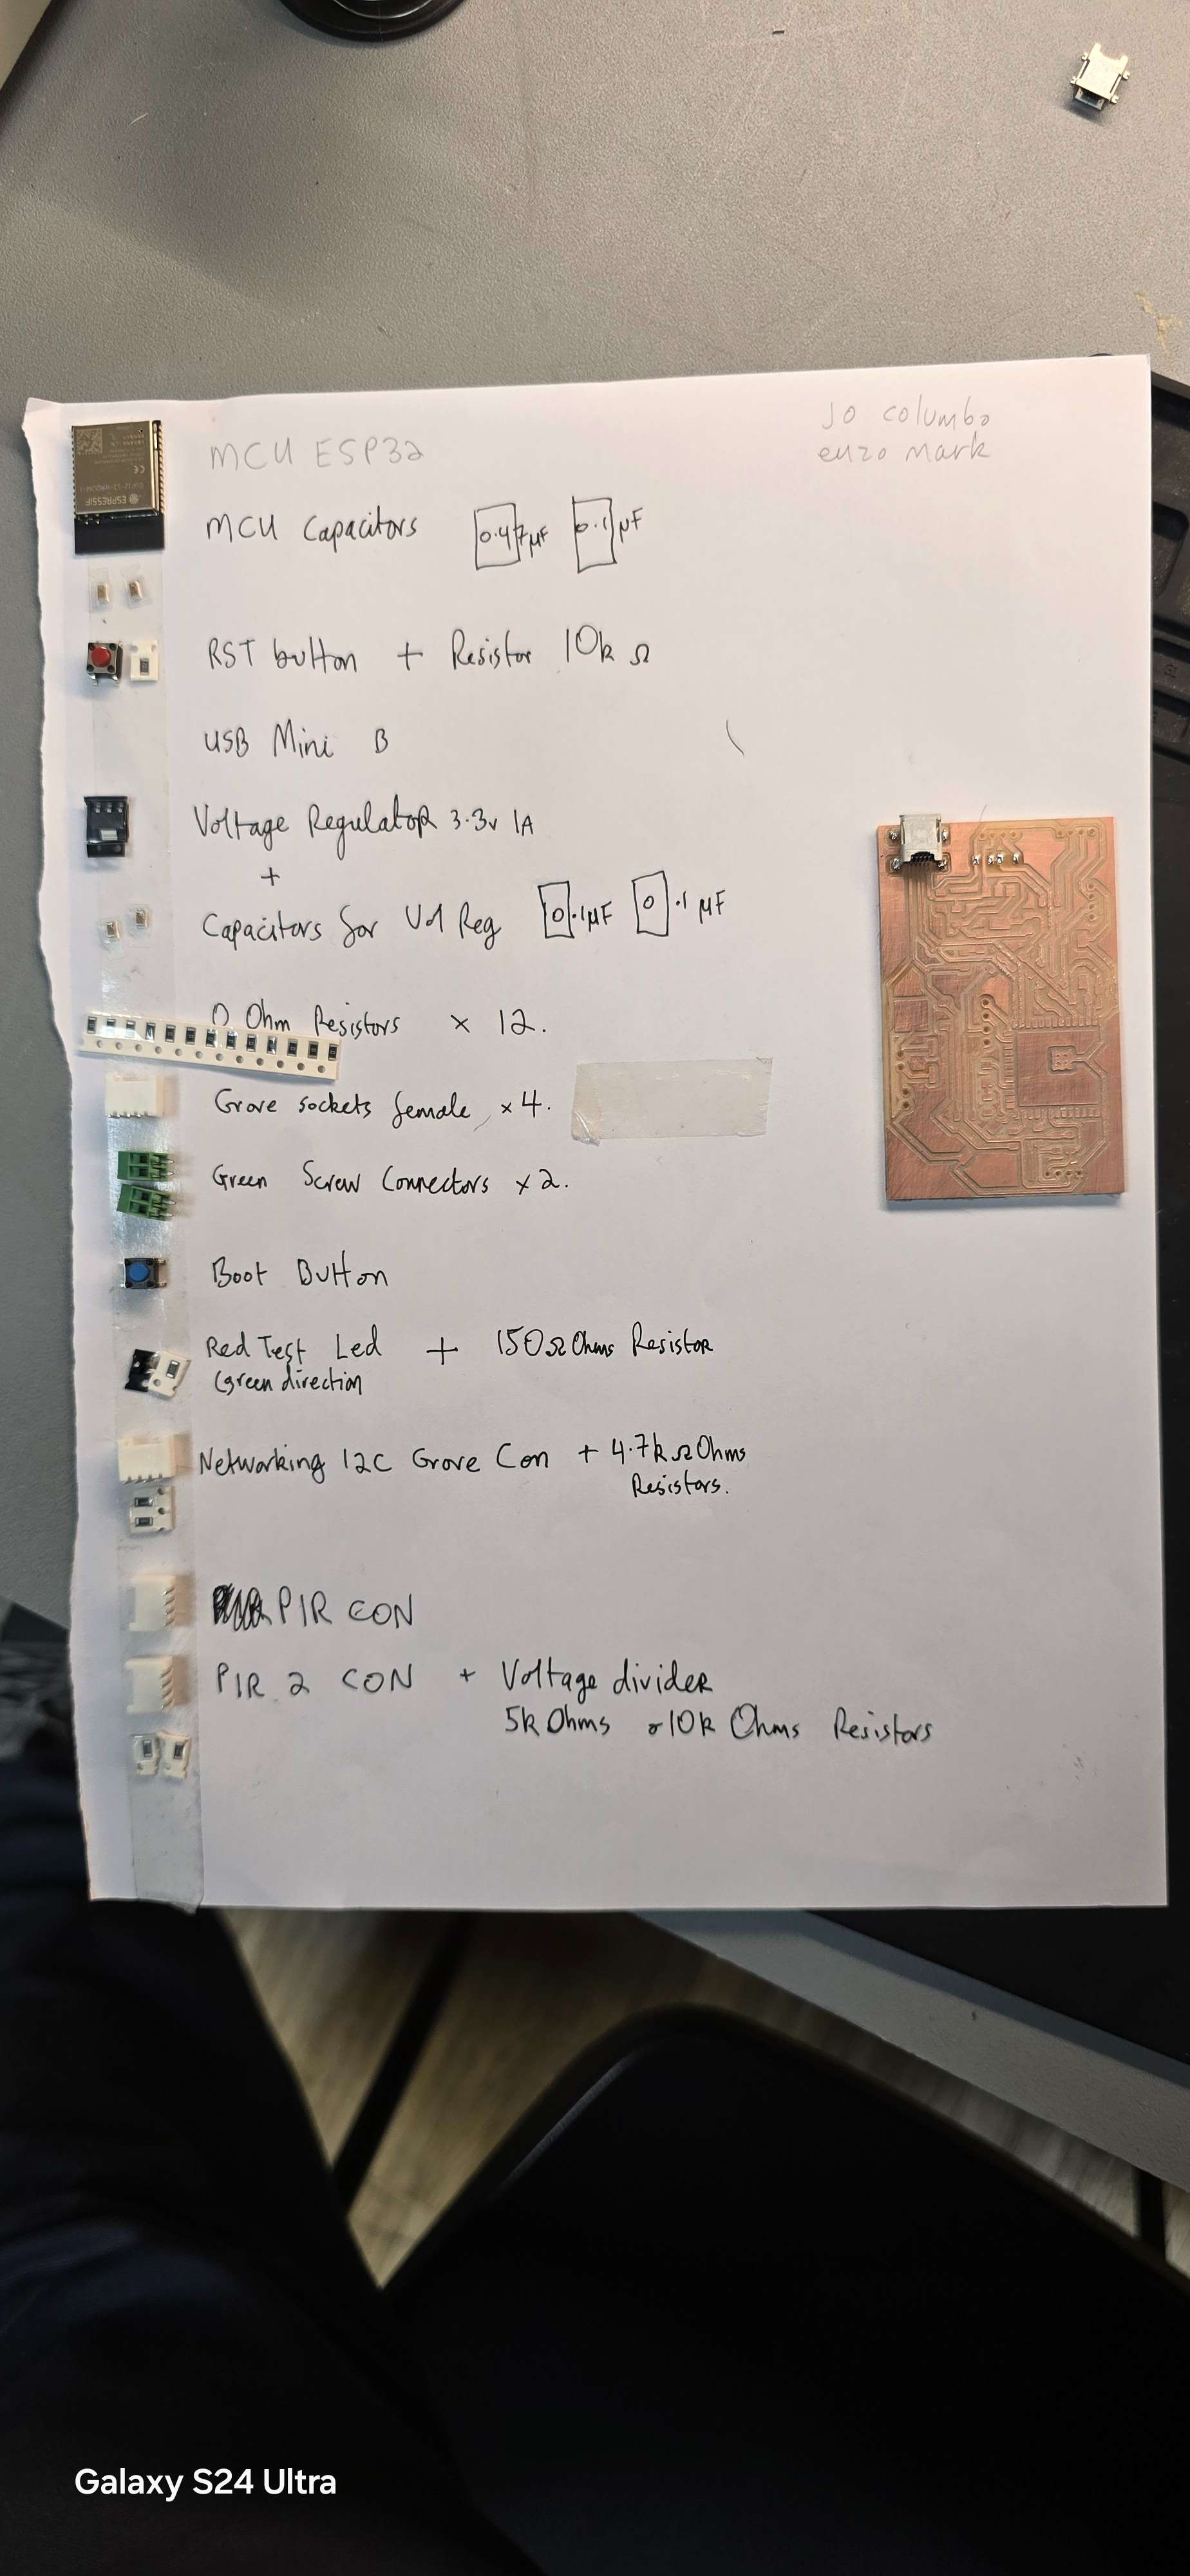
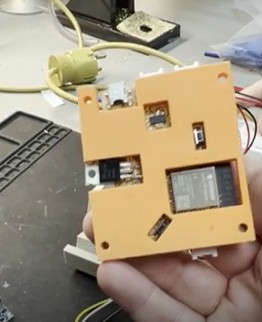
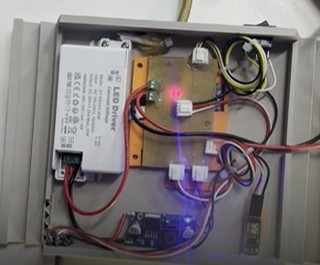
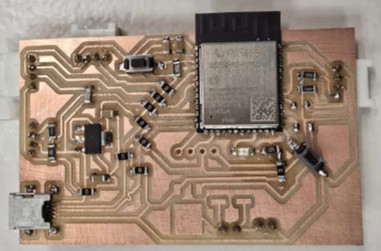
Internally, the lamp features a development board based on the ESP32 microcontroller, with dedicated slots for a PIR sensor equipped with voltage dividers. Capacitors are positioned near the voltage regulator and MCU for stability. The circuit includes a MOSFET for switching, a transformer that converts 100-240V AC to 24V DC at 1.25A, and a buck (step-down) converter that lowers 24V to 5V for logic power, while maintaining 24V to drive the LED.

Where Did the Materials and Components Come From?
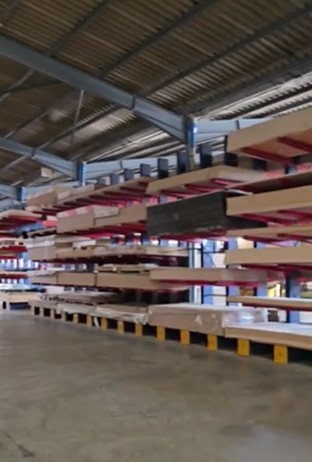
• The Iroko wood was sourced from Maymi Germans, located at Riera d'Argentona 7, Cabrera de Mar, on the outskirts of Barcelona.
• The custom mixed resin was kindly provided by my classmate Simsi and one of my instructors, Adai.
• The muted white PLA filament (Polymaker series) was ordered through Amazon.
• The LED driver, On/Off switch, and PIR sensor were also purchased from Amazon.
• The synthetic golden wire cover was obtained from a small lighting shop on Carrer Mutaner.
• All other electronic components—including the ESP32 development board, voltage regulators, MOSFET, connectors, buck converter, capacitors, resistors, wires, and potentiometer—were assembled and fabricated by me at the Fab Academy Proto Lab.
What Parts and Systems Were Made?
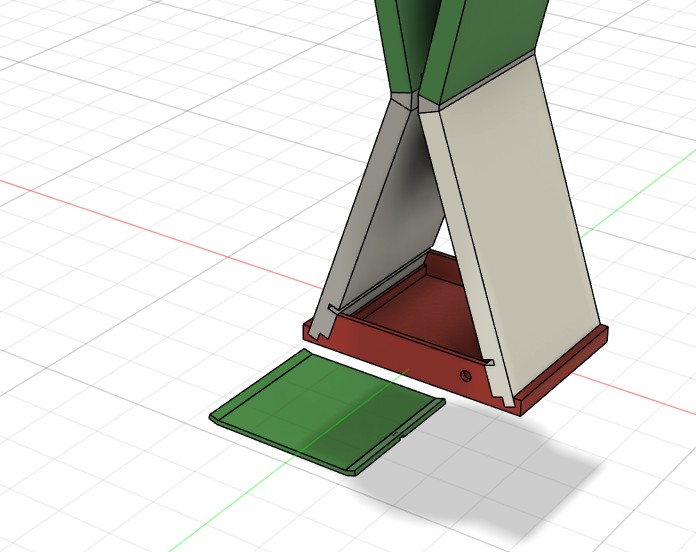
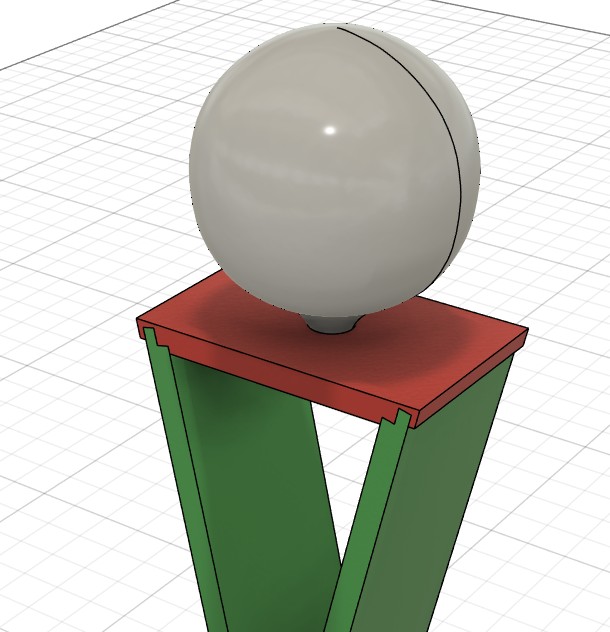
The lamp's physical components, ranging from the diffuser to the base, were designed by me using Fusion 360. The wood parts were CNC milled, while the smaller connectors and wire covers were 3D printed or resin printed.
For wood fabrication, I combined Fusion 360 for modeling with Rhino and RhinoCAM for slicing and toolpath generation. The CNC milling was performed on a Raptor X SL 3200 machine. The majority of 3D printing was done on the Bambu X1 Carbon, with select parts printed on the Bambu A1. Key components, such as the potentiometer cover, were printed using an Elegoo Saturn 4 Ultra resin printer and cured using a Projet UV curing station.
From an electronics perspective, I manufactured the PCB using the Roland SRM-20 PCB mill in our lab. Assembly involved soldering with RS Pro tools, using tin/lead wire, flux, heat shrink tubing, tweezers, and working within a ventilated environment for safety.
What Questions Were Answered?
How do the tools fit together?
Initially, each element of the project felt like its own isolated challenge — modelling in Fusion 360, routing traces in KiCad, and learning to solder without damaging the PCB pads. Mistakes were inevitable: traces with insufficient clearance, lines too thin, mismatched differential signal lengths, and more. Over time, these errors diminished and my designs improved, revealing not only what to do but why things function as they do.
How does power work in a real system?
Flashing firmware through Arduino and grasping regulators and ground planes transformed what once felt like magic into clear logic. Yet one question lingered: how does it all truly come together? The transition from wall power to a working system — converting AC to DC and stepping down voltage safely — remained complex. After soldering the final board and confirming voltages with a multimeter (5V where expected, 24V where expected), I loaded the firmware. When the LED failed to light, testing revealed the MOSFET dropped voltage to about 8V, insufficient for the LEDs. After trying two other MOSFETs, I found one that allowed the full 24V to power the light. This troubleshooting deepened my practical understanding, teaching me the value of consulting datasheets in detail rather than relying solely on headline specifications.
How do materials behave in real life?
Iroko wood felt instinctive — warm, rich, and full of presence. Paired with muted white PLA, it offered the quiet strength I sought. Yet while PLA obeyed millimeter precision, wood asserted its own character. Aiming for seamless joints—5mm sockets and inserts designed for snug fits—I designed PLA parts between 4.9 and 4.95mm for a perfect fit. Still, Iroko proved unpredictable: some cuts were too tight, others too loose. Despite careful measurement, the wood resisted standardization.
What does it really take to manufacture?
This mismatch pushed me back into Fusion 360 to adjust parameters and led to sanding and trimming parts by hand. I printed additional parts to mediate between these two different materials—one engineered, the other alive. Finally, everything came together. The prototype passed muster, and several people expressed genuine appreciation for the design, which felt deeply rewarding. Though the perfectionist in me noted minor flaws, the overall result was a beautiful lamp, destined as a gift for my mother and a tribute to my parents. There is an inherent tension in prototyping between expression and precision; learning to balance this compromise led me to something even better than I originally envisioned.

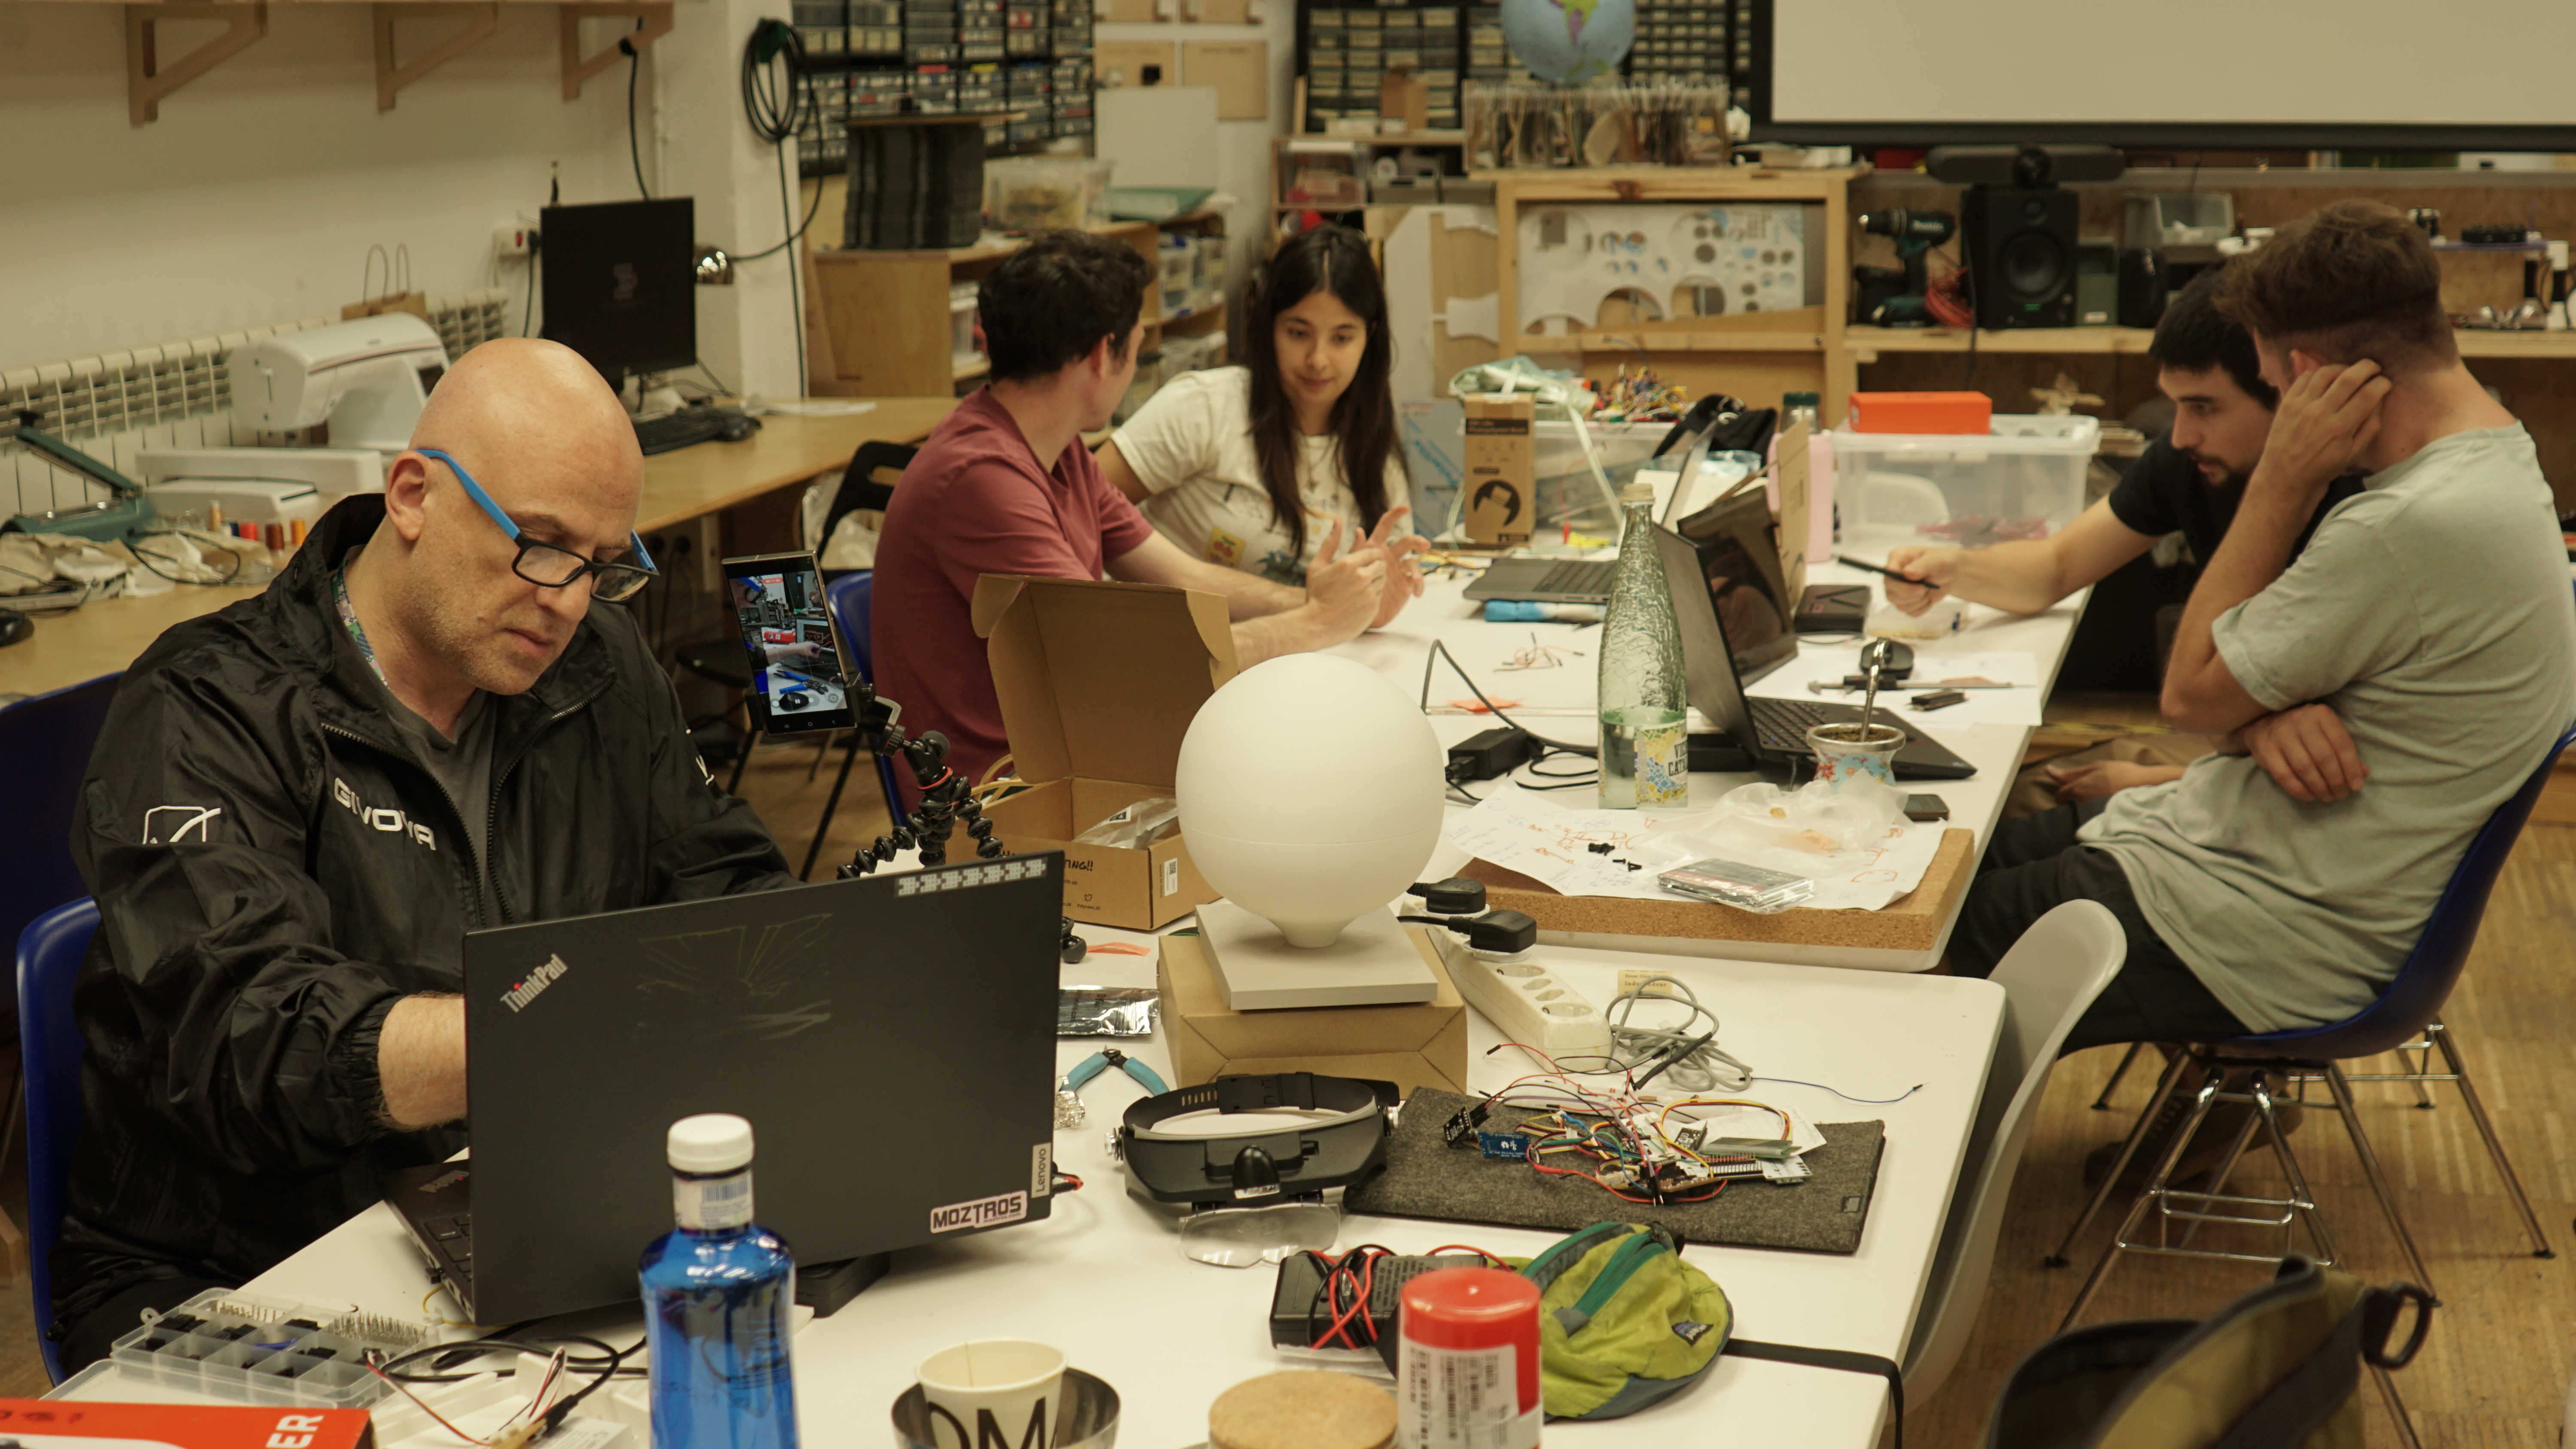
Programming the Chip
I began by soldering the chip.
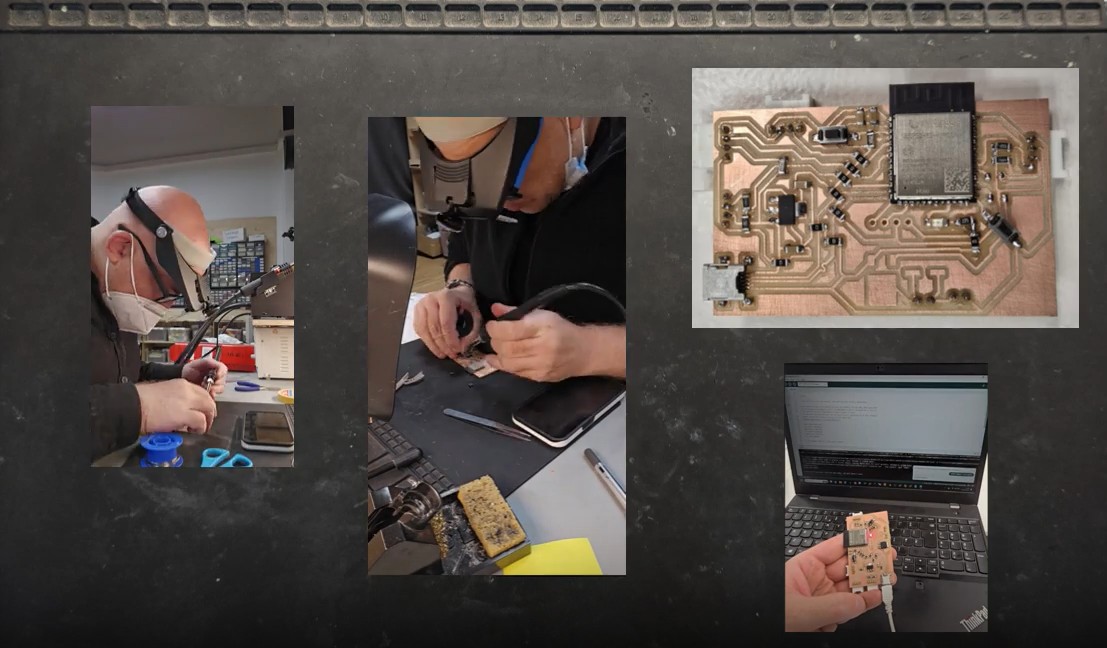
With the chip fully assembled, I plugged it into the Arduino IDE to begin programming.
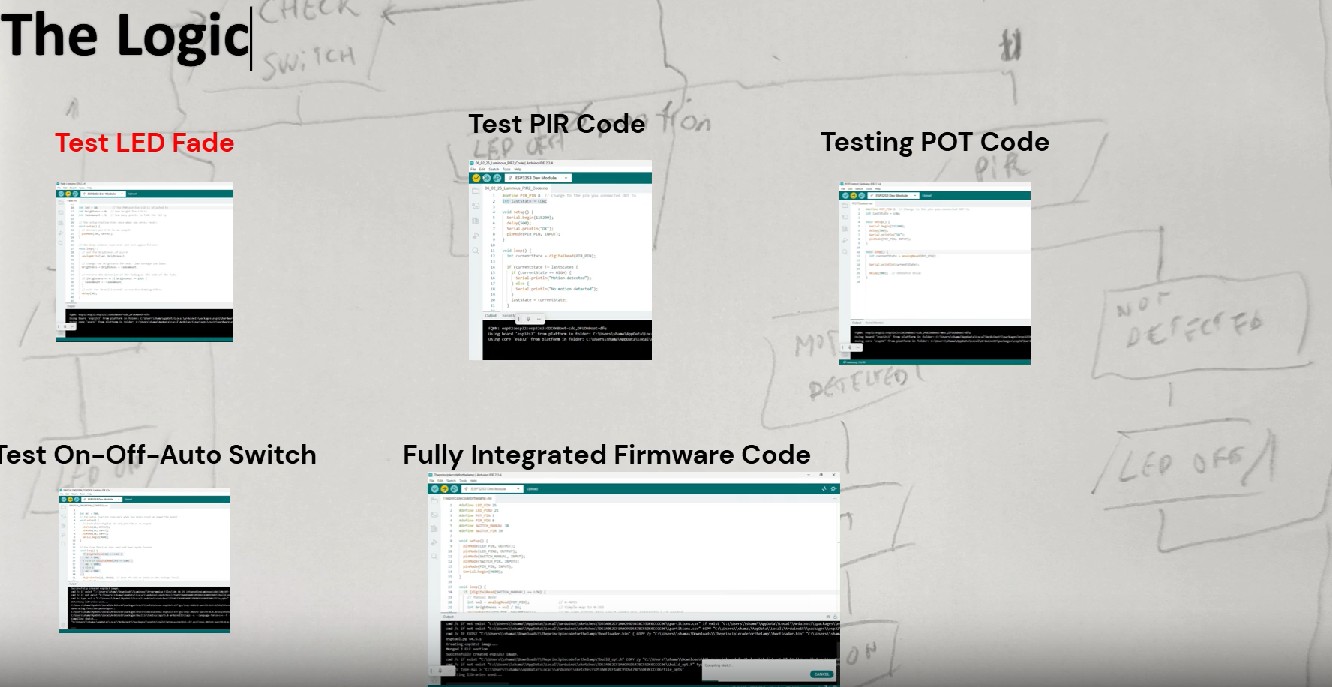
I approached the logic step by step—first uploading a simple test program, then verifying each component individually. Once I confirmed that everything was functioning correctly on its own, I started integrating the code.
The potentiometer worked at first, so I moved on to test the switch, which also responded as expected. Confident in the setup, I merged the code and flashed it to the chip. But after reassembly, the potentiometer suddenly stopped working.
To troubleshoot, I had to reopen the base and test the potentiometer with a multimeter. It turned out I had accidentally stressed the component—one of its pin connections had loosened, and the copper trace on the PCB was slightly damaged. After a quick repair, I tested the circuit again. Everything worked.
With the issue resolved, I closed up the case once more and powered up the fully integrated lamp. This time, it worked perfectly.
Main Insight
What I've realized — often overlooked in early design phases — is just how demanding the manufacturing process truly is. Imagining a form is one thing; making it real, adapting when materials push back, is quite another. This unglamorous, stubborn reality must be embraced from the start because it changes everything along the way.
What worked? What didn't?
What worked:
- Using Fusion 360 and Rhino for design and checking manufacturability.
- CNC milling and 3D printing parts with parameterized models for flexibility.
- Creating the PCB using KiCad, milling, soldering, and successful firmware flashing.
- Identifying and fixing issues like trace clearances, soldering skills improved, and MOSFET selection.
- Combining Iroko wood with PLA to create an attractive and functional lamp.
What didn't work:
- Initial PCB design mistakes (clearance, trace size, D+/D- line lengths).
- MOSFET not passing full 24V at first; had to try multiple MOSFETs.
- Wood tolerances causing fit issues due to its natural variation.
- Parts needing sanding, adjustments, and multiple reprints for perfect fit.
What are the implications?
- Early design phases must integrate manufacturing constraints or risk time consuming/costly revisions.
- Natural materials like wood introduce variability that requires flexible design and post-processing.
- Electronics troubleshooting (e.g., MOSFET selection) can be time-consuming but critical for success – be more careful checking datasheets exhaustively.
- Prototyping is a balance between precision and expression; compromise can lead to better, more human designs.
- Understanding the full system (power supplies, firmware, materials) is crucial to delivering a functional product.
A Point on Time Management
As the saying goes, "The best-laid plans of mice and men often go awry." Early in the course, we were introduced to Parkinson's Law: work expands to fill the time available. This principle was not just theoretical — it shaped how we approached each assignment. Time management and structured planning were central to our workflow: estimating what could be done within the available time, setting priorities, and then iterating through secondary spirals once core tasks were complete.
I cannot overstate the importance of taking this seriously. On numerous occasions, I believed I had completed a task, only to discover a flaw that forced me to start again from the beginning. These setbacks weren't rare — they were frequent. I often told myself that no matter how far along I was, we were never more than a day away from total collapse.
There were moments when several problems emerged simultaneously, sending me straight back to the drawing board. In England, we have a phrase — Sod's Law — which says that if something can go wrong, it will, and usually at the worst possible time. After going through this course, I can confirm: Sod's Law is 100% real.
It's essential to always have a clear sense of what's unresolved and what requires immediate attention — and to assign yourself firm internal deadlines. In those critical moments when everything seems to be going wrong, it's also the time when others are facing the same crunch. Instructor support, while generous, becomes naturally limited under such pressure.
During the System Integration week, we were required to include a Gantt chart in our documentation, mapping out all project tasks and timelines. Within 24 hours of completing it, it was already hopelessly obsolete. This course is extraordinary — and to thrive within it demands not just creativity, but an intense, adaptive mindset and unwavering discipline.
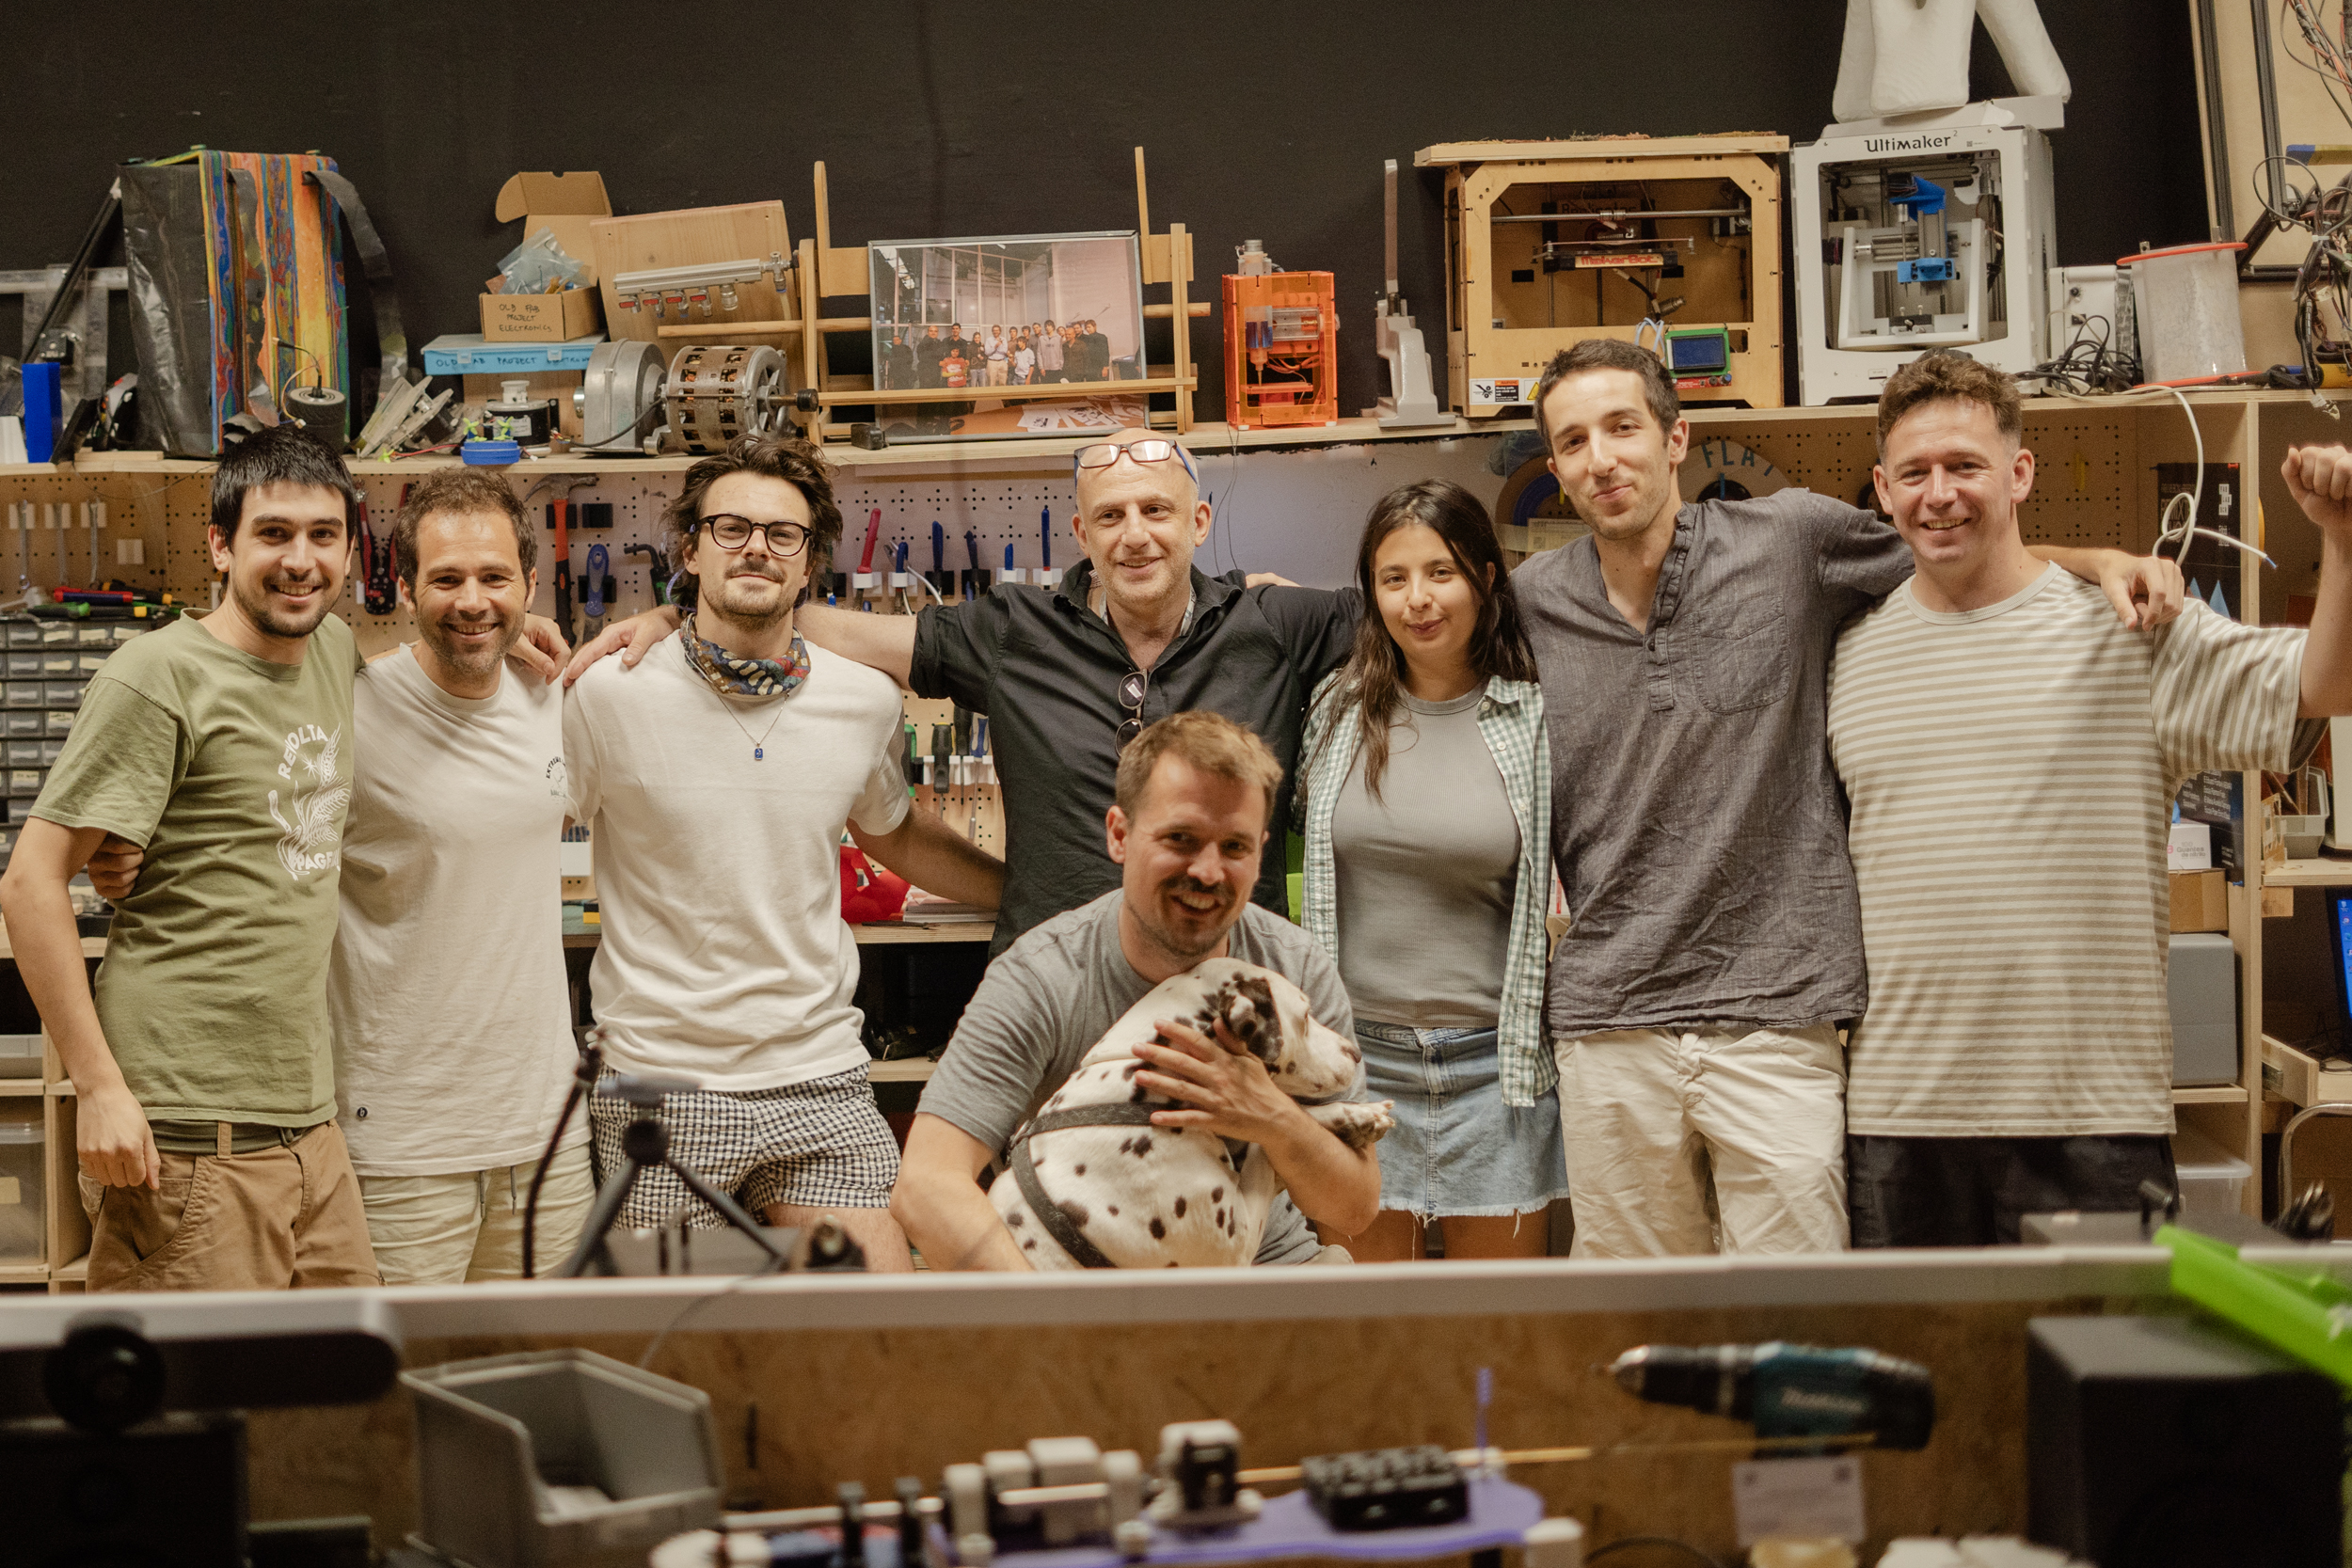
We were extremely fortunate to have Dani as our lead instructor — one of the finest teachers I've ever had. He was supported by Adai, Josep, Yulia, and Santi, each of whom brought kindness, clarity, and expertise to their teaching. Together, they created a challenging and generous learning environment that I'll always be grateful for.